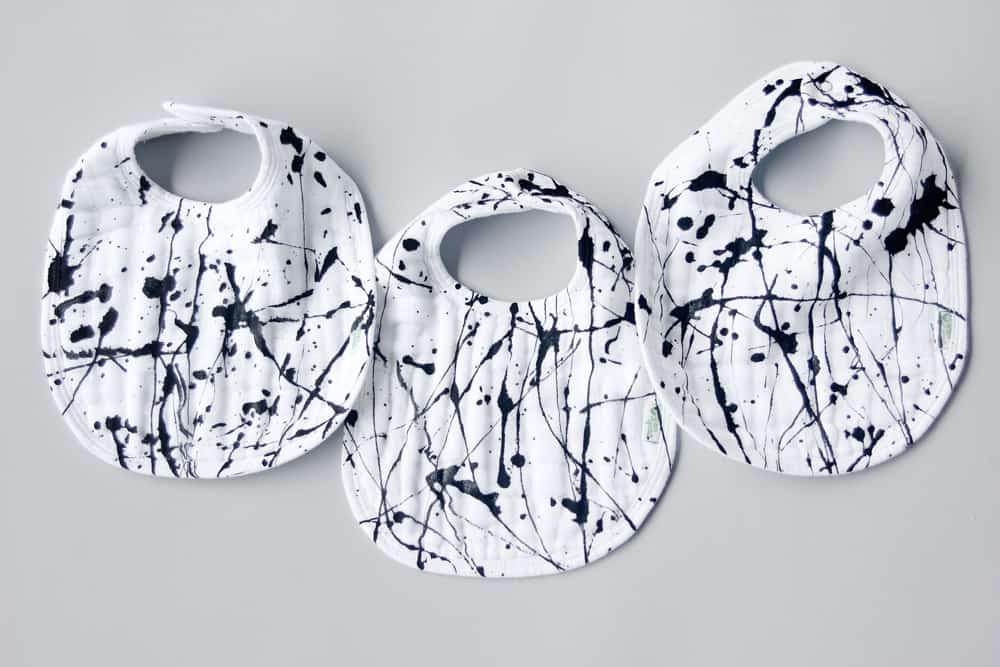
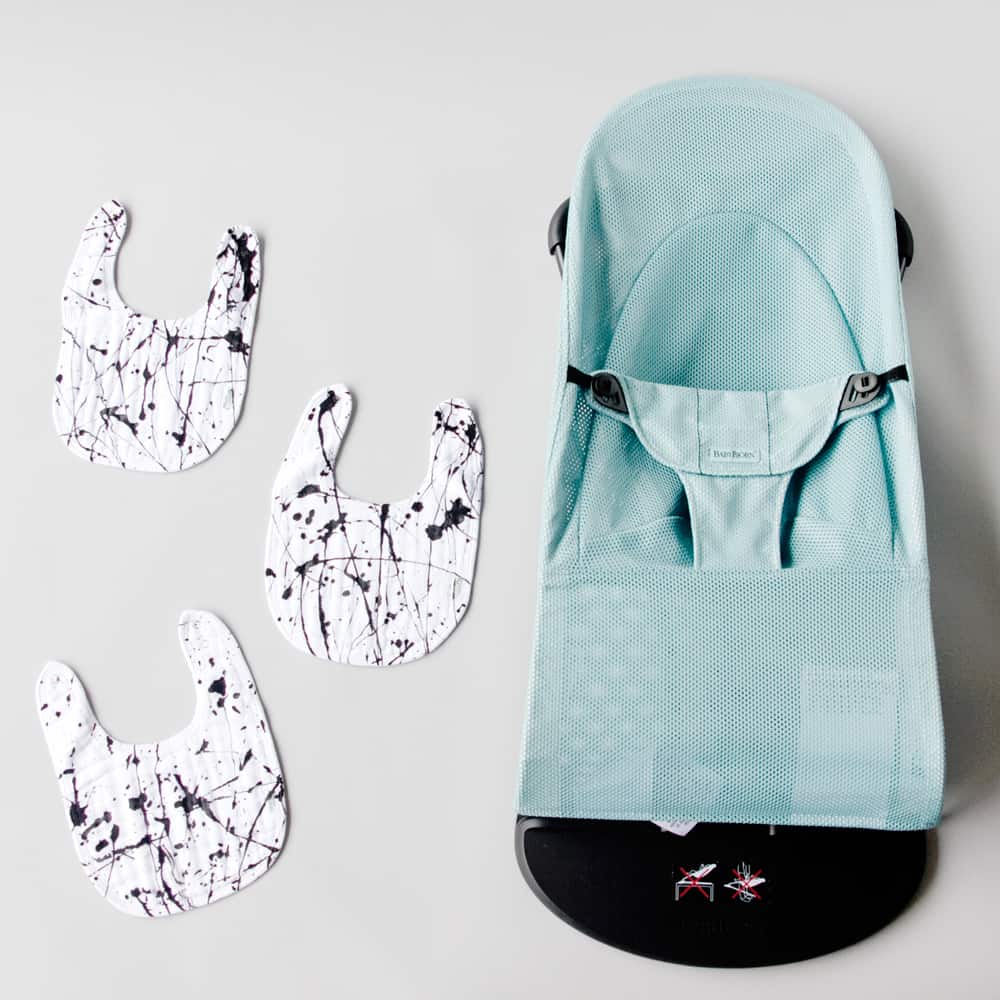
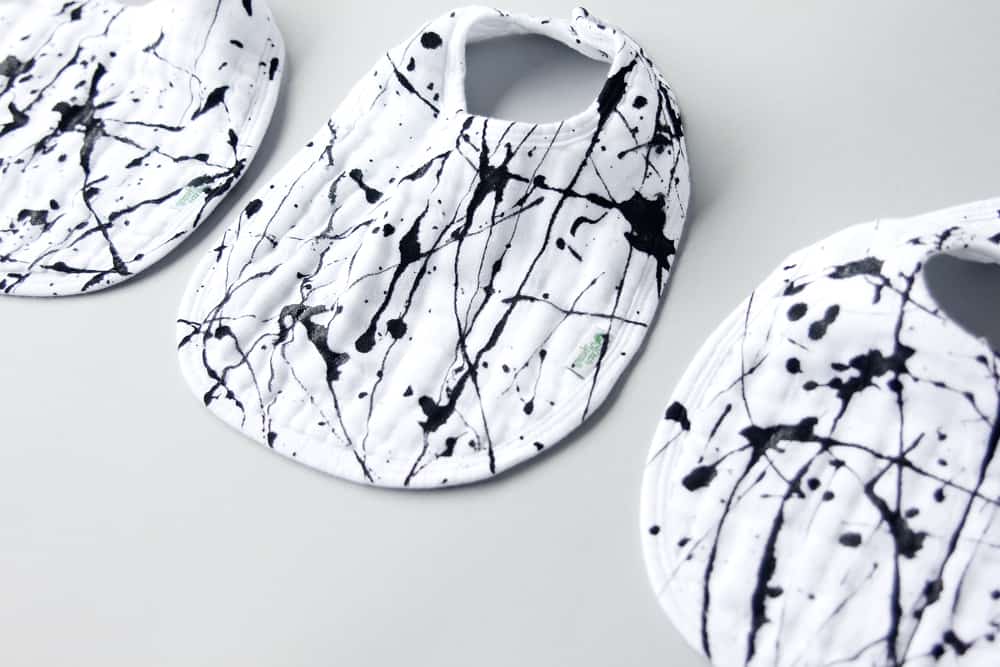
Make these cute and contrasty DIY baby bibs for your curious new eater. They are also great for younger droolers and the stark black and white contrast will keep the attention of any little baby.
These bibs are super simple to make and chic enough for your modern baby bag!
And I had a great time splattering paint everywhere!
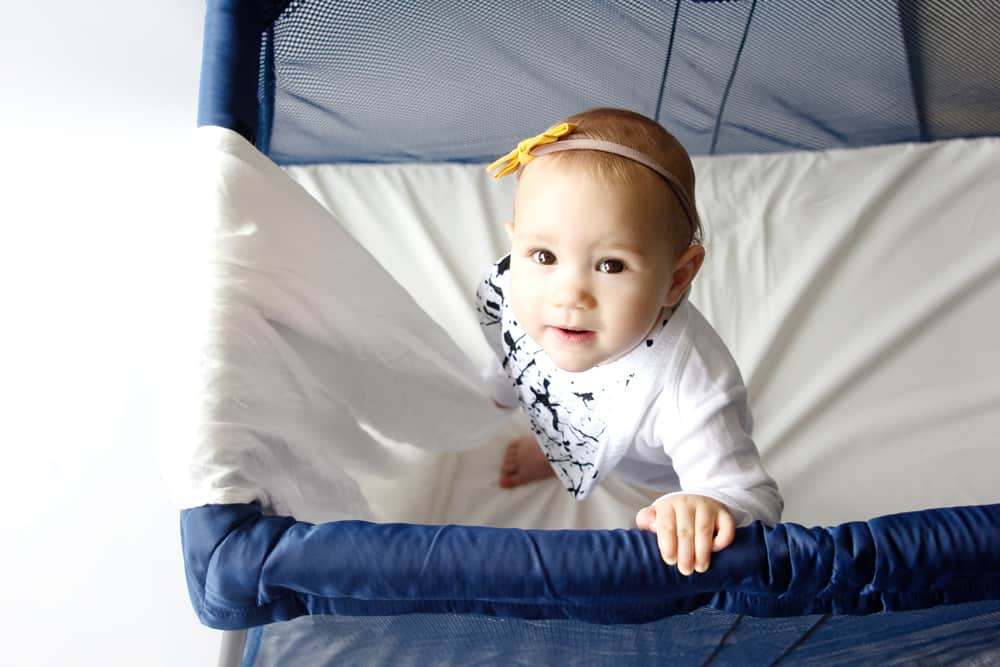
I was inspired by BABYBJÖRN’s new Watercolor collection for this project! It’s a collection of painterly colored and artfully designed baby gear, including bouncers, carriers and a travel crib!
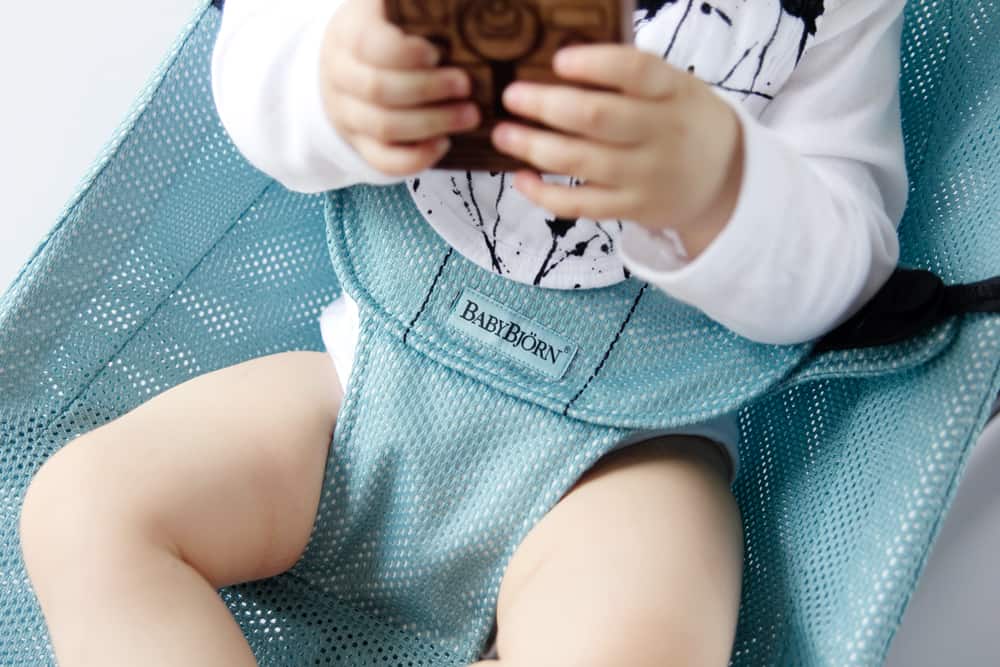
We always put our bouncers in a closet in between babies and they are awkward and annoying to stow! But this is so flat it’s amazing! The bounce is right on and it has 3 different levels, that adjust like a chaise lounge-chair. Super simple to set up and super simple to use.
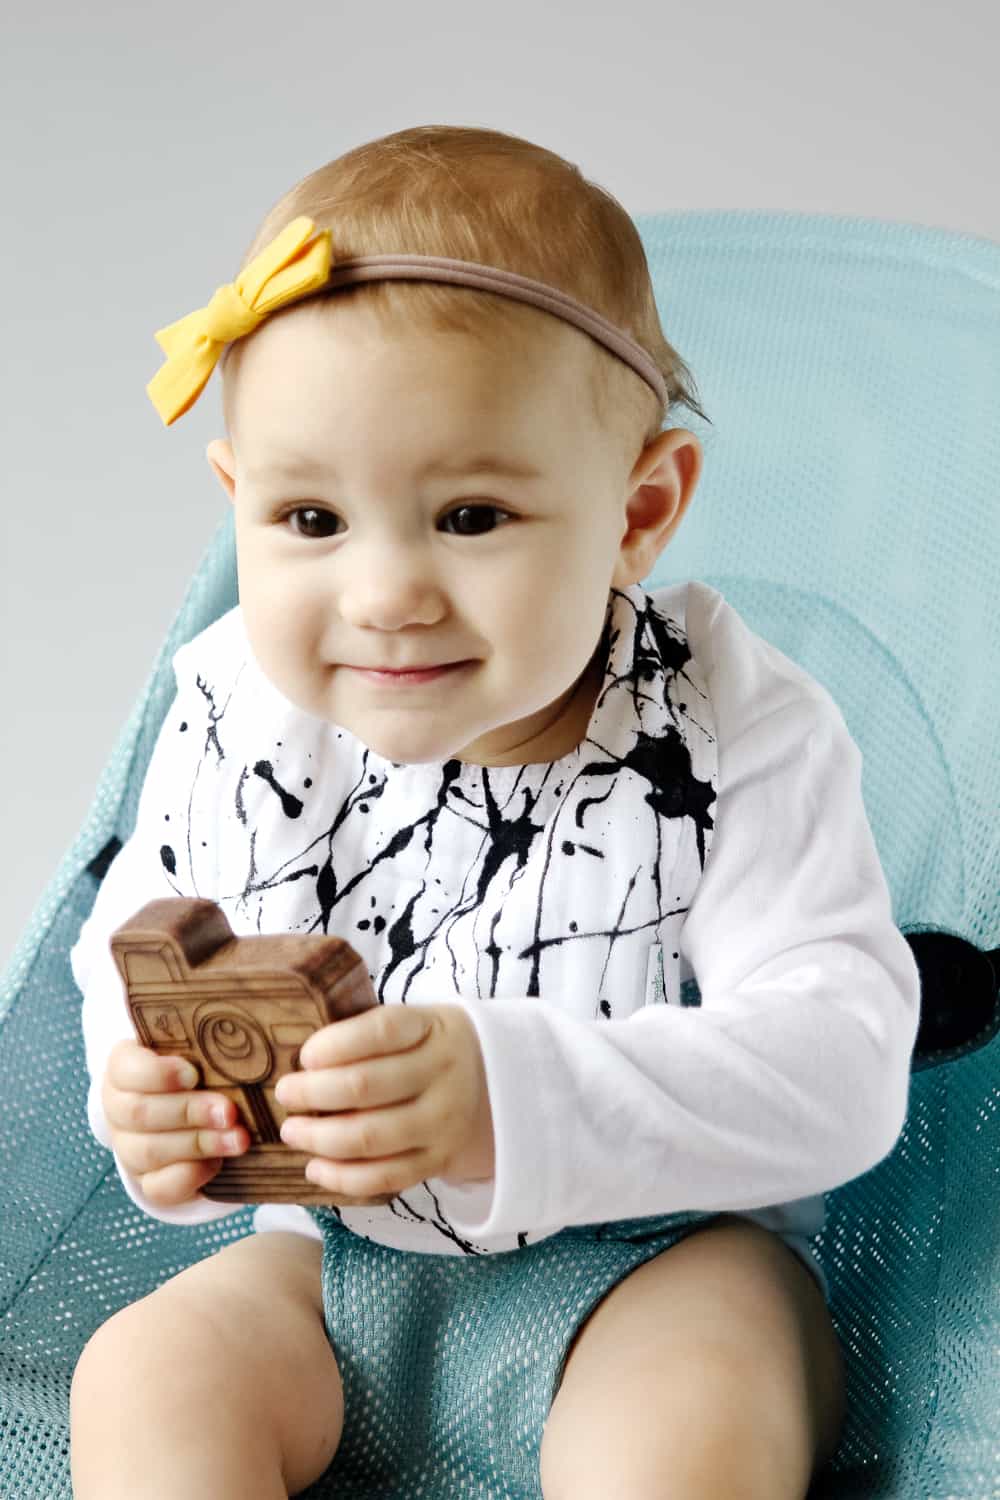
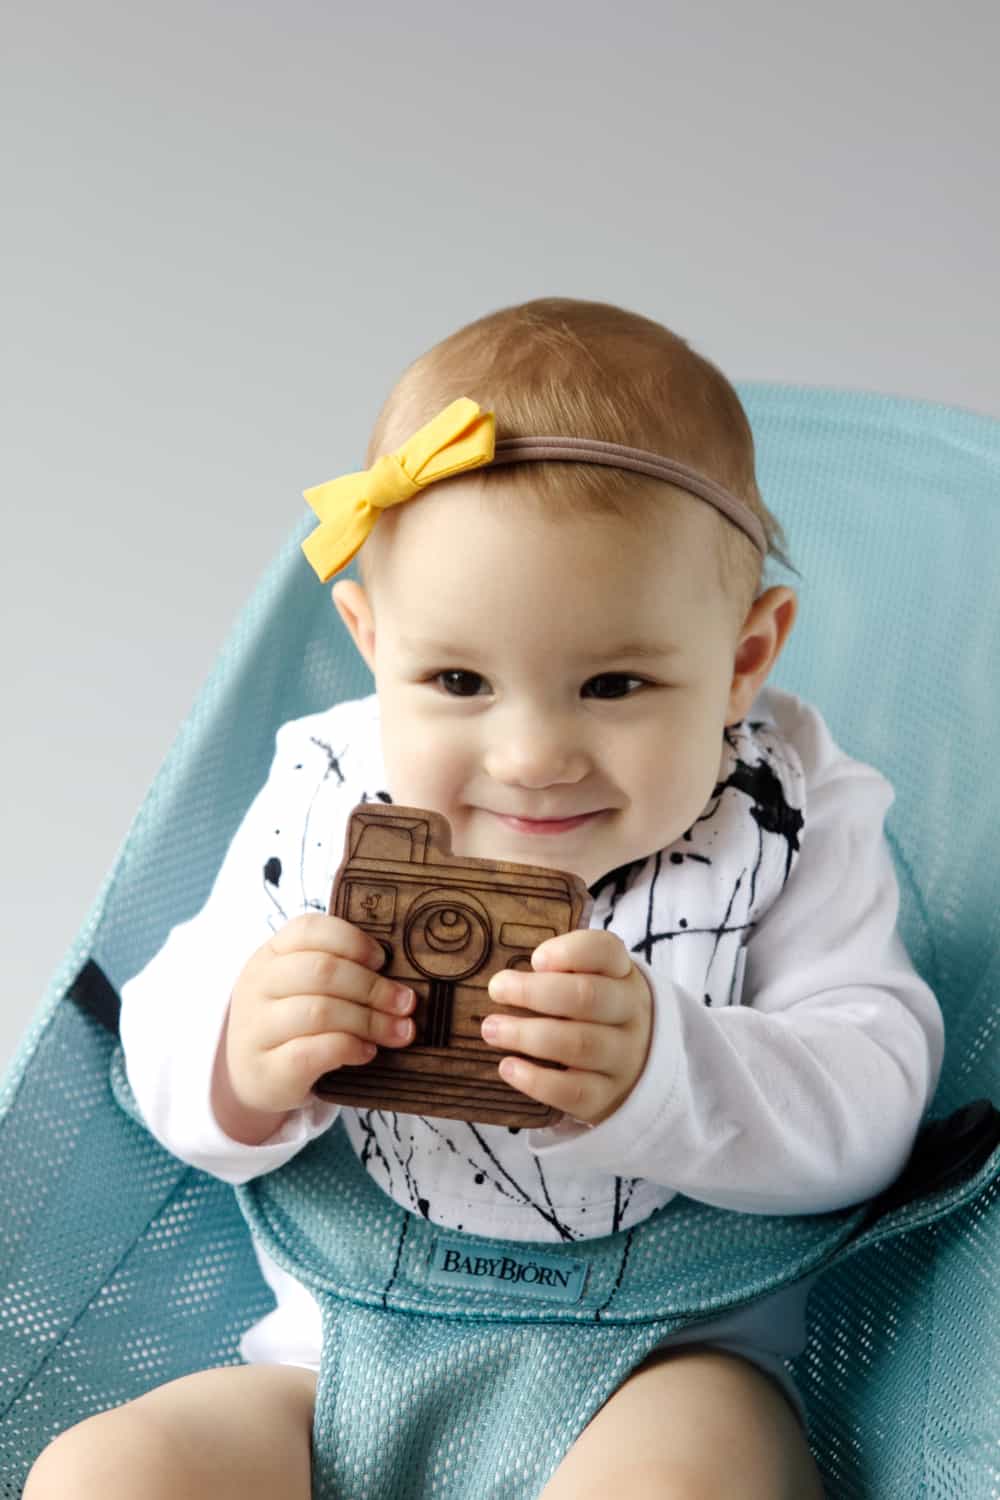
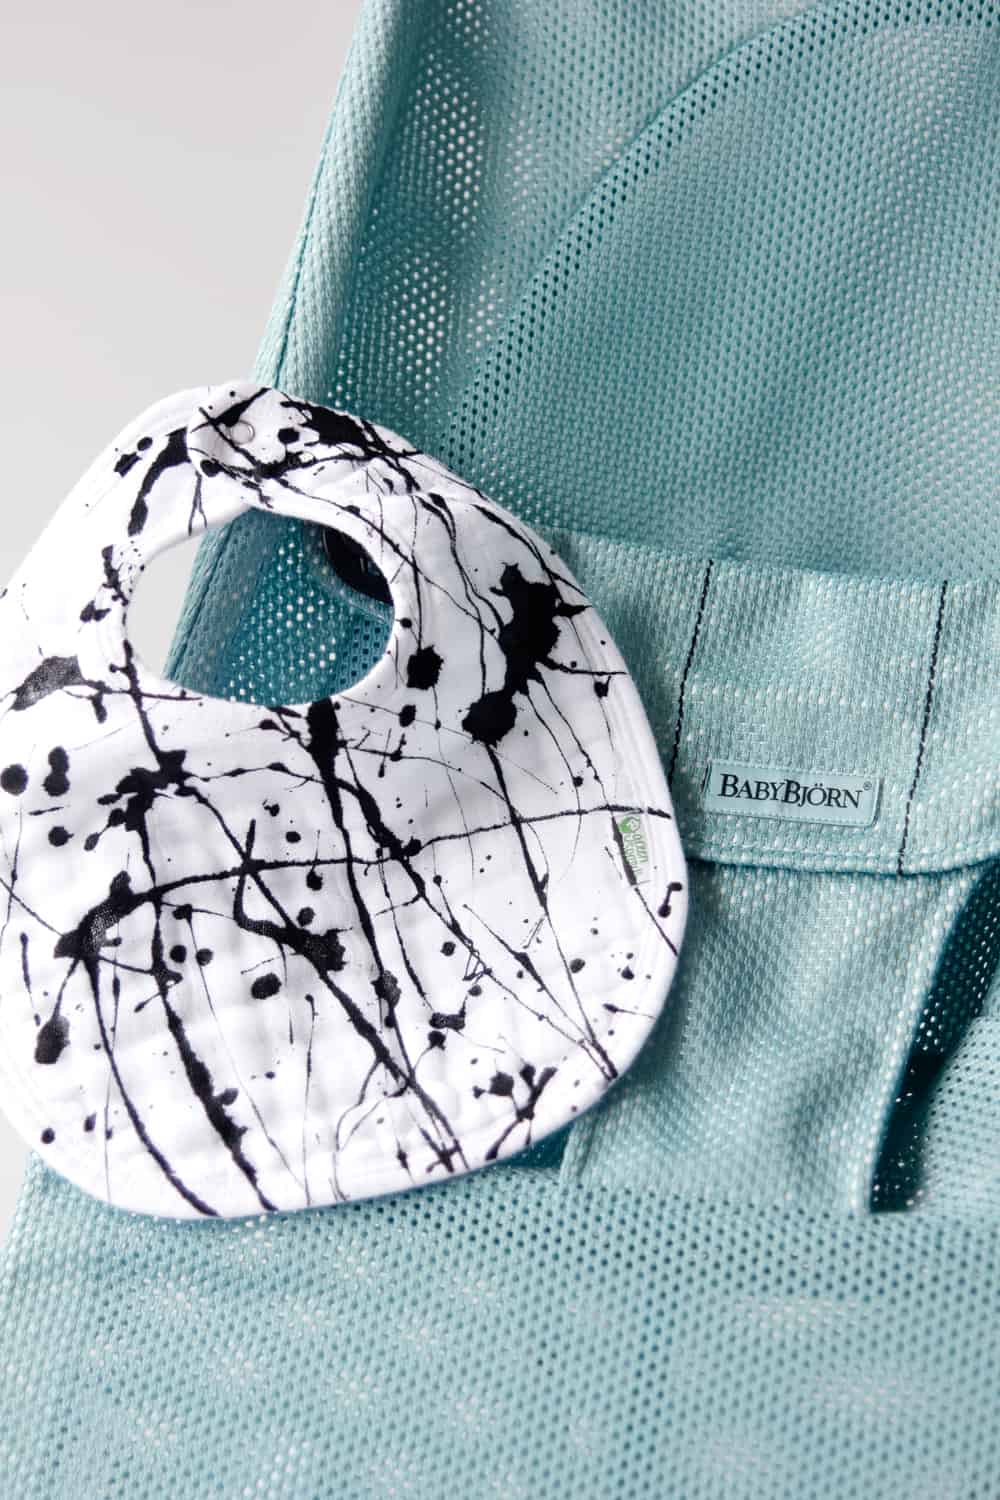
I took it out of the box, lifted it up and snapped it in place. Shown is the Turquoise Turtle color that is so pretty and gender neutral (but not yellow! Hooray!)
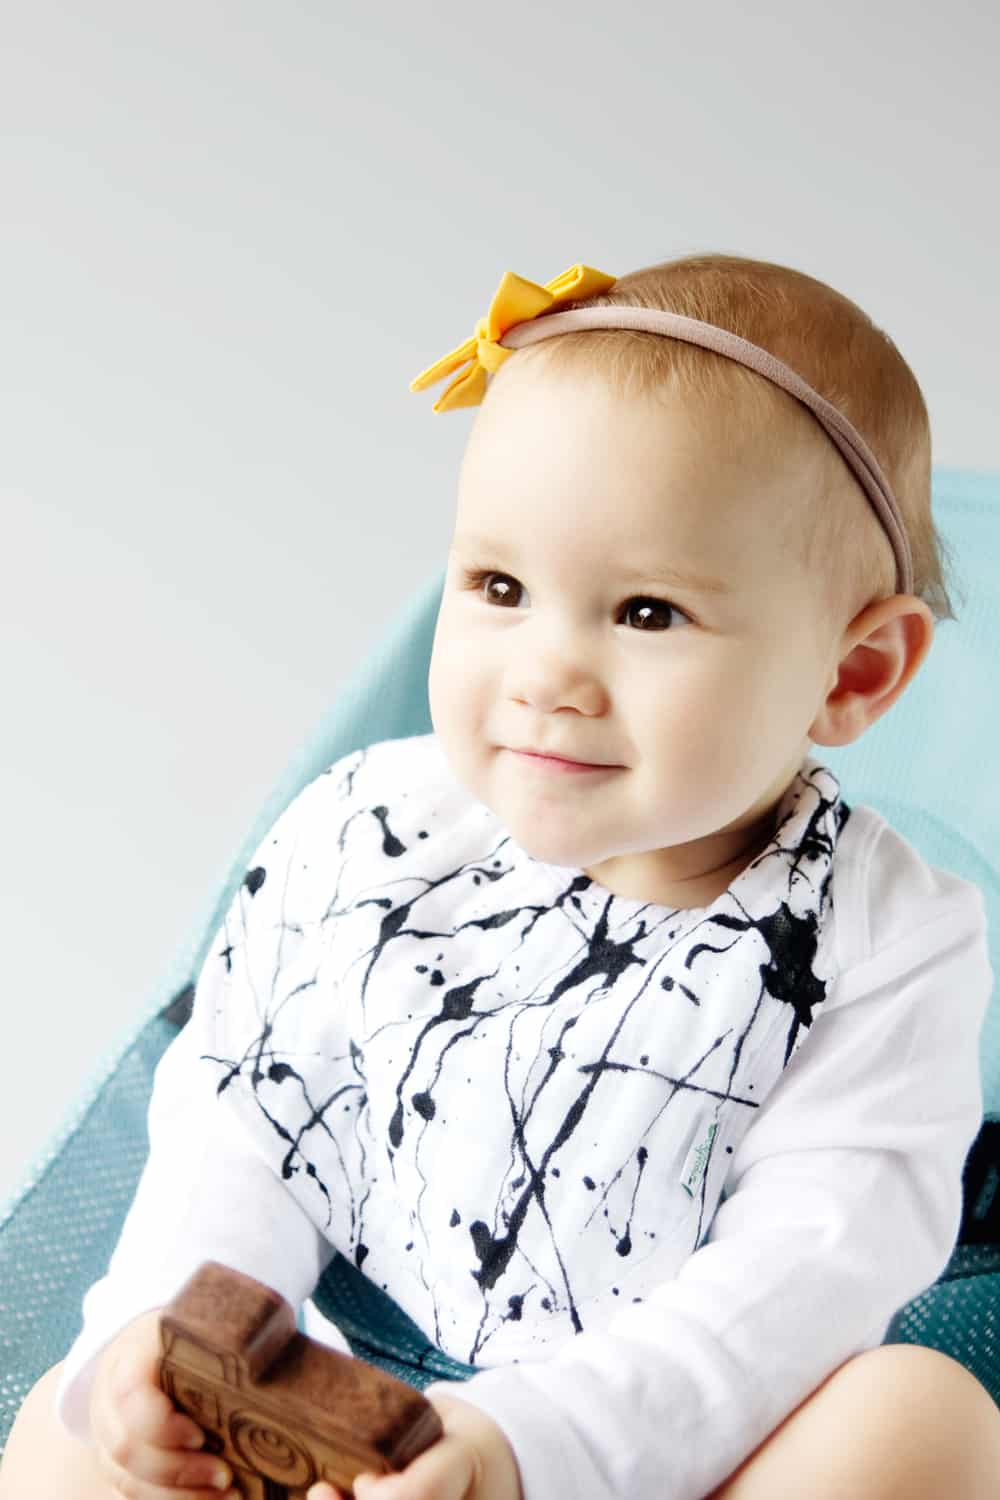
My little model had a blast bouncing in this chair and we just can’t wait to put our newborn baby girl in it. The mesh will be especially nice this summer as the weather heats up.
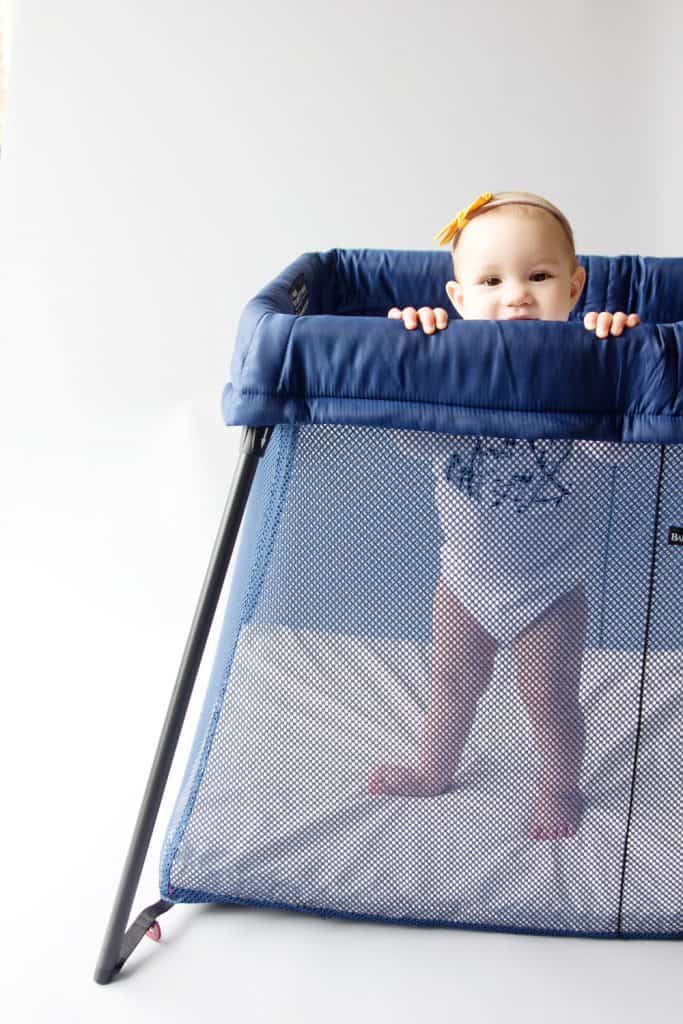
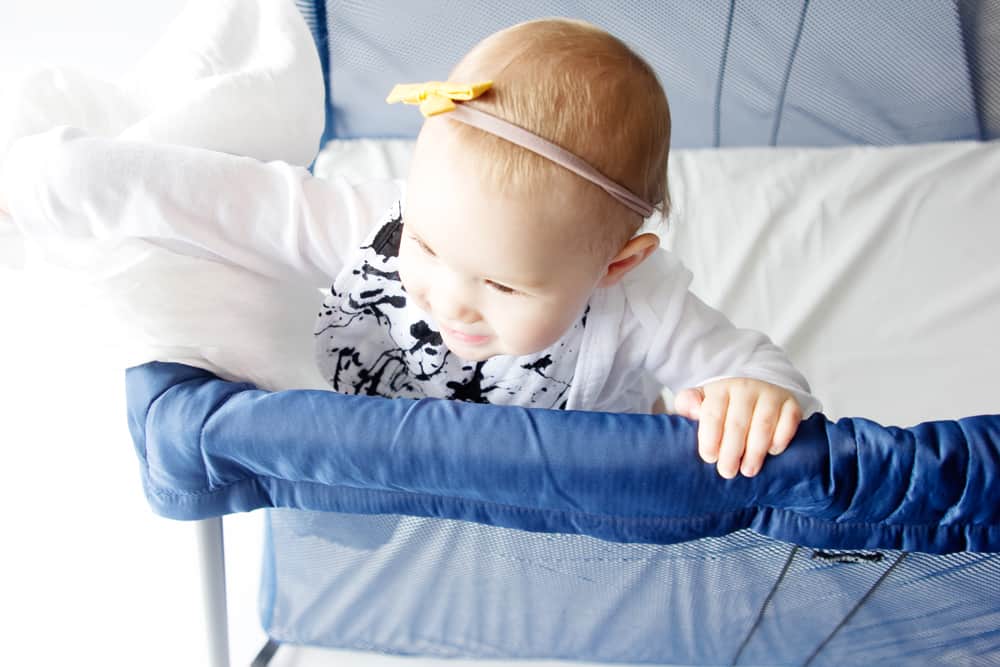
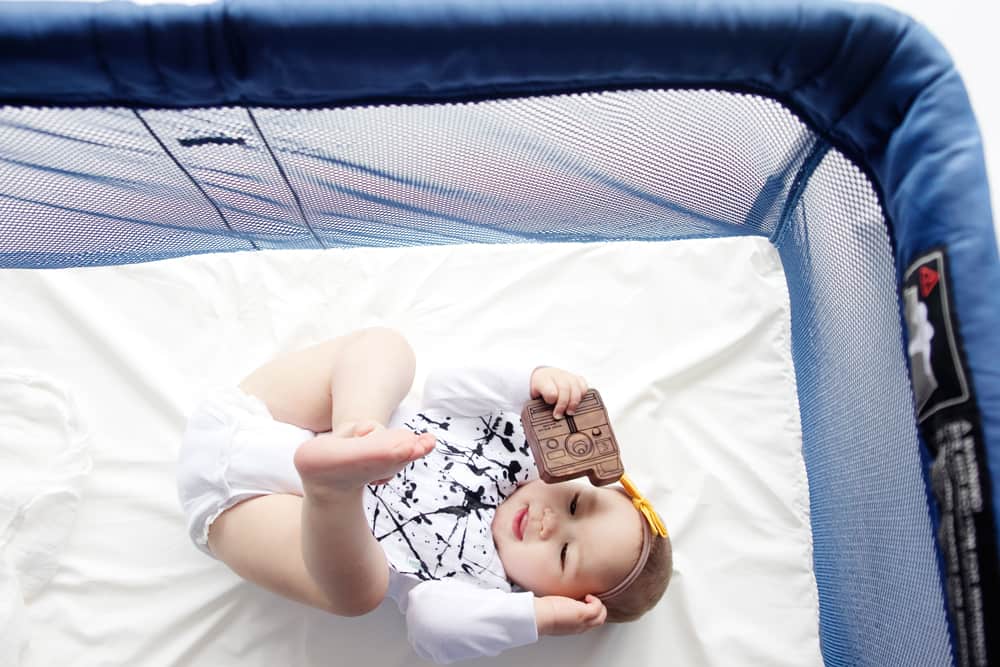
The Travel Crib Light (in Great Blue) is so different than our old travel crib. It was also design to flat pack, including a soft mattress that folds right into the carry case.
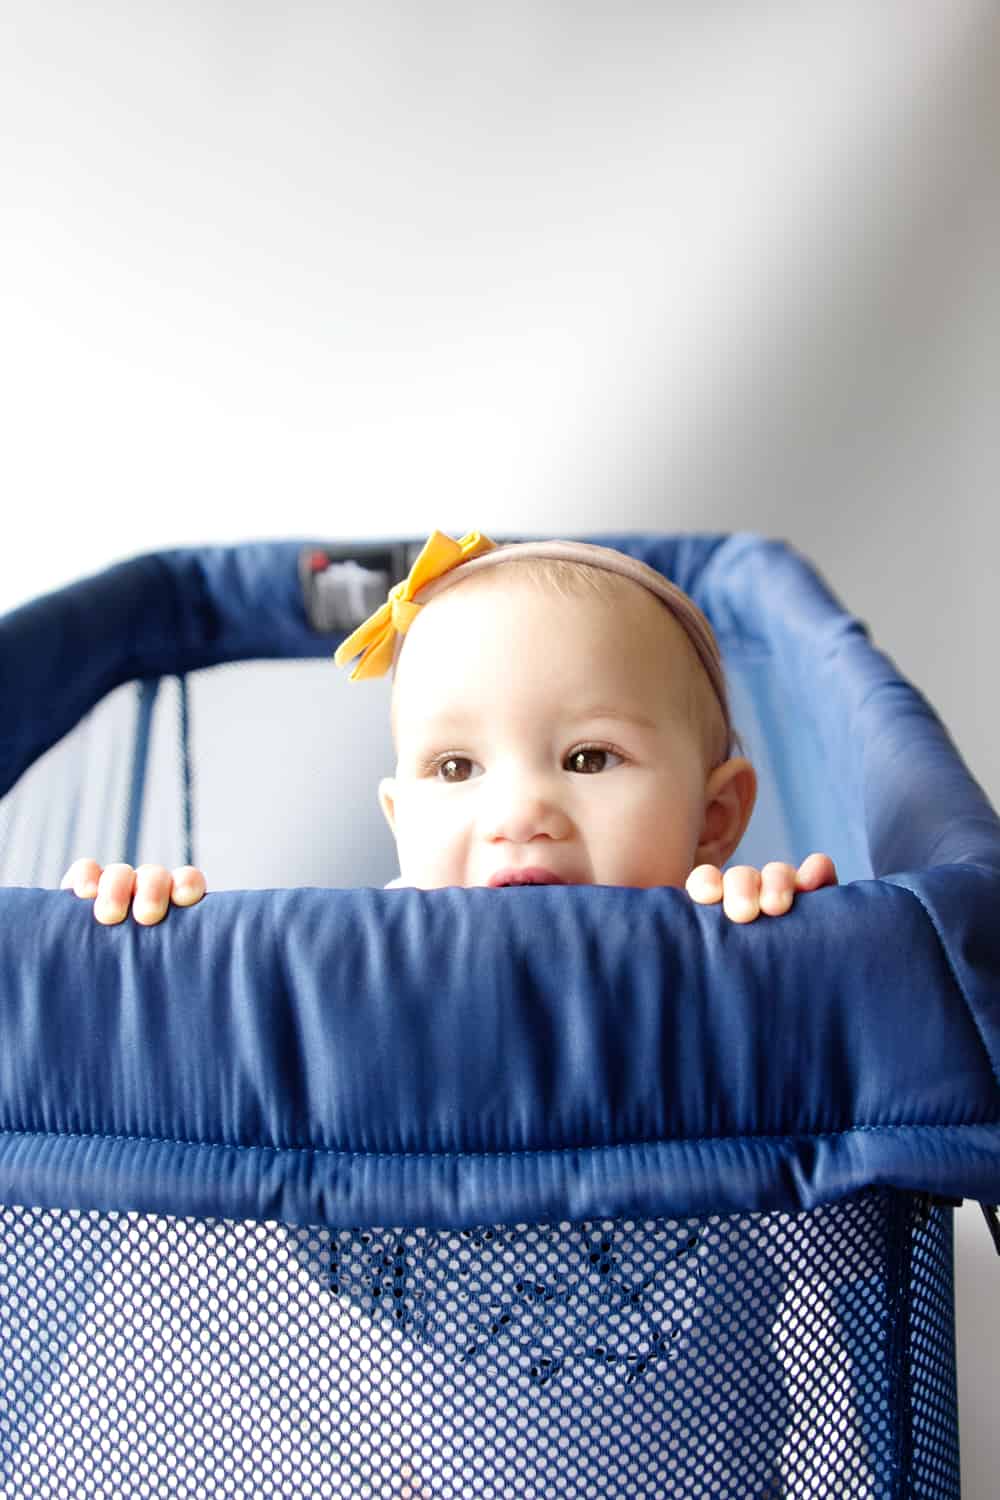
It’s totally amazing how little it folds down to, but mostly how easy it was to set up. I usually make my husband set things up (I can’t read manuals, too boring!) but I didn’t need to even read the manual to get this crib up in 5 minutes.
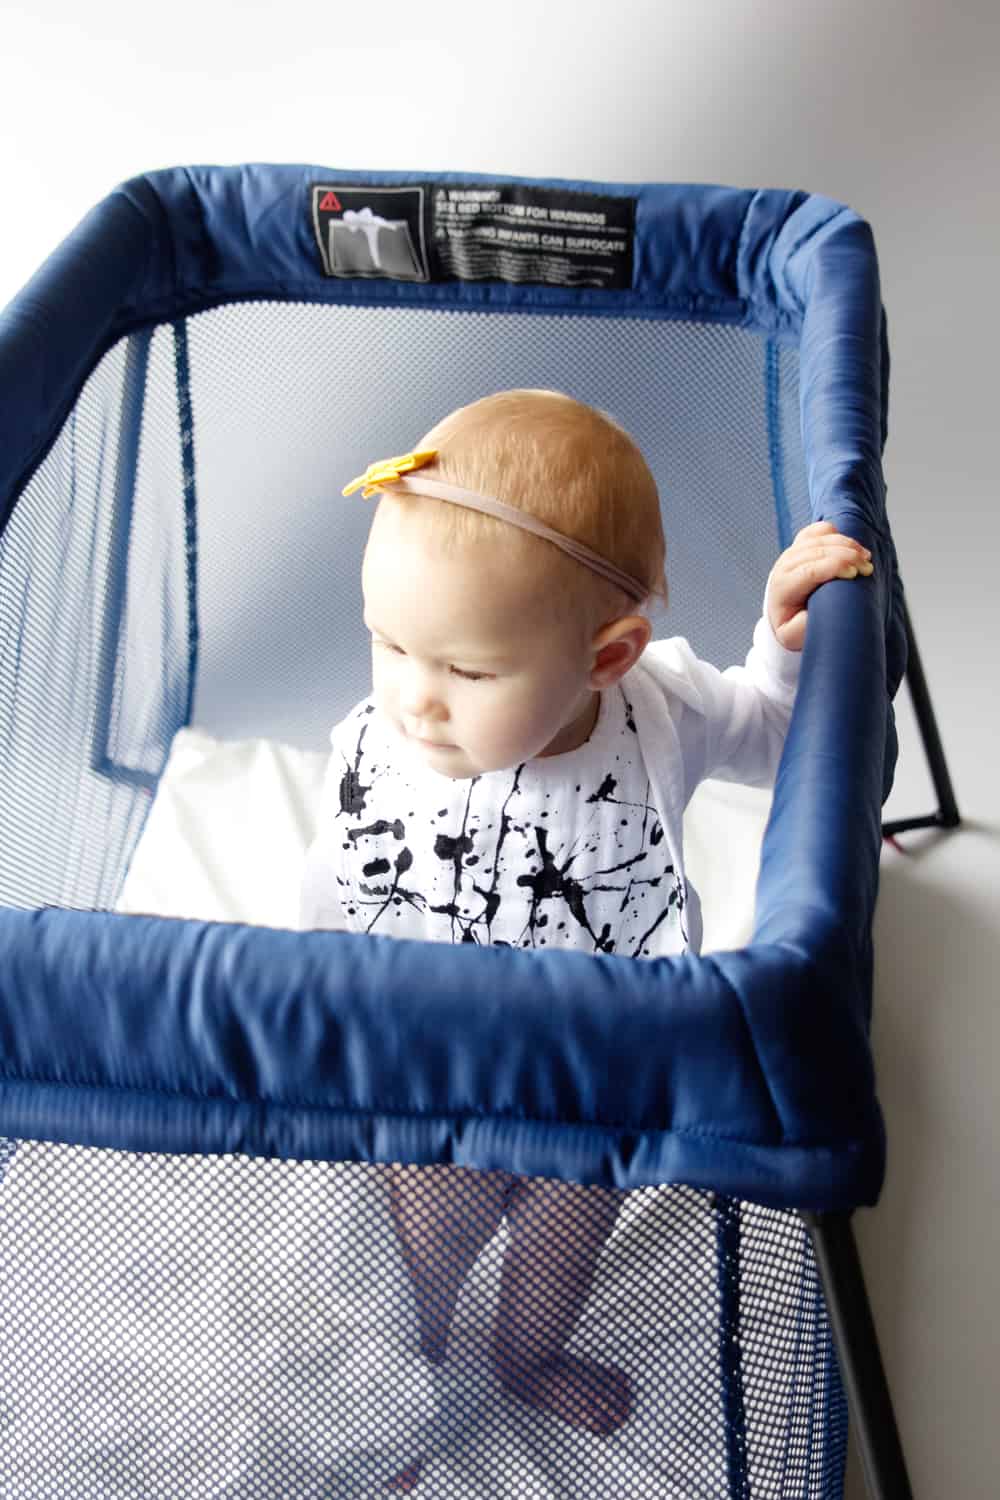
We are excited to take it to hotels and to also have an extra safe spot to put the baby at home. Safe from her rowdy siblings, that is. :)
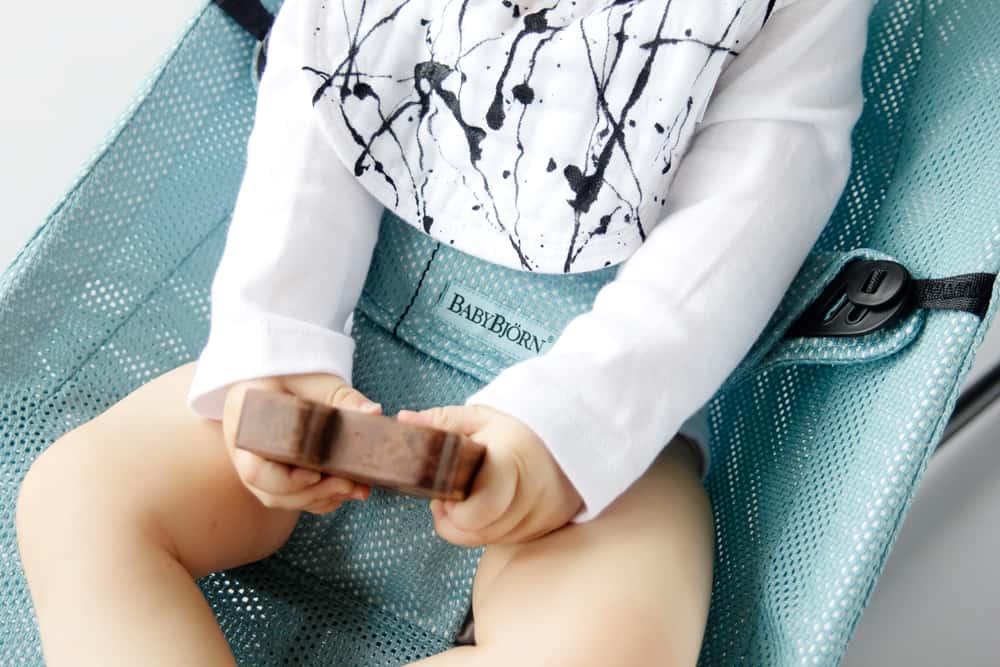
The best part about this collection is the minimalist color scheme that will really go with anything. No tacky kid designs, just chic and functional.
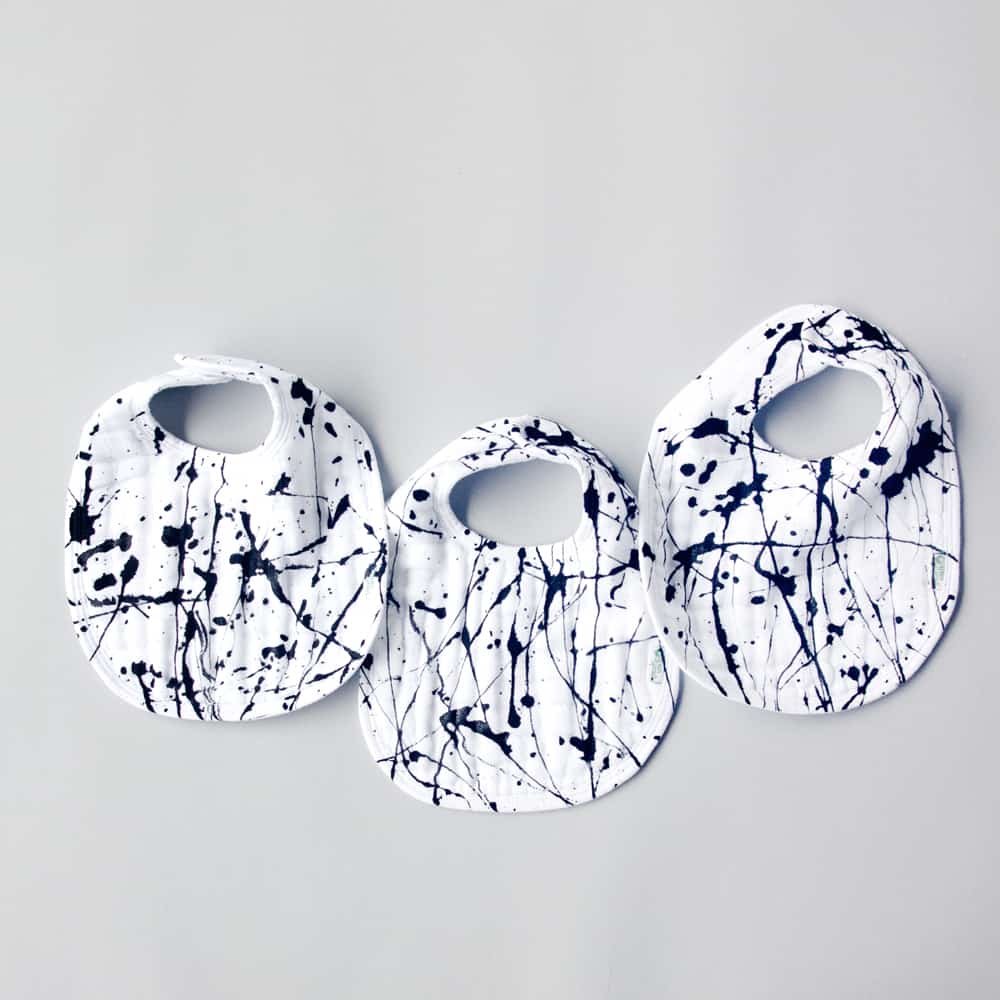
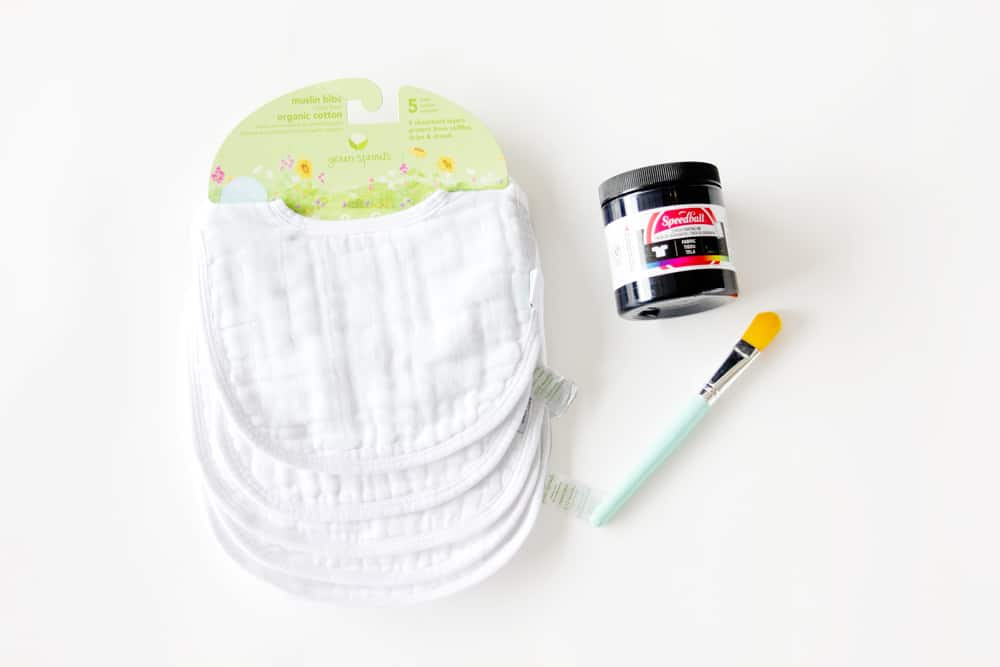
So to round out your chic and modern baby collection, let’s make some DIY baby bibs! I started with pre-made muslin bibs that are super soft and good for size 0-12M. But you can also make your own plain white bibs if you like sewing and then decorate them.
DIY Baby Bibs Materials:
Other Supplies:
-Large paper or newspaper to cover workspace
-Clean piece of cotton muslin for pressing
-Iron for pressing
Baby Bib Instructions
-Mix the ink with a little bit of water to get a better “splatting” consistency. The ink listed in the materials is water-based, so it will thin out with a bit of water.
-Do some practice splatting on your paper.
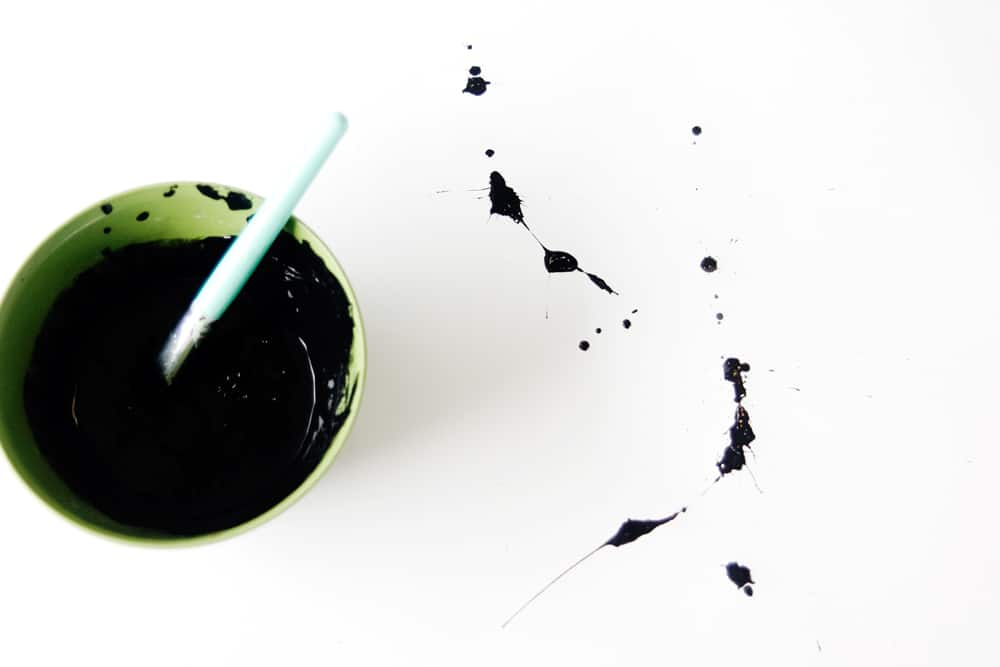
Unsnap your bibs and lay them all out on your work surface.
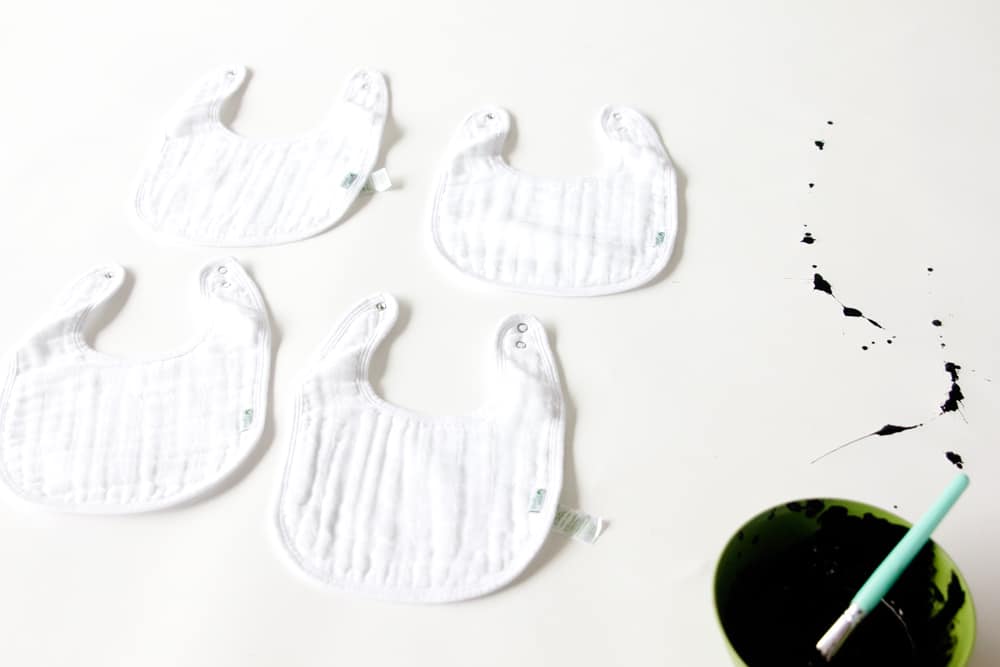
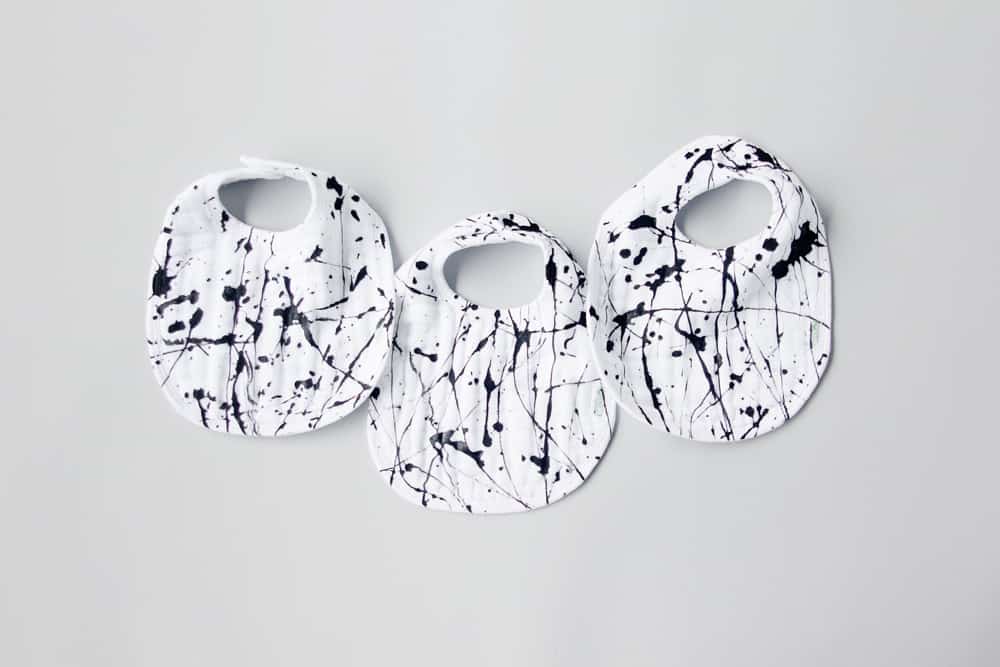
Then get splatting! There are no rules here, just dip your brush and fling paint all over the bibs and paper. You’ll figure out a technique as you go for getting good lines and blobs.
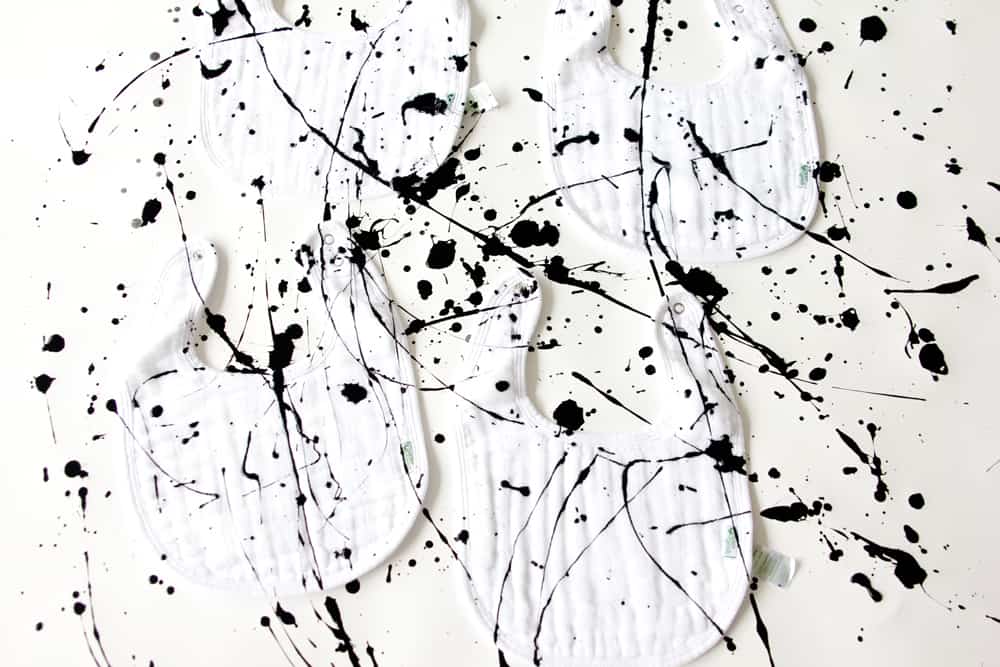
This is really a fun and satisfying project, so go crazy! You can do as much or as little as you want.
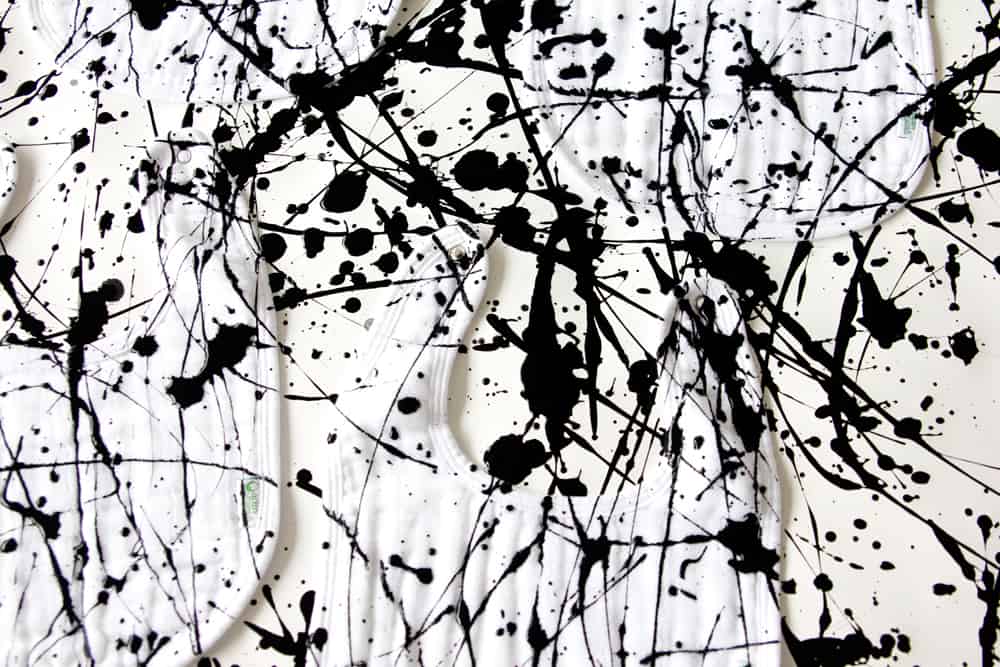
When you think you’re done, let the bibs dry. If you can leave them where they are to dry do that so you don’t smear any paint. Let them dry. This may take a day or two depending on how thick your splatters get. If you need to speed up the process, use a hair dryer.
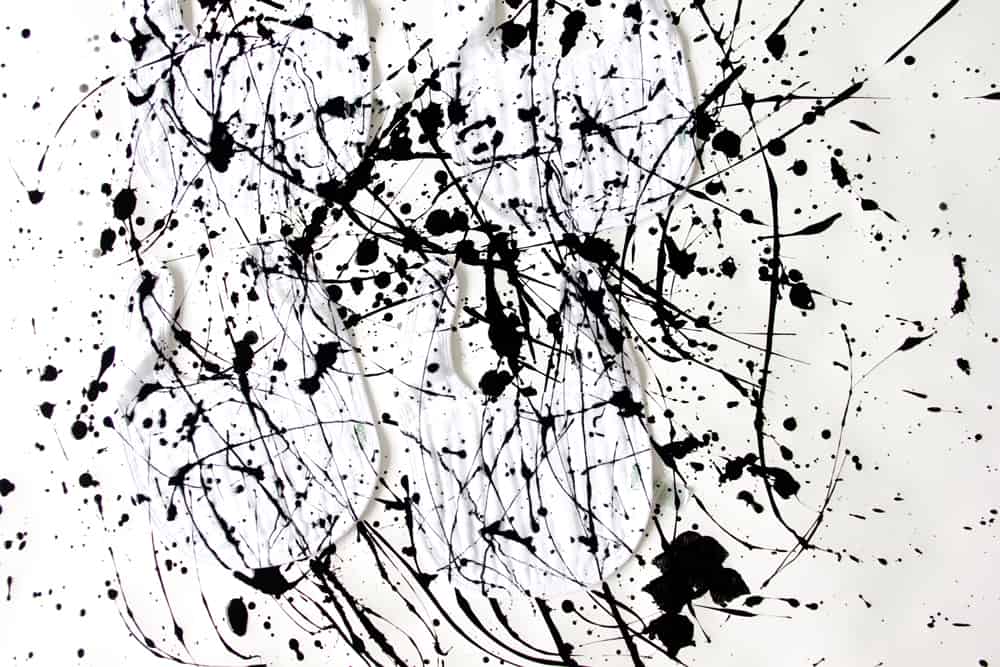
When they dry, lift them up and follow the instructions on the ink to heat-set the bibs. Use a press cloth (or a clean piece of cotton muslin) over the bibs to protect them as you heat-set the ink.
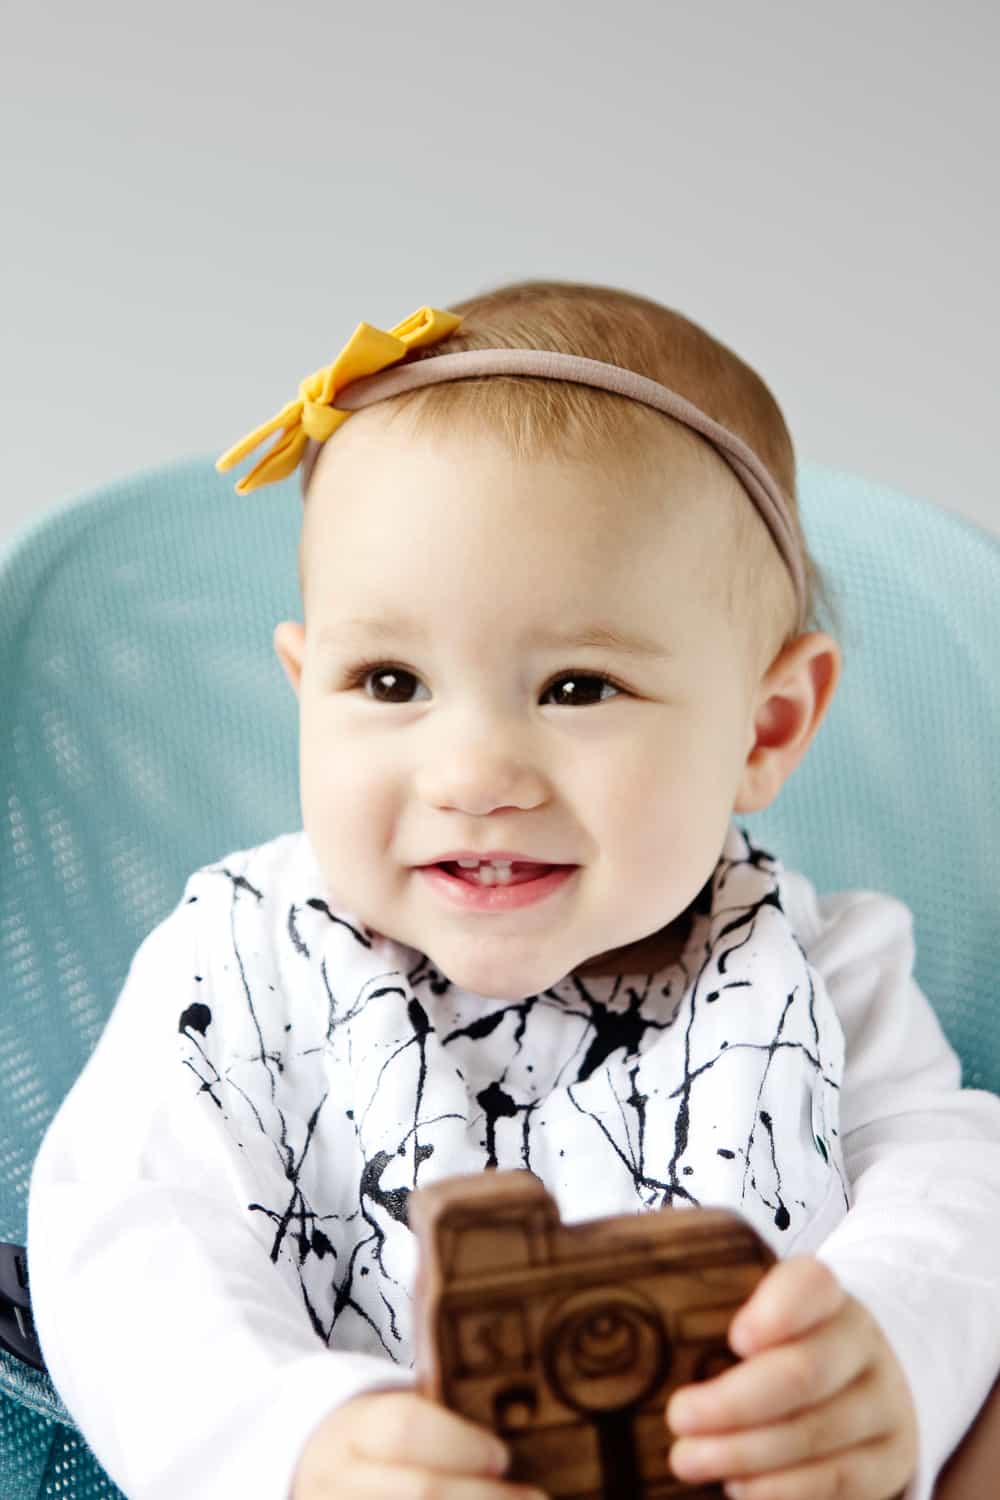
And you’re done! Snap your bib on and enjoy the paint splatters! These are extra great because food stains won’t show up as much!
For a quick variation on this project, use iron-on vinyl with these instructions! This is a great baby shower project!



Oh my goodness! Those bibs are super cute! And that baby rocker is just great! I wish it was around when I had babies!
This is to to cute! I love the paint splatters! Also…every time I see all this new baby equipment come out, I’m jealous I didn’t have all my babies a decade later. Looks really slick!