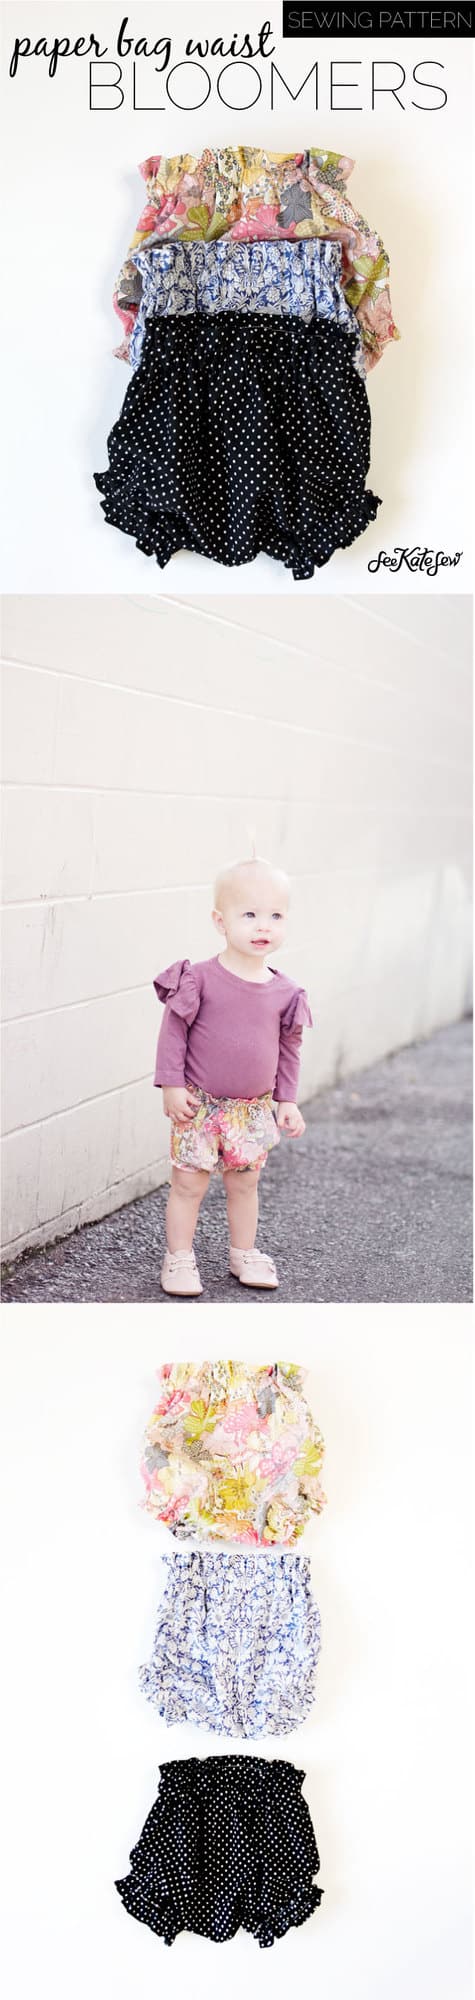
This paper bag waist baby bloomers pattern is sponsored by Fabric.com.
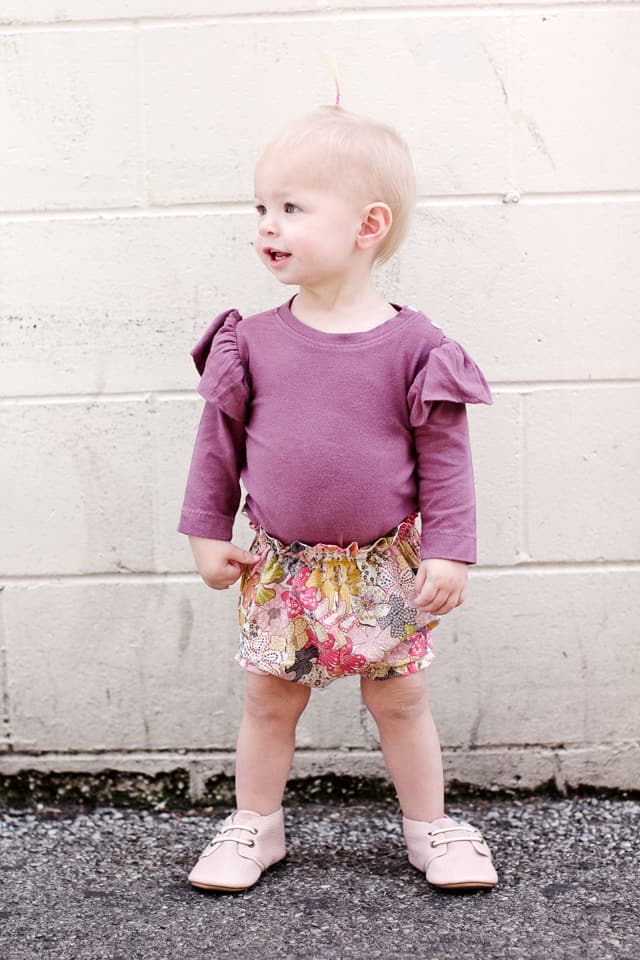
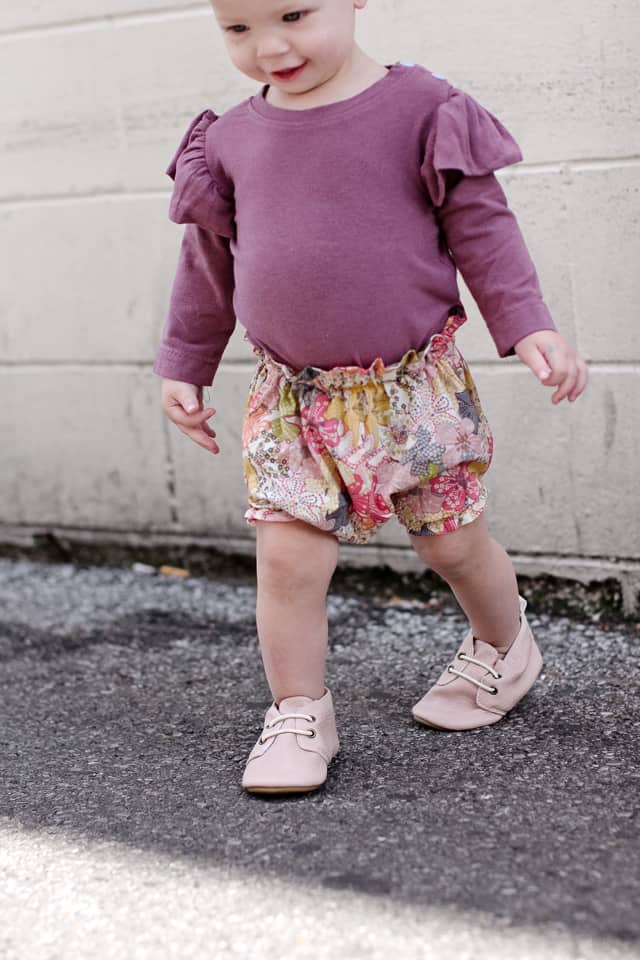
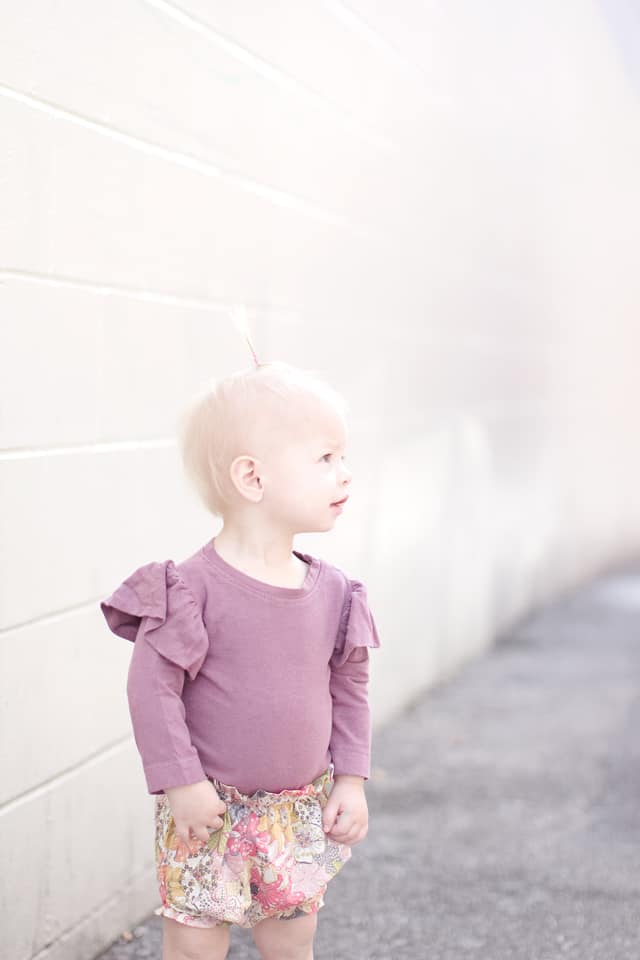
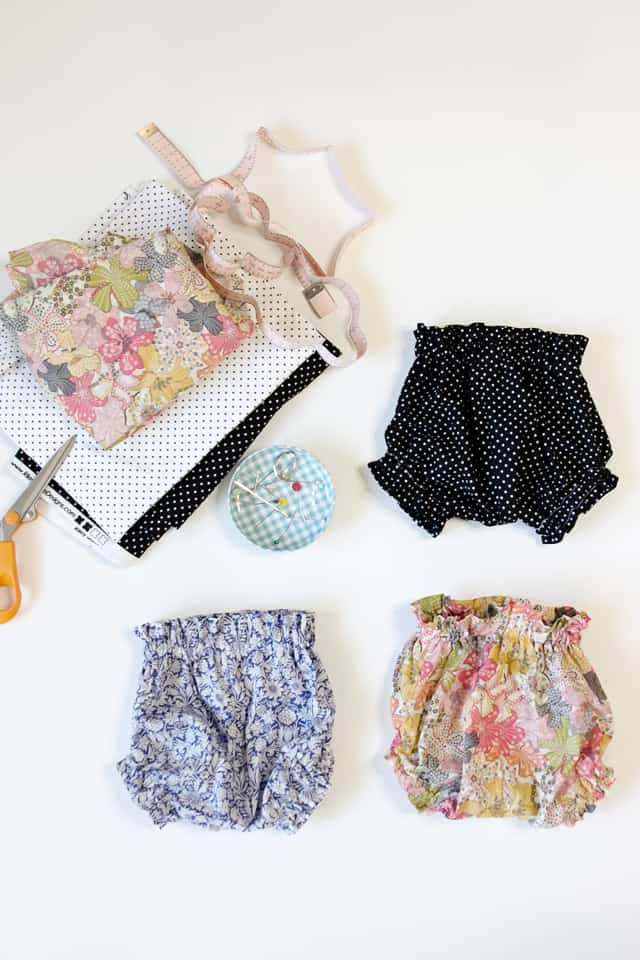
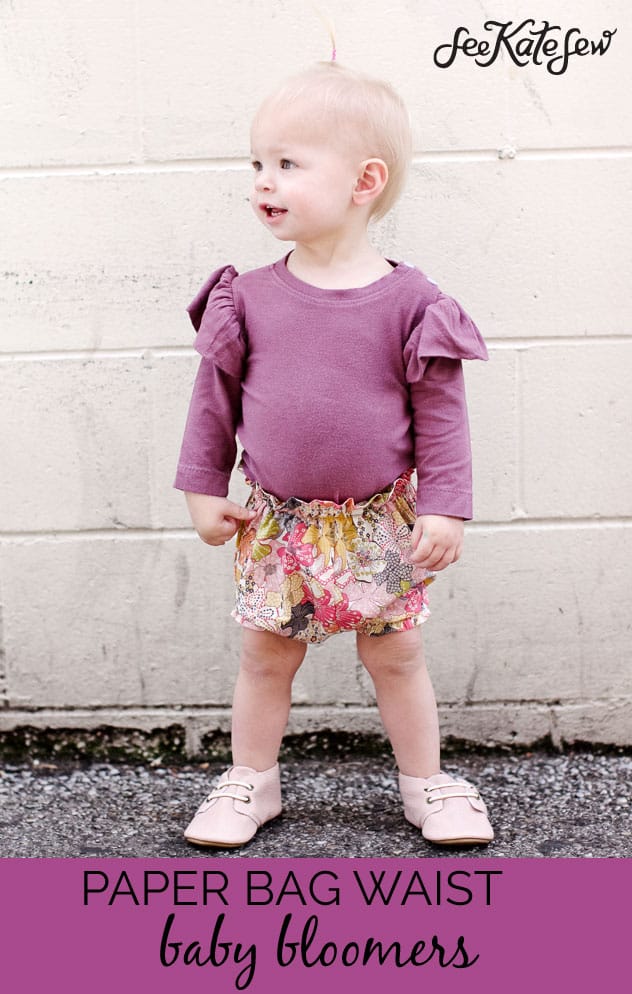
Cue the ruffles! Baby bloomers just never get old! I love them in the summertime with a simple onesie and I love them in the winter with tights underneath! Classic and essential for any baby girl. I partnered with Fabric.com for this post because I love their selection of cottons. They have every single solid, every single floral and everything in between!
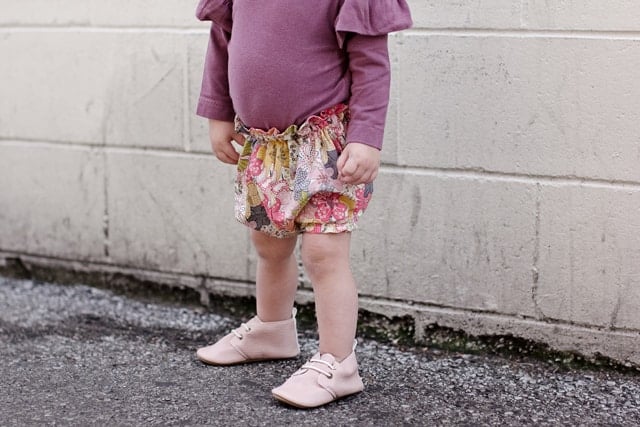
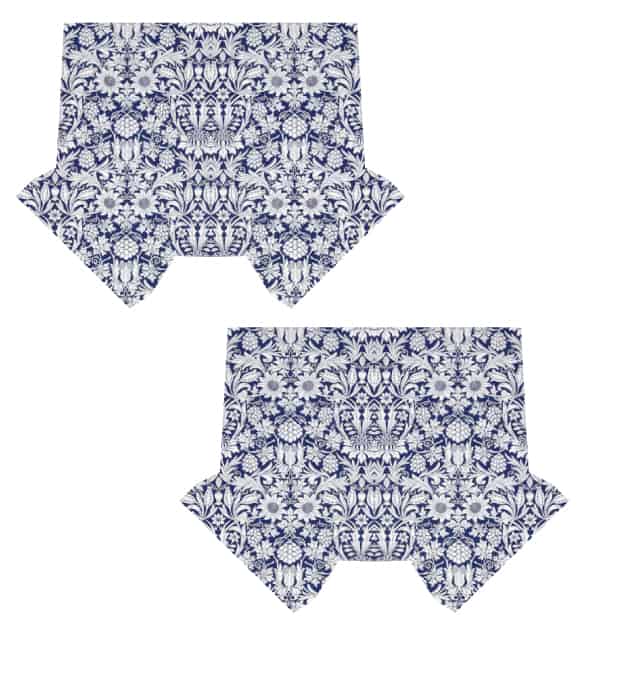
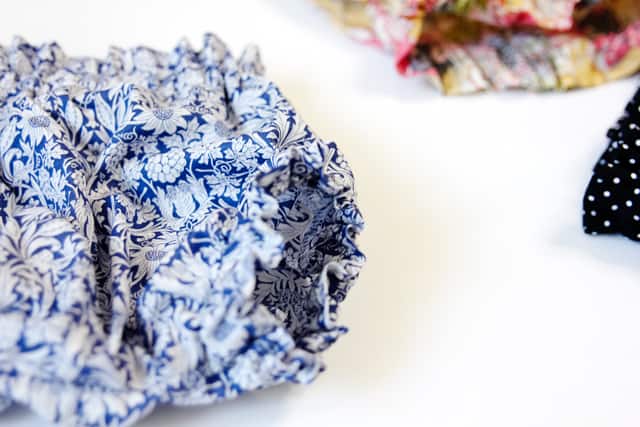
This pattern has a ruffle waist, like a paper bag waist and sweet little ruffles at the leg openings. They are balloony shorts that are easy to get on and off and perfect in colorful cottons. They are fast to sew, also, which makes them extra fun! You’ll be sewing them up assembly line style for baby gifts or your own baby! I included a modification to take out the ruffles and make simple shorts suitable for a little guy, too!
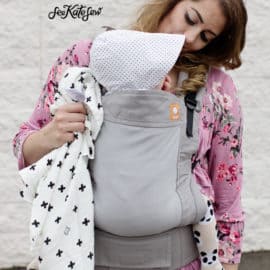
The onesie she’s wearing is a Ruffle Sleeve Onesie! I’m thrilled that she is finally growing out of it! Don’t you love her little belly chub?
Okay, okay, enough baby pics! Let’s get sewing!

Materials for Baby Bloomers
(6-9M size)
- or PAPER BAG BABY BLOOMERS.svg (for cutting with the Cricut Maker)
–1/4″ elastic for leg openings
-1/2 yard Liberty Cotton Lawn or Riley Blake Dot + Swiss
Cut your elastic //
Waist: 14″-16″
Leg openings (2): 7″-9″
Your elastic length will depend on how chubby the baby! My little girl is little so I chose the lower end of each range.

Instructions //
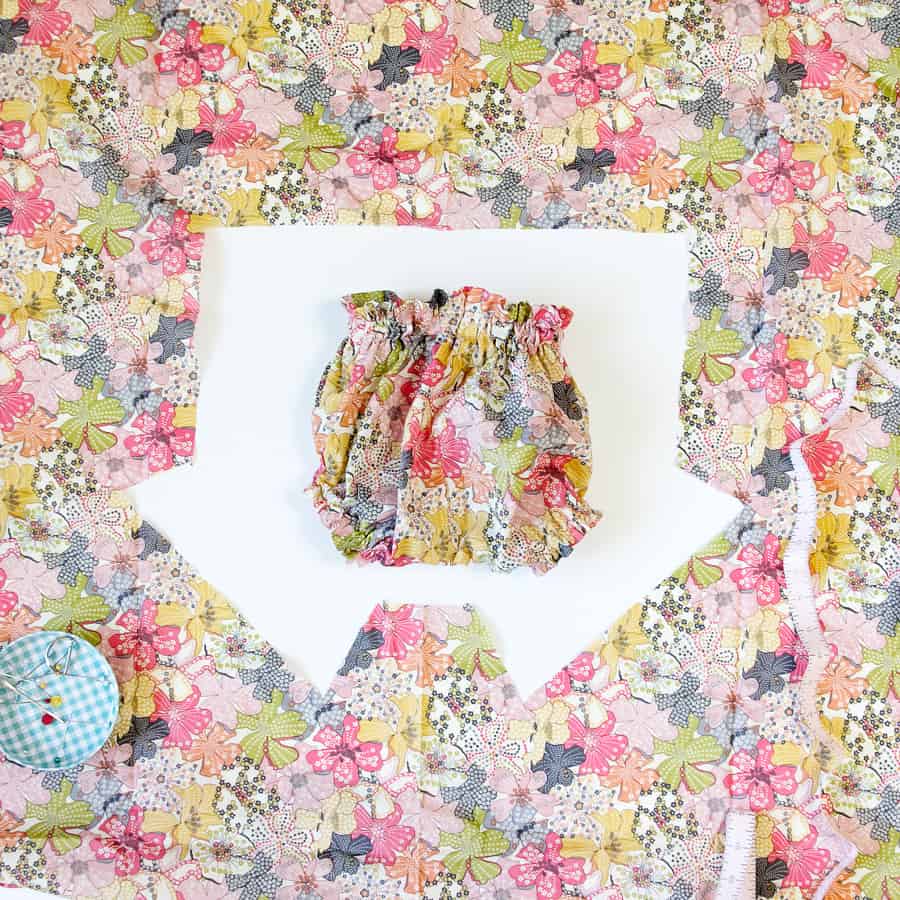
Print the pattern pieces out at 100% (DO NOT SCALE!). They will print out on 3 pages. Trim the borders and tape together along the dotted lines. They will go together like this:
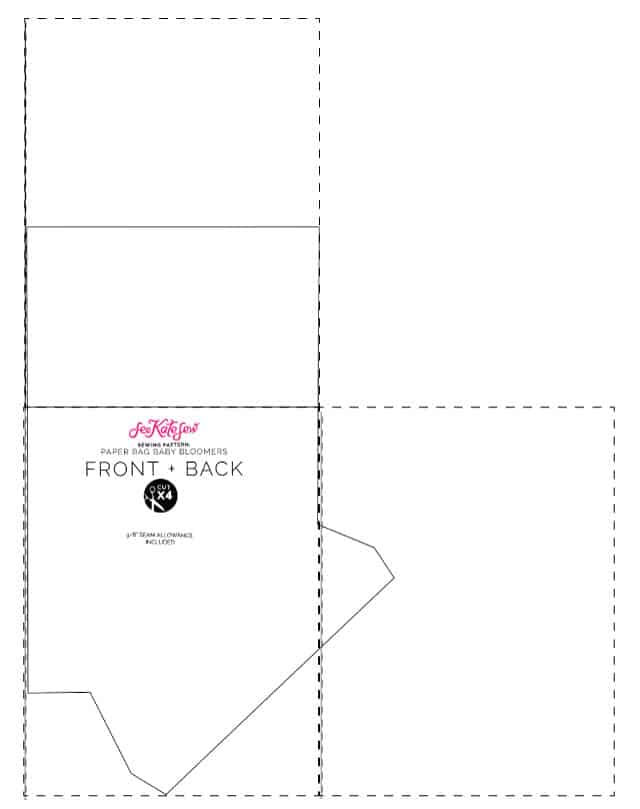
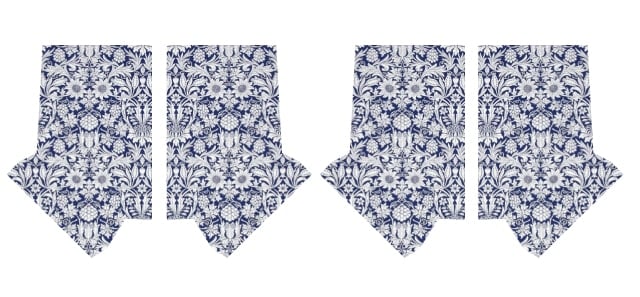
Cut 4 layers of cotton using pattern piece. If you’re using the Cricut Maker to cut the fabric, cut 2 layers as is and 2 layers “mirror image”.
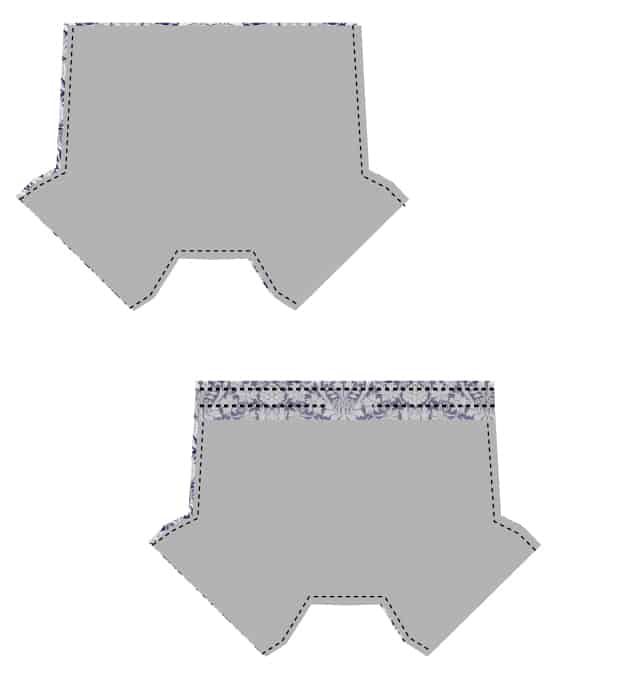
Sew fronts together and sew backs together with right sides together.
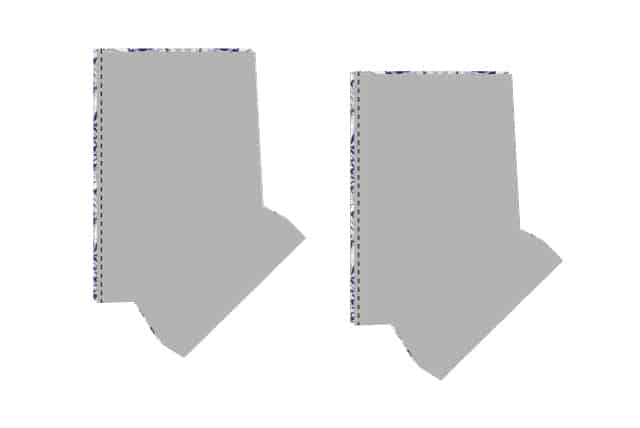
Finish seam and press open.
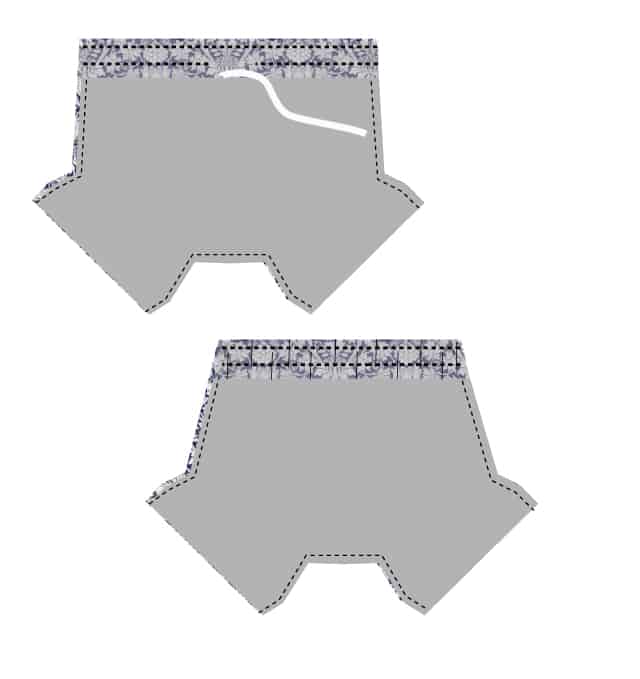
Place the two pieces right sides together and sew the side and crotch seams. (3/8″ seam allowance) Finish seam allowance.
Fold over 2″ at the top of the bloomers. Press well.
Sew 1/2″ from the top of the bloomers, all the way around. Make a second stitch around 3/4″ from the first stitching line to create a casing for elastic. Leave a 1-2″ opening to thread the elastic through.
For a non-ruffle modification, create the casing using only 1 line of stitching 3/4″ from the top of the bloomers. This will take out the ruffle and make it a simple pair of gathered bloomers. Do the same for the leg openings.
Sew the ends of the elastic together, making sure it lays flat and isn’t twisted. Tuck the elastic into the casing and finish sewing the casing closed. Backstitch at each end.
Repeat to create casings at the leg openings. Fold under 1″ on each leg opening and press. Sew at 1/4″ and 3/4″ from the folded edge for the 1/4″ elastic casing. Sew elastic together and finish casing.
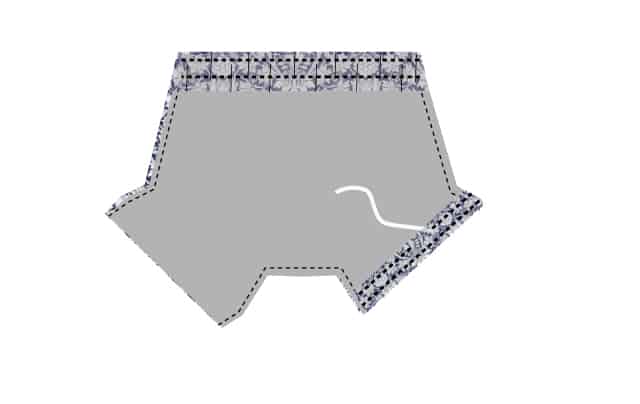
Repeat for second leg opening. Trim threads and you’re done!


What size are these for?
Thanks for the bloomer pattern! What size would you say these are?
What age would you say they would fit ?
what size range is the pattern for? is there a way to size the pattern?
Yes I love her little belly chub. Adorable !
Is there no back or front??
These are cute little baby girl bloomers! Would love to make these with my cricut and sewing machine for part of a baby shower gift!