• Skip to main content
  • Skip to primary sidebar
  • Skip to footer
  • Blog
  • About
  • Contact
  • FAQ
  • Sponsor

see kate sew

sewing, crafts, tutorials, DIY

  • Patterns
    • Free Patterns
    • Pattern of the Month
  • Tutorials
    • Accessories
    • Bags and Pouches
    • Clothing
    • Costumes
    • Crafts
    • Cricut Projects
    • Holiday
    • Household
    • Kids
    • Maternity
    • Quilting
  • Topics
    • Baby
    • Boy
    • Christmas
    • dog
    • Dolls
    • Easter
    • Girl
    • Halloween
    • Lookbook
    • Party
    • pet
    • Printables
    • Training
    • women
  • No Sew
  • Sewing 101
  • Sew4Good
  • Pet
  • Sewing Room
    • DreamBox
  • Reviews
Home
  • Patterns
    • Free Patterns
    • Pattern of the Month
  • Tutorials
    • Accessories
    • Bags and Pouches
    • Clothing
    • Costumes
    • Crafts
    • Cricut Projects
    • Holiday
    • Household
    • Kids
    • Maternity
    • Quilting
  • Topics
    • Baby
    • Boy
    • Christmas
    • dog
    • Dolls
    • Easter
    • Girl
    • Halloween
    • Lookbook
    • Party
    • pet
    • Printables
    • Training
    • women
  • No Sew
  • Sewing 101
  • Sew4Good
  • Pet
  • Sewing Room
    • DreamBox
  • Reviews

05.23

photoshop elements: eye boost tutorial

Welcome to See Kate Sew! If you’re new here, sign up for my email newsletter for access to free patterns, tutorials and all the latest sewing news! Tour my sewing room HERE!

Messing with eyes in photoshop is probably the most trendy thing to do right now and there are lots of ways to do it. Here is the way I usually add some contrast and boost. I did this in Adobe Photoshop Elements, but you can also do it in CS versions. Ready? 


> Open File

 Layer>Duplicate Layer… (Command + J)
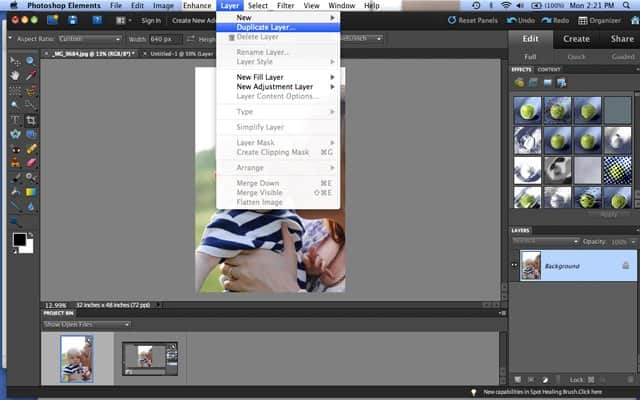
 Click okay

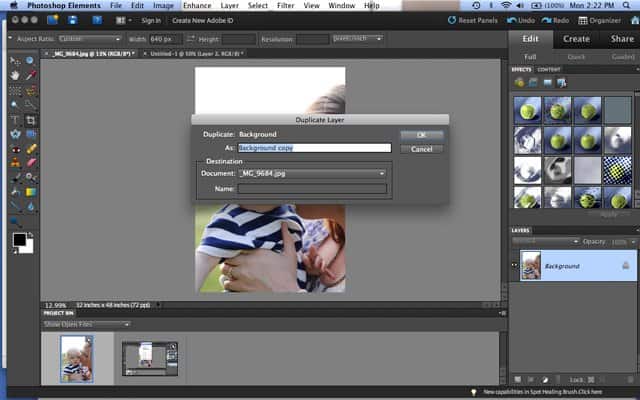
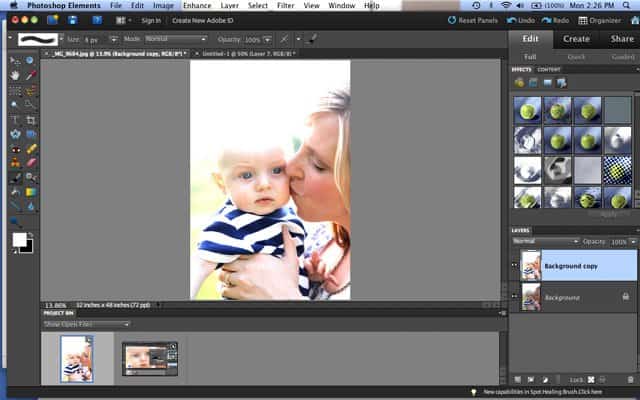
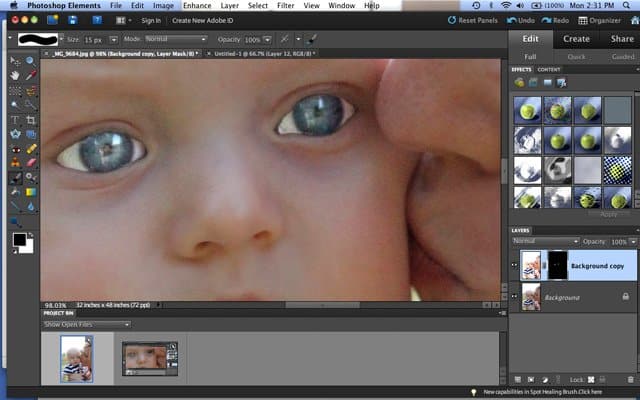
 Now you’ll have two identical layers:

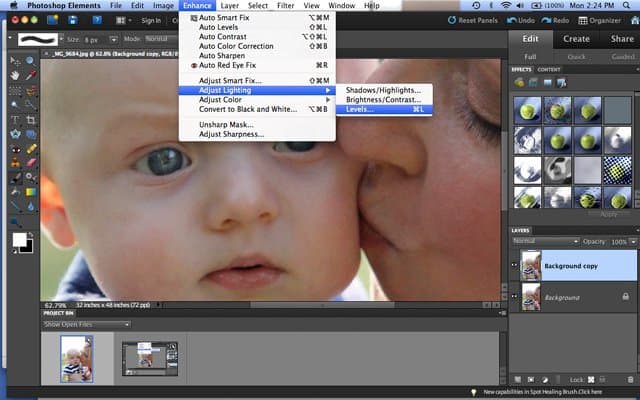
 Zoom in a little so you can see the eyes, then adjust the Levels on your new layer.


Enhance>Adjust Lighting> Levels

 Looking ONLY at the eyes (Don’t worry about what the background is doing) lighten and darken your eyes as desired. I always pull the little white triangle on the right pretty far to the left and pull the little black triangle on the left just a tad to the right. This adjusts the amounts of black and white in your image and helps boost contrast. 

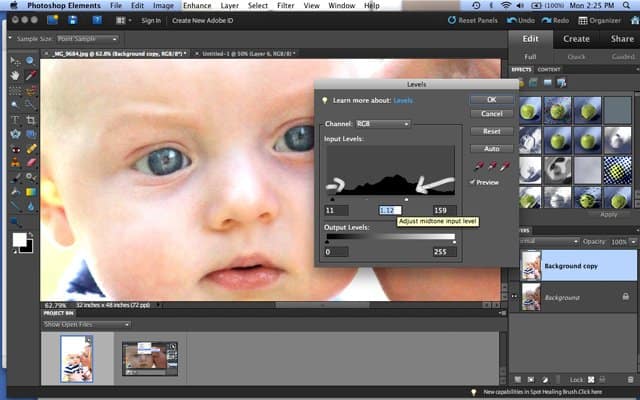
 Once you have your levels where you want them, click okay. If you zoom out your photo will be way overexposed, but don’t freak out! 

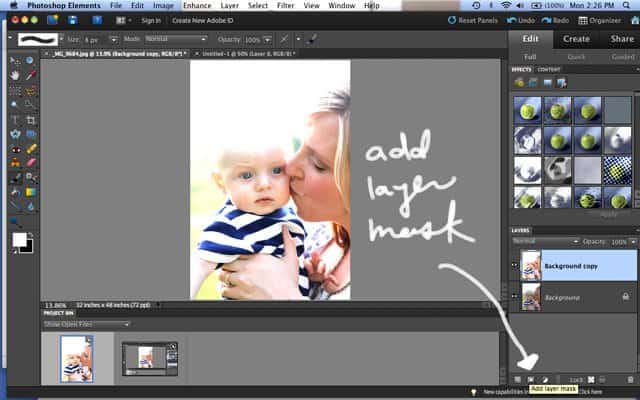
 Now, with the top layer highlighted, click on the little rectangle with a circle in it to add a layer mask.

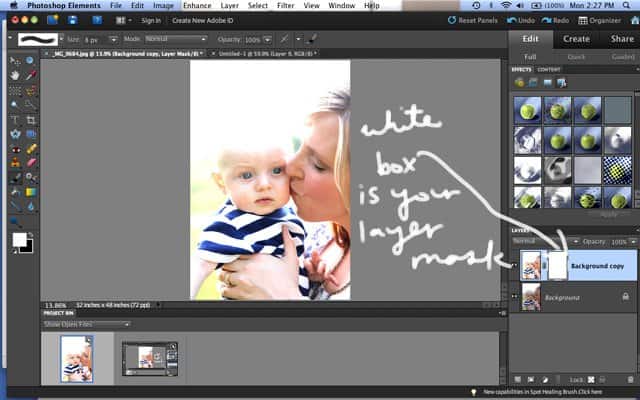
 The layer mask will come up as a white box on the right of your layer.

 Command + I will inverse the box, making it black and erasing the levels adjustments you just made.

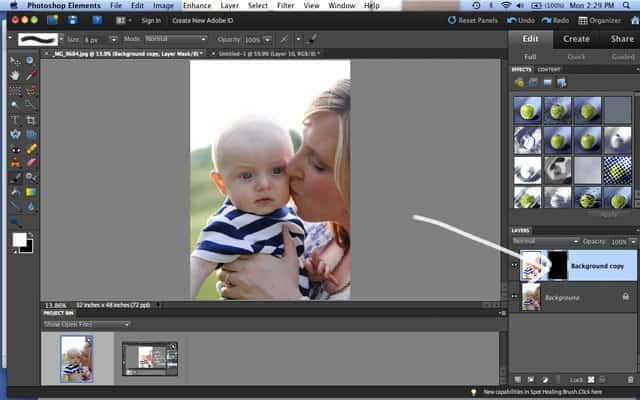
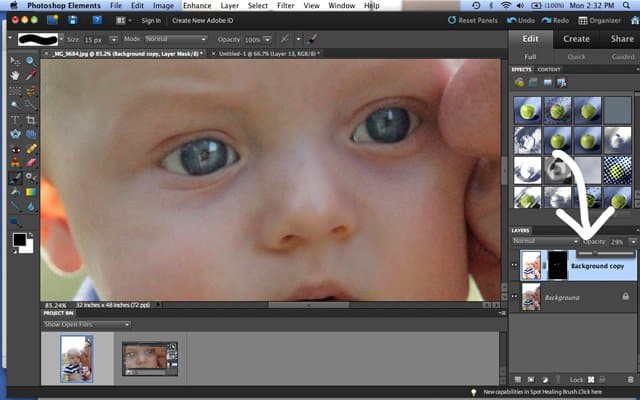
Now paint over the eyes with a white paintbrush to reveal the levels changes only where you want them.

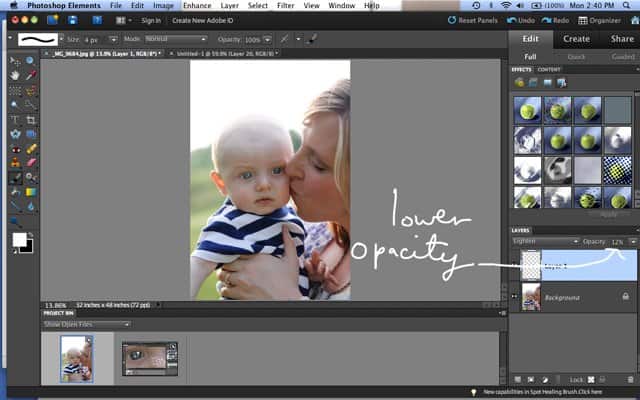
 Adjust the opacity on the layer so you don’t have an alien baby! 

 Nice! 

 Now flatten the image. There are a few more little things you can do to make the eyes pop even more.


First, create a new layer

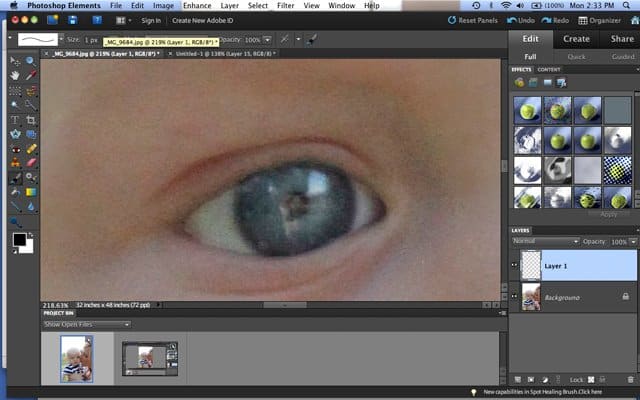
With a thin black paintbrush outline the rims of the eye. Lower the opacity. Flatten. Then do the same with white over the highlights.

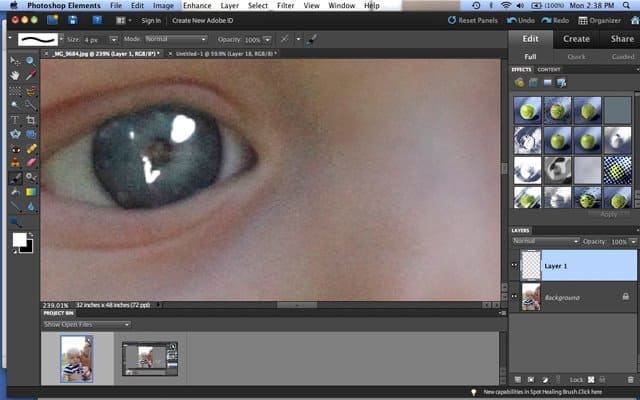
 Set the layer blending mode to lighten and lower the opacity to make it look more realistic. 

 Flatten the image again and you’re done !


Pretty little baby eyes! 


Did you enter the Photoshop Elements Giveaway yet? Do it! 

5 Comments | Tutorials

Exclusive Free PatternRuffled Apron

Sign up for my email newsletter and receive my ruffled apron pattern totally FREE!

We take your privacy seriously. See our privacy policy here. Unsubscribe at any time.

You may also like these posts...

kcwc day 3: knit pinaforeFREE stuffed bunny patternFree Bunny Softie Patternruffles 2012 guest: kojo designsSewing a Quilthow to make a weighted blanket

Reader Interactions

5 Comments

  1. Tricia

    05/23 at 2:05 PM

    Great tutorial. I haven’t done much with layer masks, so new information is greatly appreciated. Thanks Kate.

  2. Truebluemeandyou

    05/23 at 3:17 PM

    I have a bunch of quick and dirty fixes for photoshop on YouTube (not under this name) and I use the screen layer to accomplish the same thing (adjusting the opacity so the whites of the eye aren’t too white) and then mask it out like you did. I love using the screen layer as an adjustment tool because it can be as subtle as adding a little sparkle to eyes or blowing out an entire photo to get an “editorial” or the ever present Scandinavian look.

  3. Creations By Cindy

    05/23 at 3:52 PM

    Beautiful baby and beautiful eyes! Hugs and blessings, Cindy

  4. Madalynne

    05/23 at 4:57 PM

    This is great! I never thought to look at the eyes but now you have opened my eyes to something new :)

  5. Wardrobe Girls

    05/23 at 11:04 PM

    what a great tutorial! thanks for sharing.

    xo,

    wardrobe girls

    http://www.wardrobesimetandliked.com

Primary Sidebar

  • Facebook
  • Twitter
  • Instagram
  • Pinterest
  • Email

Exclusive Free PatternRuffled Apron

Sign up for my email newsletter and receive my ruffled apron pattern totally FREE!

We take your privacy seriously. See our privacy policy here. You can unsubscribe at any time.

Don’t miss these popular posts!

easy baby dress pattern for the summertime

easy baby dress pattern for the summertime

modern ombre + b/w triangle quilt tutorial + pattern

modern ombre + b/w triangle quilt tutorial + pattern

Fabric

Quilted Cosmetic Case Kiss Me KateKiss Me, Kate FabricOne Hour Granny Square Quilt Tutorial | See Kate SewModern Granny Square Quilt Whole Cloth

Pattern Hacks

Easy Baby Summer Dressthe EMMA pattern | See Kate SewThe EMMA Dress

Footer

Hello friends!

My name is Kate, a twenty something fashion lover and mother of two. When I’m not chasing kids you can find me at my sewing table or daydreaming up new designs. You can read more about me here. Thank you for visiting!

8a918f8da8e0e69102dc0f33a718de85a99c31a57283e0e3e2

FOLLOW ME HERE

  • Facebook
  • Twitter
  • Instagram
  • Pinterest
  • Email
  • Blog
  • About
  • Contact
  • FAQ
  • Sponsor

Copyright © 2023 See Kate Sew  •  All Rights Reserved  •  Privacy Policy  •  Site Design by Emily White Designs