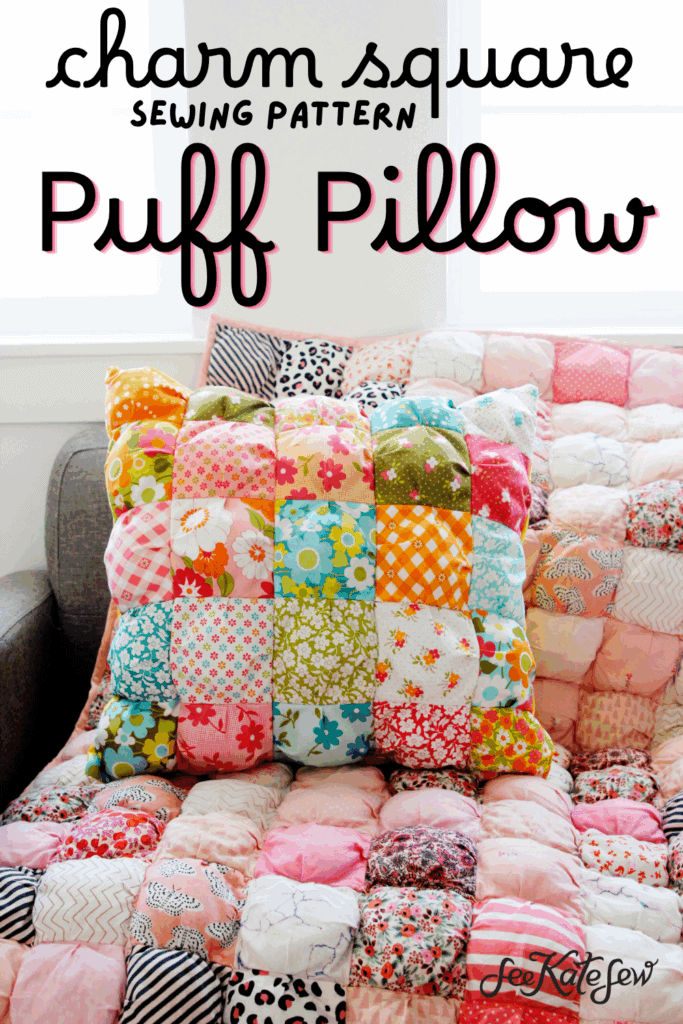
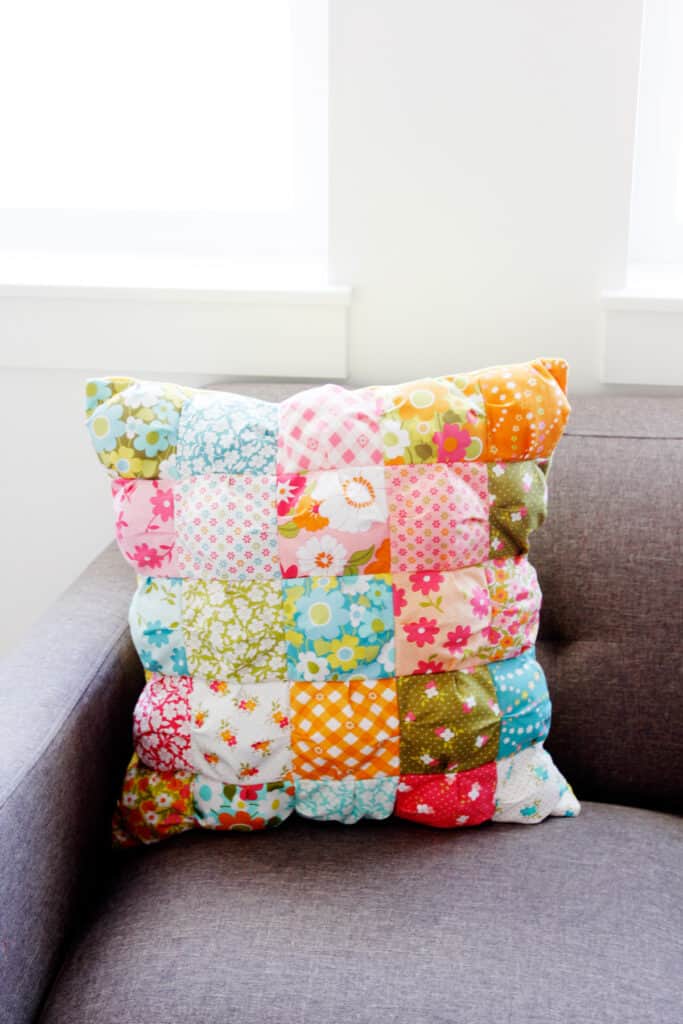
Puffy projects are so fun and cozy! This puff pillow sewing pattern is a great way to get into the puff and makes the perfect statement pillow!
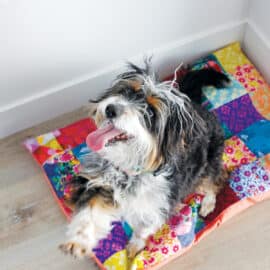
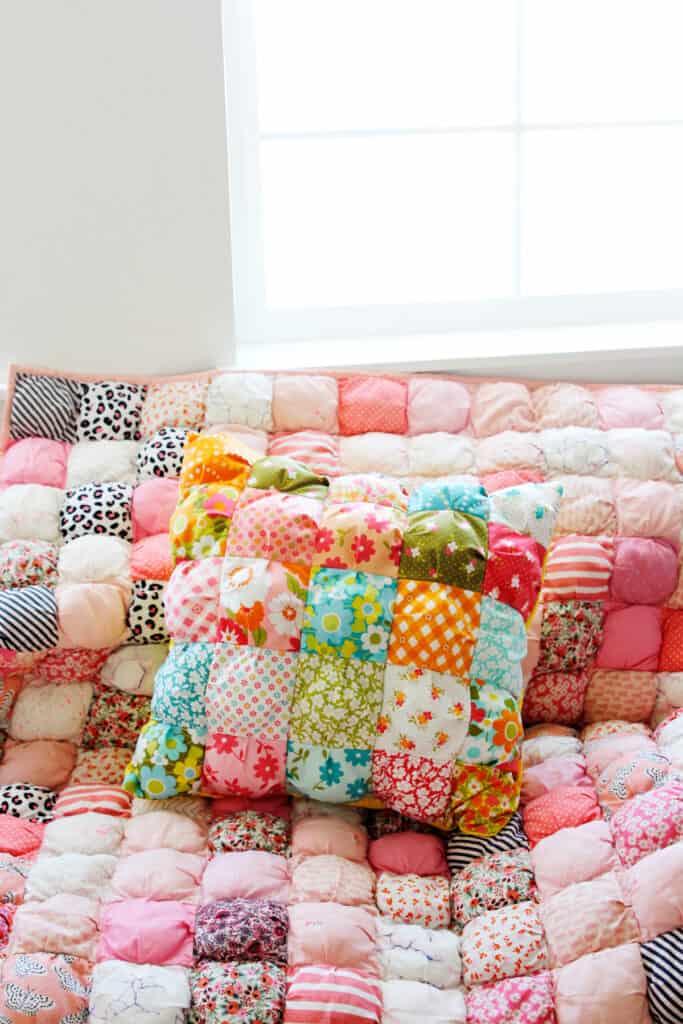
The best part — this project starts with charm squares! This is a spin on the puff quilt pattern – make one to go with the pillow!
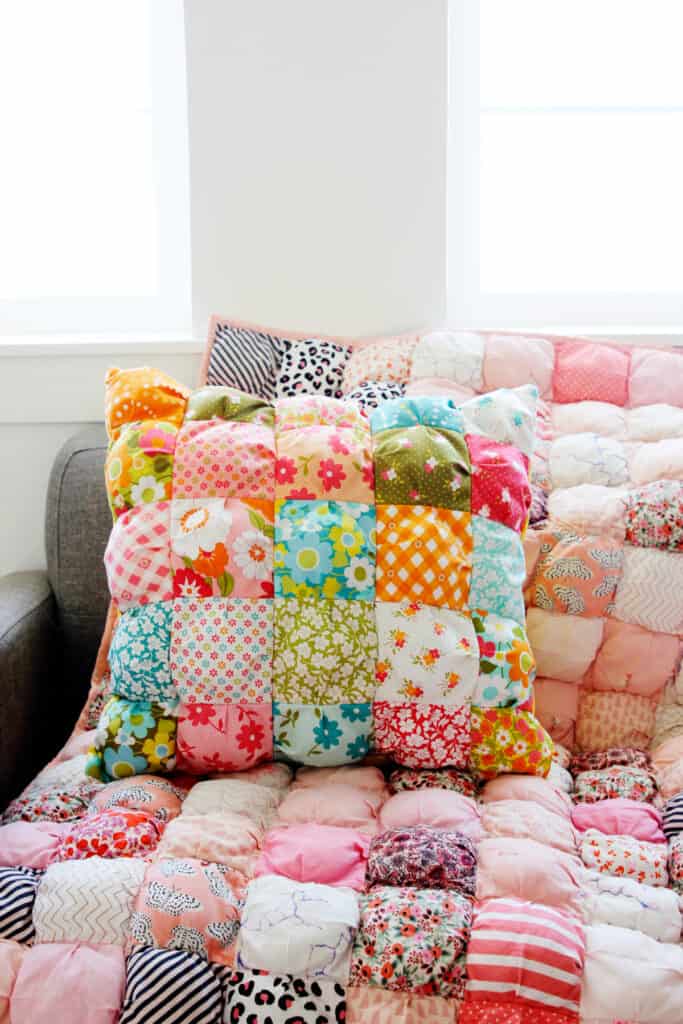
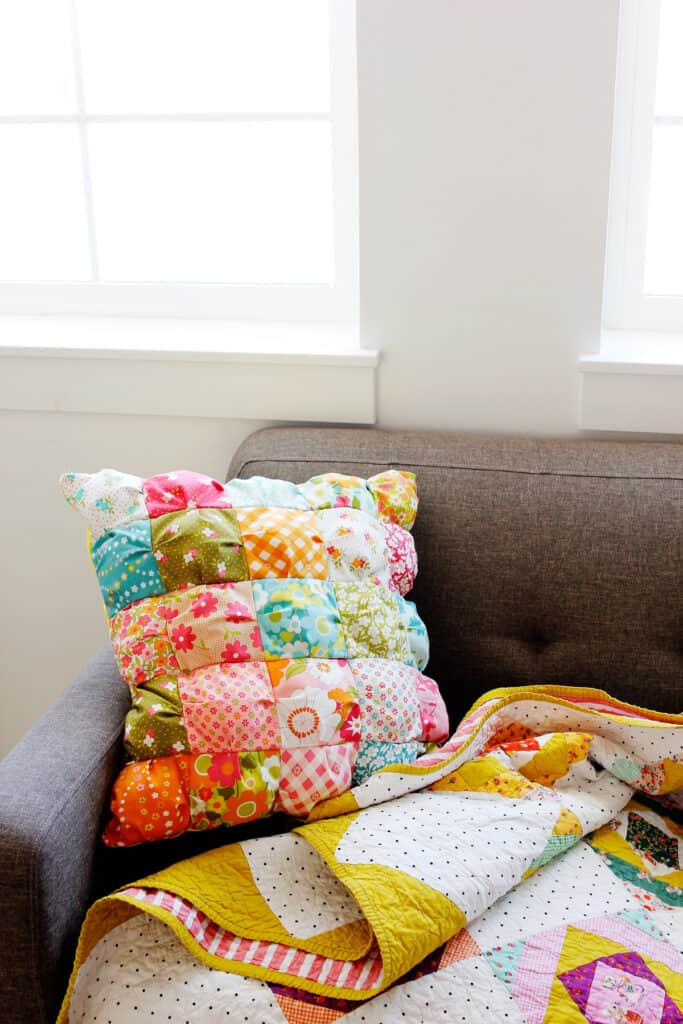
Doesn’t this look like the coziest spot to read a book!
Puff Pillow Materials
- 25 charm squares
- 1/2 yard fabric for base squares
- 3/4 yard quilting cotton for back
- Fiberfill stuffing
- 20″ pillow form
Puff Pillow Sewing Pattern Instructions
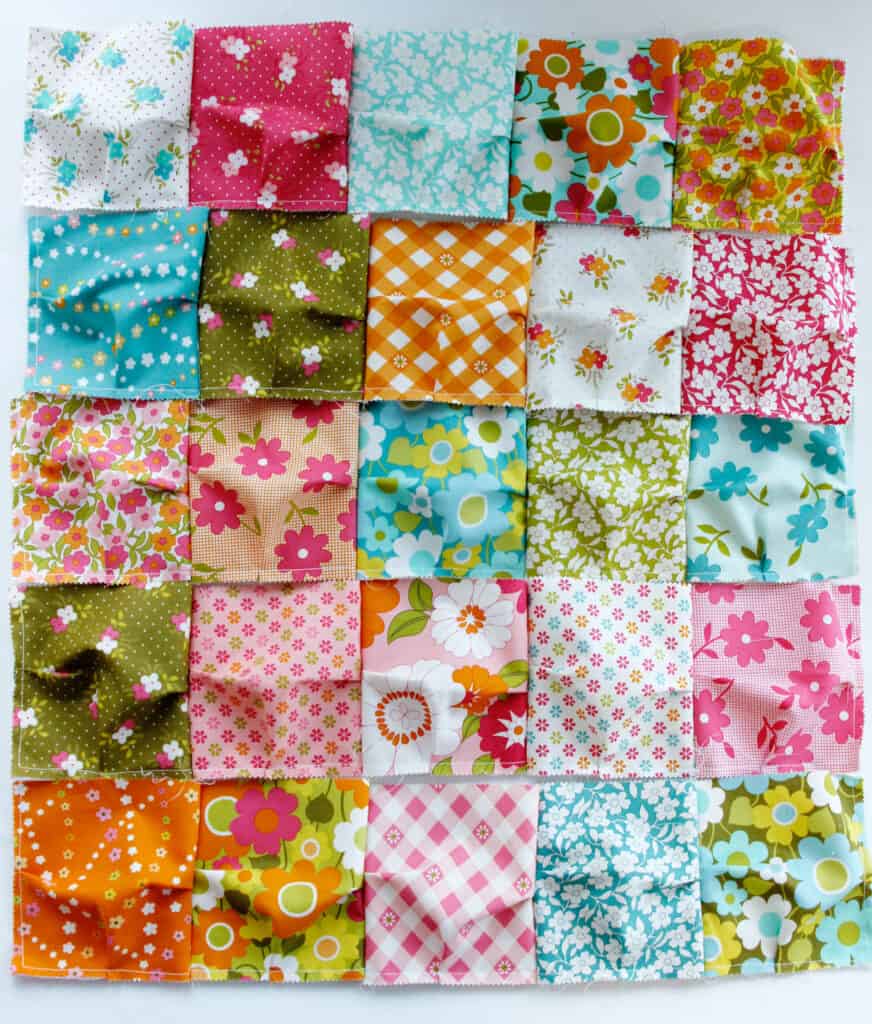
Choose 25 charm squares to use. Then cut 25 – 4.5″ squares for the base of each puff block.
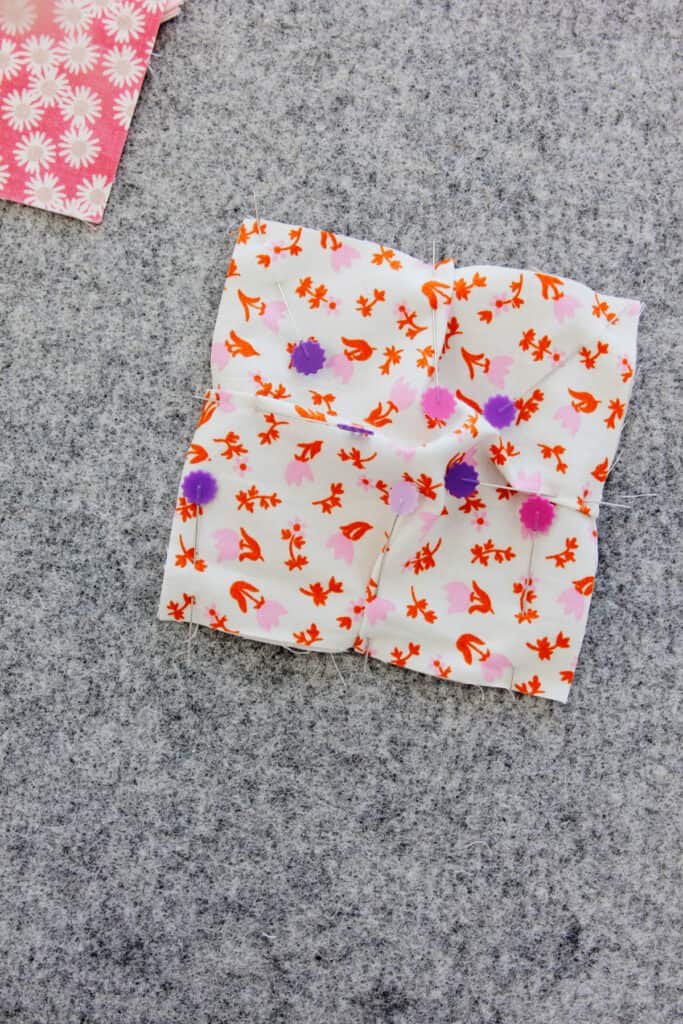
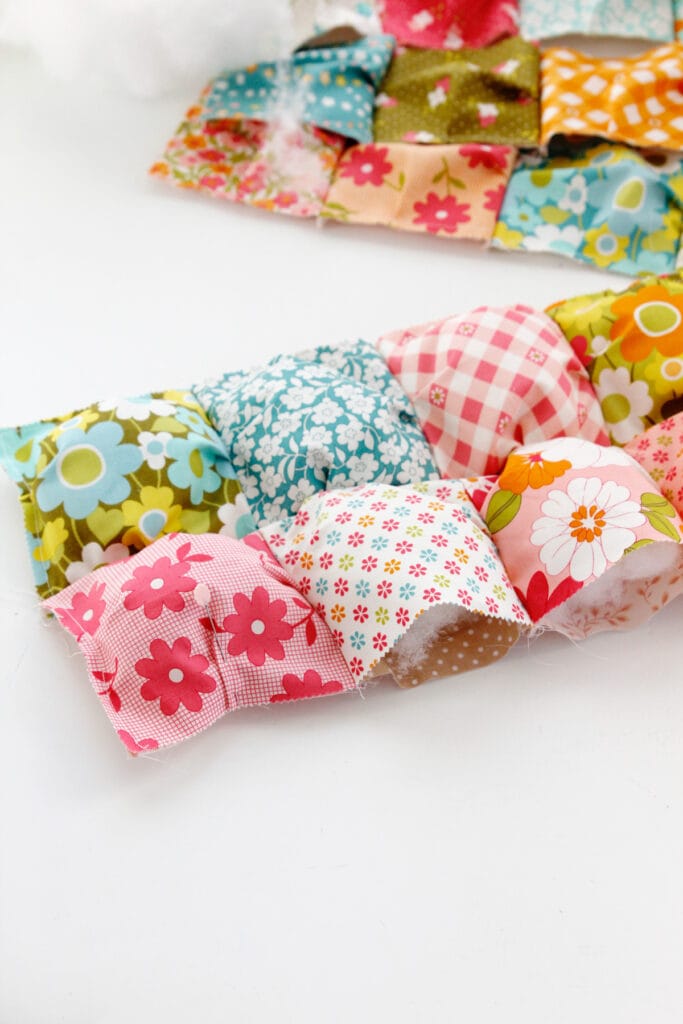
We’ll start with one base square and one main square.

Match the corners of the large square with the corners of the small square underneath. Then create small pleats on the square sides with the excess fabric. Make the pleat in the middle of the square’s side – each pleat will be about 1/4.”
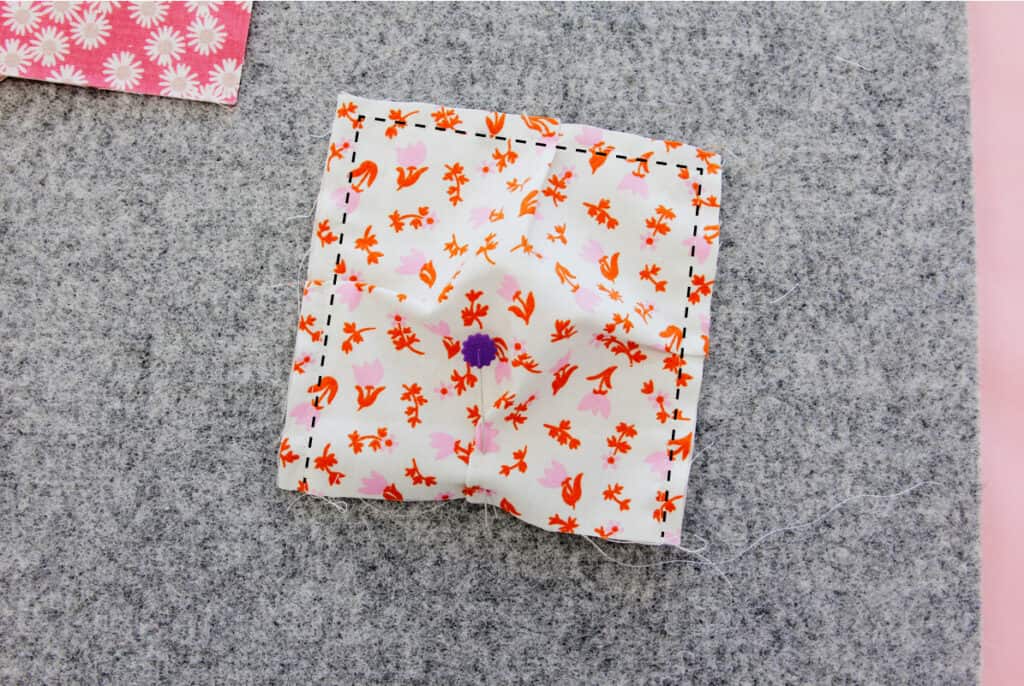
Sew three sides using a scant 1/4″ seam allowance. Leave the last side open. You will have stitches around 3 of the edges. *Backstitch at both ends of your stitching! Since we are going to be handling these blocks a lot throughout the process, backstitching will help the blocks stay put together until we have sewn them into the quilt.
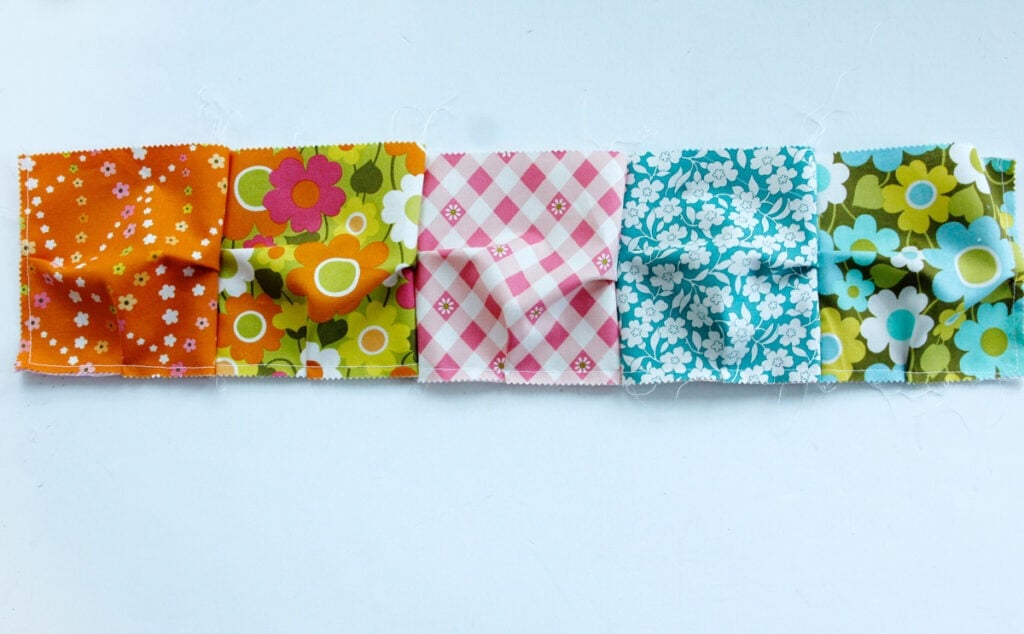
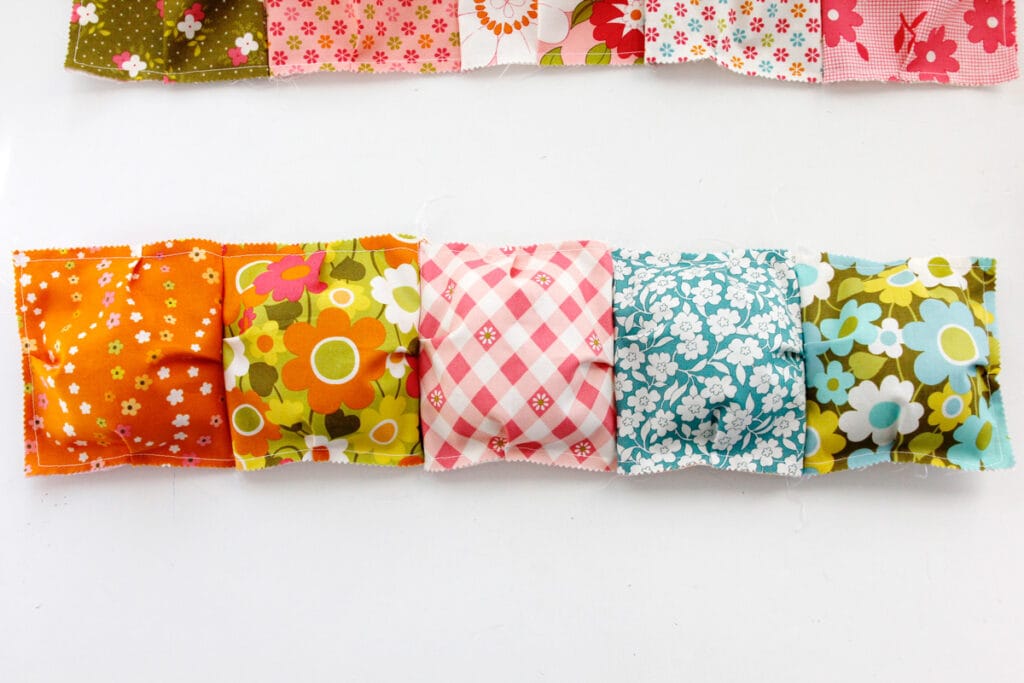
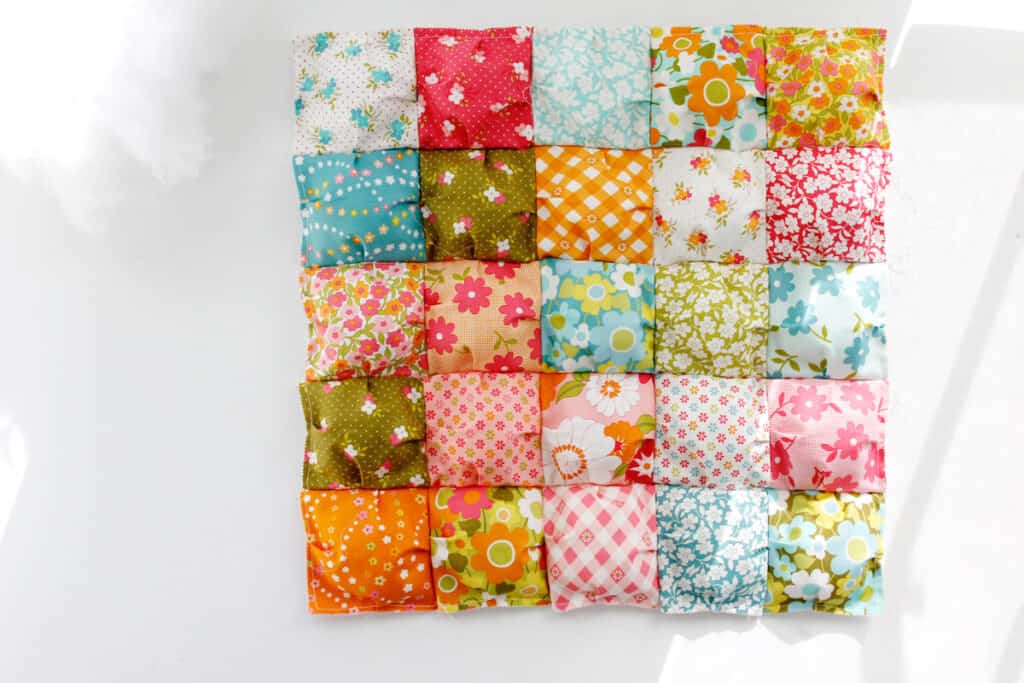
Repeat until you have all 25 squares put together with one side open on each. Now sew 5 blocks into a row.
Then sew into 5 rows of 5 with all the open edges at the top.
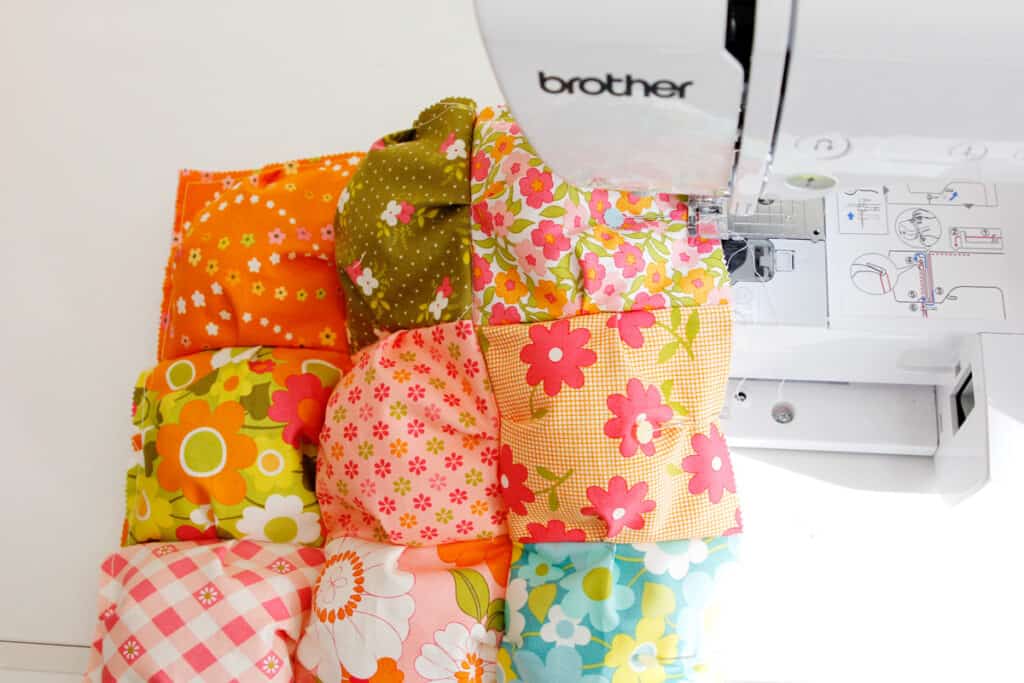
Stuff the first row, then pin and sew the open edges closed.
Sew the second row onto your puffed row without stuffing.
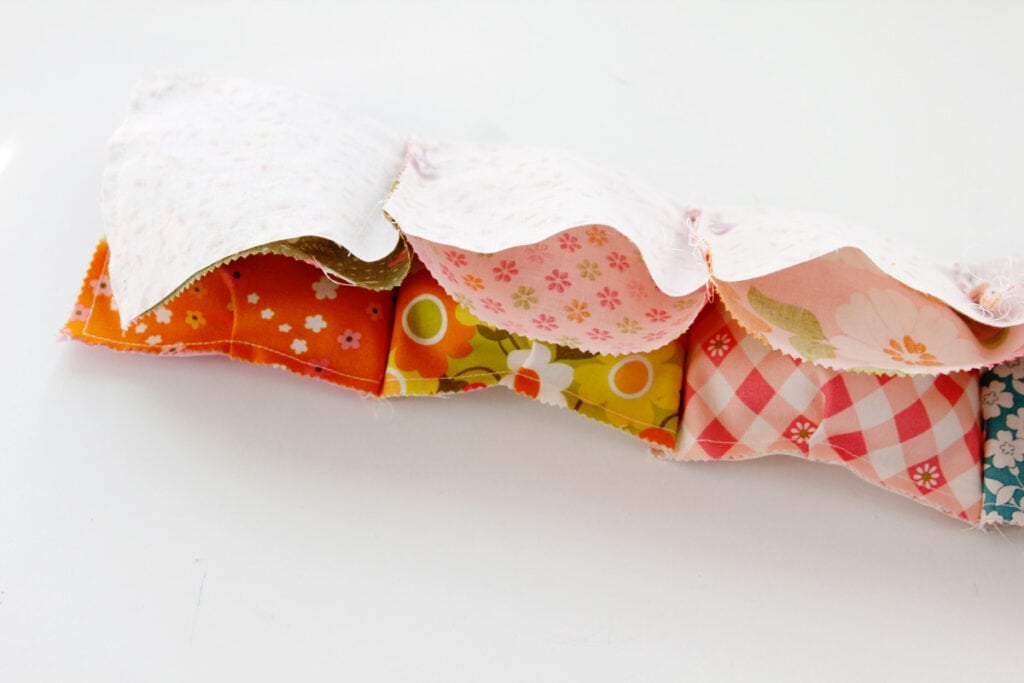
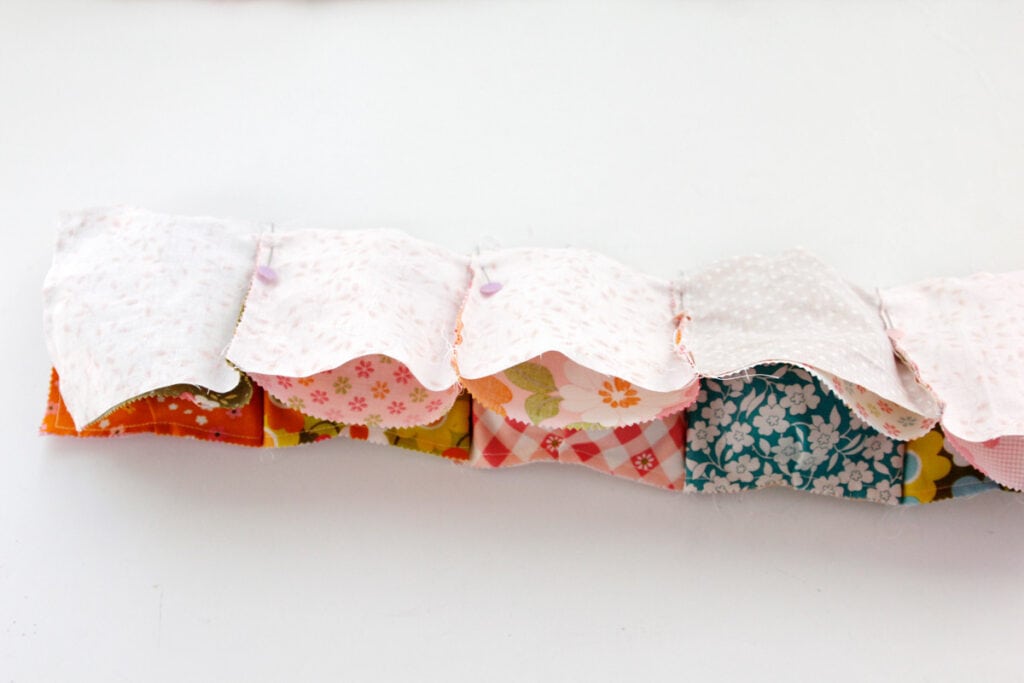
Then stuff the second row.
Close it up and repeat until you have sewn and stuffed all 5 rows.
When you get to the last row, stuff it and sew the edges closed.
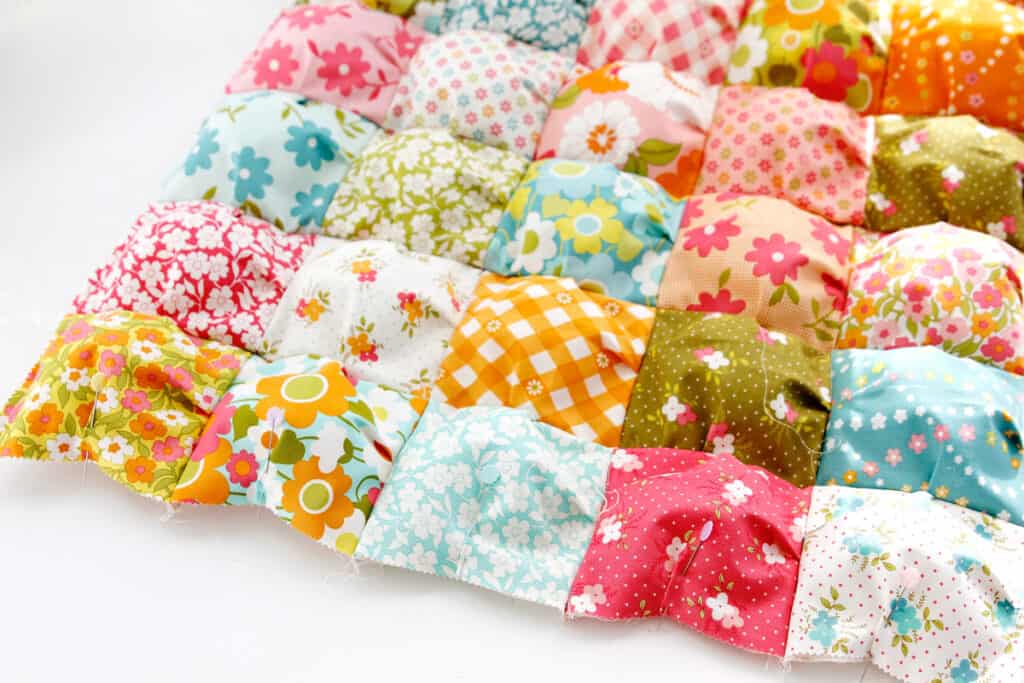
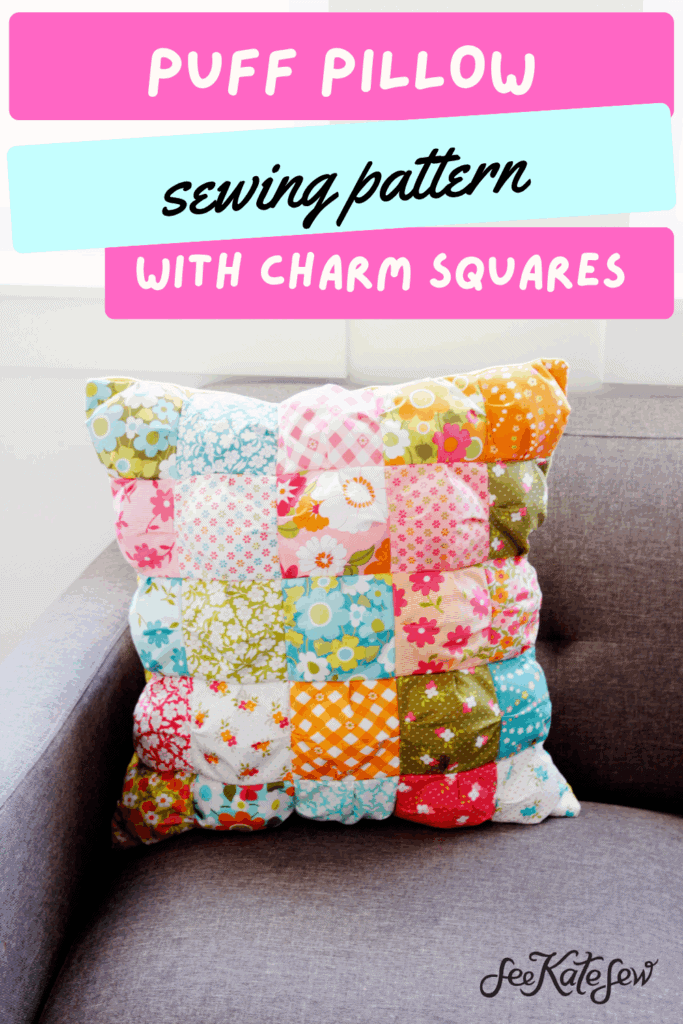
Your puff panel will be the front of the pillow.
To finish the pillow, we’ll do a simple envelope closure on the back. Cut 2 piece of fabric 20″ x 26″ and fold in half so they are 20″ by 13″ with a fold.