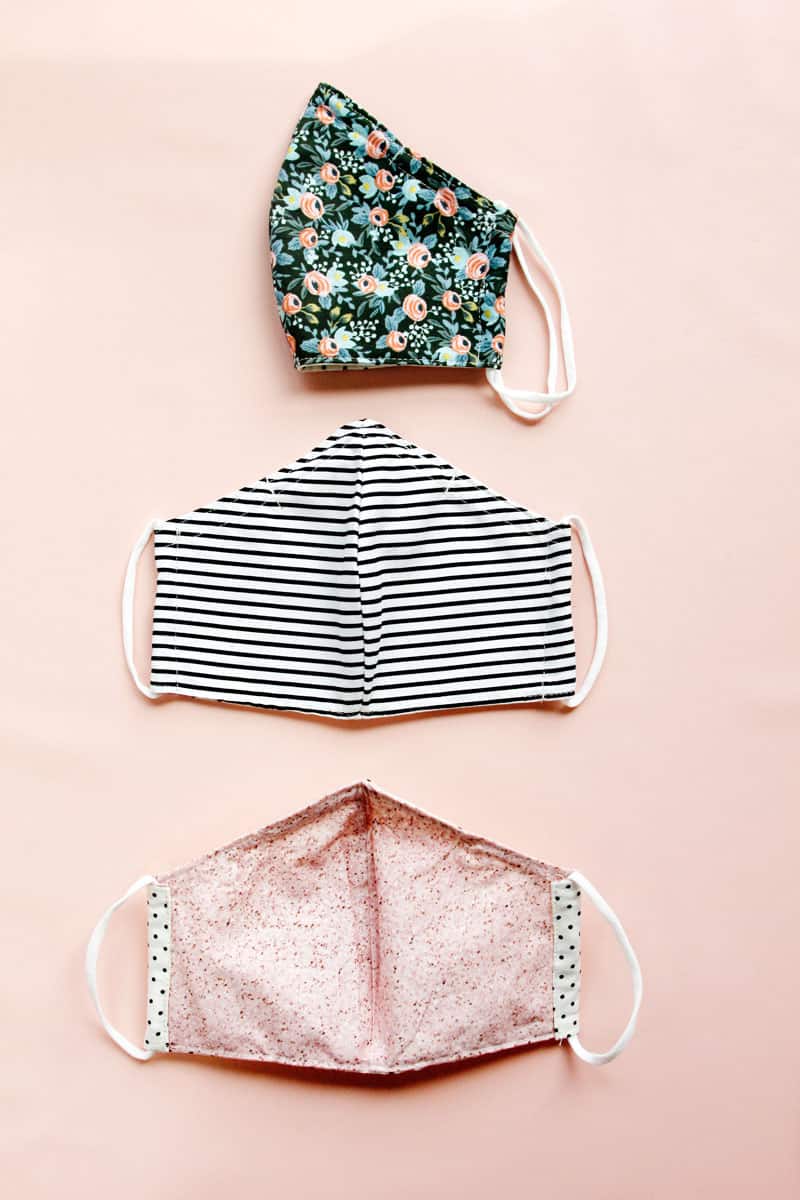
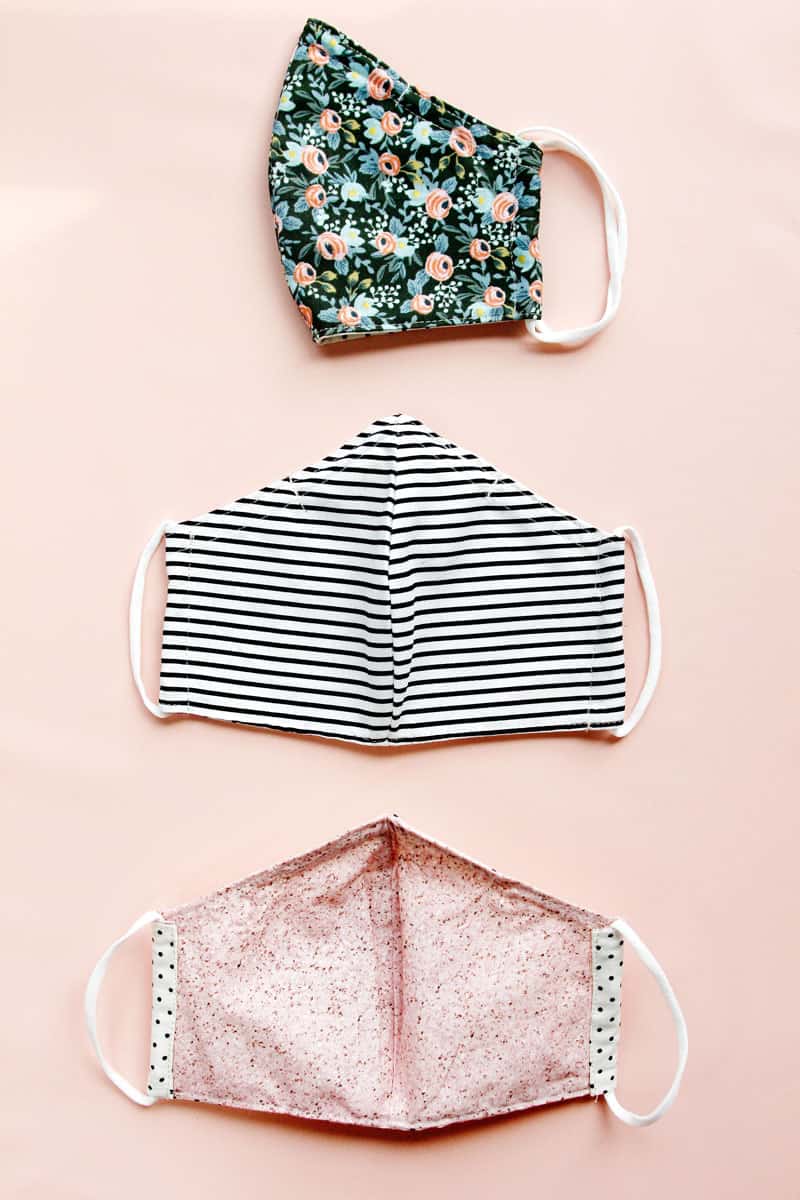
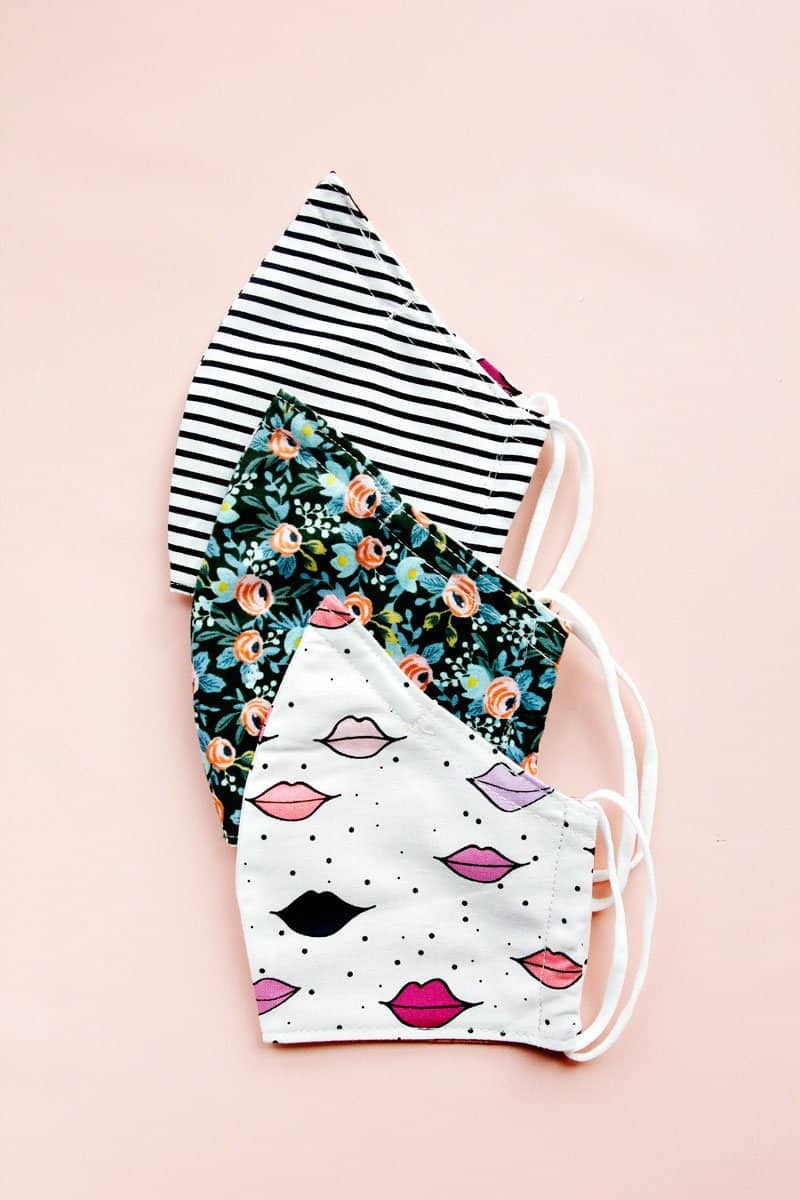
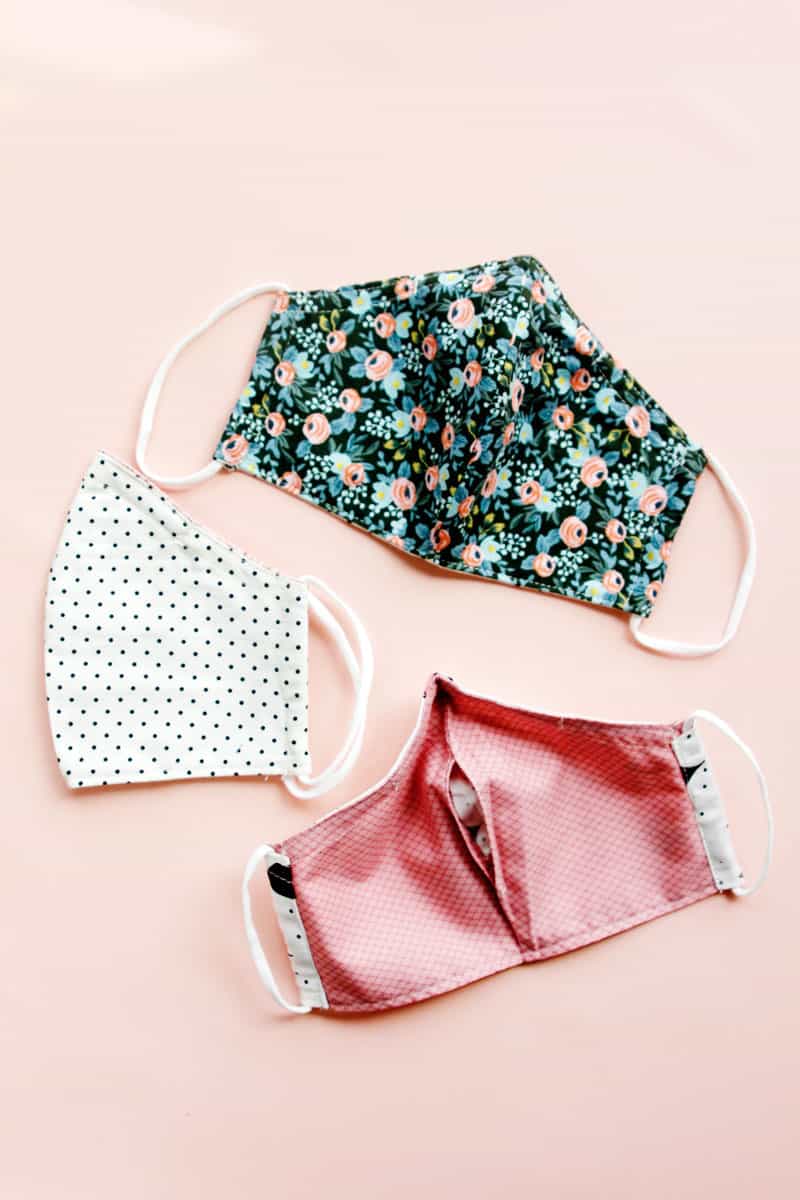
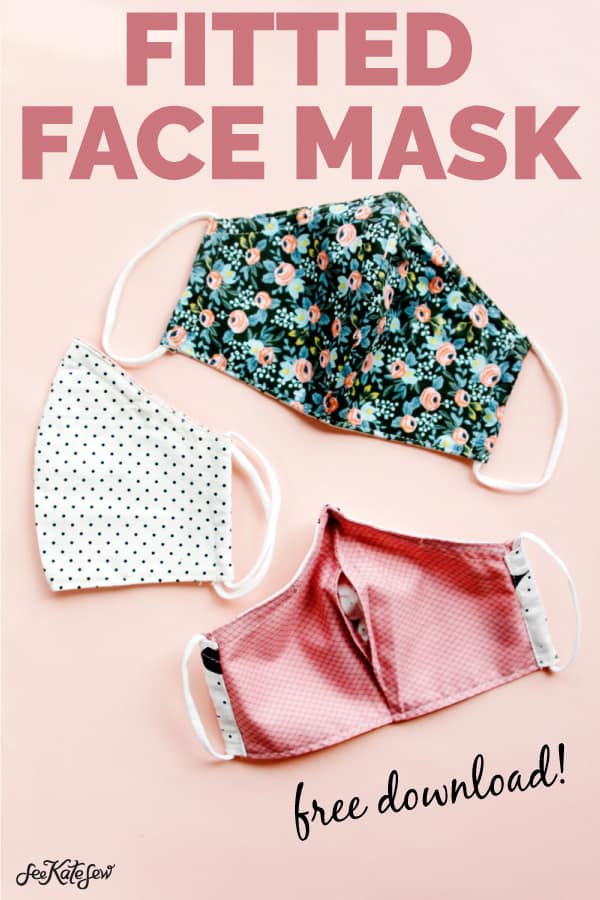
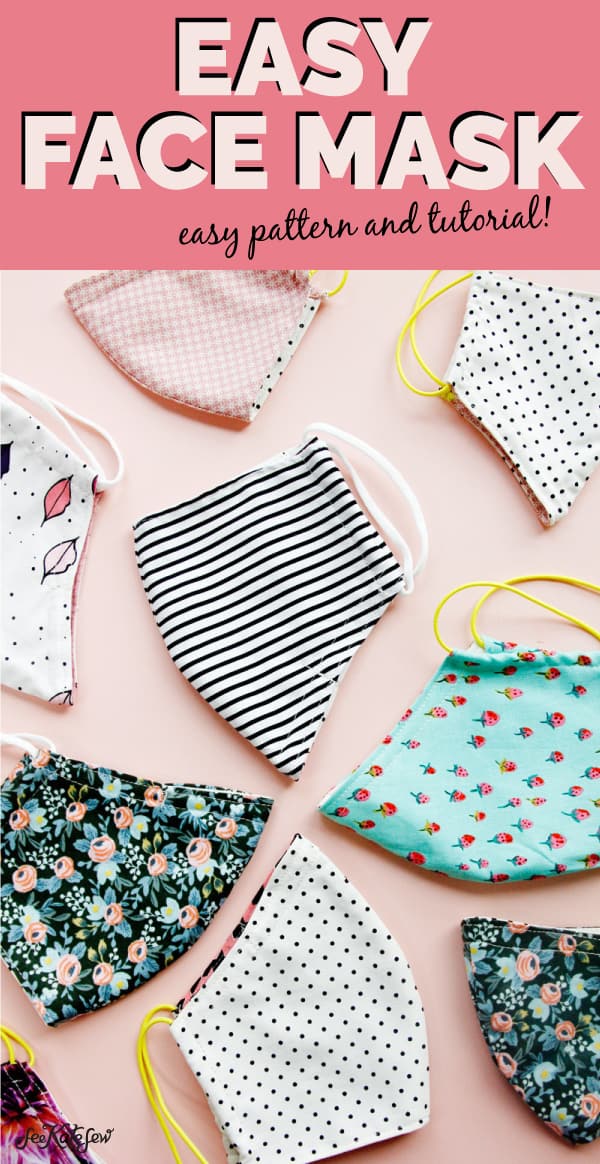
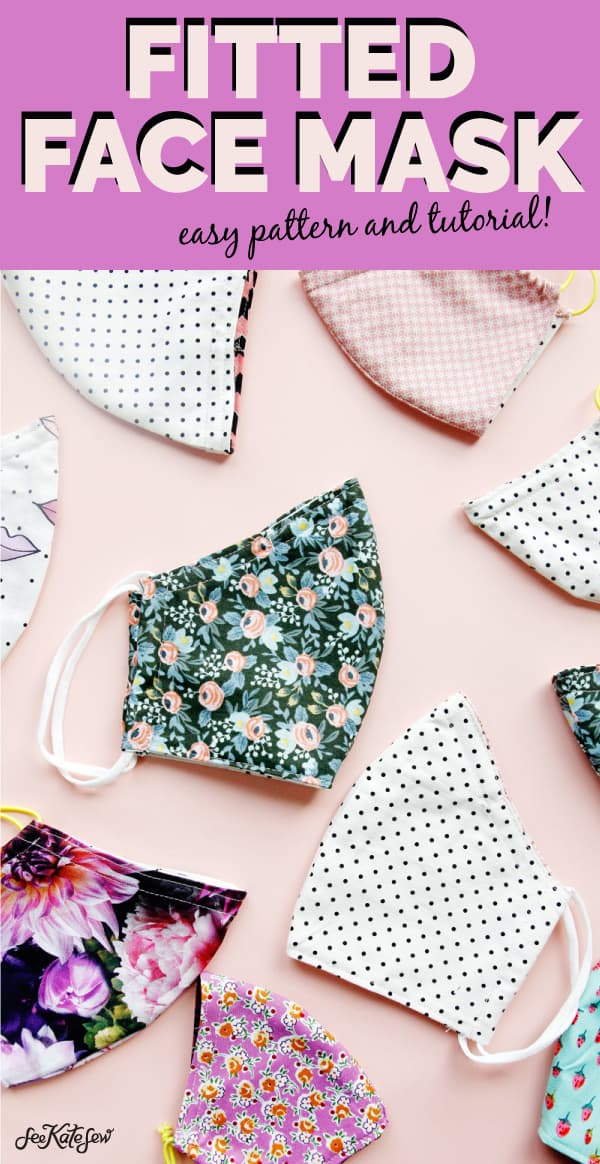
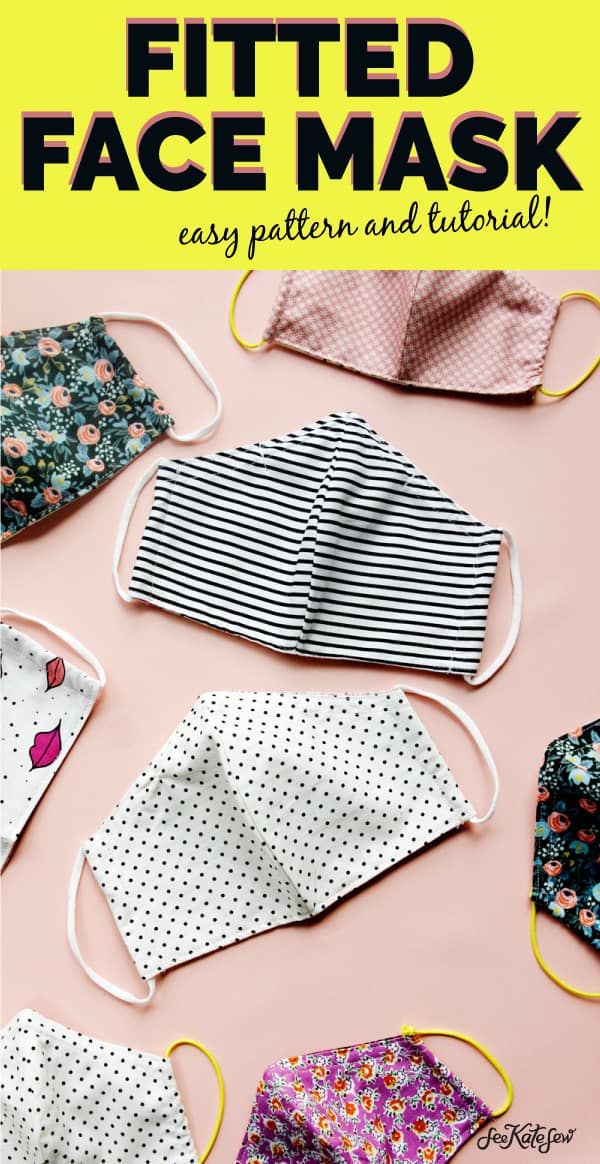
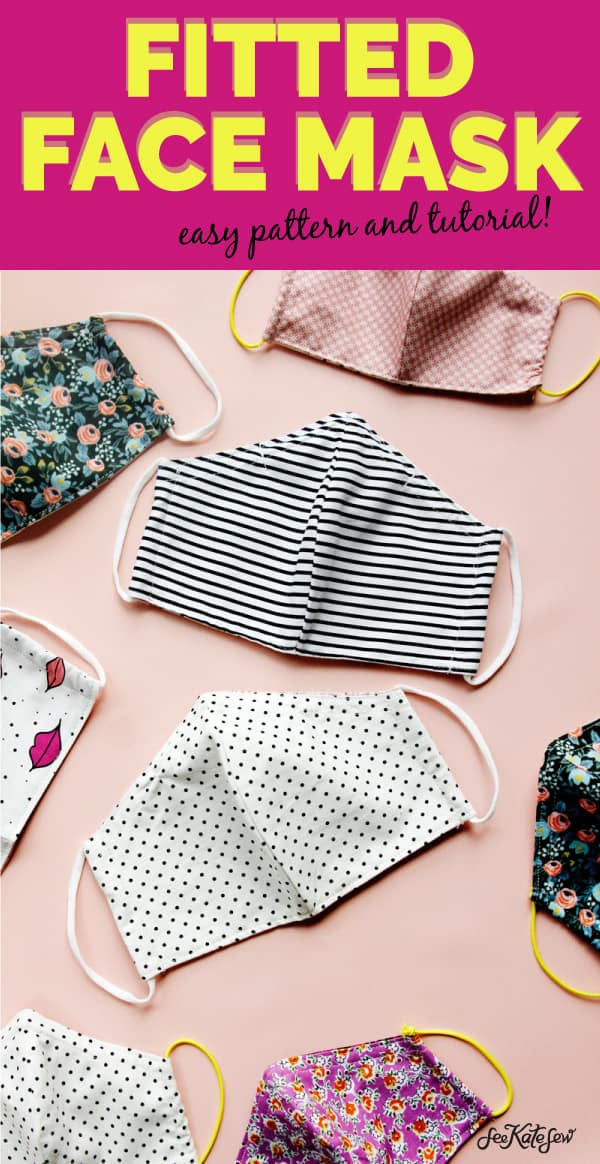
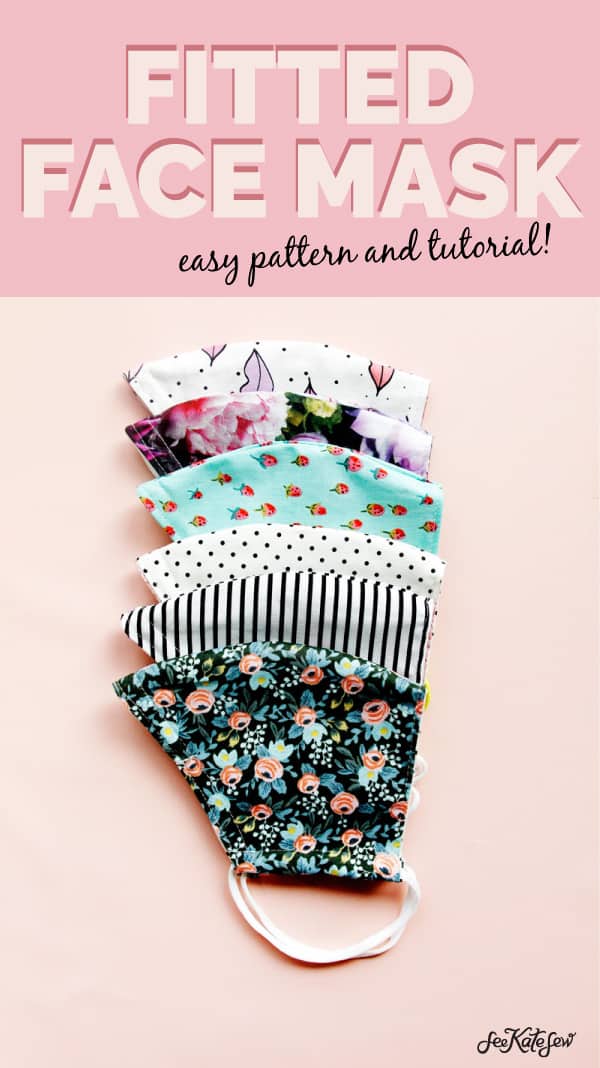
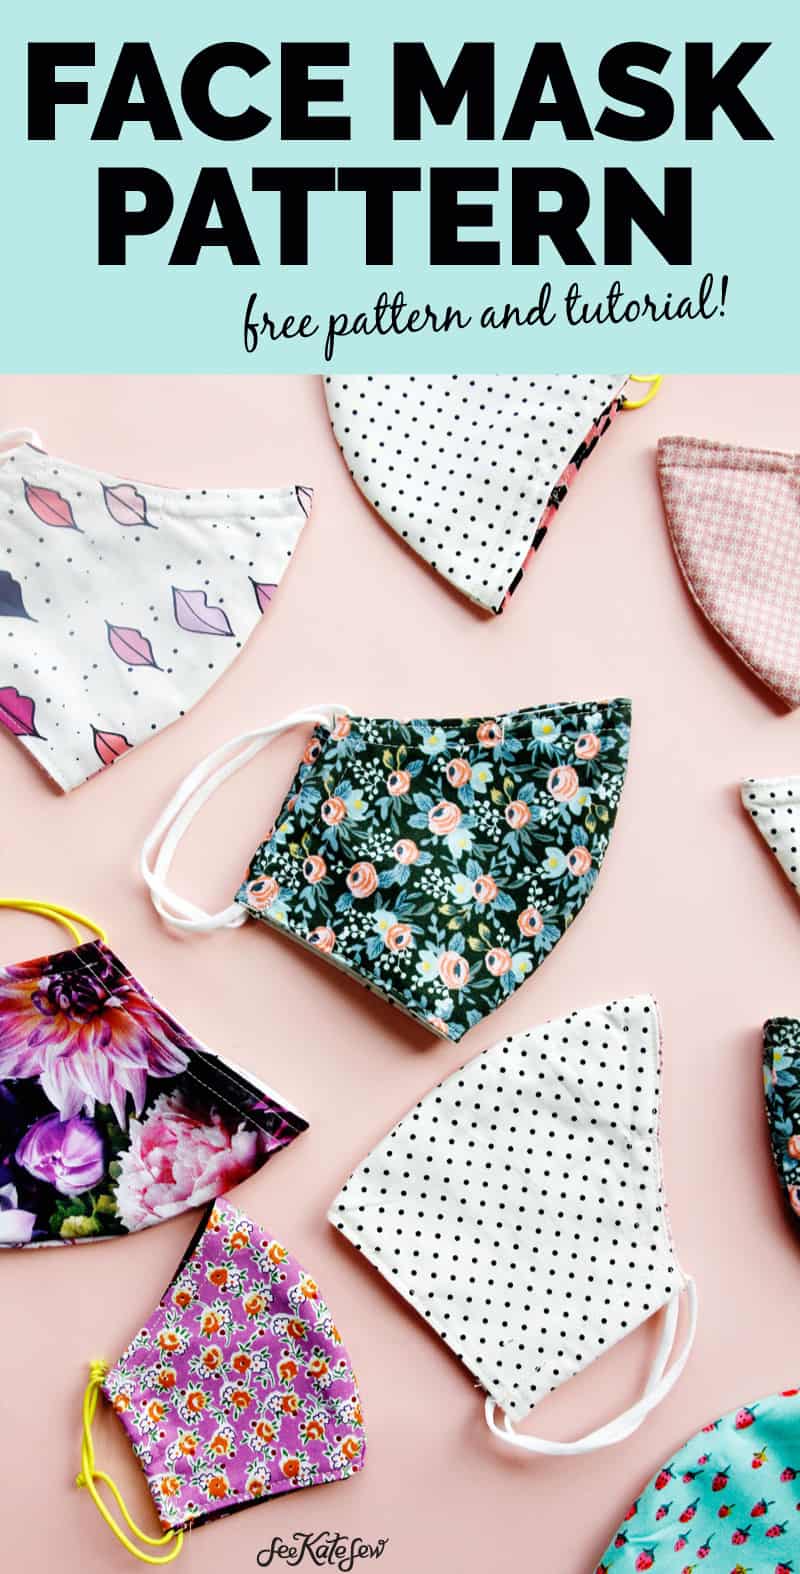
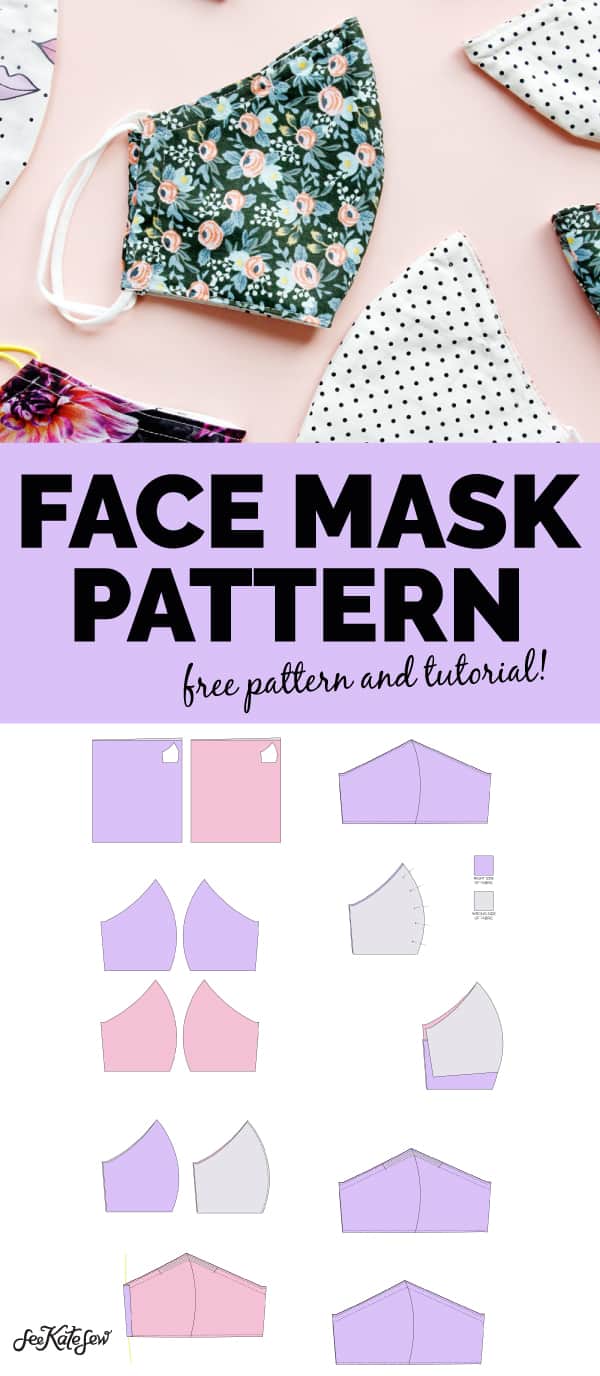
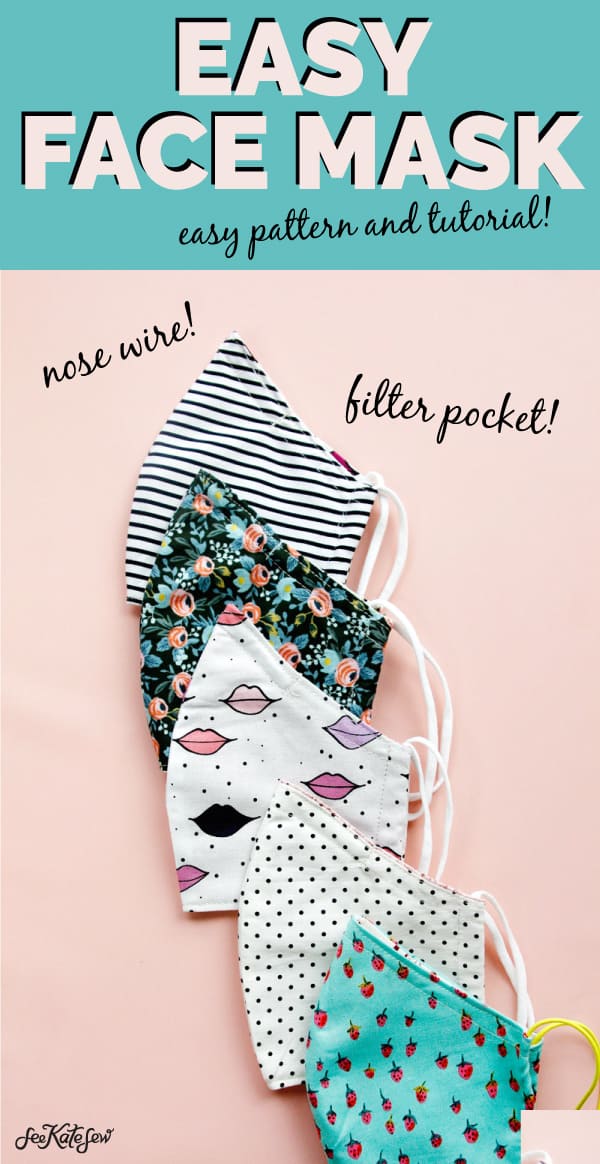
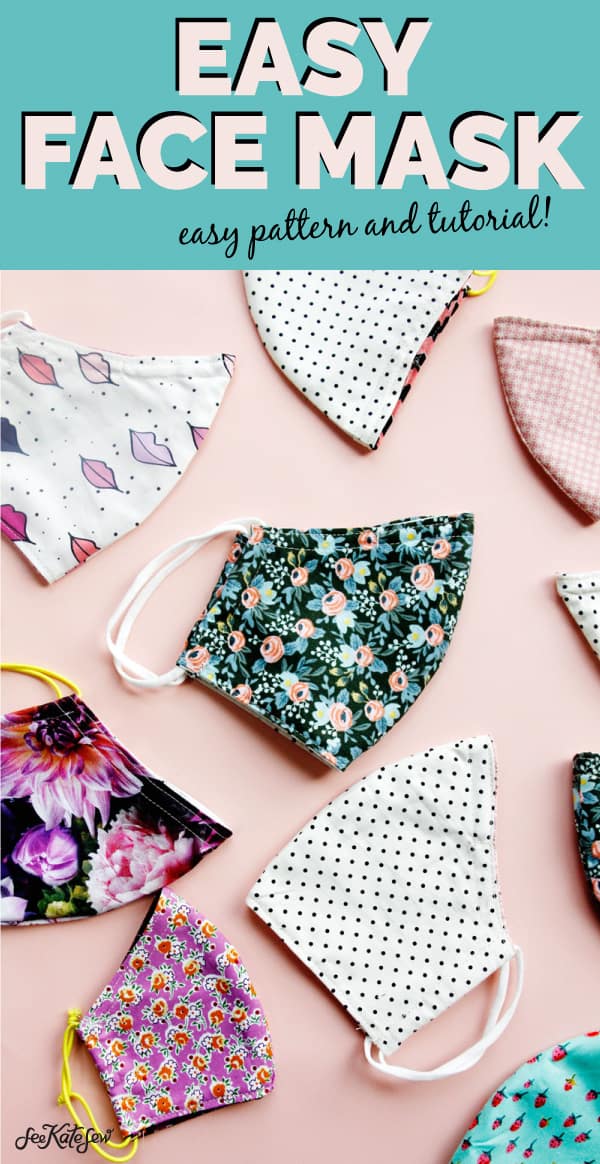
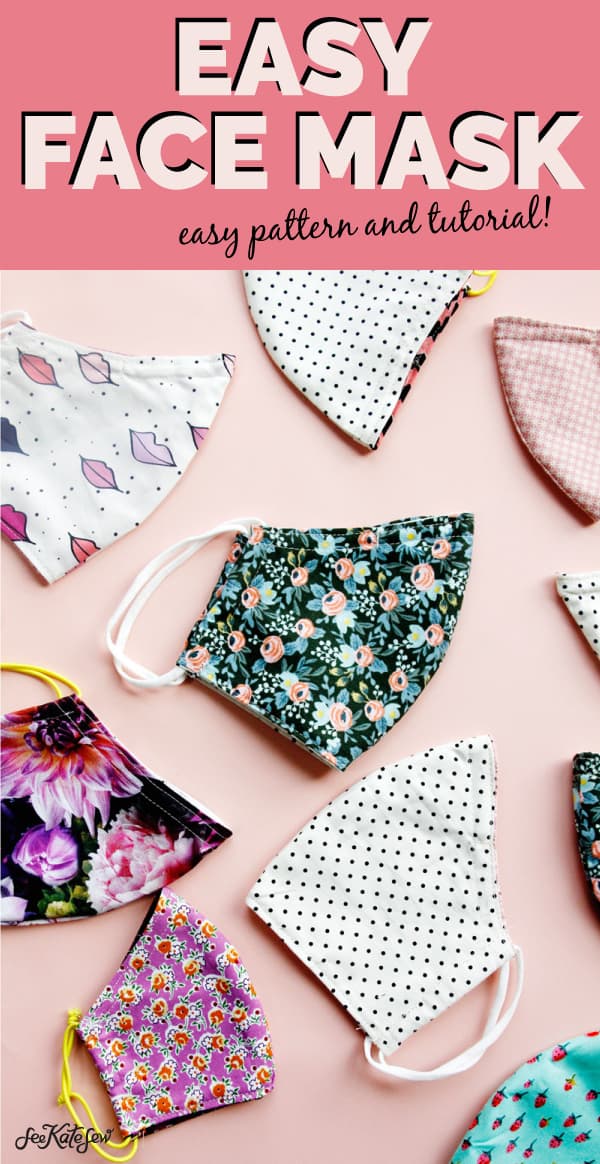
Print off this fitted face mask sewing pattern and make your own masks that fit your face comfortably! This homemade fitted mask is contoured around the nose and is less bulky than a pleated mask. Includes 5 sizes for children and adults.
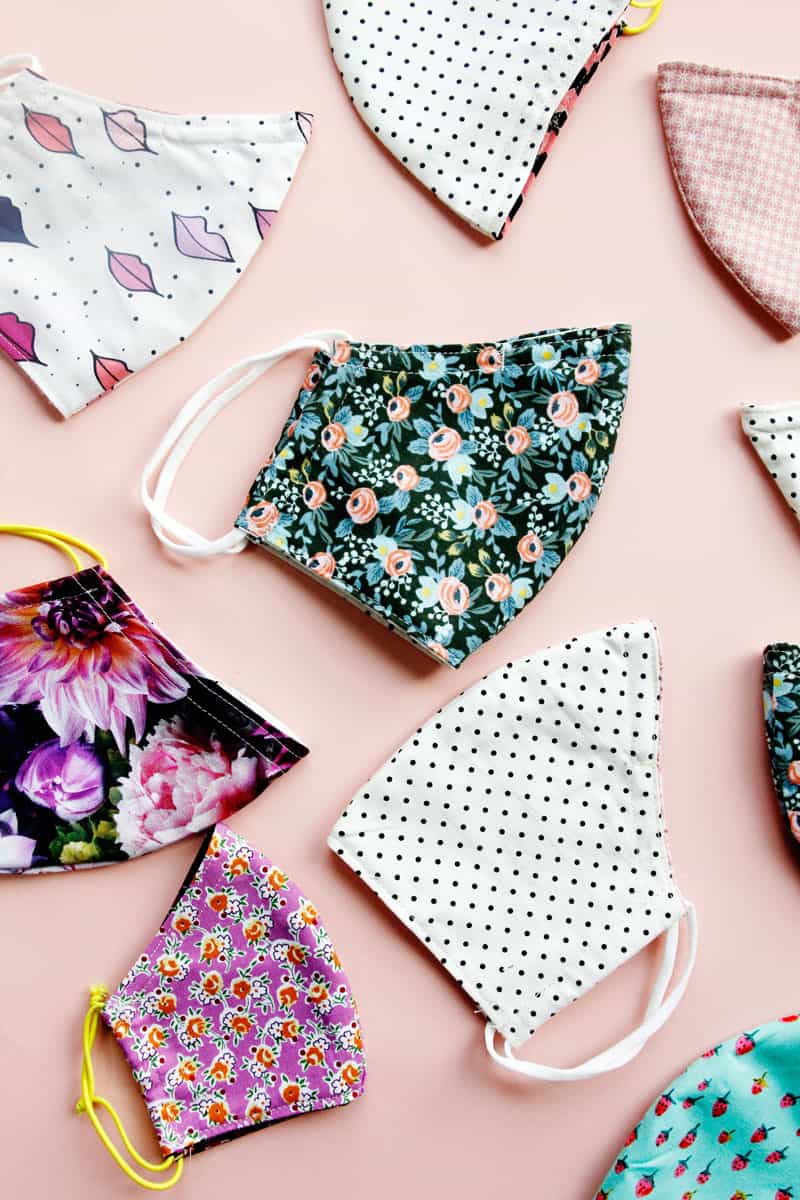
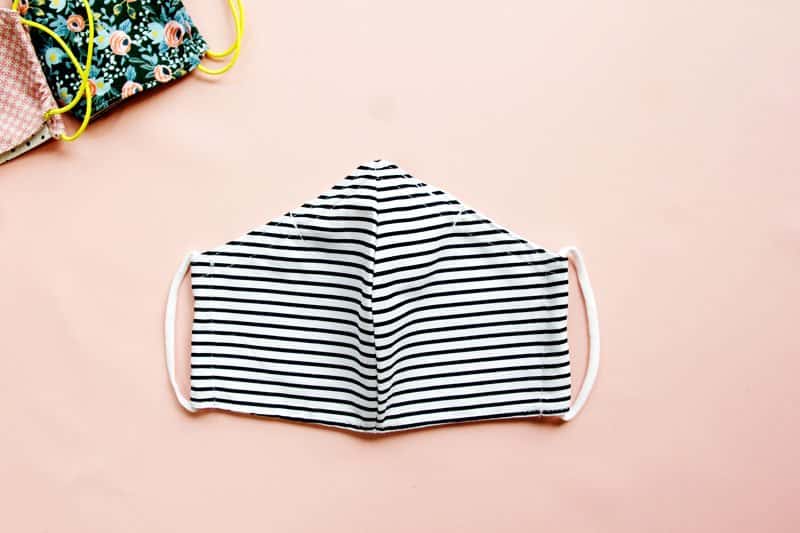
The fitted mask curves around the nose and slightly under the chin for a comfortable mask that stays in place! If you like this way this mask fits, also try the 3D mask!
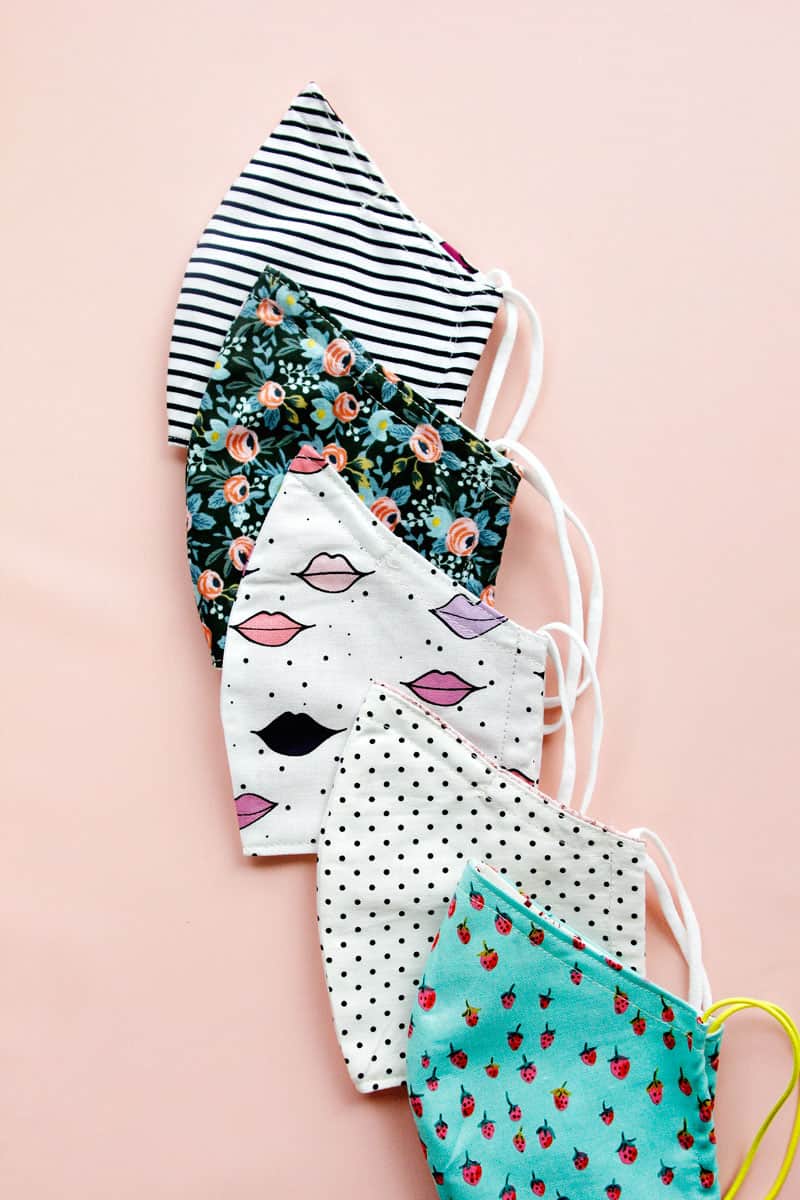
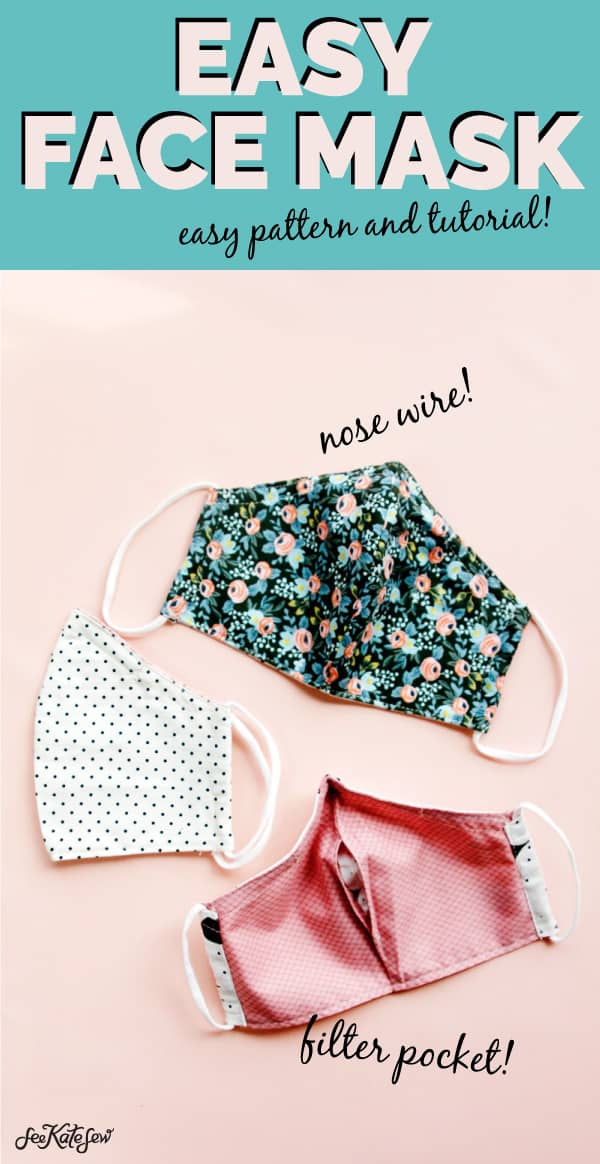
The fitted mask also requires less fabric than pleated masks and includes an optional pocket for a filter. You can also add a wire strip to the top of the nose.
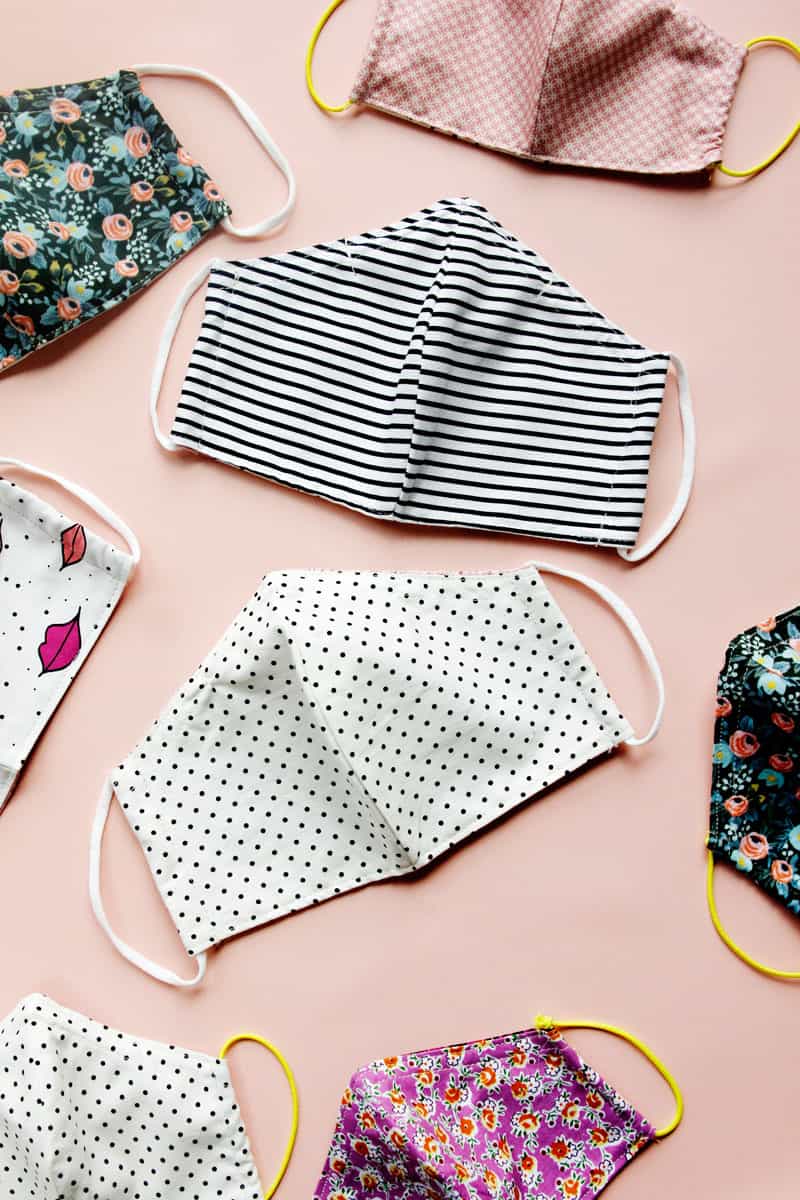
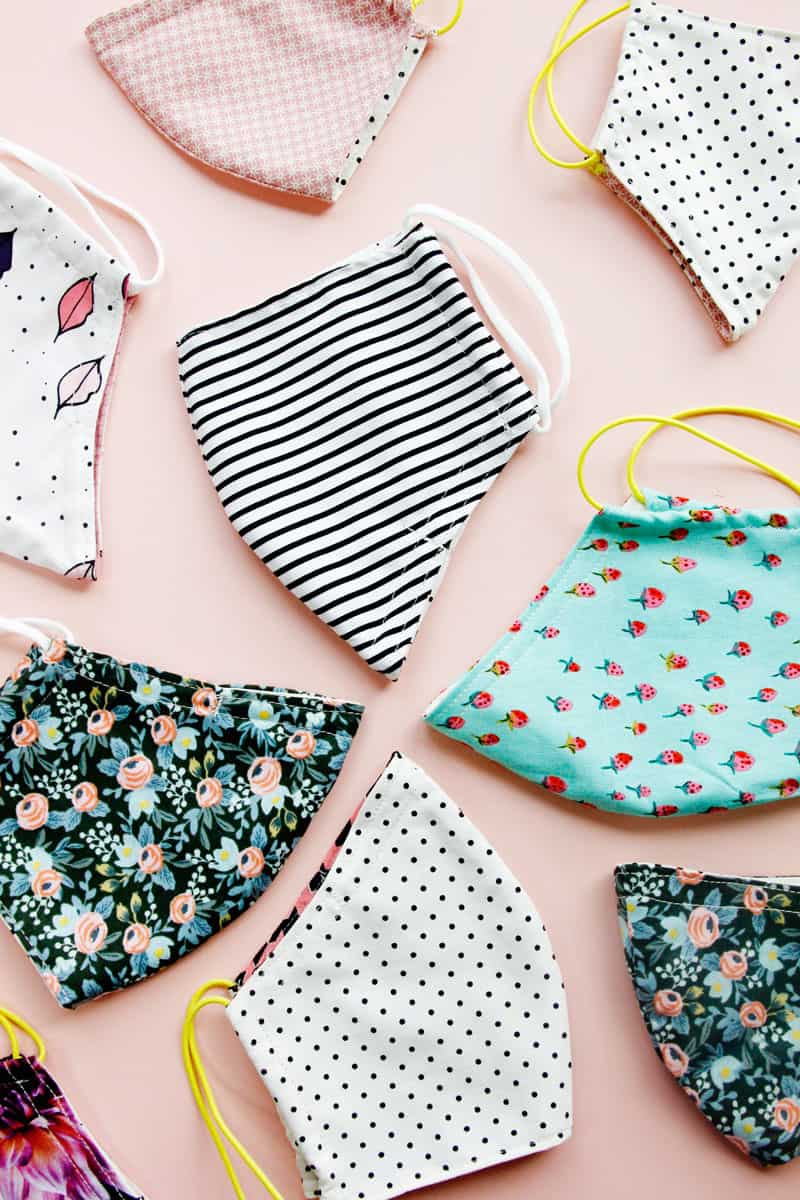
This mask is great for kids going back to school and for adults that want a more comfortable mask that requires less adjusting.
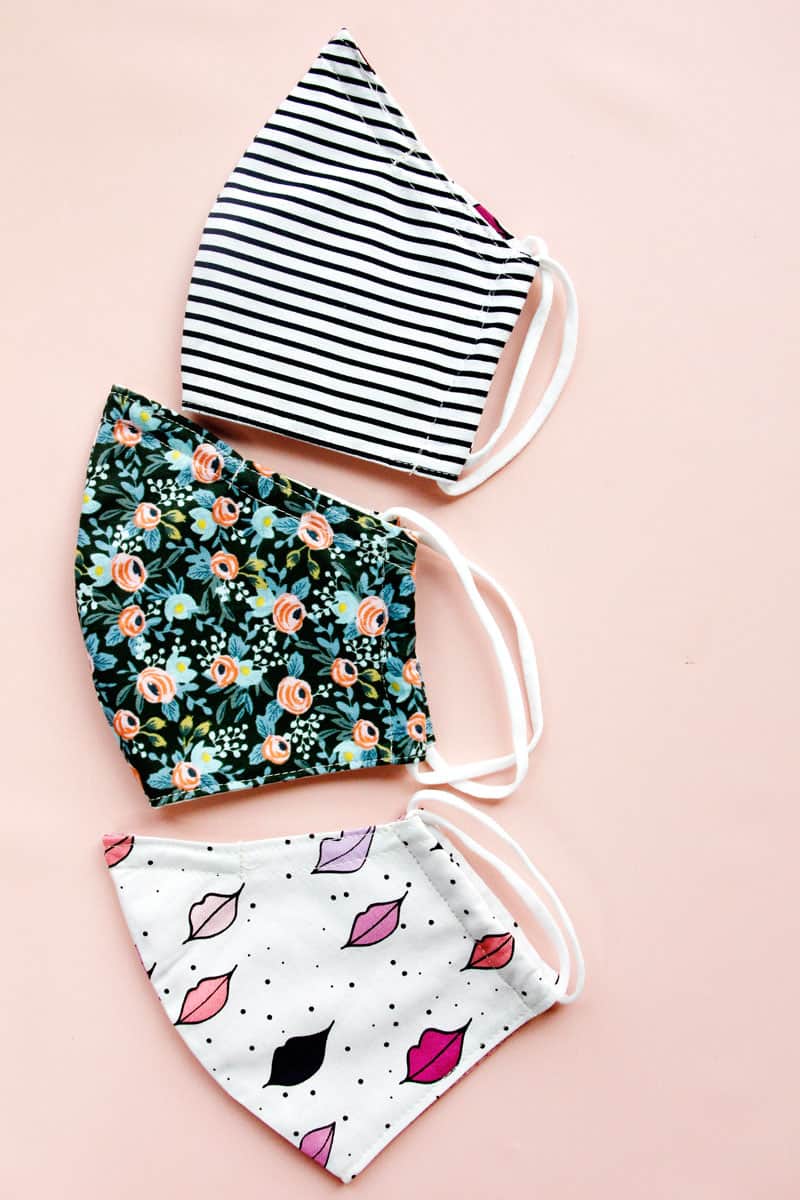
I think the most important part of this protective mask is that it fits your face so well you won’t need to adjust it constantly for comfort!

Hands near your face adjusting a mask is counterproductive if you are trying to keep germs out so I feel like this mask is great for that.

There is a filter pocket in this mask so you can insert your choice of material (extra cotton, etc) or pre-made filters inside.
What kind of elastic to use for face masks
- My kids love this super soft elastic in either 1/8″ or 1/4″ width (affiliate links)
- I recommend 1/4″ which is shown in this post
- Basic sewing elastic can be found at most craft stores
- Bead elastic is very thin and comfortable – use 1-2mm
- Check out these bright, fun colors! I used 2mm in yellow in this post, too!
- You can also find rainbow bead elastic which is fun for school!
DIY Fitted Face Mask Materials
- 2 different 100% cotton fabrics*, highly quality quilting cotton is recommended for best protection
- Elastic choice, see above for options
- Aluminum nose shaping inserts, or see this post to see how to use pipe cleaners
- Filter material
- Fitted Face Mask Pattern download, see below
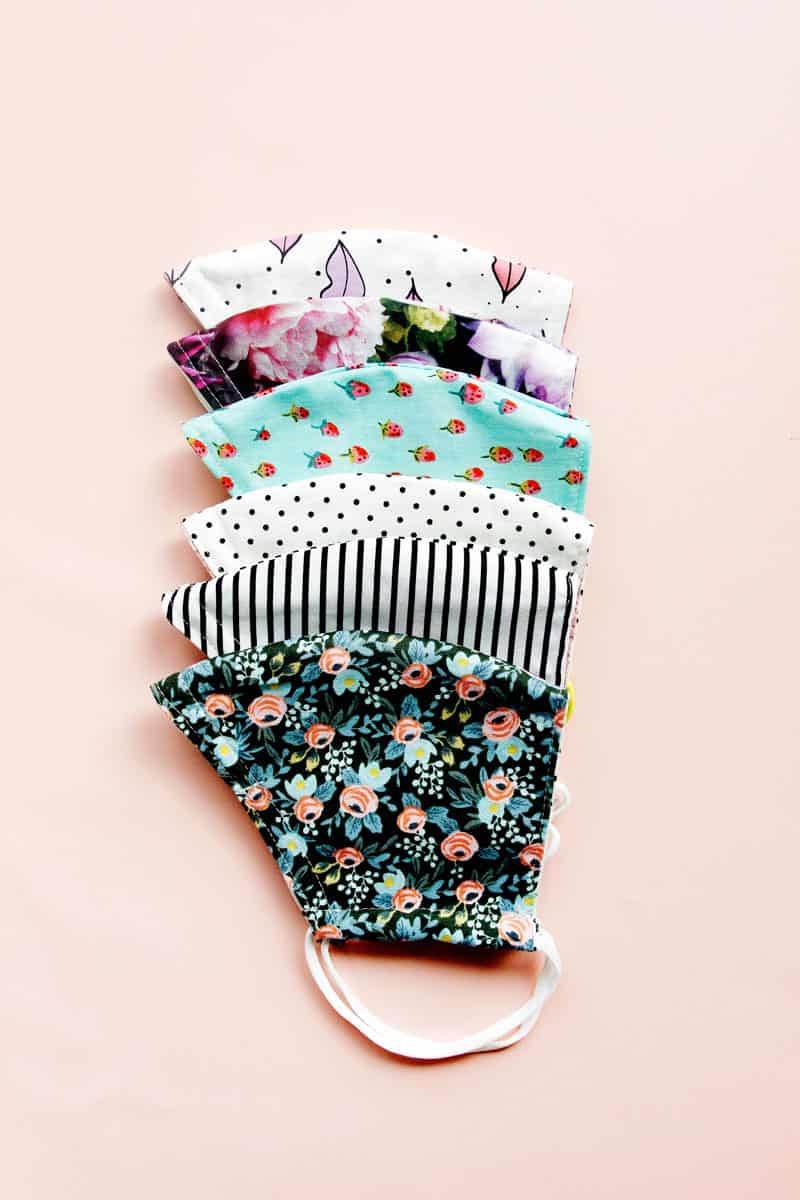
*I recommend two different cotton fabrics to make it easier to distinguish the front from the back so you remember which way to wear it. This mask is technically reversible, but you will want to wear it the same way between washings.
Face Mask PDF for Children and Adults
Click the button below to download the fitted mask pattern. Put your email in the field and you’ll be taken to the download page.
This pattern download has 5 sizes. Choose your size based on your age group. If you know you have a smaller or larger face, feel free to size up or down accordingly. Size can also be adjusted in the length of the ear loops.
- Toddler, ages 3-5
- Little Kid, ages 4-7
- Big Kid, ages 8-11
- Adult S, teen/adult
- Adult M, adult
Print the pattern at 100% or DO NOT SCALE. This pattern will fit on 1 page.
Face Mask Sewing Pattern Elastic Lengths
If you can, try on the mask before tying it off to make sure the lengths are right for your mask wearer. Here are some average lengths to start with for ear loops! Elastic lengths will vary based on head size. Use longer lengths to make the mask go around the head instead of over the ear. See this post for an example.
- Toddler, ages 3-5 – cut 2 pieces 6-7″ long
- Little Kid, ages 5-7 – cut 2 pieces 7-8″ long
- Big Kid, ages 8-11 – cut 2 pieces 8″ long
- Adult S, teen/adult – cut 2 pieces 9″ long
- Adult M, adult – cut 2 pieces 9″ long
Face Mask Sewing Pattern Instructions
Use a 1/4″ seam allowance unless otherwise noted.
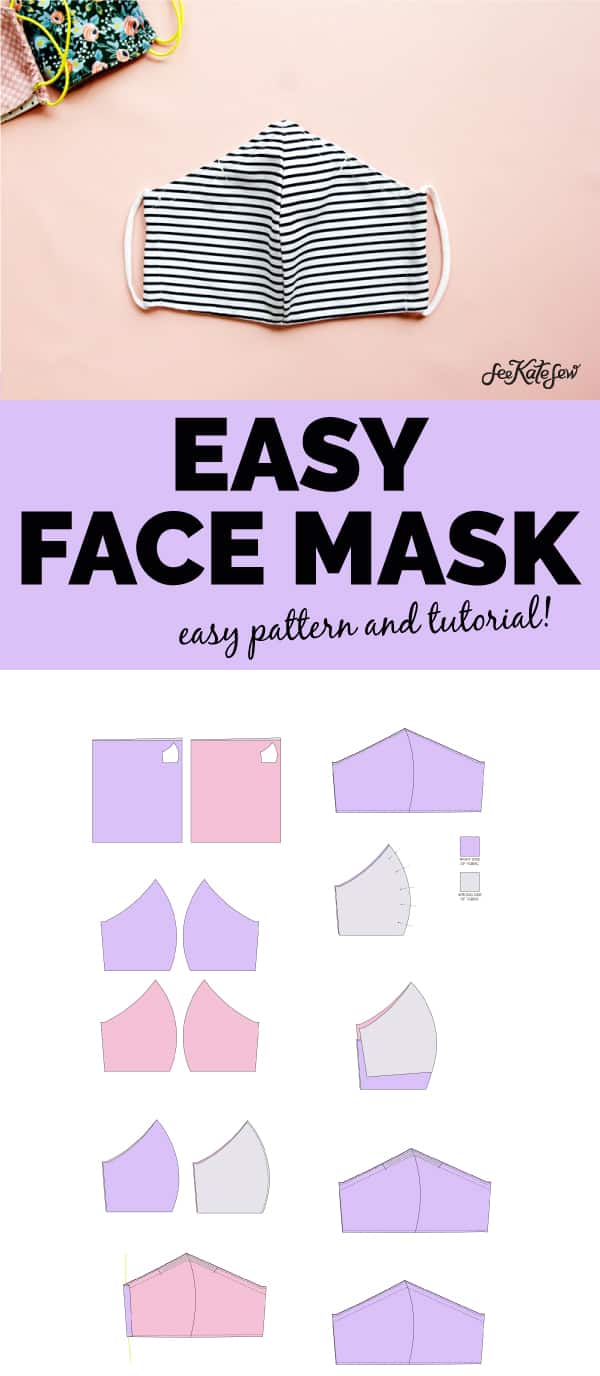
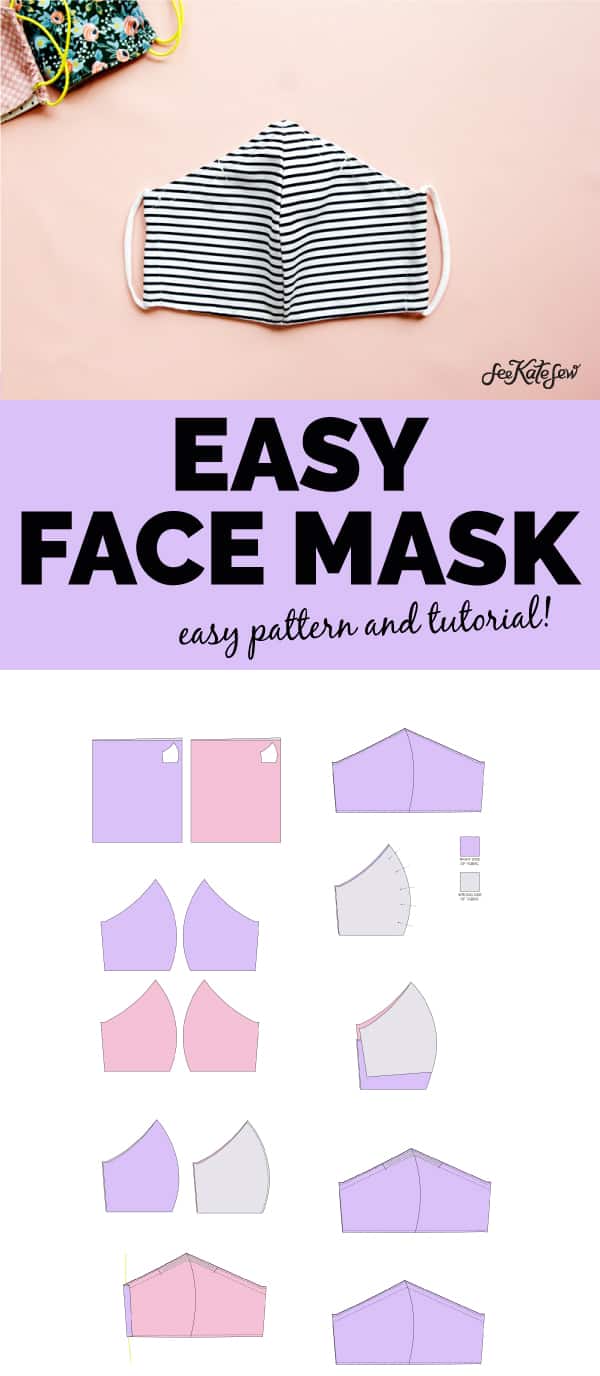
Cut out 2 layers of each main and lining fabric.
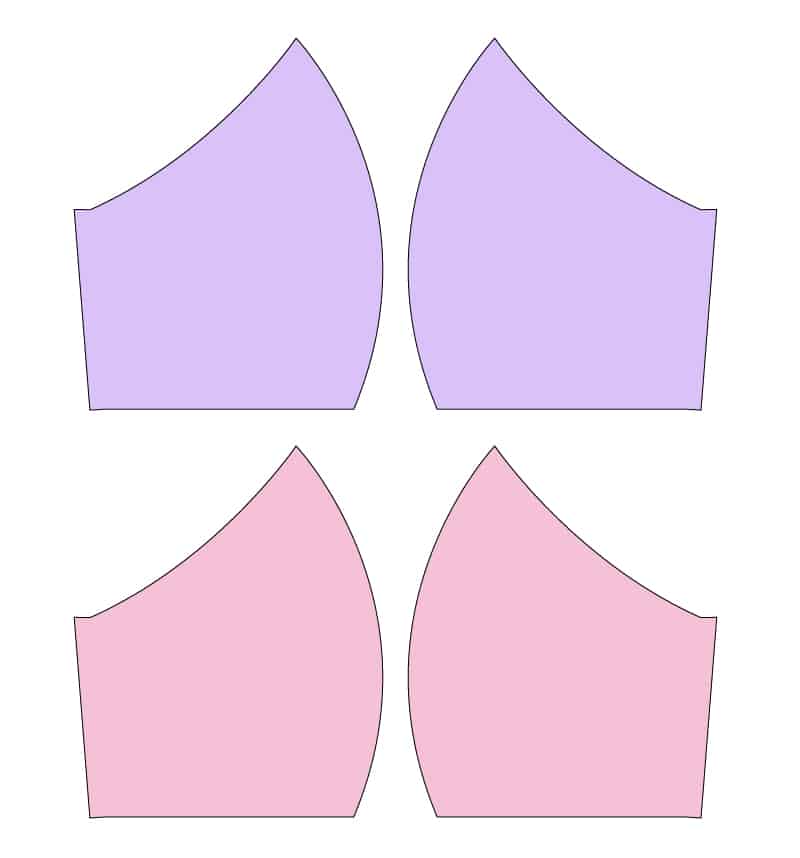
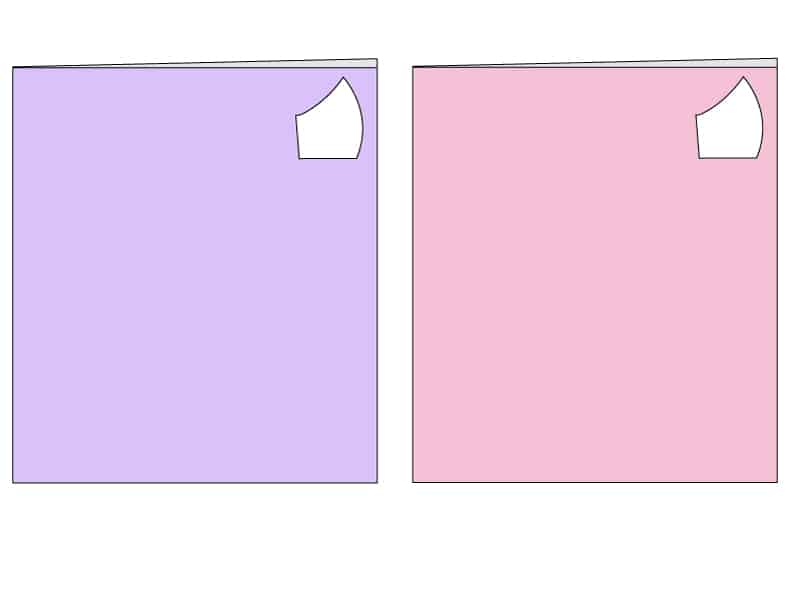
The two layers should be mirror-image of each other, so cut two pieces out on a folded piece of fabric to achieve that.
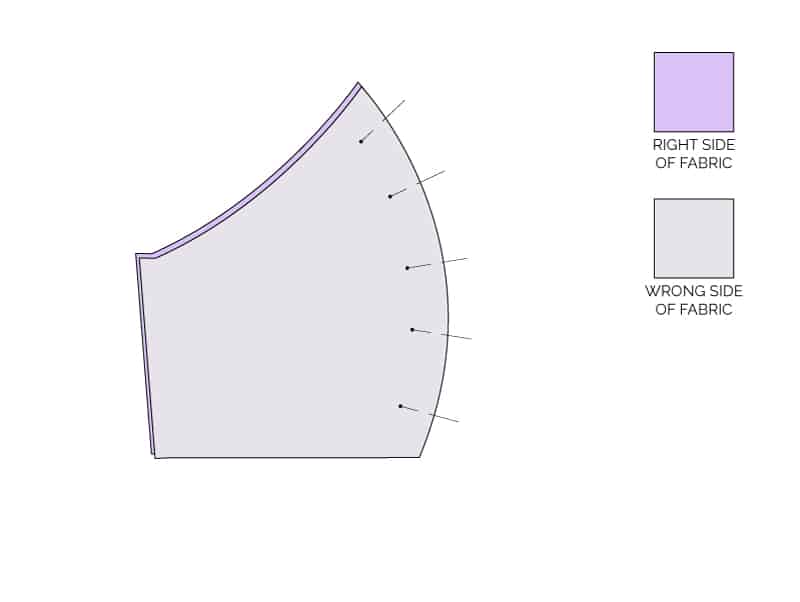
Press fabric. Pin main pieces together with right sides together along the curve. If you are worried about your pins creating punctures in the fabric, use sewing clips in place of pins.
Sew along the curved edge with a 1/4″ seam allowance.
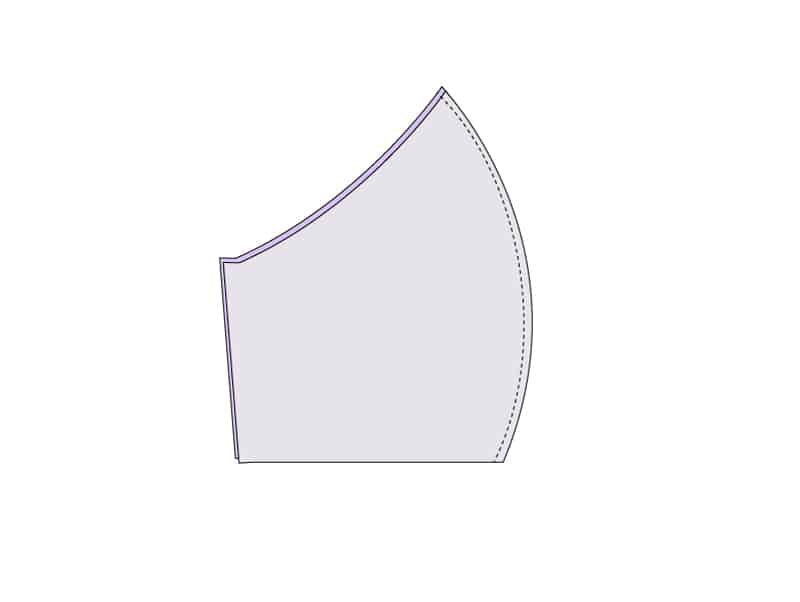
Repeat with lining pieces.
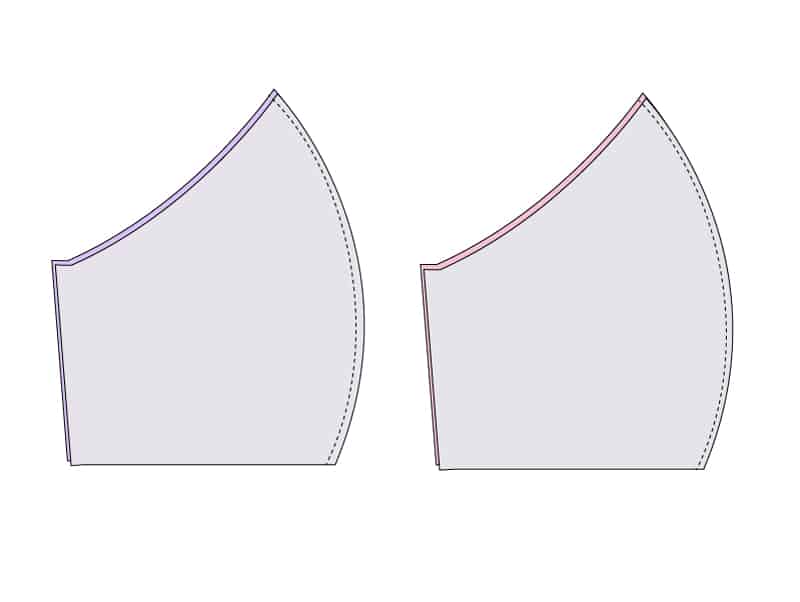
Turn main fabric right side out. Leave lining inside out. Press both.
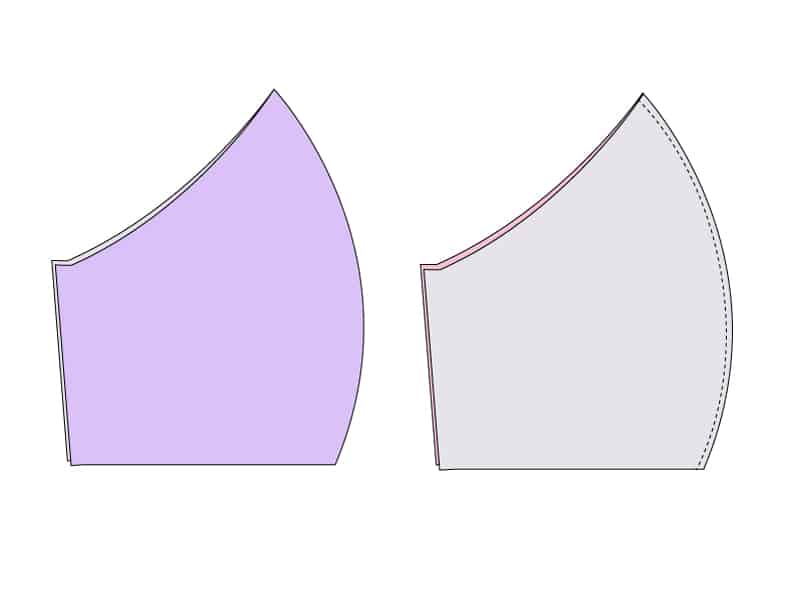
To leave an opening to insert a filter, sew the lining pieces together, leaving a 1.5-2″ opening in the middle of the curve. Backstitch.
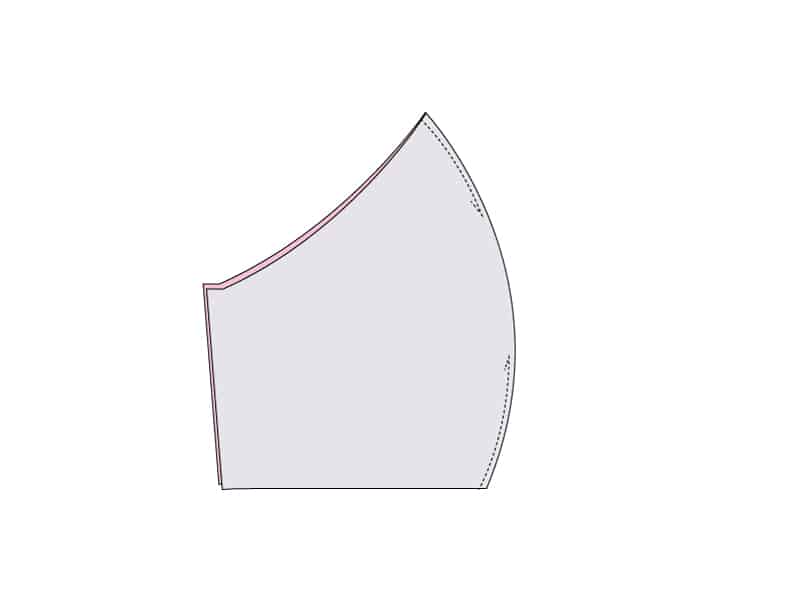
Open the mask and press. Topstitch along the sides of the filter pocket opening.
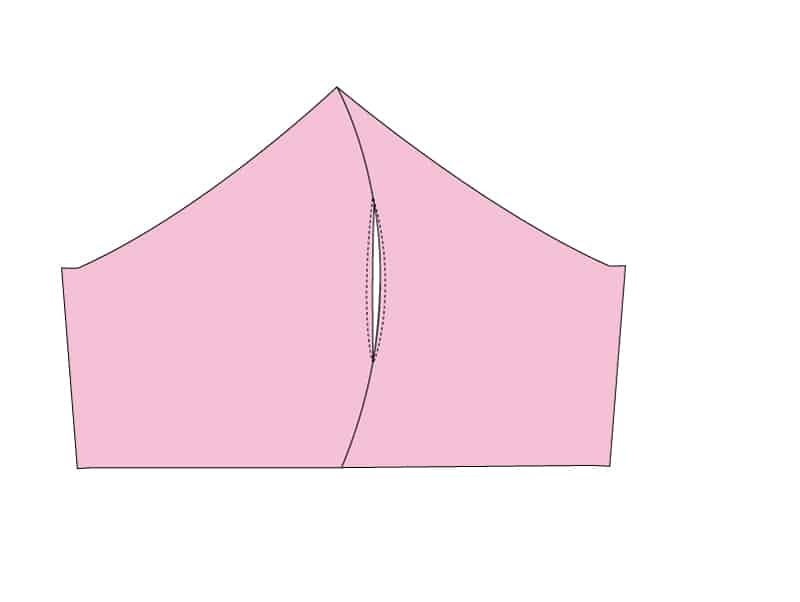
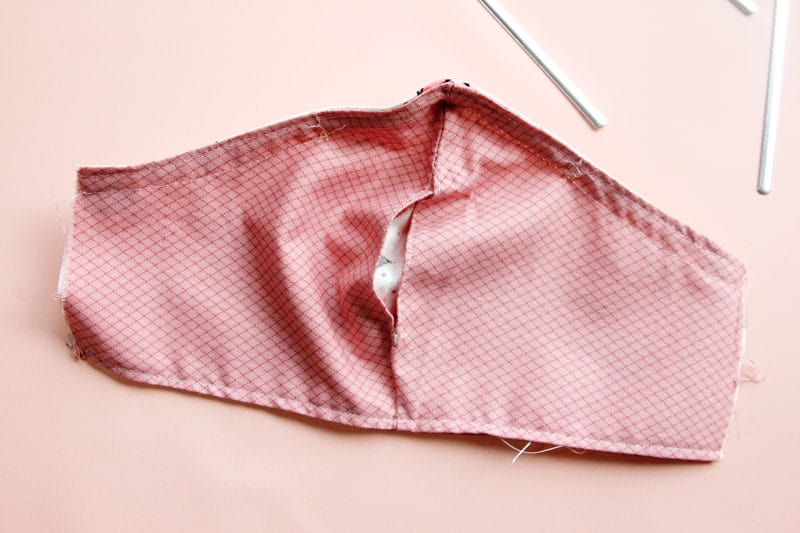
Slip the main fabric into the inside out lining. Pin layers together with right sides together.
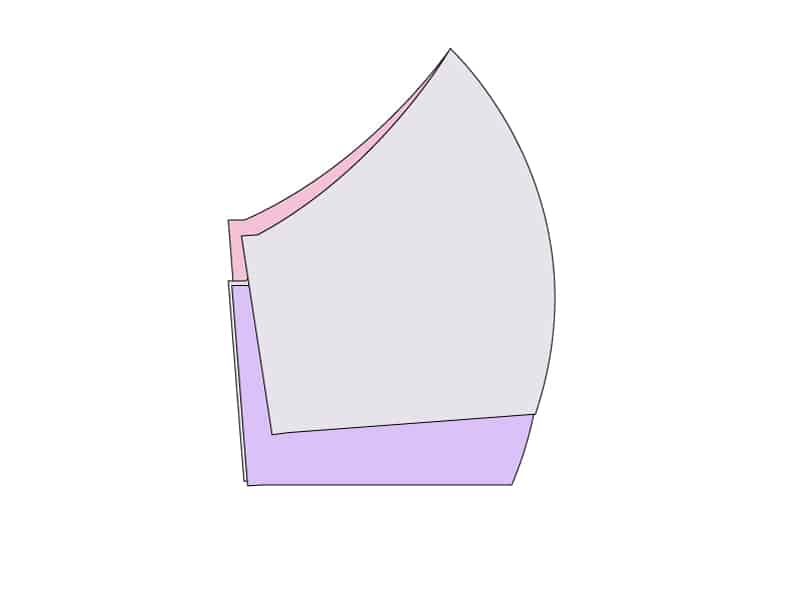
Open the masks so your top and bottom edges match. Sew along the top and bottom edges at 1/4″.
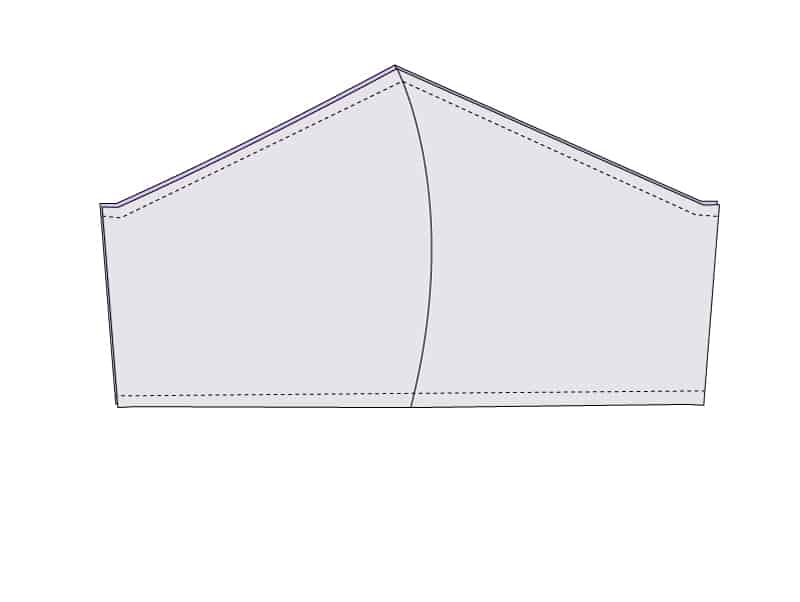
Turn right side out and press well.
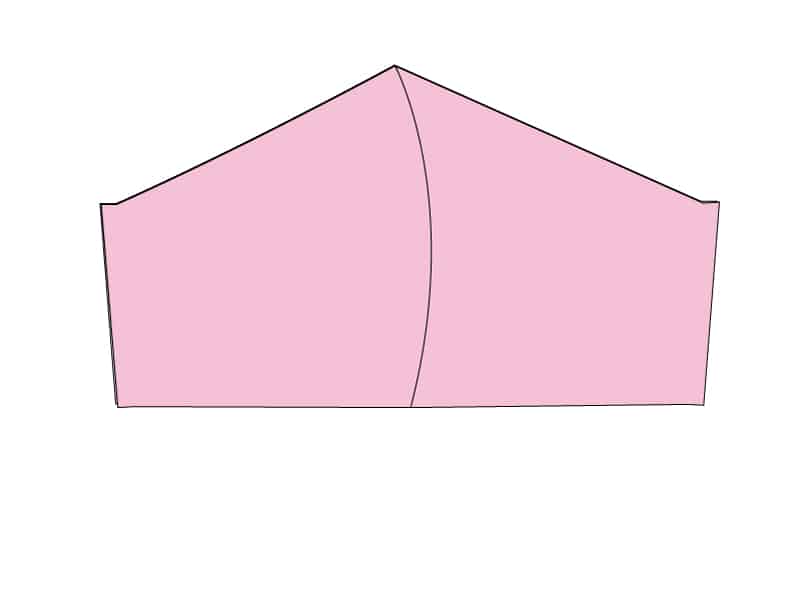
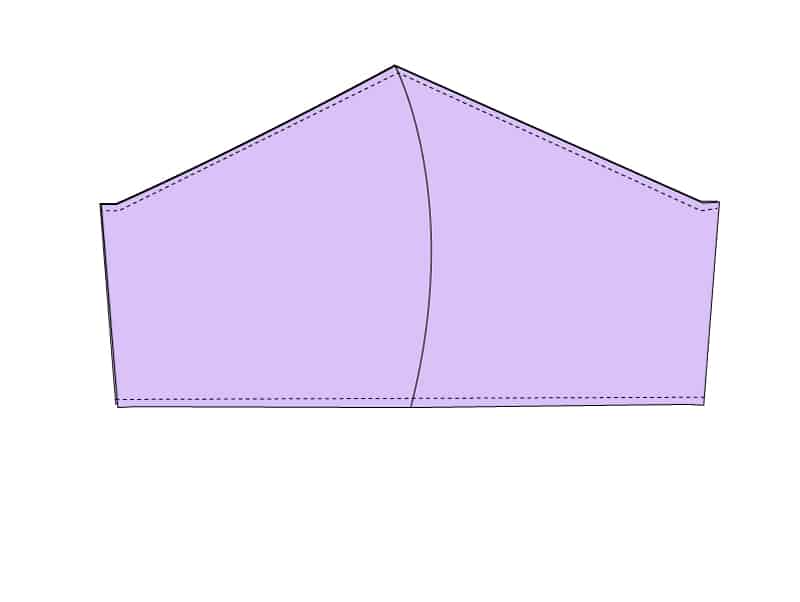
Topstitch along the top and bottom, 1/8″ from edges.
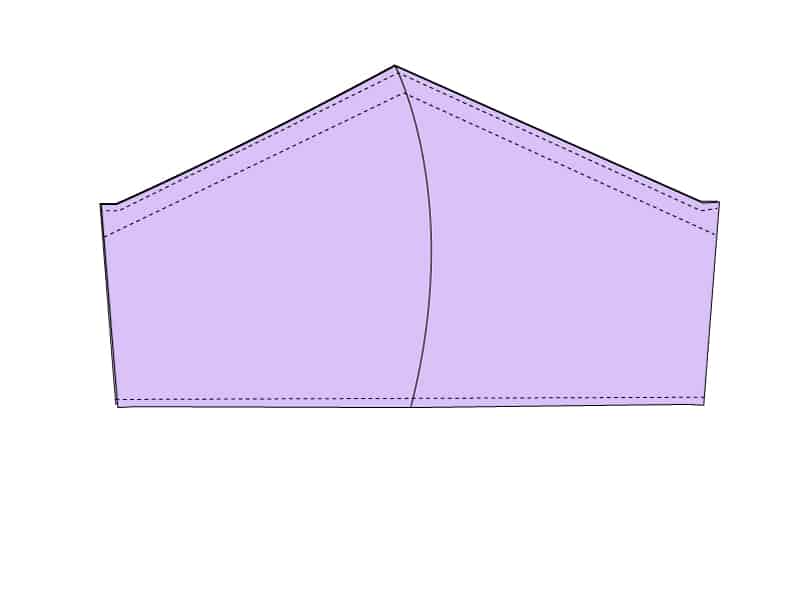
Sew a casing at the top of the mask by sewing another seam, 1/4″ from the topstitching.
Slip your nose wire into the casing.
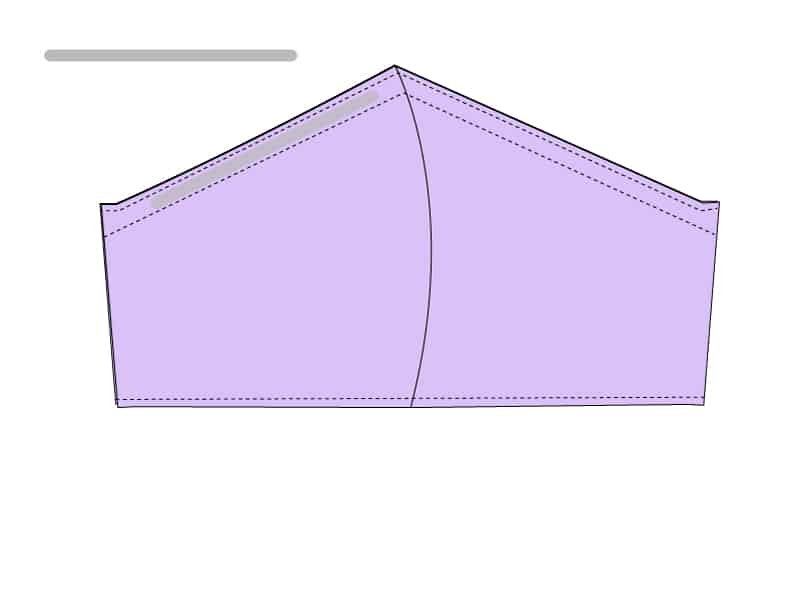
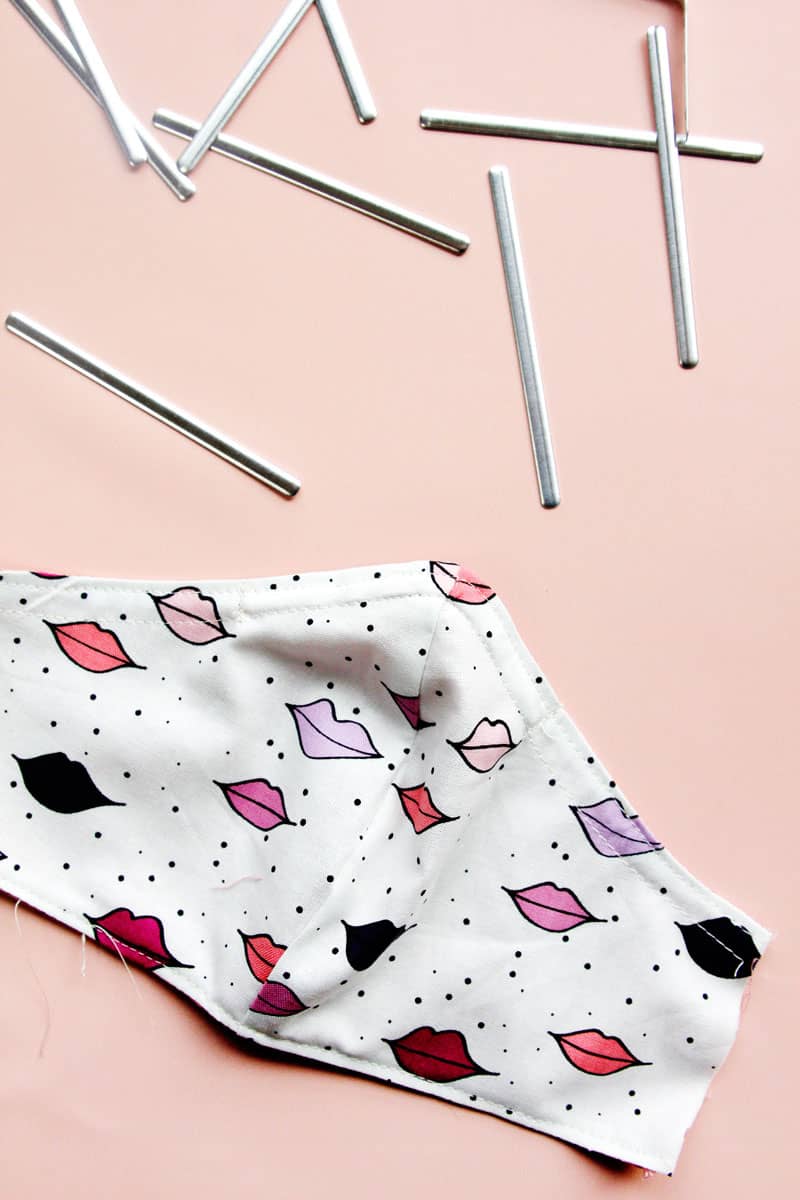

Bend it around the top curve and center. Then sew stitching on either side to secure nose piece in place. Backstitch.
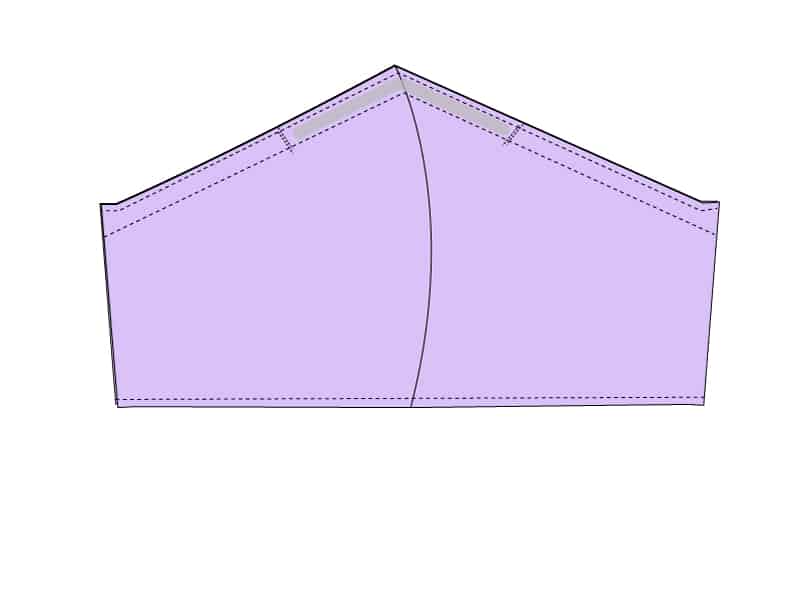
Fold side of mask over 1/4″ on the lining side. Press.
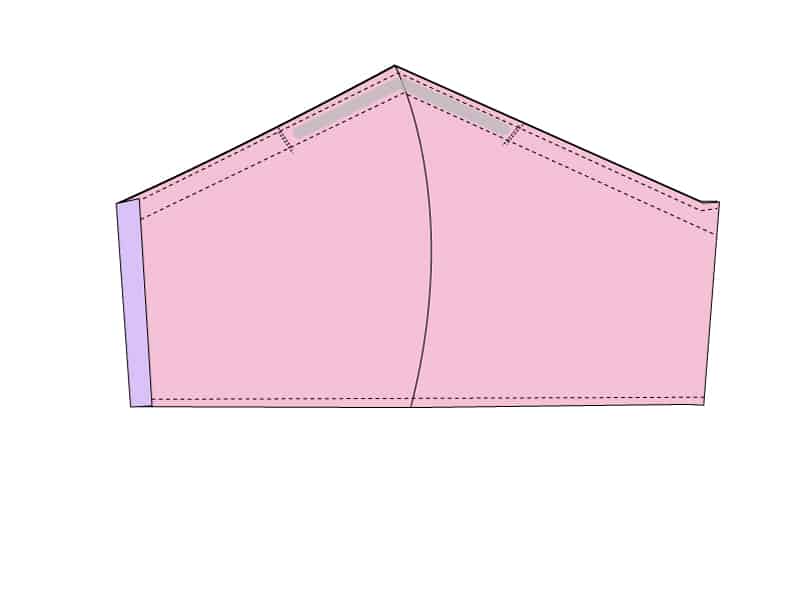
Fold side under again 3/8″ and press.
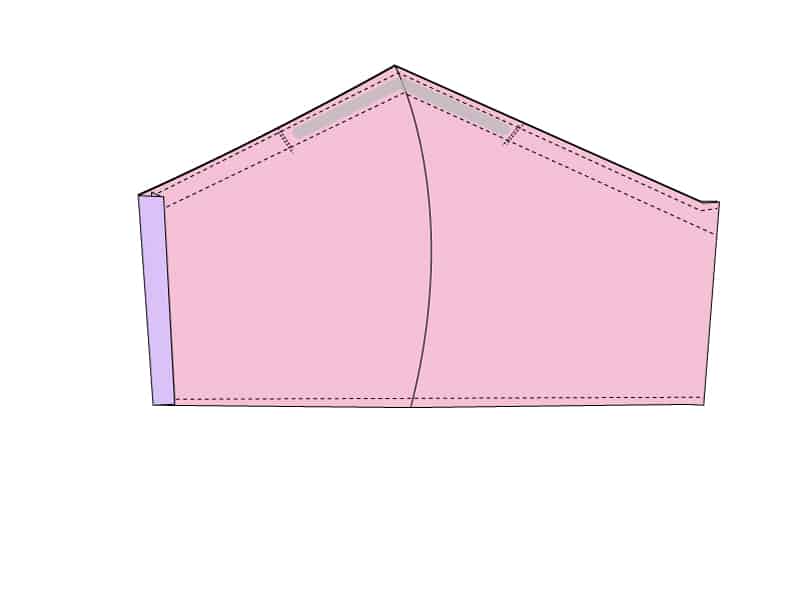
Tuck ear loop elastic into the fold. Pin fabric down.
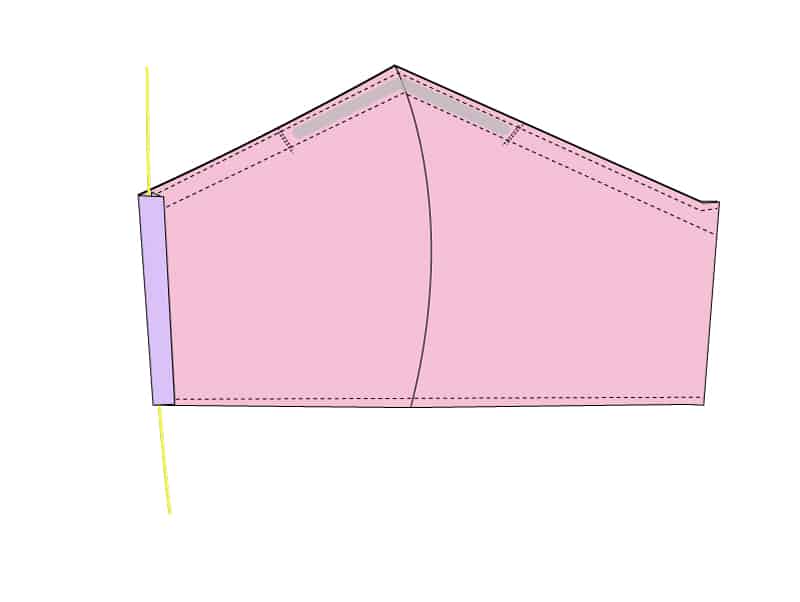
Stitch close to the edge of the folded fabric to create a casing for the elastic. Sew, trying not to sew over the elastic!
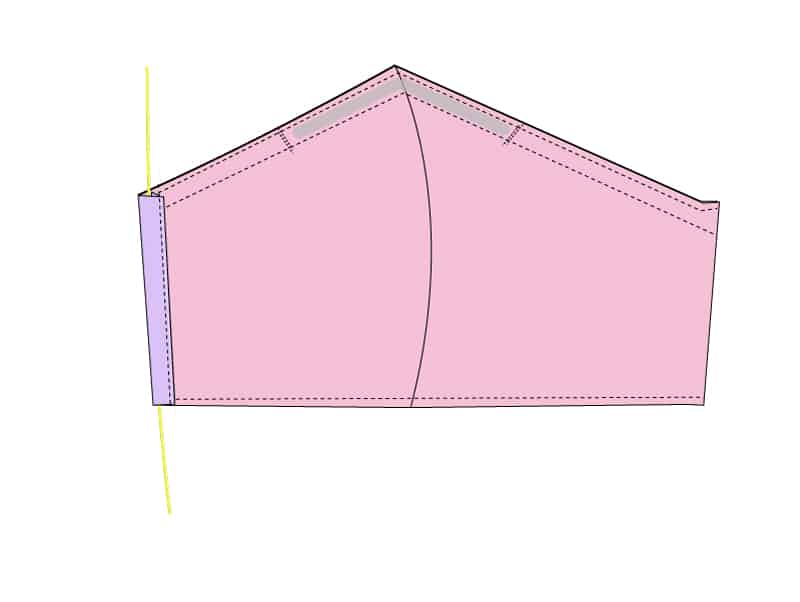
Tie elastic in a knot and spin around to tuck knot into the casing. Repeat on the other side.
List of Face Mask Patterns
Find the best face mask for you! You may want to try a few different styles and types of masks before committing, especially if you are sending a child back to school with masks.
- 3D Mask Pattern and Instructions – 5 sizes for kids and adults
- The basic child mask is easy to sew and comfortable to wear
- See how to use pipe cleaners as a nose wire
- These masks don’t contain elastic which is best for sanitizing at high heat
- Best masks for grocery store runs – 3 versions
- Surgical Cap or Scrub Cap Tutorial and Pattern
- Tips for making lots of masks faster!
- Printable ‘Take a Mask’ Download for delivery drivers
*







I have been trying to locate the free 3d facemask template and instructions without any success. Could you advise me where to find them, please? Thank you
https://seekatesew.com/3d-mask-template/
Can I sew this mask with out adding the nose wire??