• Skip to main content
  • Skip to primary sidebar
  • Skip to footer
  • Blog
  • About
  • Contact
  • FAQ
  • Sponsor

see kate sew

sewing, crafts, tutorials, DIY

  • Patterns
    • Free Patterns
    • Pattern of the Month
  • Tutorials
    • Accessories
    • Bags and Pouches
    • Clothing
    • Costumes
    • Crafts
    • Cricut Projects
    • Holiday
    • Household
    • Kids
    • Maternity
    • Quilting
  • Topics
    • Baby
    • Boy
    • Christmas
    • dog
    • Dolls
    • Easter
    • Girl
    • Halloween
    • Lookbook
    • Party
    • pet
    • Printables
    • Training
    • women
  • No Sew
  • Sewing 101
  • Sew4Good
  • Pet
  • Sewing Room
    • DreamBox
  • Reviews
Home
  • Patterns
    • Free Patterns
    • Pattern of the Month
  • Tutorials
    • Accessories
    • Bags and Pouches
    • Clothing
    • Costumes
    • Crafts
    • Cricut Projects
    • Holiday
    • Household
    • Kids
    • Maternity
    • Quilting
  • Topics
    • Baby
    • Boy
    • Christmas
    • dog
    • Dolls
    • Easter
    • Girl
    • Halloween
    • Lookbook
    • Party
    • pet
    • Printables
    • Training
    • women
  • No Sew
  • Sewing 101
  • Sew4Good
  • Pet
  • Sewing Room
    • DreamBox
  • Reviews

04.15

Nose Wire For Face Mask using a Pipe Cleaner!

Welcome to See Kate Sew! If you’re new here, sign up for my email newsletter for access to free patterns, tutorials and all the latest sewing news! Tour my sewing room HERE!

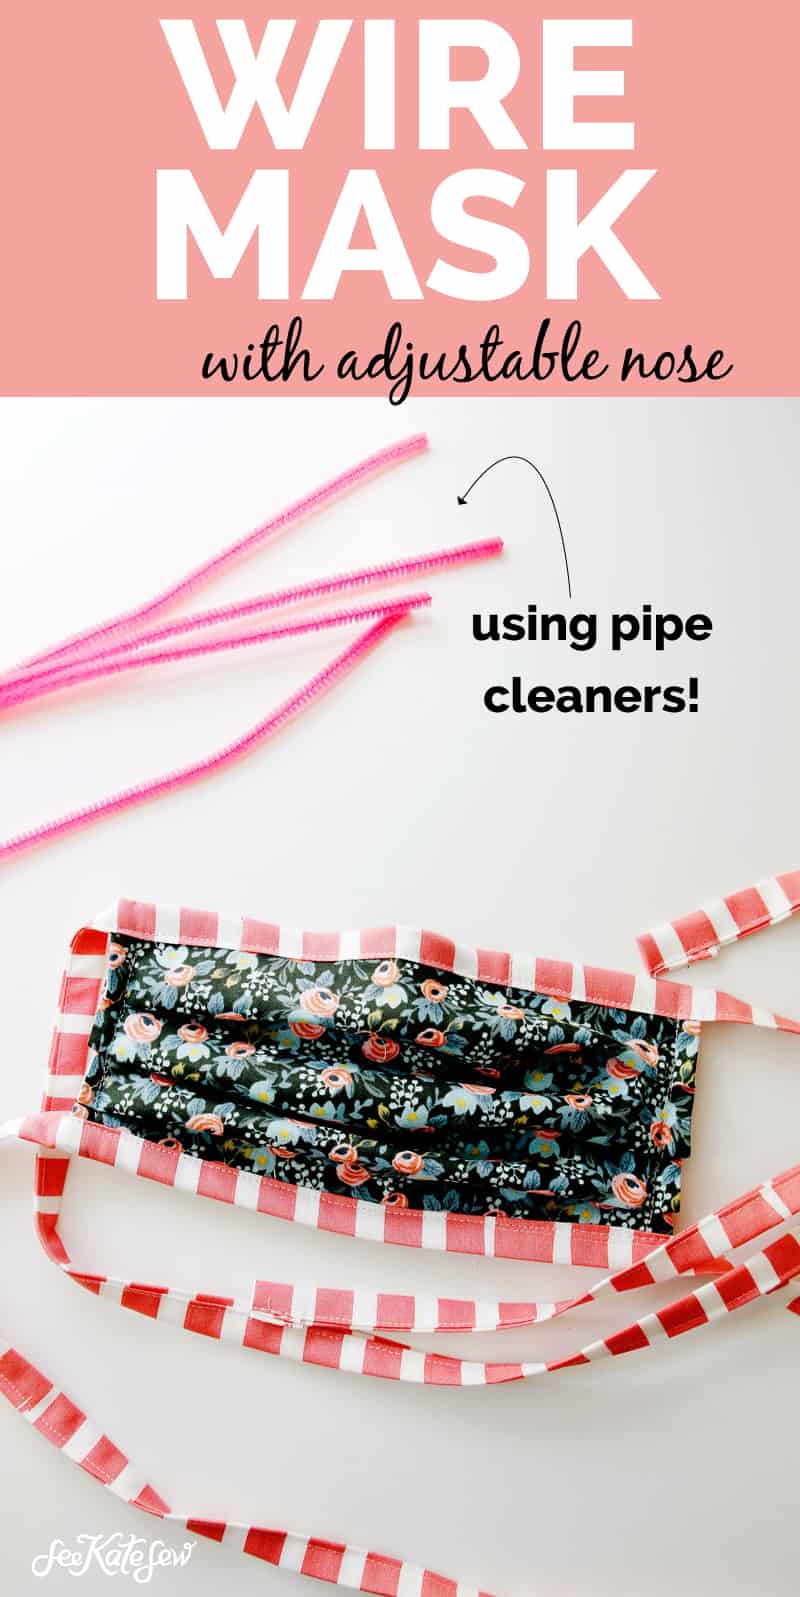
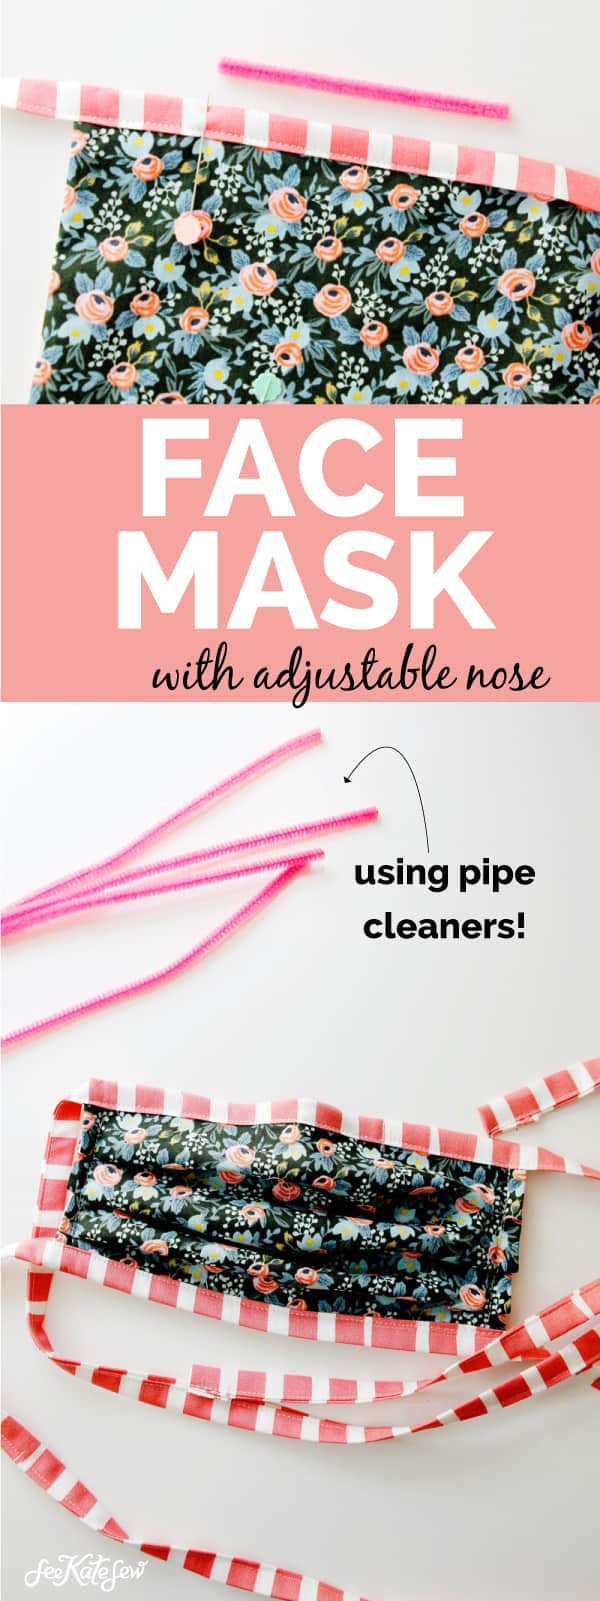
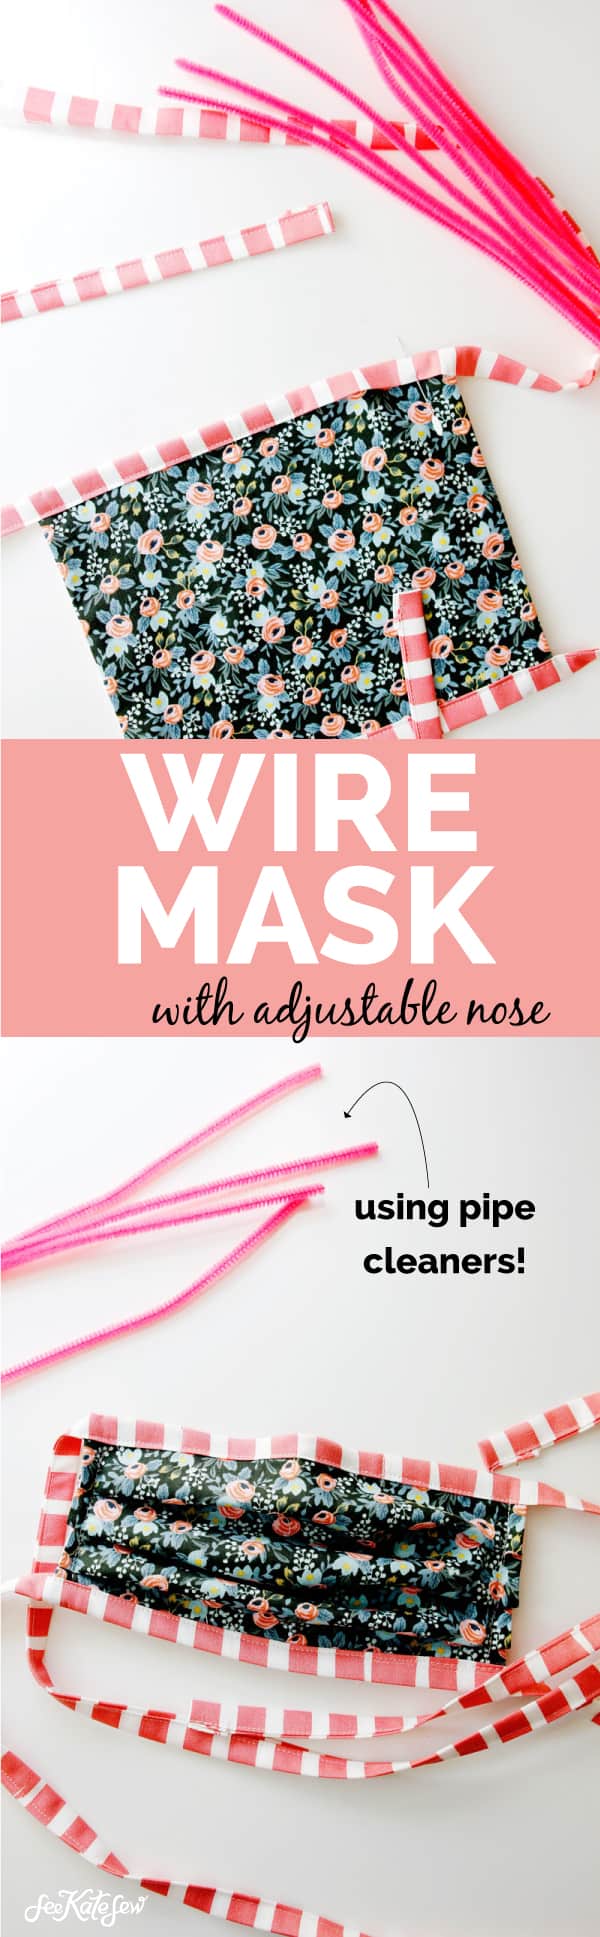
There are a few ways to make a nose wire for face mask projects. In this tutorial I will show you how to add a pipe cleaner to make an adjustable nose mask and also suggest other things you can use as a nose shaper for face masks.

Nose Wire in Face Mask with Pipe Cleaner

A wire across the top of face mask allows it to be contoured over the nose for a better fit. This also helps those who wear glasses not get foggy glasses and also better protects against germ spread!

Nose Wire For Face Mask using a Pipe Cleaner | And other suggestions for nose contouring materials

Nose Wire Face Mask Material Suggestions:

  • Pipe cleaners
  • Garden wire
  • Jewelry wire
  • Twist ties, such as from a bread bag or purchase here
  • Metal brackets made for this purpose

If you are creating these as a donation for a hospital or other center, make sure you know their sanitizing process so you can choose a material accordingly.

If you are making them for yourself, choose whatever material you have on hand. I recommend pipe cleaners if you have access to them because they are easy and not as pokey as plain wire.

Related Posts

–Best masks for grocery store runs – 3 versions
–Best mask for hospital donations – this one has no elastic!
–Surgical Cap or Scrub Cap Tutorial and Pattern
–Kids Mask Template
–Tips for making lots of masks faster! 
–Printable ‘Take a Mask’ Download 

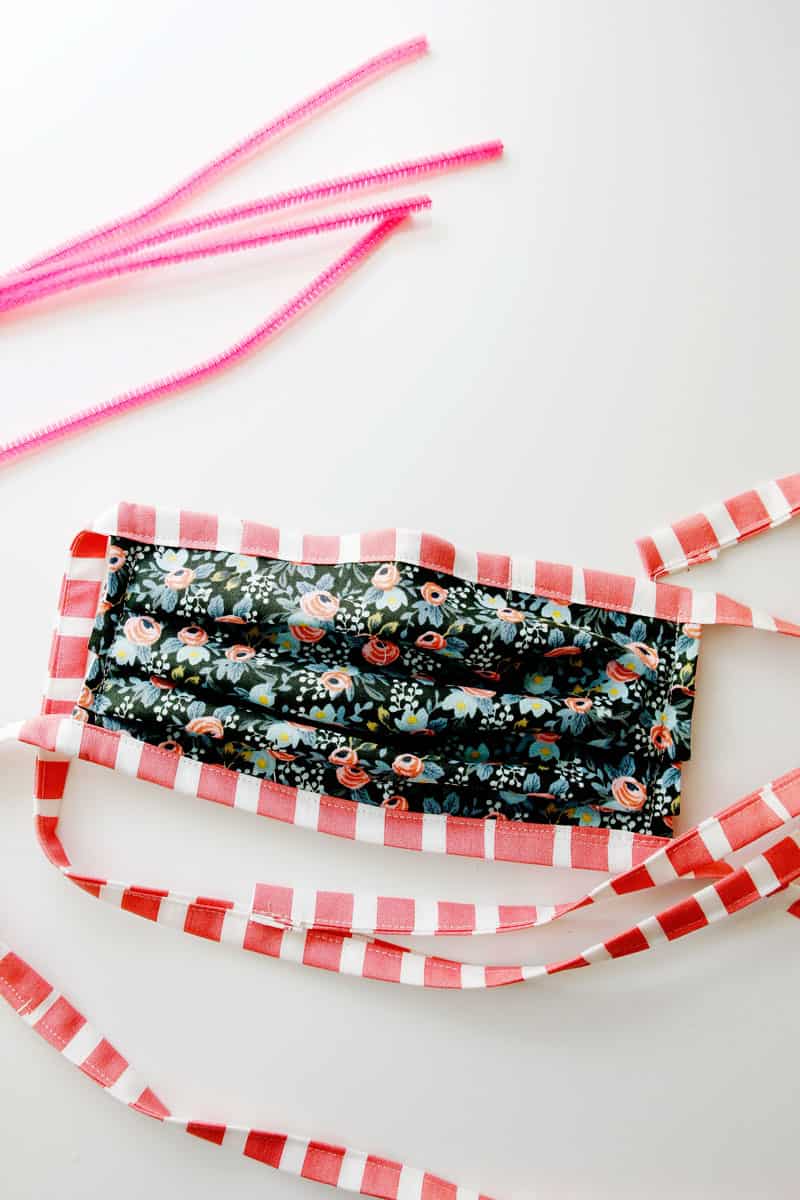
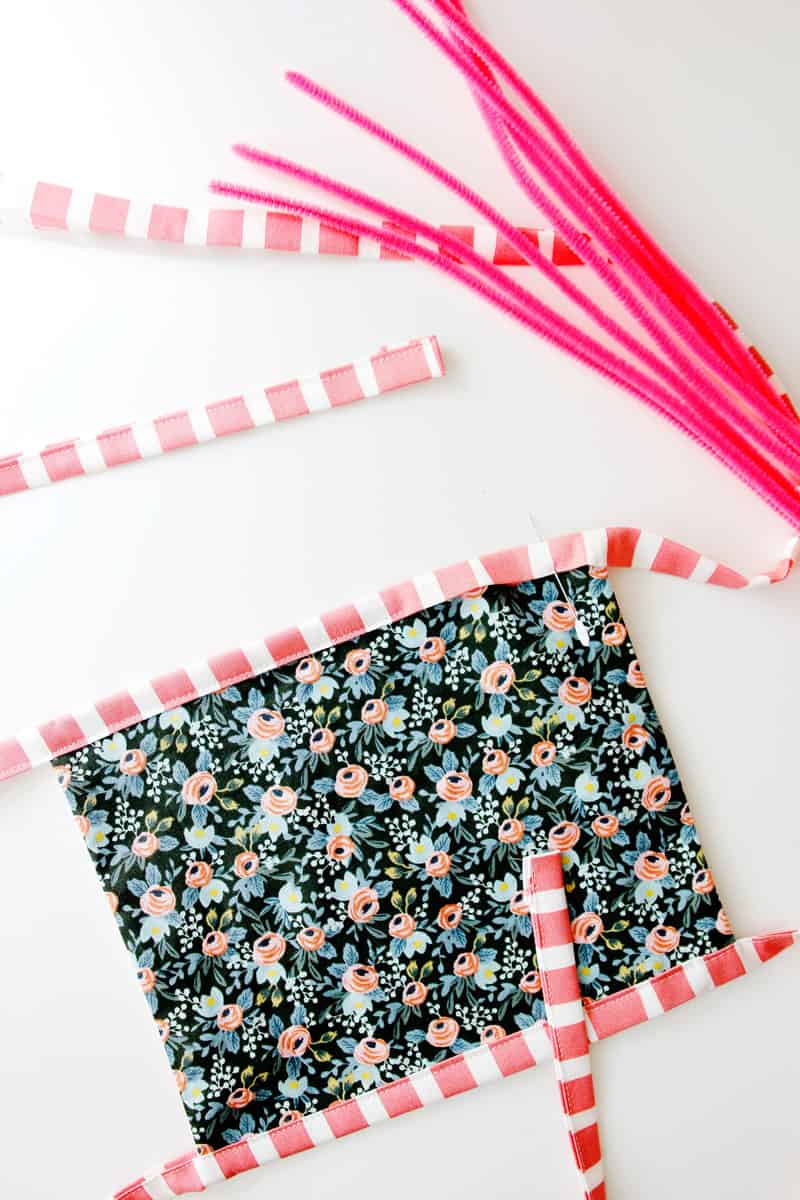
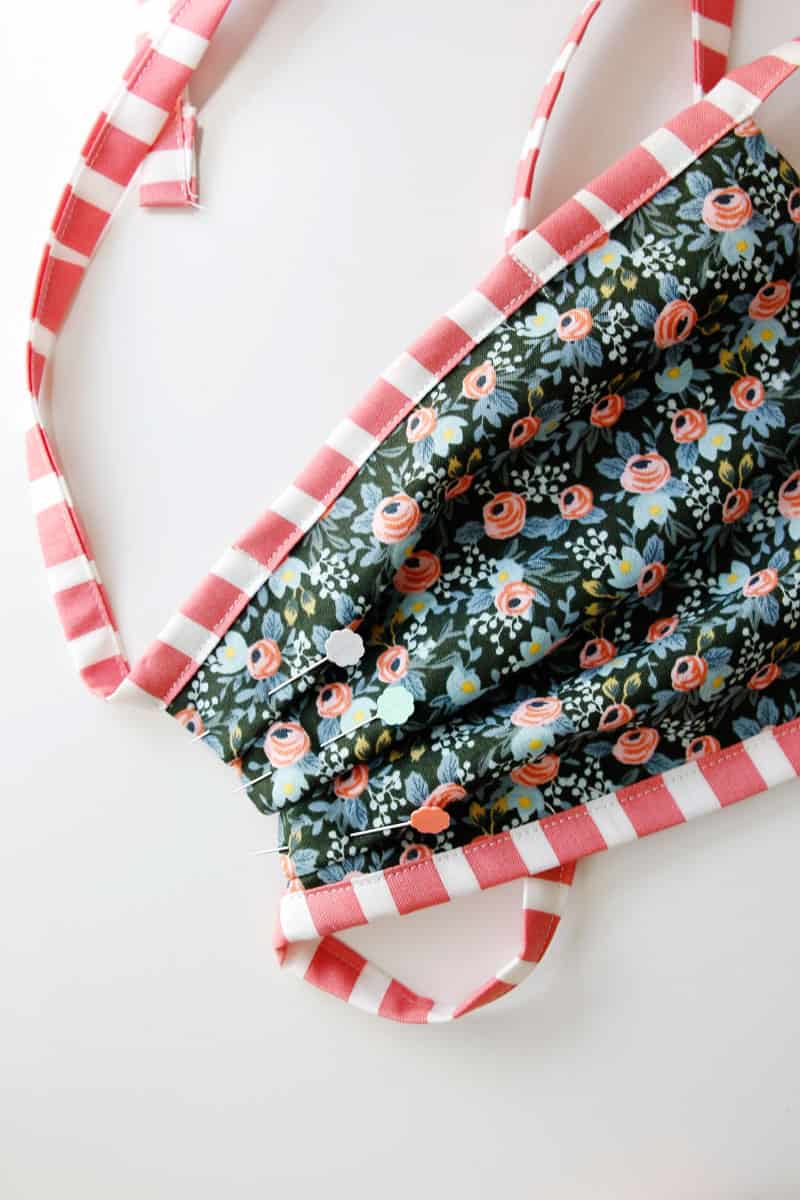
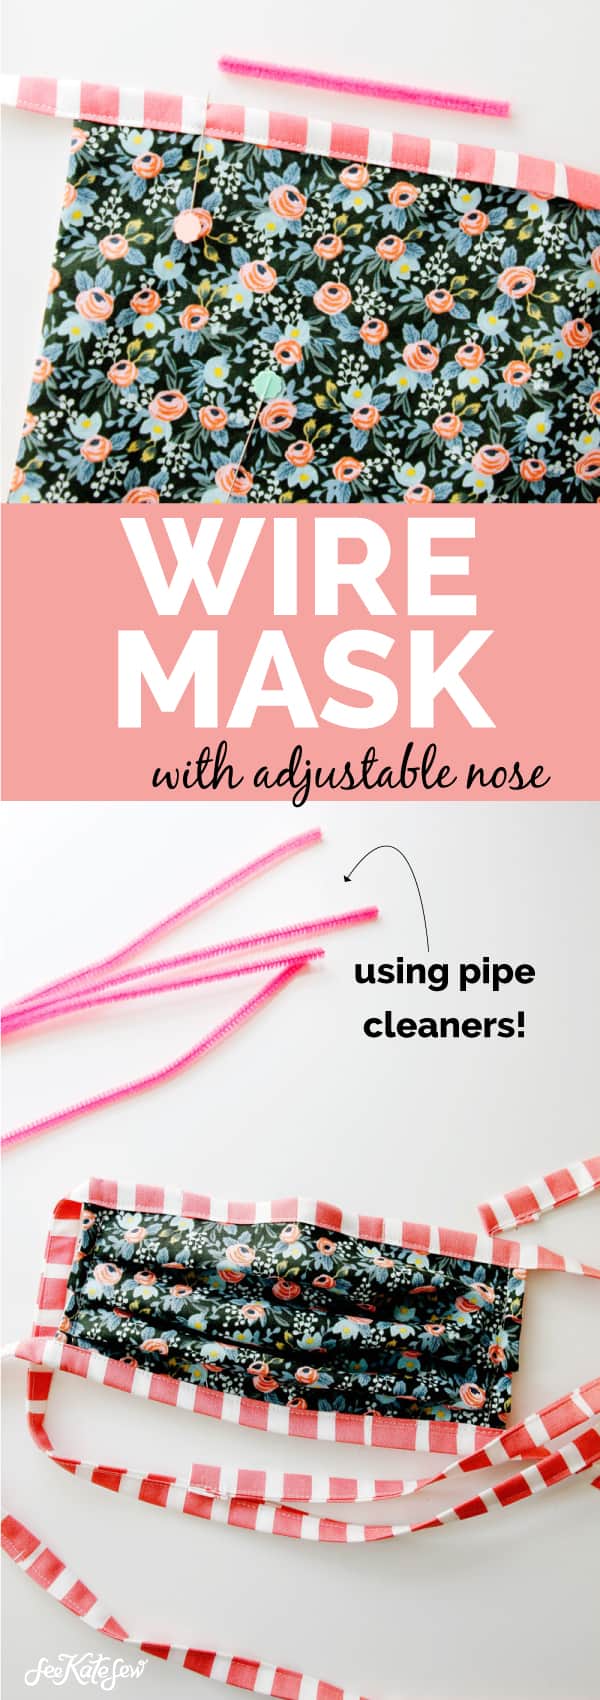
Add a nose wire to a mask with binding

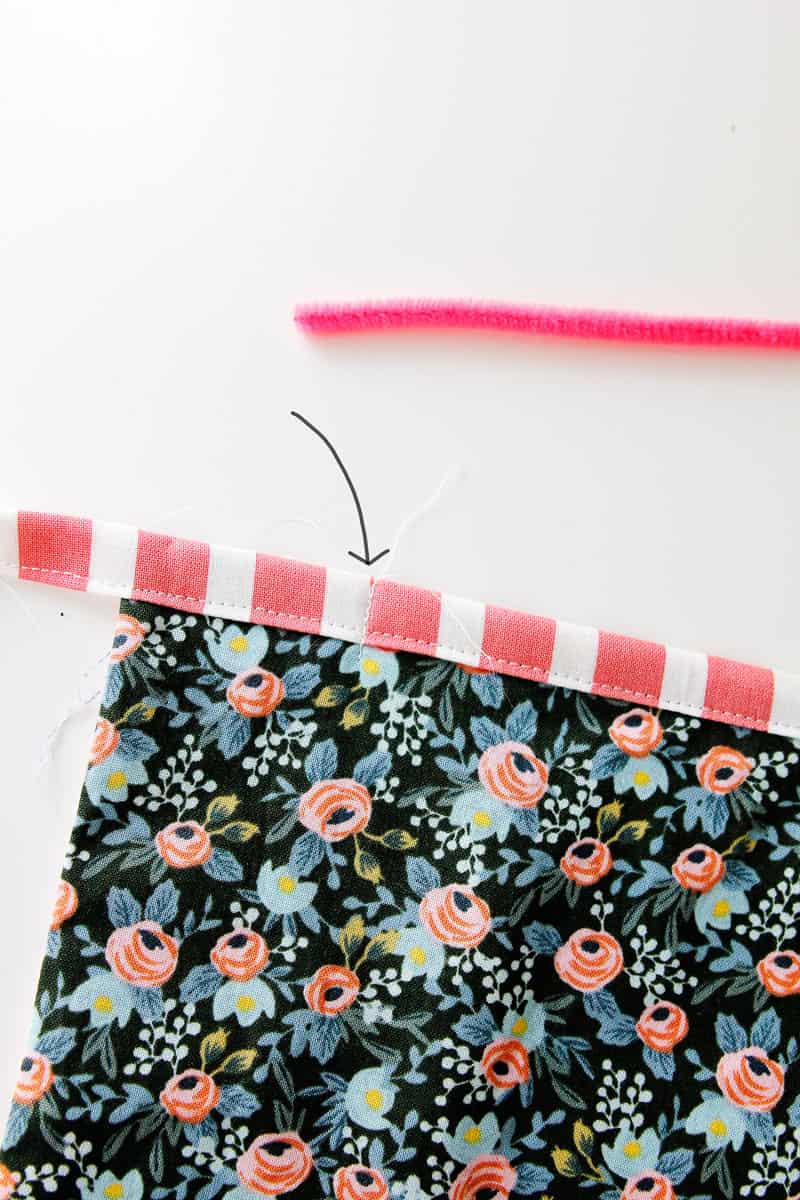
To add a wire to a mask that is bound along the top with either binding or bias tape, complete your mask up until the point where you add the top binding.

Nose Wire For Face Mask using a Pipe Cleaner | And other suggestions for nose contouring materials

Sew the top binding from one end until about 2″ from the open edge then stop. Topstitch perpendicular to the binding where shown in the photo below to create a stop for the pipe cleaner.

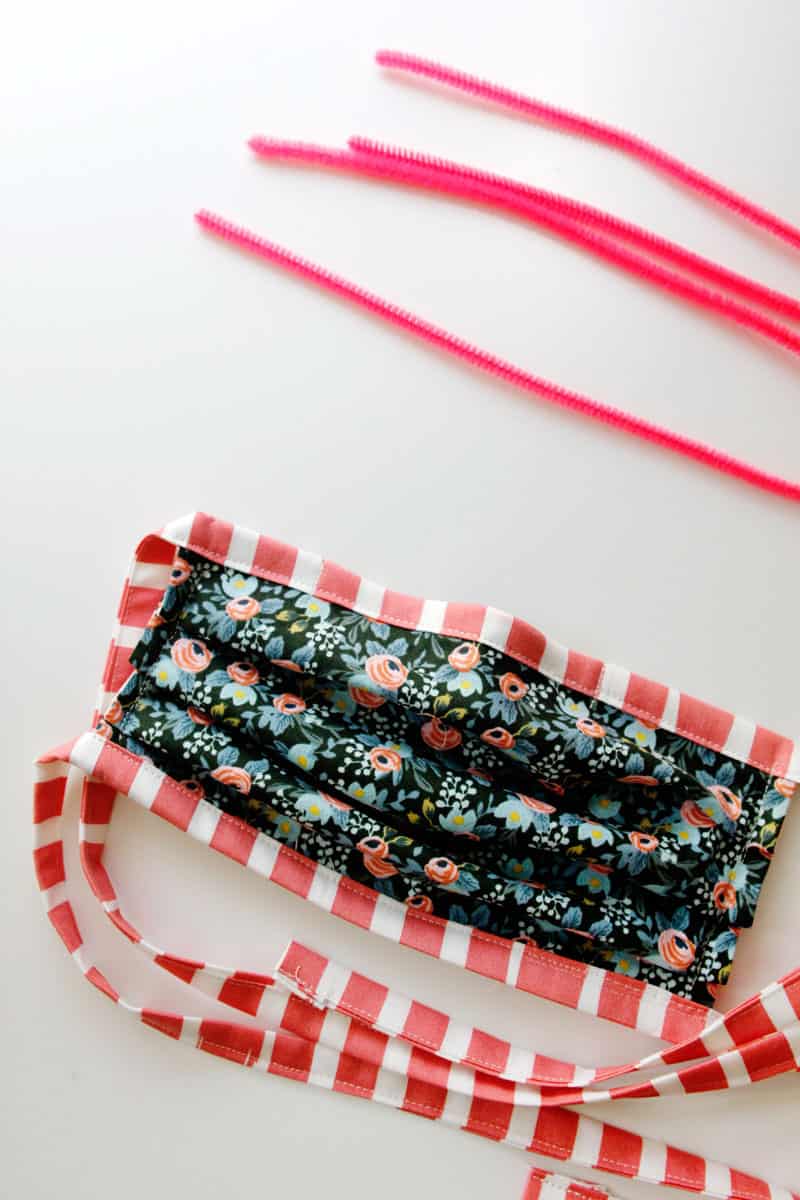
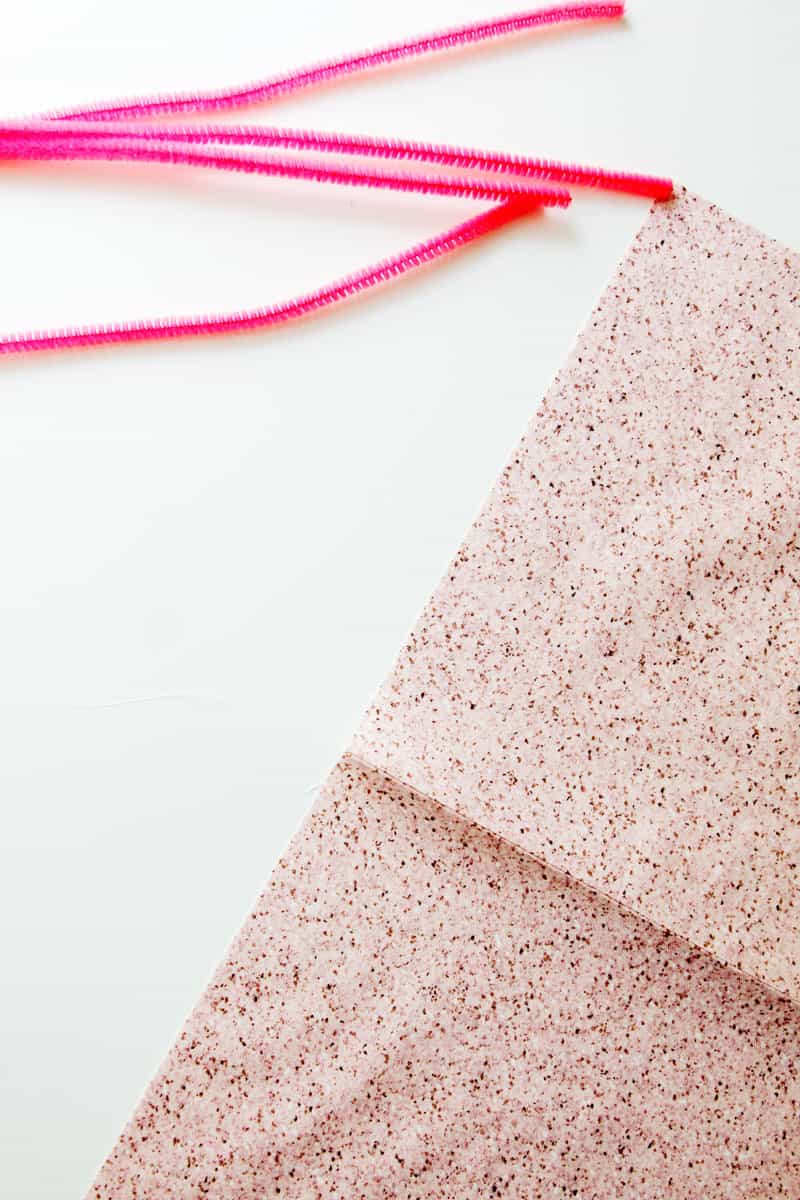
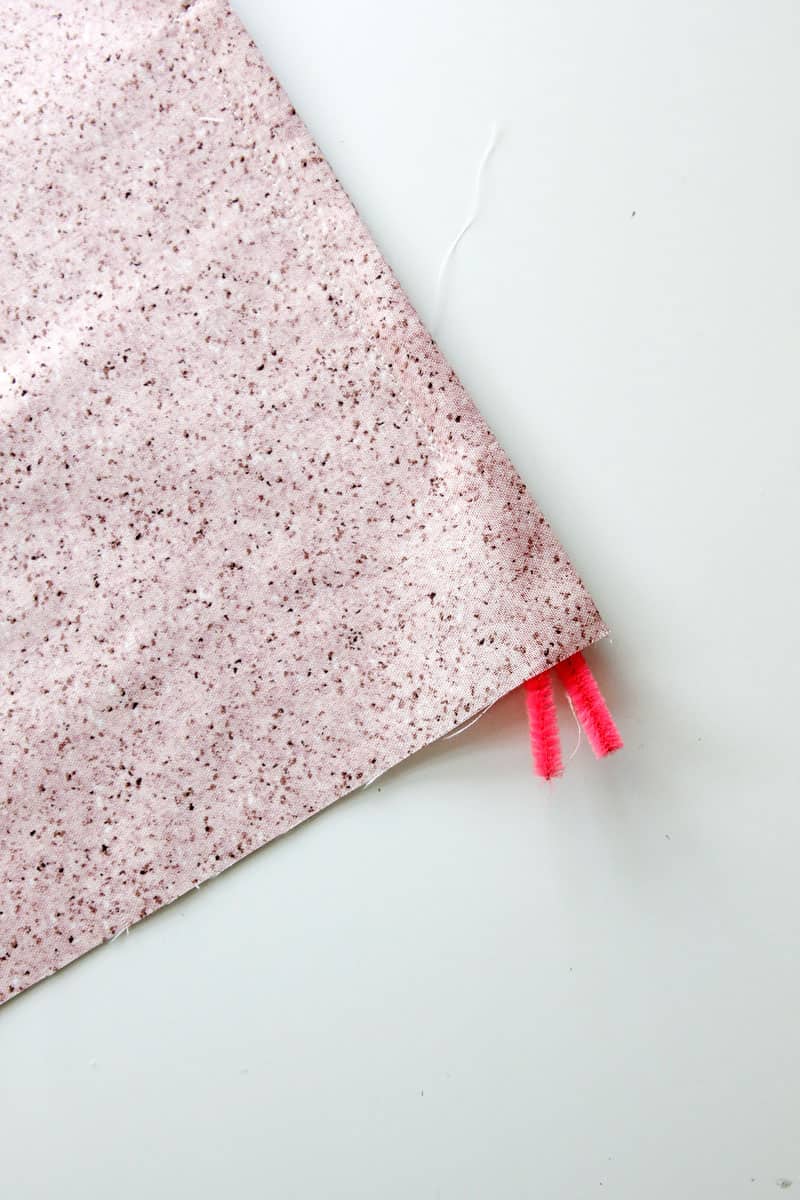
Cut a piece of your nose wire about 4″ long, depending on how much control you want along the top of the mask. You can use 2 pieces of pipe cleaner if you want a firmer hold.

Slide the pipe cleaner into the casing until it hits the end where you created that stop.

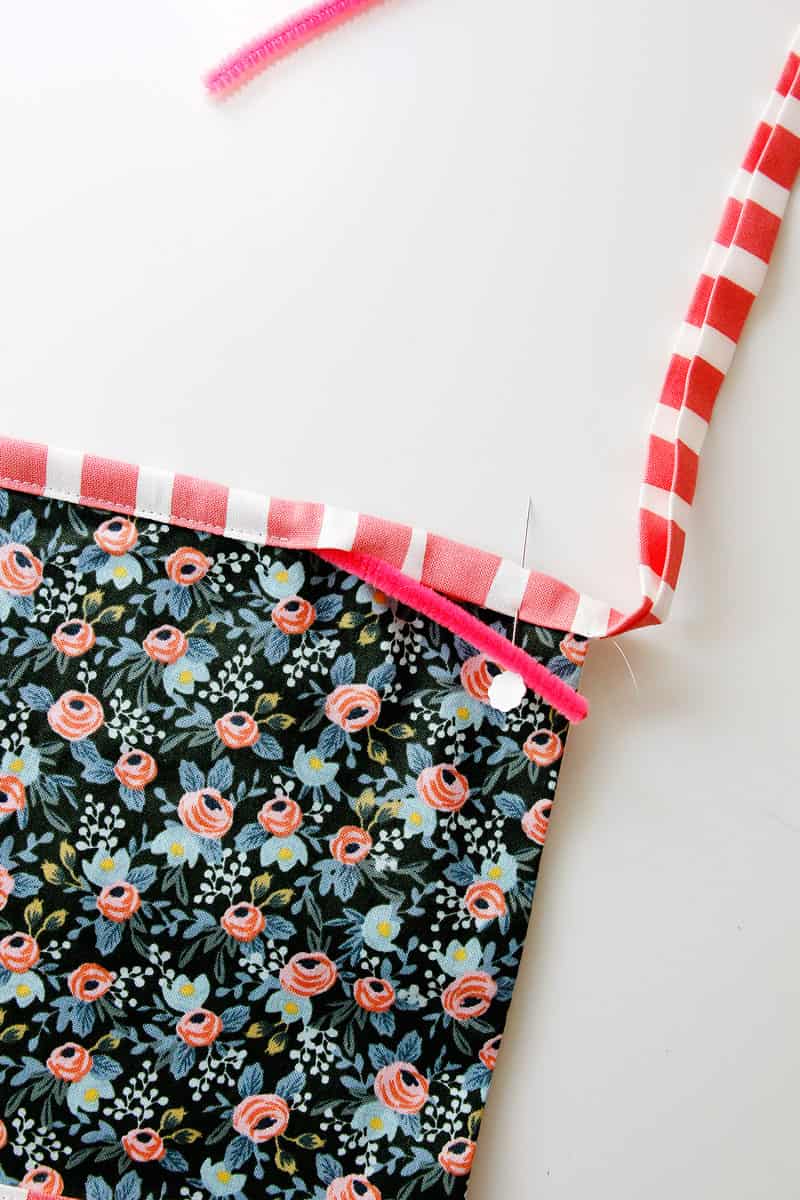
Tuck it all the way in and then finish sewing the binding. You’ll also create another “stop” at the other end of the pipe cleaner to keep it in place.

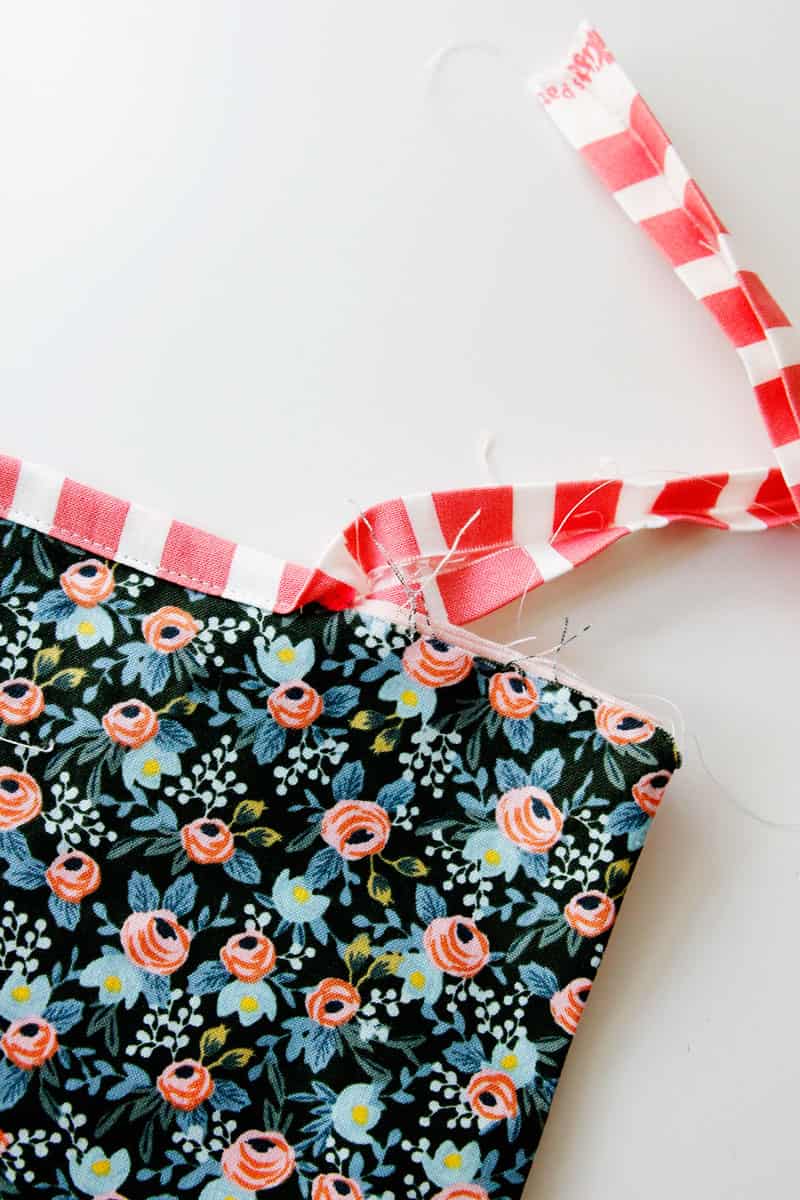
Finish sewing the mask!

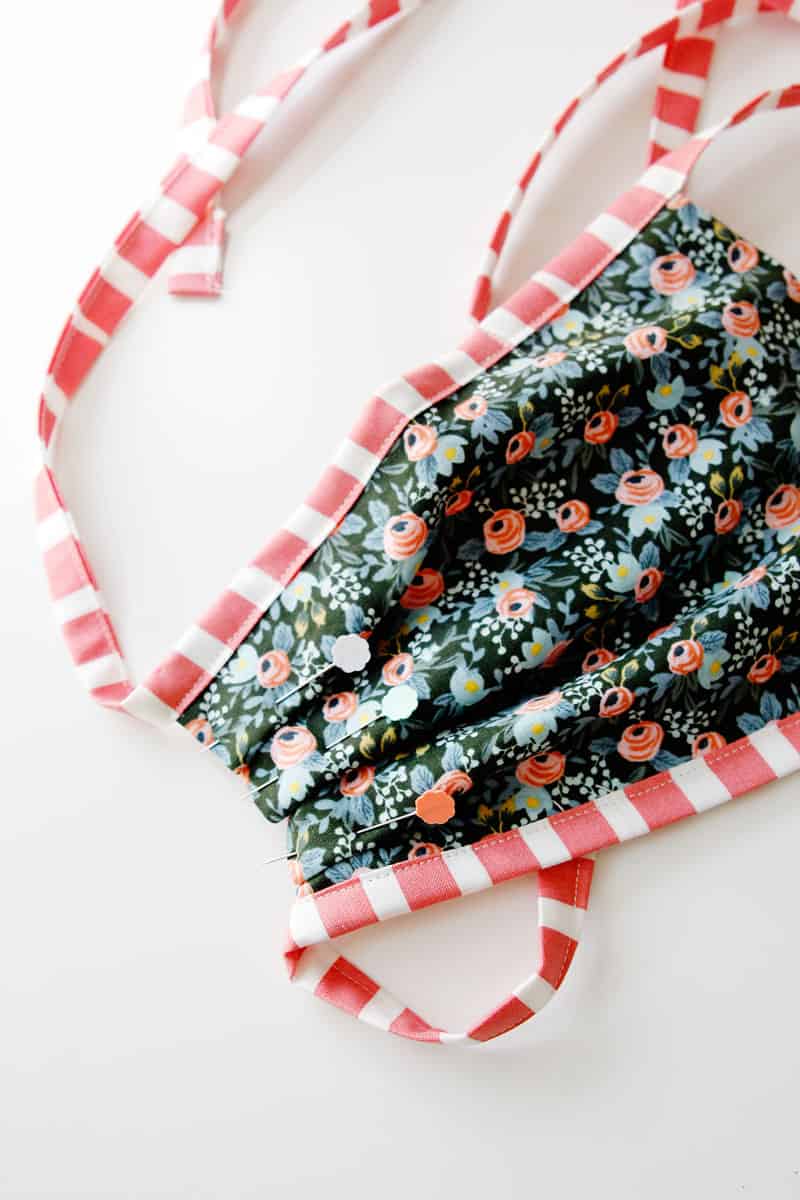
Instructions for elastic mask with wire

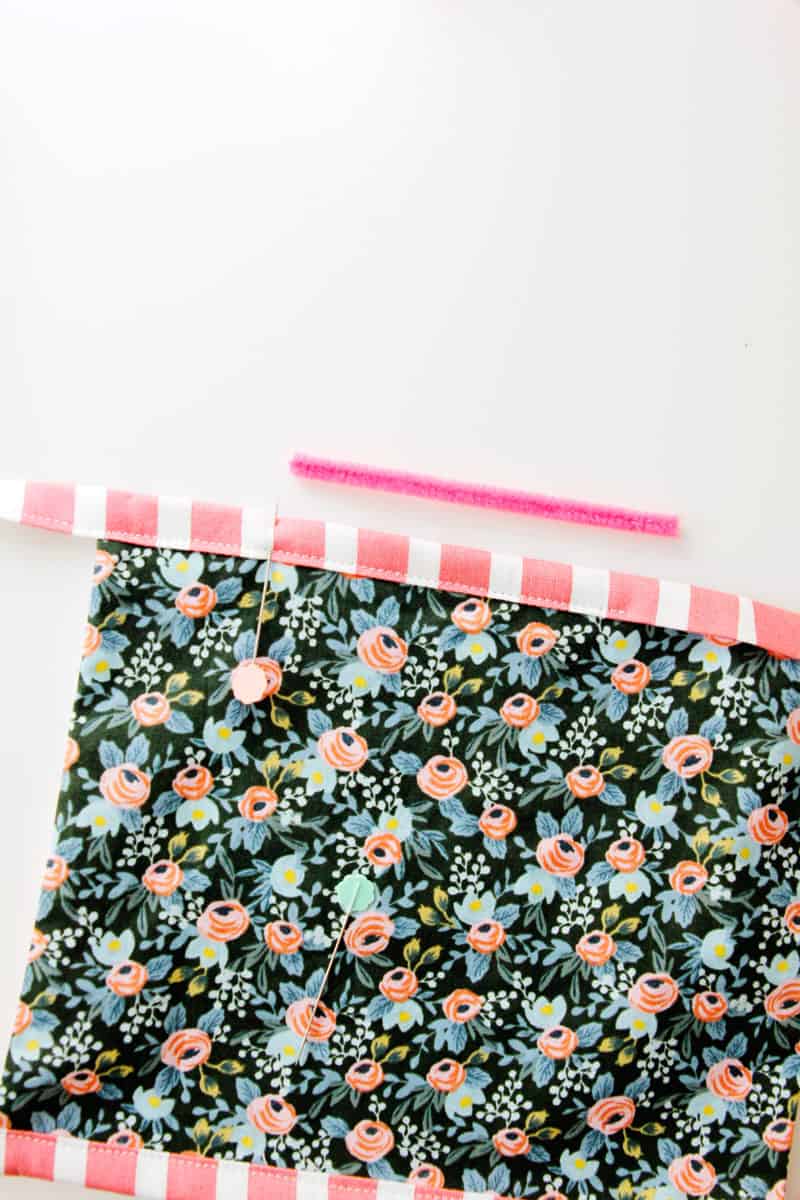
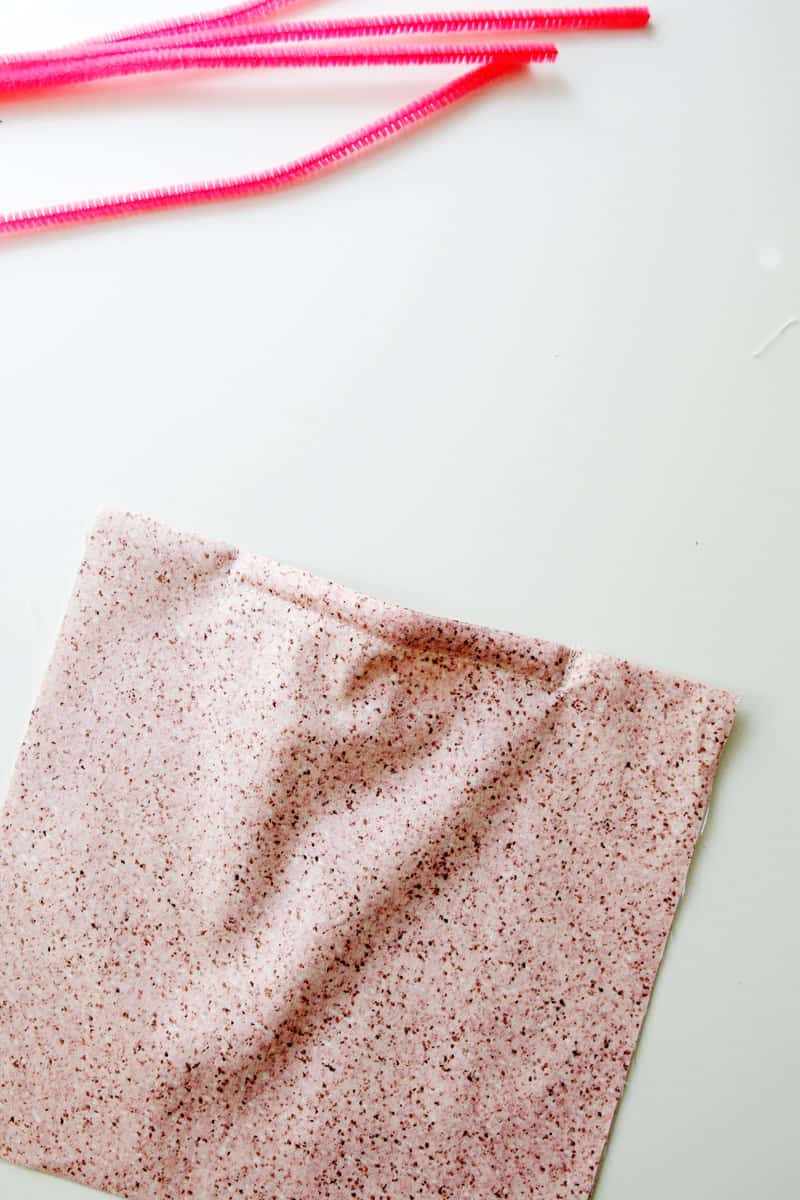
To add a wire to the top of an elastic style mask (from this elastic mask tutorial), sew the front and back together at the top. Fold right side out and press.

Place your 4″ pipe cleaner strip on the seam and center. Mark both ends with pins.

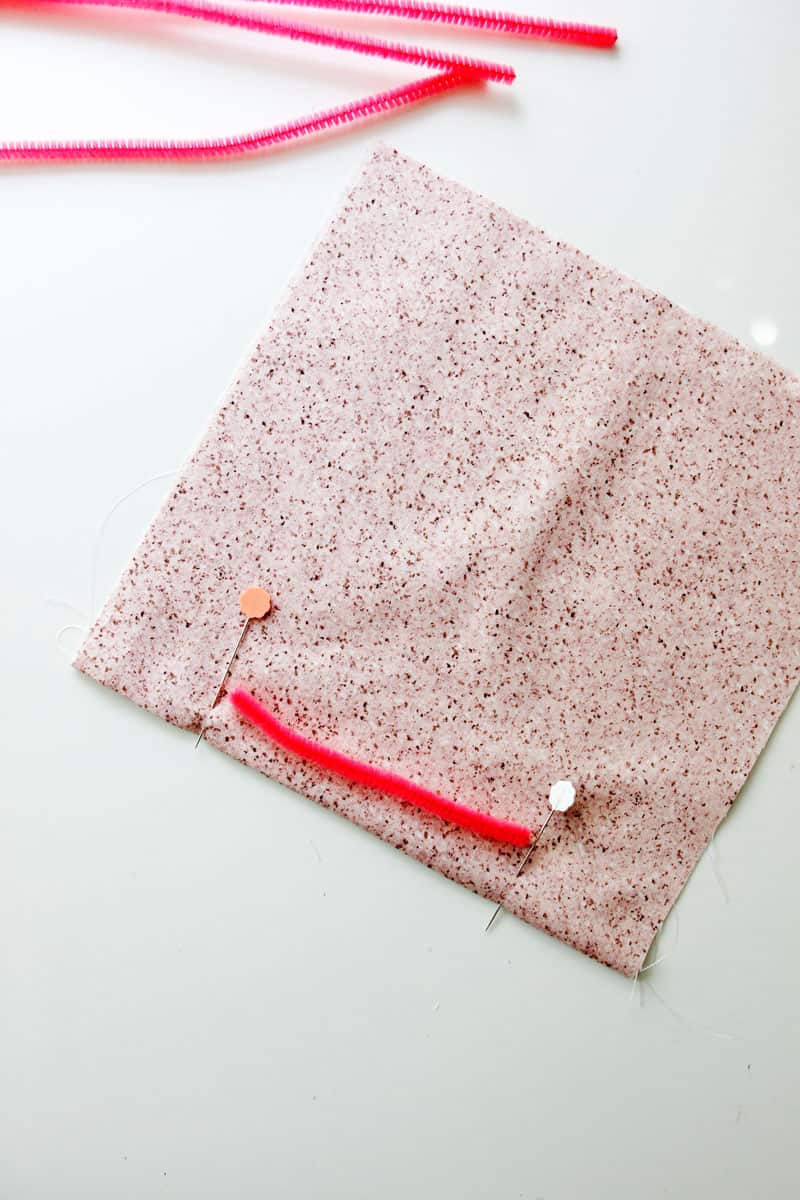
Use the marks to create a casing. Leave the end open.

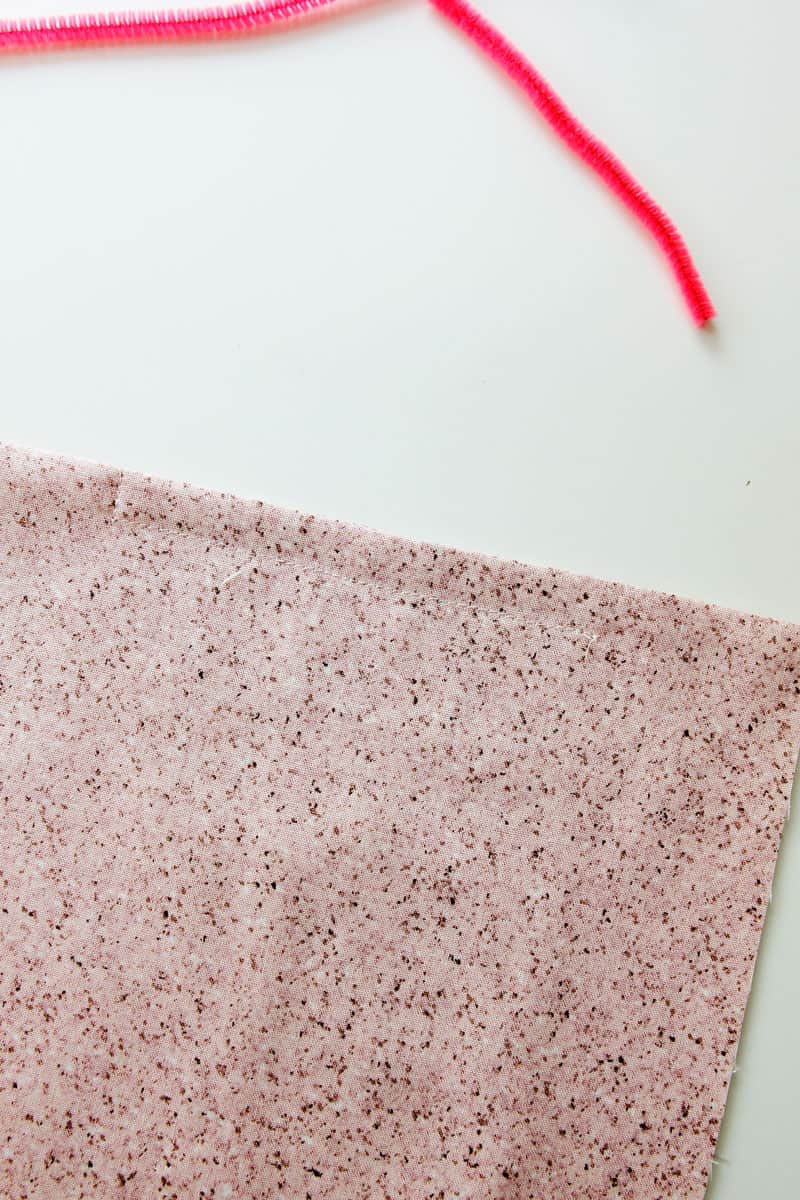
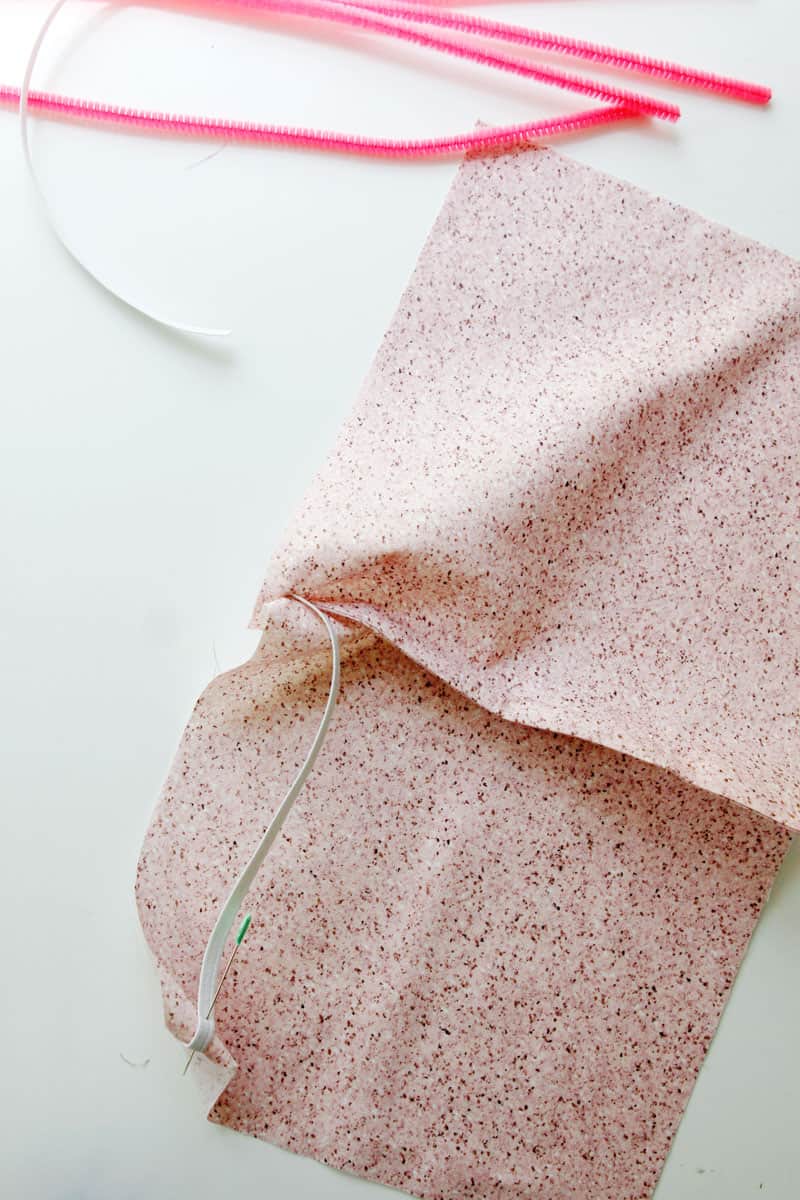
Slip in one or two 4″ lengths of pipe cleaner. Two will make the mask hold better.

Finish the casing.

Make a Face Mask with Adjustable Nose

The continue sewing the mask how you would have without the pipe cleaners.

Nose Wire Face Mask | Make a Face Mask with Adjustable Nose
Make a Face Mask with Adjustable Nose
Nose Wire for Face Mask Materials Suggestions and Tutorial
Make a Face Mask with Adjustable Nose

5 Comments | Sew4Good, Sewing 101, Tutorials

Exclusive Free PatternRuffled Apron

Sign up for my email newsletter and receive my ruffled apron pattern totally FREE!

We take your privacy seriously. See our privacy policy here. Unsubscribe at any time.

You may also like these posts...

sewing 101: using the buttonhole attachmentpatternmaking: add a pleat to any patternThe CALLIE top pattern by See Kate Sewthe CALLIE TOP SEWALONG // Sleeves, buttons and hemsewing 101: guidelines for interfacingsewing 101: guidelines for interfacing

Reader Interactions

5 Comments

  1. Nora Rucker

    04/16 at 9:21 AM

    Thank you! I was told by the medical center we are sewing for not to use pipe cleaners, as they do not dry well. Personal use @home, shopping, etc. is fine.

  2. Faith Tyndall Newell

    04/16 at 12:16 PM

    I have found that using 8 inches of pipe cleaner, doubling it and clamping down the sharp end with jewelry pliers or any pliers you may have, and then making a pocket on the back side of the mask to hold the nose clip securely has worked very well.

  3. Heather Jacobsen

    04/16 at 12:56 PM

    Thanks for the idea and information. How do the masks wash with the wire in them?

  4. Becky

    04/16 at 8:35 PM

    What size pipe cleaners do you use? I saw 4mm and 6mm on Amazon. I bought the 6mm and they are so flimsy I could hardly push them through the casing. I don’t see how they would keep their shape well enough to be effective. Maybe it’s because there are several layers of fabric across the nose of the pattern I used…main fabric, lining, and double thickness for casing. @beclee101

    • Karen Dahlquist

      04/18 at 9:12 PM

      I took pipe cleaners and folded into 3 — twisted and tuckeg rough ends of wire in — created a casing just below the area I placed tape strings. Sewed casing on one side and bottom. Pipe cleaner can easily be removed and replaced as needed.

Primary Sidebar

  • Facebook
  • Twitter
  • Instagram
  • Pinterest
  • Email

Exclusive Free PatternRuffled Apron

Sign up for my email newsletter and receive my ruffled apron pattern totally FREE!

We take your privacy seriously. See our privacy policy here. You can unsubscribe at any time.

Don’t miss these popular posts!

easy baby dress pattern for the summertime

easy baby dress pattern for the summertime

modern ombre + b/w triangle quilt tutorial + pattern

modern ombre + b/w triangle quilt tutorial + pattern

Fabric

Quilted Cosmetic Case Kiss Me KateKiss Me, Kate FabricOne Hour Granny Square Quilt Tutorial | See Kate SewModern Granny Square Quilt Whole Cloth

Pattern Hacks

Easy Baby Summer Dressthe EMMA pattern | See Kate SewThe EMMA Dress

Footer

Hello friends!

My name is Kate, a twenty something fashion lover and mother of two. When I’m not chasing kids you can find me at my sewing table or daydreaming up new designs. You can read more about me here. Thank you for visiting!

8a918f8da8e0e69102dc0f33a718de85a99c31a57283e0e3e2

FOLLOW ME HERE

  • Facebook
  • Twitter
  • Instagram
  • Pinterest
  • Email
  • Blog
  • About
  • Contact
  • FAQ
  • Sponsor

Copyright © 2022 See Kate Sew  •  All Rights Reserved  •  Privacy Policy  •  Site Design by Emily White Designs