Anyone else feeling frazzled from mask sewing!? It gives me such a good feeling but I also feel panicked trying to pump them out! Since these are so needed and RIGHT NOW I have streamlined my production process to make them quicker. So this post will tell you how to sew faster when mass producing! These tips are specifically for mask sewing but the same principles can be applied to other batch sewing projects and also to quilting projects. 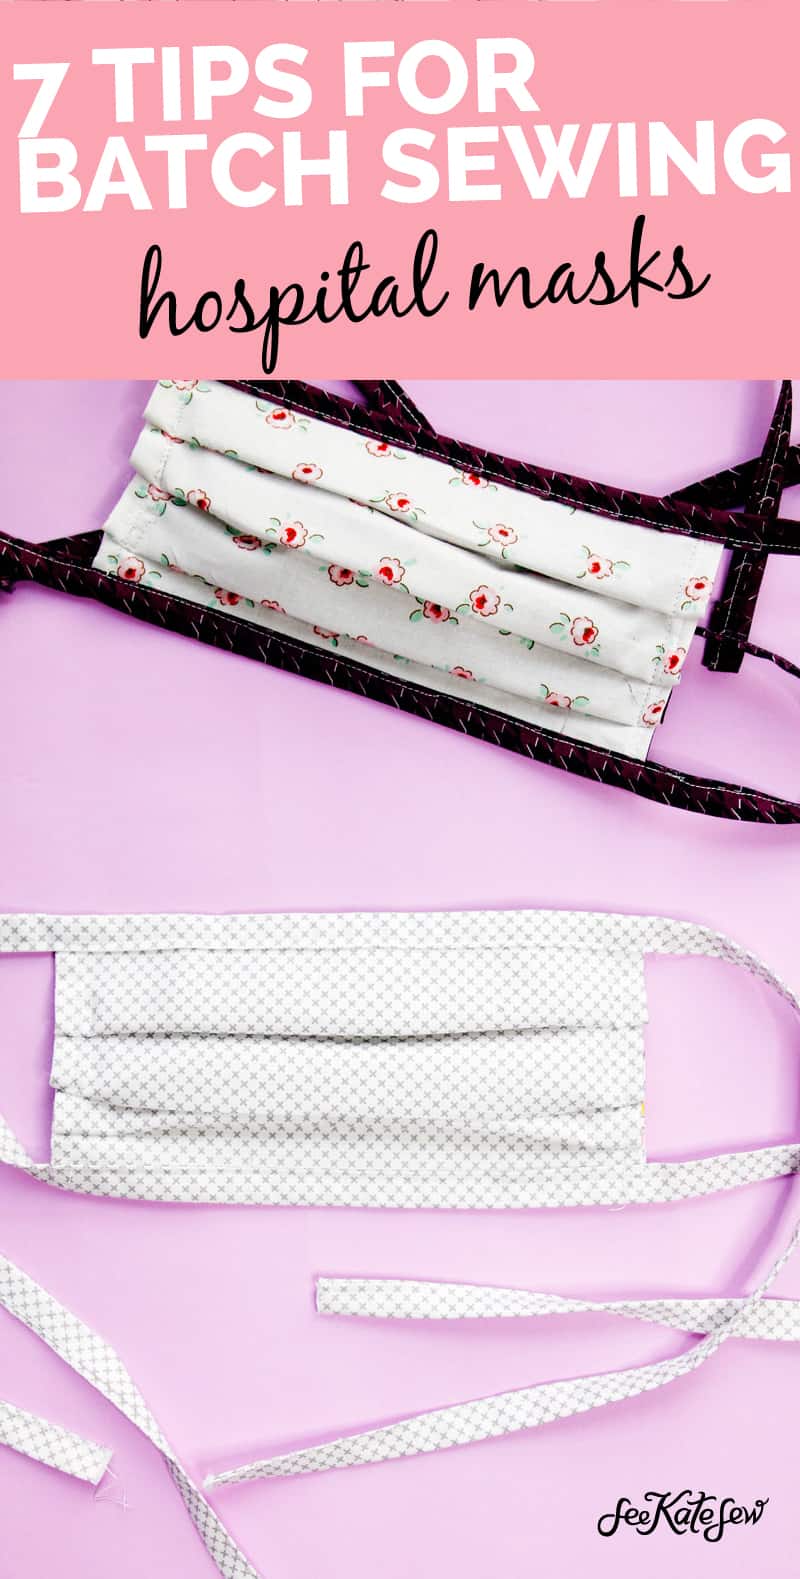
Helpful Supplies for Sewing Faster:
–Best Steam Iron
–12″ by 24″ Acrylic Ruler
–Cardstock for templates
Patterns for face masks:
–3 ways to make a Face Mask
–Hospital Filter Mask Pattern
–Kids Mask Pattern
Also check out my new Surgical Cap Pattern.
7 tips and tricks for sewing lots of the same thing!
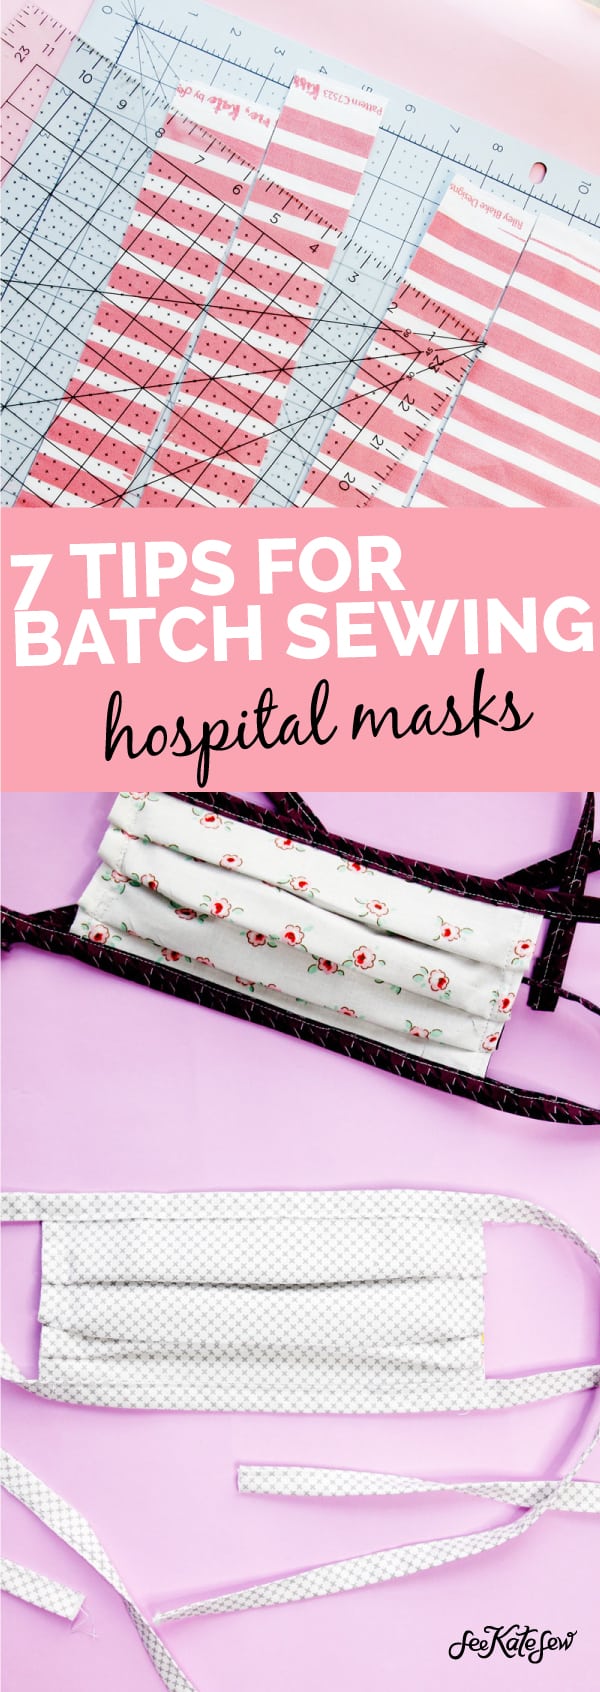
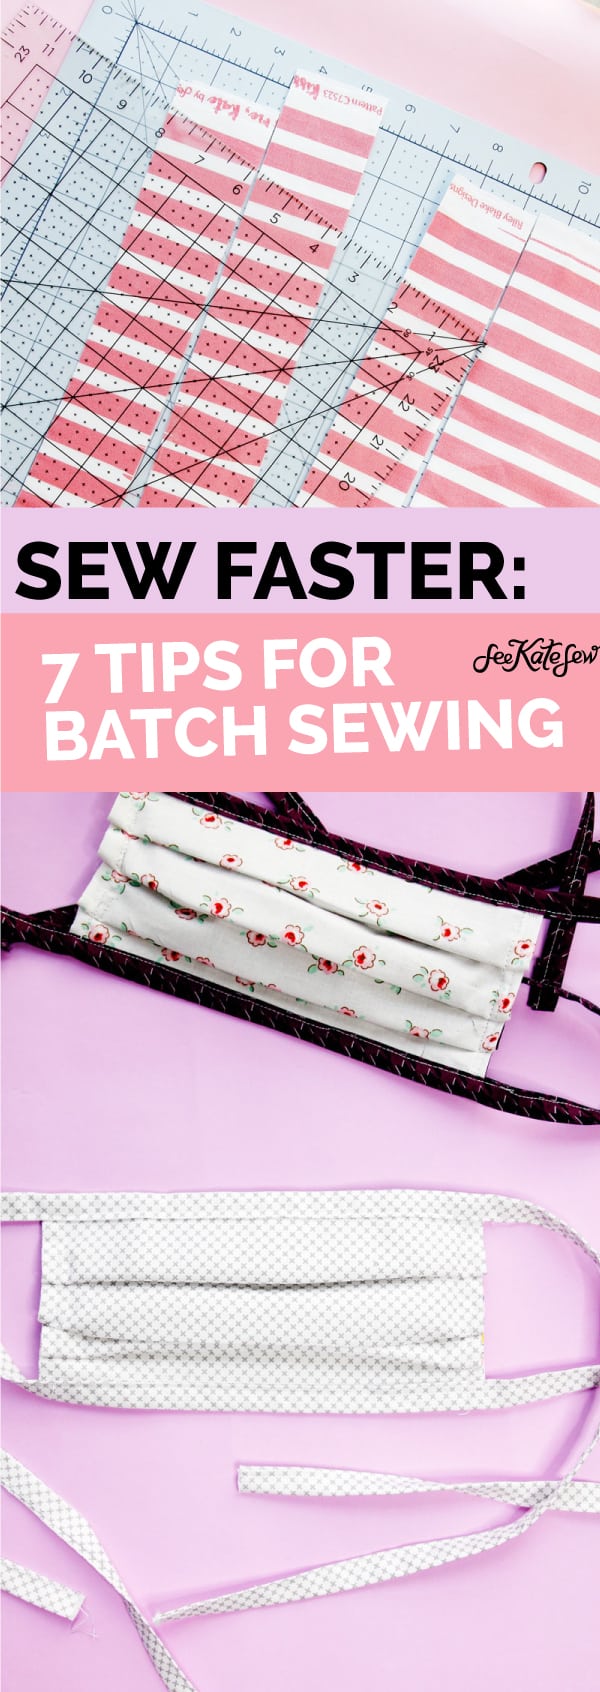
Here are 7 tips for sewing a batch of masks! There is also a video included in this post with more details and visuals of these tricks.
- Sew in batches – cut all of one piece at a time
- Cut multiple layers with template
- Delegate non-sewing tasks
- Quick cut binding strips
- Sew in batches without stopping
- Clip threads at the end
- Don’t hurt yourself /Don’t run out of supplies
#1: Cut all of each piece at once
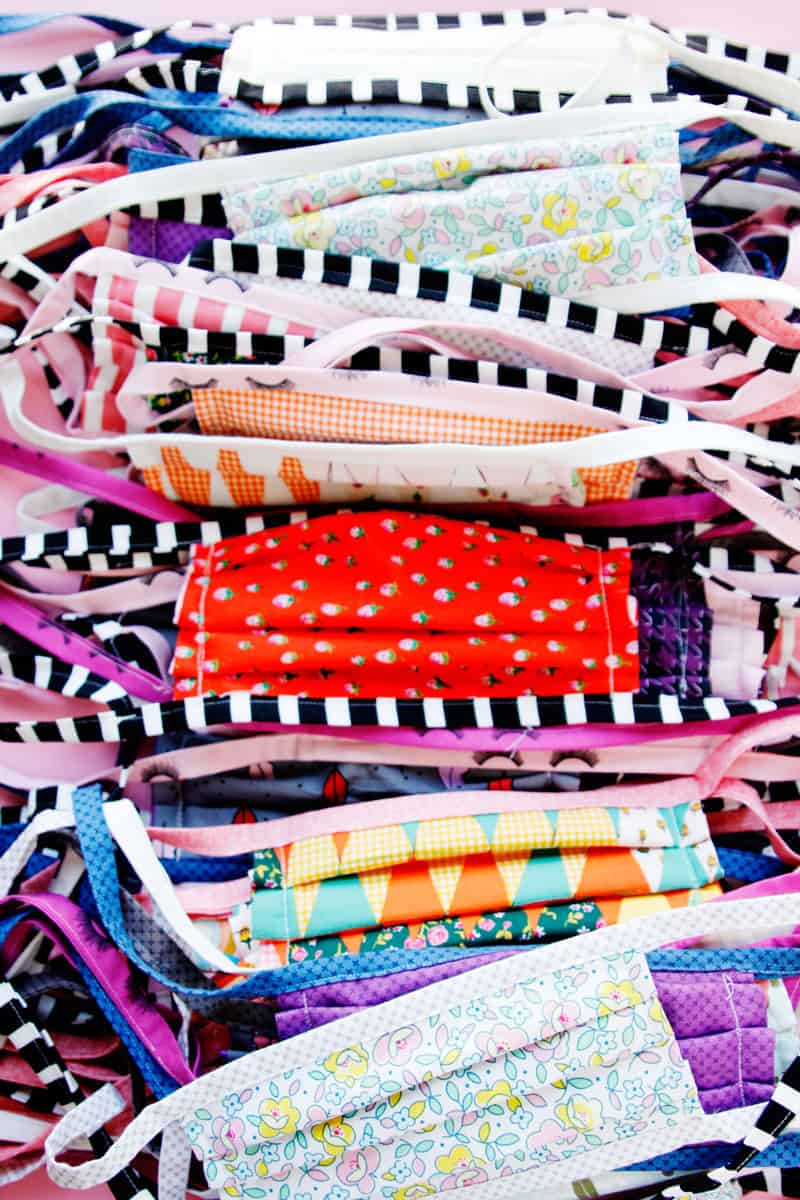
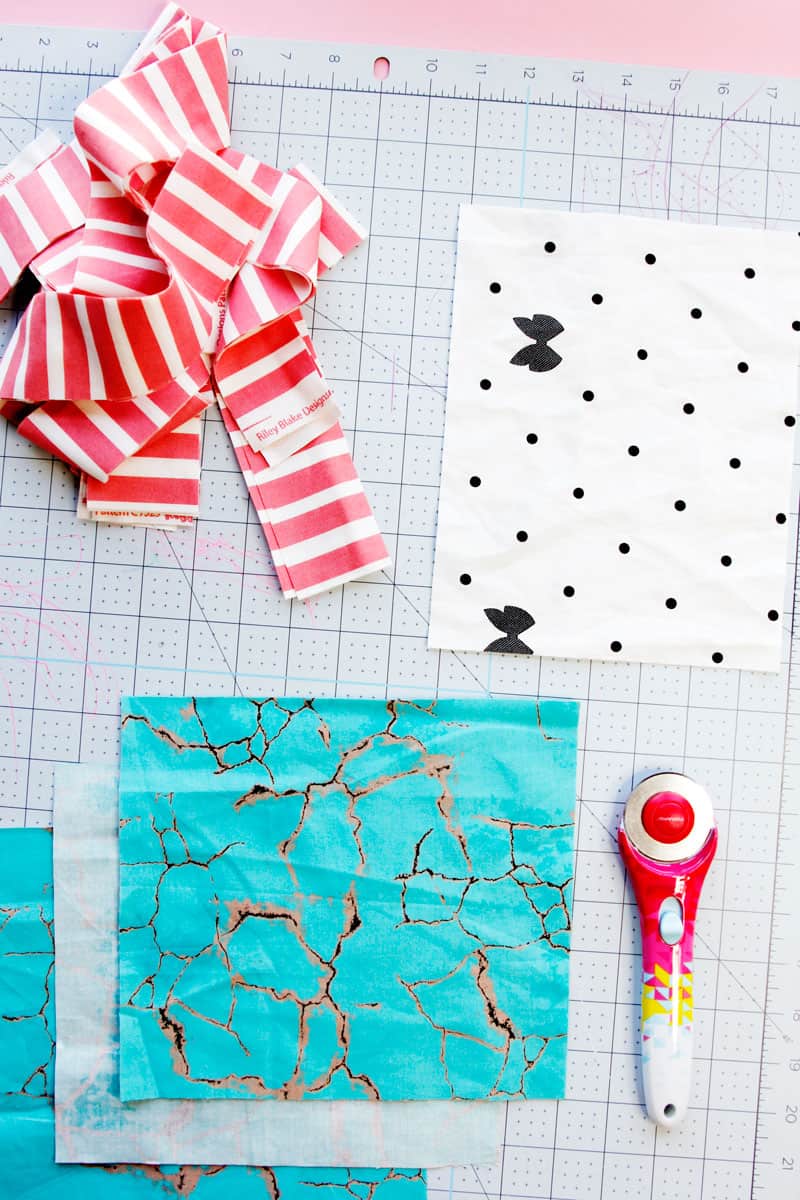
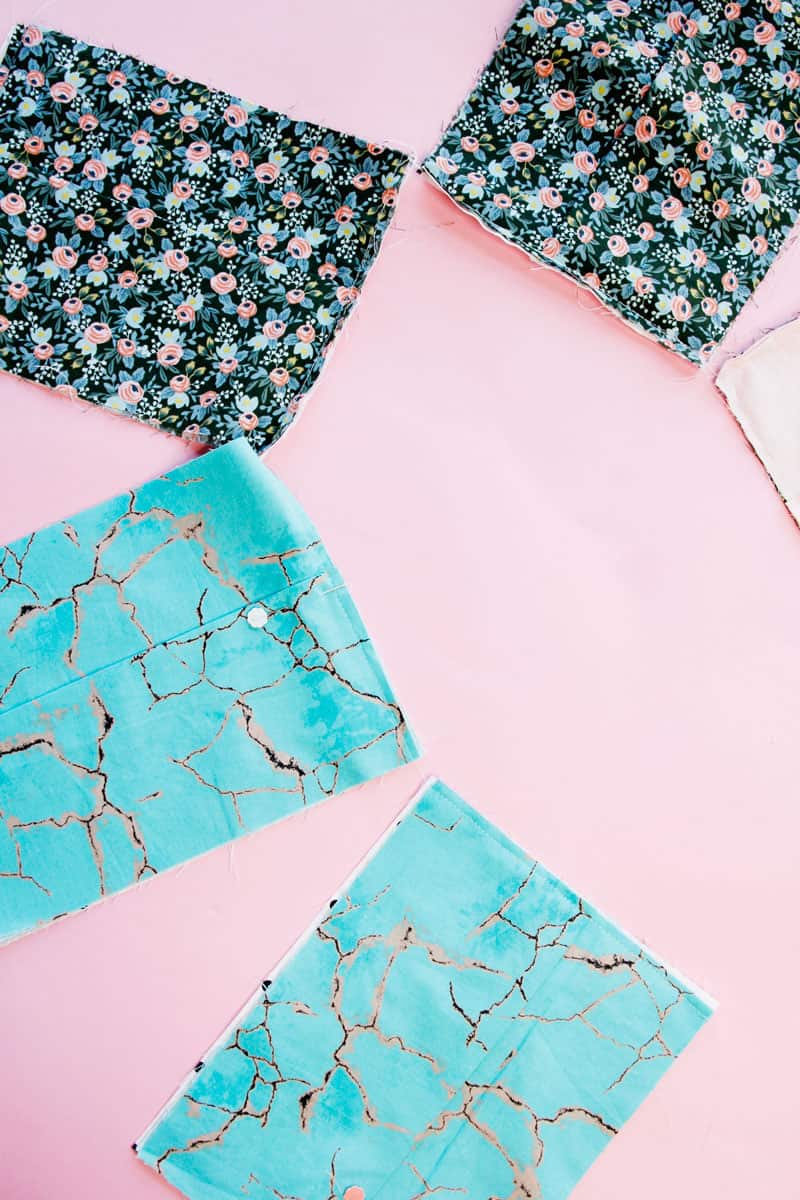
Instead of cutting all the pieces for 1 mask and sewing it up, cut ALL the pieces for a set number of masks at once! Choose a number so you stay on task, like 10 or 20 masks. Then cut all the fronts, backs and binding pieces for that number. By cutting all the same piece, your hands will get used to the motions.
#2: Use a paper template for cutting lots of layers
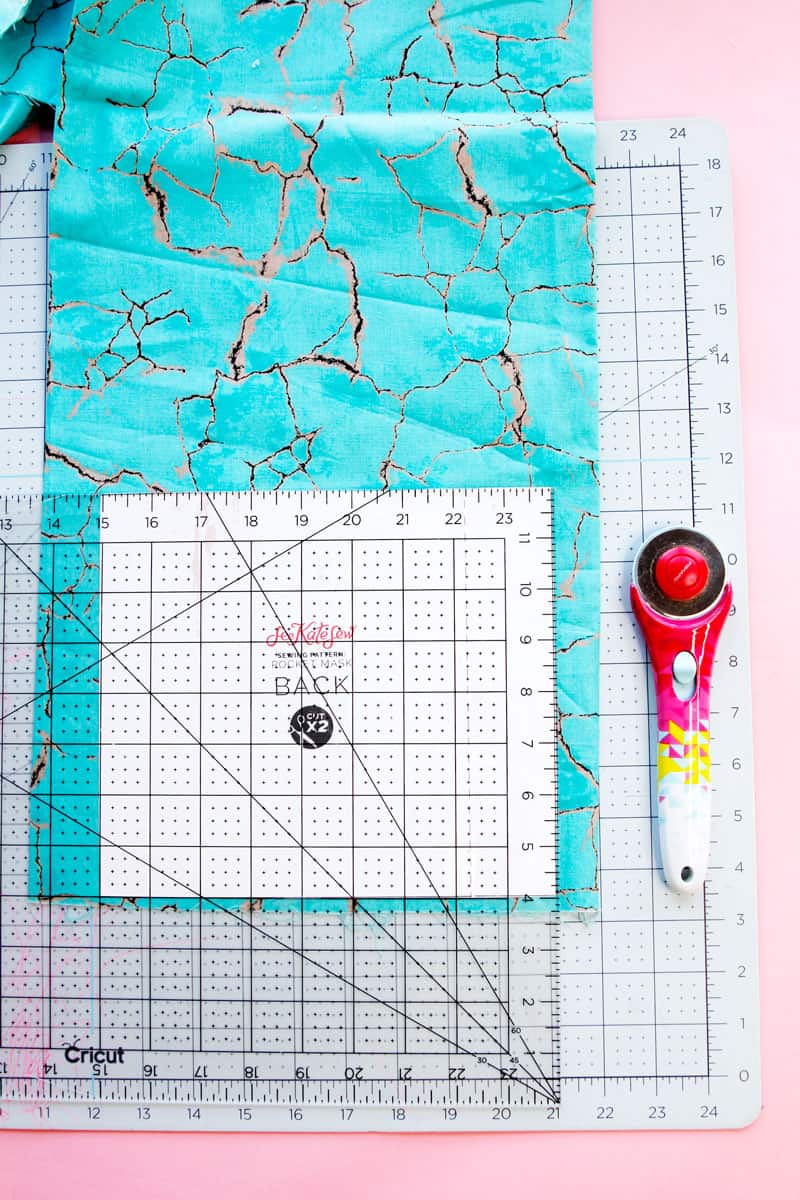
Measuring out rectangles isn’t really that hard, but using a card stock template underneath your ruler makes it mindless! You won’t be worrying about getting the placement right, or turning the ruler correctly. Just fold your fabric a few times and put the template on top. This way you can cut multiple layers easily.
#3: Delegate non-sewing tasks
A few of my neighbors offered cut fabric for me since they don’t sew! I took them up on it because I knew they wanted to help with the mask making effort. It has made my production so much faster and it’s always fun working with a team! Things non-sewers can do include cutting fabric pieces, cutting binding strips and ironing binding. Later they can also pin pleats and clip threads.
#4: Cut binding strips like a pro
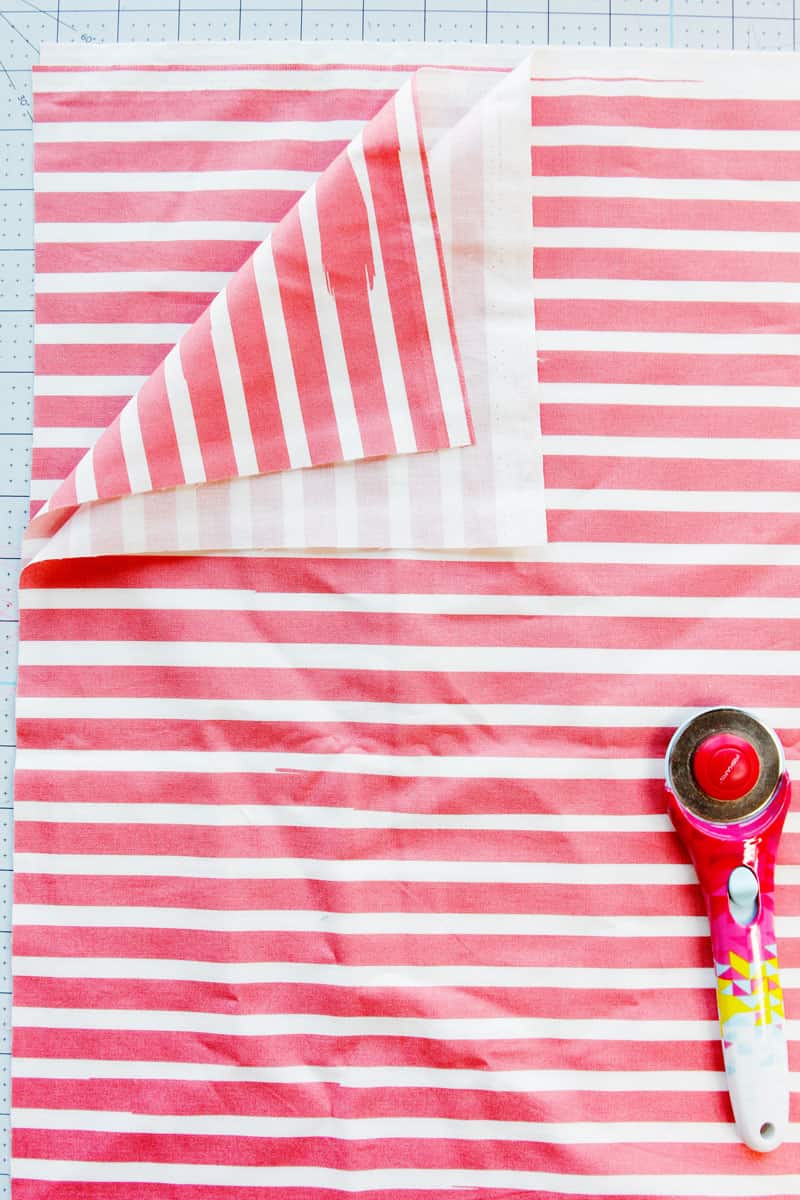
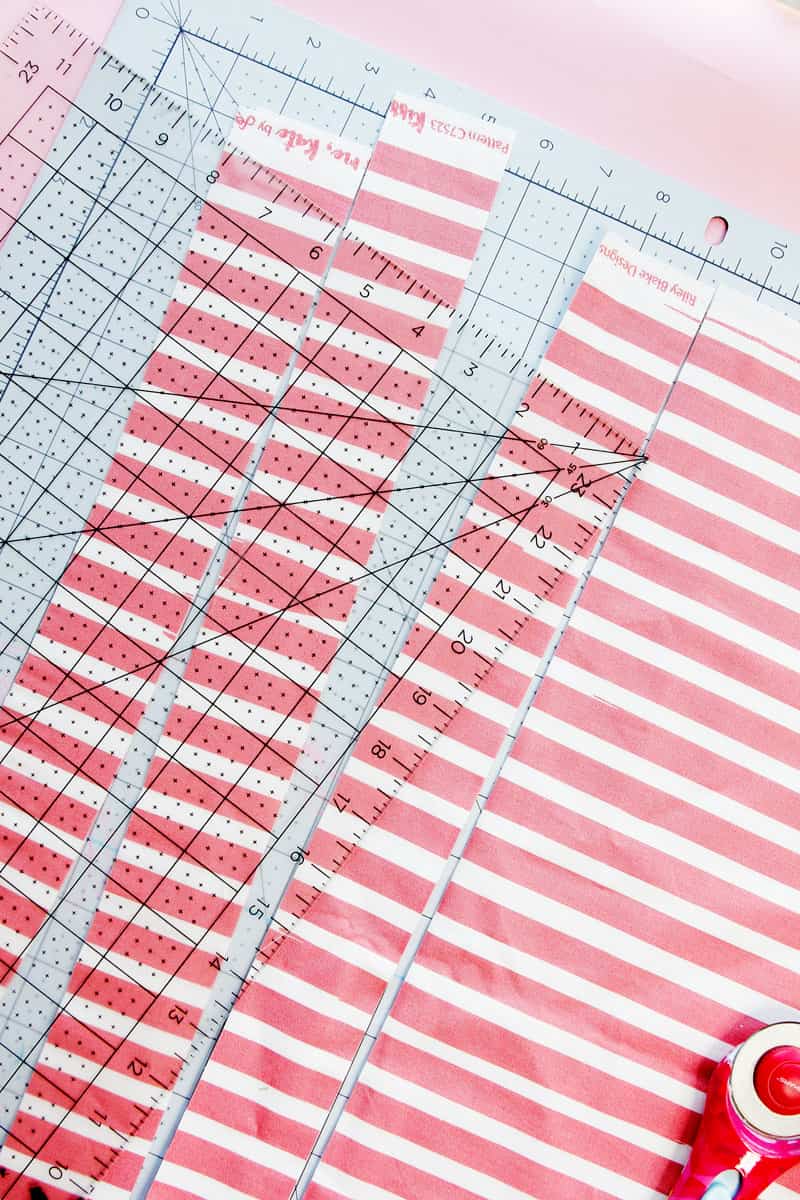
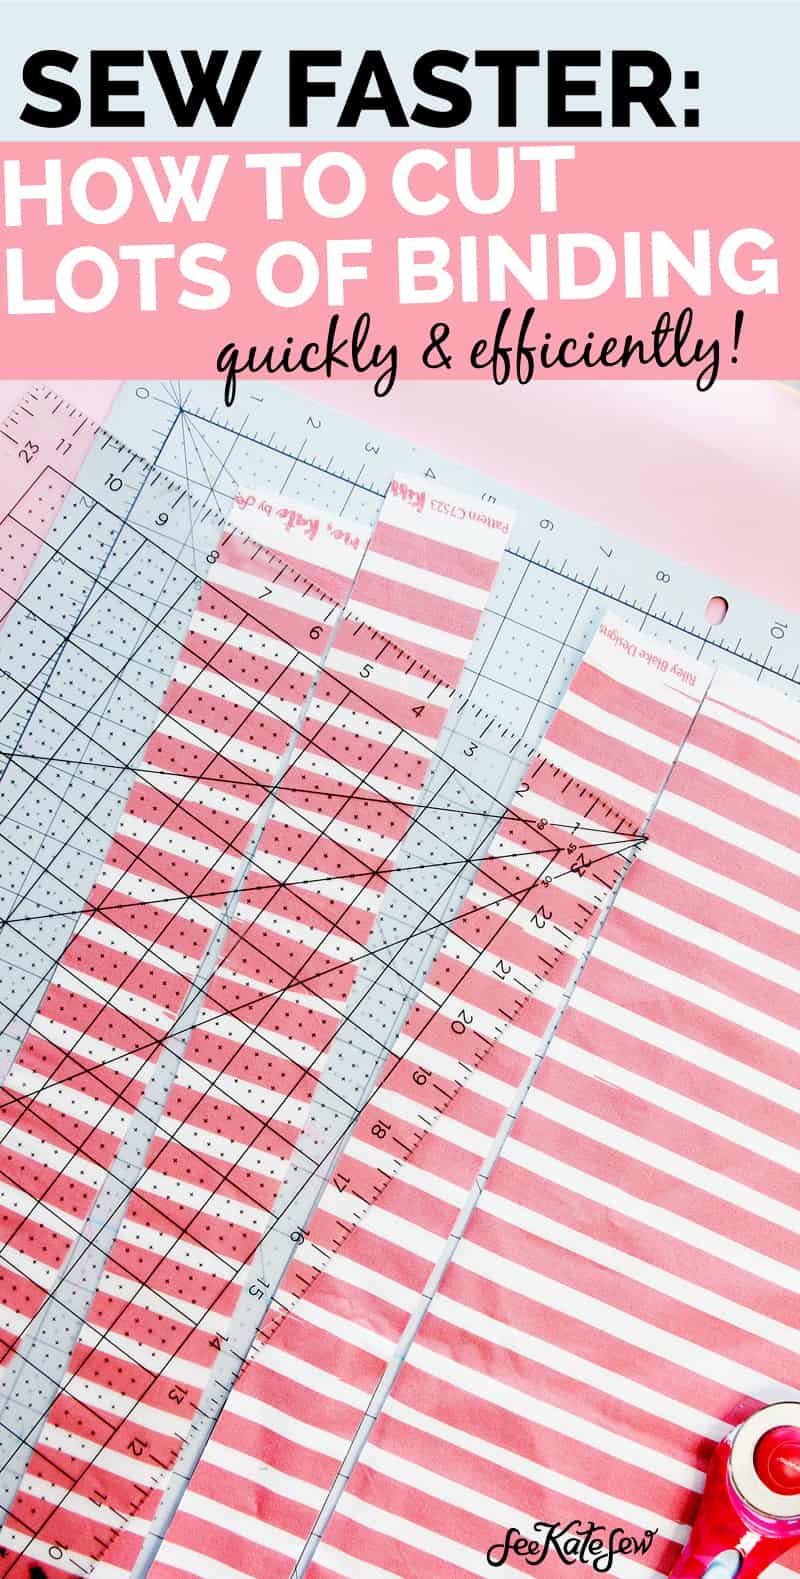
To cut strips faster, cut them like this! Fold your fabric yardage so the selvedges met. Then fold the rest of the yardage over and match up the other raw edges. You’ll have 4 layers of fabric.
Then, cut 2″ strips. Move your ruler over and do it again! A 12″ by 24″ acrylic ruler is great for this! If you are right handed, keep the fabric on the right and just slide your ruler over 2″ each time and slice. You don’t even have to move the fabric you’ve already cut.
#5: Feed through machine without stopping
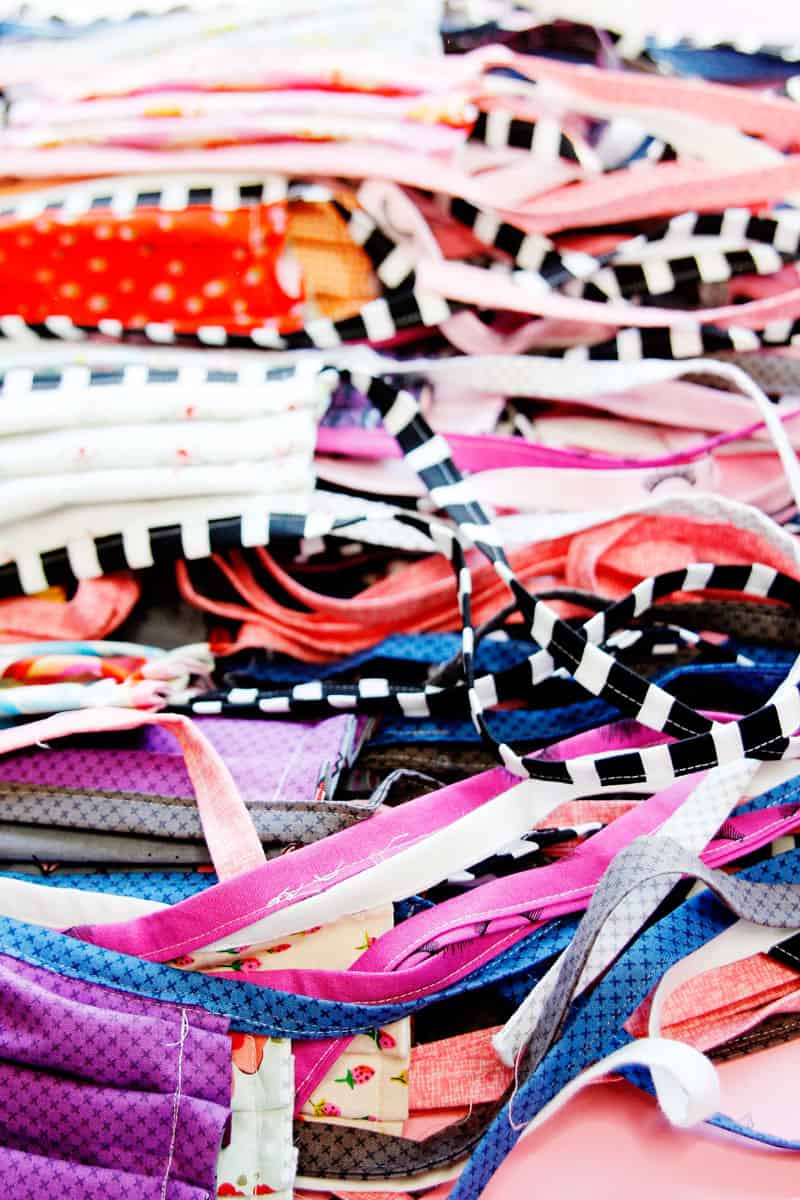
Instead of sewing one side of a mask and then taking it out, sew all of the right sides of all the masks first. They will be strung together with thread like a banner. Then do the other side. Less stopping and maneuvering fabric will mean faster sewing!
#6: Clip threads when you’re done
Instead of stopping to clip threads, leave them all until you’re done! Then, sit down with a movie and clip away! Again, less stopping means more sewing!
#7: Don’t get hurt or run out of supplies
Don’t hurt yourself! And don’t run out of bobbin thread! Both of those will cause a big upset in your production line and it’s no time to visit the ER! So, make sure you are safe with your sharp and hot supplies!



When I cut my main pieces, I cut the bottom piece 1 1/2 inces longer on one side so I can fold it over for a self casing. Then I can run in elastic, or whatever ties I want. Works much faster for me and reduces some bulk.
Vickie, what a great idea! I’m going to try that on the next batch.
For those that have a serger, use it to stitch the sides of the masks.
What’s most time consuming for me are those dang pleats! Any tips on how to make those quick n’ easy? Thank you.
I made a template with fusible interfacing and fabric so I can pin it right on the mask and see where to put the pins to mark my pleats.
My masks are about six inches, sewn and turned right side out before pleating. So I cut a 6” x 2” strip of fabric and fused interfacing to it. Then on the interfacing side I marked every 1/2” from 1/2” up to the 5 1/2” mark with my ruler and a fine permanent marker. Finally I stitched all around the outside edge just to stabilize it a bit more. I can pin the fabric “ruler” right on the mask and mark pleats with pins, no more measuring and marking.
I was wondering the same Magical! Can anyone help please!!!
Hello. That turquoise fabric with gold. Where did you find it? It’s beautiful!
I love the ‘mass cutting’ idea. I hadn’t thought of it, but it will certainly cut down on time and cutting efforts. Thanks for the idea. I’m off to see how much time and work that saves me. I guess you are never so good at anything that you can’t learn something new. Awesome idea.
I love the idea of making children’s masks where would I send them?
Please contact me about making children’s masks. I am making for a group home in Milwaukee and they need 200. I have made 33 so far.
If you would like to pm me with your contact our mask making group might be able to assist with the pediatric masks
Glad I found your site. Be safe.