This post contains affiliate links to things I own and love!
Today I want to tell you about some of my favorite sewing machine feet. You might already have some of these feet and I’ve talked about some of them in the past. If you’ve read See Kate Sew for a while, you know I LOVE exploring sewing machine feet!
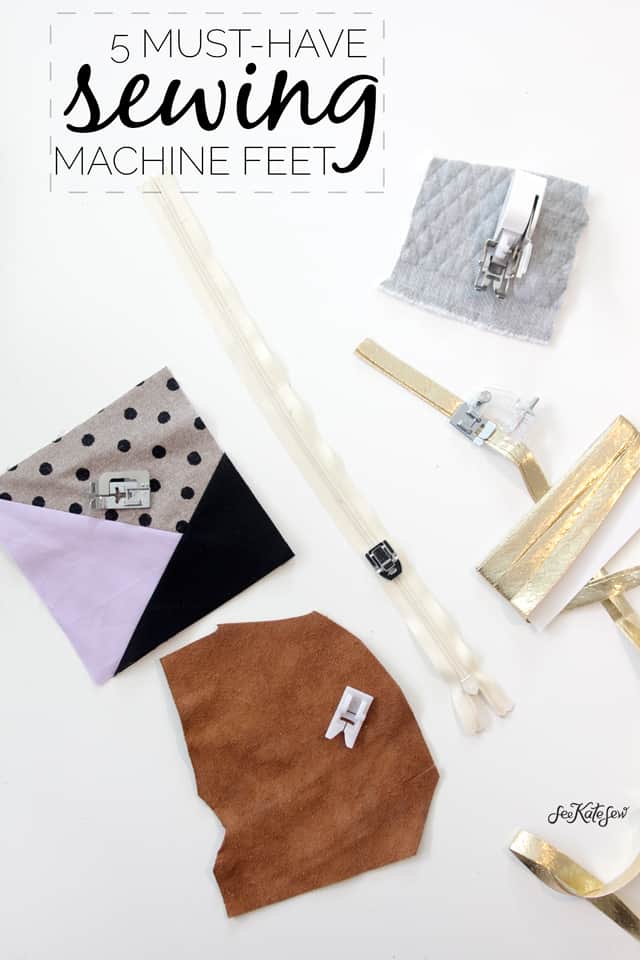
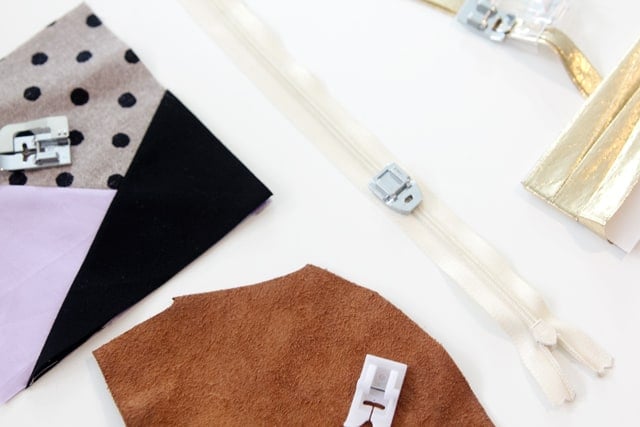
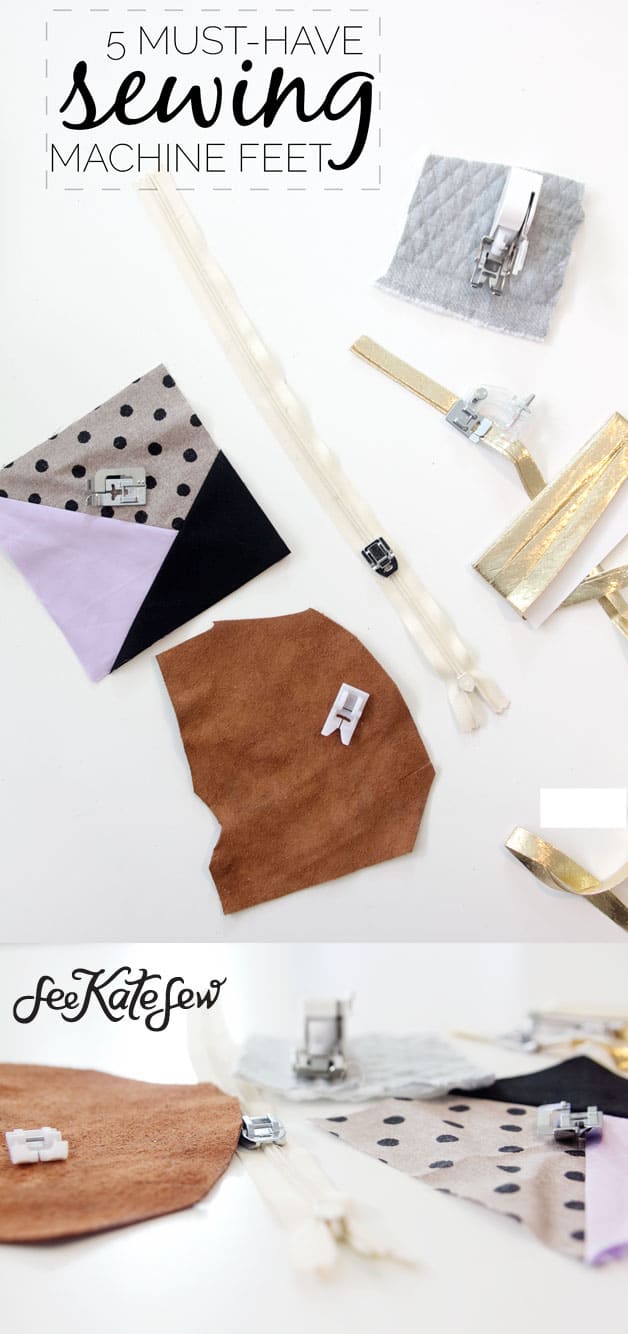
Sewing machine attachments can make your sewing experience SO much better. You might sew faster, straighter and just better with the help of different machine feet. So today I’m going to tell you all about 5 that I use often. These are my must-have sewing machine feet!
- The Walking Foot – Your machine may have come with a walking foot. This foot is magic! You snap it on start sewing. The Walking Foot is great for thick fabric or sewing lots of layers, like when you quilt with batting. It also makes sewing with sticky fabrics much easier. The foot essentially “walks” over your fabric, picking itself up as it stitches. There are feed dogs on foot itself that work with the feed dogs on your machine. Feet dogs on top and bottom of the fabric helps the fabric move along, keeping your stitches even. When using the Walking foot for quilting multiple layers of fabric, this foot will keep the layers of fabric from shifting and help prevent tucks and puckers as you sew.
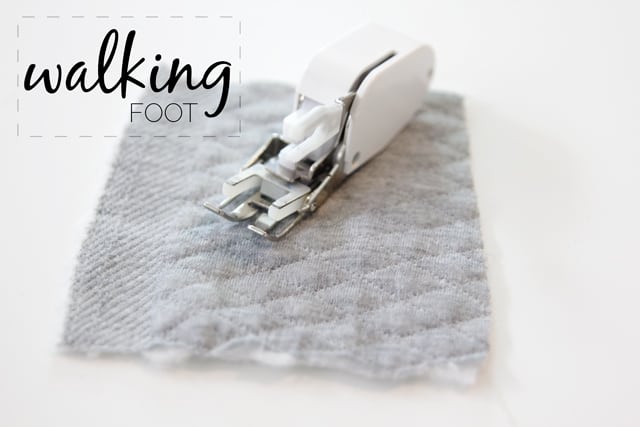
Quick Summary// The Walking Foot
- How to attach: Remove entire presser foot by unscrewing the screw on the left of your shank. Attach the lever of the walking foot to the needle bar of your sewing machine and the X to the clamp. Screw on and tighten. (See Sewing 101: Parts of a Sewing Machine)
- How to use: Just sew!
- Where to get it? With your machine, or here.
- Why use it?
- Thick fabric
- Lots of layers
- Quilting
- Sticky fabrics (like oilcloth or leather)
- Slippery Fabrics
- Read more: Tips for sewing with leather
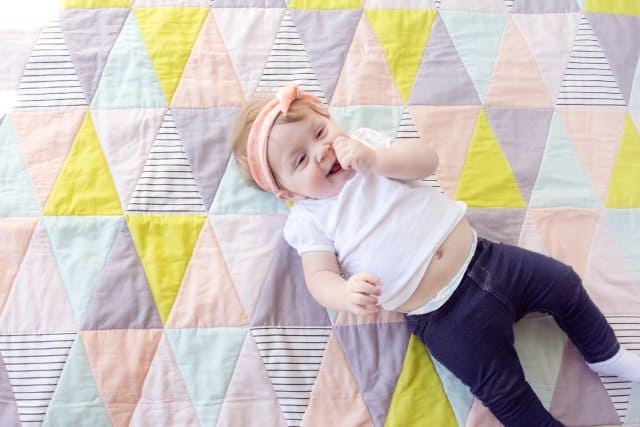
- Projects: Doll Quilt, One Hour Triangle Quilt, Triangle Quilt.
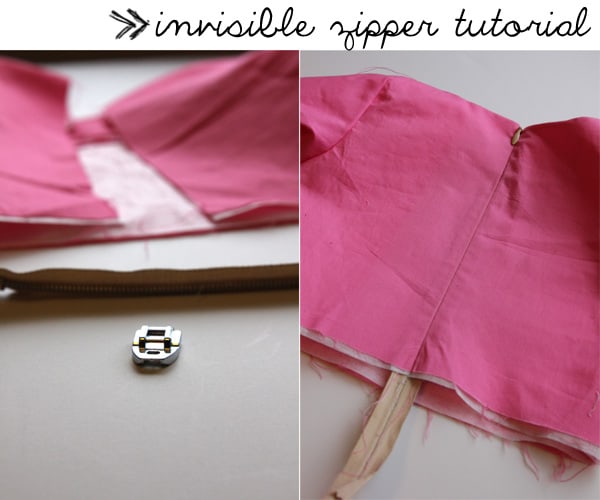
2. Invisible Zipper Foot aka Concealed Zipper Foot – The Invisible Zipper foot is a must-have for apparel sewing. I think that invisible zippers are actually easier than traditional zippers, mostly because this foot makes everything so simple. The invisible zipper foot has grooves that line up with the zipper teeth, aligning the needle as close to the zipper as possible. This is how the zipper becomes concealed. Once your zipper is lined up and the foot is attached, sewing the invisible zipper is incredibly fast and foolproof! If you’ve never tried an invisible zipper, you really should! Most stores carry these simple feet, although you may want to look in your stash first!
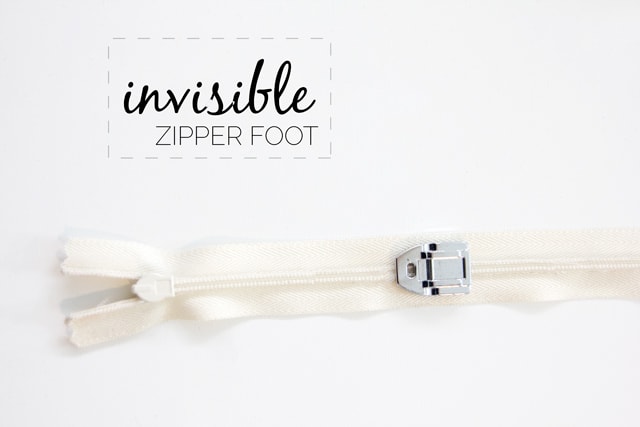
- How to attach: Remove lower part of presser foot and snap on.
- How to use: Place invisible zipper teeth into groove of foot. Align needle to the center position.
- Where to get it? Amazon, a local sewing machine shop, Walmart, Joann, Hobby Lobby.
- This is the set I have. (includes #3)
- Why use it?
- Foolproof invisible zipper installation
- Read more: Invisible Zipper Tutorial
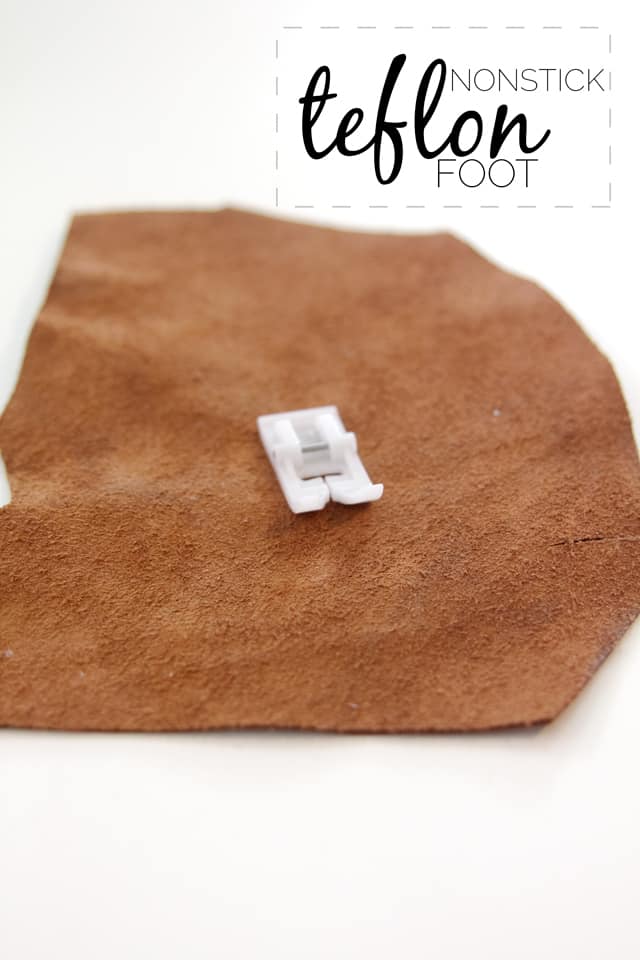
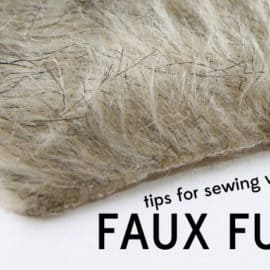
3. Non Stick Teflon Foot – The Non Stick Teflon Foot is so easy to use. It resembles the regular presser foot, except it’s made of Teflon! Teflon is the material they cover non-stick pots and pans with and it is also useful in the arts. For sewing, the foot is used in place of a metal foot when working with sticky or slippy fabrics that would get stuck on metal, such as leather or coated fabrics.
Quick Summary// Non Stick Teflon Foot
- How to attach: Remove lower part of presser foot and snap onto
- How to use: Sew normally.
- Where to get it? Amazon or a local sewing machine shop.
- Why use it?
- Sticky Fabrics
- Oilcloth, Leather,
- Read More: Tips for sewing with leather
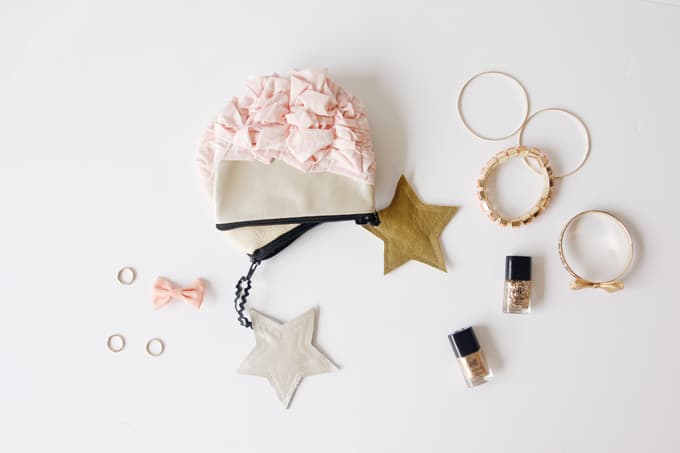
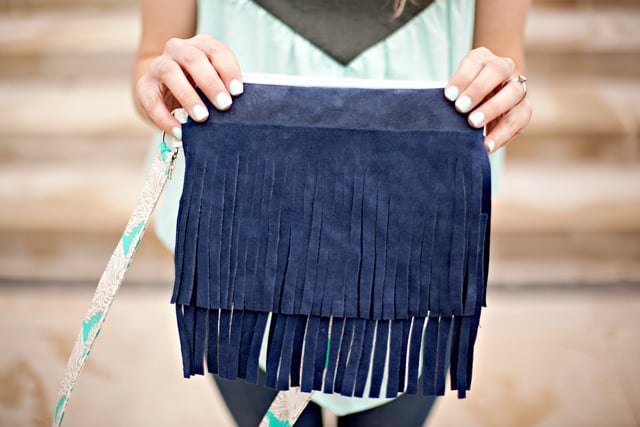
- Projects: Smashed Fabric + Leather Pouches, Leather Fringe Bag
4. Stitch in the Ditch Foot (Edge-Joining Foot)
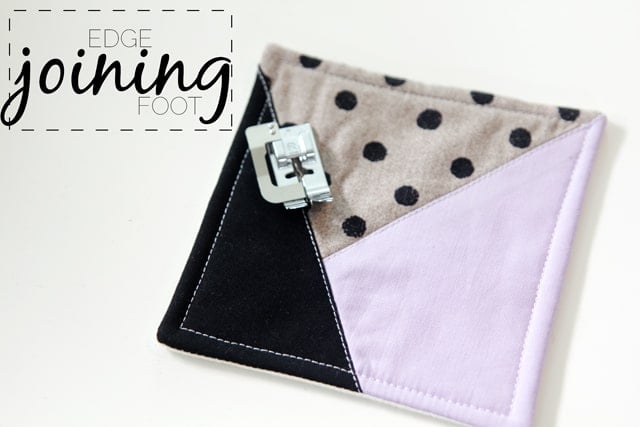
Quick Summary// Stitch in the Ditch – Edge-Joining Foot
- How to attach: Remove lower part of presser foot and snap on.
- How to use: Align metal piece in seam(ditch) of fabric/quilt. Sew along seam.
- Where to get it? Amazon or a local sewing machine shop.
- Why use it?
- Hems
- Quilting
- Topstitching
- Sewing two fabrics together, such as a lace trim, applique, etc
- Projects: Any quilt project or anything that requires topstitching!

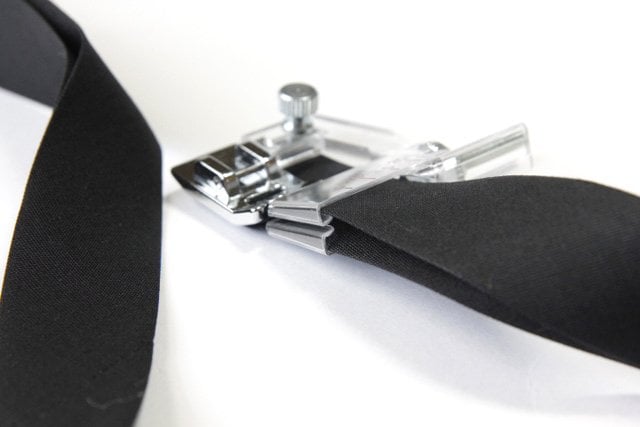
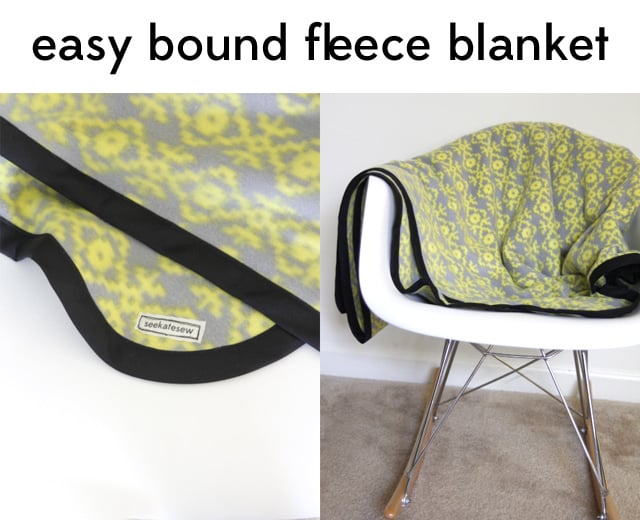
5. Binding Foot – The binding foot is for sewing binding to projects, as the name implies. It has plastic holders that separate the binding so you can put your project (quilt, blanket, etc) in between the two sides of the binding. It helps you keep your needle aligned correctly over the bias tape for straight topstitching.
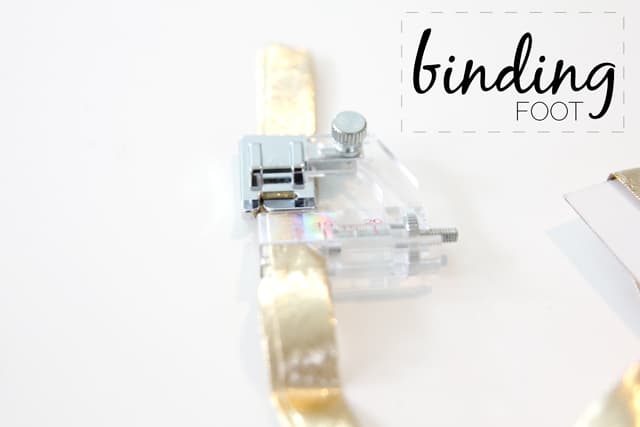
Quick Summary// Binding Foot
- How to attach: Remove lower part of presser foot and snap on.
- How to use: Align metal piece in seam(ditch) of fabric/quilt. Sew along seam.
- Where to get it? Amazon or a local sewing machine shop.
- Why use it?
- Straight topstitching on binding
- Read More: How to use the binding foot
- Projects: Fleece Bound Blanket
Those are my 5 favorite feet right now! What are yours?


I need to invest in that binding foot! Talk about making my life easier. How does the edge-joining foot work.. you said to sew along seam. Do you sew the pieces together first and then use the foot to get the top stitch look? Or does it work to join the two pieces by itself.
Best, Jillian
I really like the layout of your post! And the article itself, of course:)Since I have a fairly old machine it gets difficult for me to insert invisible zippers:/ Have a nice day, Sophia
http://www.littlesewingmachine.blogspot.de
My world is rocked! Yay for a binding foot! I had no idea…