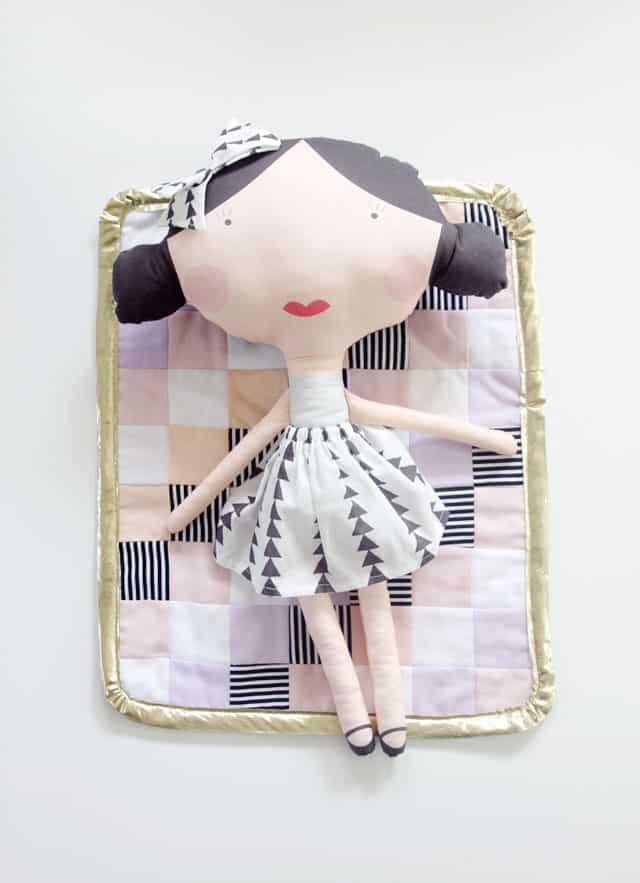
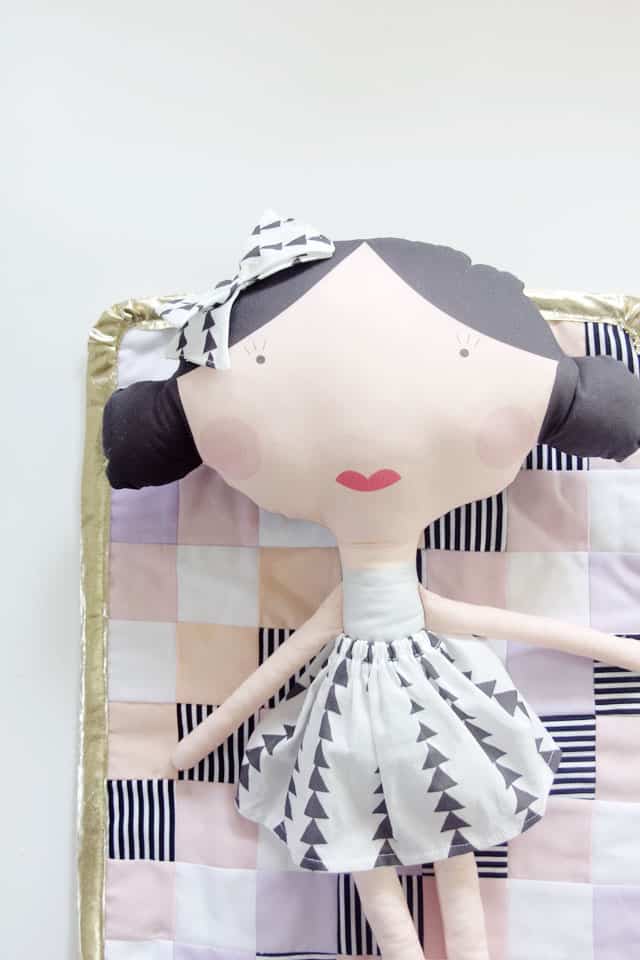
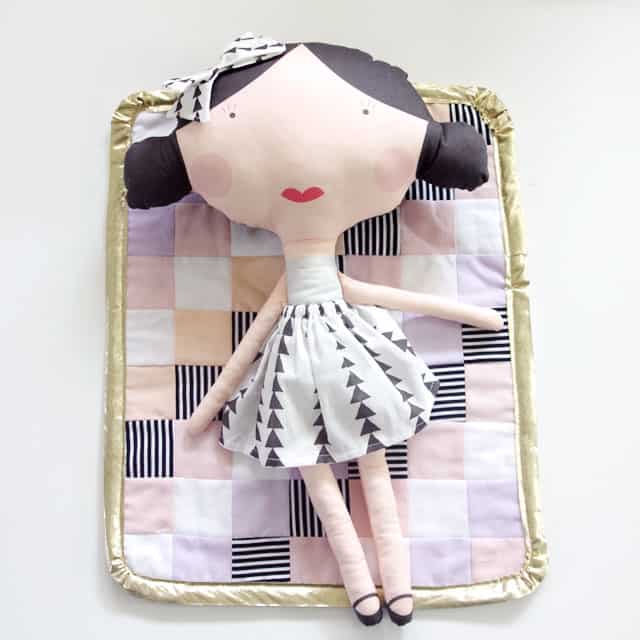
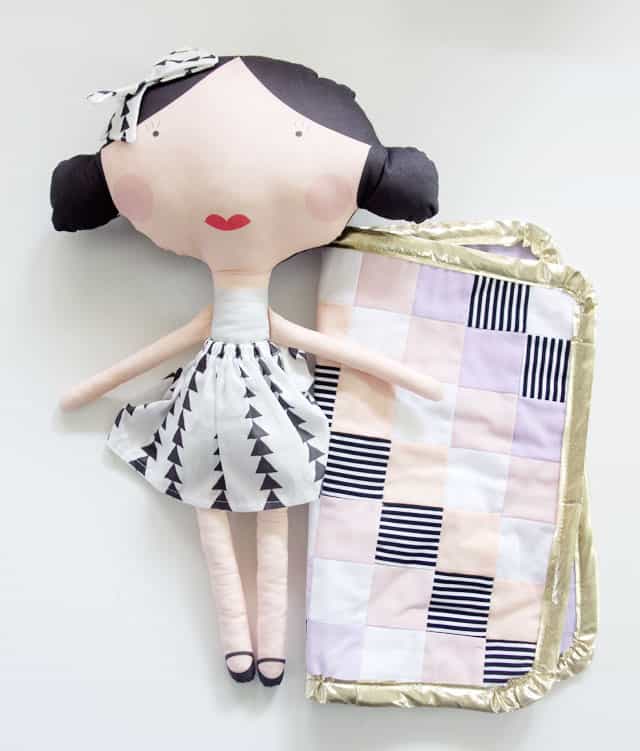
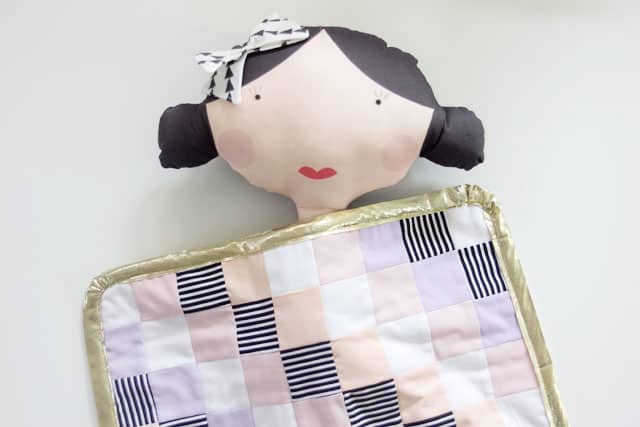
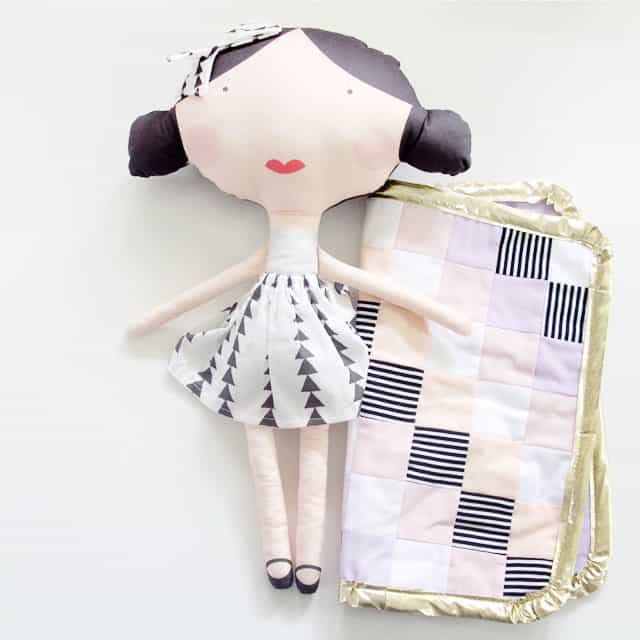
Ever since I released the doll fabric panels, my kids have been playing with them constantly. They especially like to put them in our little doll bed, so I’ve been making doll blankets for them! This cute quilt is really simple and can be upsized for larger quilts. It’s also the most basic kind of quilt I can think of–just a whole bunch of squares arranged in a diagonal pattern.
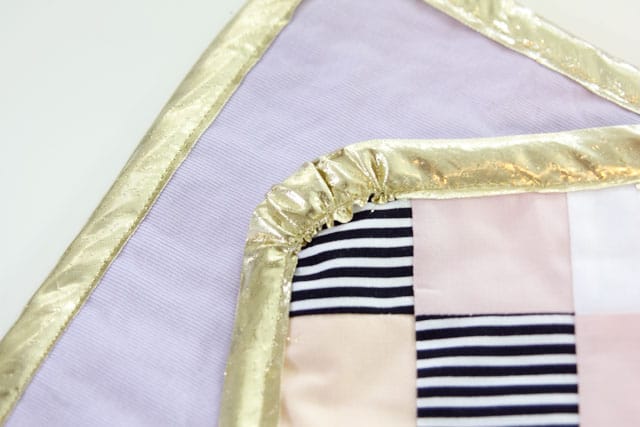
I’m also sharing a technique I made up to avoid mitering corners! I’ll show you how to round the corners and then use 1″ (METALLIC!) binding with basting to gather around the edges.
So let’s go!
Sherbet Doll Quilt Tutorial //
Materials:
-1/4 yard each of 4 cotton solid colors and 1 cotton stripe print
-1/2 yard fabric for backing
–batting
–1″ bias tape or quilt binding for binding
Helpful tools:
–Wonder Clips
–Spray Baste
–Rotary Cutter + Ruler
–Disappearing ink pen
-15oz Soup Can
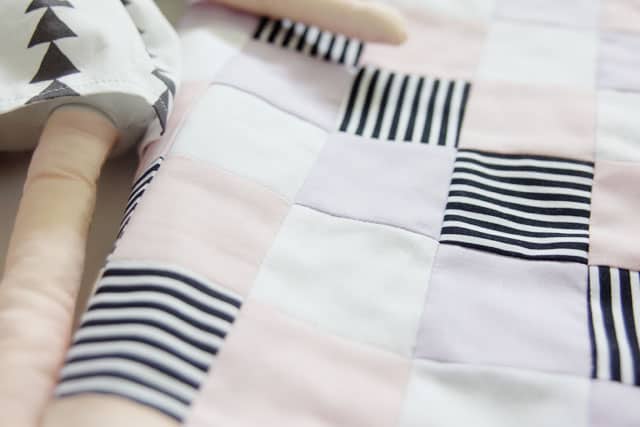
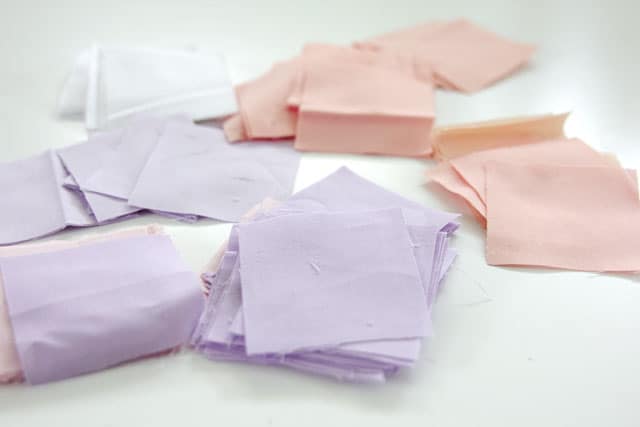
You need 63 squares for this project, they should measure 2.5″ by 2.5″. I like to cut 2.5″ strips and then stack them up and create squares quickly with a rotary cutter.
Here is the breakdown:
Pink: 16
White:16
Purple: 11
Coral: 6
Stripe: 14
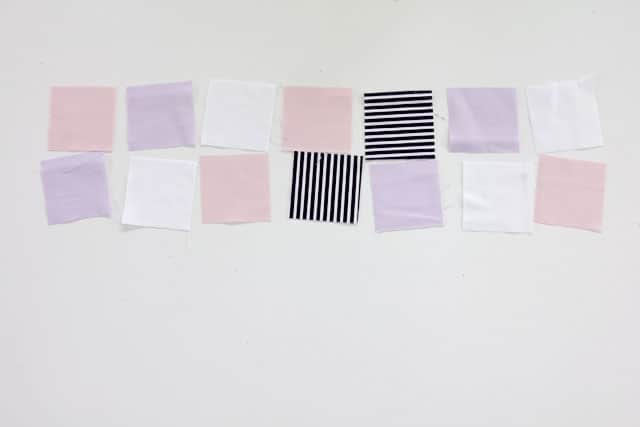
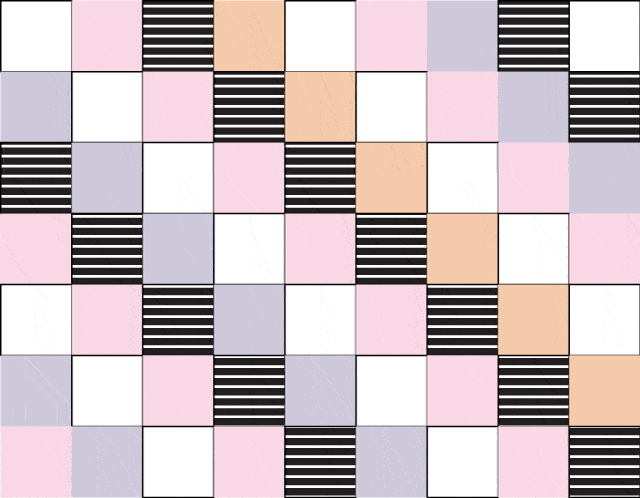
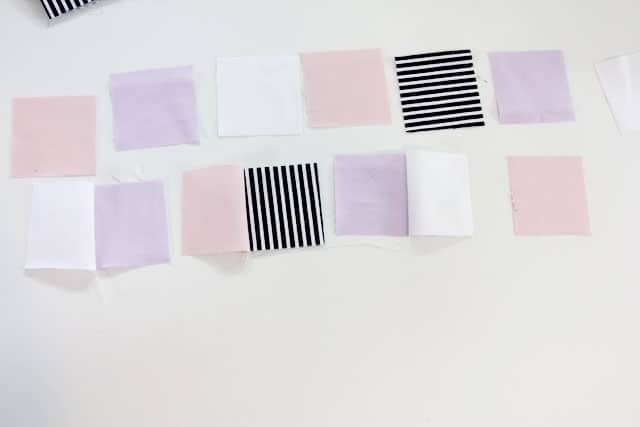
Next, create your design. Lay out all your squares in the pattern of your choice.
To copy this pattern exactly, use this chart.
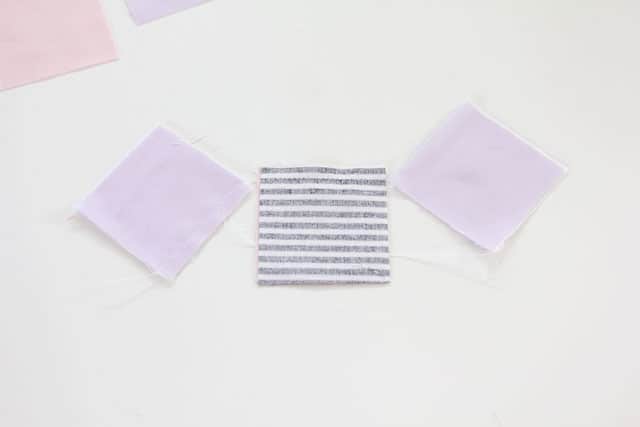
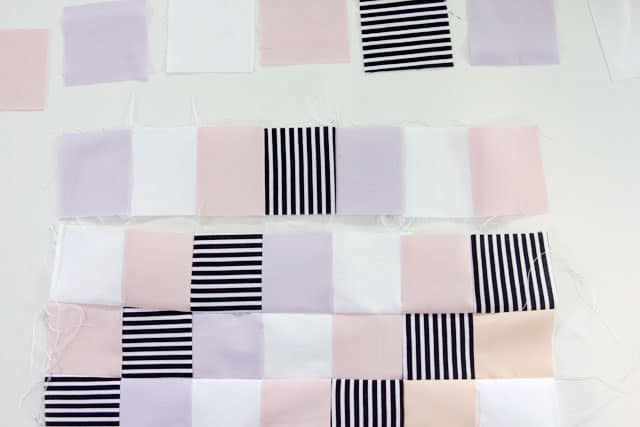
Sew the squares together in rows. Pair each square with the square to its right and chain stitch them together. *Chain stitching is a method of piecing where you don’t stop to clip the thread before starting the next fabric. It makes the process a little quicker since you can clip all the threads at the end.
Use 1/4″ seam allowance.
When they are all paired up line them back up and sew together to complete the row.
Finished row:
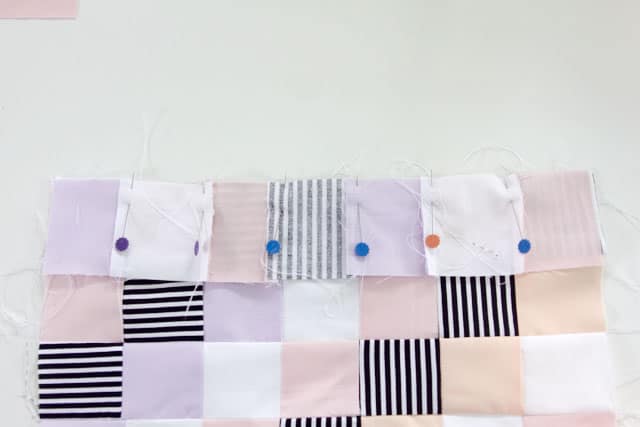
When all your rows are done, sew the rows together. Match up the seams with pins to help make sure all the points and seams match up correctly.
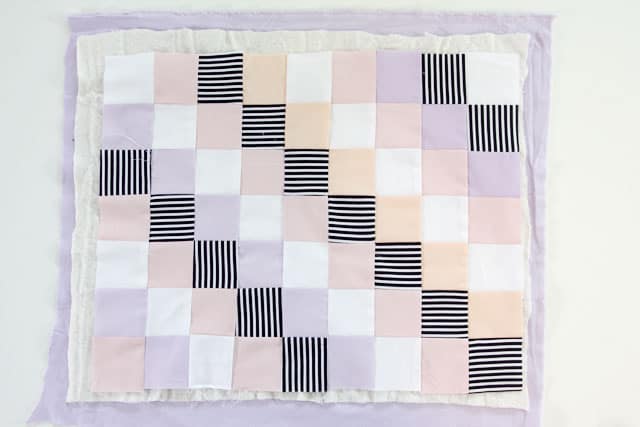
When you have 9 rows of 7 sewn together, cut batting and a backing, a bit larger than your finished pieced quilt.
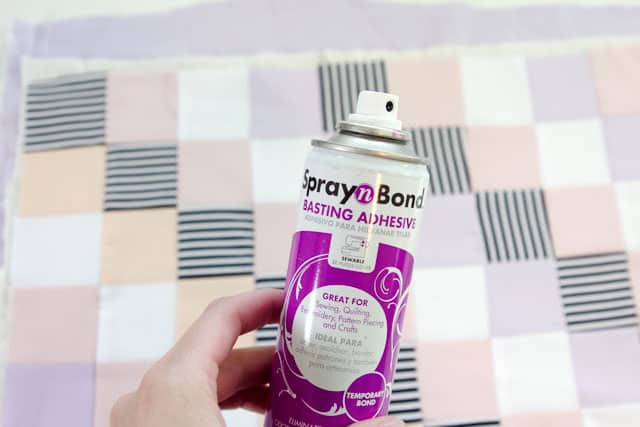
Use Spray N Bond to baste the quilt top to the batting and the batting to the quilt back.
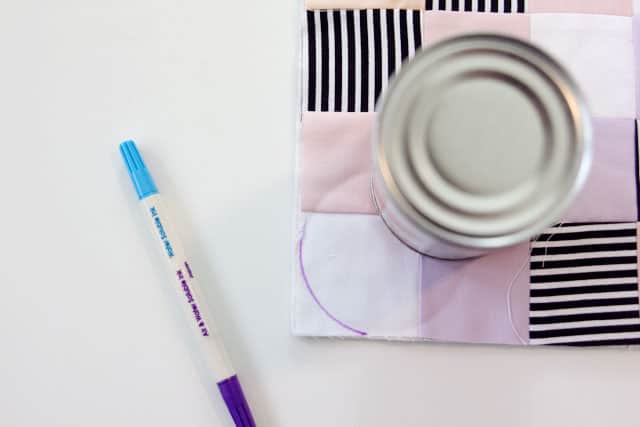
Use a soup can to draw a rounded corner with a disappearing ink pen.
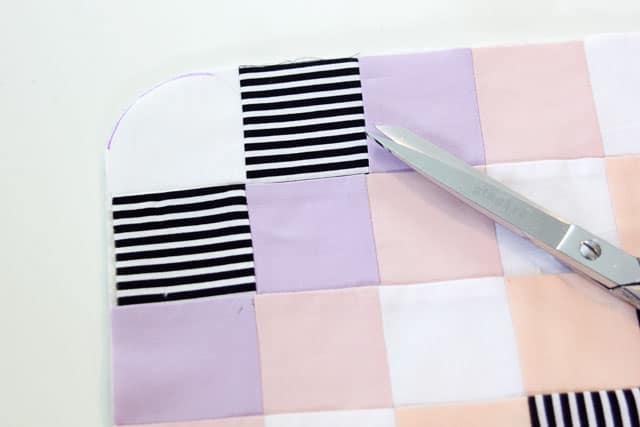
Trim corners.
Time to bind!
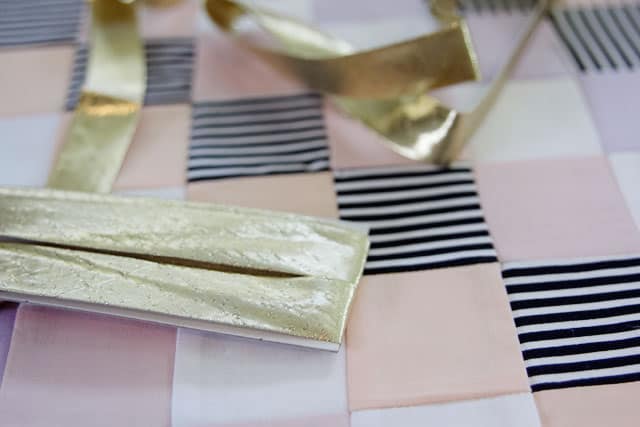
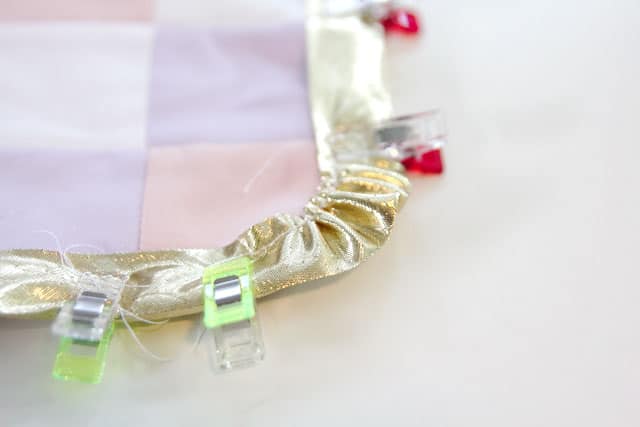
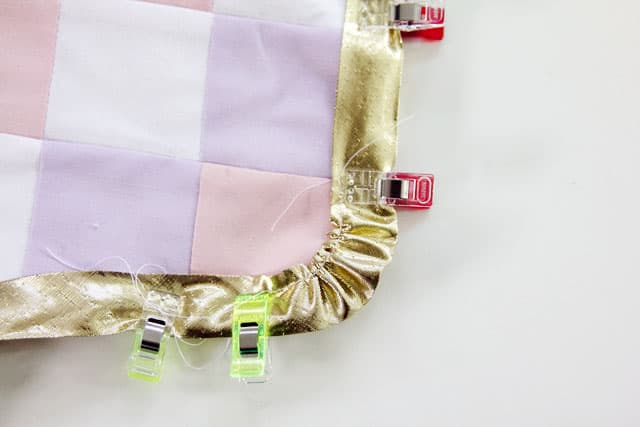
Clip the binding to a straight edge of the quilt sandwich. When you get about 2″ from the corner, sew a line of baste stitching (a long stitch length) on both sides of the bias tape. Gather the corner binding tape and curve it around the corner. Continue pinning along the next side.
Repeat until you’ve finished all the corners. When your binding meets itself, fold under the top piece and clip in place.
Sew all the way around 1/8″ from edge of binding.
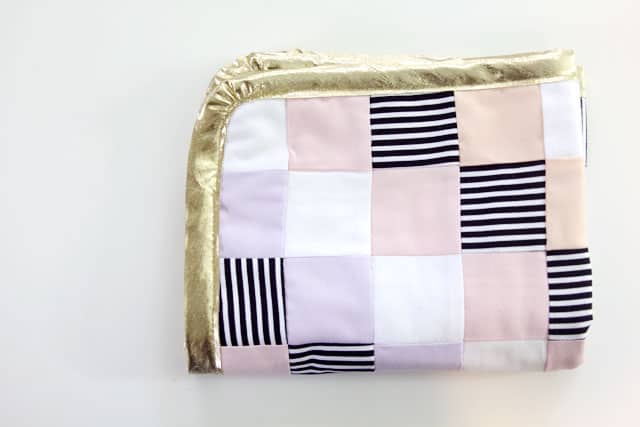
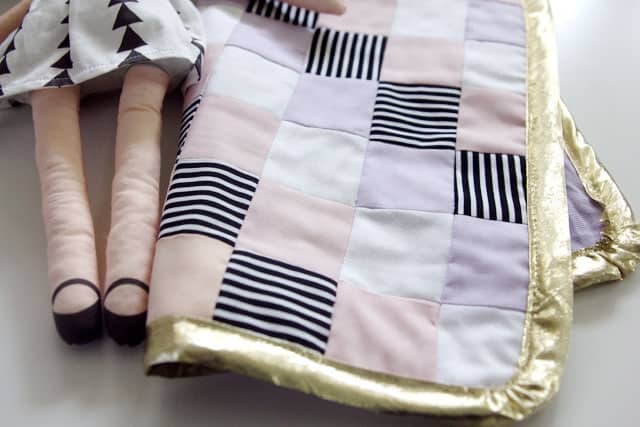
All done!
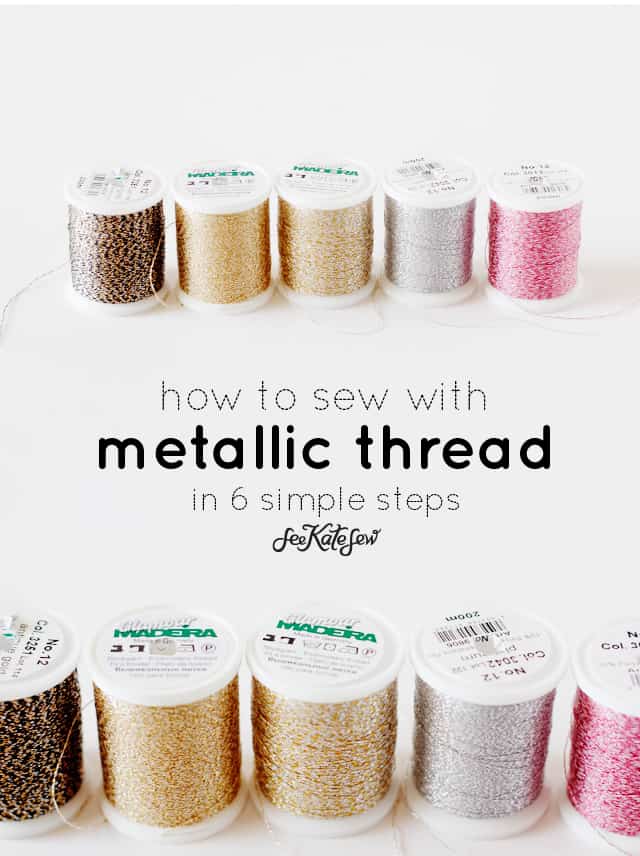
If you decide to use metallic binding like I did (mine is from Hobby Lobby) this post about sewing with metallic thread will be helpful:
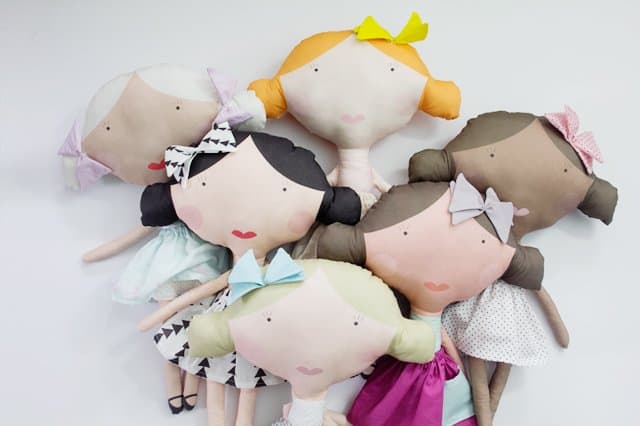
And to learn more about the doll panel fabric, see this post!





Your ruched binding is a great alternaitve and the doll is cute, lovely for any little girl. x
Lovely! Can you provide the solid fabric color names and site? Those are the exact accent colors im looking for :)