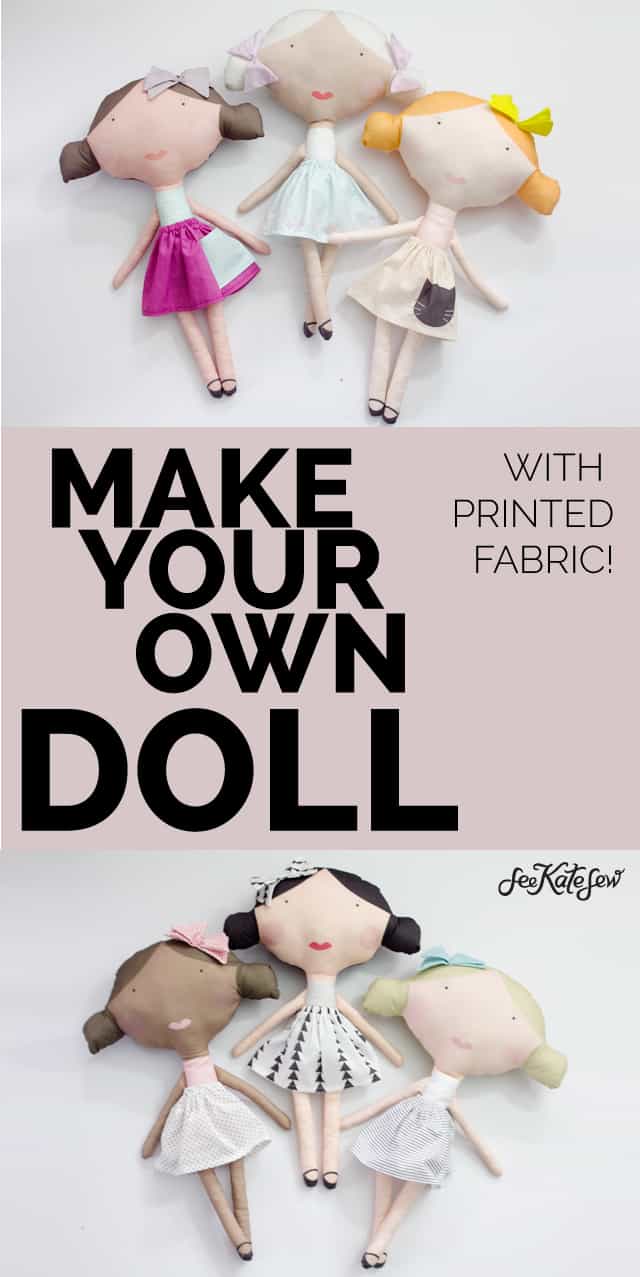
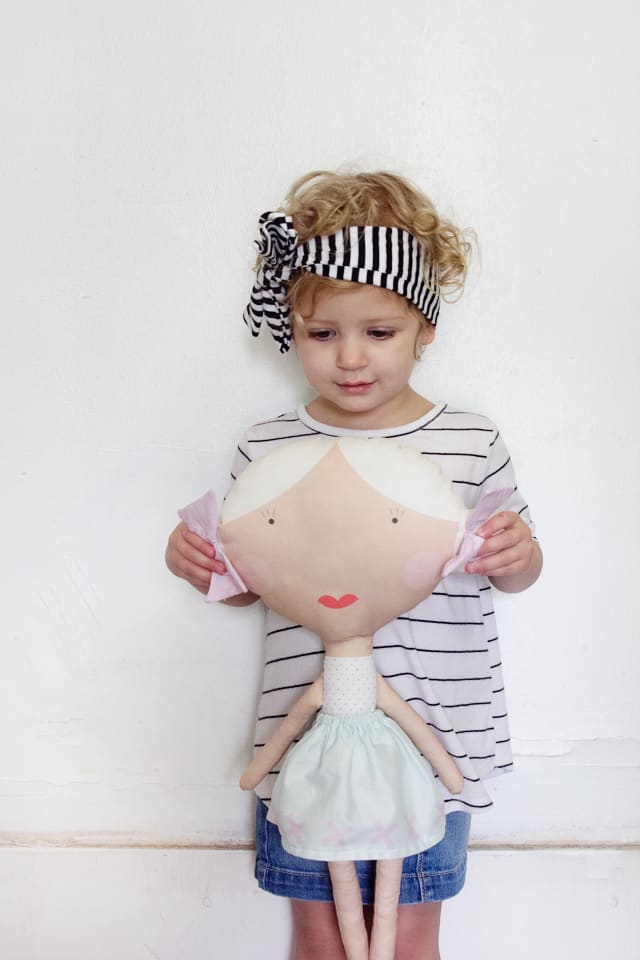
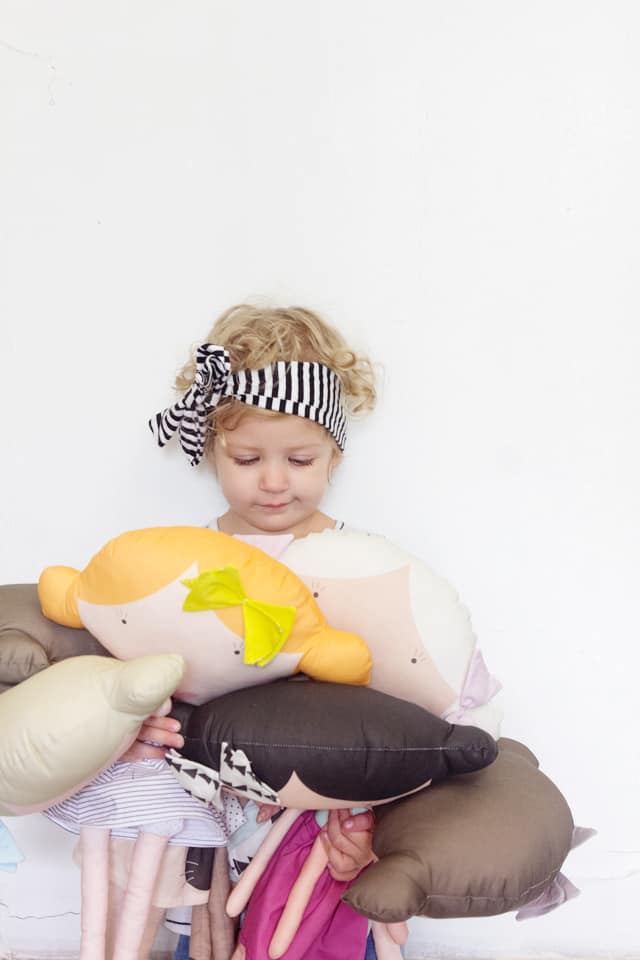
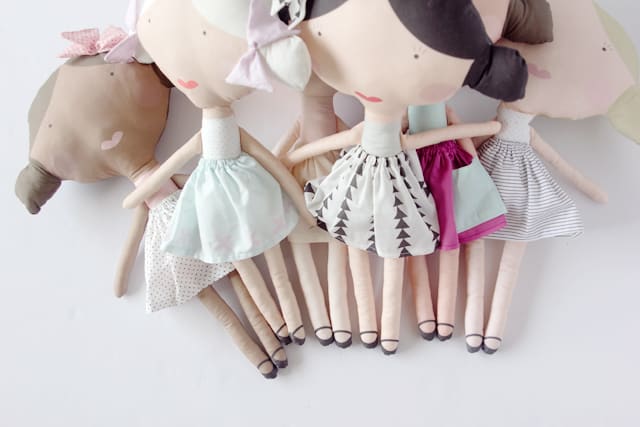
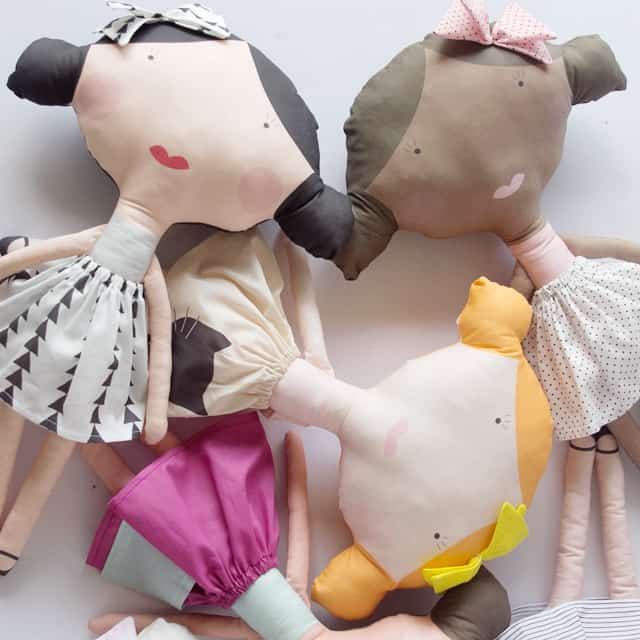
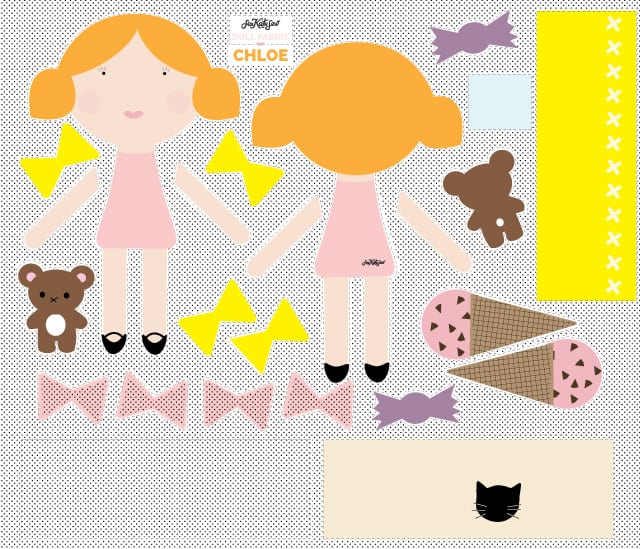
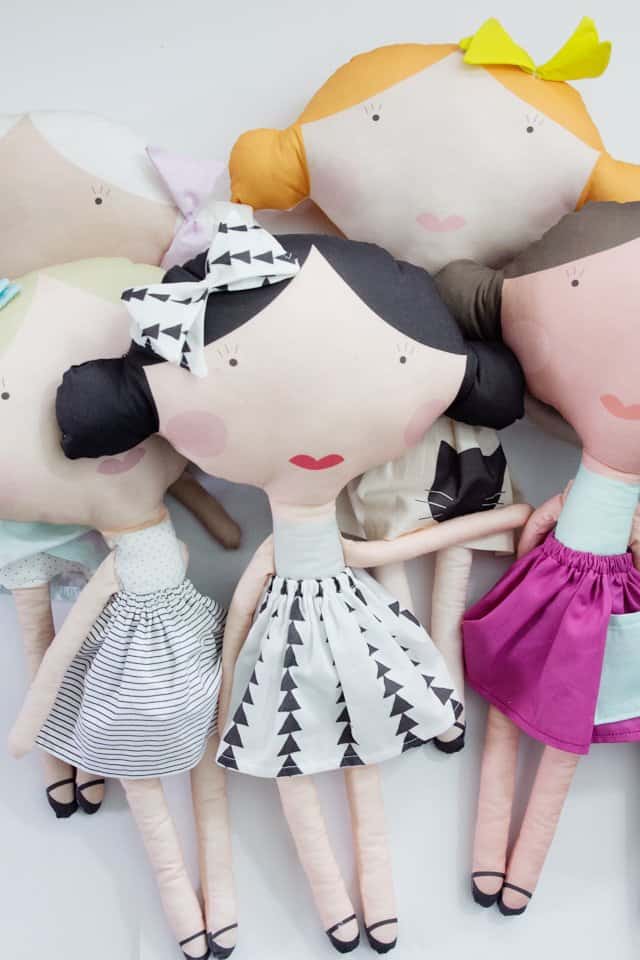
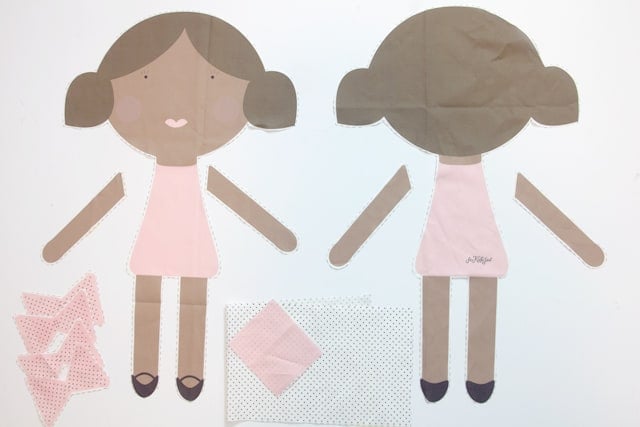
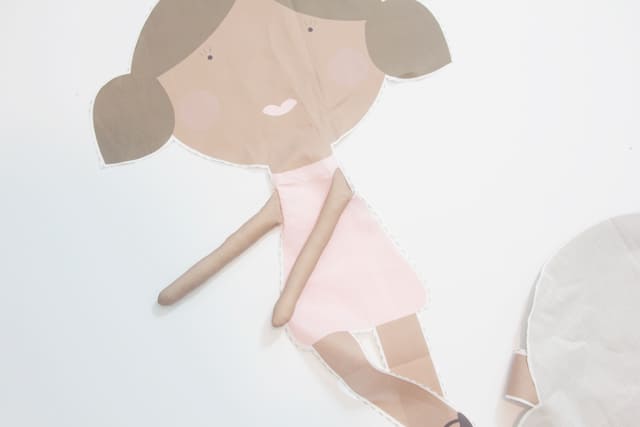
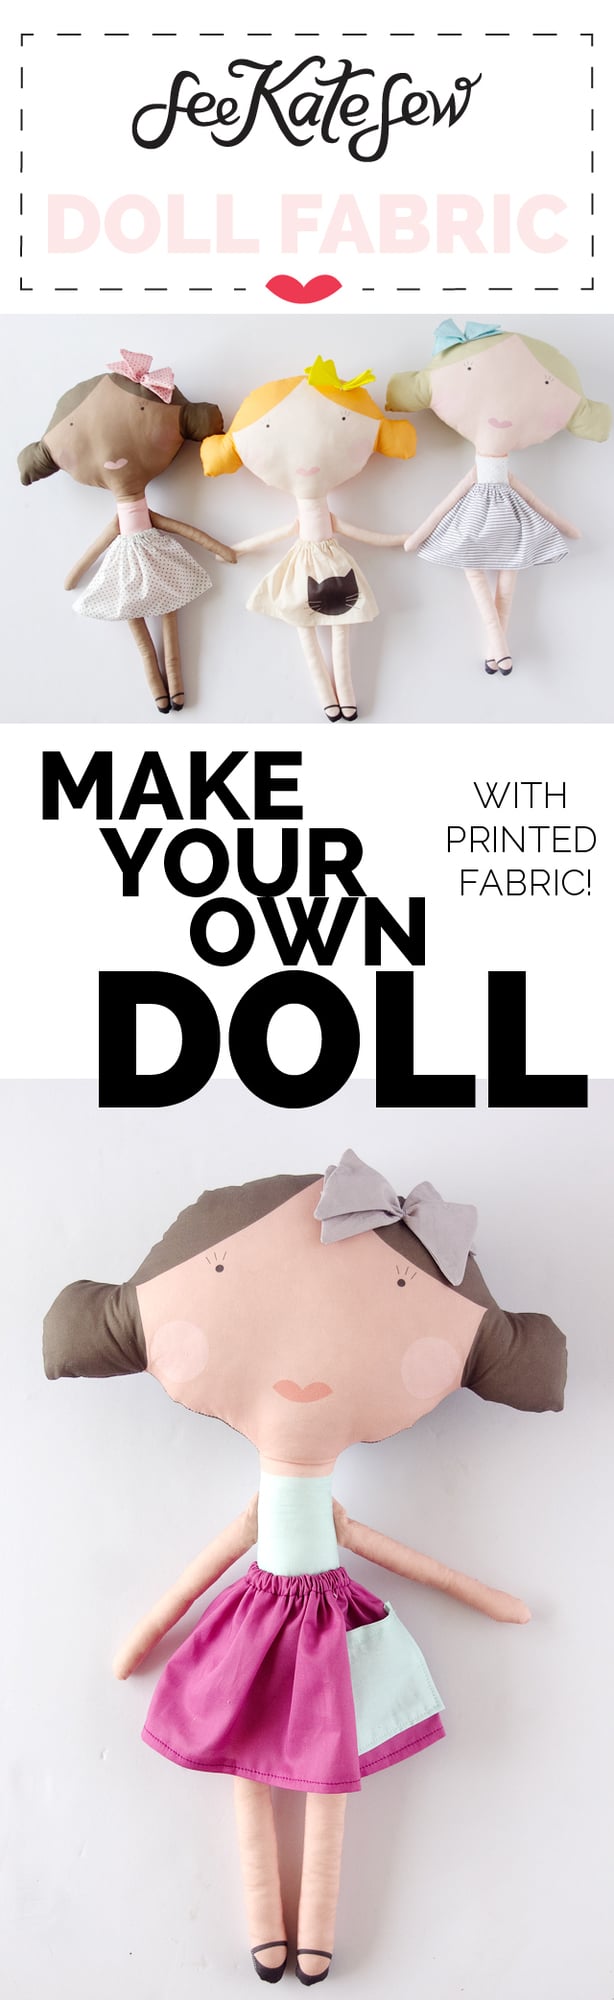
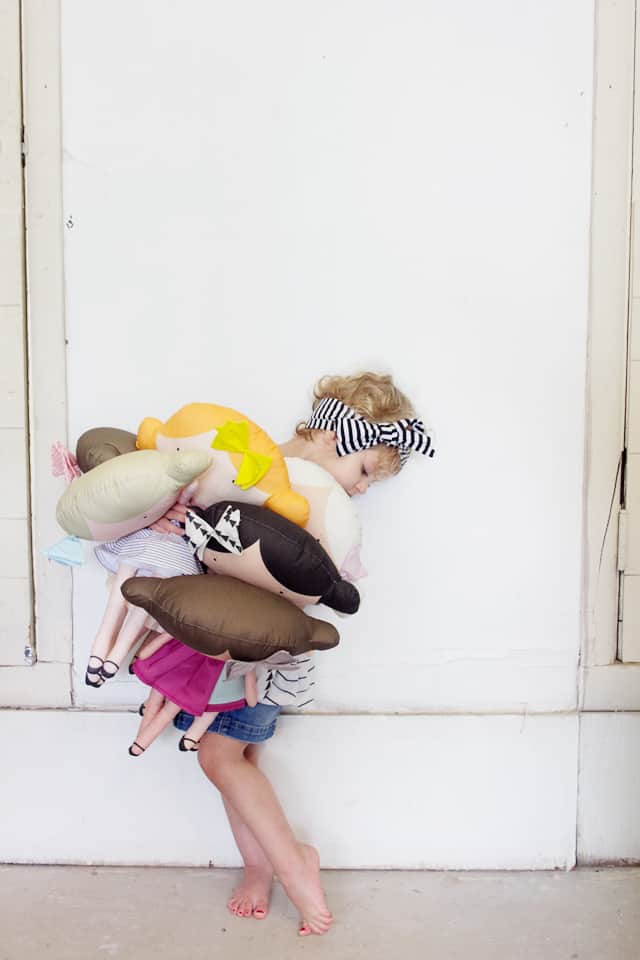
I’m so excited to share this project that I’ve been working on for the last month or so! Printed doll fabric! This fabric is soooo fun! I designed 6 little dollies, all with unique names and personalities! I designed it on Spoonflower for my little girl, printed it off and sewed them together. These are similar to my triangle fabric in the fact that most of the work is done for you, but you get to put it together and choose your options!
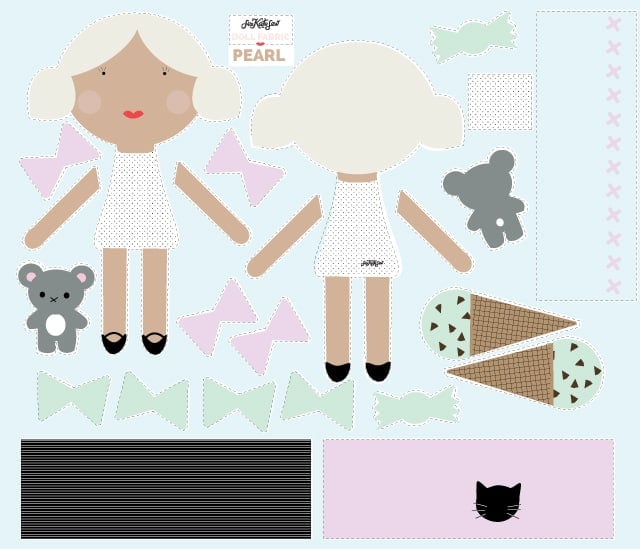
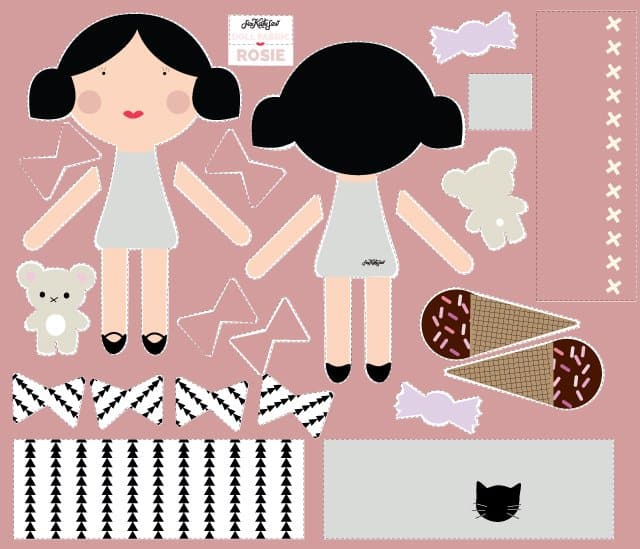
Each doll is a one-yard panel with everything you need printed on it, including all the bows, skirts and accessories. You just order it from Spoonflower, cut out the pieces and sew them together. All you have to do is add 1/4″ elastic (for the skirt) and stuffing!
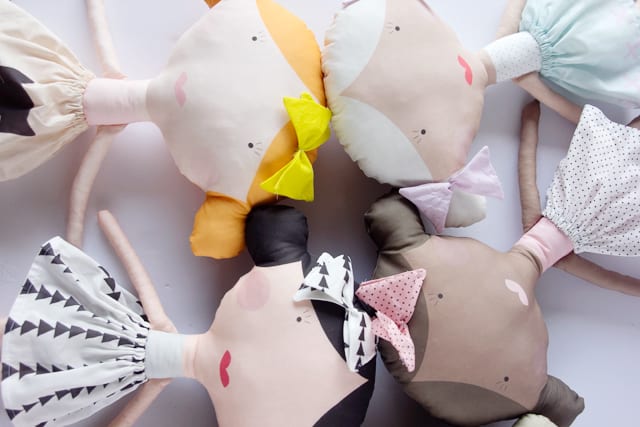
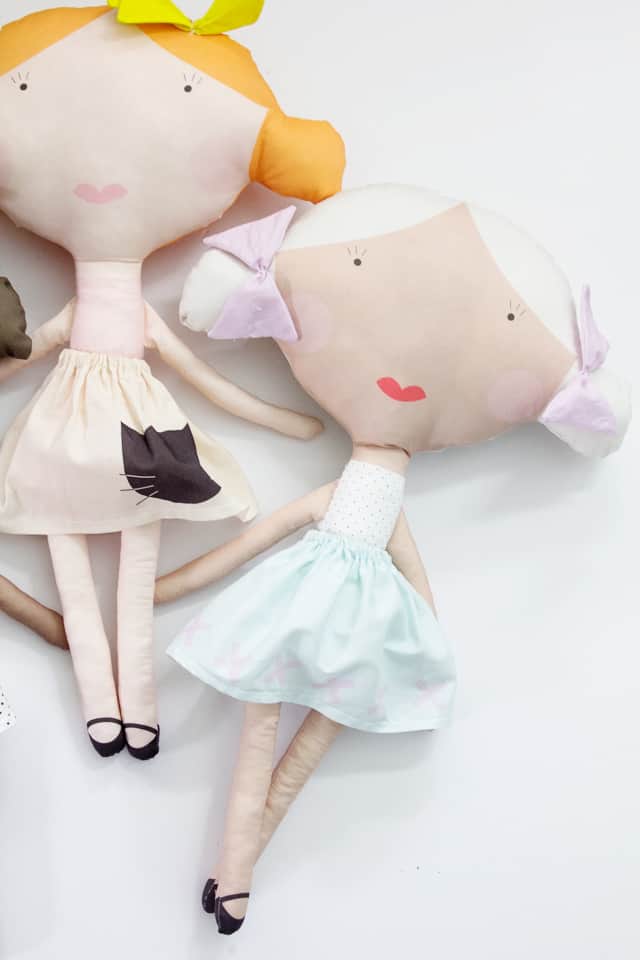
I love options, so each fabric panel as a total of 4 bows in two colors! You can sew them to one side of the doll’s head or put one on each pigtail!
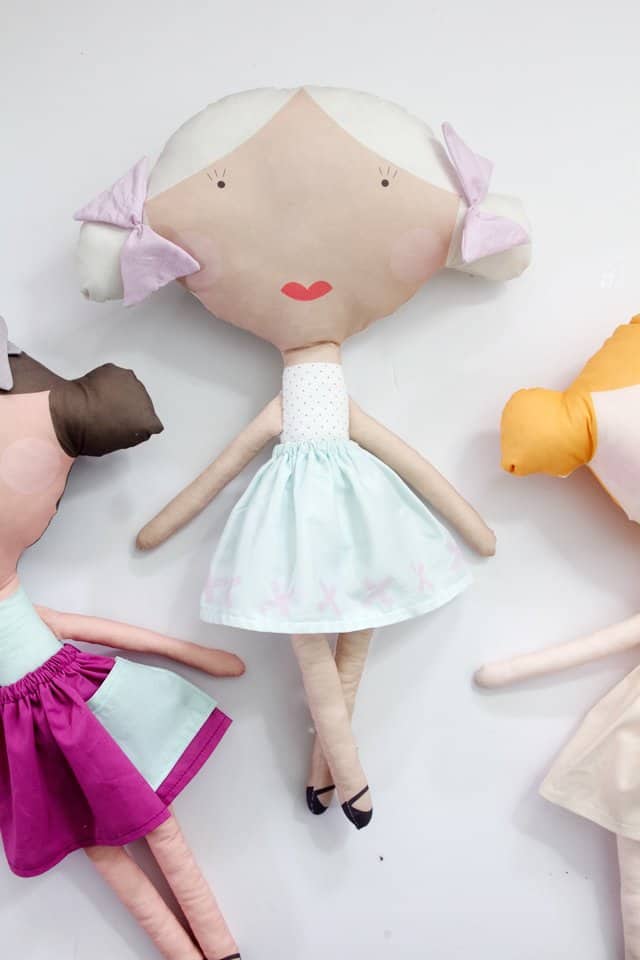
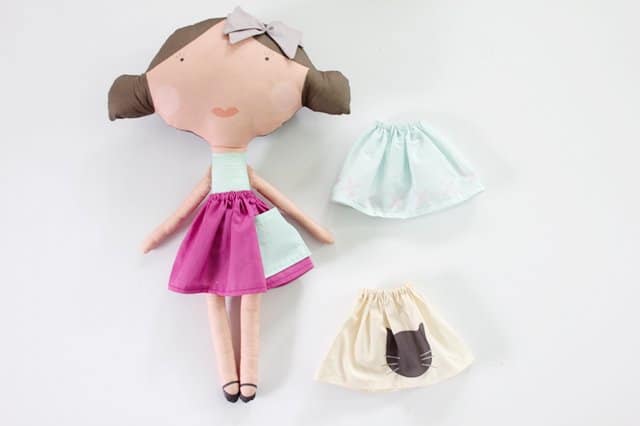
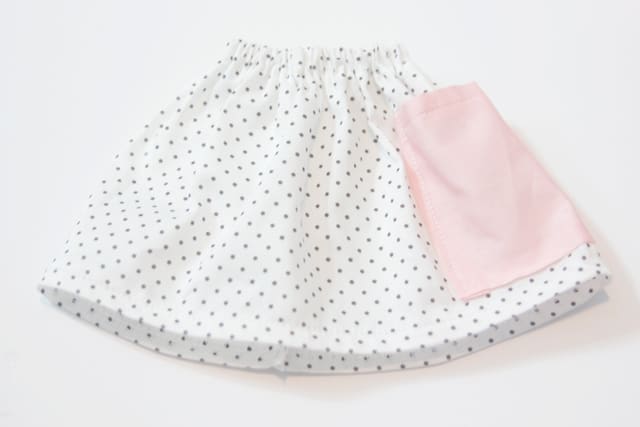
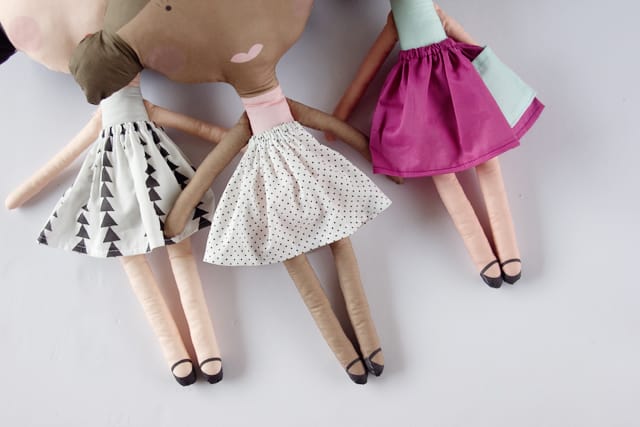
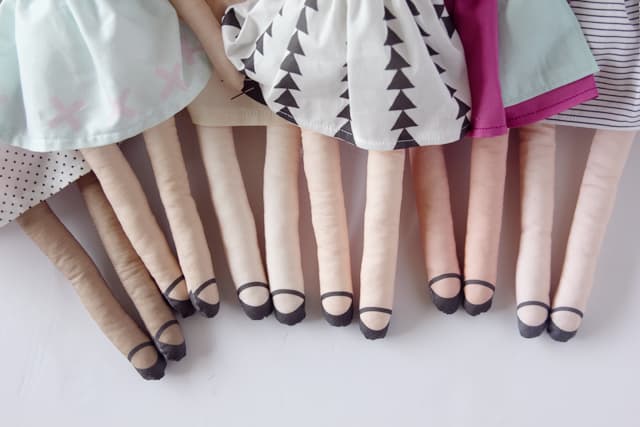
Each doll panel has 3 skirt pieces printed on it including a cat skirt, a skirt with little X’s across the bottom and a third colored skirt. And you can add the optional pocket, too!
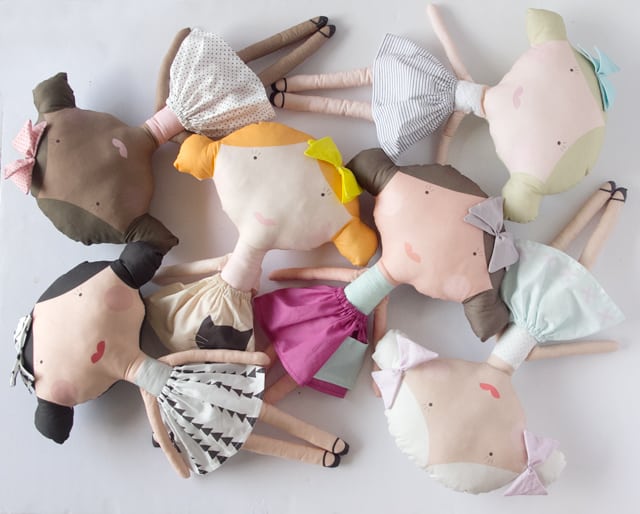
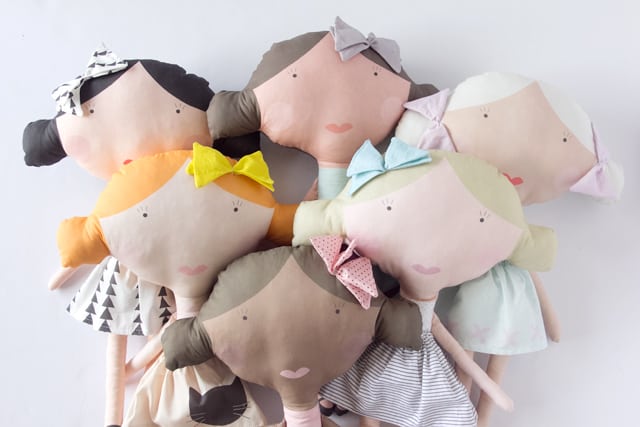
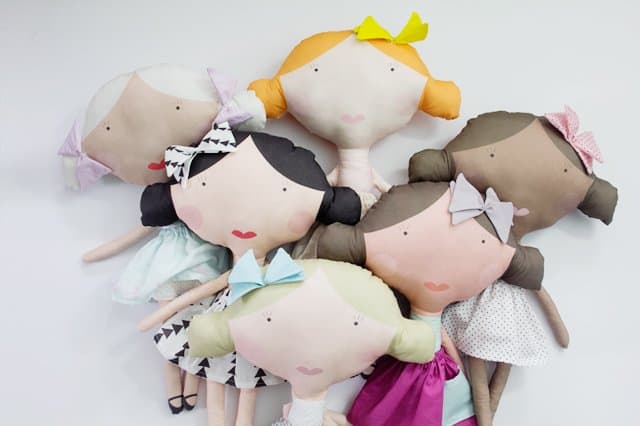
Ready to meet the girls?
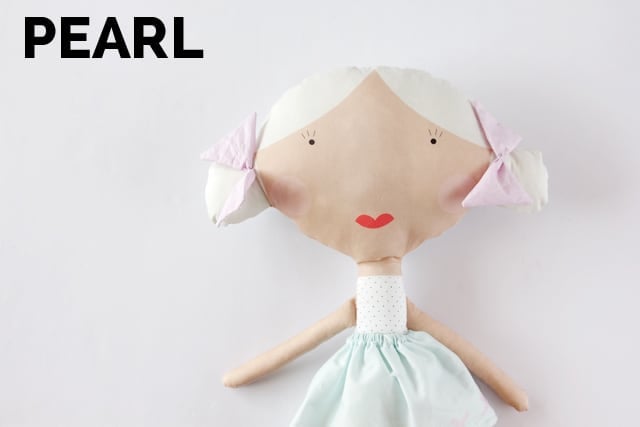
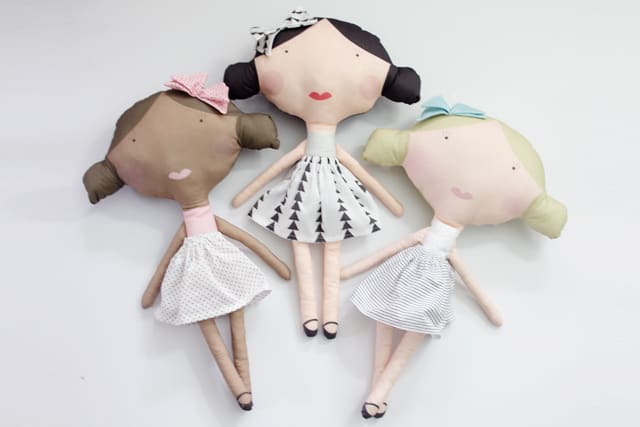
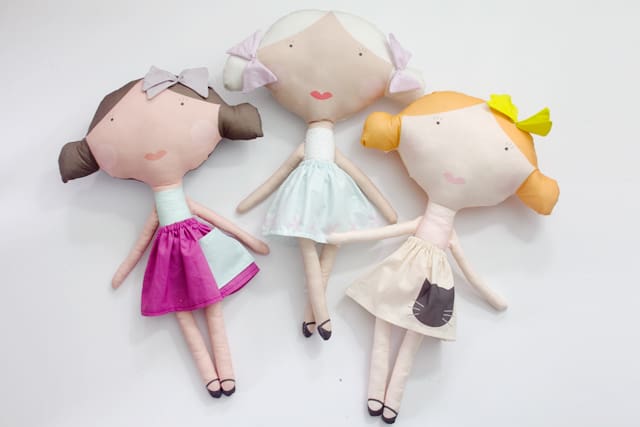
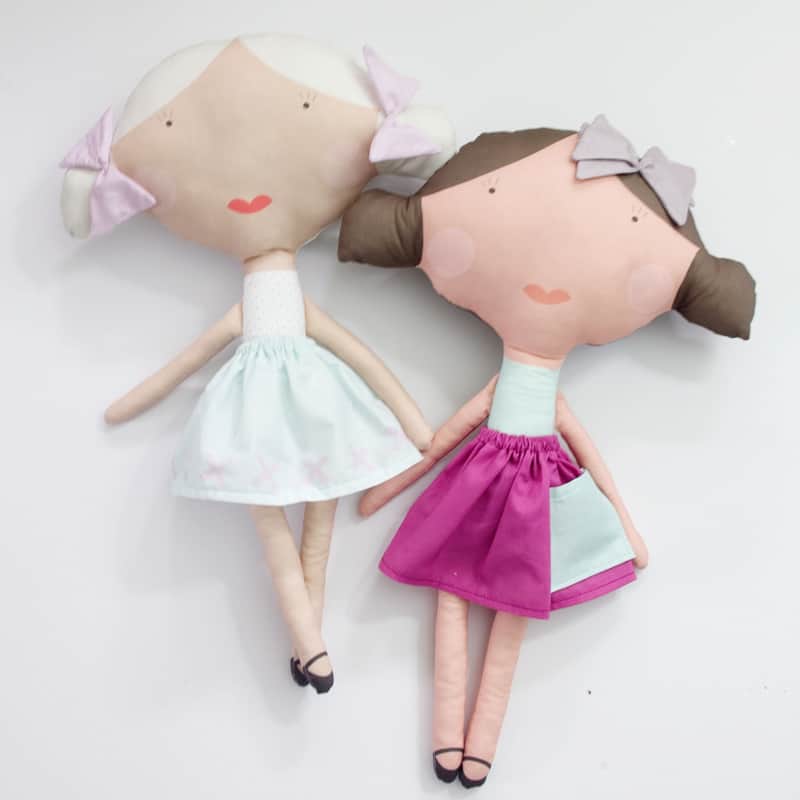
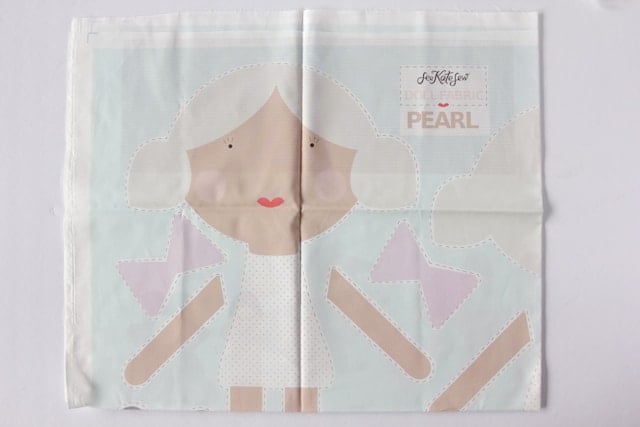
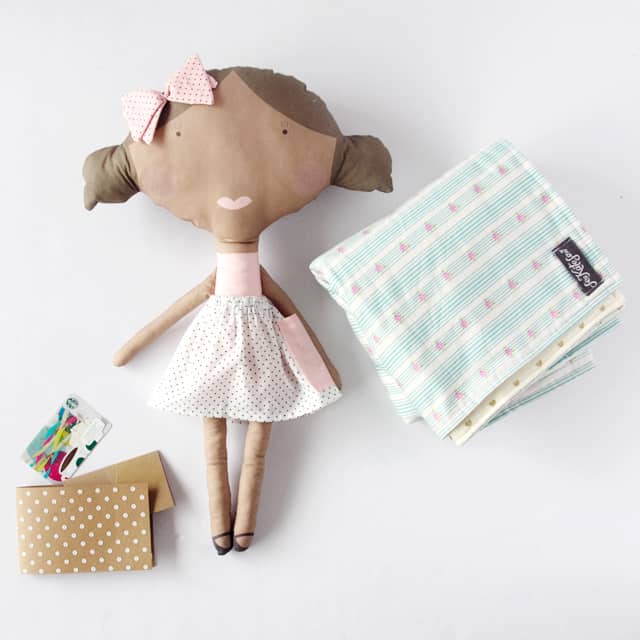
Pearl is style! She has platinum hair, flawless light cocoa skin and bright red lips! Her shirt is polka dot with 3 skirt options: b/w stripe, lavender kitty cat, and aqua/purple with an X pattern. Pearl loves mint chocolate chip ice cream and writing poetry.
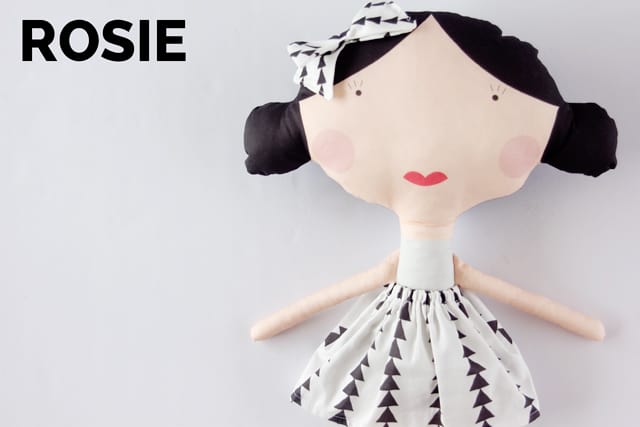
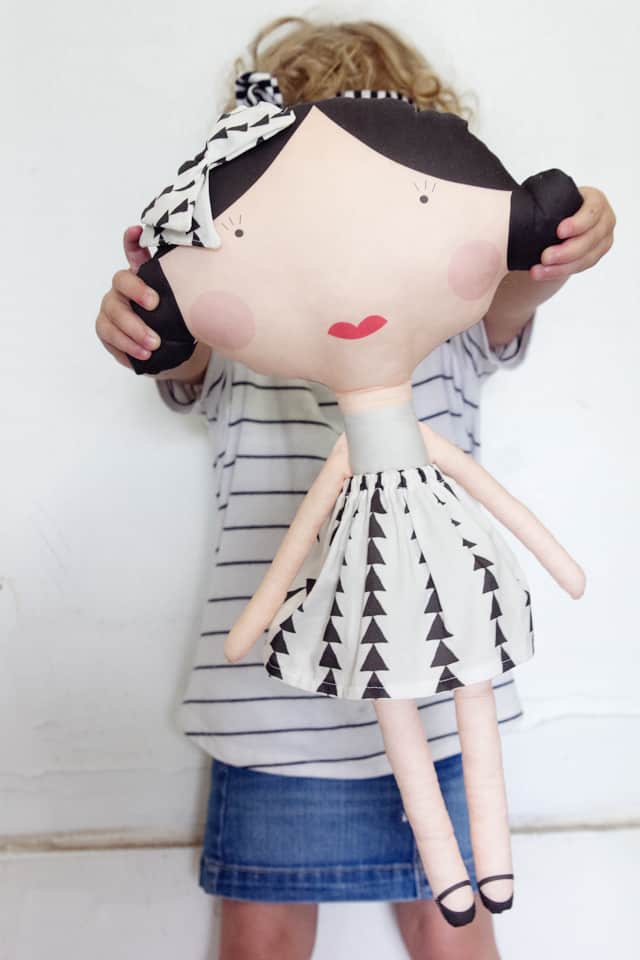
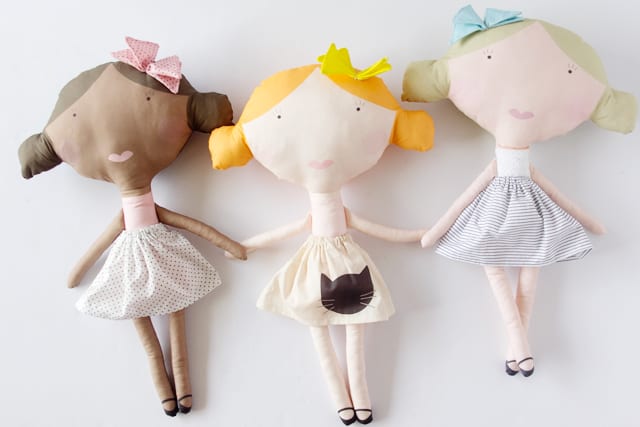
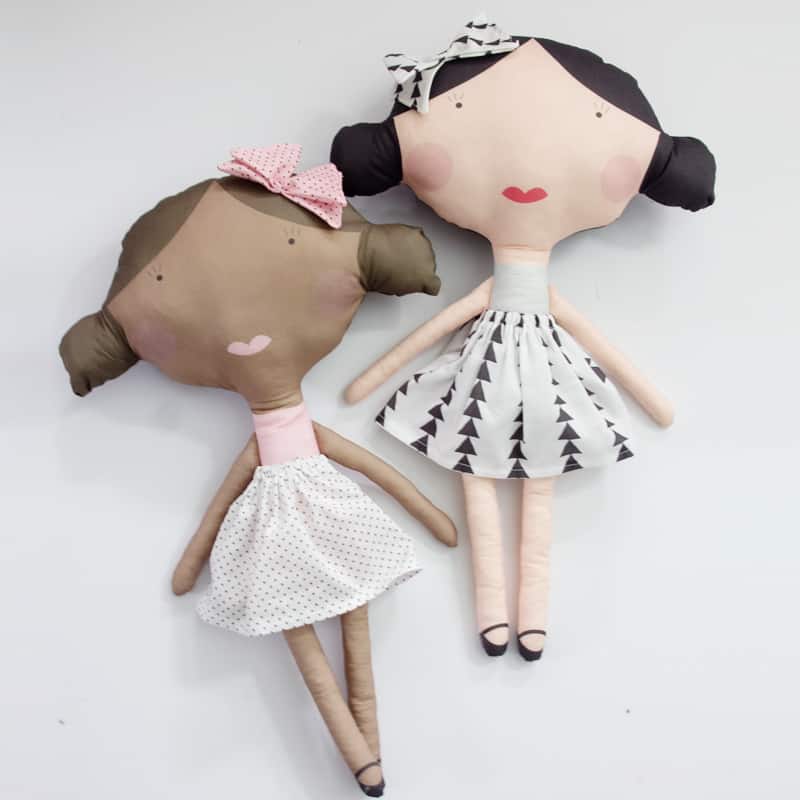
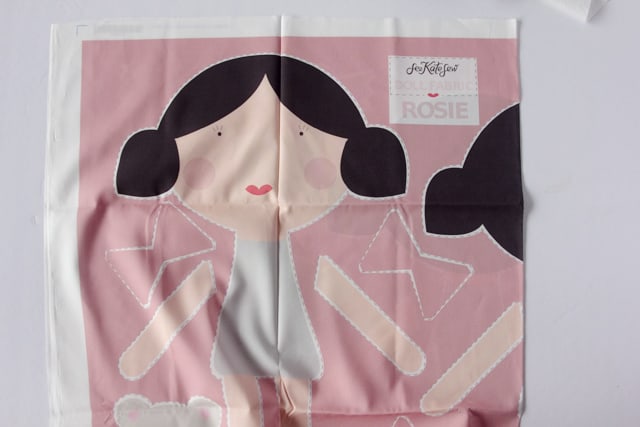
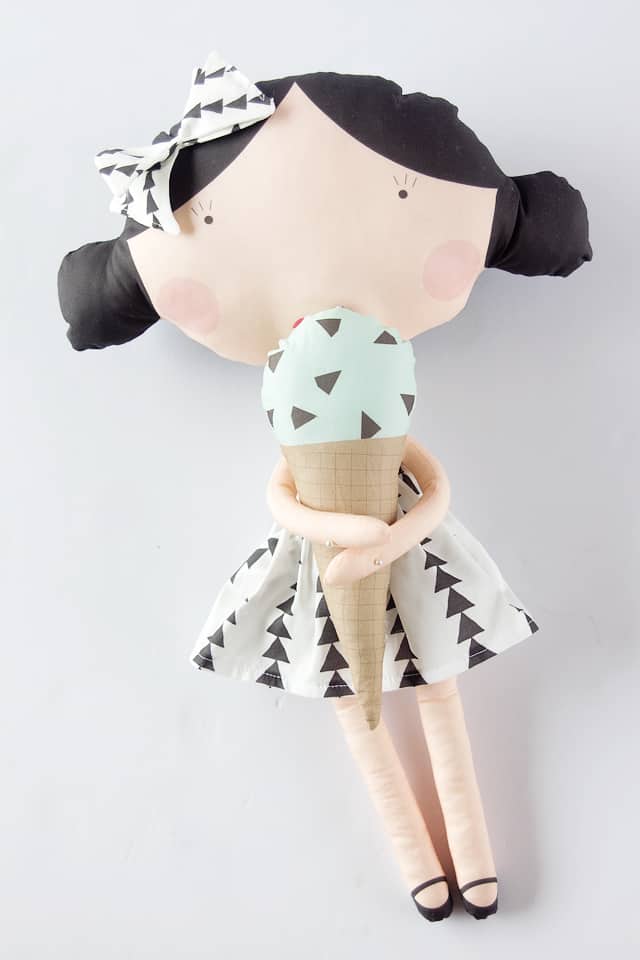
Rosie is a seriously cute girl with jet black hair and bright red lips! Her shirt is grey with 3 skirt options: b/w arrowhead, grey kitty cat and pink. Olive chocolate sprinkle ice cream cones and her tiny teddy bear!

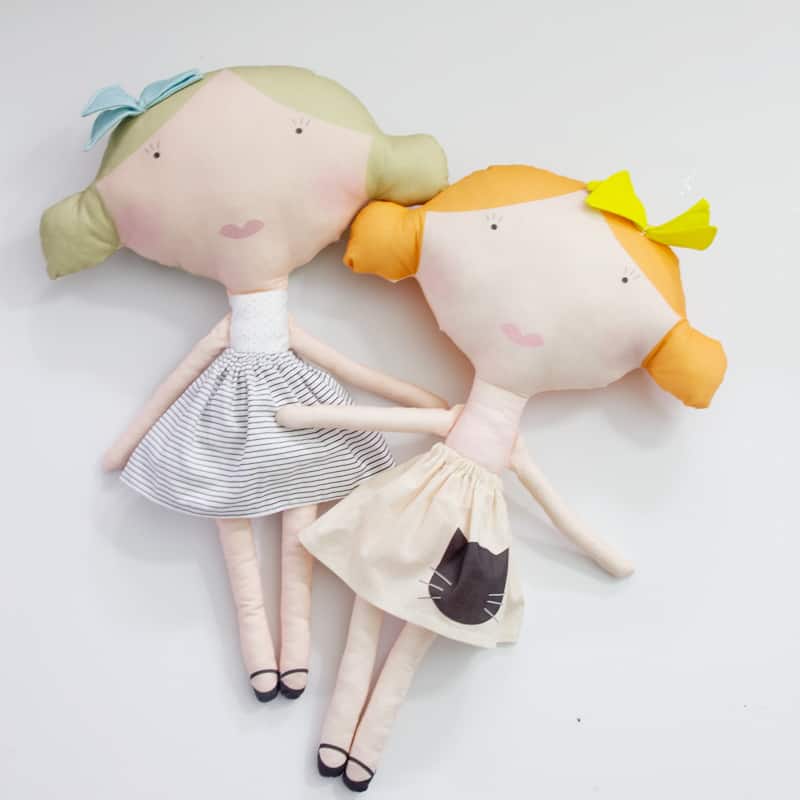
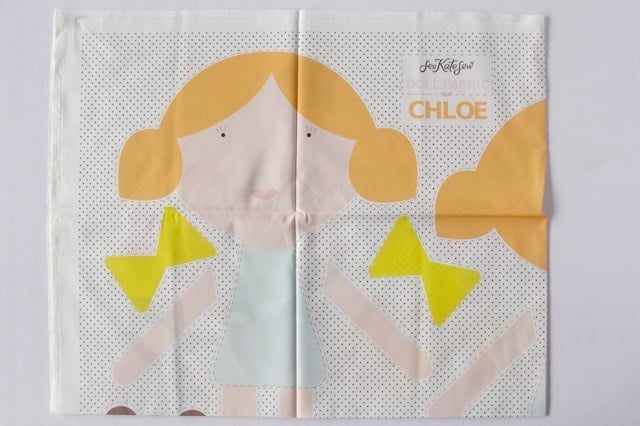
Chloe is a red-headed beauty with bright orange hair and pink cheeks. Her shirt is pink with 3 skirt options: polka dot, cream kitty and bright yellow. Chloe loves frolicking in the meadow and bubblegum chocolate chip ice cream!
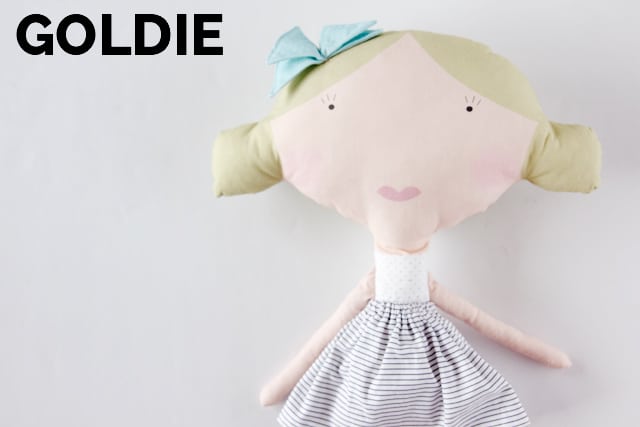
Goldie has a blonde head of hair and sweet pink cheeks. She loves polka dots and has three pretty skirt options: b/w stripes, blue kitty cat and pink X design. Goldie loves bubblegum ice cream and flying kites!

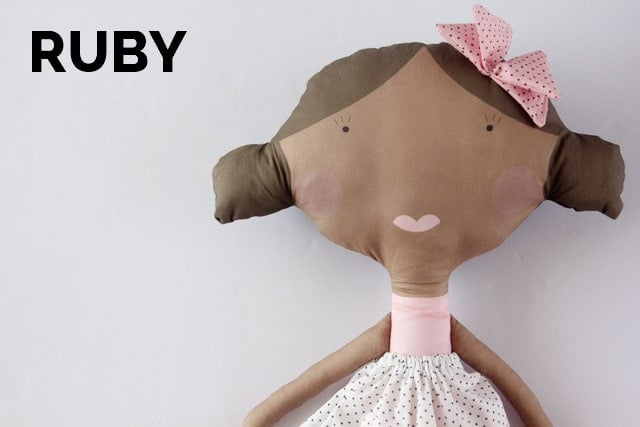
Ruby is the definition of chic! She has dark skin and dark brown hair with soft pink lips, a pink shirt and three skirt options: b/w polka dots, pink kitty cat, and bold yellow. Ruby loves chocolate chip ice cream and hiking with her friends!

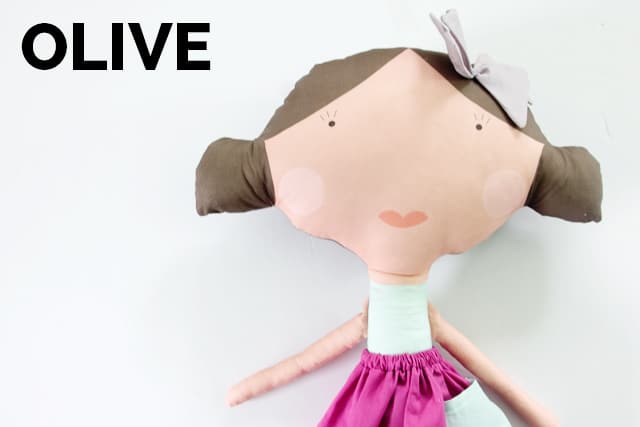
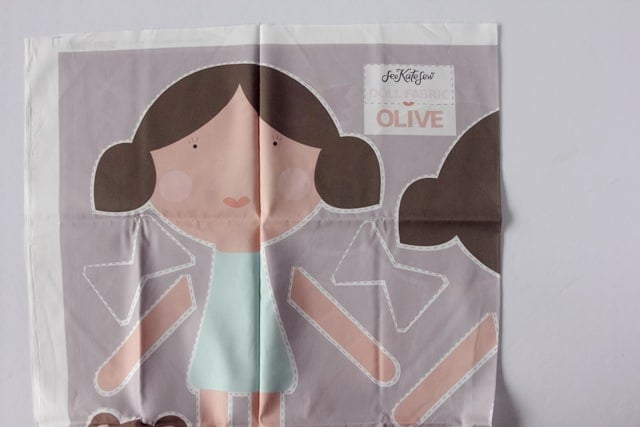
Olive is a suntanned beach babe with brown hair and mauve lips. Her shirt is mint green with 3 skirt options: magenta, striped kitty cat, and purple with an X pattern. Olive loves pink sprinkle ice cream and reading a good book by the waves!
Printed doll fabric // Tutorial
–One doll panel (one yard of Basic or Kona cotton)
-6.5 inches of 1/4″ elastic
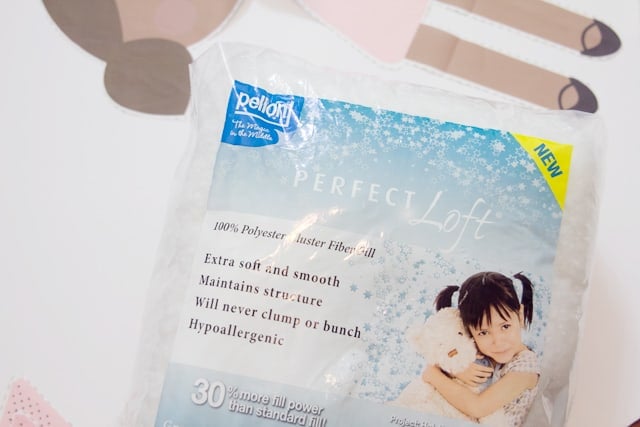
-softie stuffing, I like Pellon Perfect Loft
When you order your fabric, it will come to you looking like this:

Let’s start!
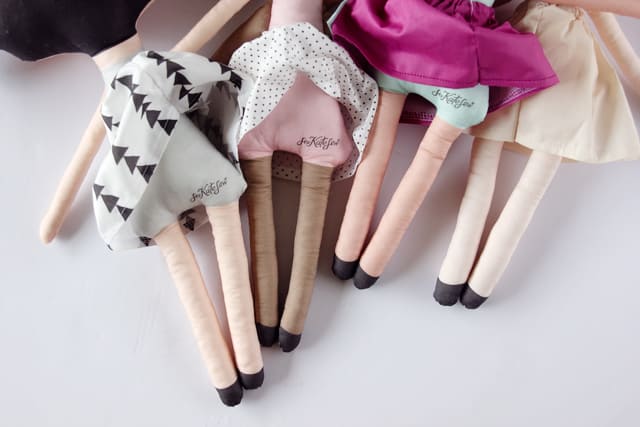
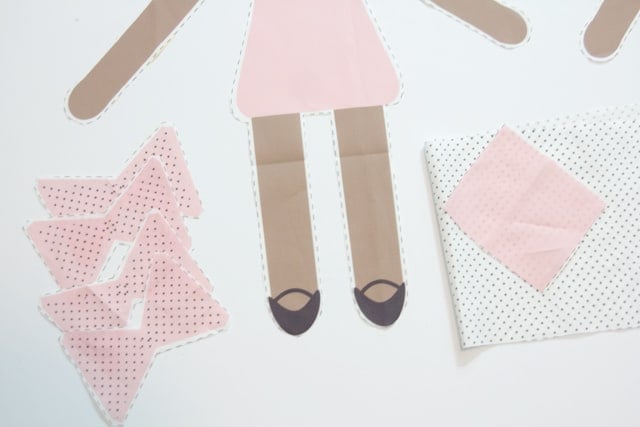
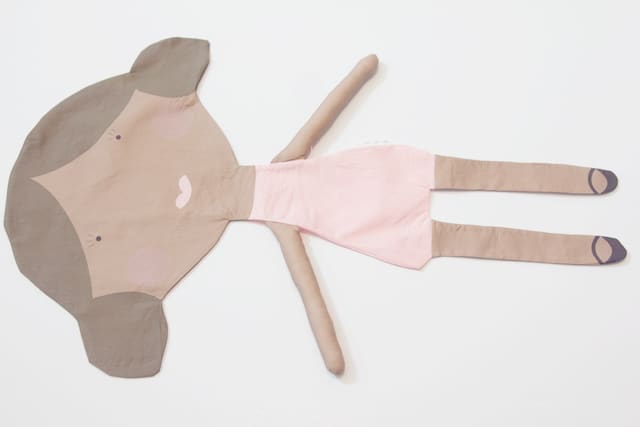
Cut out the doll pieces:
-the body front
-the body back
-4 arms
-1 skirt (optional pocket)
Cut along the dashed lines printed on the fabric. There is a 1/4″ seam allowance included on all pieces!
Press all pieces so they are nice and flat.
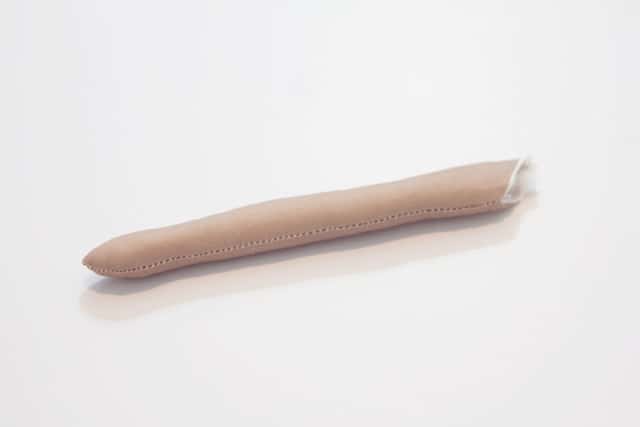
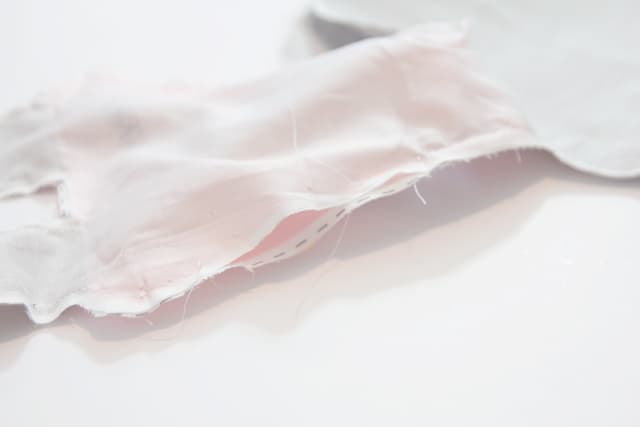
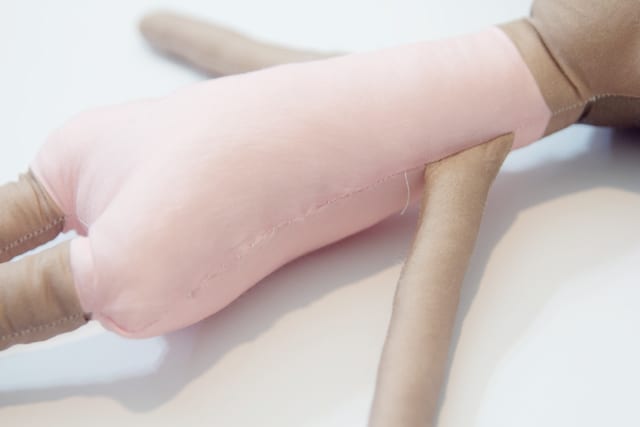
Pin the arm pieces together with right sides together.
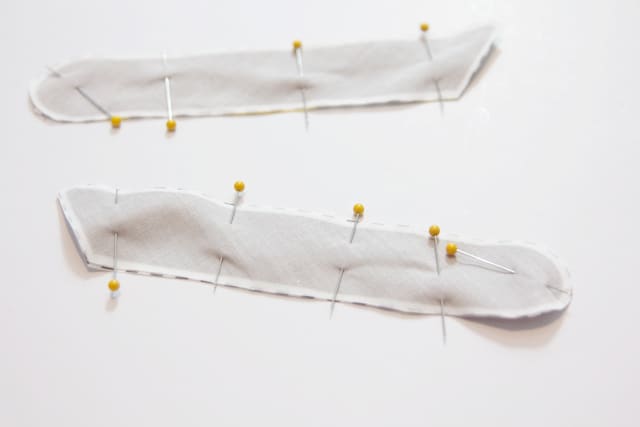
Sew around the arm piece with a 1/4″ seam allowance. Use pinking shears to trim seam allowance. Turn and press.
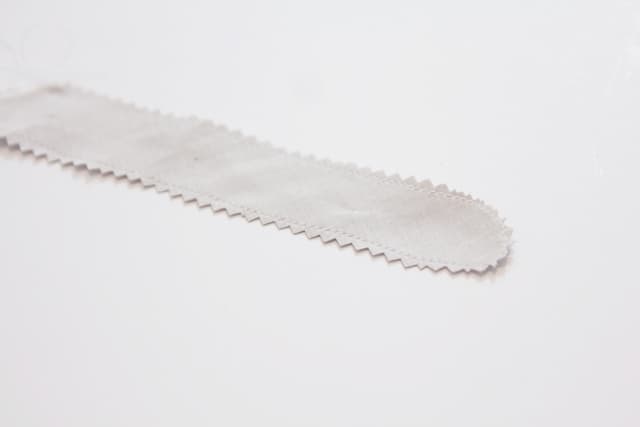
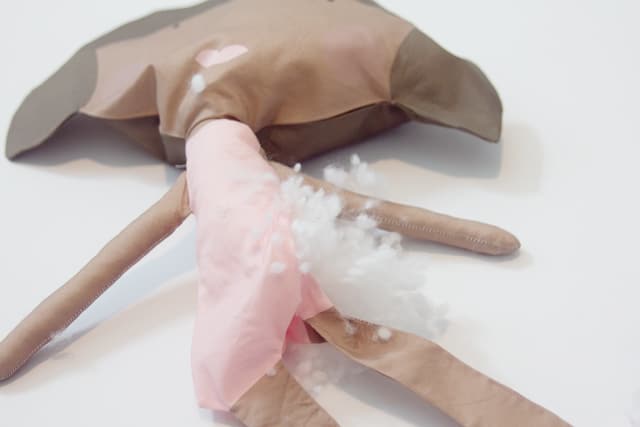
Now stuff the arms. I love the Perfect Loft stuffing.
Pin the arms to the body 1/2″ from the neckline.
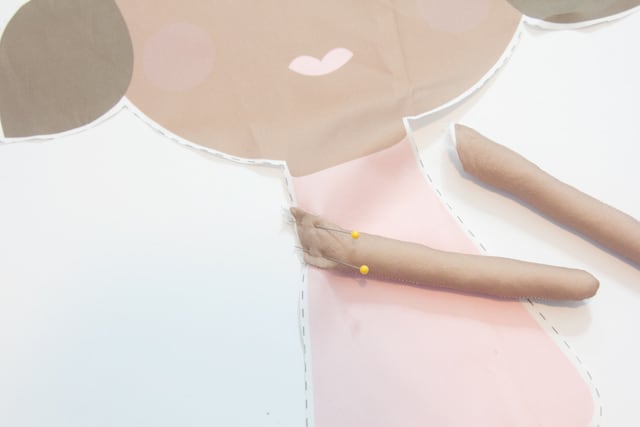
Baste arms on.
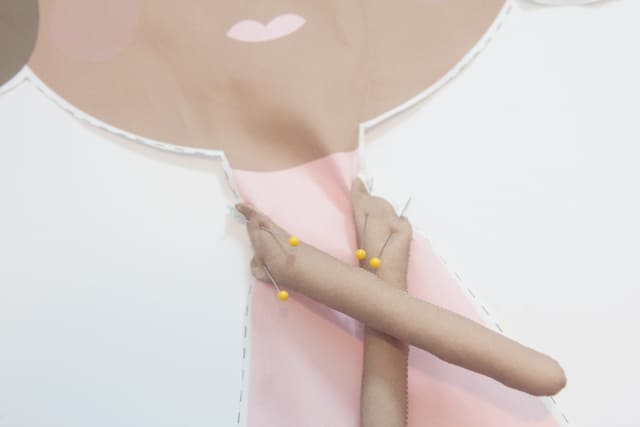
Tuck arms into the middle of the body and pin back piece to the front with right sides together. Sew all the way around, leaving a 2-3″ opening at the side of the torso.

Trim seam allowance, turn and press.
Now stuff her up! I like it pretty full, so start at the head and push as much as you can into the body.
Sew up the opening with a needle and thread.
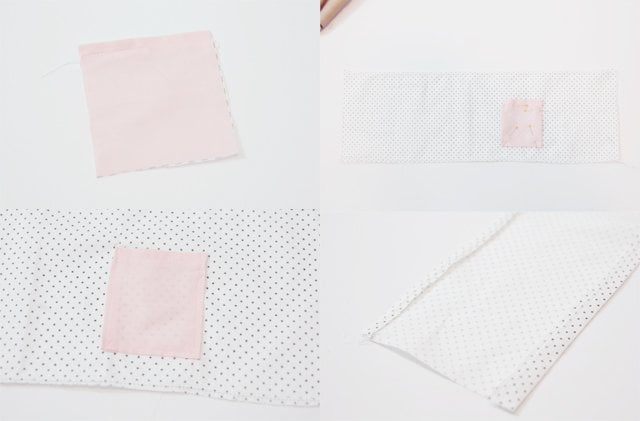
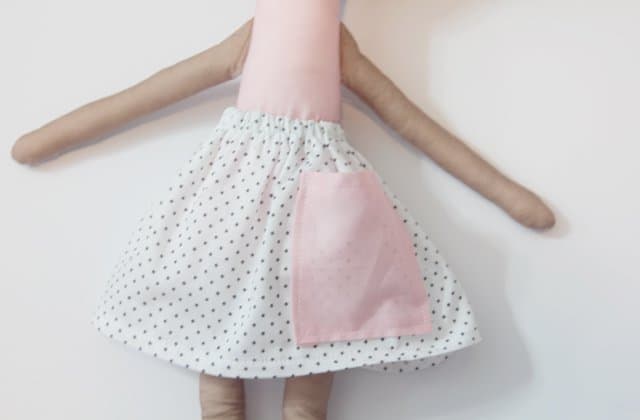
Each doll fabric panel has 3 skirts to choose from. You can pick your favorite or sew them all up and create a little wardrobe for your doll!
To make the pocket, press under 1/4″ at the top TWICE and stitch along the top.
Press under 1/4″ on the sides and bottom then pin to skirt. Sew around the sides and bottom of the pocket, backstitching at each end.
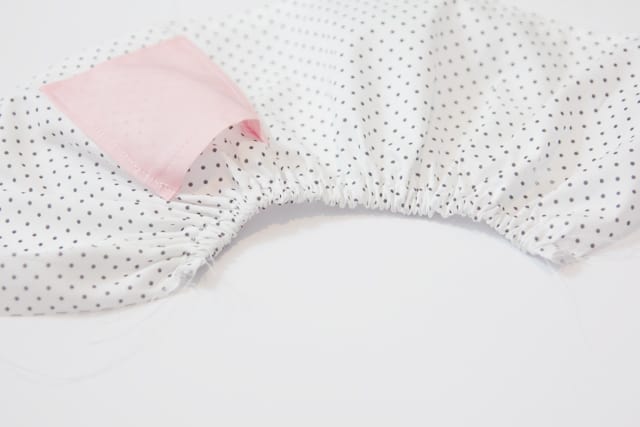
Press under 1/2″ at the top of the skirt and 1/4″ at the bottom.
Make a casing at the top by stitching at 3/8″.
Hem the bottom with a straight stitch.
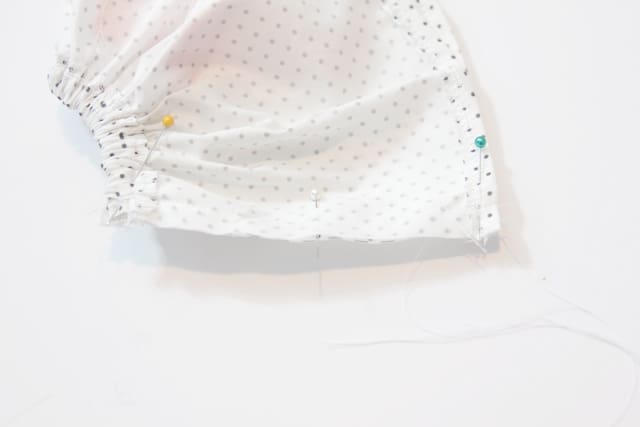
Thread your elastic through the casing and sew it at each side.
Sew the side seam and finish seam allowance.
Now put it on your doll!


Next week I will post a tutorial for the bows, and all the other accessories!