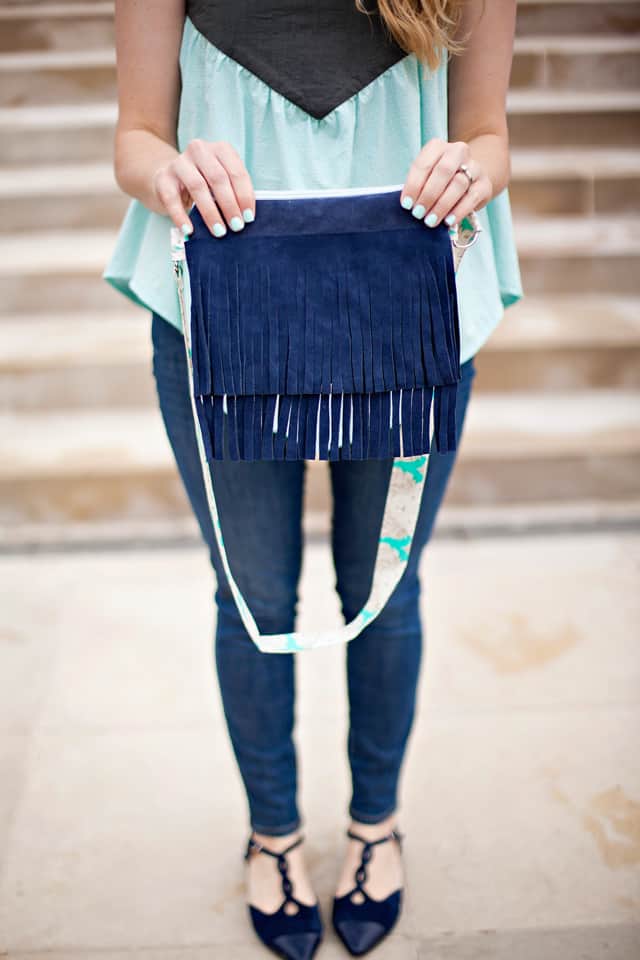
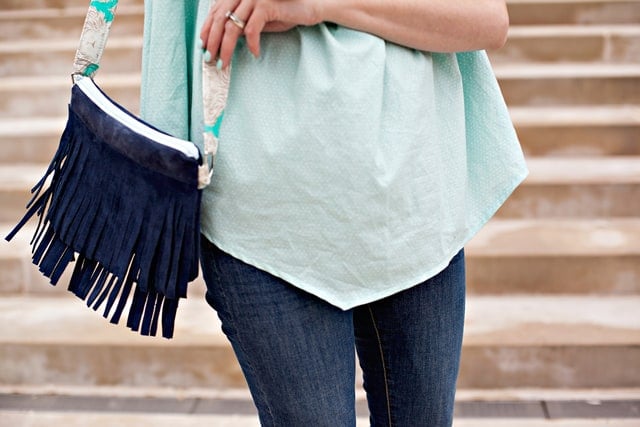
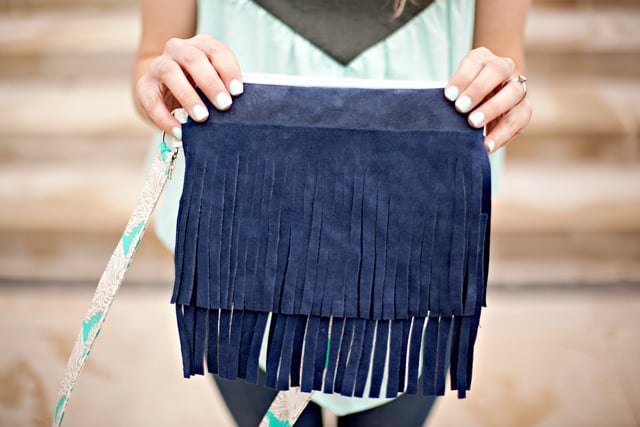
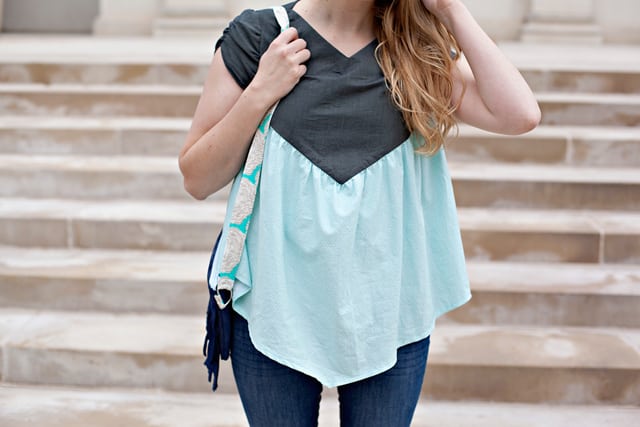
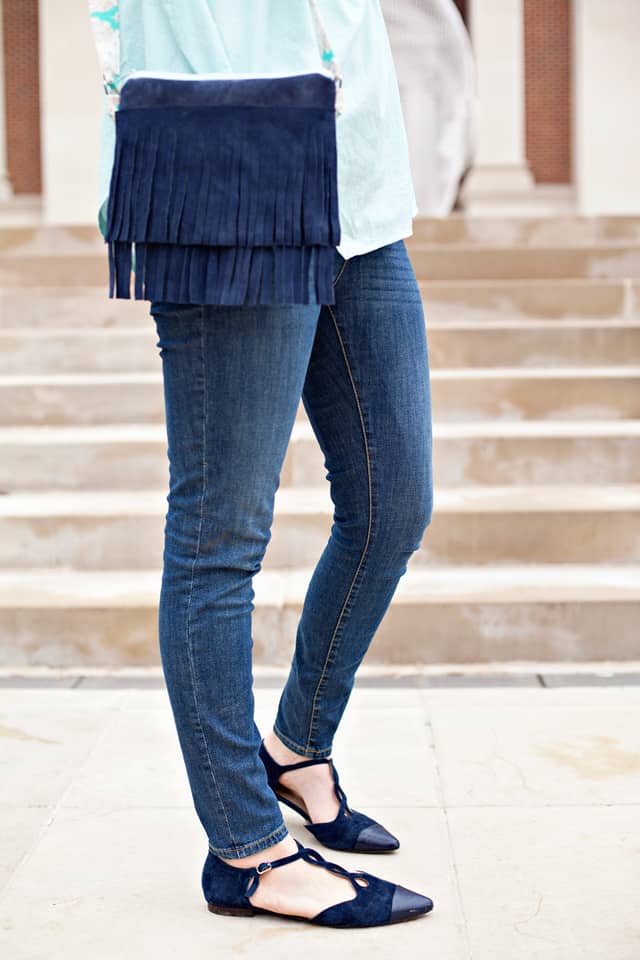
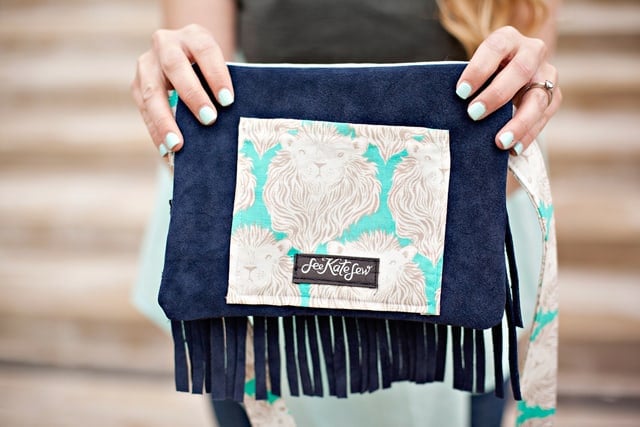
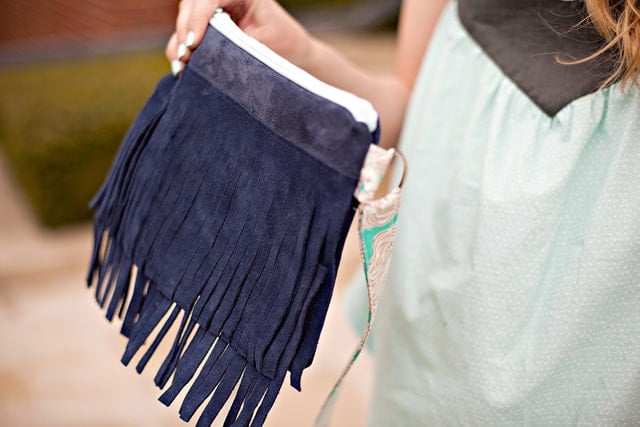
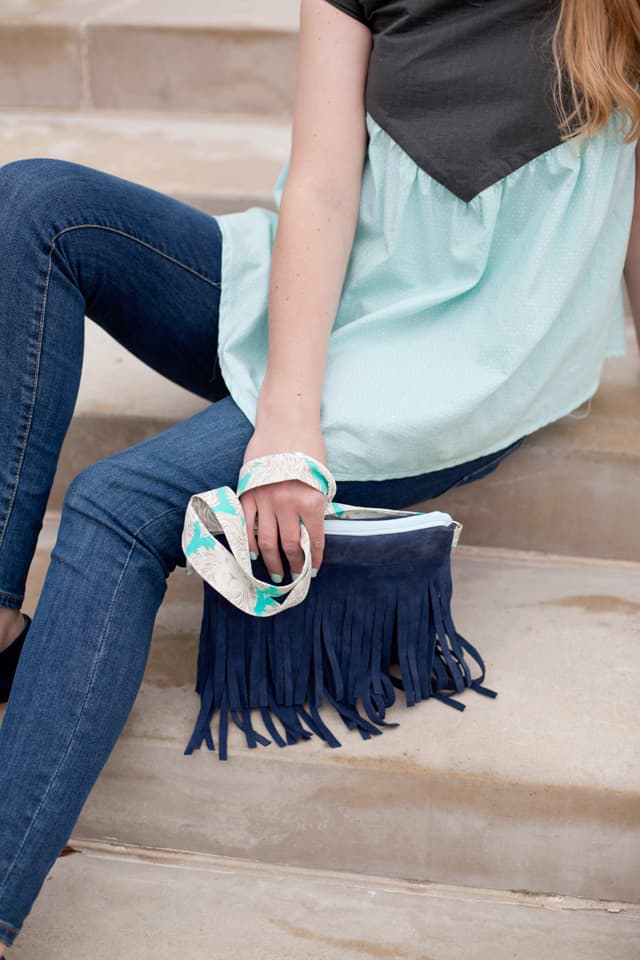
I can’t quit leather! Or fringe! This DIY leather fringe bag is fairly easy to construct and I just love how the leather flounces as it moves.
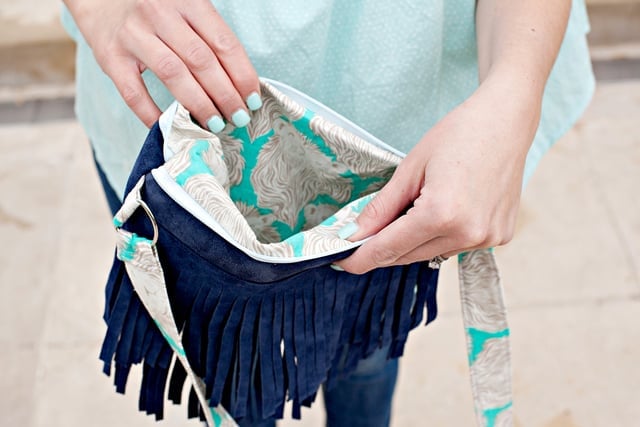
I used a navy suedge for the bag with pops of quilter’s cotton. Everything came from my stash! It’s fully lined and there is a pocket on the outside at the back!
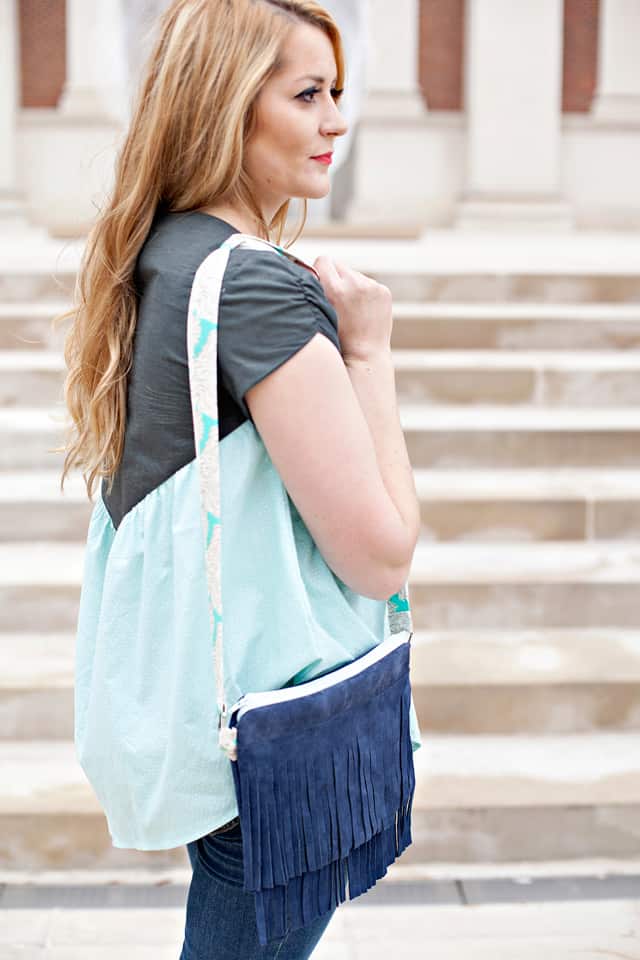


DIY leather fringe bag //
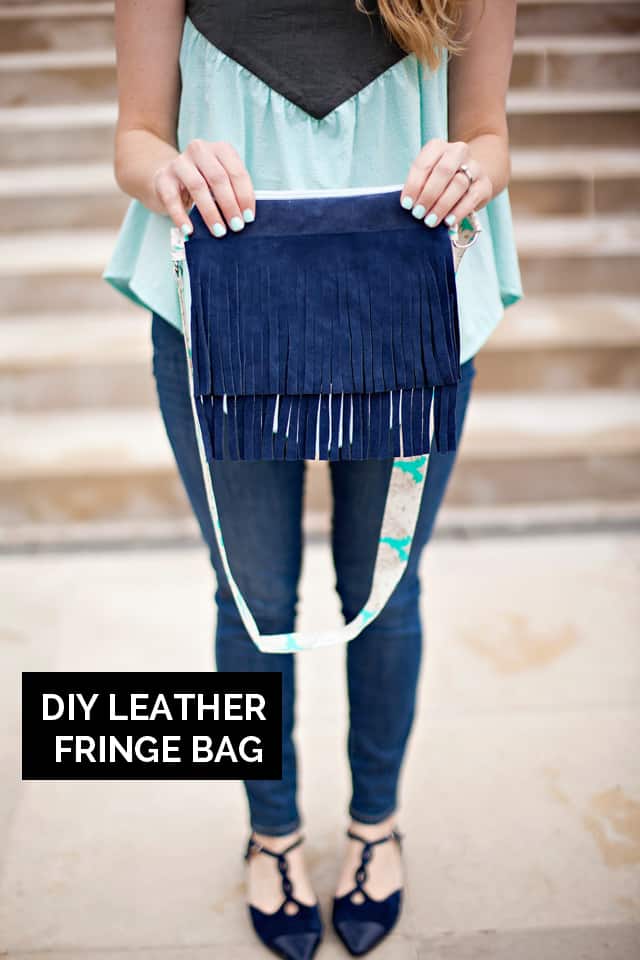
Materials:
-leather/suede remnant
-1/2″ yard fabric for lining and strap
-two 1.5″ D-rings
-one 12″ zipper
Helpful posts:
–How to sew with leather
–Basic Zipper Pouch Tutorial
This bag is very similar in construction to the basic zipper pouch. I refer to that post all the time because there is just so much you can do with it! I do recommend checking out my Sewing Leather 101 post if you have never sewn with leather before, it can be tricky, but a few simple tools and adjustments will make it so much easier.
Okay, let’s get started!
Instructions:
Print out the pattern and tape it together like so:
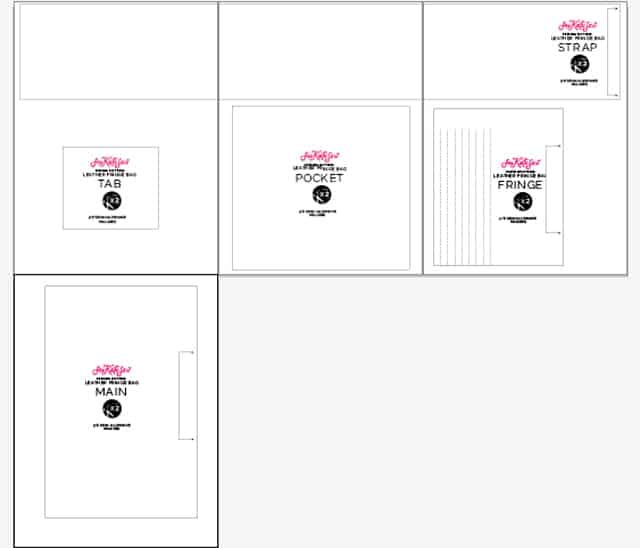
You’ll have to trim about 1/2″ of the paper off around the edges.
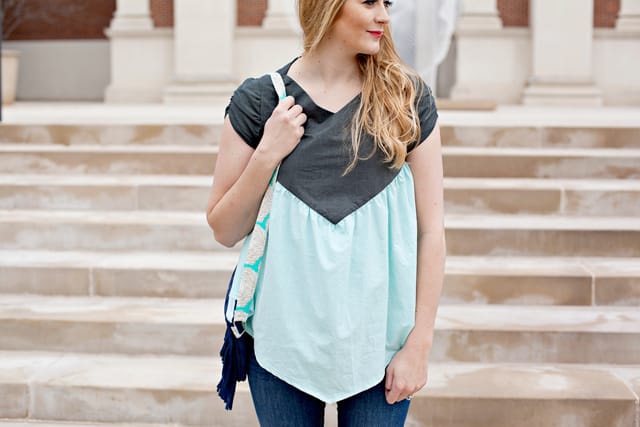
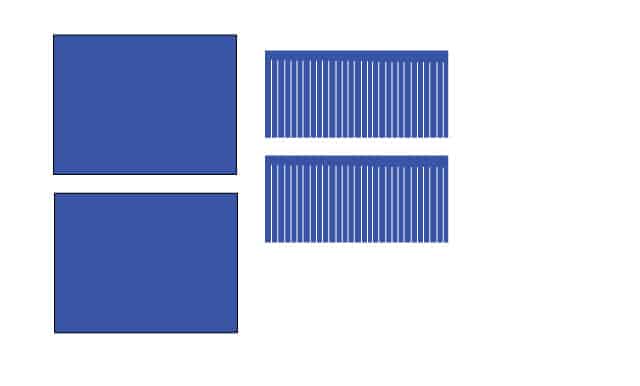
Then cut out the following pieces:
Leather:
- 2 main pieces
- 2 fringe pieces
Fabric
- 2 main pieces for lining
- 1 pocket piece
- 2 tab pieces
- 1 strap piece
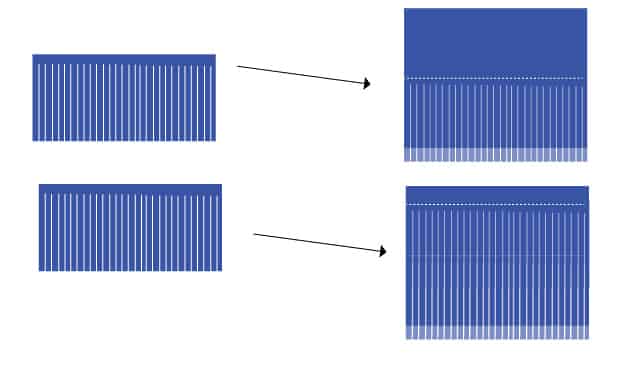
Cut fringe into leather by following the guide on your pattern piece, each fringe strip is about 1/4″ wide. It doesn’t matter if they are perfect or not, so just cut lots of strips up to about 3/4″ from the top. My wrists got really tired at this point, with all the cutting! But this is the main feature of the bag, so it will be worth it!
Now place fringe piece at the bottom placement mark on your pattern piece. Use wonderclips to clip each side to hold it in place. Now stitch it on using a matching thread.
Repeat with second fringe piece at the top.
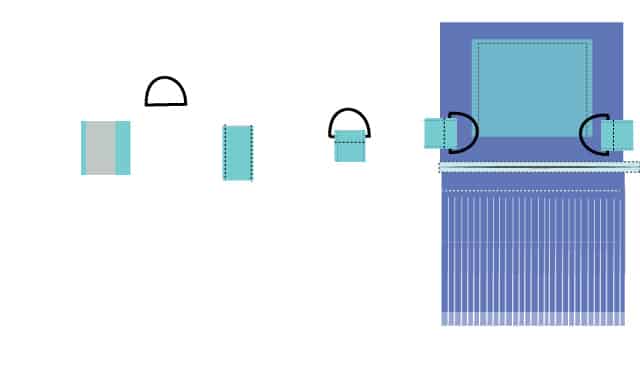
Fold all edges of the pocket over 1/4″. Then fold the top over another 1/4″ and stitch in place. Place pocket on main back leather piece and sew around the side edges and the bottom edge. Backstitch at the start and stop.
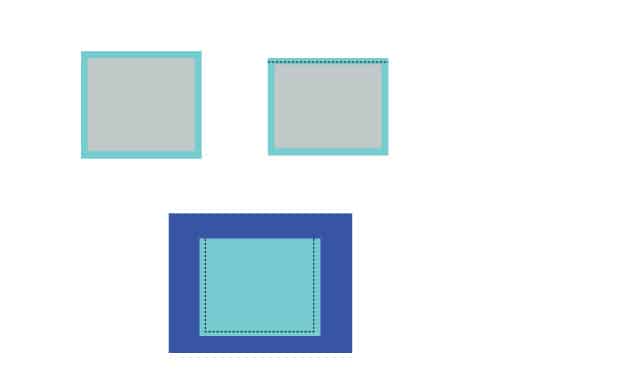
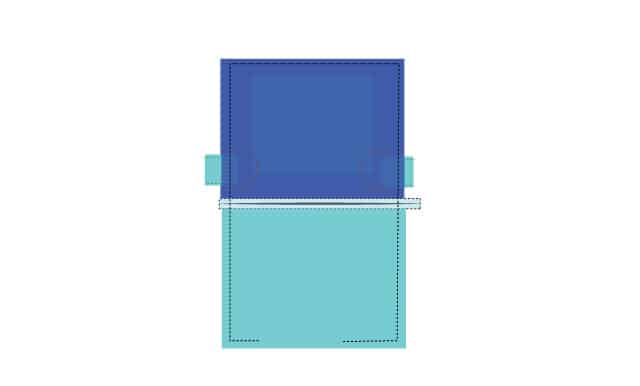
Sew zipper between main pieces. Start by sewing it to the front with the zipper facing down with the lining on top. It will be a sandwich: Leather/Zipper/Fabric. Sew. Then flip open and sew it to the other side with the second lining piece. To see a photographed version of these instructions, refer to the basic zipper pouch tutorial.
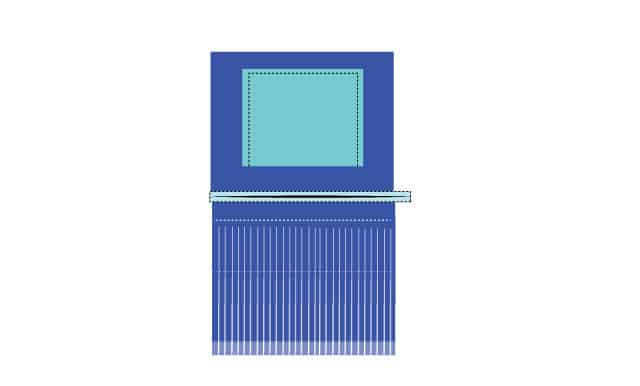
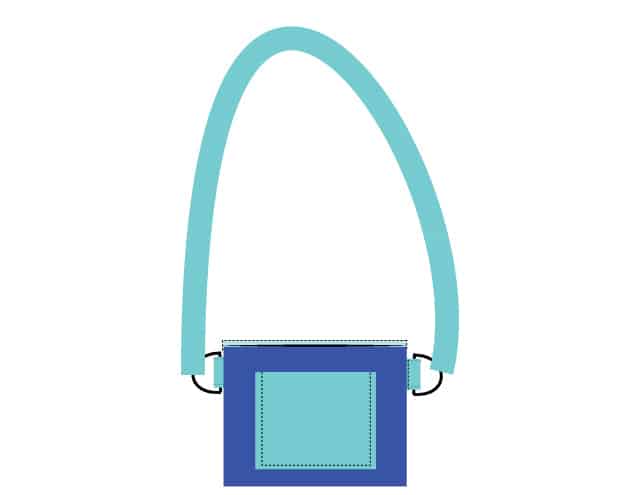
Create the D-ring tab pieces. Fold over and press 1/4″ on one side of the tab piece and 3/4″ on the other side. Then fold folded sides over and match them up. Stitch both sides. Then fold strip over the D ring and sew as close to the D-ring as you can. Place the D-rings facing into the back on the edges, with about 3/4″ remaining at the top. Baste or pin in place.

Sources:
Suede: Tandy Leather
Lining Fabric: Cotton + Steel
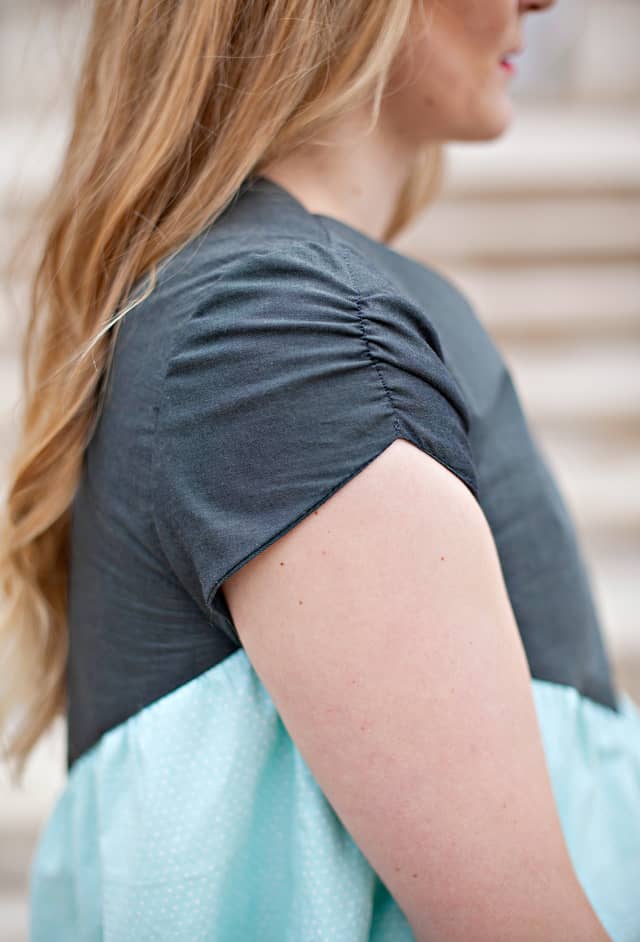
Top: Soho blouse
Blue Heart Fabric: c/o Dear Stella




Cute bag!!! And your top looks so cool! Would you recommend to use faux leather for the yoke???
I#m totally in love with your style!
Oh my gosh! I love the idea of this bag, it’ll be so on trend for the spring!
Thanks for the tutorial! I have been doing a lot of zipper pouches lately and this bag is so cute I might try it too!I’ve never sewn with leather before tho…
very cute
Super cute Kate!!
Fringes are not my thing usually, but I immediately fell in love with this bag!! Next Wednesday my friend and I will be using your tutorial during one of our creative outbursts ;-)