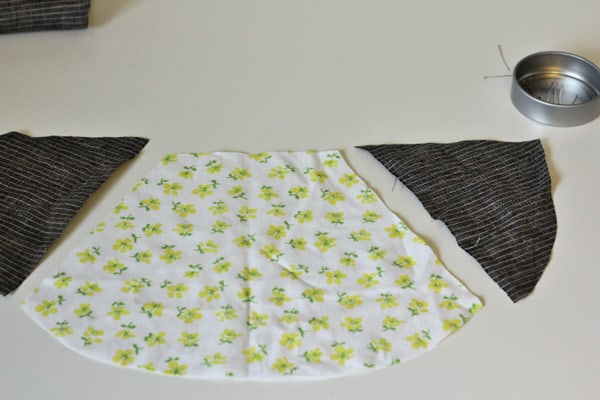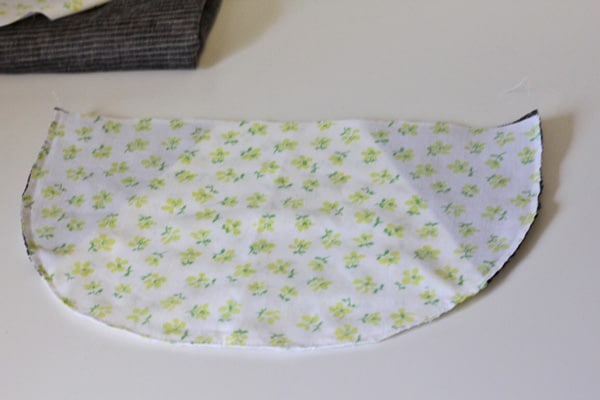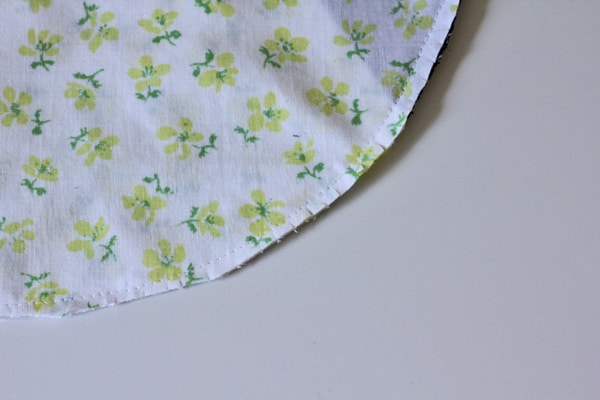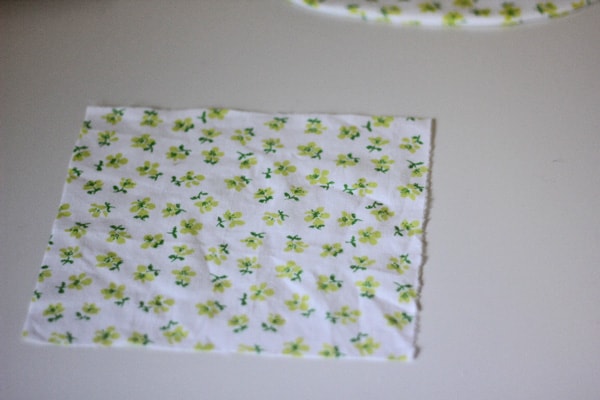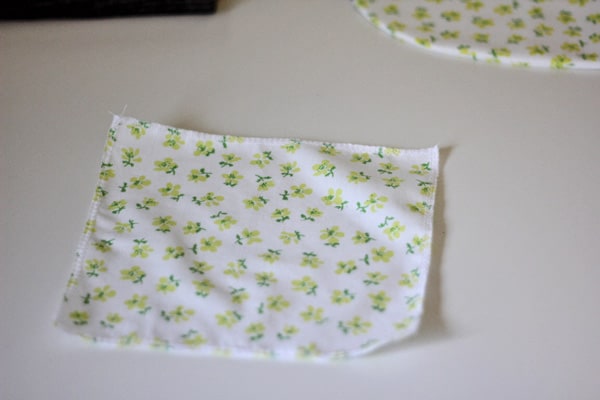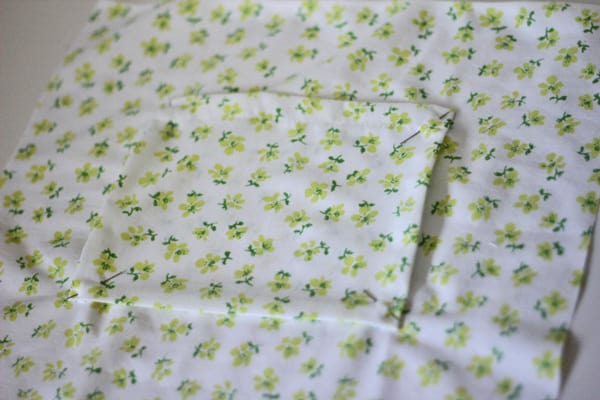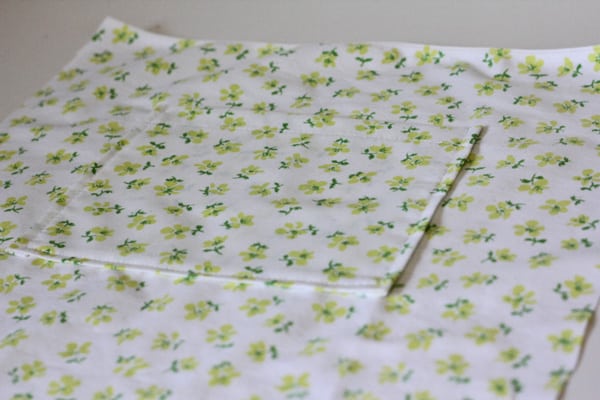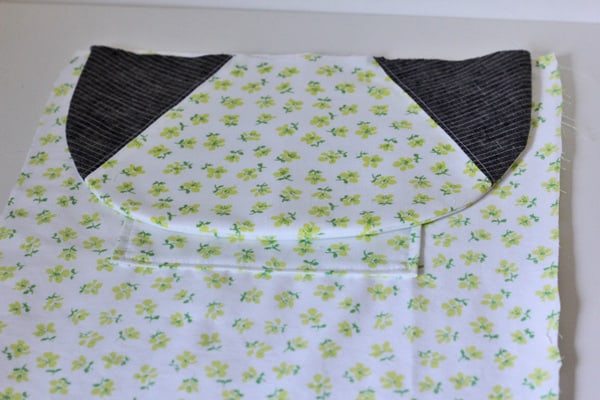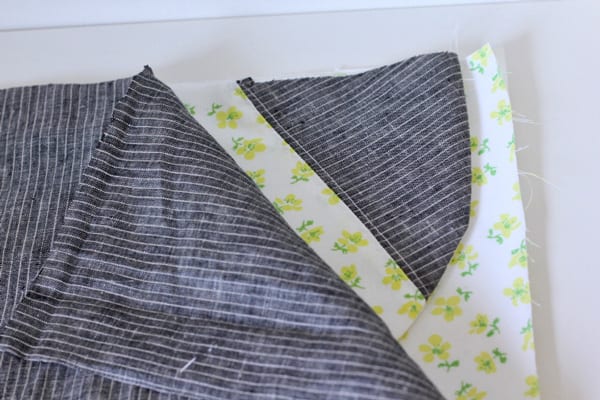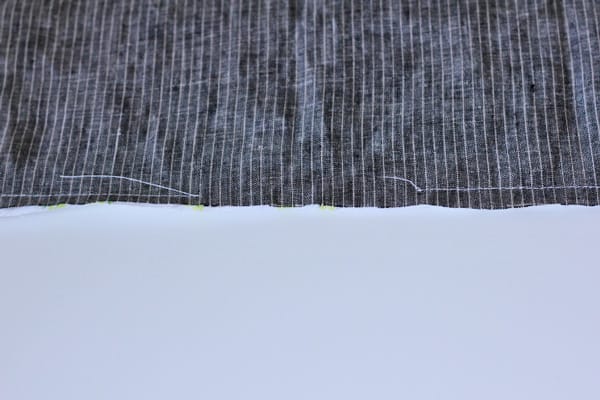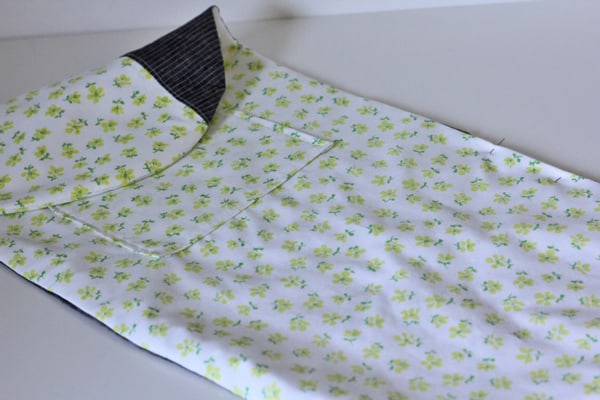
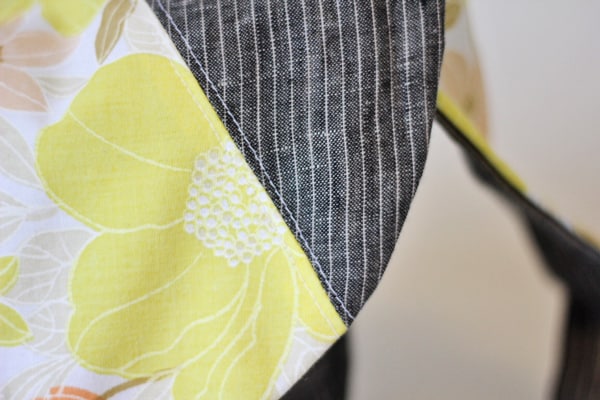
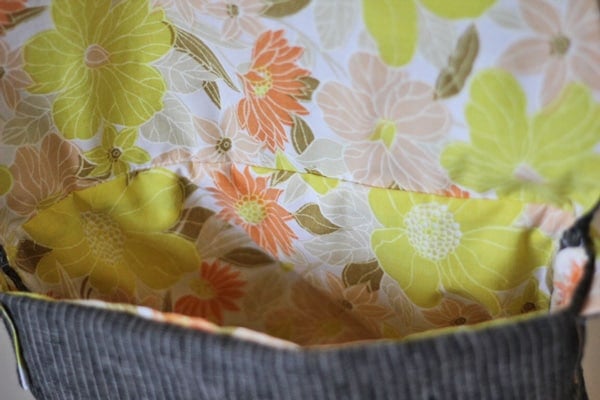
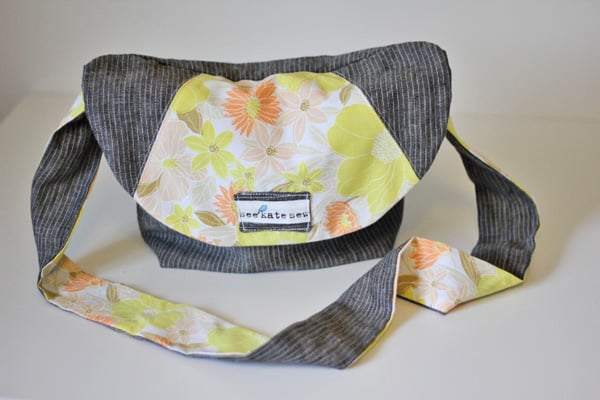
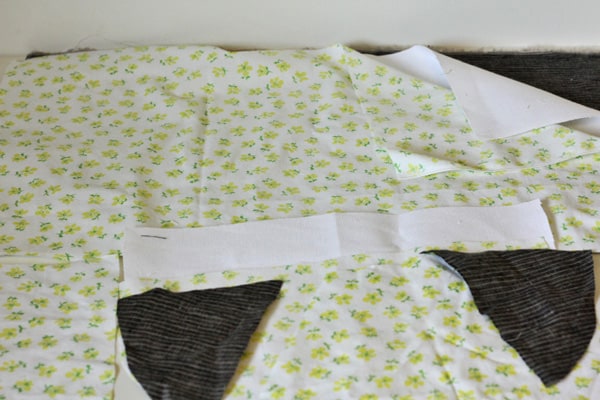
To start, print out your printable pattern and cut out all your fabric pieces. All the rectangular pieces are listed above for every piece except the flap pieces. The flap pieces are in pdf form since they are curved. You’ll need 1 pieced flap piece, 1 interfacing and 1 lining.When you’ve cut them all out, you’ll have 3 body pieces, 5 flap pieces in differing sizes, and 1 pocket piece:
purse week: linen satchel tutorial
Today I’m guest posting today as a part of Christie’s Purse Week at her blog A Lemon Squeezy Home! A Lemon Squeezy Home is one of my favorite blogs, everything Christie makes is so fun! I’m happy to be a part of purse week, purses are so much fun to make. Click here to check out the rest of purse week.
And if you’re visiting from A Lemon Squeezy Home, welcome to see kate sew!
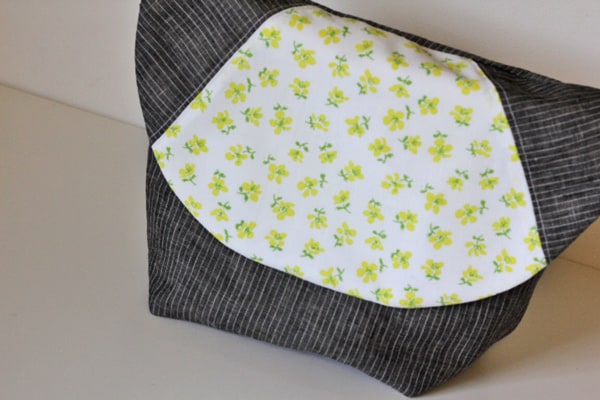
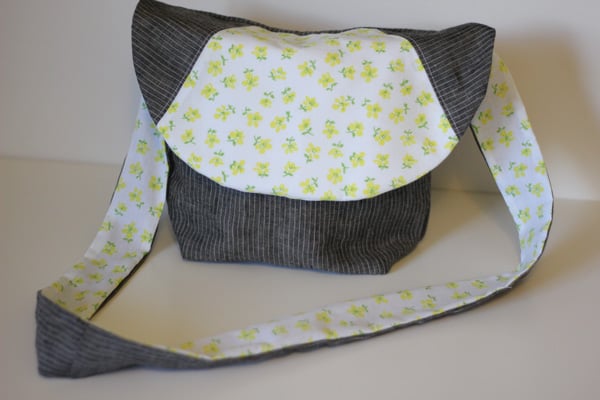
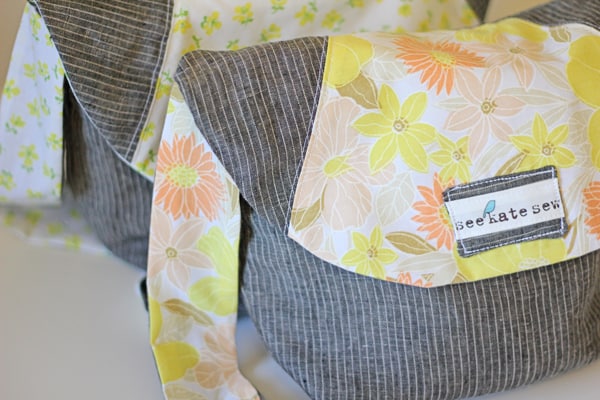
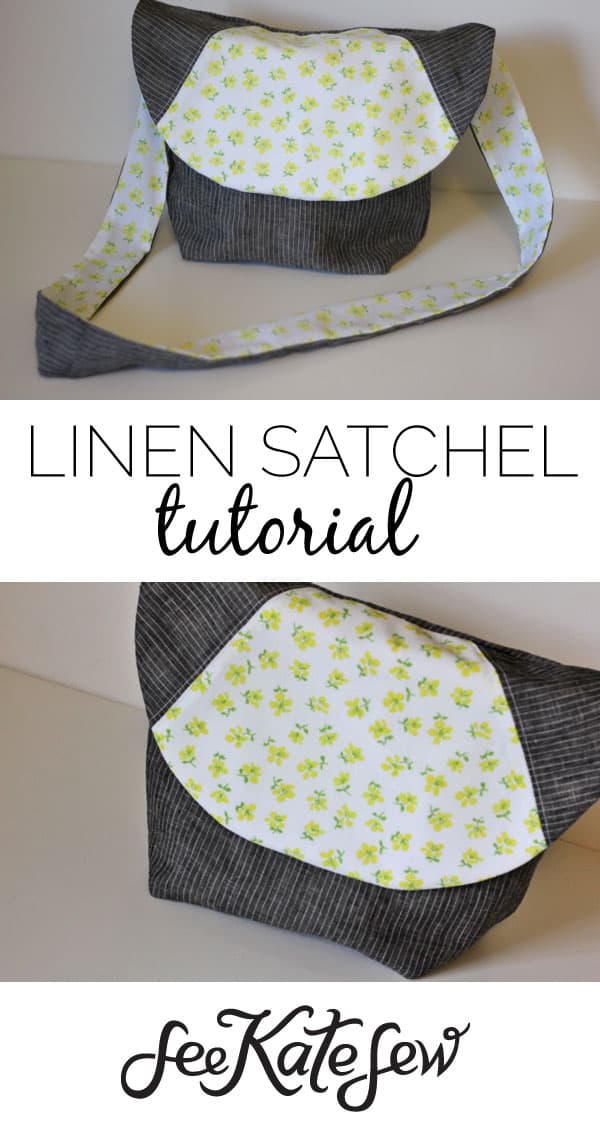
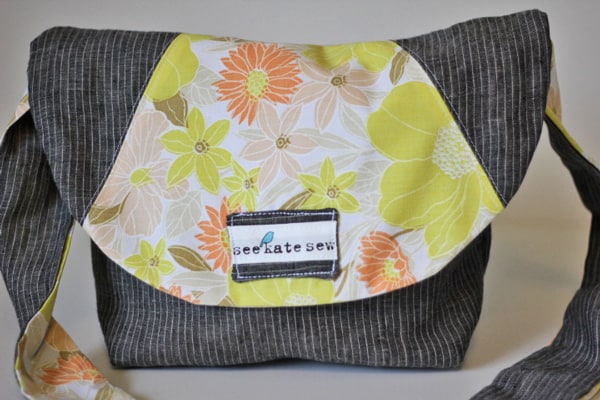
I have a little linen satchel tutorial to share with you today. I made mine with some pinstripe linen and some vintage linens(an old sheet!). Lots of linen!
I love the way the gray linen looks with the old sheet. So pretty!
Are you ready to make one?
Here’s what you’ll need:
1/2 yard linen for exterior
1/2 yard quilting weight cotton for lining
1/2 yard duckcloth to interface
8″ of bias tape from interior fabric or purchased
Piece guide:
main – 20″ by 13″, exterior + lining + interfacing
pocket – 8.5″ by 7.5″, lining
strap – 50″ by 3″, exterior + lining
flap – printable pattern
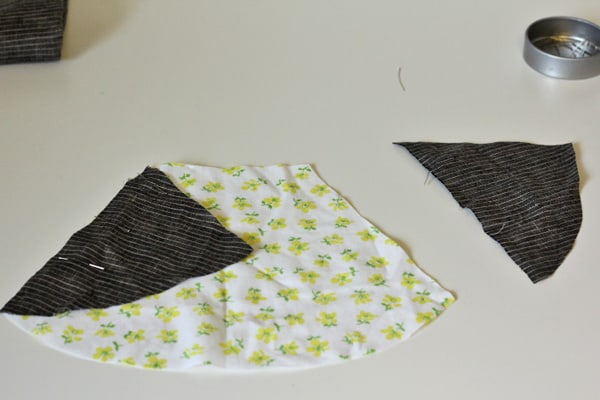
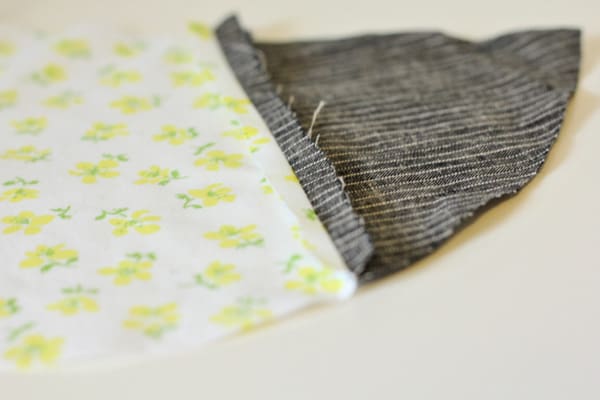
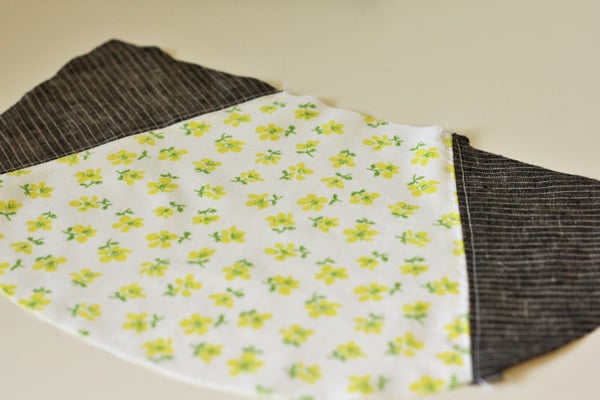
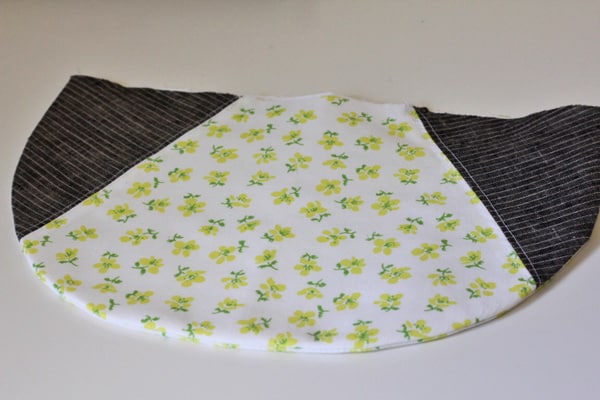
We’ll start with the front flap. Cut two corner pieces from you exterior fabric. Cut one middle piece from your lining fabric.
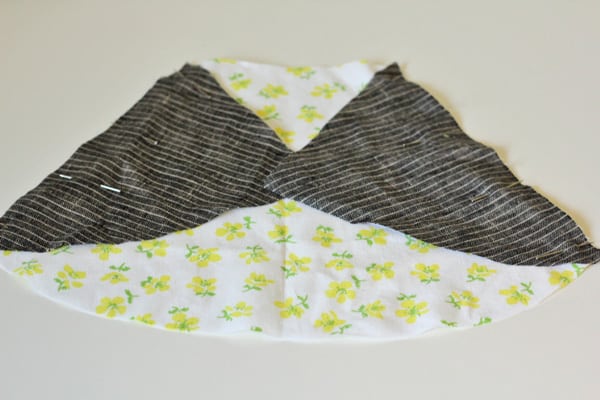
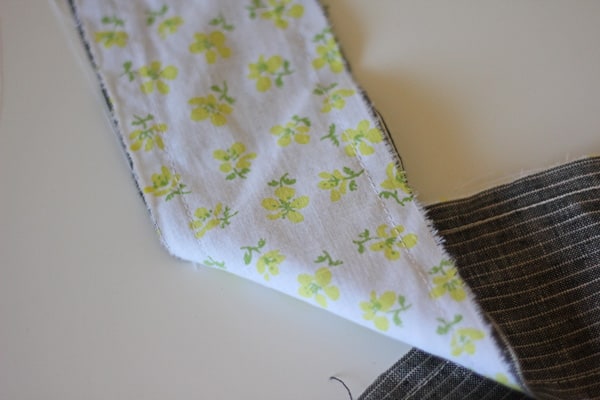
Piece them together like so:
Iron the seams flat.
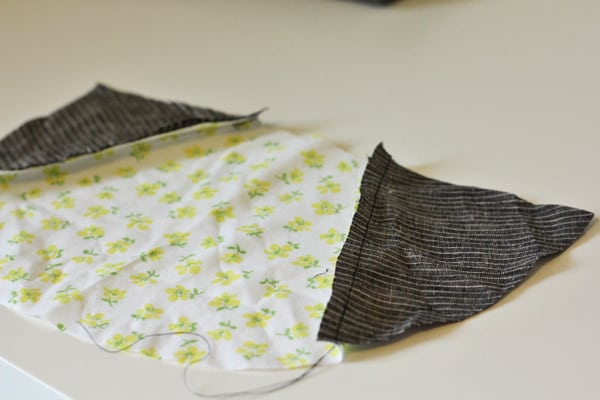
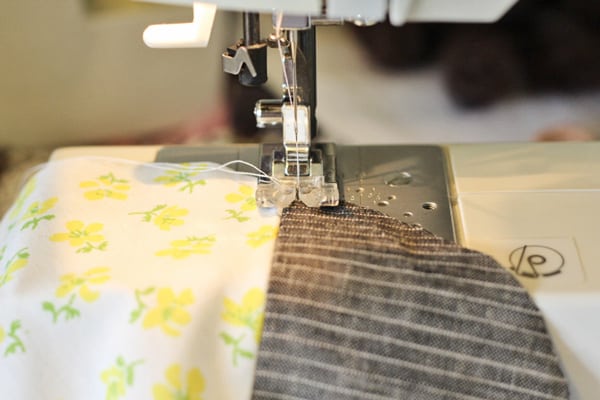
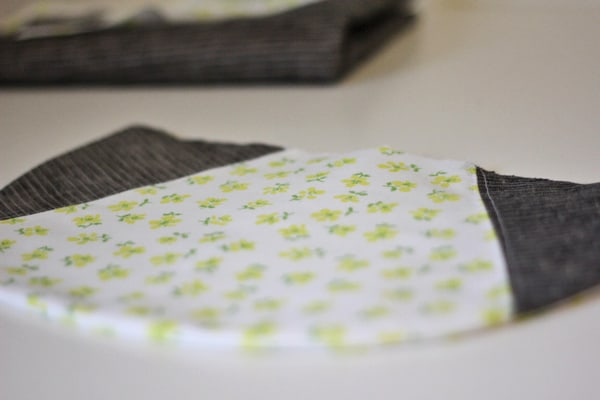
Topstitch on both sides of each seam at 1/8″ for a little fun detail. If you want to add a label, now is a good time. It looks great in the middle of the top flap.
Now stack up all three of your flap layers in this order.
-Duck Cloth
-Top piece face up
-Lining piece face down
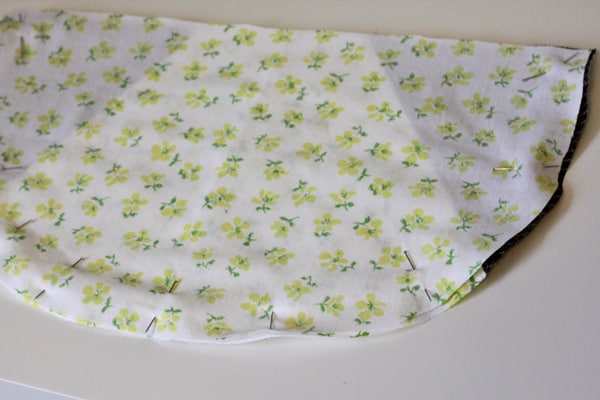
Pin together and sew at 3/8″, leaving the entire top wide open. Trim and clip the edges.
Turn right side out and press.
Flap done! Pocket time. Grab your pocket piece.
Serge or zig-zag the edges.
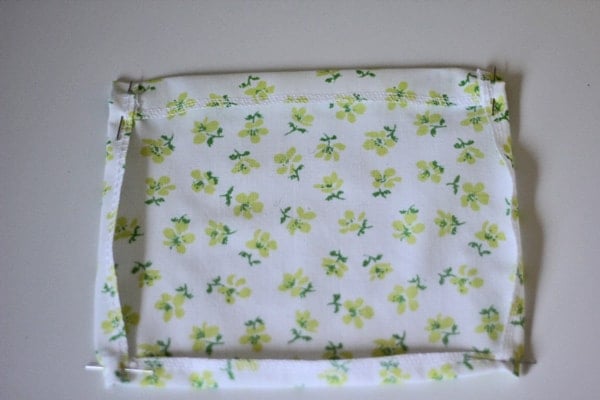
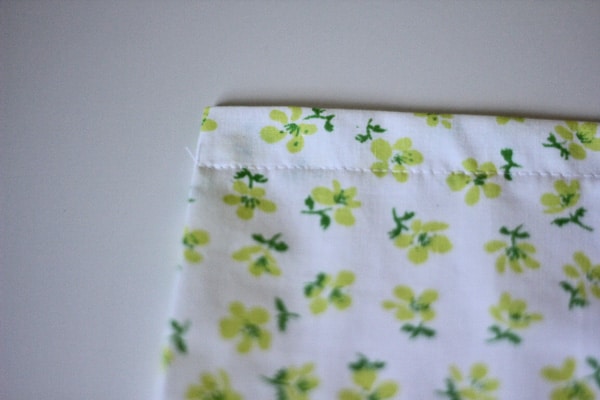
Fold over 3/4″ on the top and 1/2″ on the other edges. Press and pin in place.
Sew top edge down at 1/2″.
Pin the pocket to your purse body lining piece, centered and 3″ from the top.
Sew around at 1/4″, backstitching at the tops of the pocket.
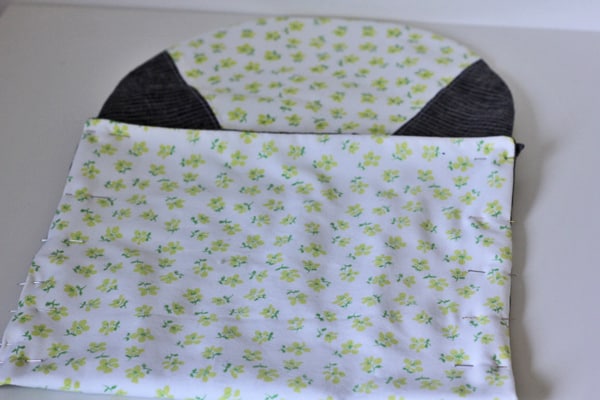
Now we’ll put the body together. Stack the lining piece on top of your duck cloth. Then center the flap at the top of the lining. The lining side of the flap should be face down. We’re going to sandwich the flap in between the purse’s layers so it ends up on the outside!
Stack the exterior linen fabric on top and pin all the way around.
Sew all around at 3/8″. Leave a 3″ opening on one of the SIDES of the purse. This is important. Don’t leave the space on the bottom.
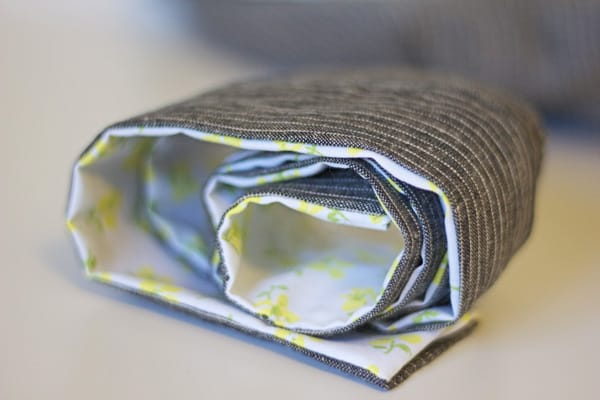
Clip the corners and trim the edges. Then turn your purse right side out and press. Pin the opening shut.
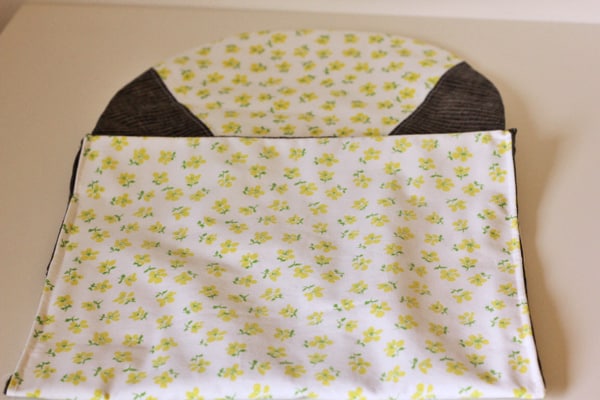
Now fold up the bottom edge to match the top right below the flap. Line up the corners and pin.
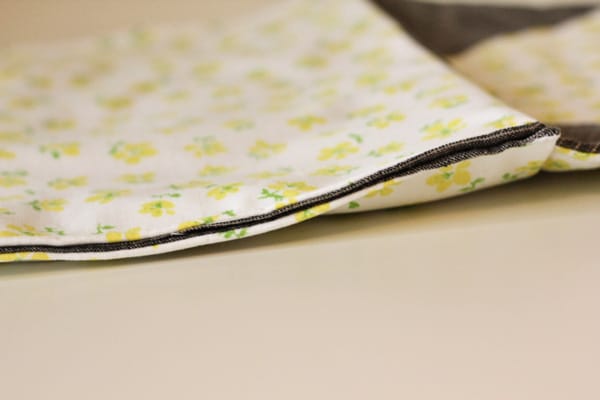
Sew it up close to the edge. You’ll close the opening in the process and be left with a pretty seam allowance.
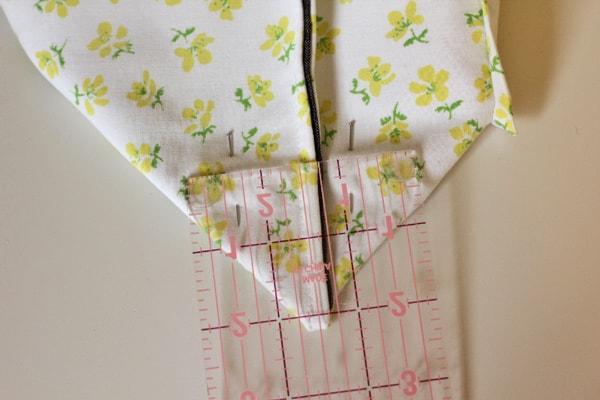
Now pinch the bottom of the bag, centering the seam allowance. Measure up 2″ and pin in place.
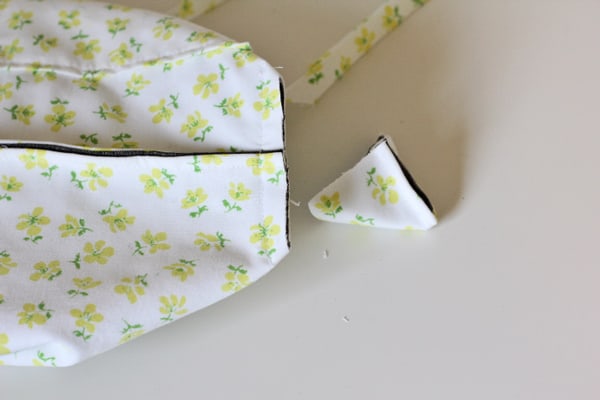
Sew across and clip the extra off.
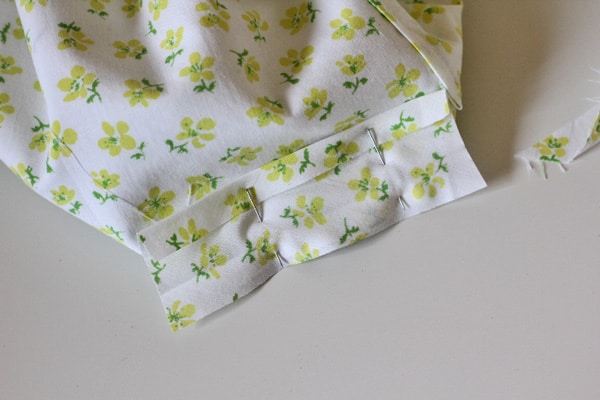
You can leave the edges like that if you want or cover them with double fold bias tape.
Open your bias tape and pin on as shown:
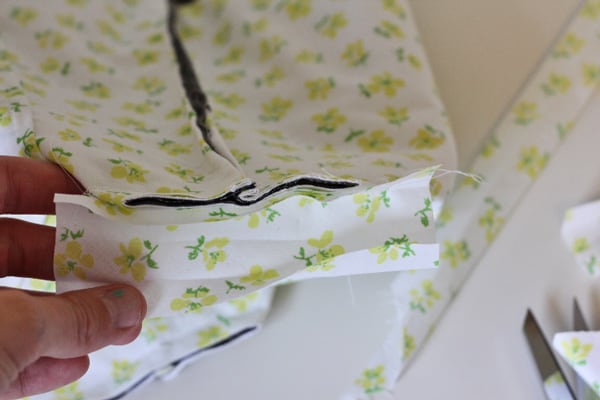
Sew it on in the first crease and then fold it over like this:
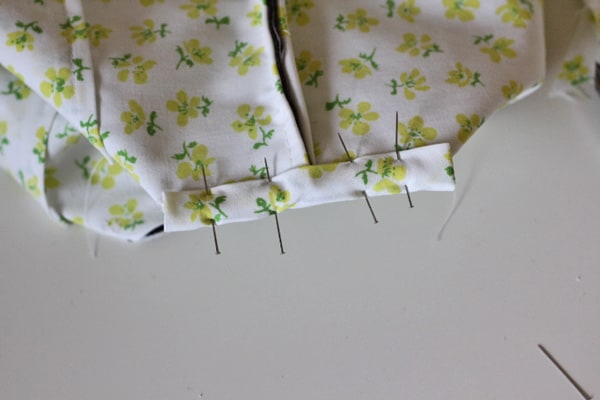
Pin in place and sew close to the edge. Backstitch at each end.
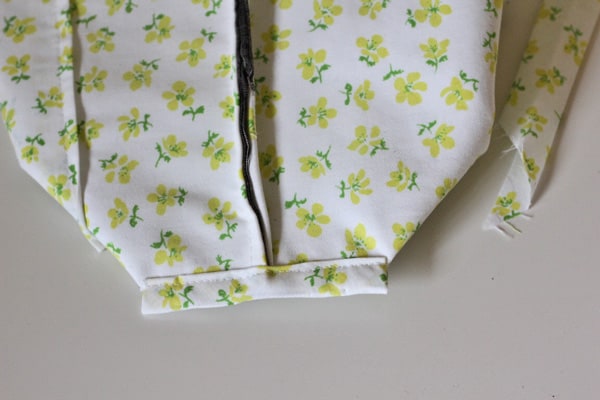
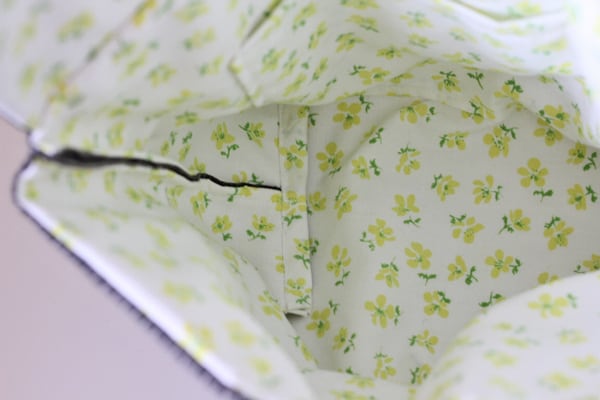
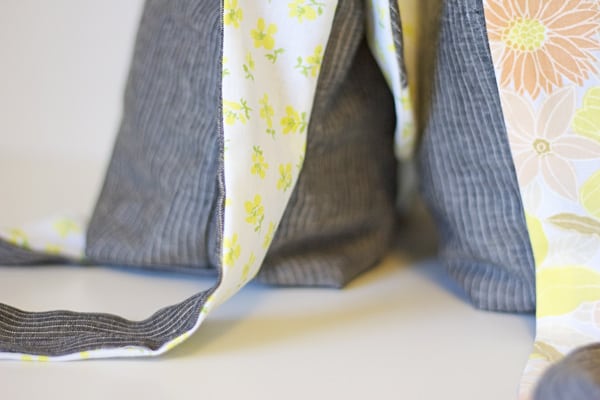
Repeat for the other side. Now the insides will be nice and clean!
You’re almost done! We just have the strap left!
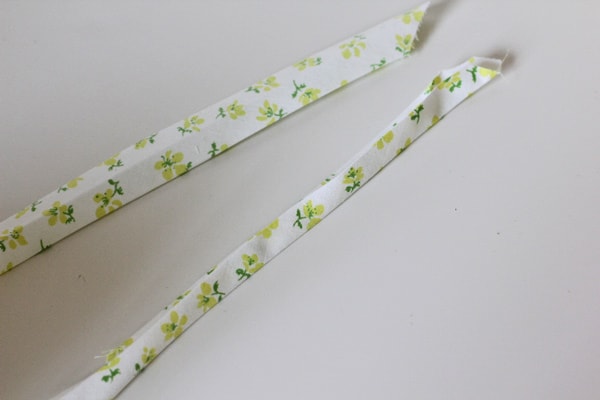
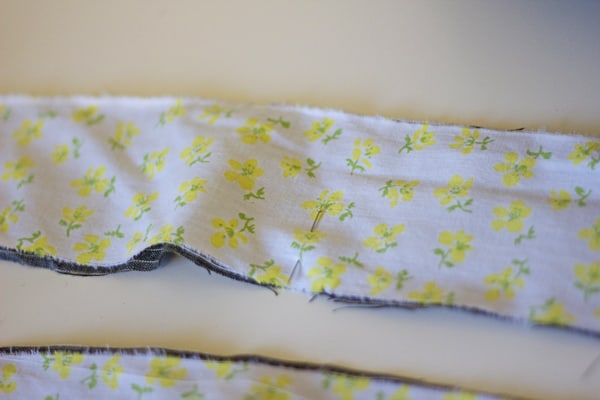
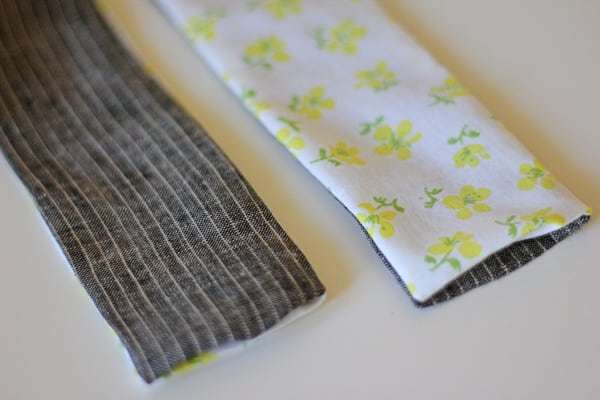
To make the strap pin the two strap pieces together, right sides together. Sew up each side at 3/8″
Turn right side out and press.
Press under 1/2″ on each of the open ends.
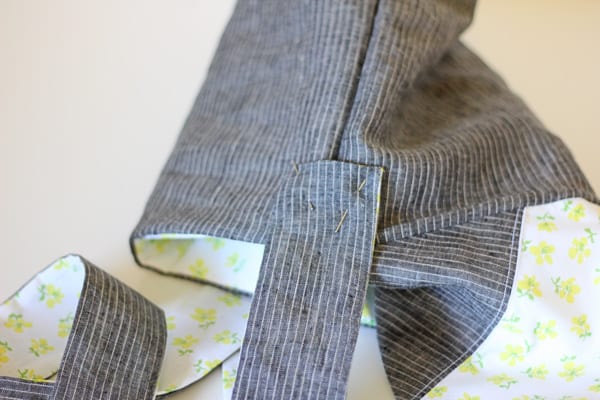
Pin the end of the strap onto your bag. It should be on the outside about 1.5″ down, centered on the side seam.
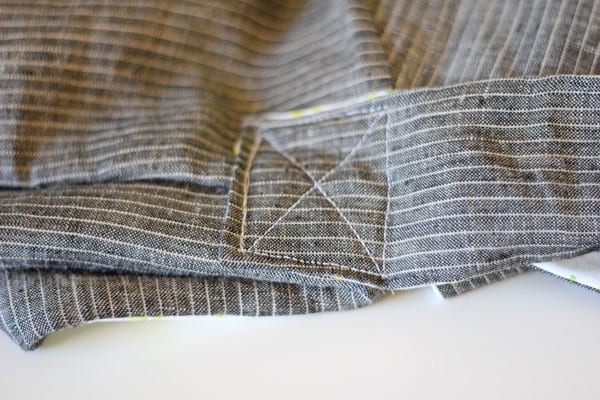
Sew it on by sewing around the edges making a rectangle. Then make an X through the middle for strength. Repeat on the other side.
That’s it! Good work!
Happy Purse Week!
Thanks for having me Christie! Check out the rest of purse week at A Lemon Squeezy Home!
Lesley
Thank you for the tutorial; it’s such a cute bag! I really like the flowered fabric you used. Pretty.
Tori
Love this bag!
Cherished Bliss
You always make the cutest things! So cute! I desperately need to make a bag that doubles as a purse and a way to carry around a diapers and wipes! : )
Delia
Cute purse Kate! I love your trick for making the inside nice and neat.
VickiT
What a great looking purse. Wonderful job. Thank you so much. LOVE IT.
Kelly
Very nice tutorial. I’ve shared this link and a few of your others on my blog Coupons, Crafts and Causes. Thanks for sharing.
Rachel Sue
I love this! I would love to feature it on Reduce, Reuse, Upcycle. Feel free to stop by and grab a featured button. Thanks!
Jennifer
I’ve been looking for a great satchel tutorial! I love this! Just lovely!
-Jennifer
killthemwithcraftiness.blogspot.com
Audrey McCoy
Love this bag! It could almost work as a diaper bag for a daddy, w more masculin colors. He’d be more willing to tote it around than a cute girlie bag lol.
Anonymous
Scribd wants 10 bucks from me to download your free pattern. :(
Anonymous
Right click on the image and save it to your computer.
Sharon Mazeroff
This is not a free pattern. It costs $9 to download the pattern pieces from Scribd.