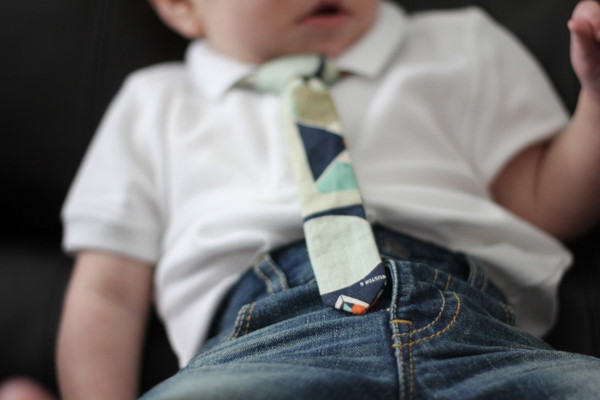
baby + skinny jeans + skinny tie = the perfect outfit
Let’s get started!
Download the pattern page and print it HERE.

Cut out the pieces and tape them together.

Cut out two tie pieces.
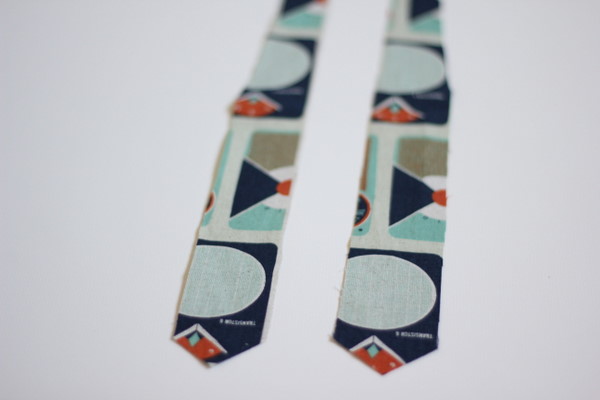
Trim one of the pieces down by 1/8″ on the long sides.
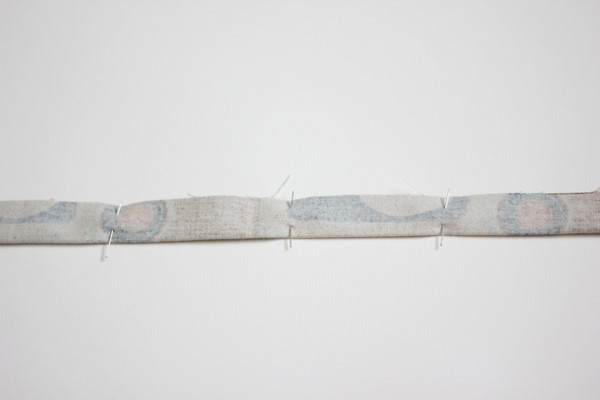
Pin them together, matching the edges. One side of the tie will bunch up a little bit since it is bigger than the other side. This will make it so the seams doesn’t show on the front when you iron it flat.

Instead of trimming one piece, you can also just pin one side up 1/8″ and it will have the same effect.
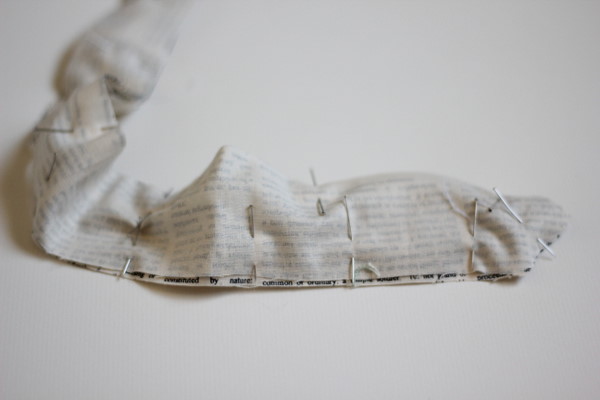
Sew it up, leaving the top edge open.
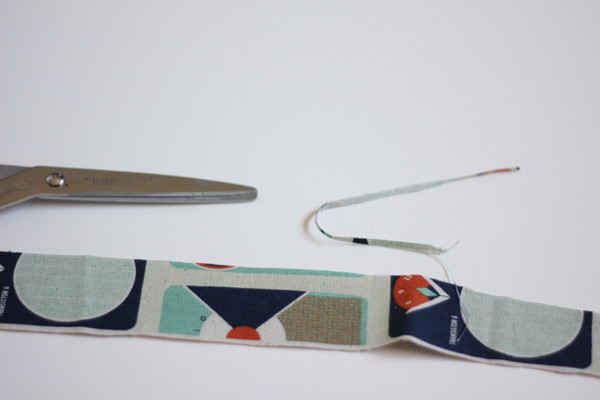
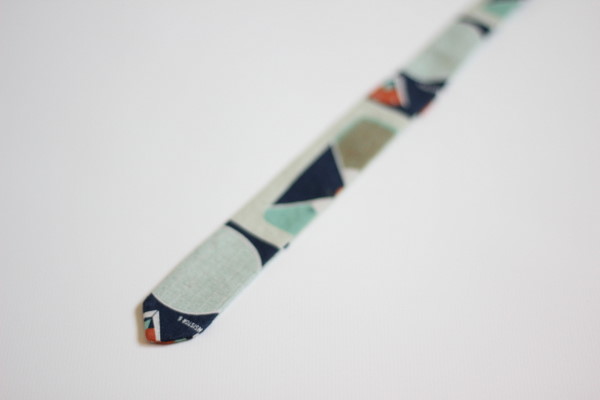
Clip the points and trim the edges.

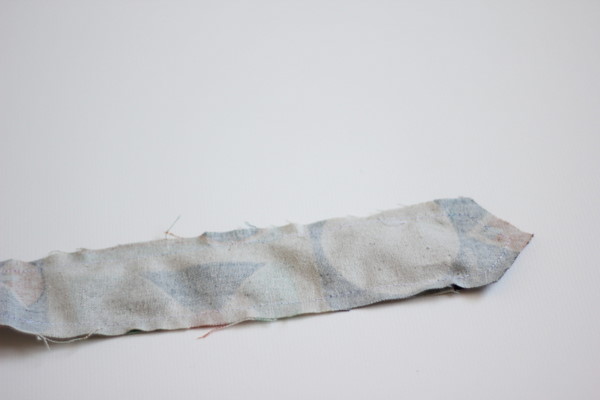
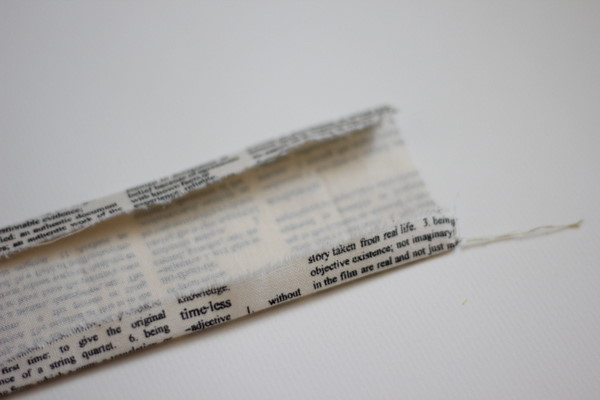
Turn right side out and press. The front should spill over the back just a little so you can’t see any seams.
Turn in the open edges 1/4″. Press and pin.
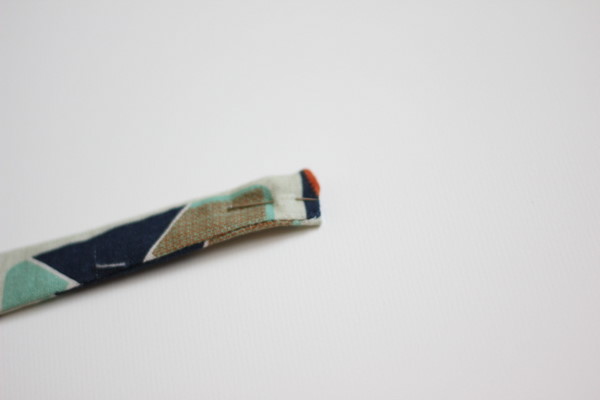
Then stitch it shut. Your tie piece is done.

On to the neckband. Measure around your little guy’s collar of a shirt that fits him well. Add 2 inches to your measurement. That will be the neckband length.

Using your collar measurement as the length, cut a strip 2 1/2″ wide.

Press over 1/4″ on the short ends of your strip. Press over another 1/4″ and pin in place.

Sew up the edges using a 1/4″ stitch.

Press in half and pin.
Sew up the long edge.

Turn and topstitch if you want.

If you think turning little tubes is boring you can make the neckband this way instead:
Make your piece 3″ wide instead of 2 1/2″. Press over 1/2″ on each of the long edges.
Then press over 1/2″ on the short edges.

Fold it in half with right sides showing and topstitch all around.

Sew on 3/4″ of velcro to make the neckband stay together.
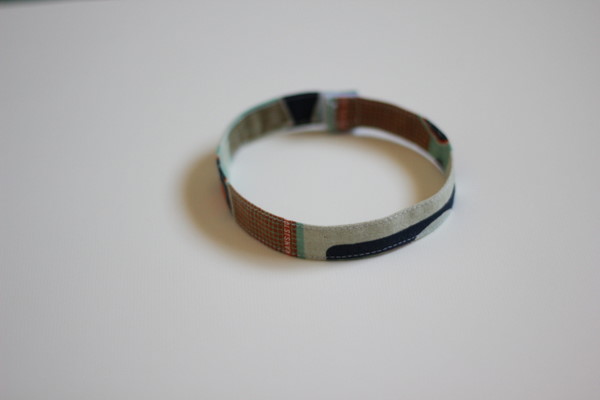
Time to assemble.
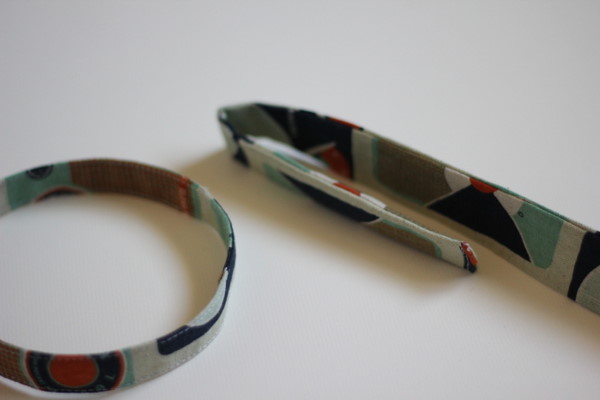
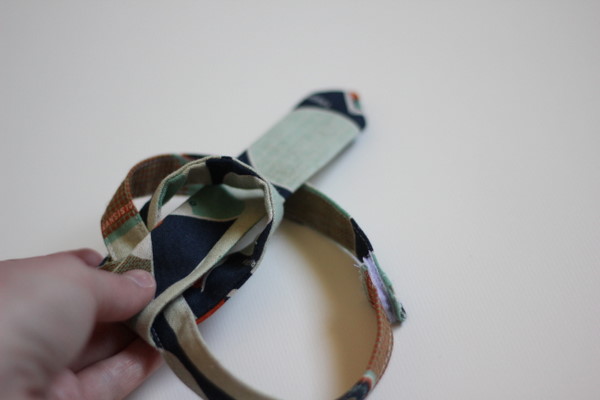
Fold your tie to the length you would like it and loop it around the neckband.
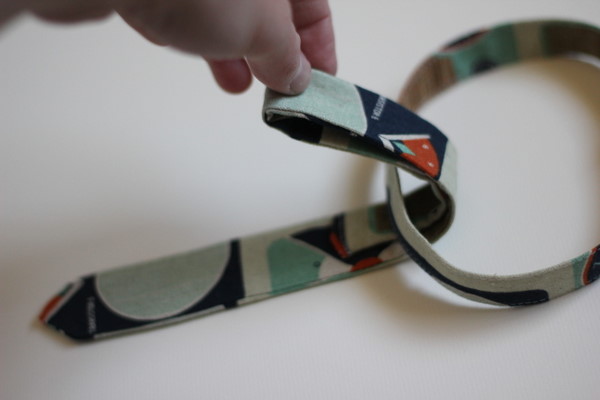
Pull the other end of the tie through itself like a slip knot. Pull it taut and adjust the knot.
You can readjust the length later when your kiddo gets taller.

And now your skinny little guy has a skinny little tie!


This is awesome, I’m thinking I’m going to have to try this for my little guy. Thanks
Great tutorial.
thank you! I am going to give this a try!
love it! B needs a few for sure.
I’m going to have to make a tie for each of my boys, I love this! I’m featuring you on my Sunday Funday post tomorrow :) Feel free to come over and grab a button!
This is great! I need to make a few of these for my son! I am featuring this at somedaycrafts.blogspot.com
Oh my gosh, that is SOOOO sweet! I love it!
So, so cute! I’ve made elastic neckband ties for my boys before but these are cuter! Can’t wait to try- thanks for the great tutorial!
Excellent! I have a little people fancy dress tea party this weekend and was looking for something special for my boys…this is it!
THIS IS AMAZING! Loving the European styled tie!
http://www.madebyhannahshands.blospot.com
I want to try this for my little guy. Thanks for the tutorial! Saw you on made by you monday!
Thanks so much for the great tutorial! I’m a pastor’s wife, and I’m always on the lookout for nice ties that will match the colors we wear most often. This will be a huge help to us!
(I found you via Someday Crafts.)
Sweeeet! Been looking for a good tutorial on this. Thanks! :)
I love these little ties! I linked to your tutorial on Craft Gossip Sewing:
http://sewing.craftgossip.com/tutorial-skinny-ties-for-little-guys/2011/03/12/
–Anne
So fun! Thanks for the tutorial, I just made one for my 3-yr-old, and I’m looking forward to making more! :)
These ties are adorable! I`m definitely making some for my boys! I`m linking up your post to my blog here: http://vixenmade.blogspot.com/2011/03/today-im-linking-up-to-awesome-blog-see.html
Thanks for the tutorial!
i love this! making one tonight for my buddy’s son!
I love your blog! Wish I could sew like you. Anyway, I used the neckband part of this tute in my own baby tie pattern found here (http://www.wannabecrafty.com/2011/03/favorite-baby-boy-neck-tie-pattern.html), and of course I sent my readers here to get your instructions! Thanks for the great tutorial!
Wow! I love this!!!!! My son is 10 but I think I can modify this for him! THanks so much for sharing :)
Thank you for this awesome tutorial! I just made one as a birthday présent for a friend of my son who just turned 4 and it was a Big hit!
Thank you for this awesome tutorial! I just made one as a birthday présent for a friend of my son who just turned 4 and it was a Big hit!
Ooh, love this idea! I’m having problems with scibd, is there any way you can e-mail me the pattern? Thanks! karla@westernesse.com
Thank you!!
THANK YOU!!
merci c’est vraiment super !!! mes garçons vont aimer ça ….. bonne continuation.
LOVE IT!
I cannot get the pattern….
Thanks, i will make one for my son who will be using neck tie on their school program:)
Hello Kate!
Thank you so much for this pattern, it’s absolutely lovely. I am doing this for my son’s party this friday :)
I love your blog and have been following for about a year :), I just wish your “free” patterns were truly free and did not require a subscription to scribd (which is not free) to download :(. I love your designs and I understand you put alot of time, thought, and effort into them so I have no doubt they are worth the fee, but as a single mother with a VERY limited income, free patterns from my favorite bloggers make my day! Not being able to use the patterns is very dissapointing.
Hi Ferren!
Sorry, they all should be free. I’m in the process of moving them all to google docs but just haven’t gotten to this one yet! Scribd used to be free and I don’t get a penny from them. I’ll email you the tie pattern though! Thanks for reading!
i am unable to download the tie pattern either. could you email it to me pls
How would one adapt the instructions to make an adult sized skinny tie?
Could I get you to e-mail me this pattern so I can make it as a part of my baby boy’s blessing outfit, please? I’d so appreciate it! P.S. it’s amazing the amount of talent you have! I only hope that I can become half as amazing as you are one day!