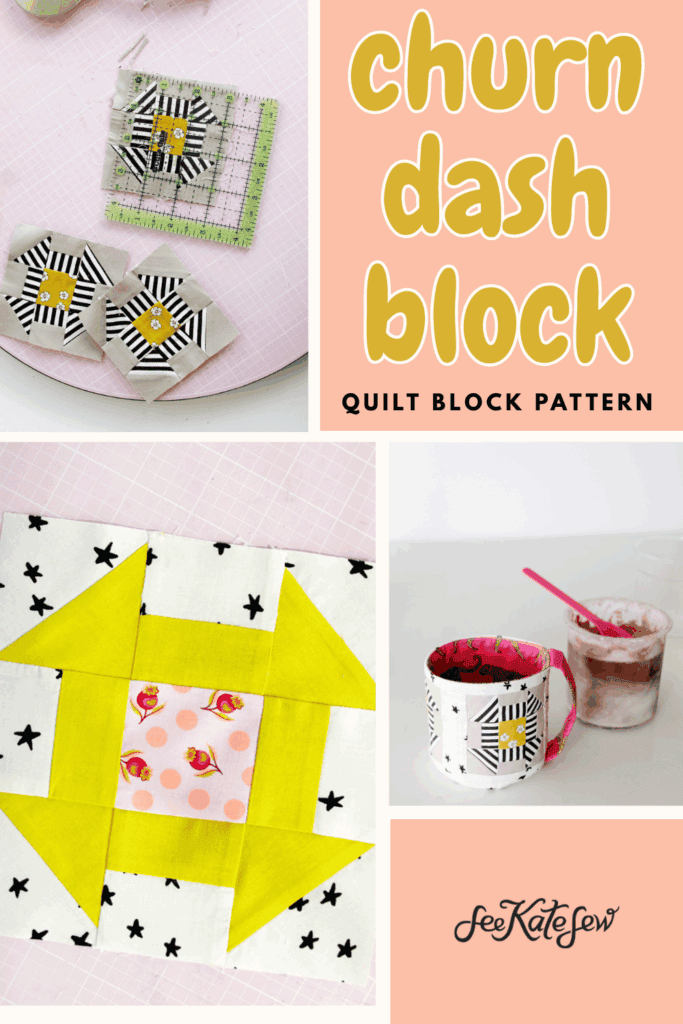
Follow this churn dash quilt block tutorial to make the classic block in a few different sizes! Then use it to make some quilty projects!
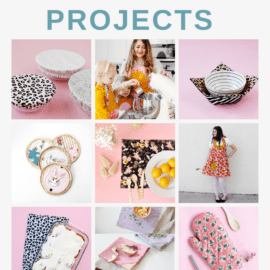
This post will show you how to make some quilted projects without making a quilt!
The churn dash block is such a great quilt block and it’s easy to piece together!
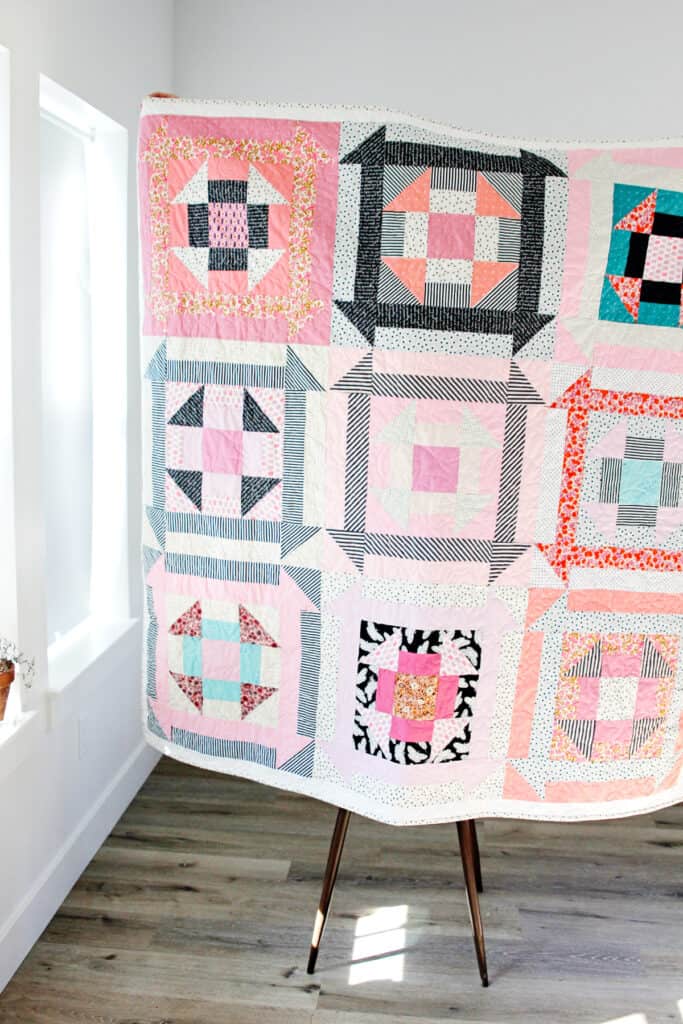
Of course, you can use the churn dash block to make quilts, too! It’s so classic and beautiful!
Churn Dash Block Cheat Sheet Download
Download this quilting cheat sheet with all the measurements for the churn dash block in 4 sizes. This chart gives you all the cutting measurements for the block and is handy to have next to your sewing machine while you are sewing. I think the hardest part of the churn dash block is the cutting – so many pieces! But once you have the pieces cut, the block will come together really quickly.

Click on the pink button below to download the churn dash measurement sheet. You’ll be prompted to sign up for my newsletter and then you’ll be taken to the download page!
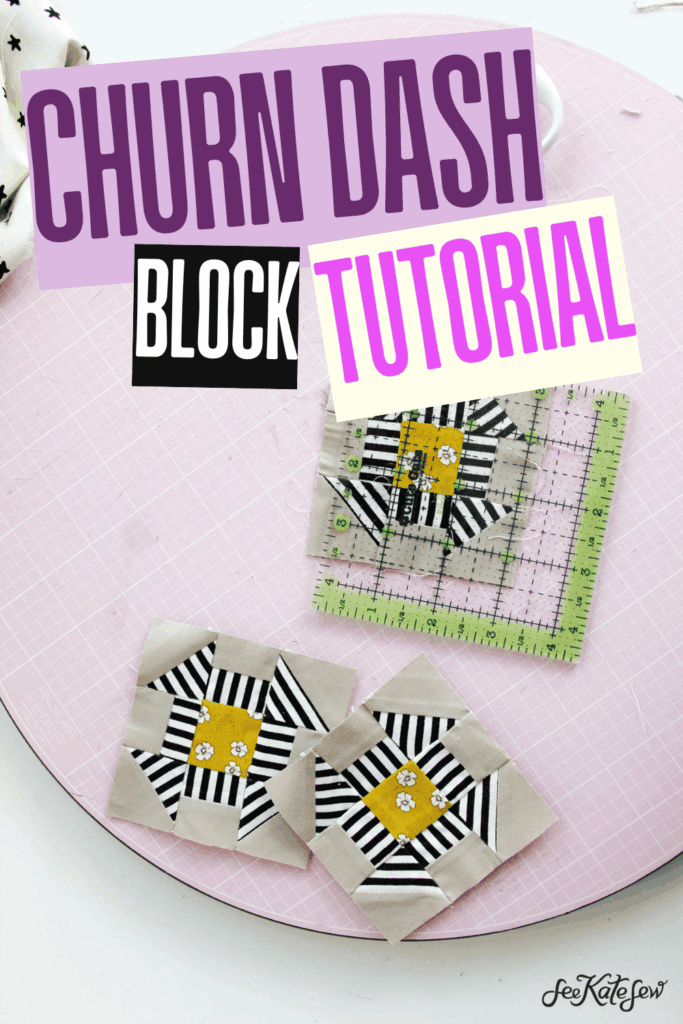
Churn Dash Quilt Block Tutorial
You’ll need 3 colors for this block:
- Background fabric
- Foreground or print fabric
- Middle square fabric
To add more variation, you can change the color of the churn dash corners. Use a different fabric for the square piece that we’ll turn into the HSTs.
We’ll be making the 6″ block in this example, but the other sizes will be assembled the same way just with different measurements.
Start by cutting the following pieces:
- 2 – 4.25″ squares (HSTs)
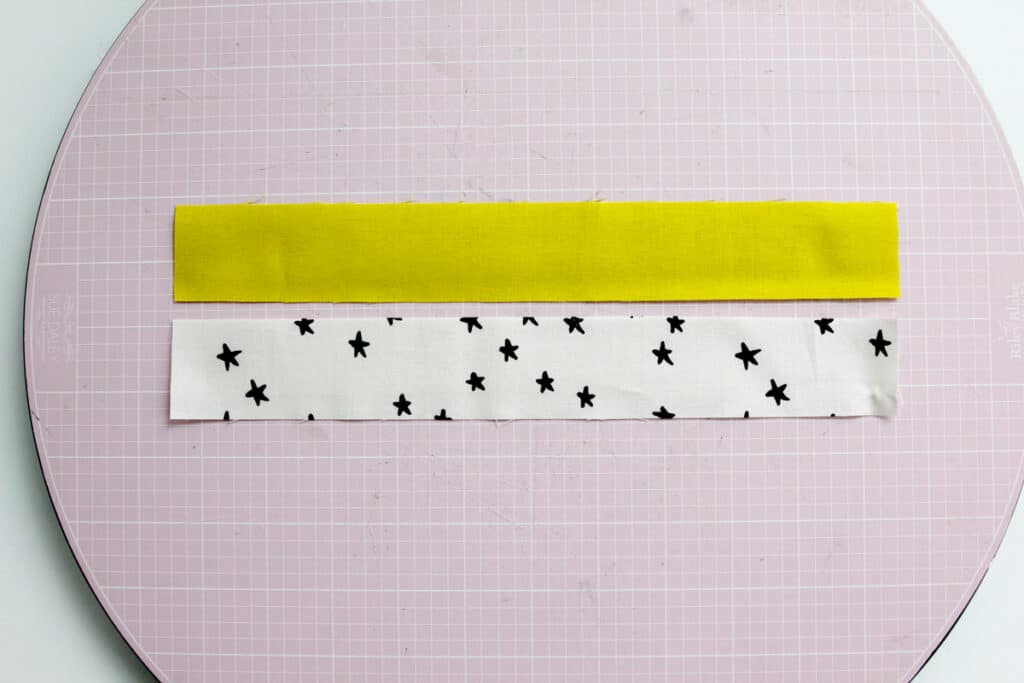
- 2 – 1.5″ x 11″ strips (rail fence block)
- 1 – 2.5″ square (middle square)
Assembling the Churn Dash Block
Use a 1/4″ seam allowance when piecing.
We’ll start by making the striped piece, which is called the Rail Fence block.
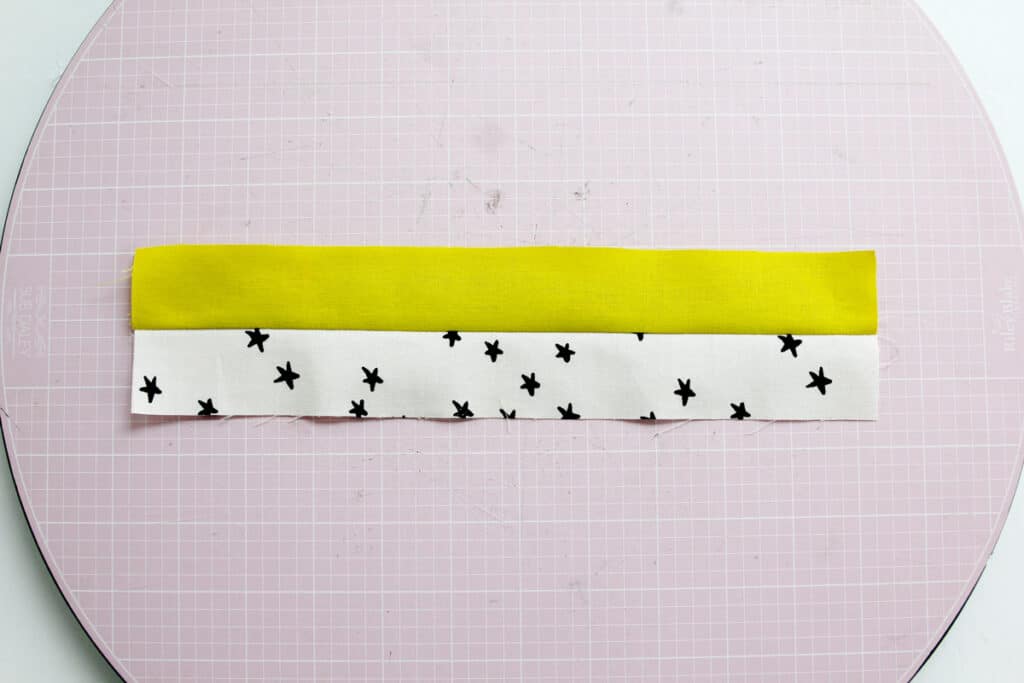
Sew the two strips together along the long edges.
Press seam allowances towards the darker fabric.
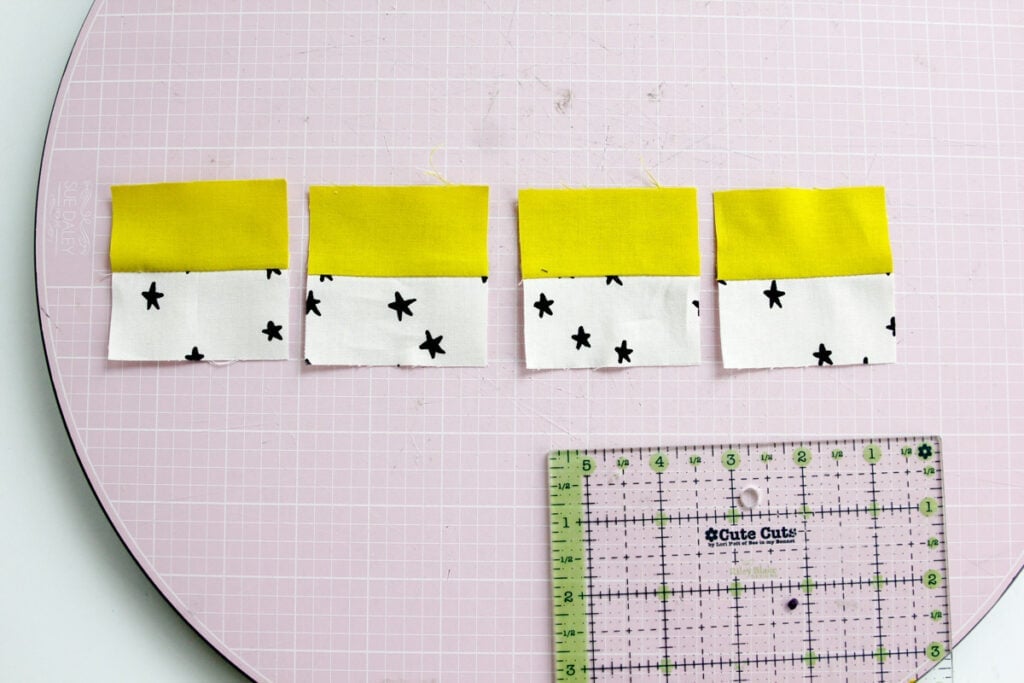
Cut strip into 4 squares measuring 2.5″ by 2.5″ for a 6 inch block. For other sizes, use the unfinished square unit size from the chart. Set aside.
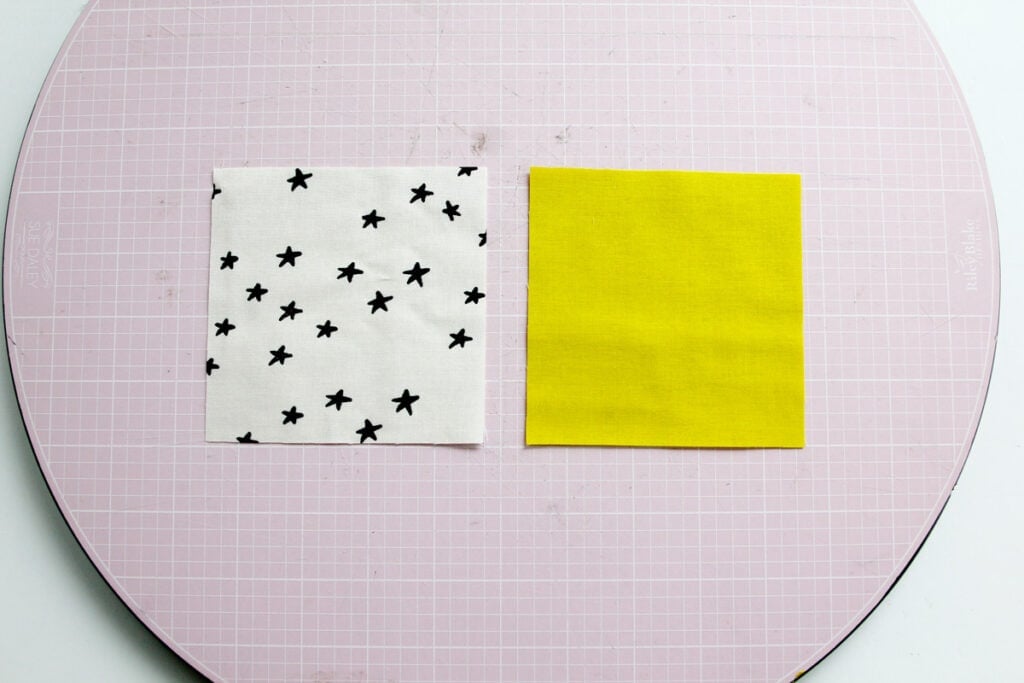
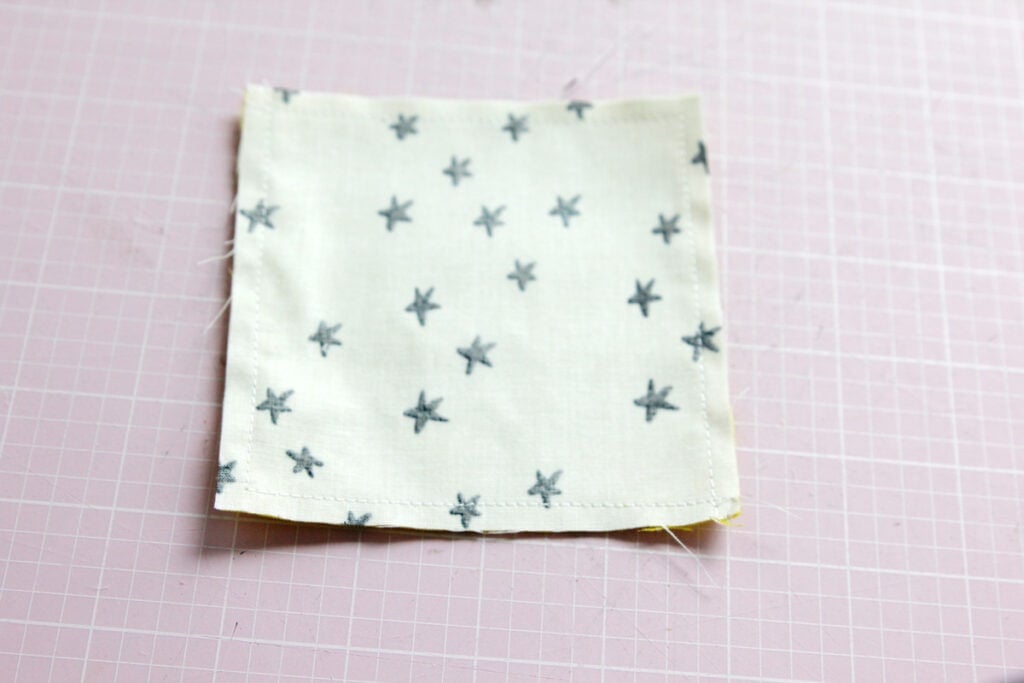
Now we’ll make the half-square triangles that go in the corners. Pair your background and print squares to create 4 half-square triangles. We’ll use the 4-at-a-time method to make this super fast and efficient!
Pin the two squares together with right sides together and sew around the square 1/4″ from the edges.
Then cut the square diagonally twice from corner to corner.
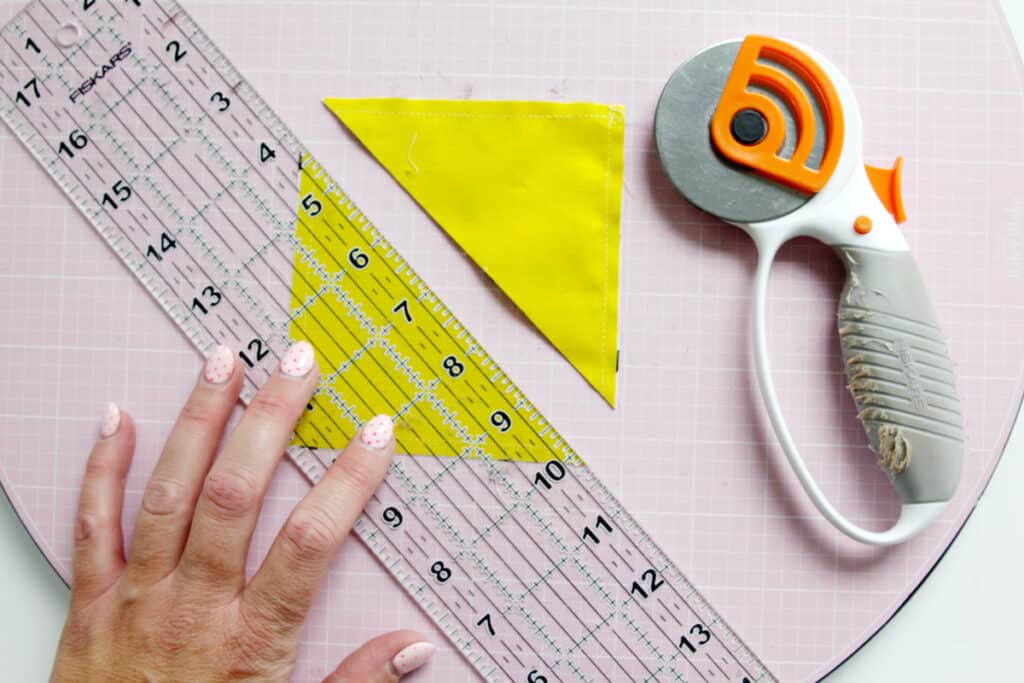
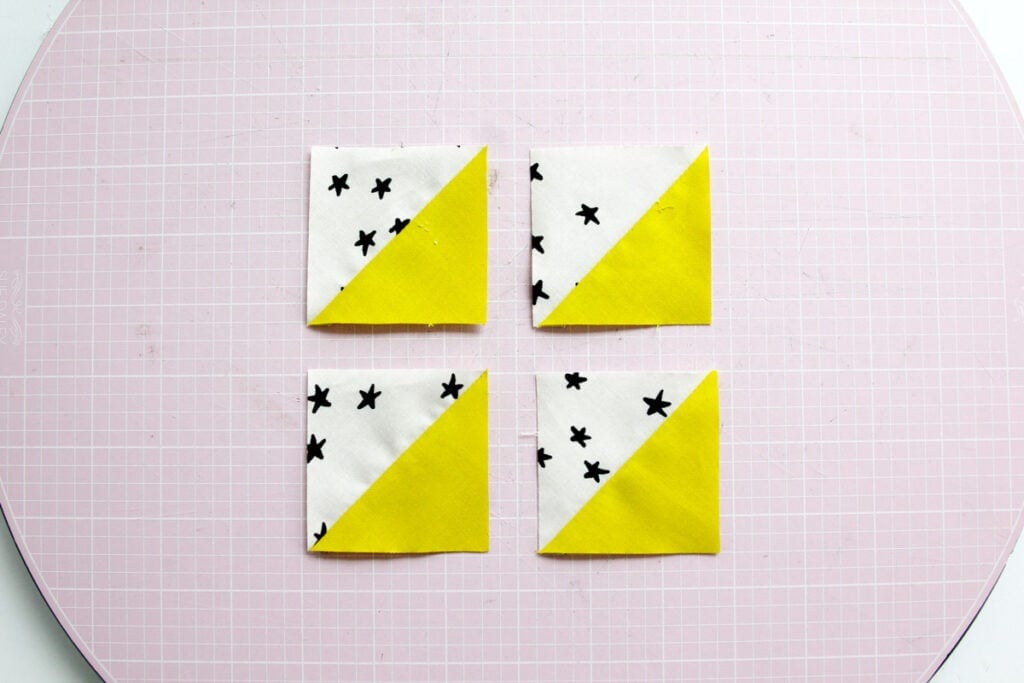
You’ll have four squares.

Open them up and press.
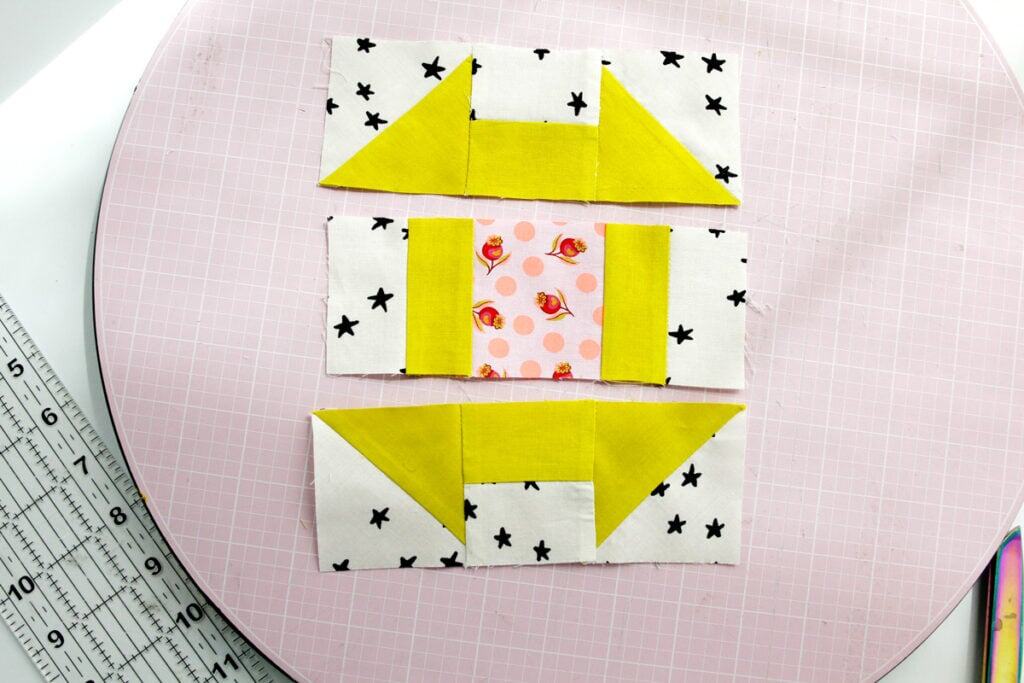
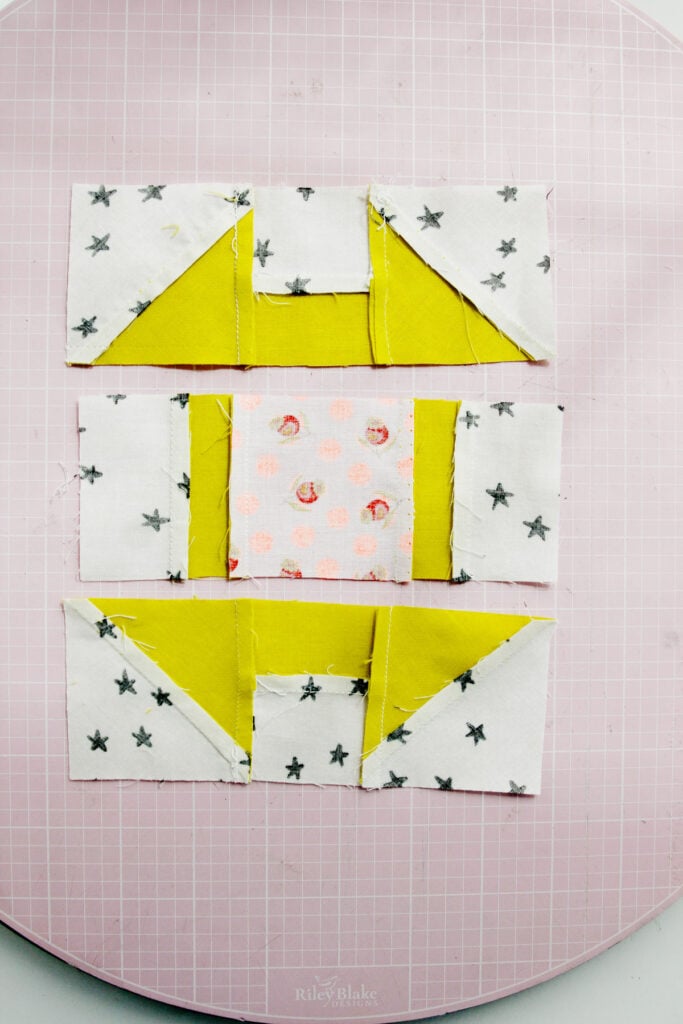
Lay the blocks out as shown with the middle block in the center. Sew together in rows.
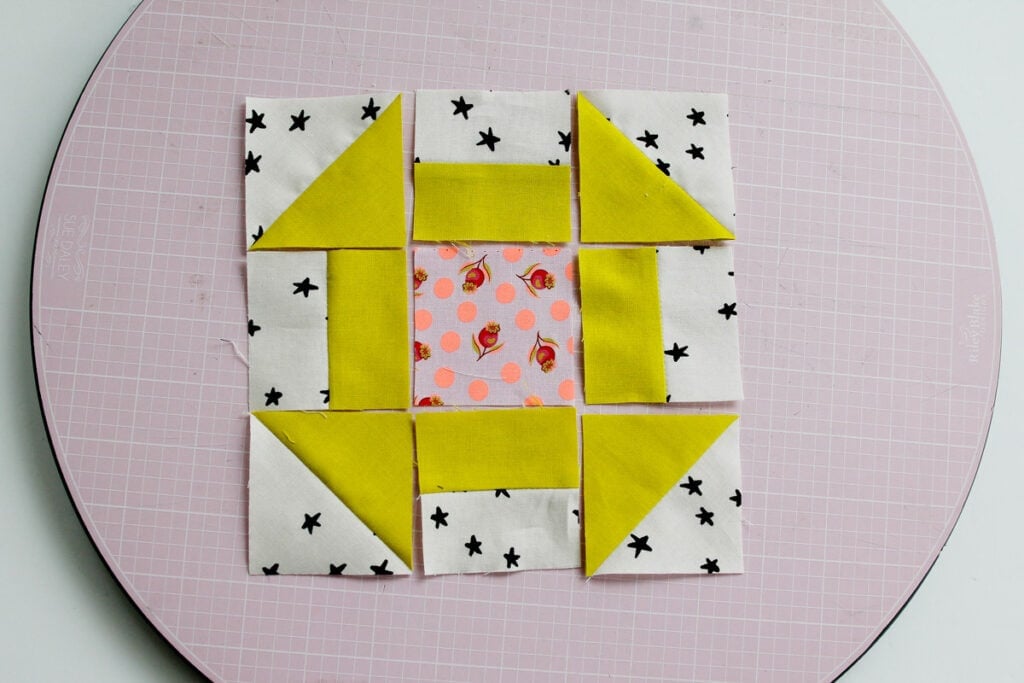
Then sew the block together. Start by sewing 3 rows.
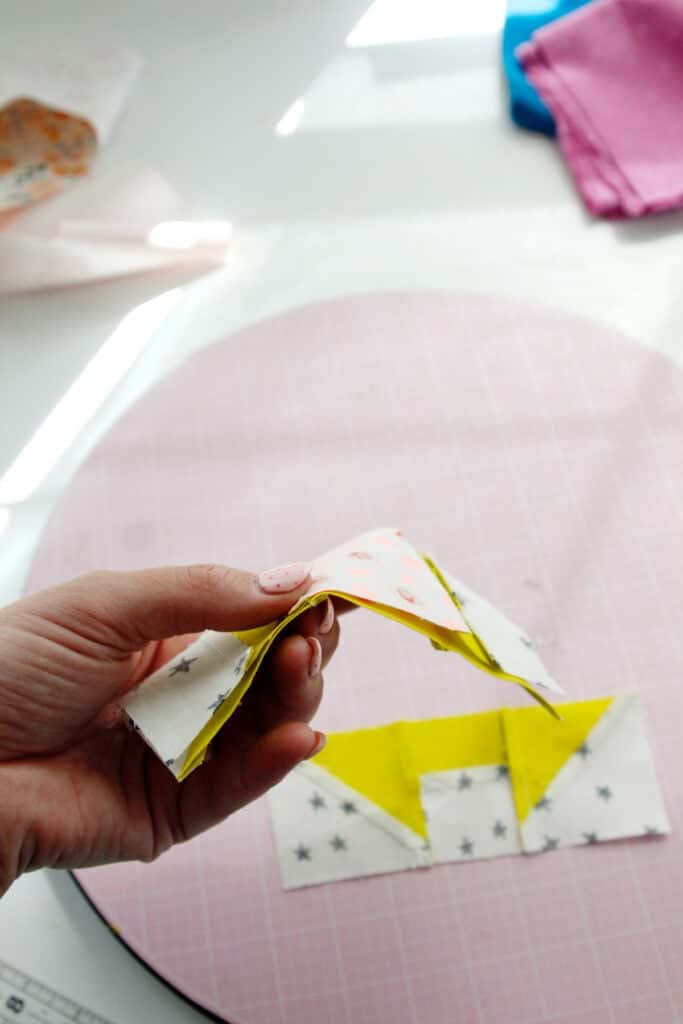
Press the seam allowances in on the top and bottom rows and out on the middle row.
Pressing in opposite directions will allow you to nest the seam allowances to help you get sharp edges.
Then sew the rows together and press.
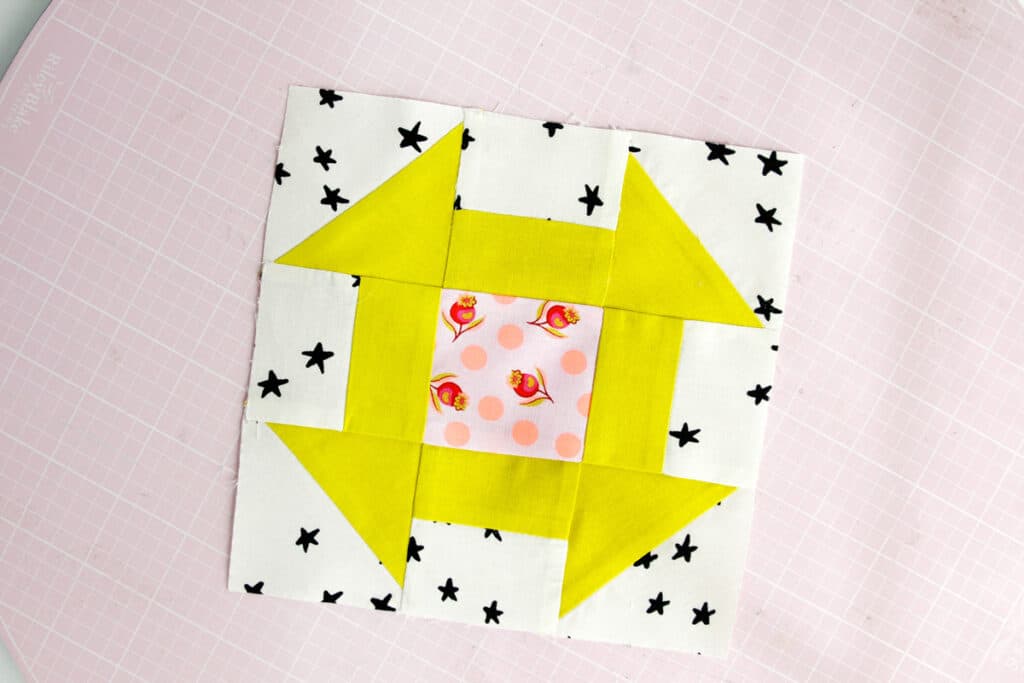
Now trim your block to .5″ larger than the finished size. This block is a 6″ block (when it is sewn into a project) so it needs to be trimmed up to 6.5.” Find TRIM SIZE on the cheat sheet for your block size.
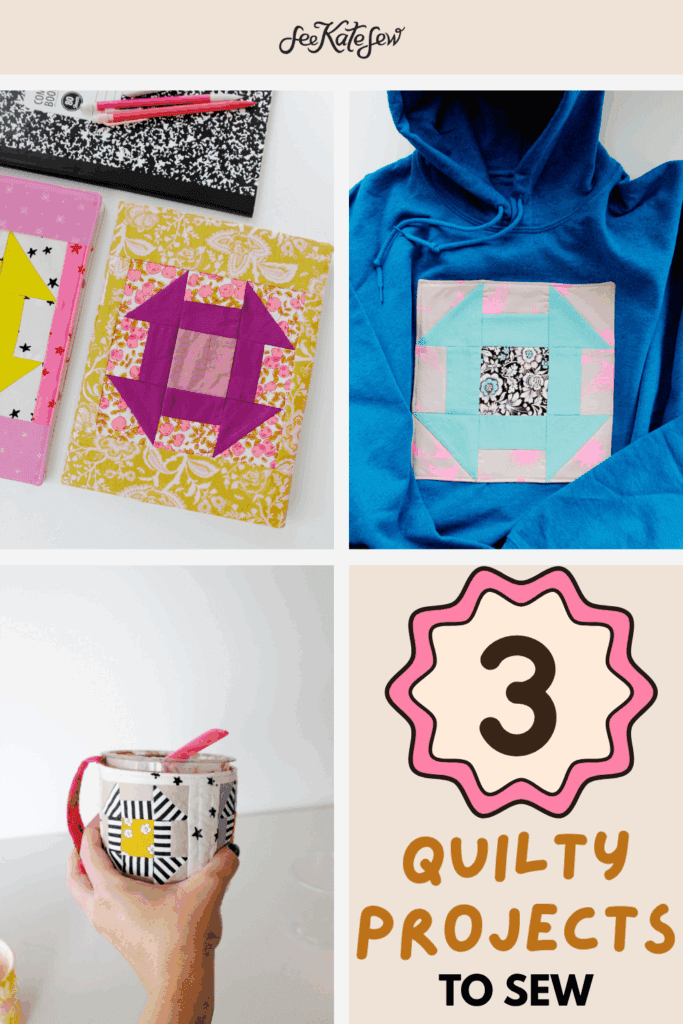
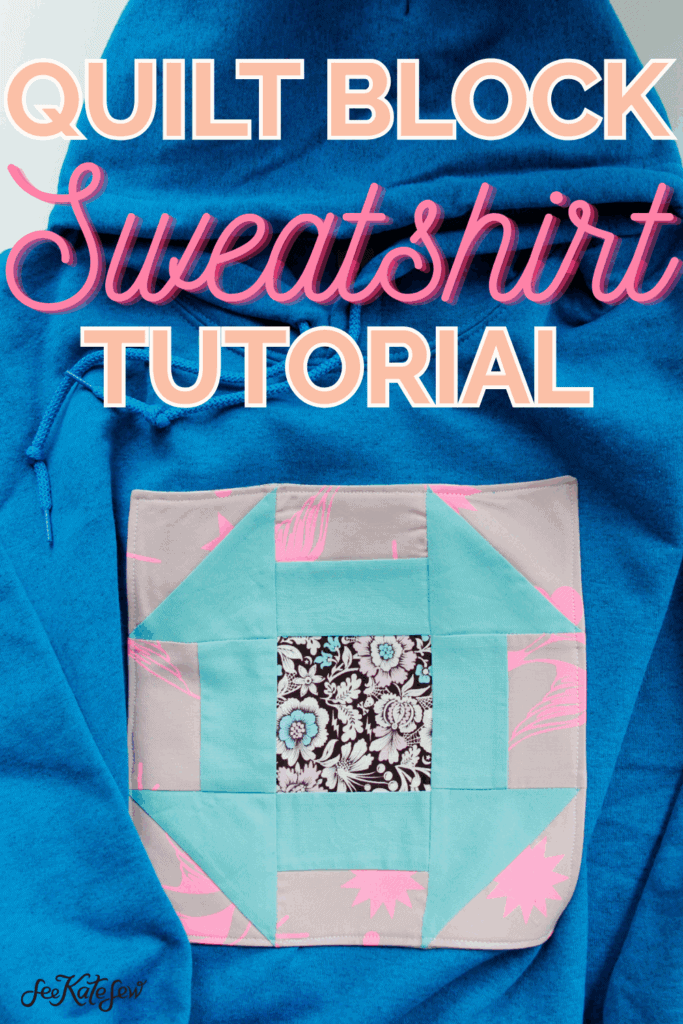
Quilt Block Sweatshirt Pattern with the Churn Dash Quilt Block
Make yourself a wearable piece of art! This sweatshirt uses the 9″ block and is a gorgeous addition to your fall wardrobe! Get the pattern!
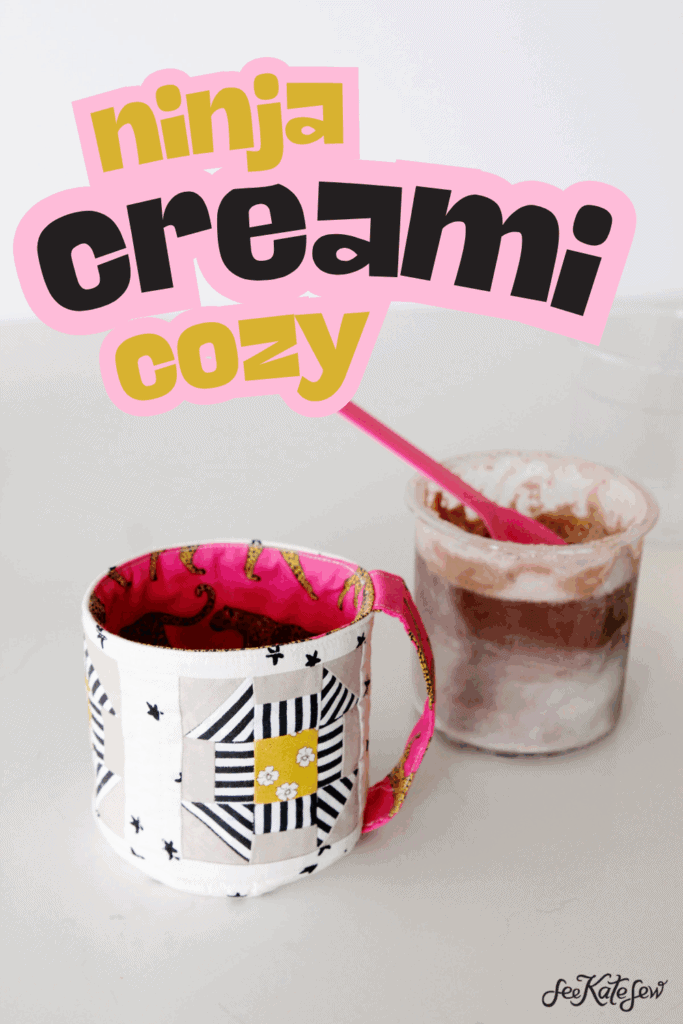
Quilted Ice Cream Pint Cozy
Keep your hands from freezing with this adorable ice cream pint cozy, designed to fit ninja creami containers or ice cream pints!
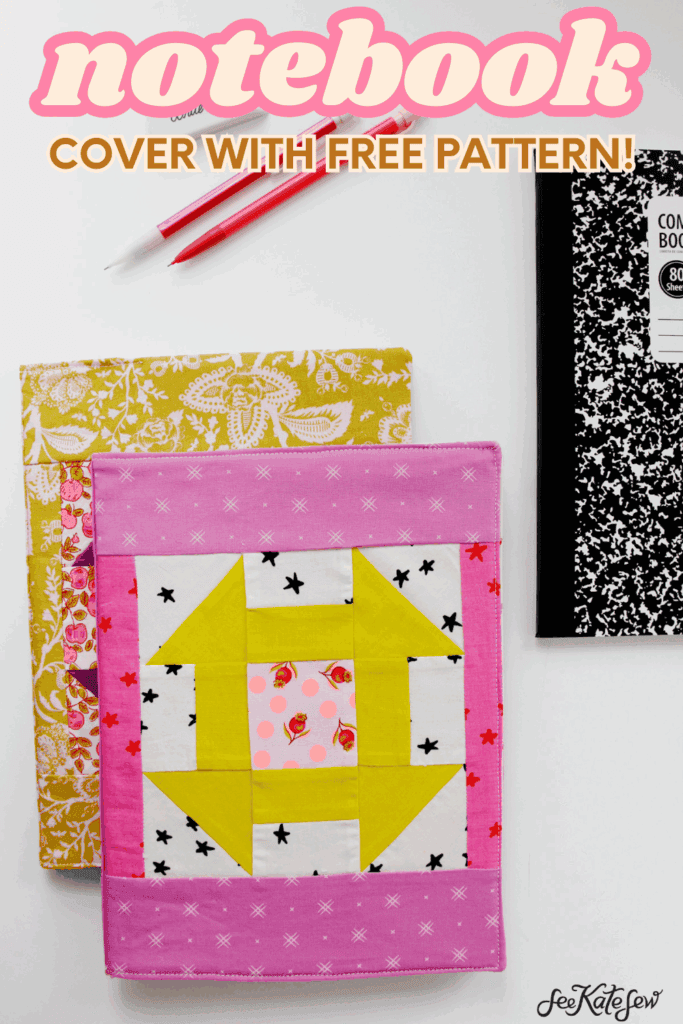
Quilted Composition Notebook Cover
Here’s a great back-to-school project! Make a notebook cover using a churn dash block as the central feature on the front!