Here are some great quilting tips that I wish I knew when I started quilting! Just knowing a few simple tricks and tips will help you have a great experience while sewing your quilts!

If you like learning quilting tips, see 14 things I wish I’d known sooner in this blog post!

Don’t prewash
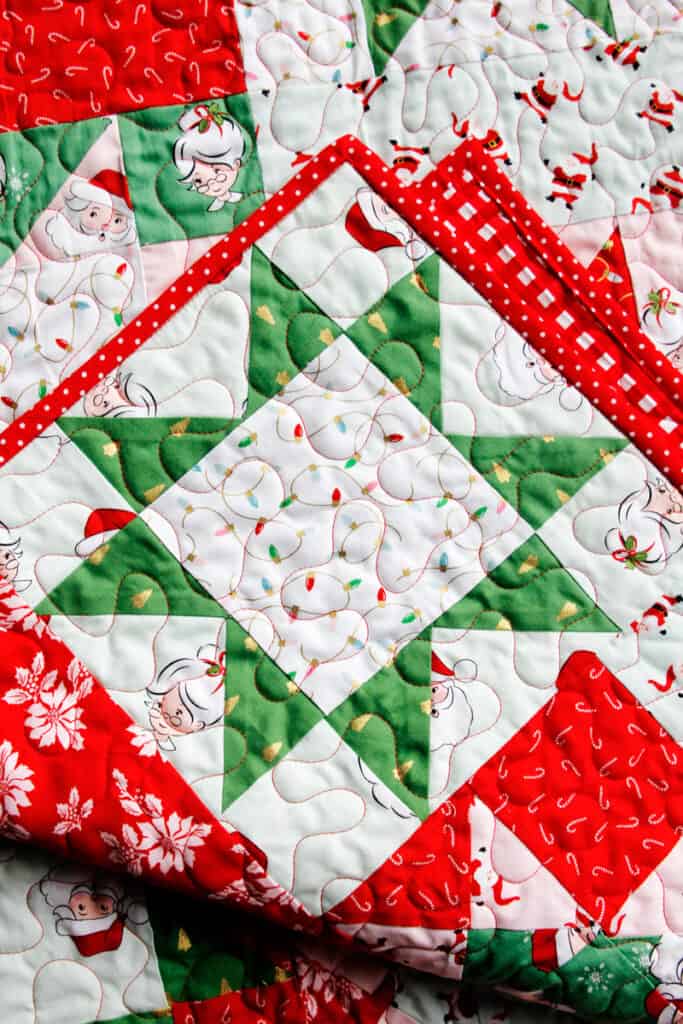
If you have sewn clothing, you have probably been trained to prewash your fabrics. But with quilting this is a step you can and should skip! High quality quilting cotton doesn’t shrink very much – about 5%. But another reason to skip pre-washing is for the crinkle! The crinkly look happens after your quilt is quilted and washed – the fabric shrinks up around the stitching causing a cozy, lived-in look!
Quick Quilting Tips – Start small and work your way up
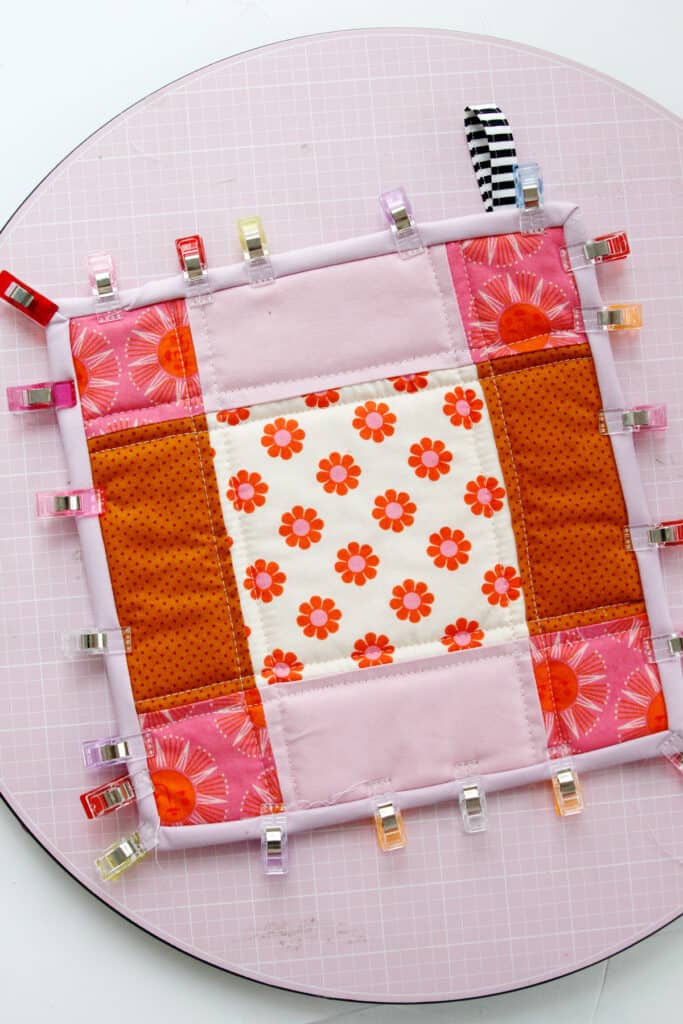
Don’t bite off more than you can chew and get overwhelmed! There are lots of way to start quilting without even sewing a quilt! Try a small “quilty” project that uses all the same techniques – such as a patchwork potholder, a pillowcover or a placemat!
You’ll get to try all the quilting tasks like piecing, trimming, batting and binding – all in a tiny project that you can finish! Work up to larger and more advanced projects when you’re ready!
Here are some great “quilty” projects to start with:
- Patchwork Potholder
- Charm Square Zipper Pouch
- Striped Placemat
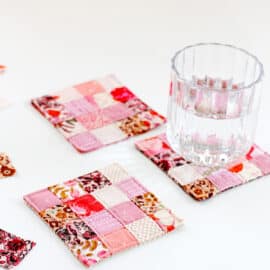
- Fabric Scrap Coasters
- Quilted Pillow Cover
- DIY Oven Mitt
- Charm Square Bucket
Hack Your Quilt Rulers!
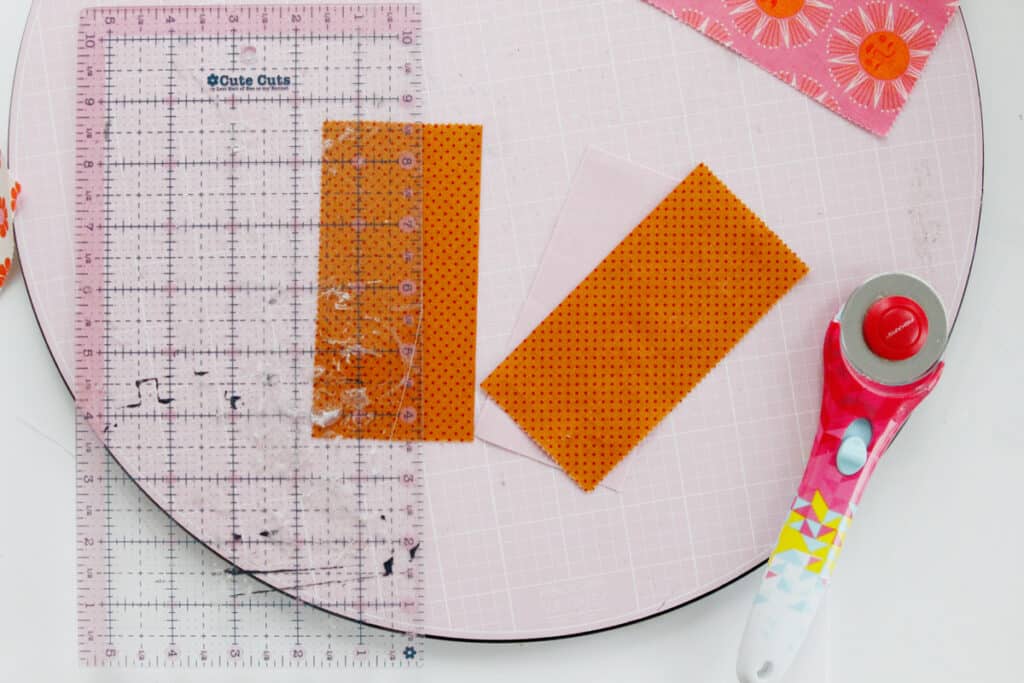
You can write on your rulers and/or use tape to mark points! Write on the shiny side with a sharpie and use nail polish remover to remove. Don’t write on the side that is printed with numbers (typically the bottom) – we want to keep those on there.
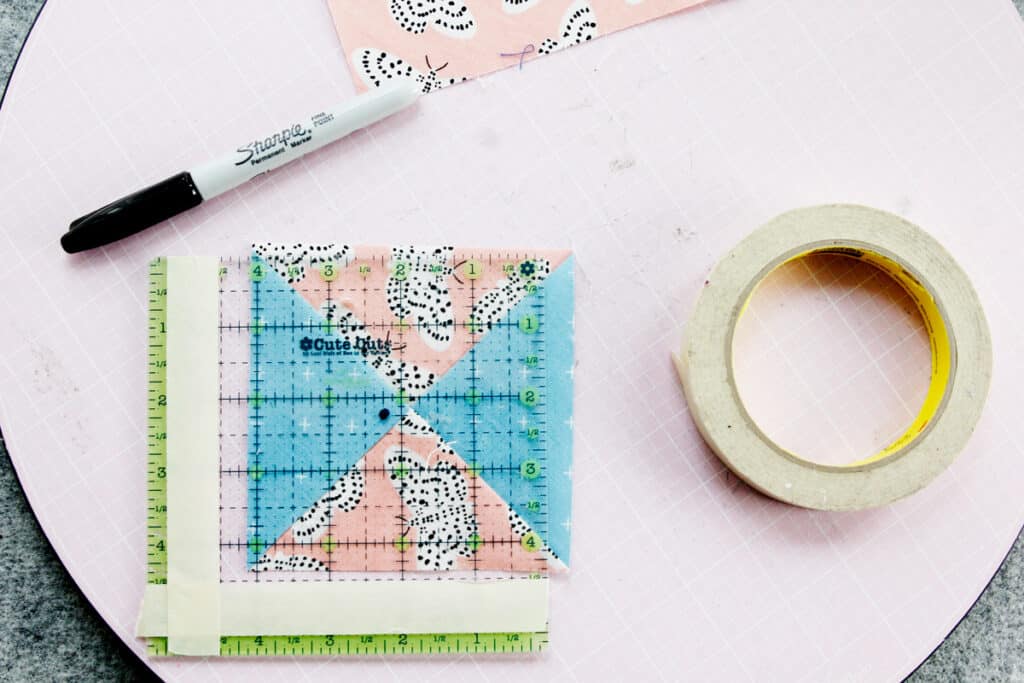
Use masking tape or washi tape to help you mark a square or rectangle. With this hack you can make your ruler work for your project without buying a new ruler. Tape off a square size for trimming.
Mark the center point for quarter square triangle trimming.
Keep a little bin near you for scraps
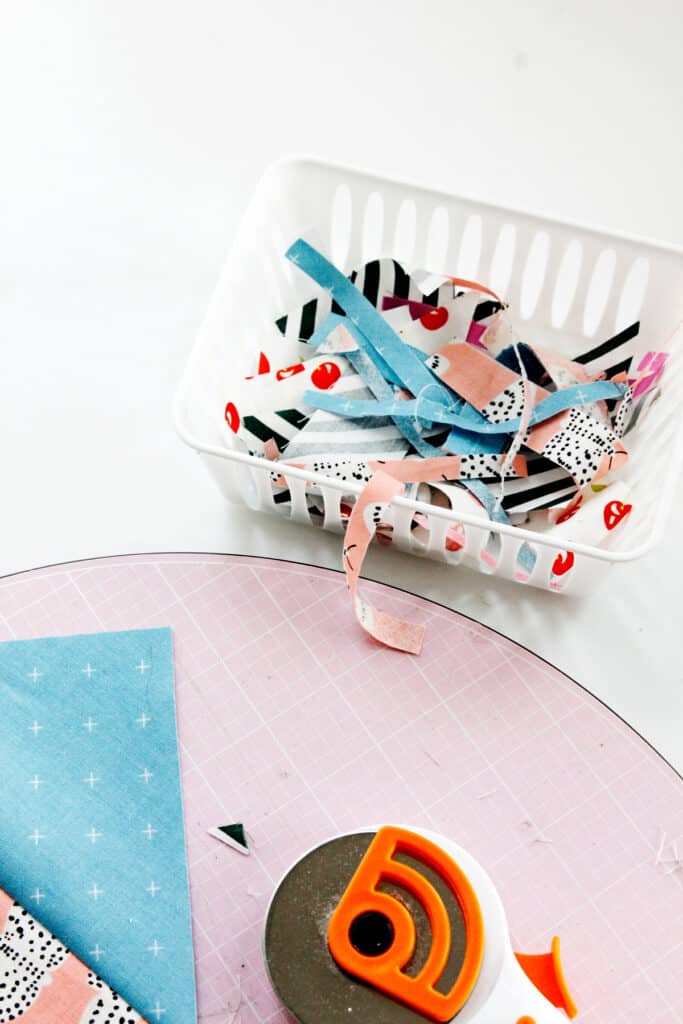
I love having a small bin or plastic container near my cutting mat to put all my scraps and trimmings as I create them. This helps me keep my space clean. I also love to sort through this for the larger scraps that I can put in my scrap bin before throwing away the tiny trimmings.
Pressing seams out from the pressing mat
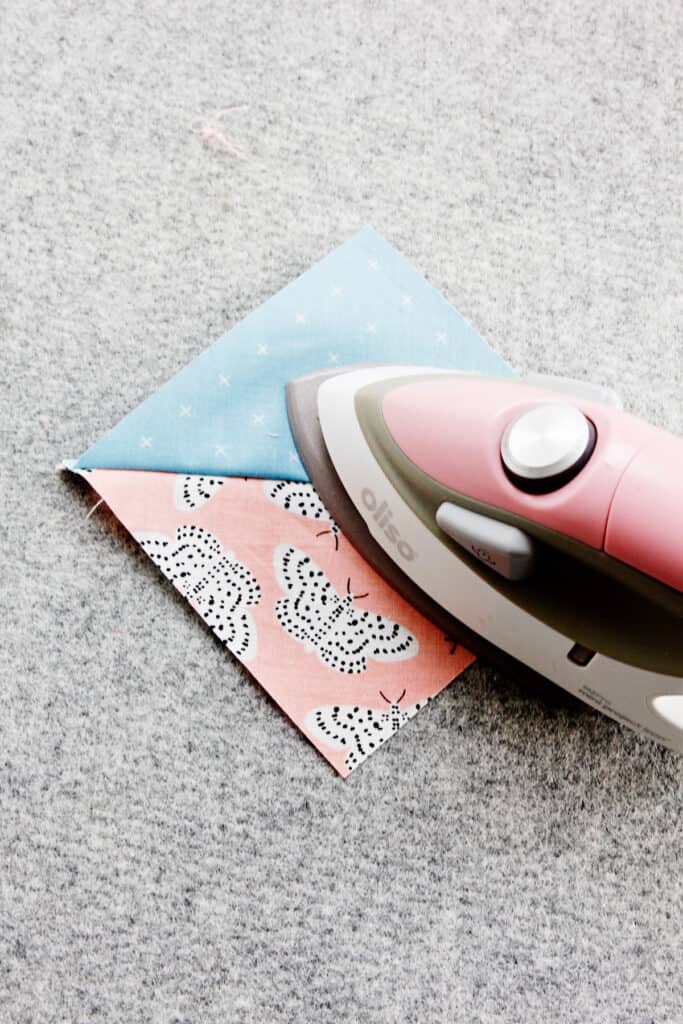
When pressing a block open, put the fabric you DON’T want to have the seam allowance behind it down on the pressing mat or ironing board.
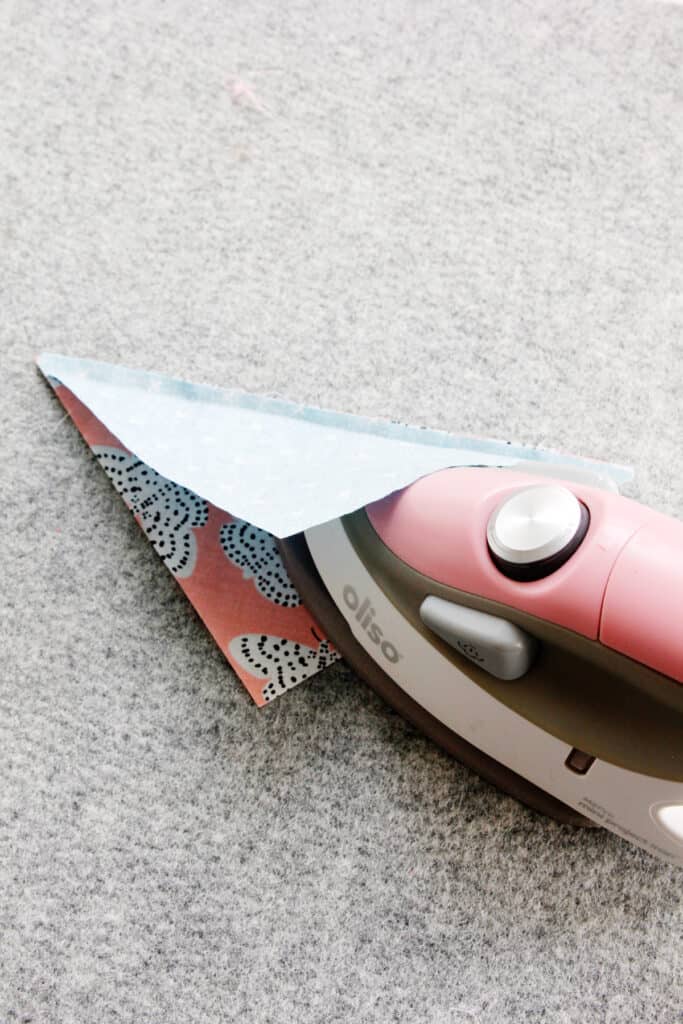
Then use your iron to press the other fabric up. This is an easy way to get your seam allowance pressed to one side and also makes it easy to press a bunch of blocks the same way.
Must-Know Quilting Tips – Always Trim and Square Up
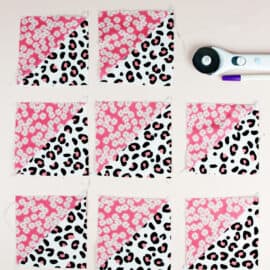
Do not skip trimming and squaring up! It’s so boring, I know! But these steps will make a big difference in how your blocks fit together later.

SLOW DOWN When using a rotary cutter
After slicing into my finger during my early years of quilting, I will always advise to slow down when it comes to the cutting part of quilting. Make sure you have a good hold on your ruler and that your fingers are out of the way before slicing. Always keep your blade sharp to prevent it from snagging on your ruler! Be careful – you will not regret it!
Use a book for a clapper
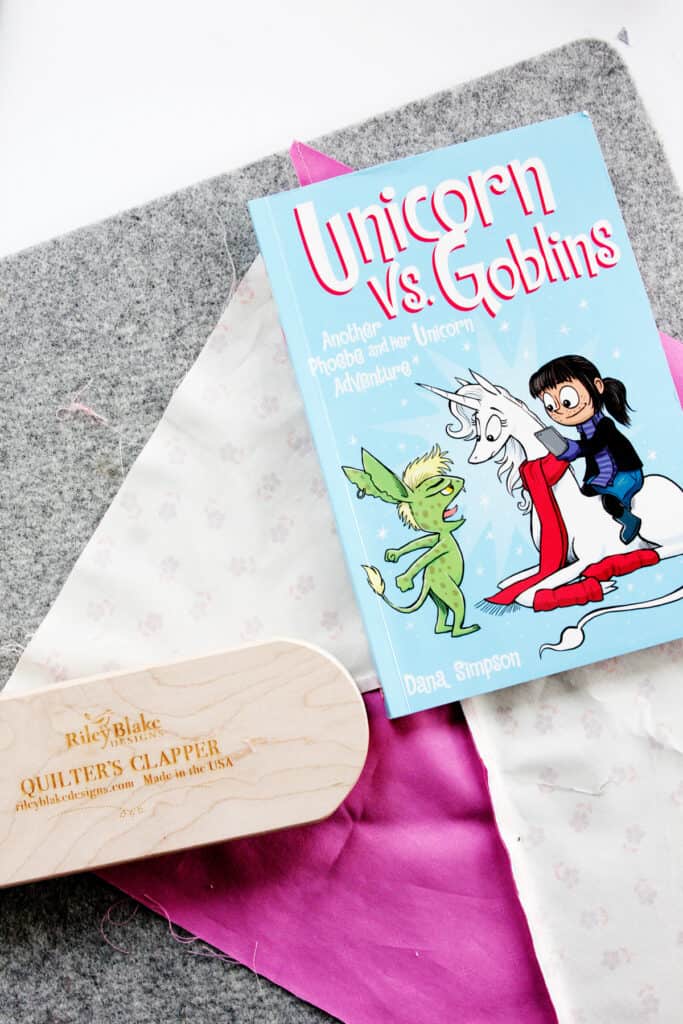
Don’t have a quilter’s clapper? That’s okay – there are lots of things you can use instead! Anything flat and heavy enough to hold down a seam.
No Waste Flying Geese
When you sew flying geese blocks one at a time, you end up with four triangles of leftover fabric, as shown below:
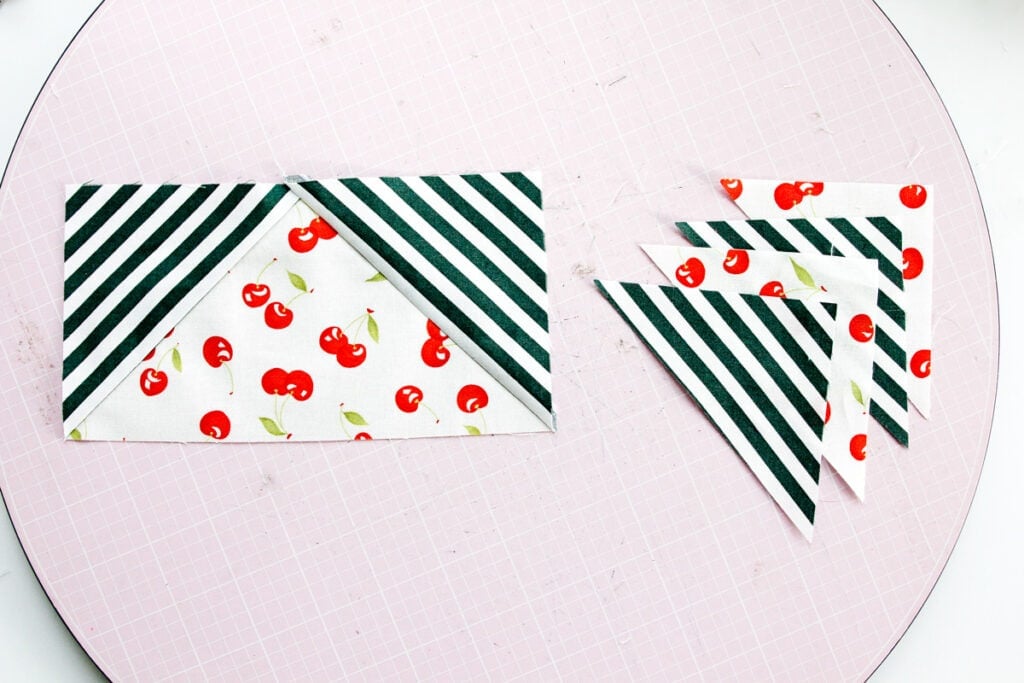
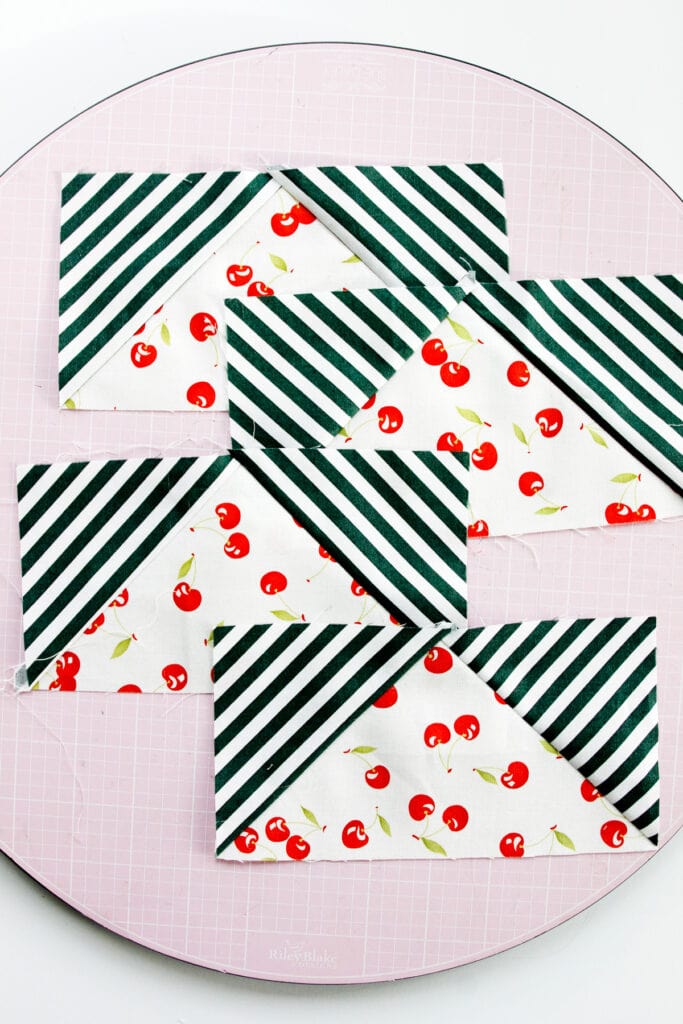
But there is another way! The no-waste flying geese method will give you four blocks with NO WASTE! See the video in this post for this simple method!
Make Your Own Quilt Design Wall
This is a quilting tip that is so helpful if you want to lay out your blocks before you sew them together but don’t have a lot of floor space (or prefer not to work on the floor!) – get a design wall! You can buy a design wall on Amazon (affiliate) or this sturdier type.
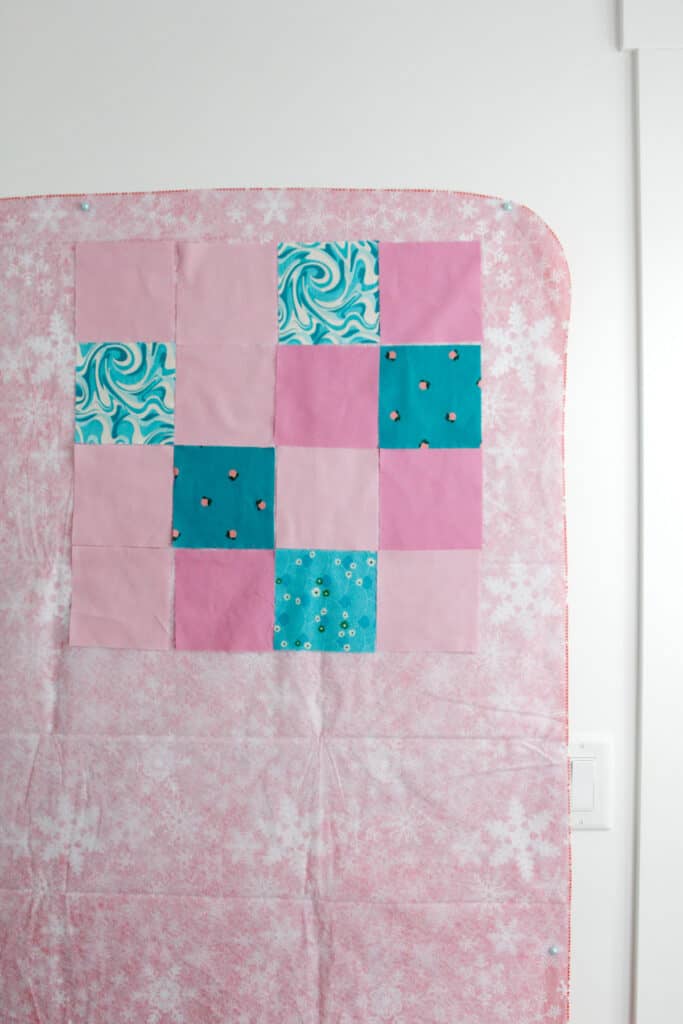
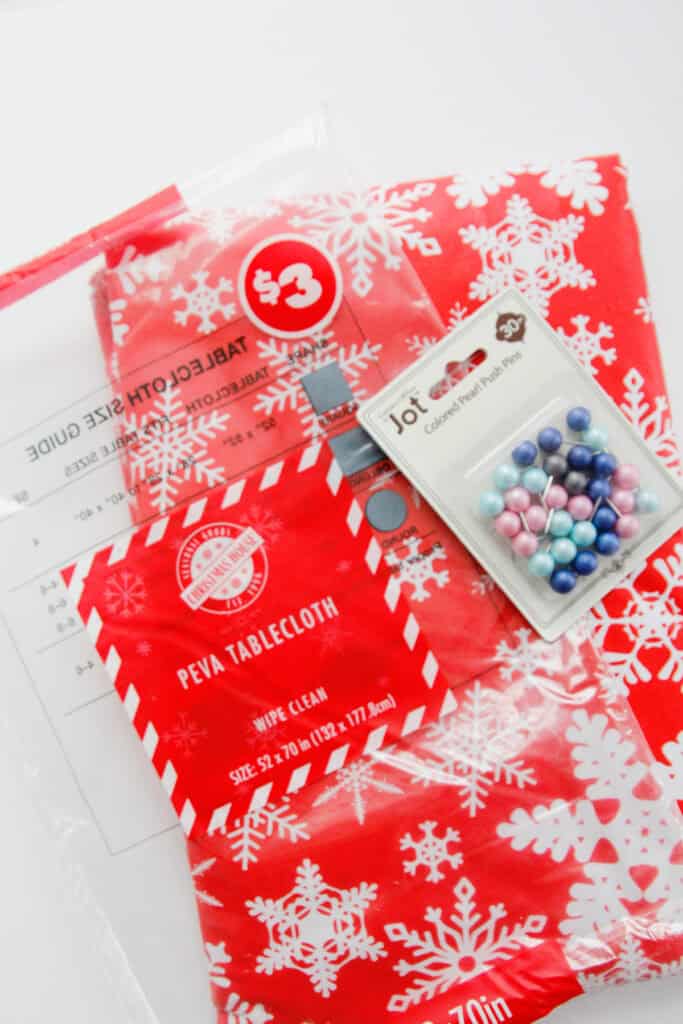
Or you can make your own! Find a flannel backed tablecloth from the Dollar Tree and pin it to your wall. Read more here.
Basic quilt supplies are just fine!
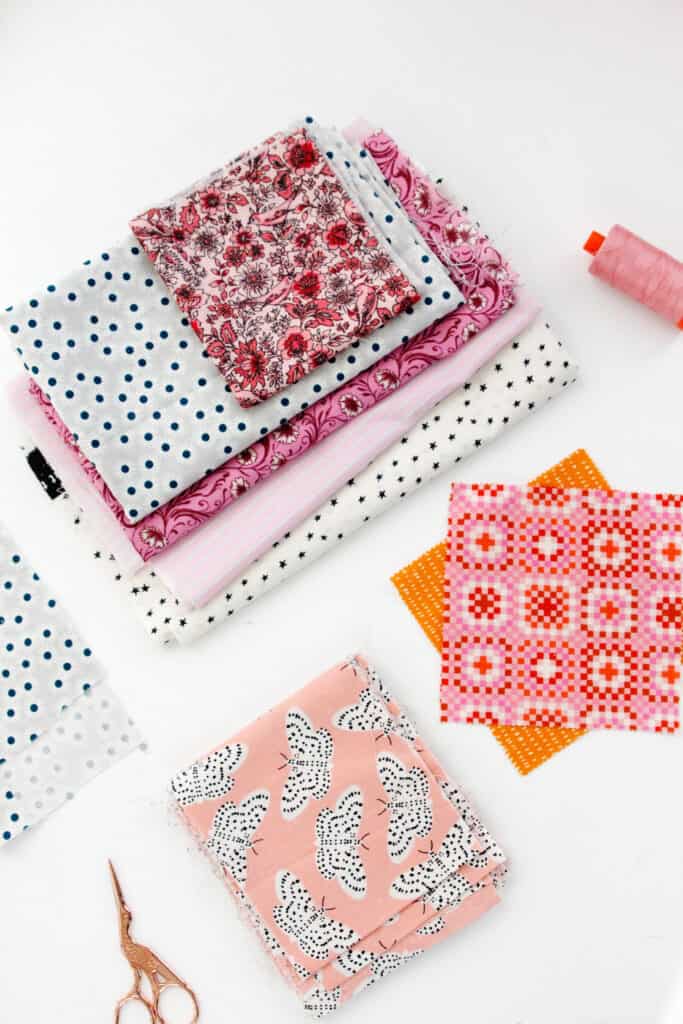
Tools can be fun – but you don’t need them all. Don’t get overwhelmed by tricky quilt supplies when you can get by on the basics!
Done is better than perfect
Let go of your fears and dive in because you’ll find the small imperfections don’t show and you can have so much fun even if you don’t know everything! Get started and learn as you go!


