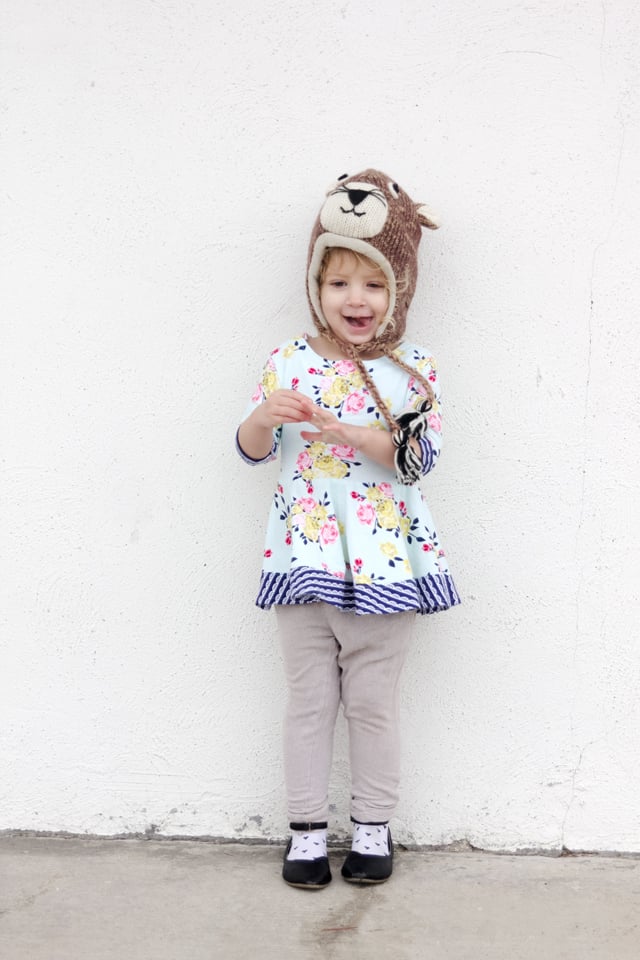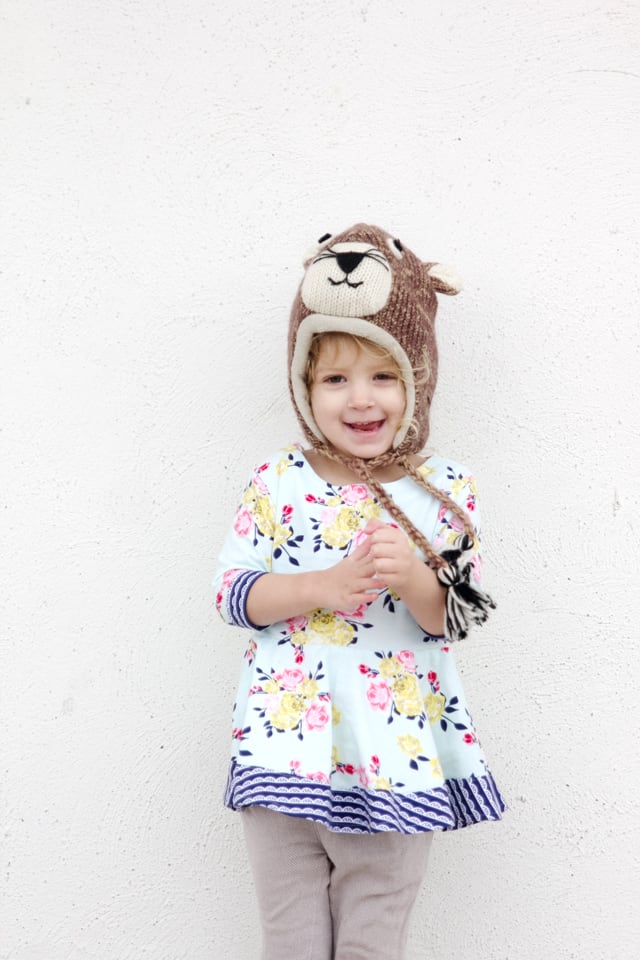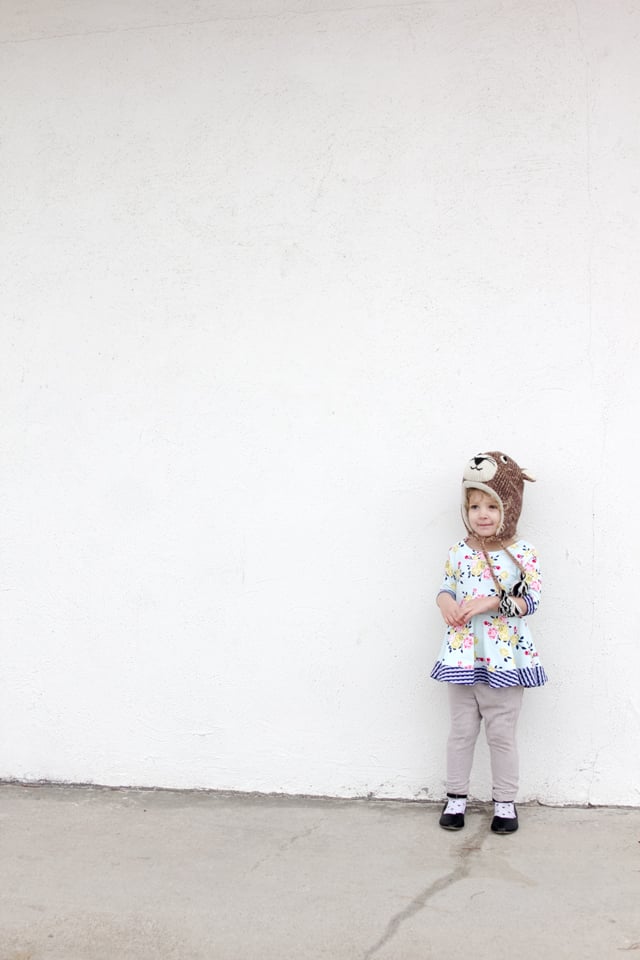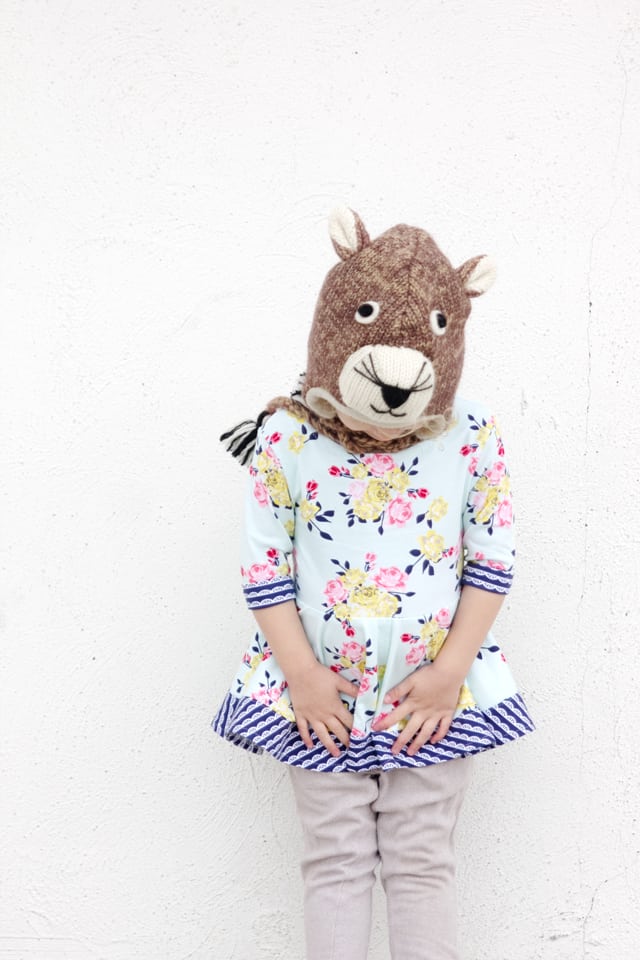
I made this top for my little monkey (actually, it’s technically a “mountain lion” hat…) and today I’m sharing the tutorial for this banded version of the Pippa Peplum! It’s still Pippa Peplum week, so use the following codes to save $BIG$ on 3 patterns!:
“PPW” – save $4 on the Pippa Peplum
“PPW2” – save $2 on the Pippa Add-on Pattern
“PPW3” – save $5 on the Penelope Peplum
And hop over to the Facebook Group to join in the sew-along fun!
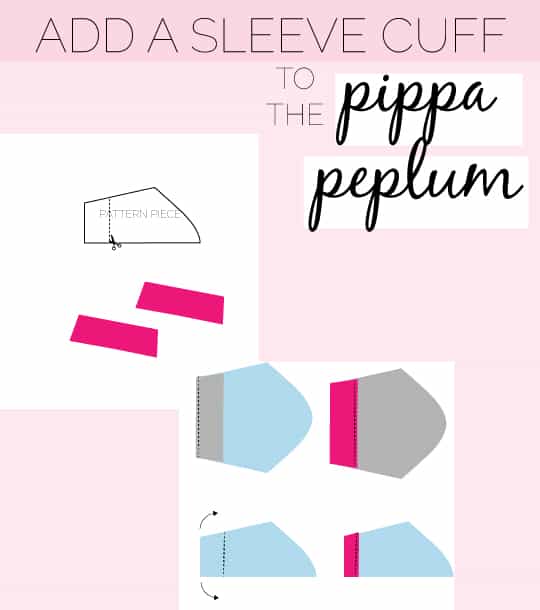
To make the banded version, you’ll use your pattern pieces to create sleeve band and skirt band pattern pieces.
This hack is done on the circle top version, which makes it a longer top. You can also try it on any of the other versions.
To add a hem band use your pattern piece. Extend the side lines 2.5″ (2″ + 1/2″ for hem) Add more or less depending on how thick you want your band. Then connect the lines with a curve. To make it easier to draw the curve, mark points 2.5″ down all the way along the hem and connect.
Draw a new top line 3/4″ above the bottom of the skirt hem. This will account for enough seam allowance for both the skirt and hem band.
Now cut out the hem band on the fold. You’ll cut 2, one for the front and one for the back. Sew the bands together at the side seam, and then hem it.
Attach the top of the hem band to the bottom of the skirt with right sides together. Sew at 3/8″ and press the seam allowance up. Topstitch along the skirt bottom, right above the band if you want!
To make the sleeve cuff, measure up your sleeve pattern piece about 3″ (or twice how thick you’d like the band to be, plus 3/8″ seam allowance.) Sew the sleeve cuff to the bottom of the sleeve with right sides together. Fold it over into the inside of the sleeve and sew 1/4″ from the top raw edge.
Once you’ve set in your sleeve, fold the sleeve cuff up half way and sew in place.
Done!
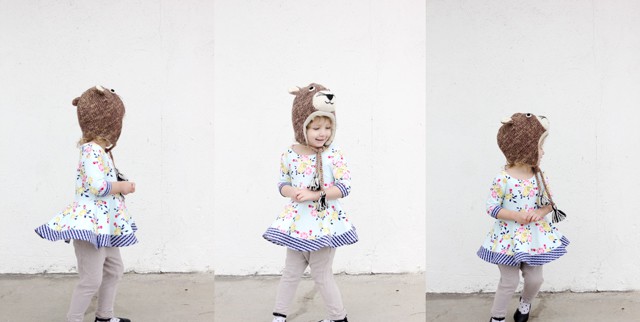
Twirl power!
I have another hack to show you later this week that I think you’ll love!

