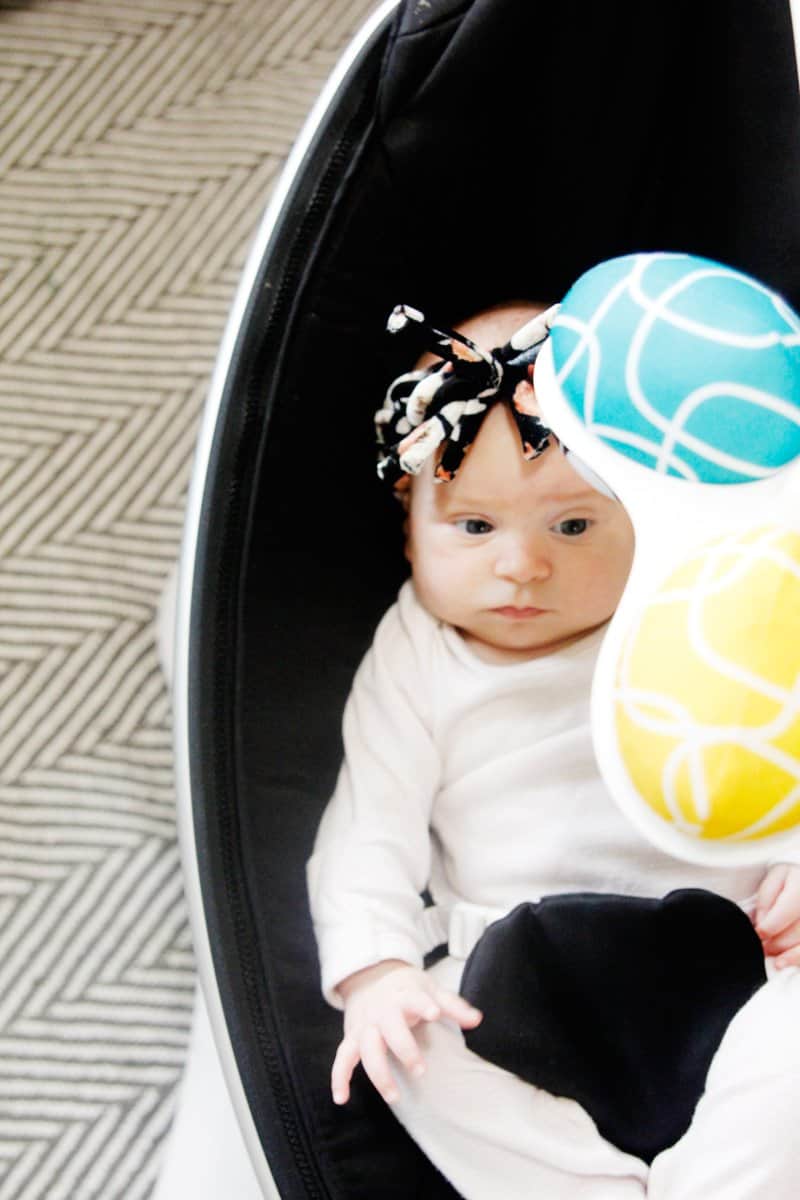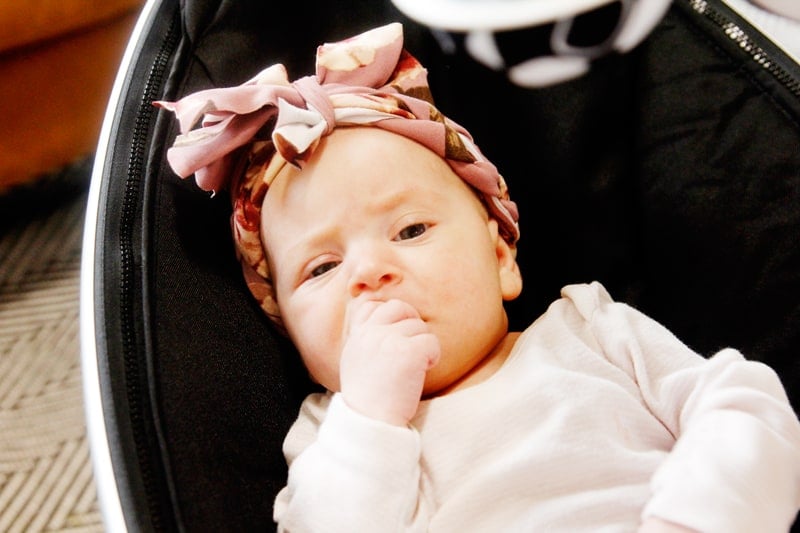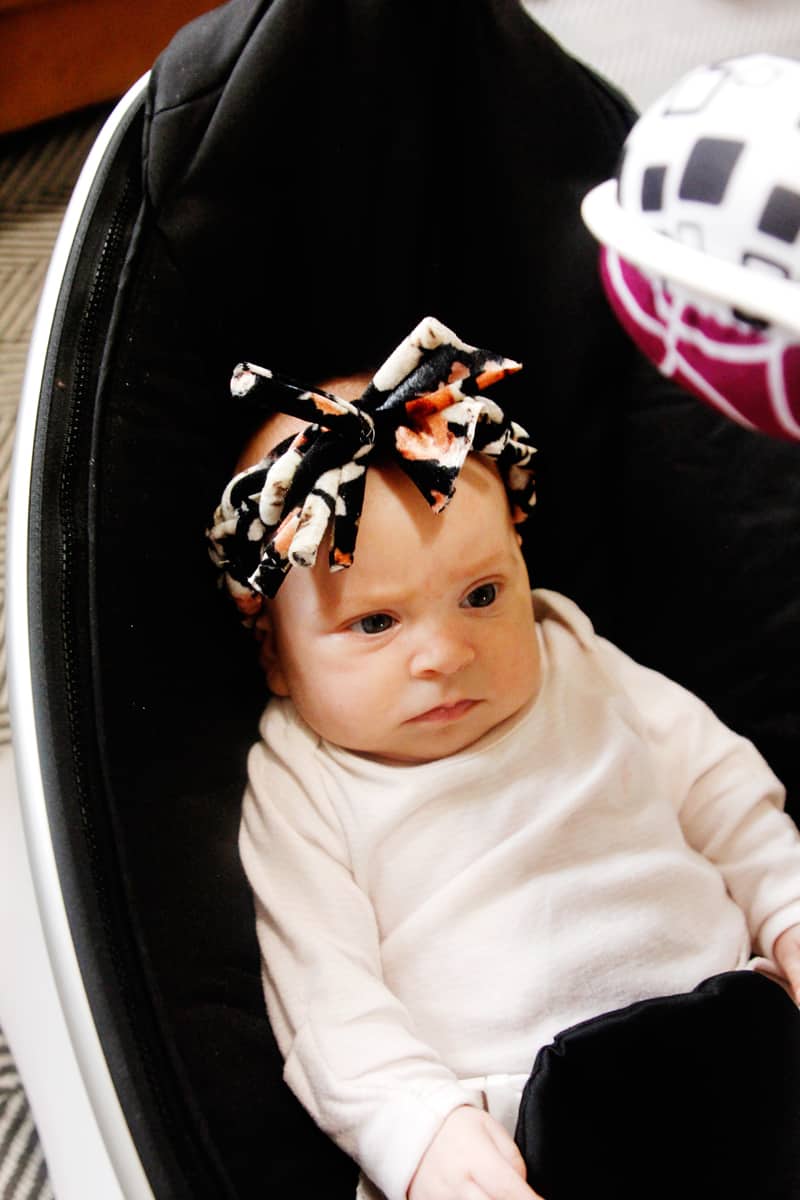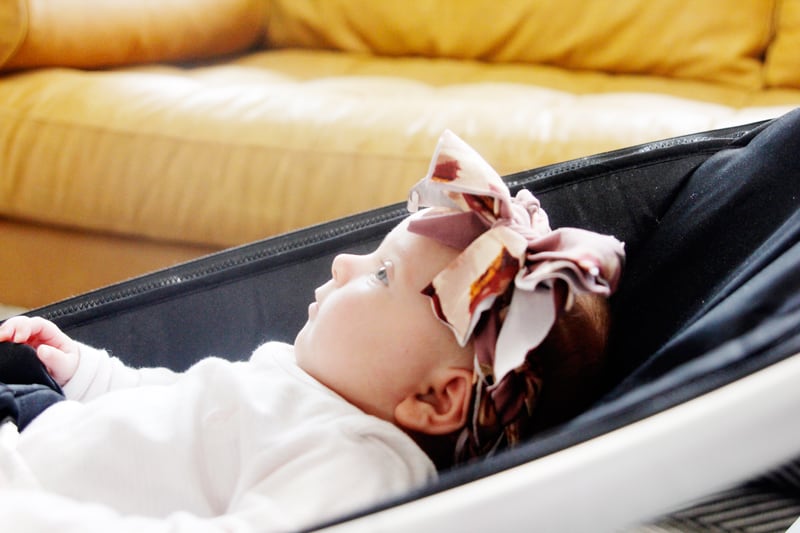
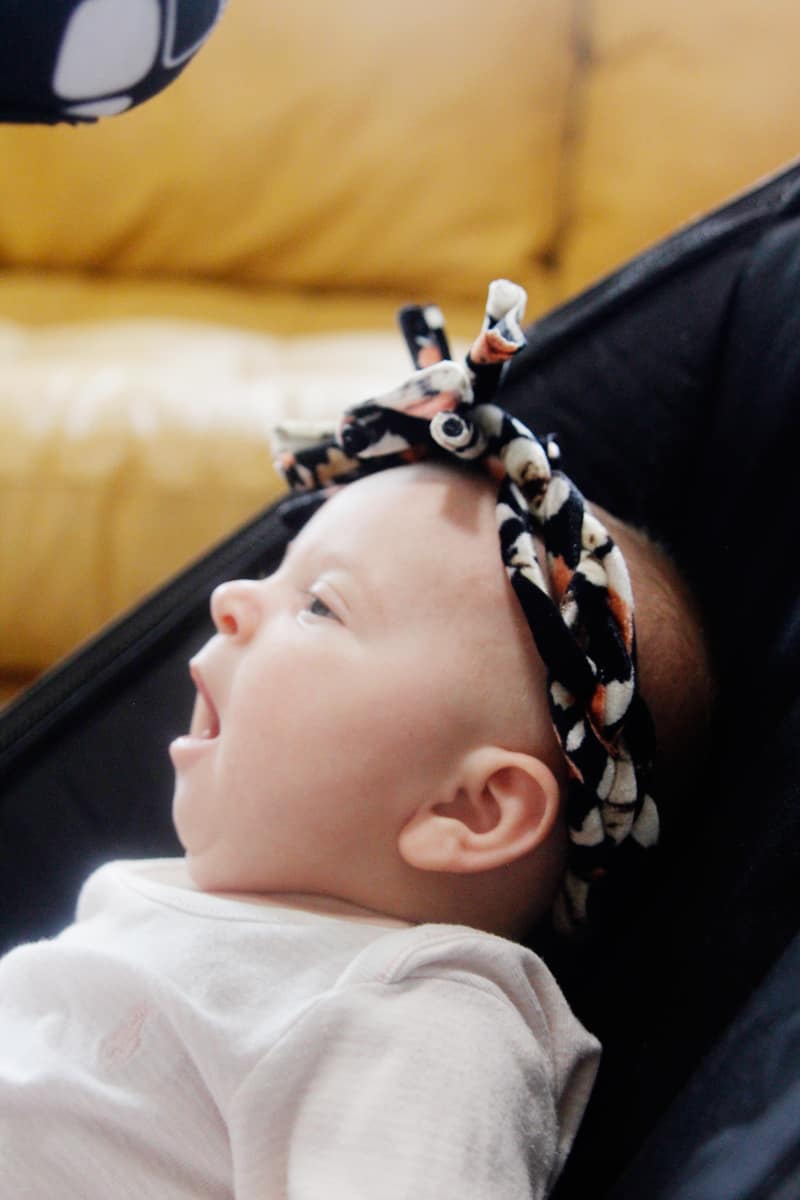
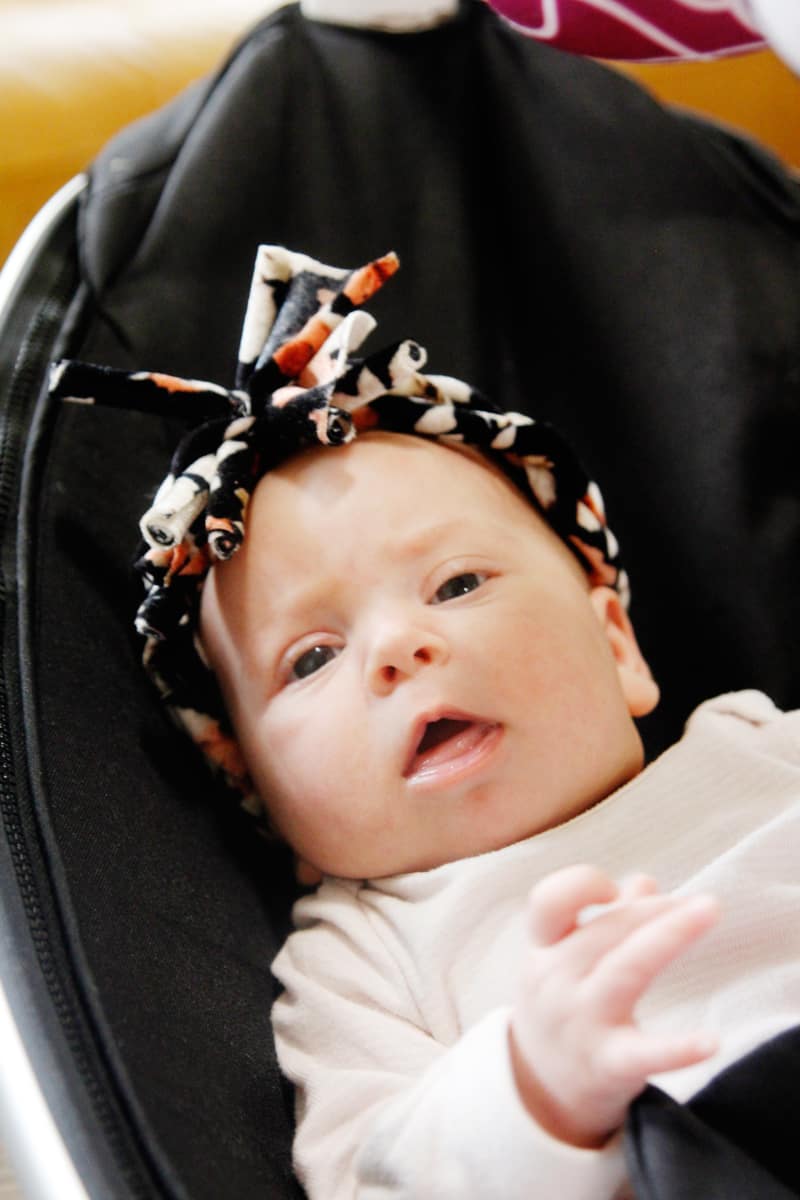
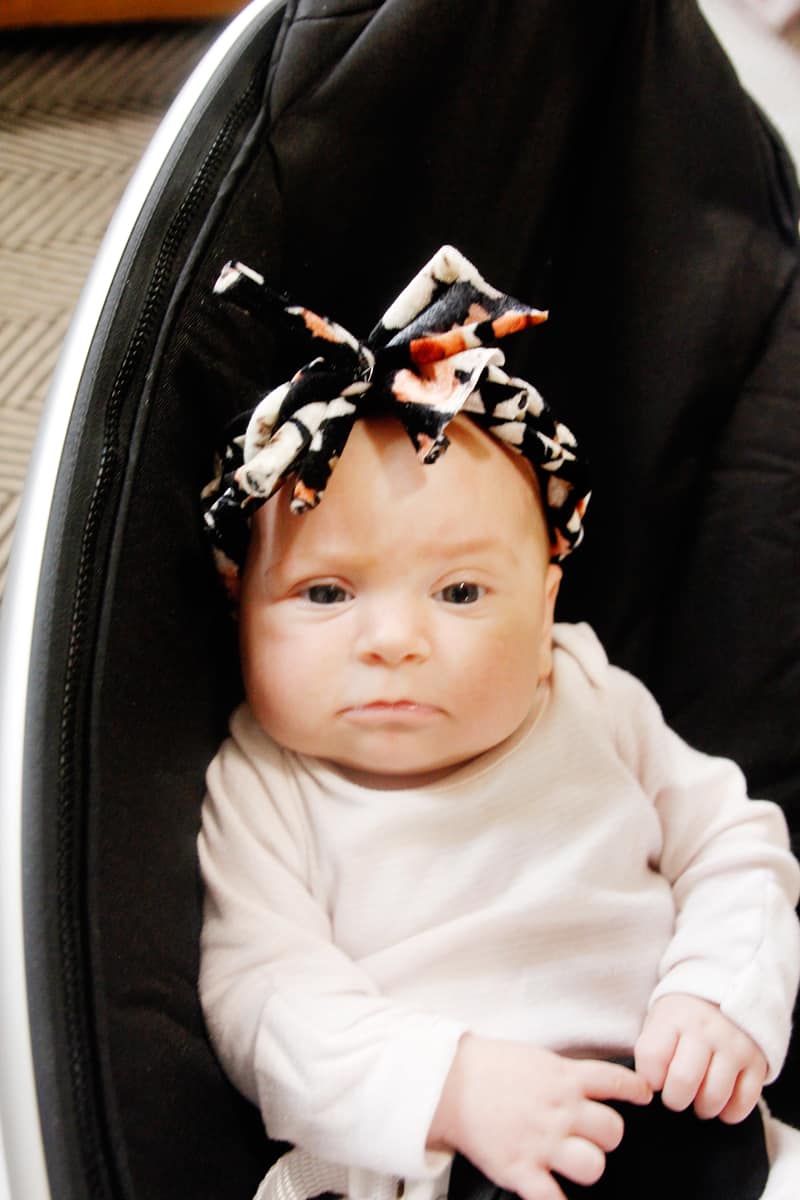

I originally posted this braided baby headband tutorial over at Gugu Guru. I’m posting it here today so you can always find it in the baby archives!
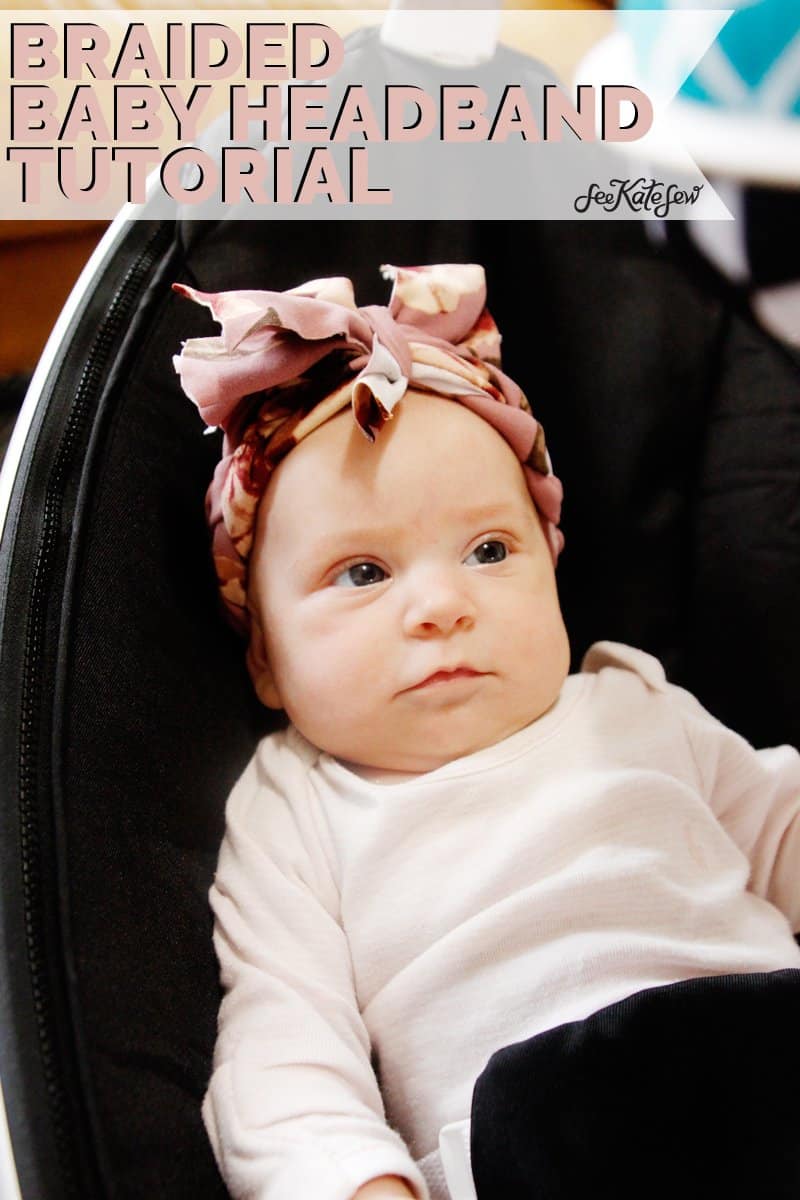
Realizing I may have gone a little overboard with the baby pictures on this one, whoops! I used knit (stretchy) fabric to create a 4-strand braided headband with a frilly ‘bow’ at the top. This requires only a little bit of actual sewing, most of the construction is pretty easy!
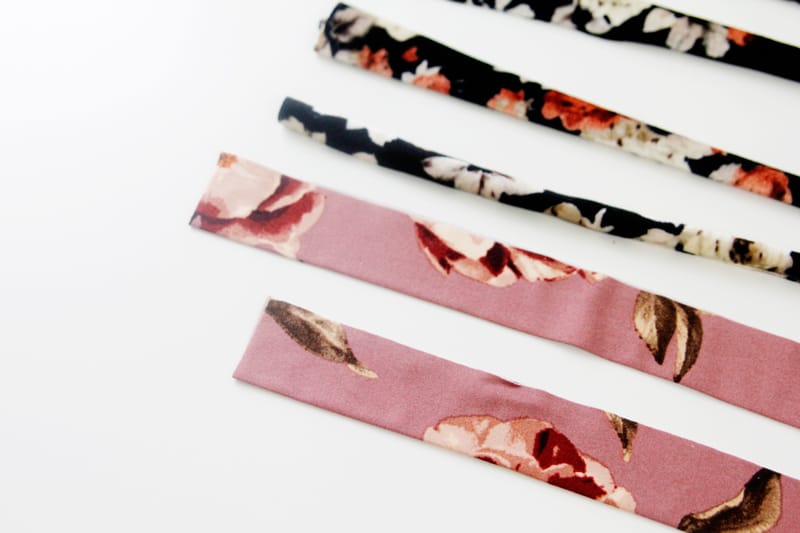
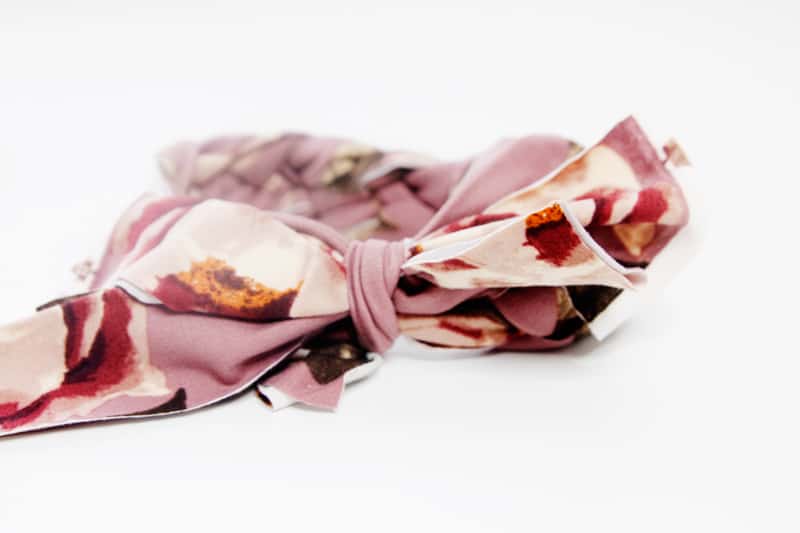
I love fun headbands and especially love making them with really soft floral fabric. I used two types of fabric to get two slightly different looks! The black floral fabric is a stretch velvet, which curls up into a tube when you stretch it so it was a little easier to braid and has a thicker finished product. The pink floral is brushed polyester fabric, which is amazingly soft and doesn’t curl up as much for a flatter braid effect. Since these use knit fabric, it’s a great headband to go with a handmade outfit for a matching ensemble!
We worked with 4moms on this post and you can read all about the 4moms mamaRoo in this post!
Materials//
-1/2 yard Stretchy Knit Fabric
–large hair clip or tape
Instructions//
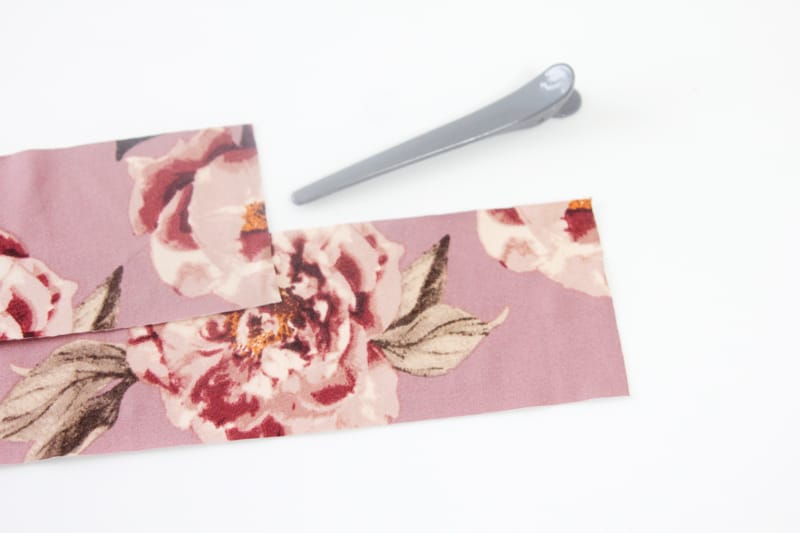
Cut 4 rectangles 24″ by 3″. If you are making this headband for a larger child, cut the pieces longer. We’ll trim them down at the end, so longer is better here.
Stretch each strand so the edges curl over. This will happen differently for different types of knit fabric. If the fabric curls the wrong way, press the strands in half with the right sides showing instead.
Now we’re essentially going to make a 4 strand braid!
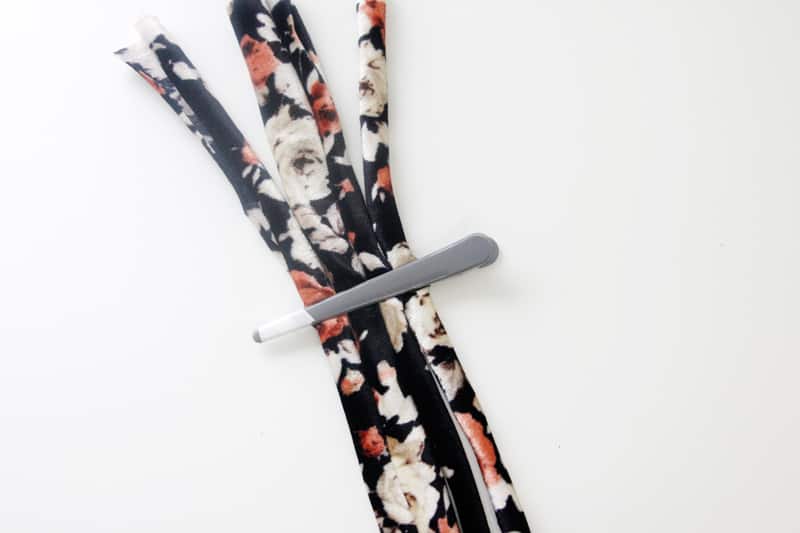
Start by clipping the 4 strands about 4″ from the top of the strands. You can also tape them down to a surface like a table. I taped the open end of my clip to keep them all secure in there but you may not have to do this depending on the clip!
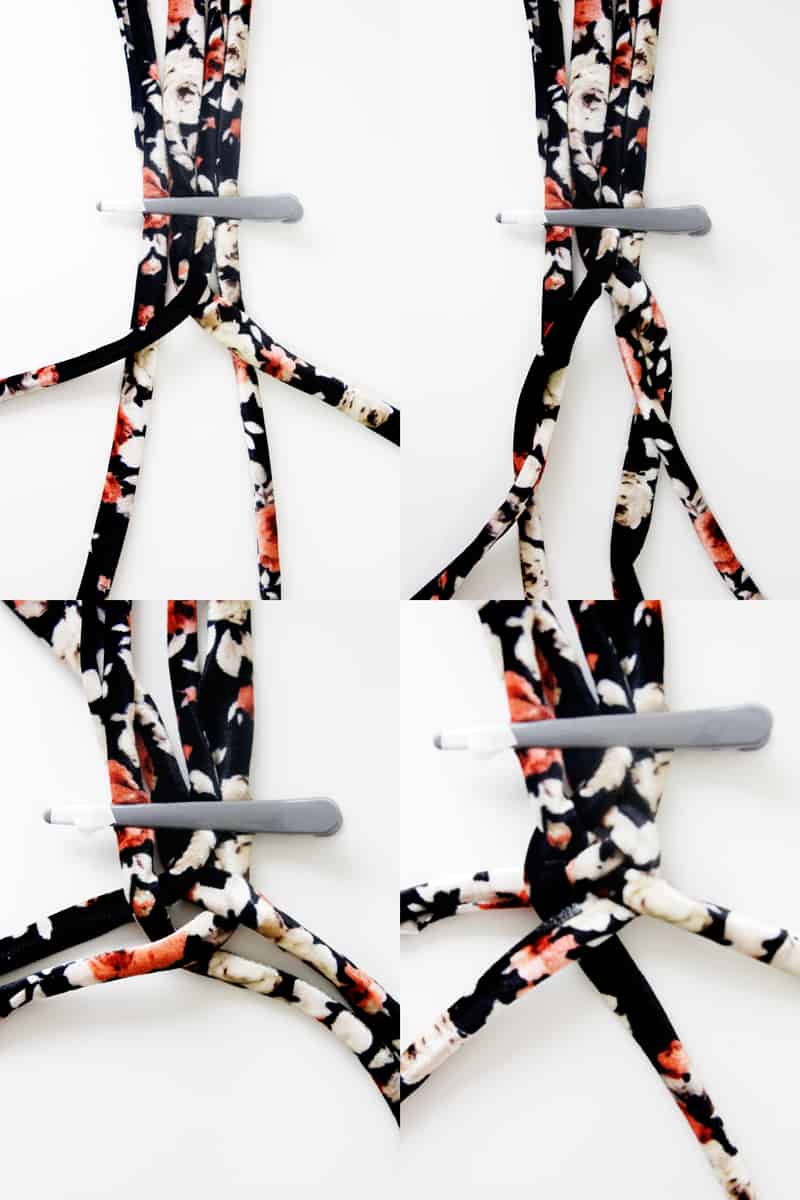
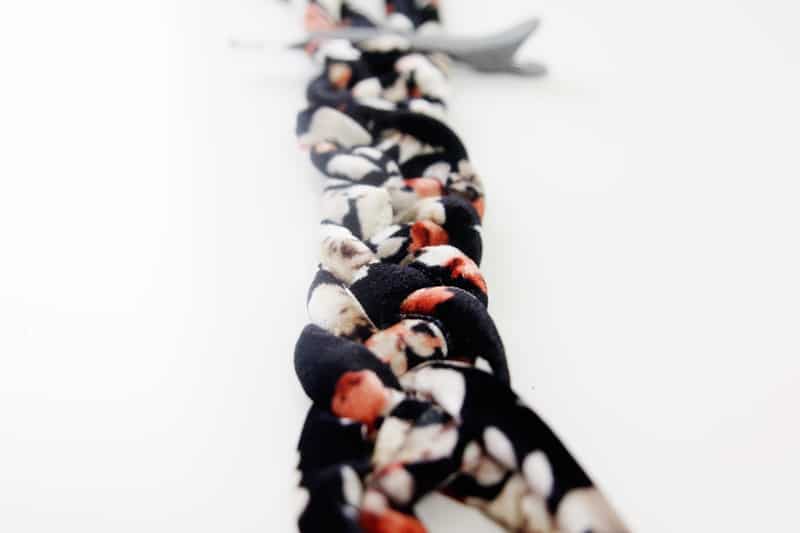
A 4 strand braid is made by crossing strand 3 over strand 2. Then cross 3 over and under 1 and 2 over and under 4. Next cross the 2 middle strands, 3 over 2 and cinch all the strands up for a tighter braid.
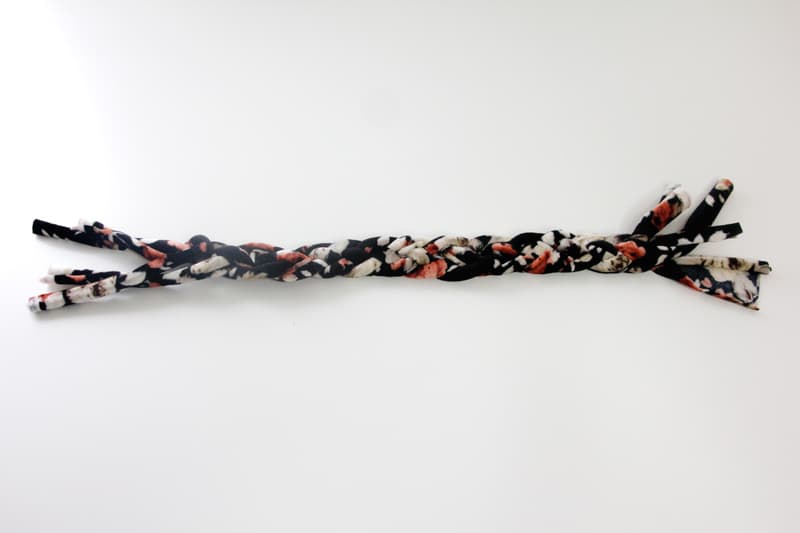
Continue this process. Braid until there are about 4″ left.
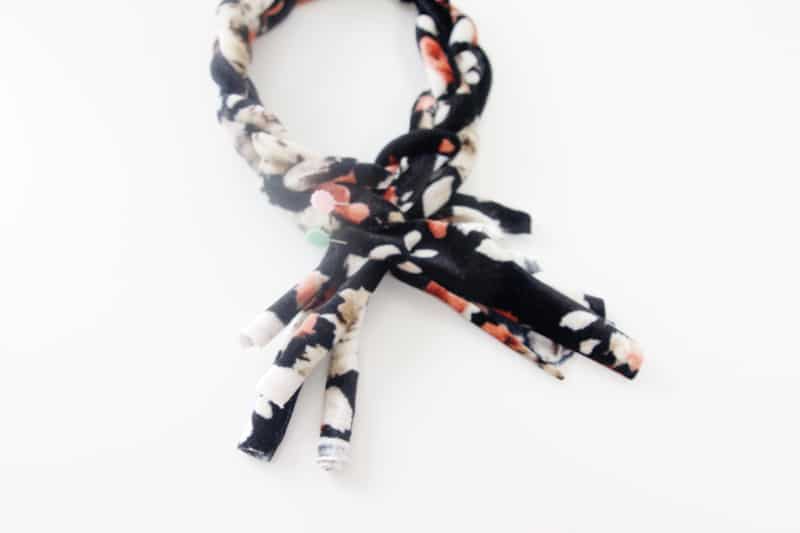
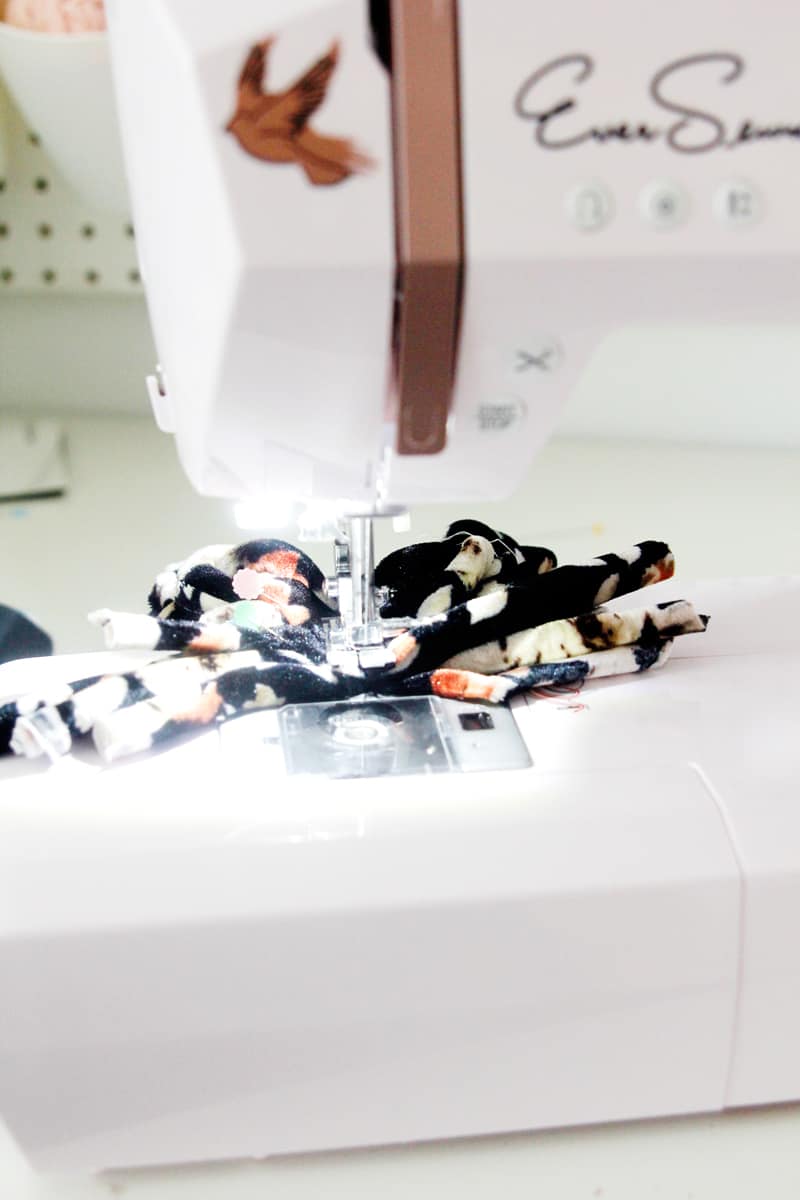
Cross both ends of the headband to create a circle and meet the ends of the braid. Pin them together and sew right through the middle using a zig zag stitch. I like to make 2 passes so it is very secure.
Pull out one of the strands and tie it over the stitching so you can’t see it. This will also make the top look like a bow. Trim to your desired length.

