• Skip to main content
  • Skip to primary sidebar
  • Skip to footer
  • Blog
  • About
  • Contact
  • FAQ
  • Sponsor

see kate sew

sewing, crafts, tutorials, DIY

  • Patterns
    • Free Patterns
    • Pattern of the Month
  • Tutorials
    • Accessories
    • Bags and Pouches
    • Clothing
    • Costumes
    • Crafts
    • Cricut Projects
    • Holiday
    • Household
    • Kids
    • Maternity
    • Quilting
  • Topics
    • Baby
    • Boy
    • Christmas
    • dog
    • Dolls
    • Easter
    • Girl
    • Halloween
    • Lookbook
    • Party
    • pet
    • Printables
    • Training
    • women
  • No Sew
  • Sewing 101
  • Sew4Good
  • Pet
  • Sewing Room
    • DreamBox
  • Reviews
Home
  • Patterns
    • Free Patterns
    • Pattern of the Month
  • Tutorials
    • Accessories
    • Bags and Pouches
    • Clothing
    • Costumes
    • Crafts
    • Cricut Projects
    • Holiday
    • Household
    • Kids
    • Maternity
    • Quilting
  • Topics
    • Baby
    • Boy
    • Christmas
    • dog
    • Dolls
    • Easter
    • Girl
    • Halloween
    • Lookbook
    • Party
    • pet
    • Printables
    • Training
    • women
  • No Sew
  • Sewing 101
  • Sew4Good
  • Pet
  • Sewing Room
    • DreamBox
  • Reviews

08.12

CALLIE TOP SEWALONG // ruffle + dart sandwich

Welcome to See Kate Sew! If you’re new here, sign up for my email newsletter for access to free patterns, tutorials and all the latest sewing news! Tour my sewing room HERE!

Welcome to Day 2 of the Callie Top Sewalong!

Today we’re going to tackle the trickiest part of the Callie Top, the ruffle/dart. If you’re sewing the Avery, it’s just a ruffle sandwich, but the methods are pretty similar!

Day 1: Choosing Fabric + $100 fabric giveaway!

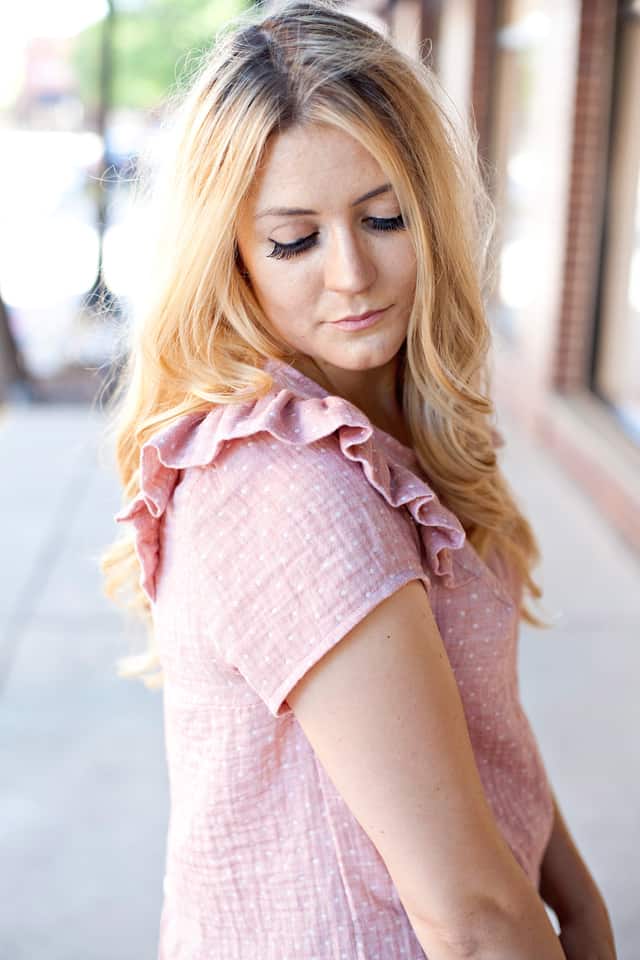
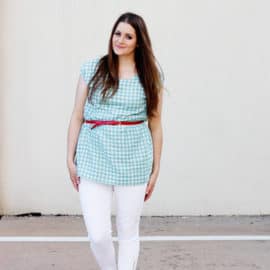
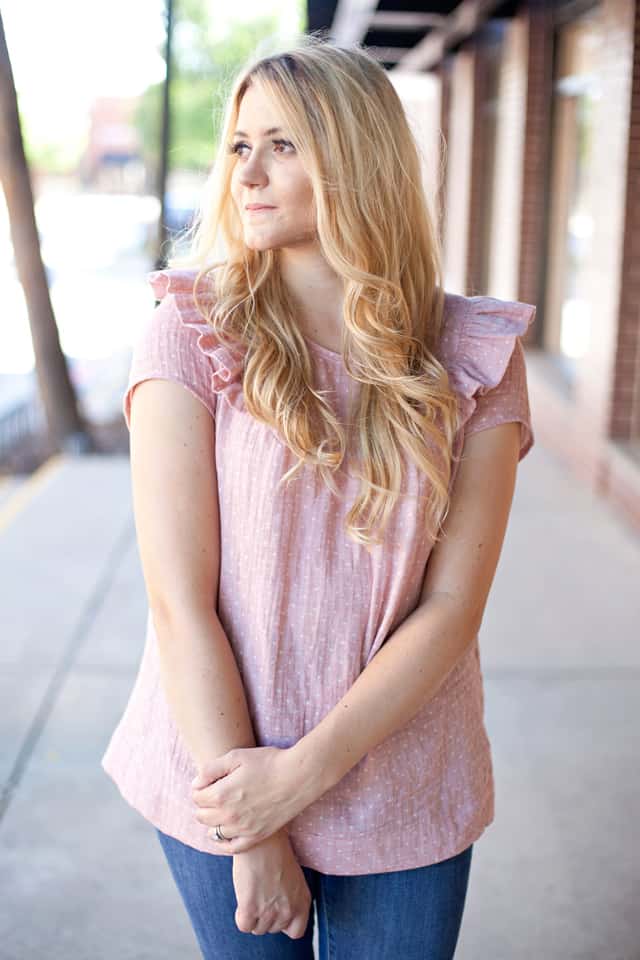
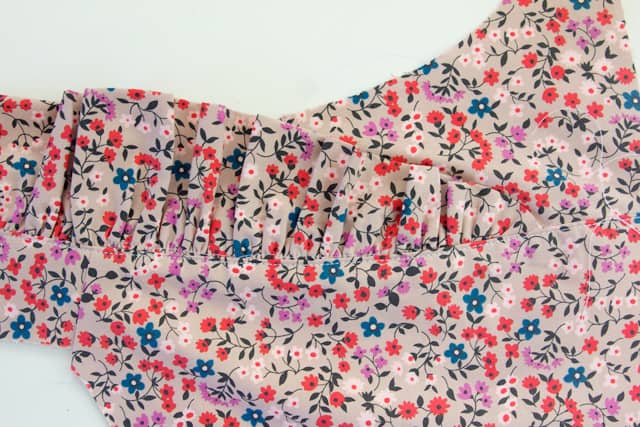
This pink Callie top is made from double gauze. It’s a great choice for this pattern, I just love how flowy and soft the ruffles turned out. I bought this fabric from Miss Matatabi, it’s reversible, too!

The CALLIE top pattern by See Kate Sew The CALLIE top pattern by See Kate Sew  The CALLIE top pattern by See Kate Sew

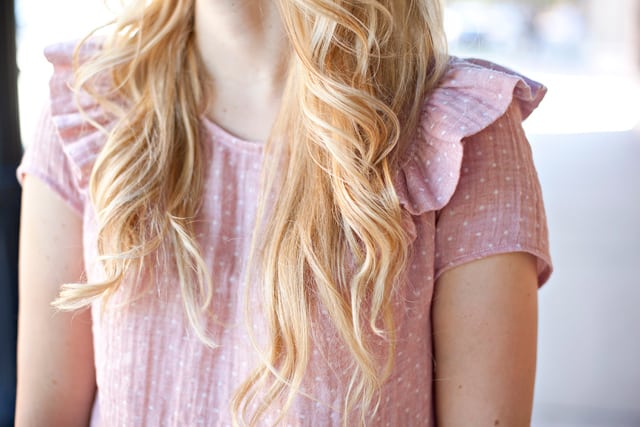
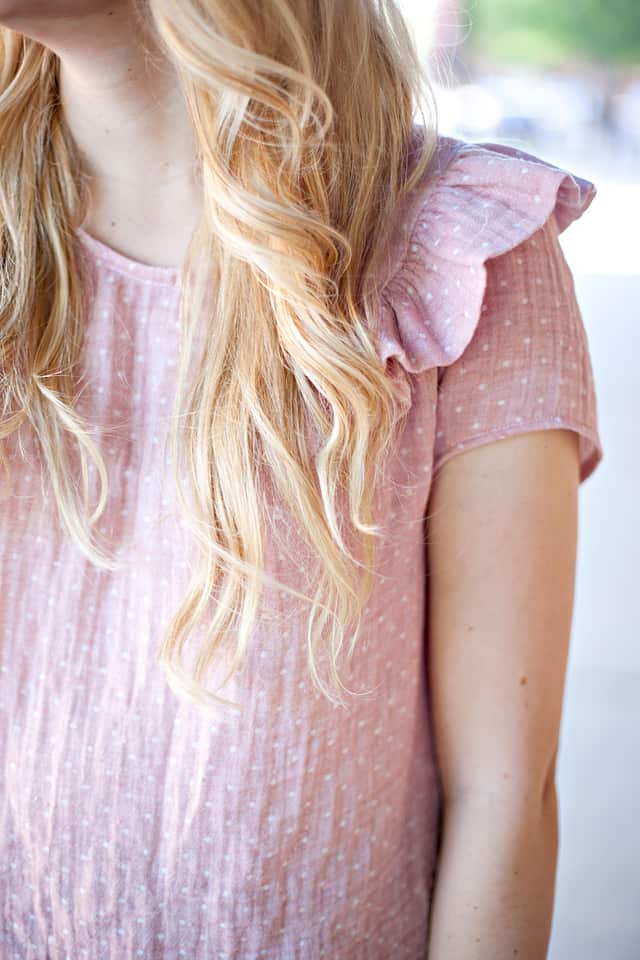
The ruffle goes across the shoulder and eats up both the front and back dart, so you won’t even really know you’re sewing a dart!

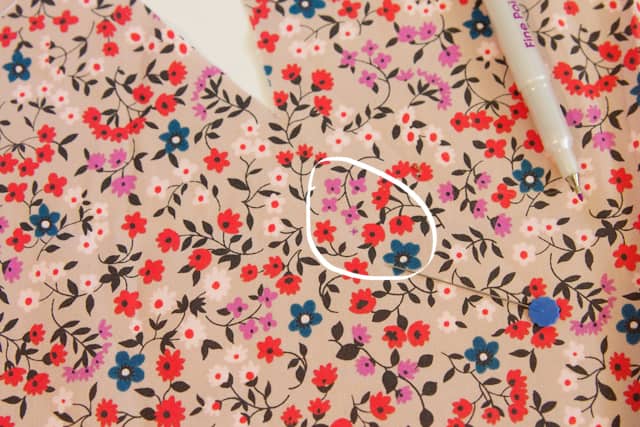
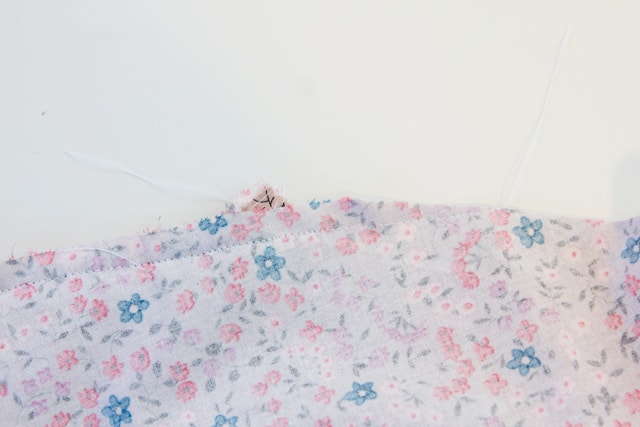
The first step is to mark the dart point on your fabric. I used a purple disappearing ink pen for this. This is my favorite way to mark fabric, the ink disappears with air after a while, or you can use water to remove the ink faster. I drew a little ‘x’ on the fabric below. Look closely, it kinda matches the fabric.

callie-sewalong-2

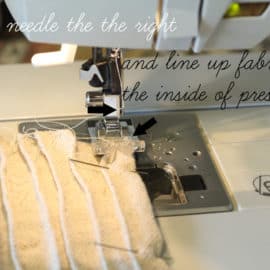
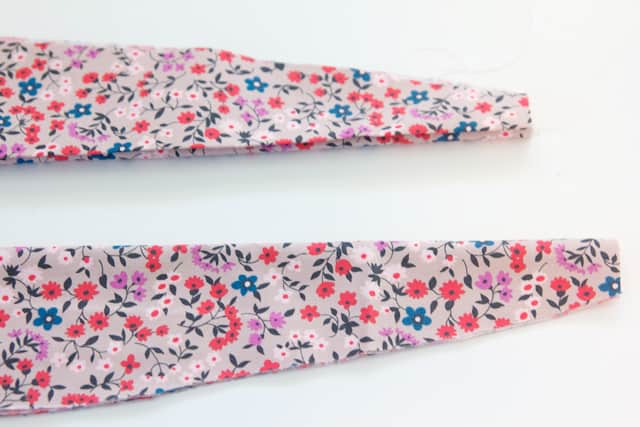
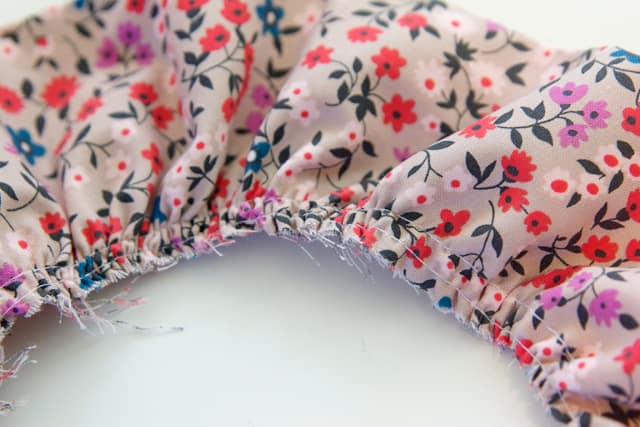
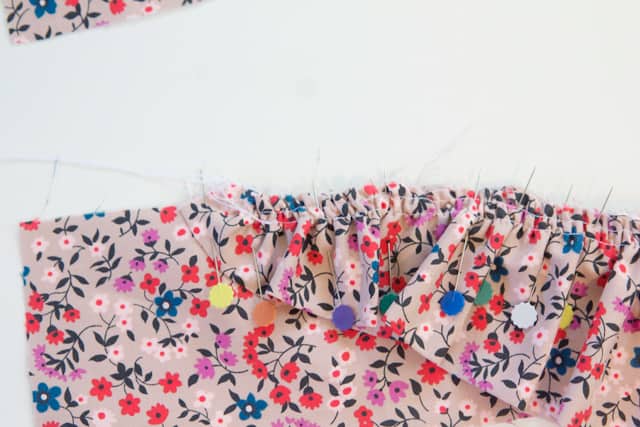
To prep the ruffles,fold in half and press.

callie-sewalong-4 callie-sewalong-5


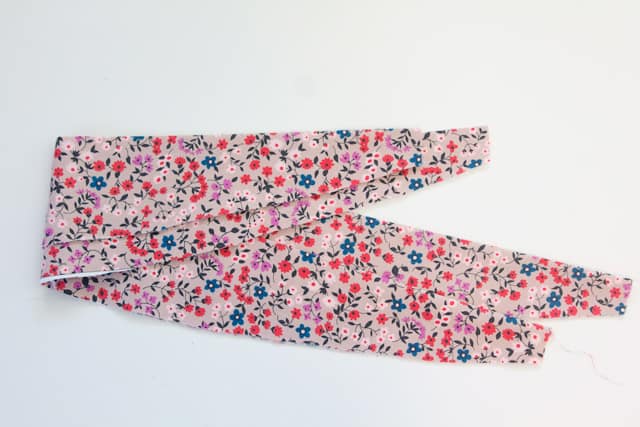
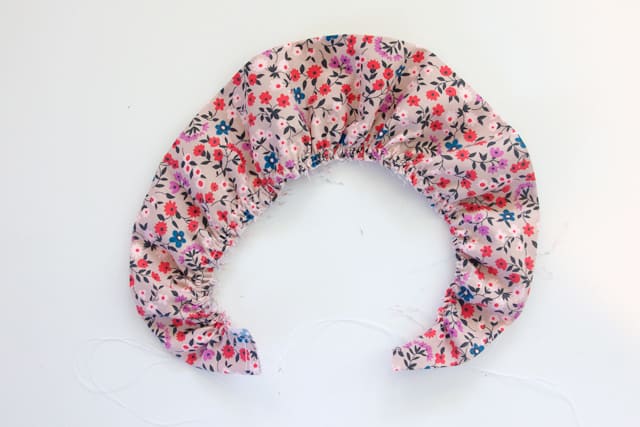
Sew 2 rows of basting along curved edge and pull threads to gather. I like to sew them at 1/4″ and 1/2″ from raw edge. That will give me a nice even ruffle at the 3/8″ seam allowance.

callie-sewalong-6 callie-sewalong-7

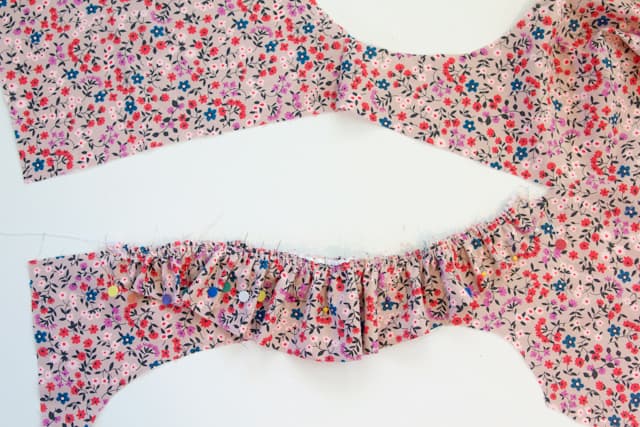
Now sew the back pieces to the front along shoulder seam. There are 3 pieces for each side of the shirt, so I will just show you one. It can be confusing, but looking at the neckline and armscye will help you fit them together correctly.

callie-sewalong-8 callie-sewalong-9

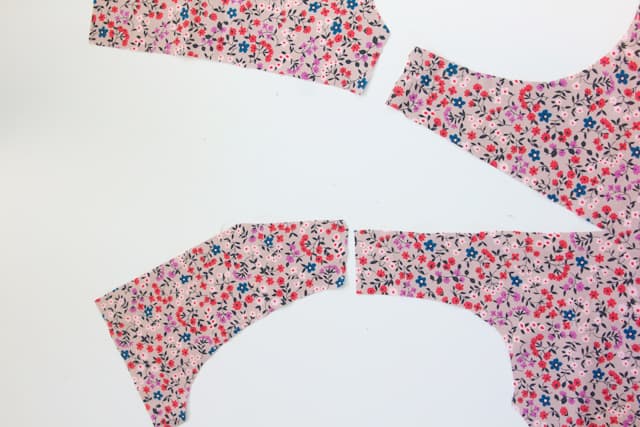
Sew shoulder seams with right sides together.

callie-sewalong-10

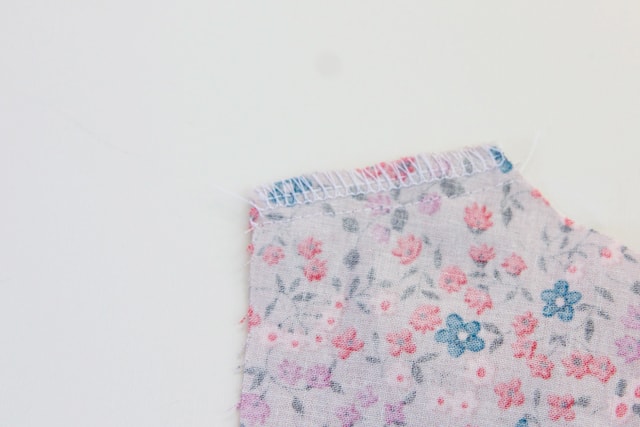
Finish seam allowances.

callie-sewalong-11

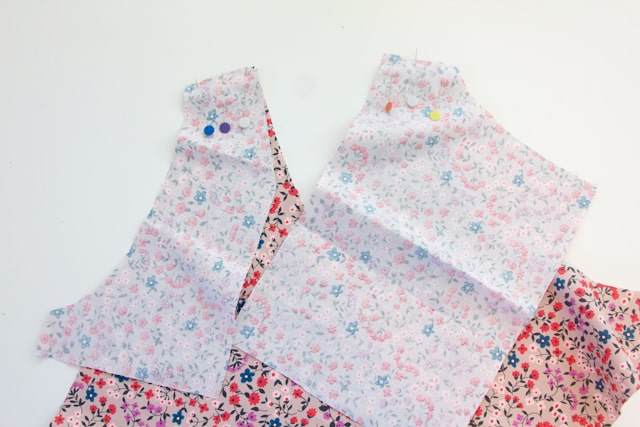
Mark the point where the ruffle stops at the back on the fabric. Use your pattern piece dot as a guide.

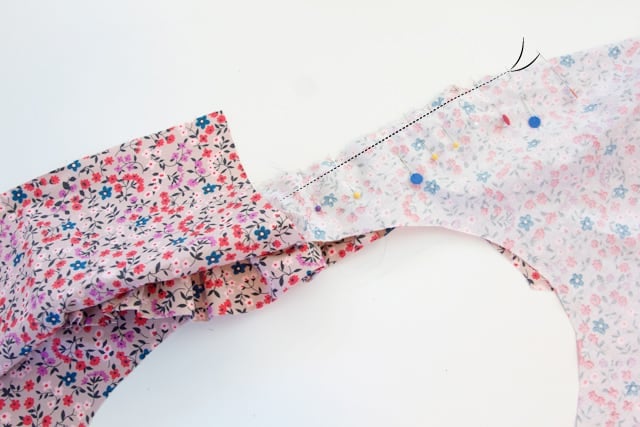
Then pin the ruffle in between the mark on the front and the mark on the back. Baste ruffle on.

callie-sewalong-13

At each end of the ruffle, taper the fabric out into the seam allowance so the raw edge is totally sandwiched on the wrong side of the fabric.

callie-sewalong-15

callie-sewalong-12

Fold the other side of the bodice over and pin the ruffle inside. Now sew the seam! Use 3/8″ seam allowance the whole way, until you get to the dart on the front. At that point you will taper slightly until you get to your dart point, then sew right off the fabric. DO NOT BACKSTITCH. Tie the ends of your thread together in a knot. That way, the dart will lay flat and not have extra stitching to make a weird point.

callie-sewalong-14a


Finish seam allowance and press toward the middle of the top. Then topstitch along bodice piece next to the ruffle seam at 1/8″ for a clean finish. This stitching will also help keep your ruffle in the right spot!

callie-sewalong-16

Repeat on the other side and I’ll see you Friday to finish up the top! You’ve finish the hardest part so the rest will be smooth sailing.

The CALLIE top pattern by See Kate Sew

Leave a Comment | Clothing, Sewing 101

Exclusive Free PatternRuffled Apron

Sign up for my email newsletter and receive my ruffled apron pattern totally FREE!

We take your privacy seriously. See our privacy policy here. Unsubscribe at any time.

You may also like these posts...

free skirt patternDIY PLEATHER CIRCLE SKIRT TUTORIALfabric spotlight: heat set pleated chiffonCricut Sewing – 20 Reasons you need the Cricut Maker! + Cricut Maker vs. Explore Air 2the DREAMER top lace hack see kate sewdreamer top hack // lace yoke top tutorial

Primary Sidebar

  • Facebook
  • Twitter
  • Instagram
  • Pinterest
  • Email

Exclusive Free PatternRuffled Apron

Sign up for my email newsletter and receive my ruffled apron pattern totally FREE!

We take your privacy seriously. See our privacy policy here. You can unsubscribe at any time.

Don’t miss these popular posts!

easy baby dress pattern for the summertime

easy baby dress pattern for the summertime

modern ombre + b/w triangle quilt tutorial + pattern

modern ombre + b/w triangle quilt tutorial + pattern

Fabric

Quilted Cosmetic Case Kiss Me KateKiss Me, Kate FabricOne Hour Granny Square Quilt Tutorial | See Kate SewModern Granny Square Quilt Whole Cloth

Pattern Hacks

Easy Baby Summer Dressthe EMMA pattern | See Kate SewThe EMMA Dress

Footer

Hello friends!

My name is Kate, a twenty something fashion lover and mother of two. When I’m not chasing kids you can find me at my sewing table or daydreaming up new designs. You can read more about me here. Thank you for visiting!

8a918f8da8e0e69102dc0f33a718de85a99c31a57283e0e3e2

FOLLOW ME HERE

  • Facebook
  • Twitter
  • Instagram
  • Pinterest
  • Email
  • Blog
  • About
  • Contact
  • FAQ
  • Sponsor

Copyright © 2023 See Kate Sew  •  All Rights Reserved  •  Privacy Policy  •  Site Design by Emily White Designs