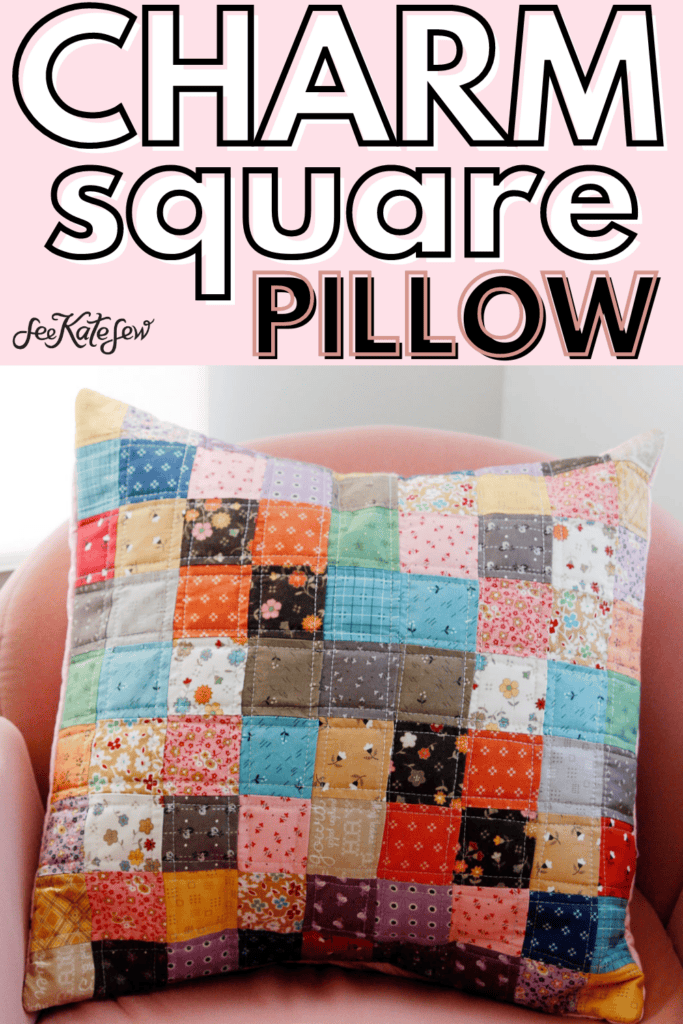
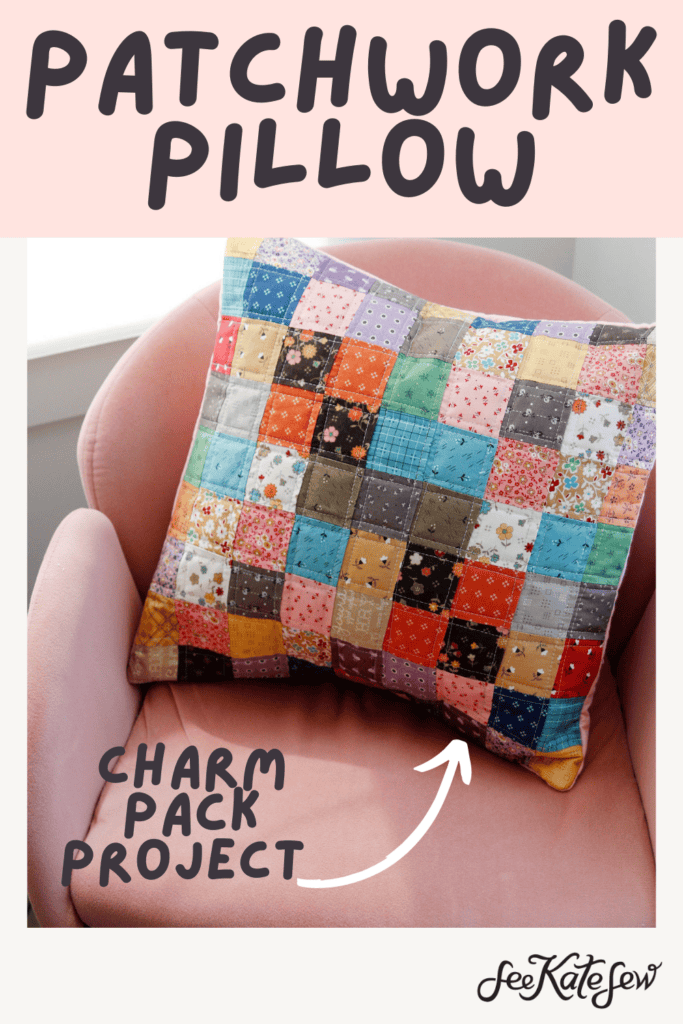
You will want to use your best 5″ precuts for this project! This charm square patchwork pillow pattern is adorable and so easy to sew!
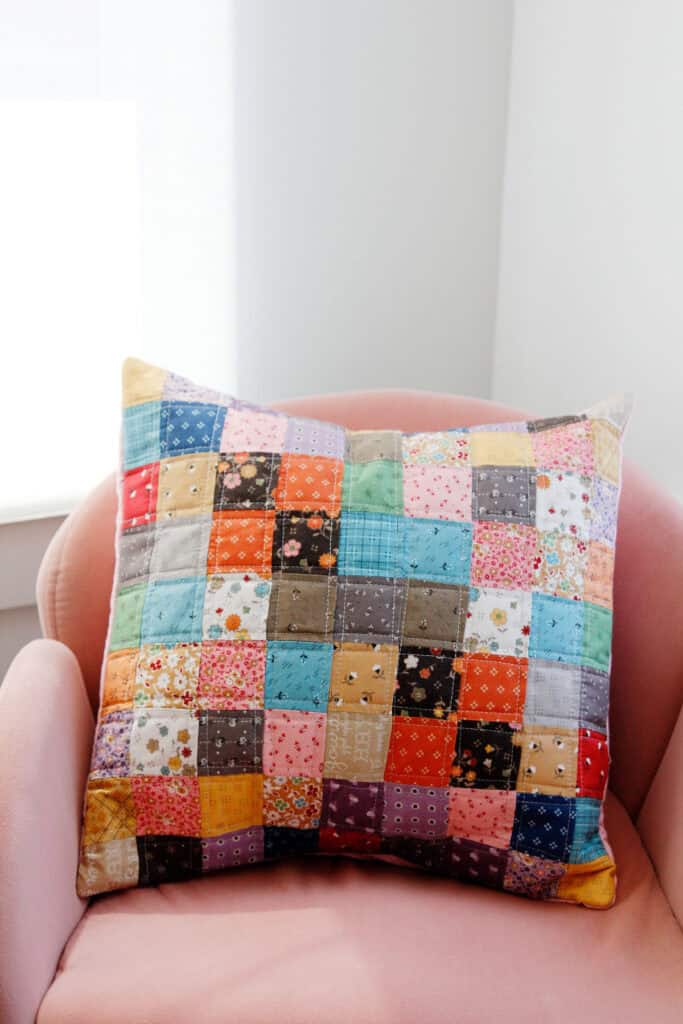
There is nothing better than a statement pillow made with gorgeous fabrics!
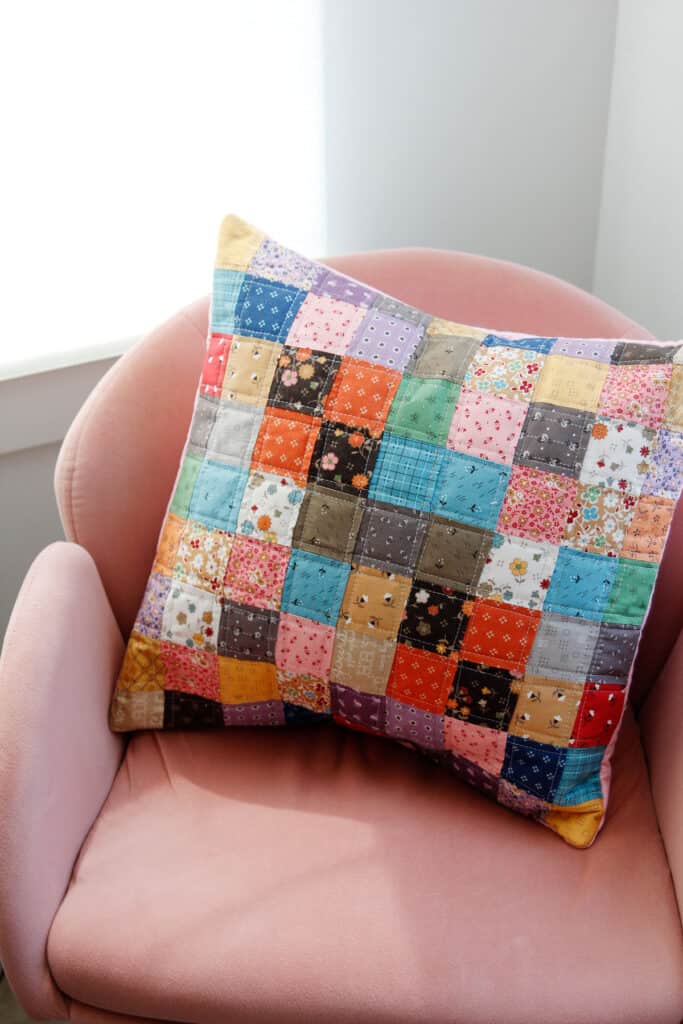
I love starting with precut fabrics because it takes a lot of the prep work out of your project so you can get straight to sewing!
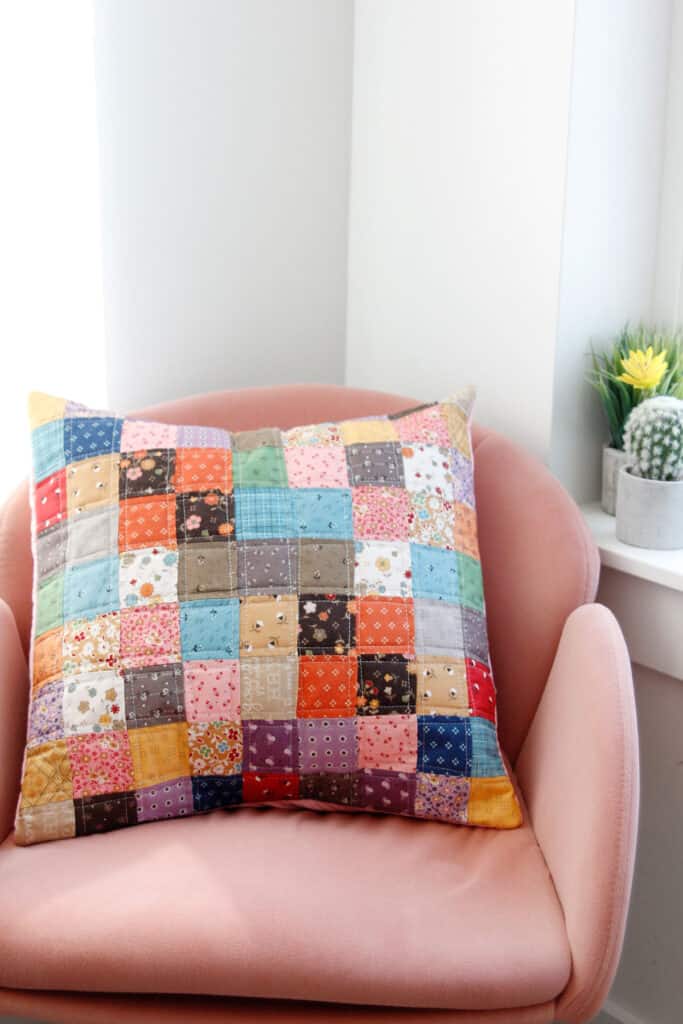
These squares look so small but we’ll use a strip method to sew them together super quickly! Pillow covers always make great gifts and this one is such a fast project!
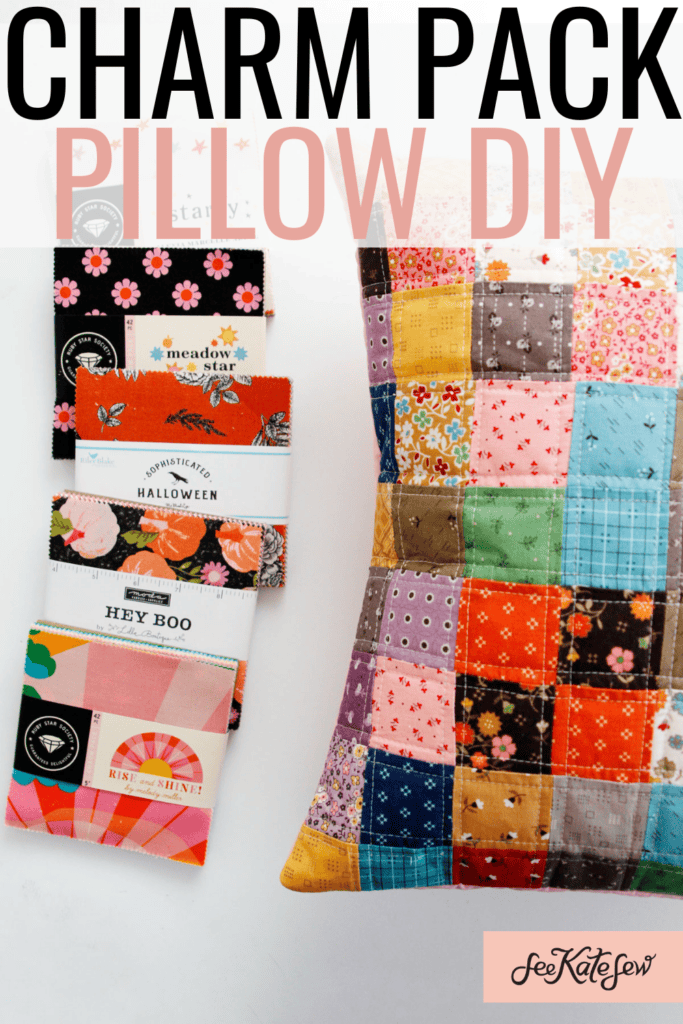
Pillow covers are a fun way to add a seasonal accent to your home decor.
5″ Charm Square Pillow Materials
- 23 – 5″ squares, or one charm pack (affiliate links)
- You can also use scraps of your favorite fabrics
- 5/8 yard lining fabric
- 5/8 yard quilt batting
- 1/2 yard fusible interfacing (at least 18″ by 18″)
- 18″ pillow form
- 3″ x 18″ acrylic ruler, or larger
- Rotary cutter and mat
Charm Square Patchwork Pillow Printable Pattern
Want to print the instructions? Click here to get the PDF download.
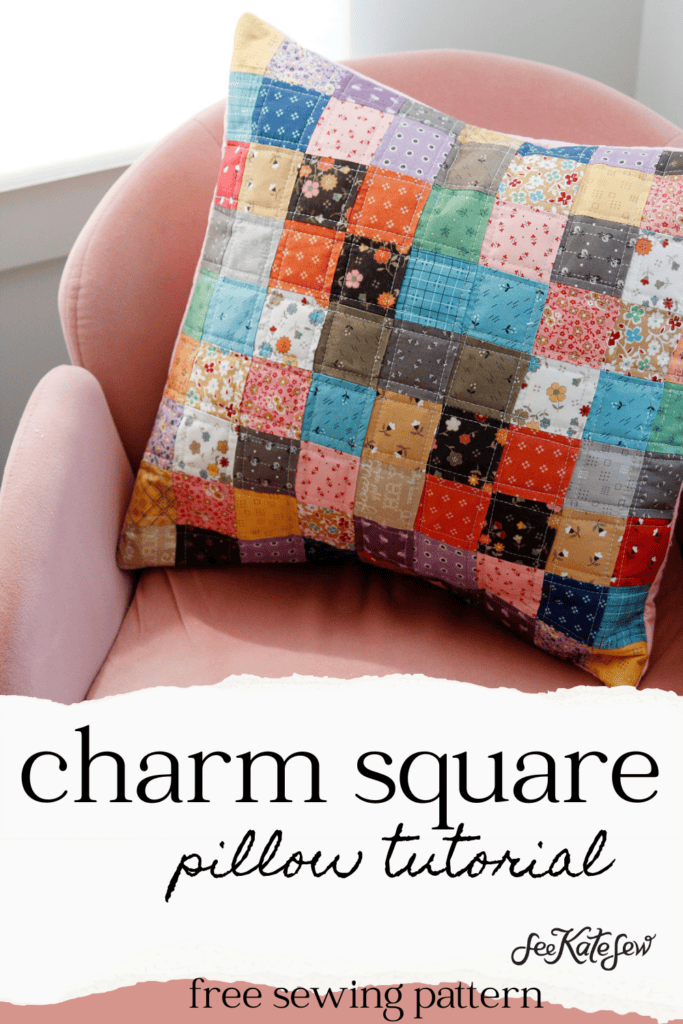
Charm Square Pillow Pattern Measurements
This cushion cover will finish about 17″ by 17″ and will fit an 18″ pillow form. It will be nice and snug, my favorite kind of pillow cover! See the video tutorial in the post for extra tips and tricks!
We’ll cut into the charm pack in the next step, but here are the other pieces to cut:
- Batting
- 1 piece approx 20″ by 20″
- 2 pieces 18″ x 10.5″
- Lining fabric for the back and inside of the pillow
- 1 piece approx 20″ by 20″
- 2 pieces 18″ x 21″ (these will be the envelope back pieces)
How to sew a charm square patchwork pillow
Let’s start the charm pillow! Choose any 9 of your 5″ charm squares and cut them in half.
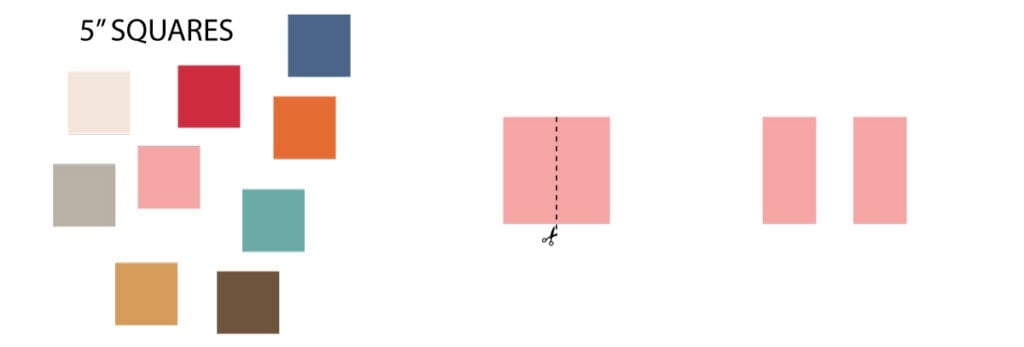
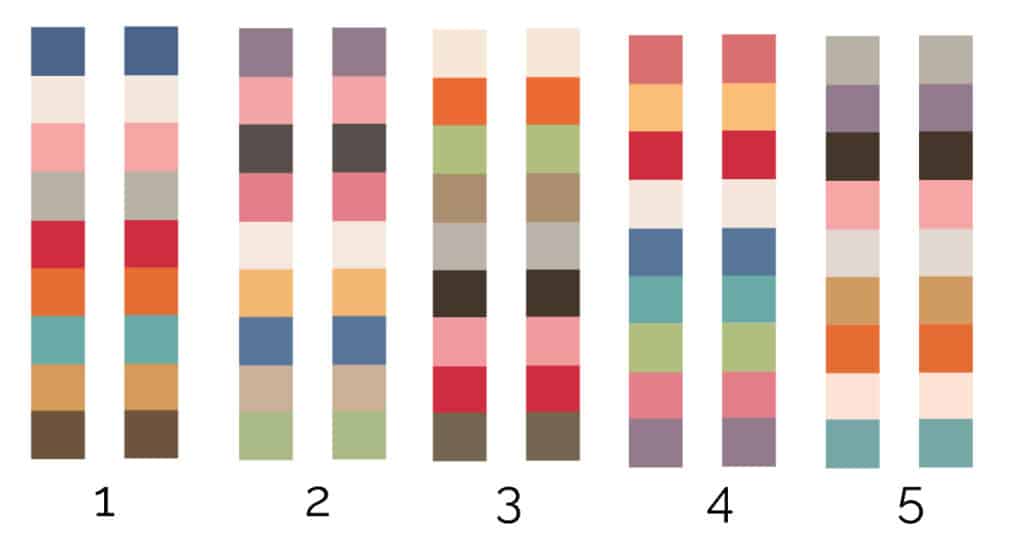
Then sew one of each color together along the long edges.

Press seam allowances to one direction.

Then use a rotary cutter and long acrylic ruler to cut the strip in half revealing 2 strips.

Repeat this process 4 more times, mixing up the colors each time. You will have a total of 10 strips. We actually only need 9 but since we are making them in twos, you’ll have one extra.
Now lay out the 9 strips in the pattern you want on the pillow cover. I did the rows in order until 5 and then back to 1 with the last 4 rows flipped upside-down for more variation. You can arrange them however you want. After laying your rows out, press the seam allowances of each row opposite the one before so you can lock the seams when sewing together.
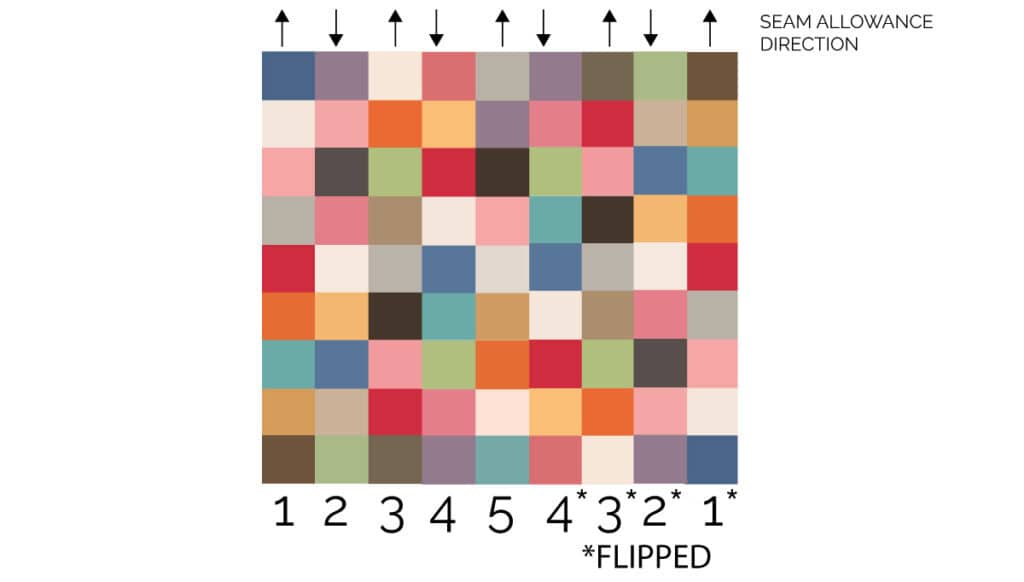
Sew the rows together and press seam allowances open or to one side.
To give the pillow a crisper look, fuse the top to a layer of fusible interfacing.
Use spray baste to adhere the pillow panel to a layer of batting and then a layer of lining fabric.
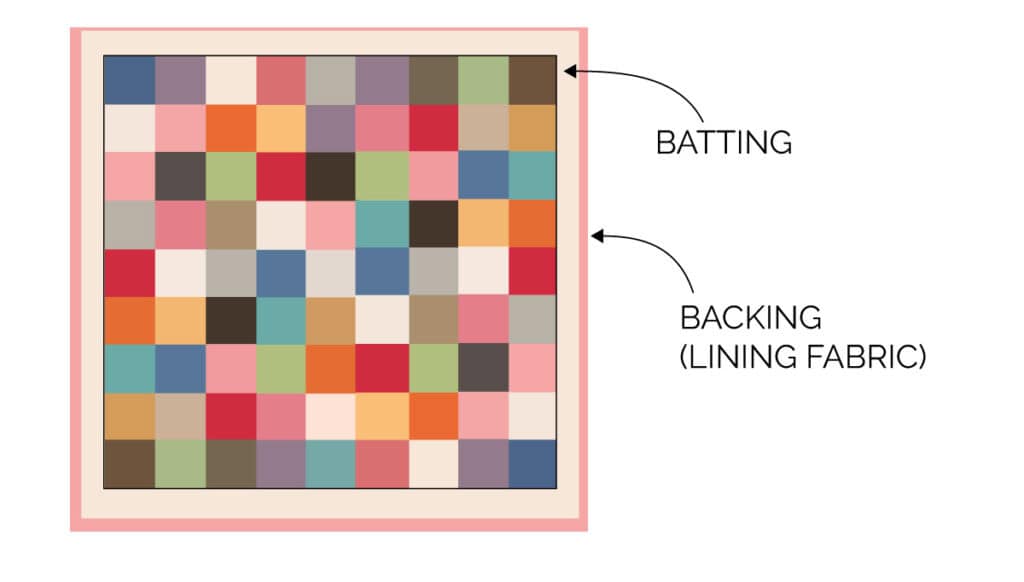
After the basting has dried, quilt the fabric layers together. This is the fun part but also takes a little time.
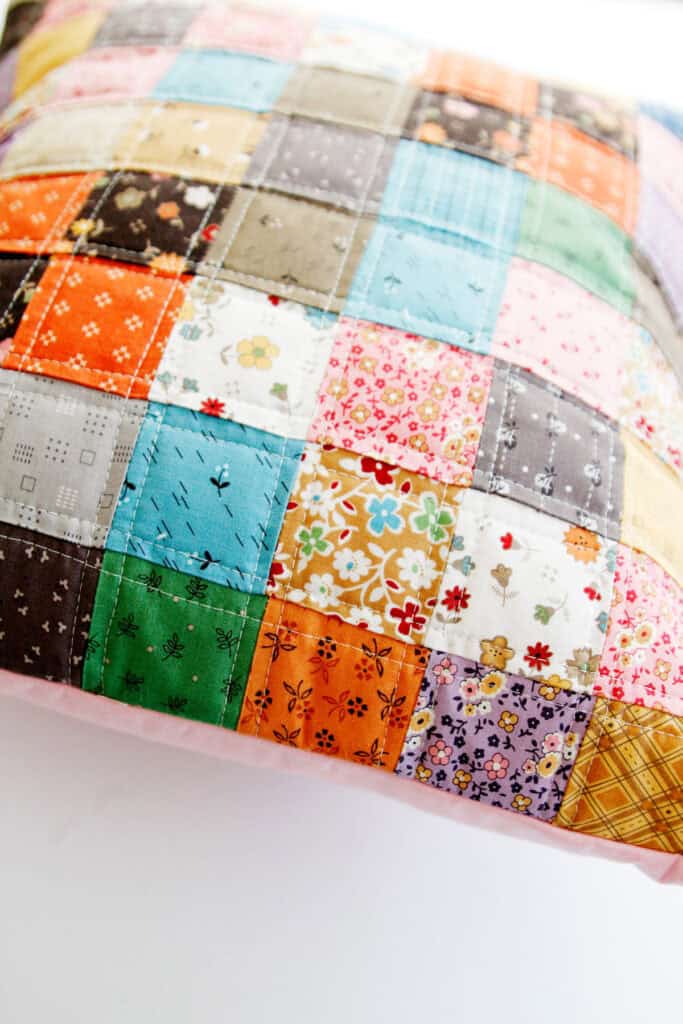
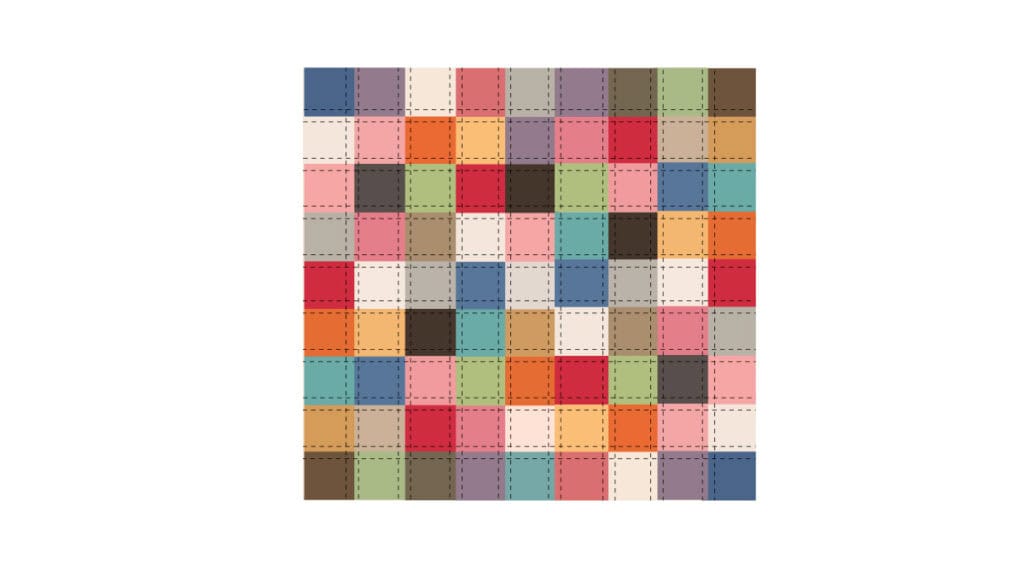
I sewed down the rows 1/4″ on either side of the seam lines. You can also choose your own quilting pattern, such a sewing through the diagonals or straight through the squares.
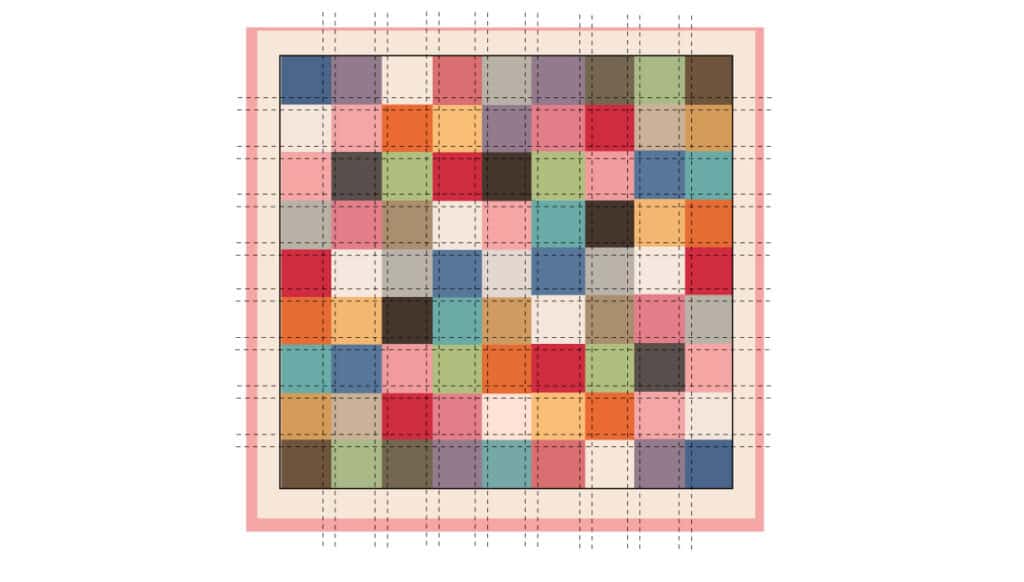
Trim the pillow top off the excess batting and square up the pillow cover to 18″ by 18″. After quilting the pillow top may shrink just a bit so if you have to include some batting when you trim, that’s okay. We will use a 1/2″ seam allowance when sewing the pillow together so it won’t matter if you didn’t piece it perfectly.
Assemble the envelope back
I love making envelope back pillows because they are super easy to sew but also easy to take off and clean. Take your envelope back pieces and fold in half to match up the short edges.
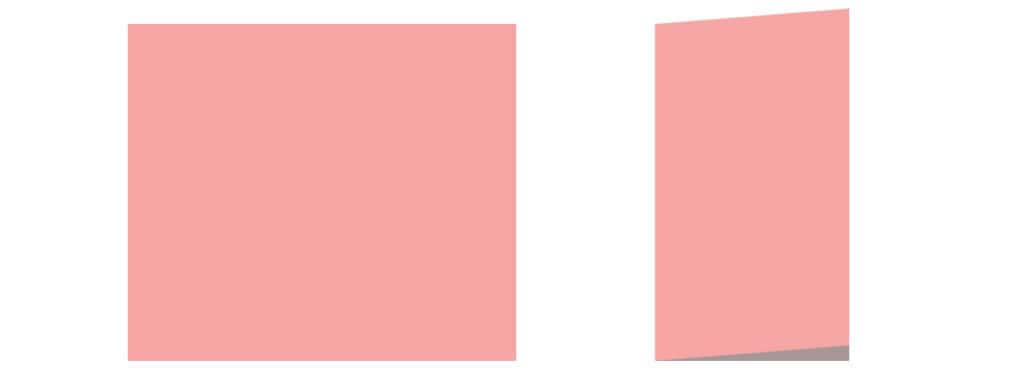
Press and stick the back batting piece inside. Sew along the folded edge to finish the envelope opening. Repeat with the second back piece.
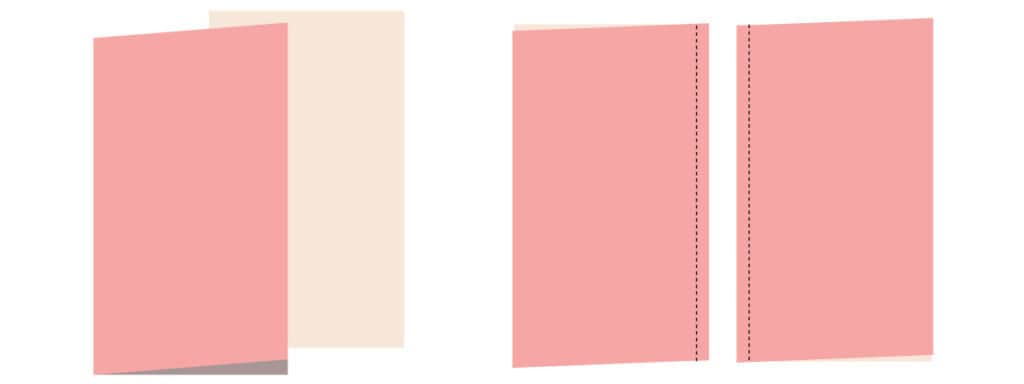
Place both back piece on the pillow top with the right sides together and the finished sides in the middle. The two pieces will overlap a few inches.
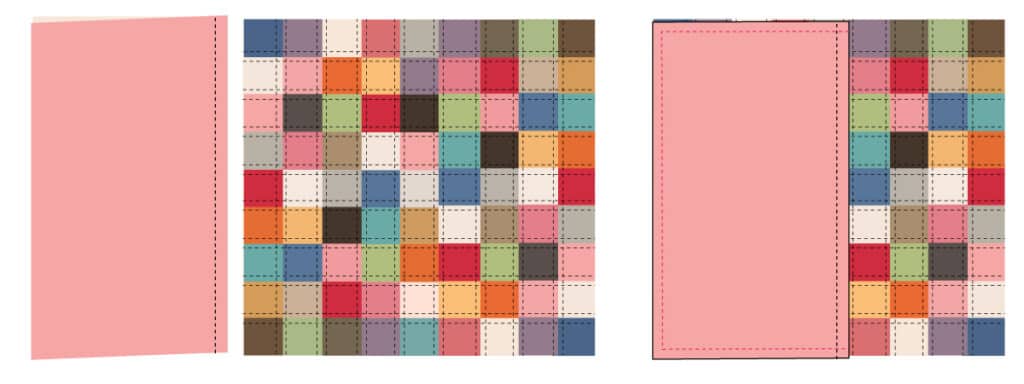
Sew around the entire pillow cover 1/2″ from the edges, pivoting at the corners. Backstitch where the pillow backs overlap as this will be the most vulnerable part of the stitching.
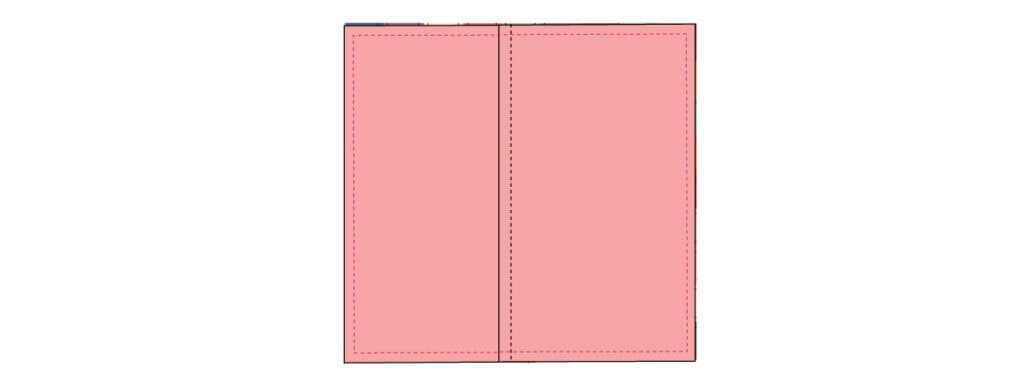
Now clip the corners of the seam allowance and turn your pillow cover right side out. Give it a good press, the put in your cushion insert.
Happy quilting!
More precut quilt tutorials
- The Amelia Precut Quilt (another charm pack project!)
- The Britta Quilt (10″ precut project!)
- The Bubble Quilt (charm square friendly)
- Jelly roll sewing machine cover
- Jelly Roll Strip Quilt


