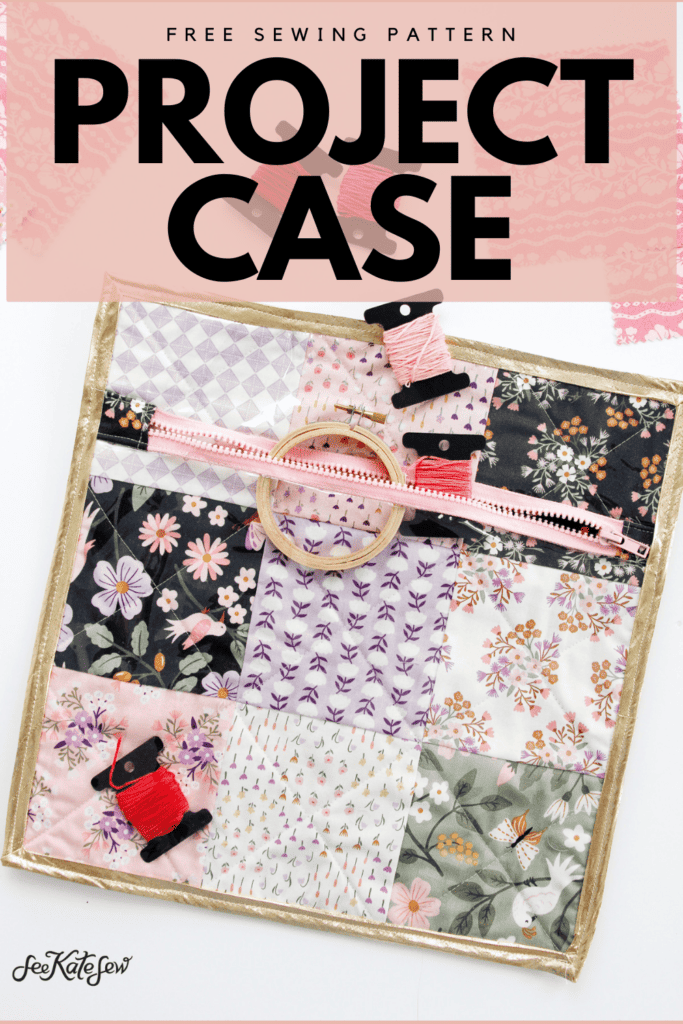
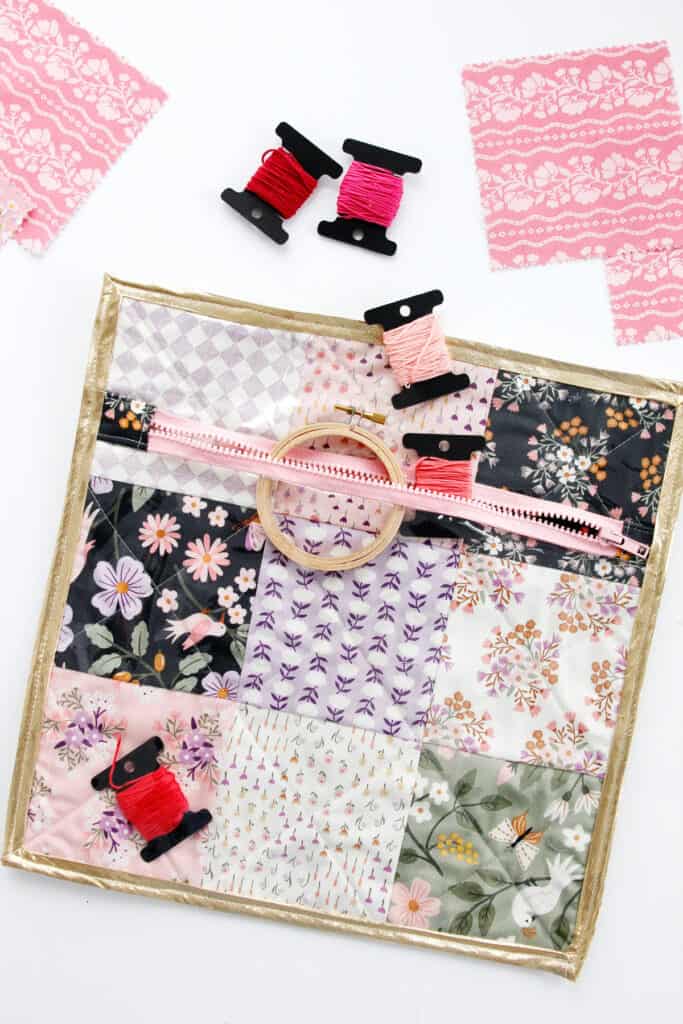
Ready to get organized? Let’s start by organizing works in progress! This clear front project case is so simple to sew and it great for holding your WIPs!
These cases are perfect for embroidery projects, knitting or crochet projects or even little sewing projects! You can stash them in a bag to take on a trip or long car ride.
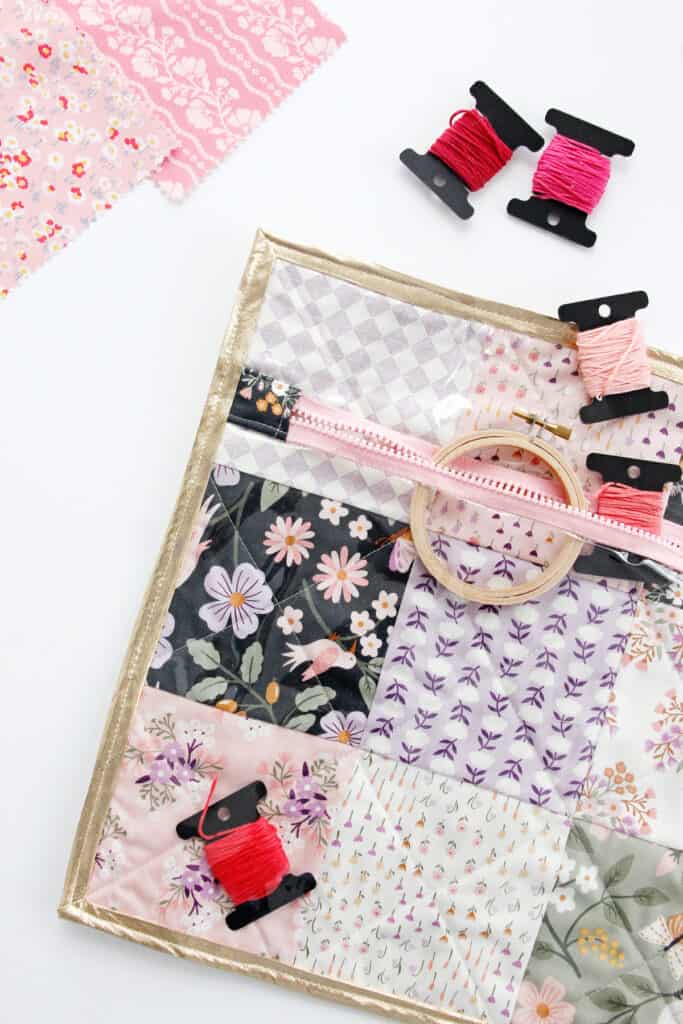
This craft project case is super quick to sew because it starts with charm squares! Charm squares make it easy to sew but also super fun with lots of prints!
Clear Project Case Materials
- 10 charm squares
- 1 Fat quarter cotton fabric
- Clear vinyl
- Fusible interfacing (medium-weight)(affiliate links)
- Needled quilt batting
- 15″ zipper, or longer
- 3/8″ or 1/2″ bias tape or handmade binding
How to Make a Clear Front Project Case With a Zipper
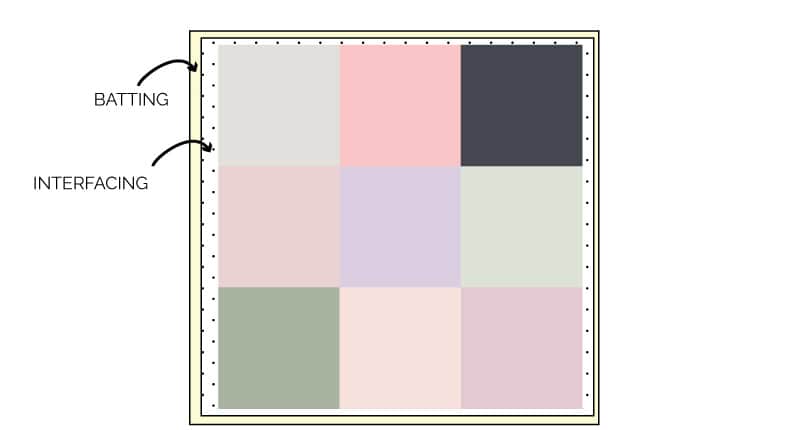
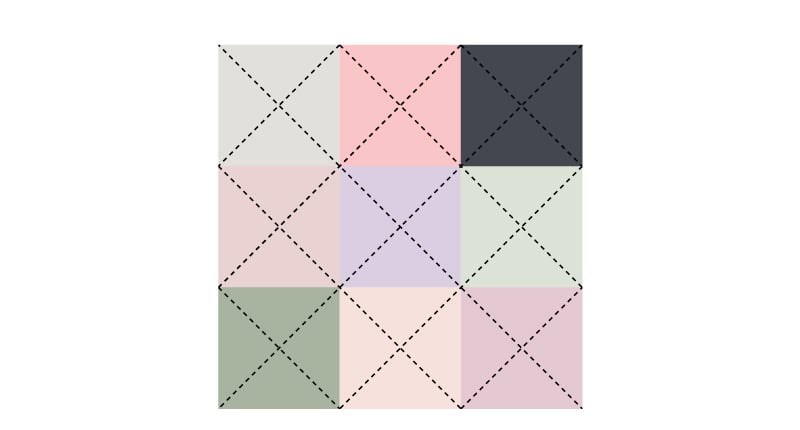
Start by sewing 9 of the charm squares together in a 3×3 grid.

Back the panel with interfacing (optional). Then spray baste it to your batting.
Place your backing behind it and spray baste again to make a sandwich with your panel, batting and backing.
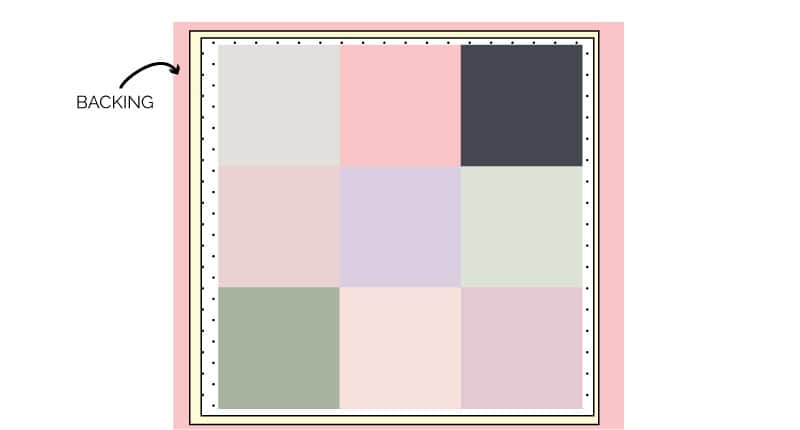
Topstitch the layers to quilt them together. I did a diagonal design through the corners of the charm squares and also through the middles to create a diagonal grid.
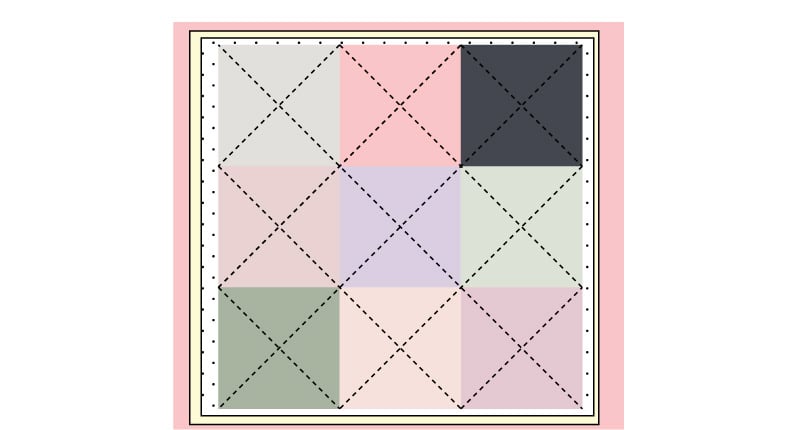
Trim up your panel to match the edges of the charm squares.
Zipper tab instructions
To create the zipper tabs, back your last charm square with interfacing and cut in half.

Press under 1/4″ on both sides. Then sandwich the fabric over the end of the zipper.
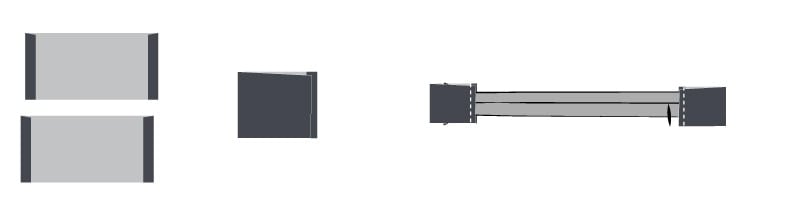
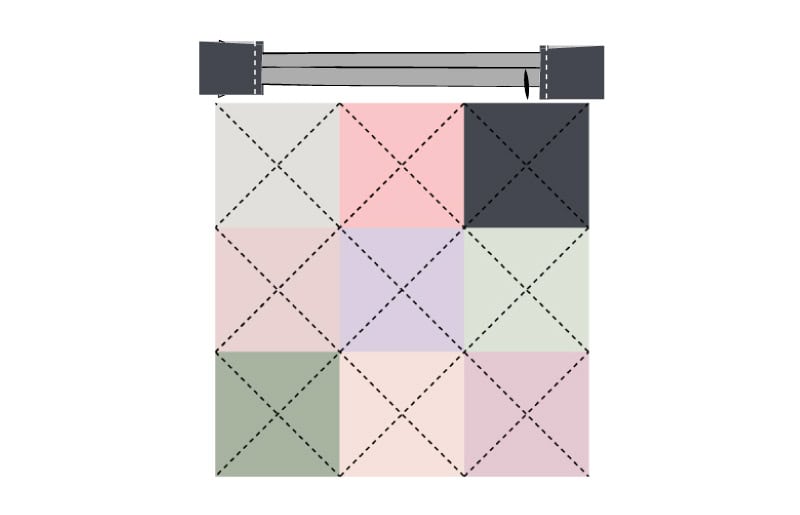
Pin and sew along the edge of the fabric zipper tab, catching the zipper tape in between the fabric layers. You will want to make sure the zipper and tabs are long enough to fit across the top of your patchwork panel. If you need to cut the zipper tape down to make a shorter zipper before sewing the tabs on.
Trim the fabric of the tabs to match the width of the zipper tape.

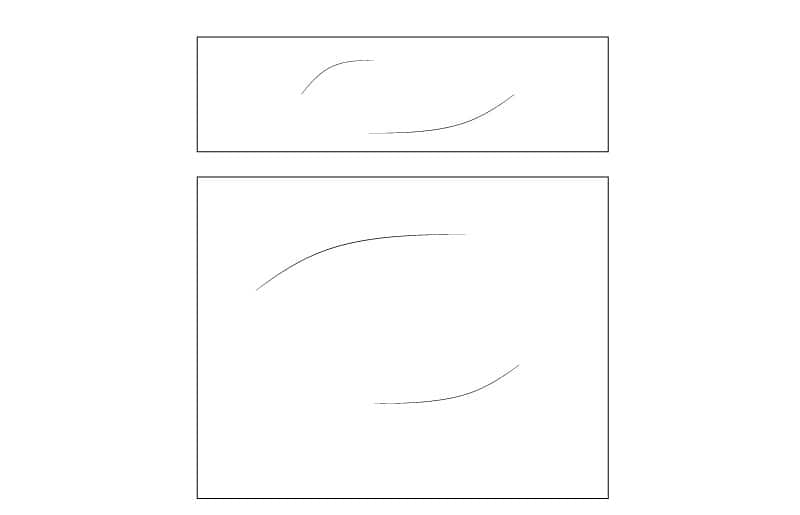
Now we’ll create the front panel with the vinyl and zipper. Cut out 1 front top piece and 1 front main piece from vinyl. These will be a little bigger than needed. Since vinyl can be tricky to keep straight it’s better to have too much than not enough!
Top front: 4″ x 14.5″
Main front: 11″ x 14.5″
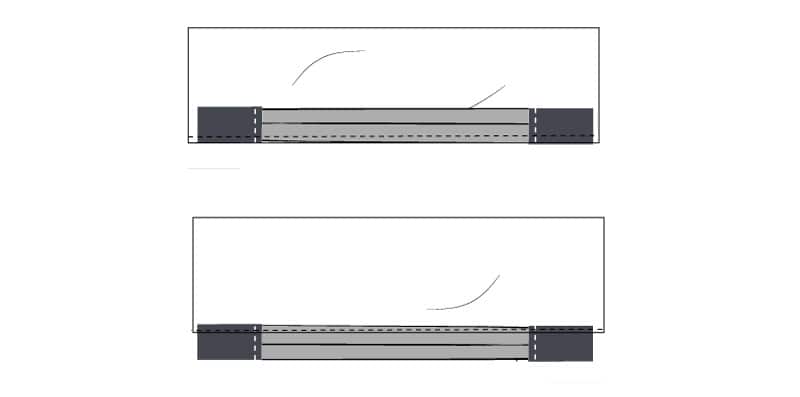
Then sew the zipper to the top piece of vinyl.
Flip it over and topstitch the vinyl. Vinyl can be sticky in your sewing machine. To sew with vinyl you will either need a teflon presser foot or try this hack: Put a piece of scotch tape on your regular zipper foot. That will help the foot move over the vinyl. Always sew with the vinyl under the presser foot, not on the sewing machine. See this post for more tips on sewing with sticky fabrics like vinyl and leather.
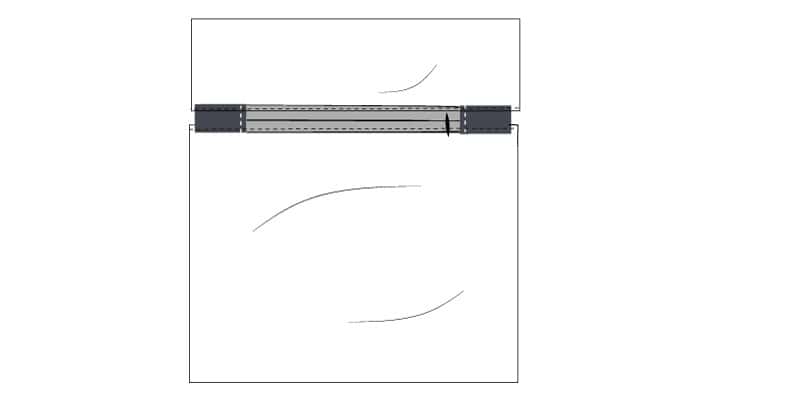
Sew the other side of the zipper tape to the vinyl. Press the seam allowances down and topstitch.
Place the vinyl front piece on top of the patchwork panel, both with right sides facing up. Trim the vinyl front piece to match the size of the patchwork panel.
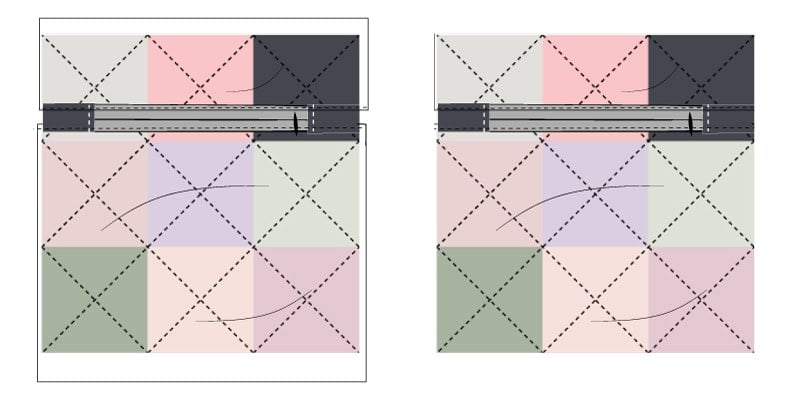
Use sewing clips to clip the layers together and baste. Then finish the project case with binding sandwiched over the edges.