This post, cutting fabric with Cricut, is sponsored by Cricut.
This is the second post showing how to make a quilt with the Cricut Maker from a Riley Blake Quilt Kit. You can read the first post about finding and choosing a pattern (including a few of my faves) here. In this post I’m continuing the process by cutting fabric with Cricut! NOT BY HAND! No more rotary cutter scars for me! The Cricut Maker cuts all the fabric out for you, as I’ve showed in a few previous posts. This pattern is actually only squares, so it would be easily made by hand….but I’m sure my wrist would ache after all that cutting so it saves time and your hands. not to mention how much faster it is to have the machine cut it for you – while you work on something else!
The Cricut Maker has kinda made me into a quilter! I didn’t really like quilting before that because I felt like it just took more time than I had. But now…since I don’t have to cut fabric and can get right to sewing…I’m totally a quilter, I am loving it! Quilting is so much easier without having to cut fabric by hand and so much easier to get a nice final product, too, since all the cuts start as precise pieces! I love the piecing fabric together part of quilting so I love skipping over the cutting part and just getting to sewing.
Materials//
–Riley Blake Forget Me Not Quilt Kit
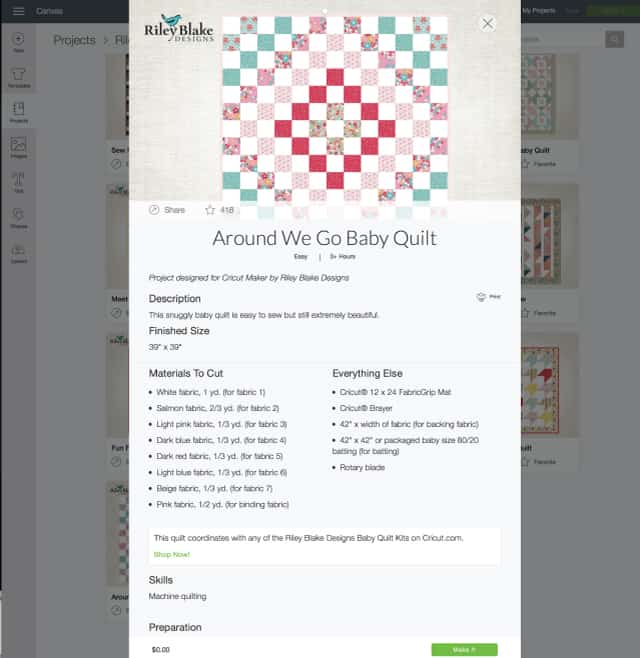
–Around We Go Pattern in Design Space
–Rotary Cutter & Mat Set
–FabricGrip Mats, you only need 1 but I recommend 1-3 to make it faster
–White Thread
–Cricut Maker
–Cricut Sewing Kit
CUT FABRIC WITH THE ROTARY KIT//
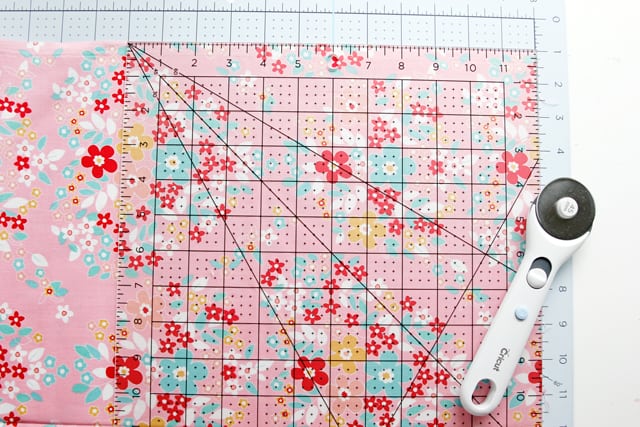
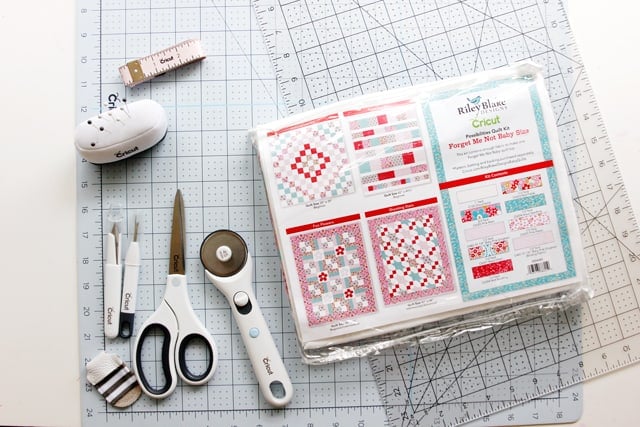
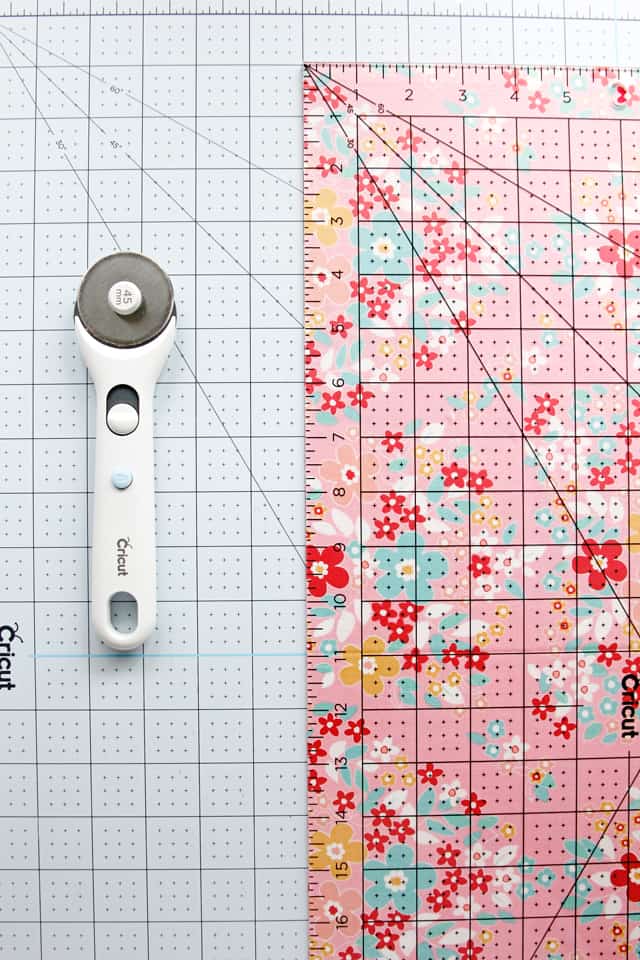
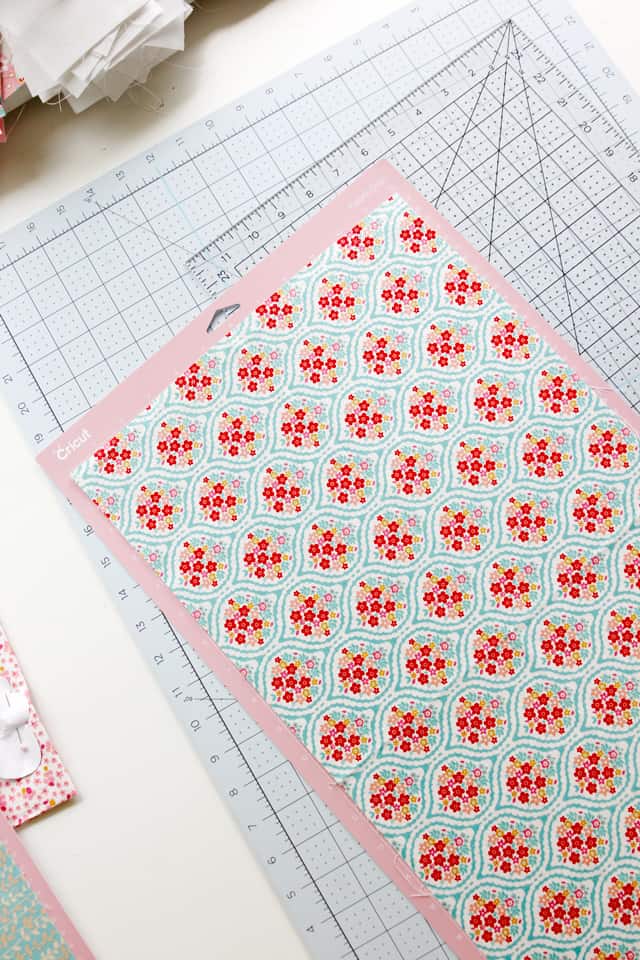
The Cricut Rotary Mat and Ruler set comes with a reversible mat (light blue on one side and grey on the other), a large acrylic ruler 12″ by 24″ and a rotary cutter. Also shown here is the Cricut Sewing kit, which is a super fun set that comes with awesome scissors, a pink measuring tape, pins and more.
The Rotary Kit makes cutting fabric down for the Cricut Maker mats incredibly easy! If you are purchasing fabric at the fabric store, a little hack is to buy the fabric in 1/3 yard cuts. 1/3 yard is 12″ wide, which fits right on the mat.
Caring for your fabricgrip mats//
The longevity of the FabricGrip mat will depend on the type of fabric you’re using. The more a fabric sheds the less sticky the mat will remain. I have cut felt in this post where I made baby shoes and the felt fibers stuck more than quilting cotton does. I’ve cut a few quilts with the Maker and can do 1-2 whole quilts before needing a new one. I do recommend having a few mats on hand, 2-3 is best, so you can cut fabric faster. Once one cut is finished, you can load the next mat while removing the fabric from the first.
A few threads may remain after you pull the fabric off, but you can leave them there! The Maker will just cut right through them on your next cut. And actually, trying to remove them with your hands will reduce the adhesive’s stickiness! If you want, you can use tweezers to pull them off but you don’t really need to do that until there are quite a few threads.
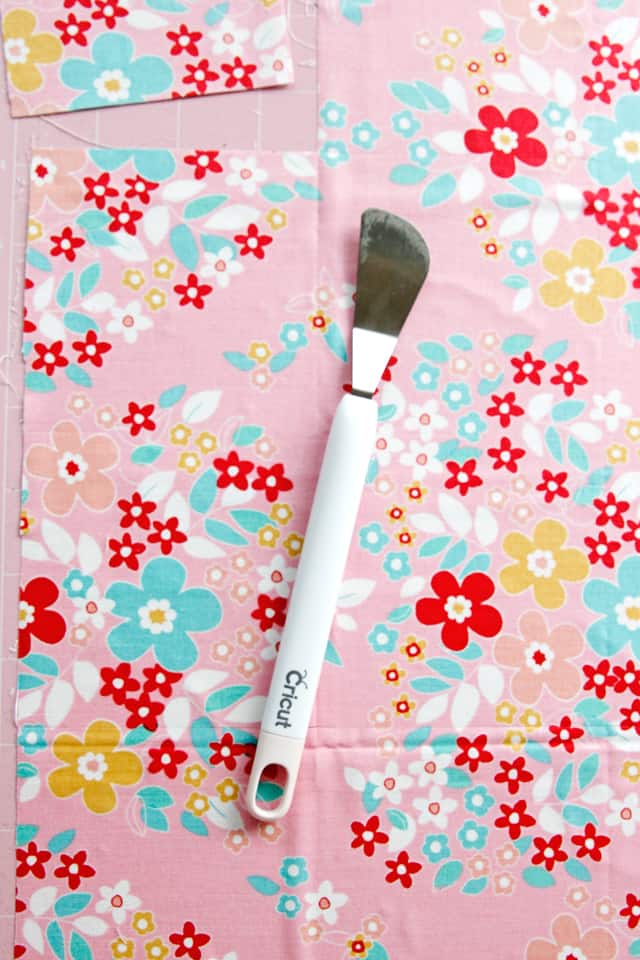
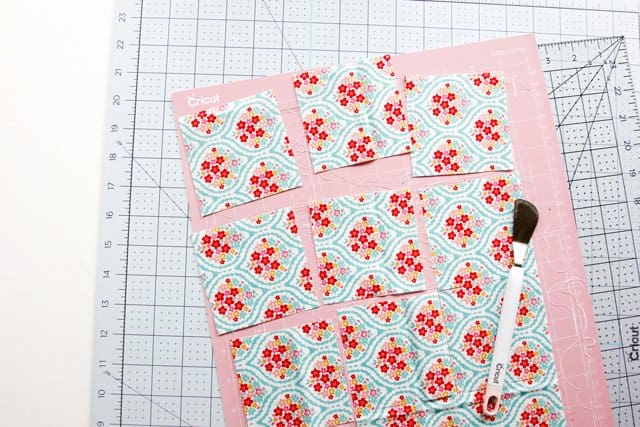
When your fabric pieces are cut and ready to pull off the mat, use either tweezers or the spatula shaped tool. Find a corner and peel from there to reduce the amount of threads that are left. Again, don’t use your hands! This tool is my favorite, it has a flat metal edge that you can slip under the fabric to pull it off with. This tool comes in the Cricut Essentials Tool Kit.
A new FabricGrip mat doesn’t need a lot of pressure to get the fabric to stick – you can just press it down with your hands. Once there are a few threads on there, using a scraper or Cricut Brayer tool to press the fabric down with more pressure. The rolling brayer tool works wonders on getting the fabric to stick well and be really smooth!
And if you’re mat is turning multicolored and less pink because of all the threads and fibers, it may be time to use transfer paper to unstick a few of the fibers! Just roll out the transfer paper on the mat and stick it down. Then pull it off and you’re ready to cut again. This won’t work forever, at some point you will need to get a new mat, so watch out for sales!
CUT THE FABRIC//
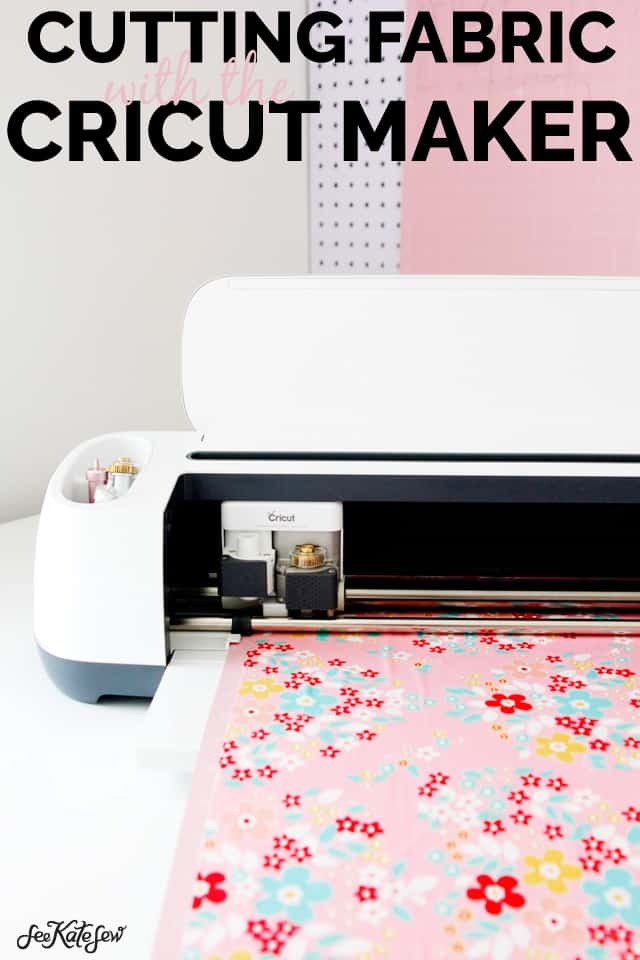
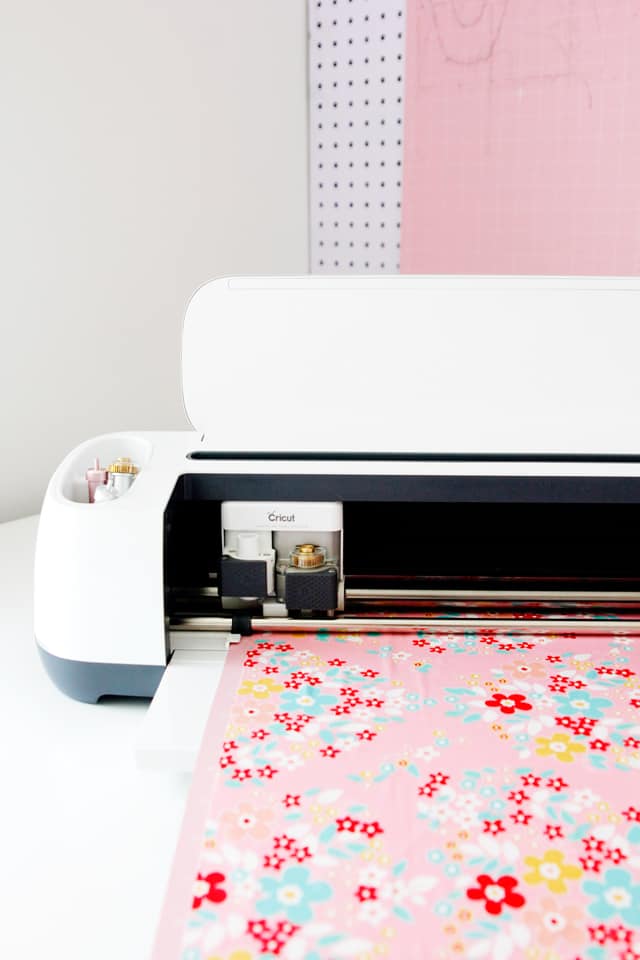
Now here’s the best part – cutting the fabric! Or more like watching the Maker cut your fabric for you! The Maker is the first Cricut Machine equipped with a Rotary Blade! The Rotary Blade comes with the Cricut Maker, right in the box, so you can get started right away. The Rotary Blade is a mini version of the same kind of blade quilters are used to, but this blade is run by the smart cutting machine instead of your hands! Which means, it’s faster, more precise and it can cut hundreds of types of fabric! It’s so cute and the things it can do are even cuter! I have been using mine for about a year now and I haven’t needed to replace it yet.
I showed you how to cut the fabric to fit each mat in the first post.
Lay the fabric on the mat and press it down with your hand or a brayer.
Since the machine won’t be marking these fabric pieces (they are all squares so they don’t need markings) you can put the fabric either face-up or face-down.
Follow the pattern instructions in Design Space.
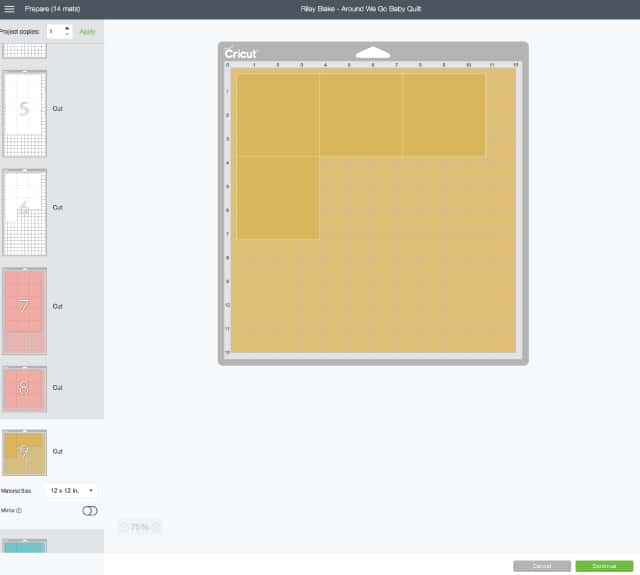
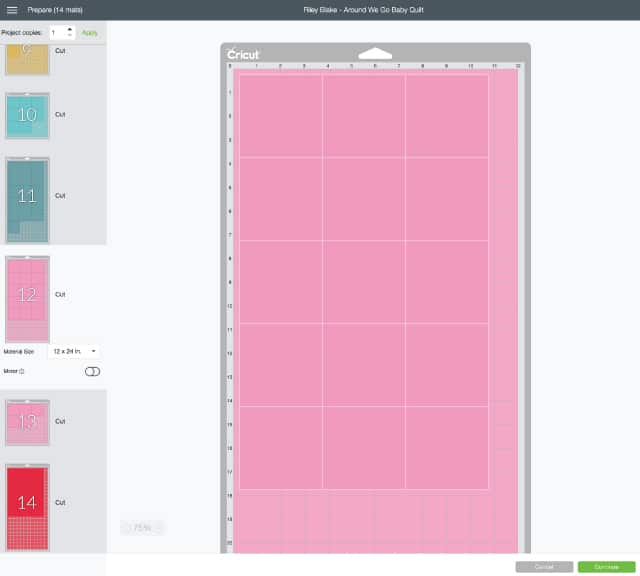
On the left side, all of the mats you are cutting are shown. We’ll call each piece of fabric a “mat” for the purposes of this tutorial! Some are 12″ by 24″ and some are 12″ by 12″, but you can use the longer mat for all of them.
Once you hit “Continue” the Maker machine will prompt you to load the fabric by lighting up the arrow button. Load the mat and push the button. Next the maker will prompt you to start the cut. The Cricut Symbol button will flash. Push that to get it started! When the cut is finished you’ll hear the machine stop cutting and the unload button will flash. Push it and the mat will come out.
As the machine cuts through each mat, the next one will highlight on the left side of the screen, so you’ll know where you are.
Continue until all the mats are cut!
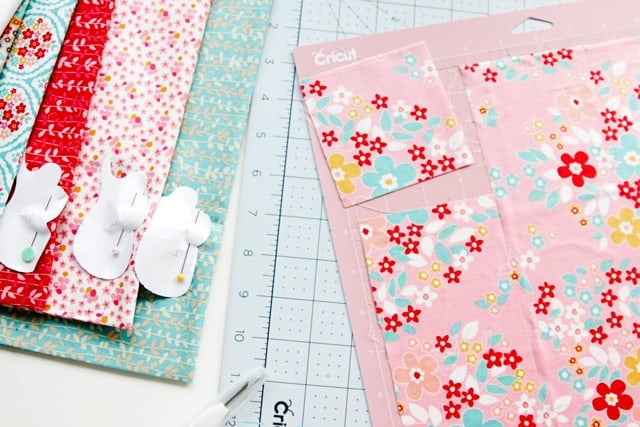
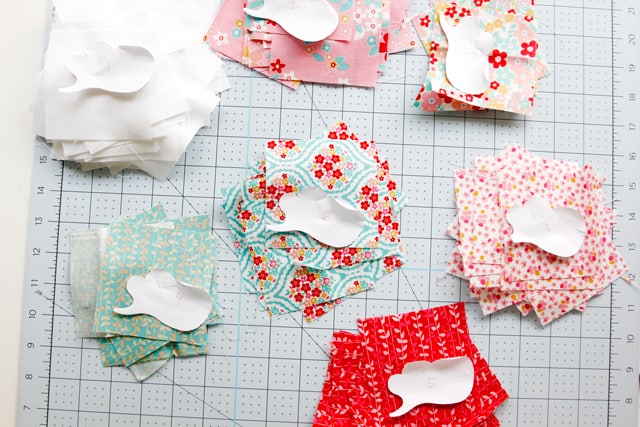
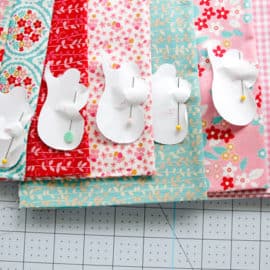
As they came out of the machine, I stacked them up by fabric and made sure each had their fabric # that I had written on a cloud-shaped post-it!
As the Maker continued to cut fabric, I got straight to piecing! The Around We Go Baby Quilt pattern has 13 rows of squares, so I started at the top. I finished this whole process in an afternoon, it was crazy fast! The Maker keeps amazing me and the fact that I can now cut AND make quilts in the time it takes to make dinner, is icing on the cake!
I’ll tell you all about piecing it together and share my finished quilt in a few weeks!
This is a sponsored conversation written by me on behalf of Cricut. The opinions and text are all mine.




Can this be used on a Cricut EXPLORE Air 2? I just ordered the fabric mats.
No, unfortunately only the Maker can do this!