Written by Jessica of The Ladyette.
Hi, this month I am back to bring you another DIY fashion project in what happens to be my favorite color…black. I’ve been very drawn to black and white patterns, faux letter, and graphic tees lately. So combine all of those things together in a DIY project, and the results are this lovely black and white striped tee with faux leather arrow applique.
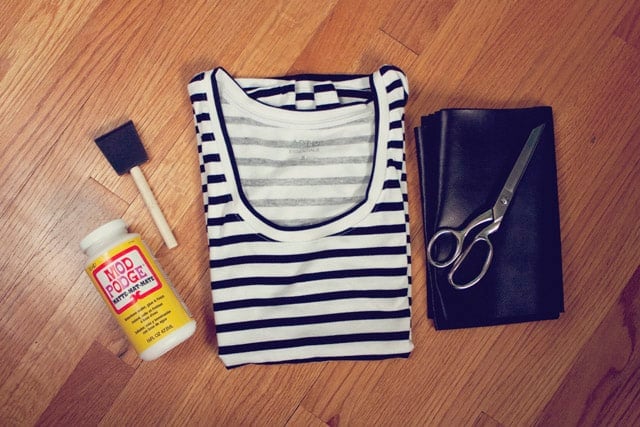
Supplies: a basic tee, a piece of faux leather about 9X11 inches, scissors, a paintbrush or sponge brush, Mod Podge (matte), a piece of cardboard about 8.5X11 inches, a plastic grocery bag or small garbage bag, and this arrow template.
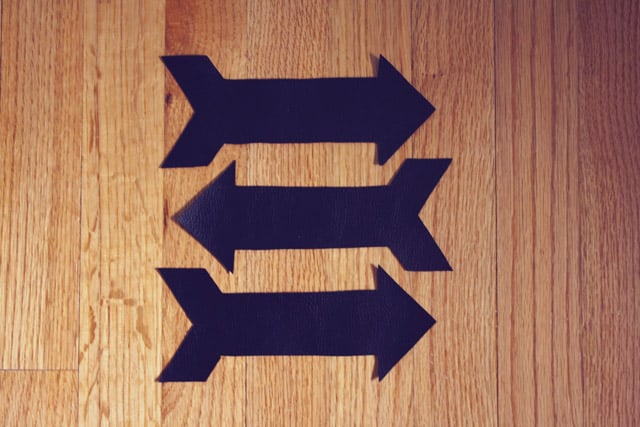
Step 1: Print out the template and use it to cut out three arrows from the faux leather. Use very sharp scissors so the edges will be clean and crisp.
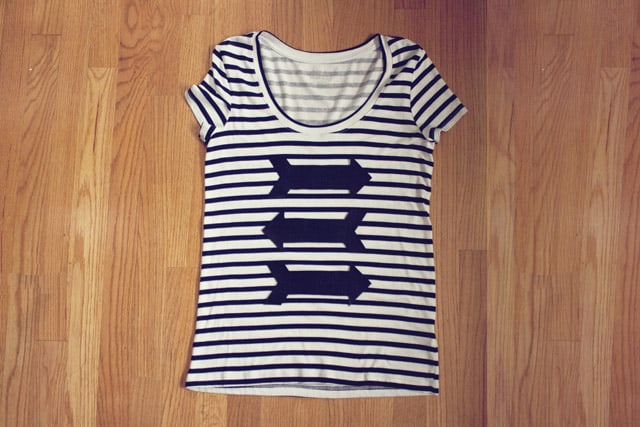
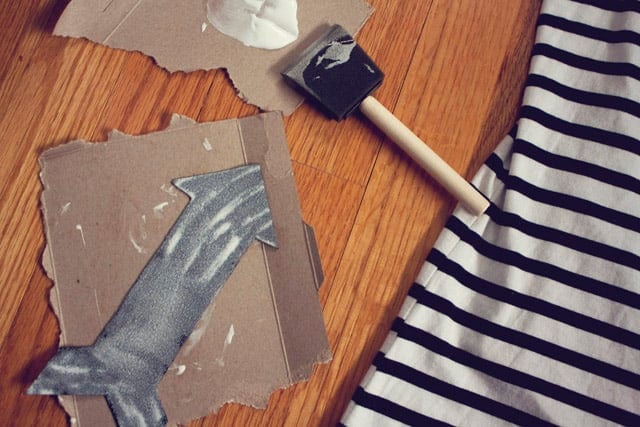
Step 2: Lay the tee out and align each arrow piece where you want it to go. At first I thought using a striped tee would make this difficult because everything would really have to line up, but in the end it worked out to my advantage because it was easier to place the arrows in the right spot. With the arrows in place, slide in the cardboard and plastic bag, which will prevent the glue from seeping through to the back side of the tee.
Step 3: Apply a moderate amount of Mod Podge to the back side of one arrow using the sponge brush. Carefully place the arrow onto the tee, pressing down all the edges and rubbing over the entire piece multiple times. (A rag may be necessary to quickly blot away any excess glue if too much is applied). Repeat this step with each arrow, doing one at a time to prevent the Mod Podge from drying too quickly.
Step 4: Allow time to dry. During the first hour, stick your hand between the plastic bag and blouse every fifteen minutes or so to ensure the glue is not adhering the blouse to the plastic (it should only do this if way too much glue was applied, but better safe than sorry). Drying time should last a total of about 5-6 hours before removing the cardboard and plastic bag from between the layers.
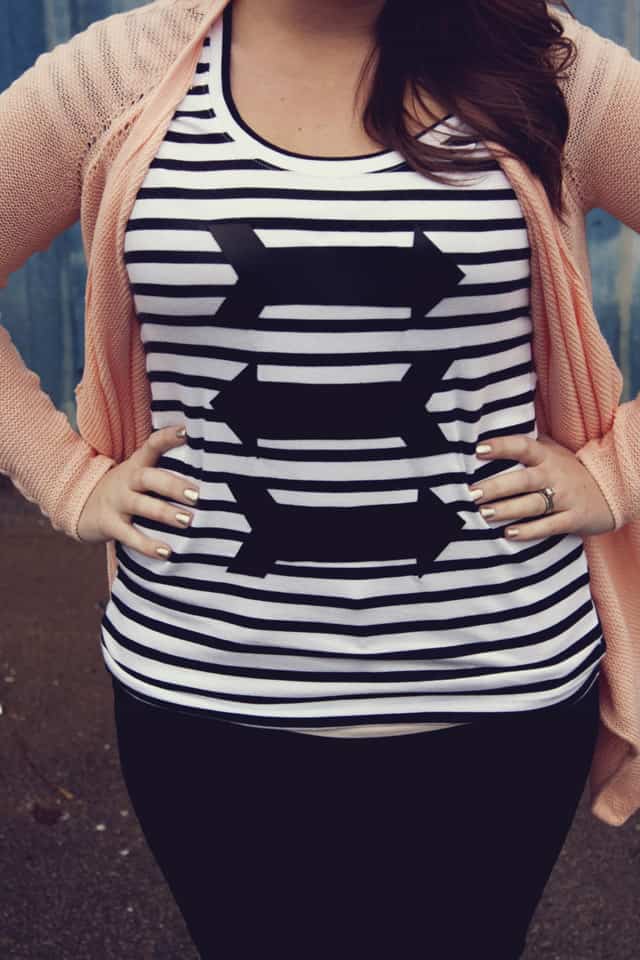

Once it is dry, the tee is ready to wear! Beware that this tutorial could make you want to add faux leather embellishments to everything, because it’s so easy. Perhaps when I run out of my own clothing I will move on to husband’s closet. Enjoy creating!
…
Find more great projects like this one at Jessica’s blog The Ladyette!


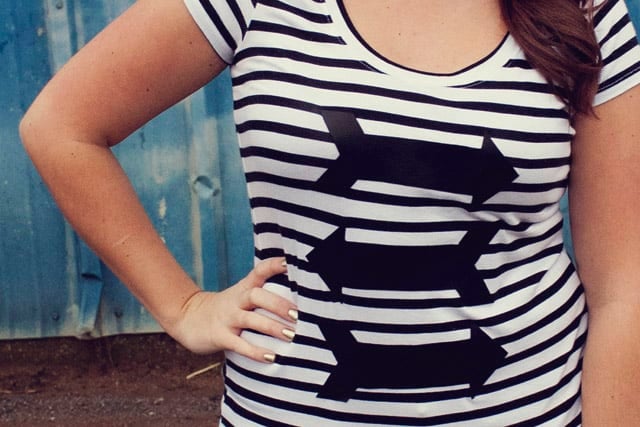






Looks great! Would this hold up in the washing machine like normal or do we have to wash it separately or by hand?
Great question Katie! I’ll be the first to admit that I rarely hand wash anything, and so far this has held up through two machine washes (on delicate). I recommend turning it inside out, it will help protect it. I’m not sure if it will last forever, so hand washing wouldn’t hurt if you have the patience (unlike me, haha).
Love your hair! :) What kind of colour did you use? And what’s that wonderful polish on your nails?
Greetings from Belgrade, Serbia :)
Thank you! My hair color is Burgundy by ISO. The nail polish is Gold Coin by Revlon, I can’t remember the color number but it’s a great metallic polish!
I love this idea! I’ve never seen anything like this!!
Very cute! I love it. :)