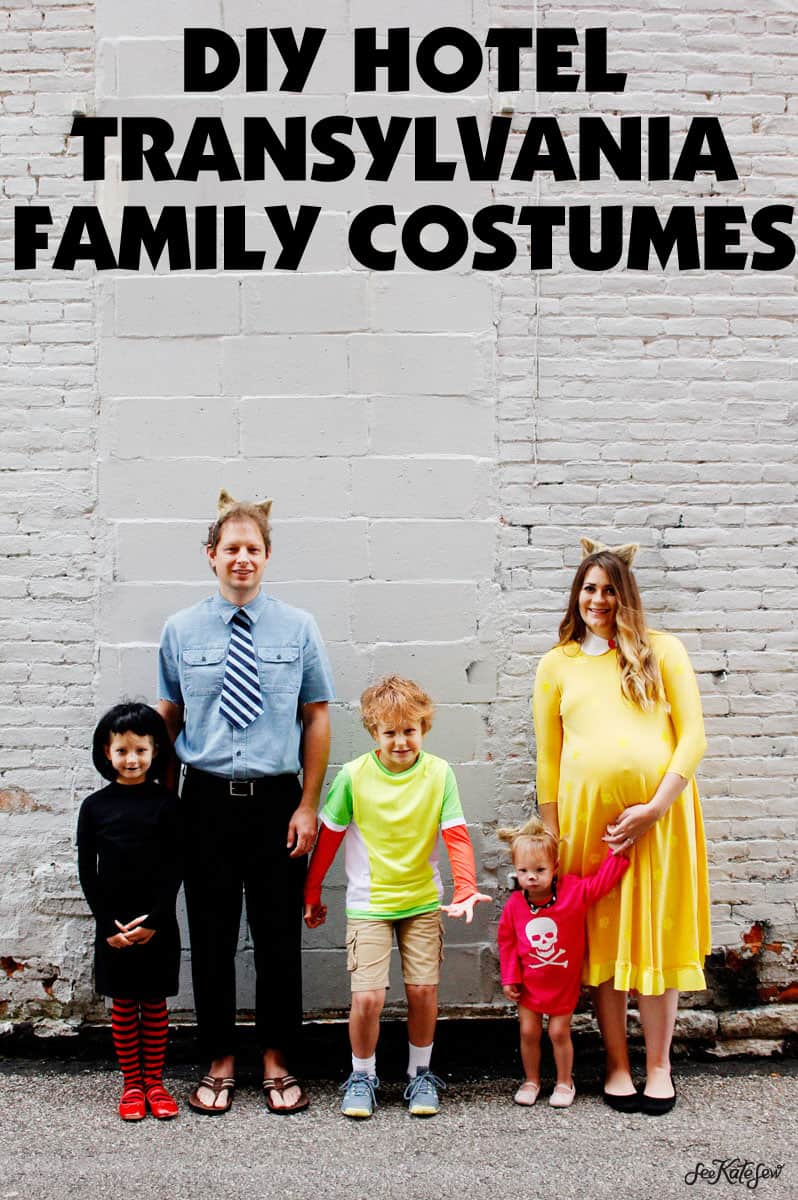
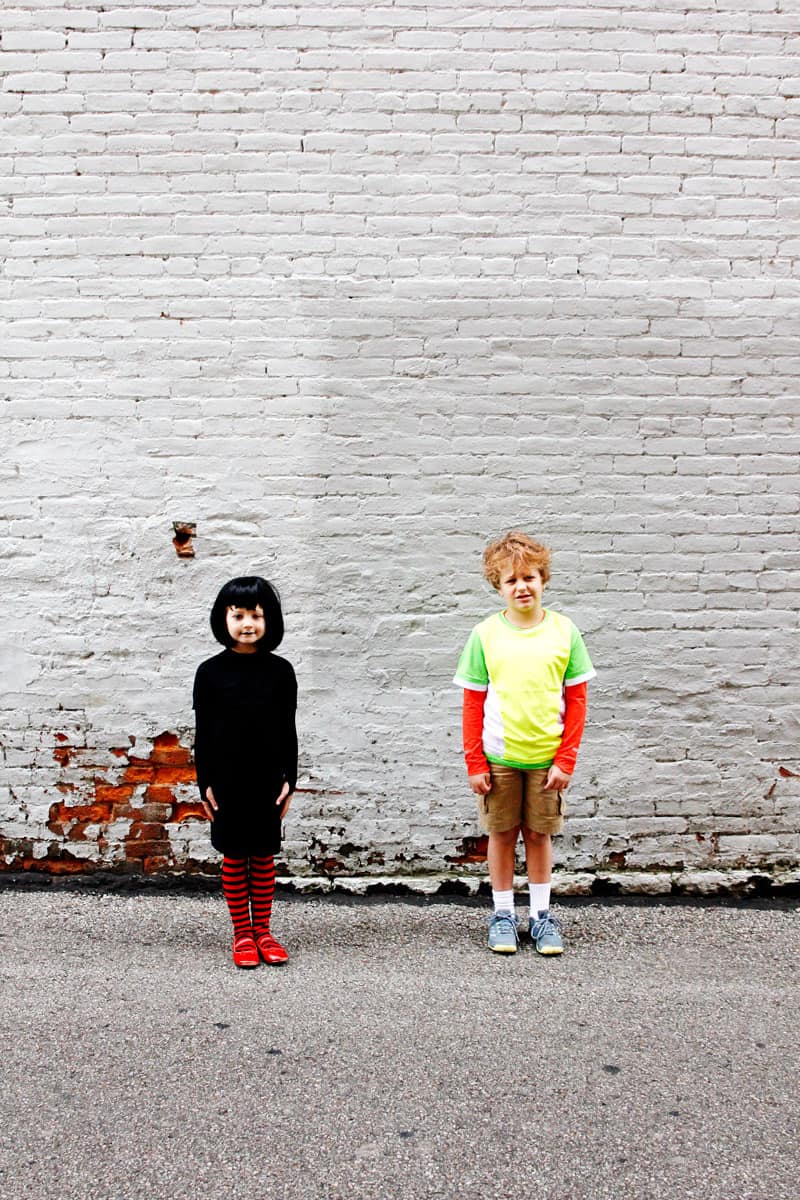
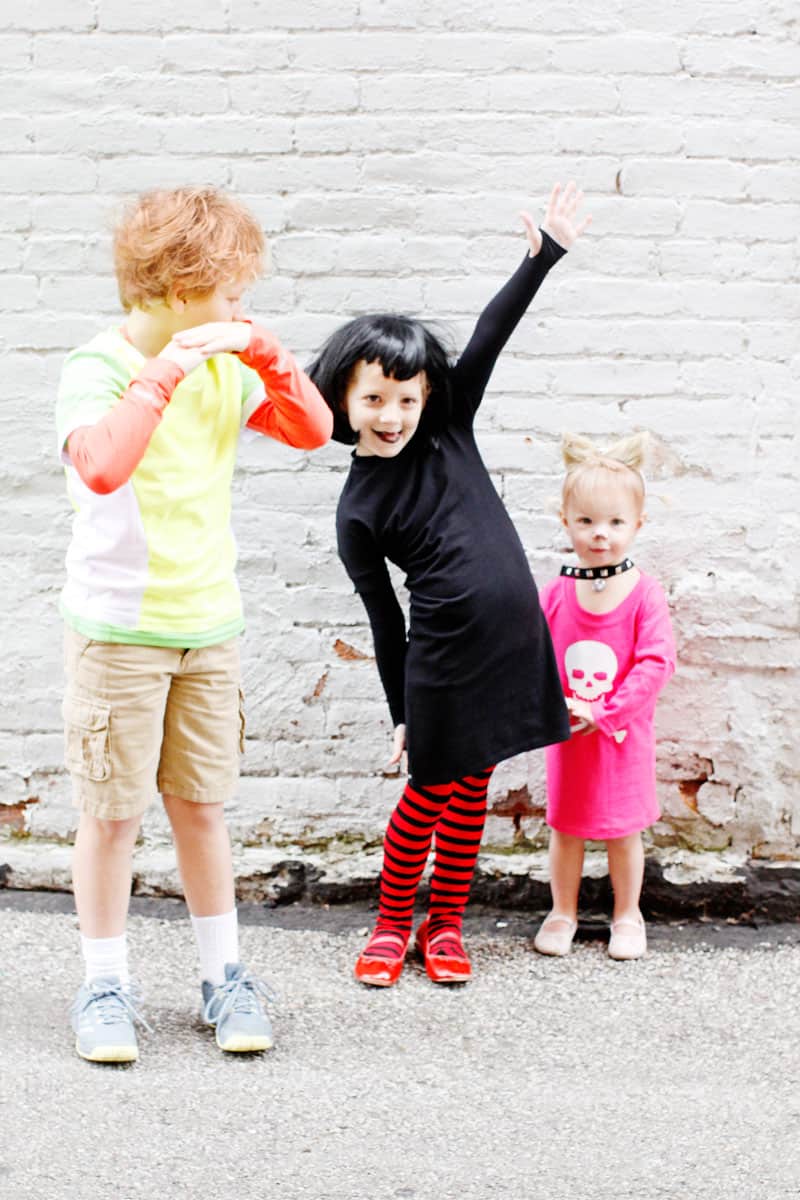
This post, DIY Hotel Transylvania Costumes, is sponsored by Hotel Transylvania 3 in connection to the home release of Hotel Transylvania 3, available now!
We took the kids to see HOTEL TRANSYLVANIA 3 when it came out in July – it was our littlest daughter’s first movie in a theater! It was so fun and memorable – we love the Hotel Transylvania series and the kids laughed the whole time. I think that is the best part about watching movies with kids – waiting for their giggles and uncontrollable cackles. The movies are always funny for me as an adult, too. I especially love the werewolf family because they have like a hundred kids and are always tired, which reminds us of us all too often! Haha.
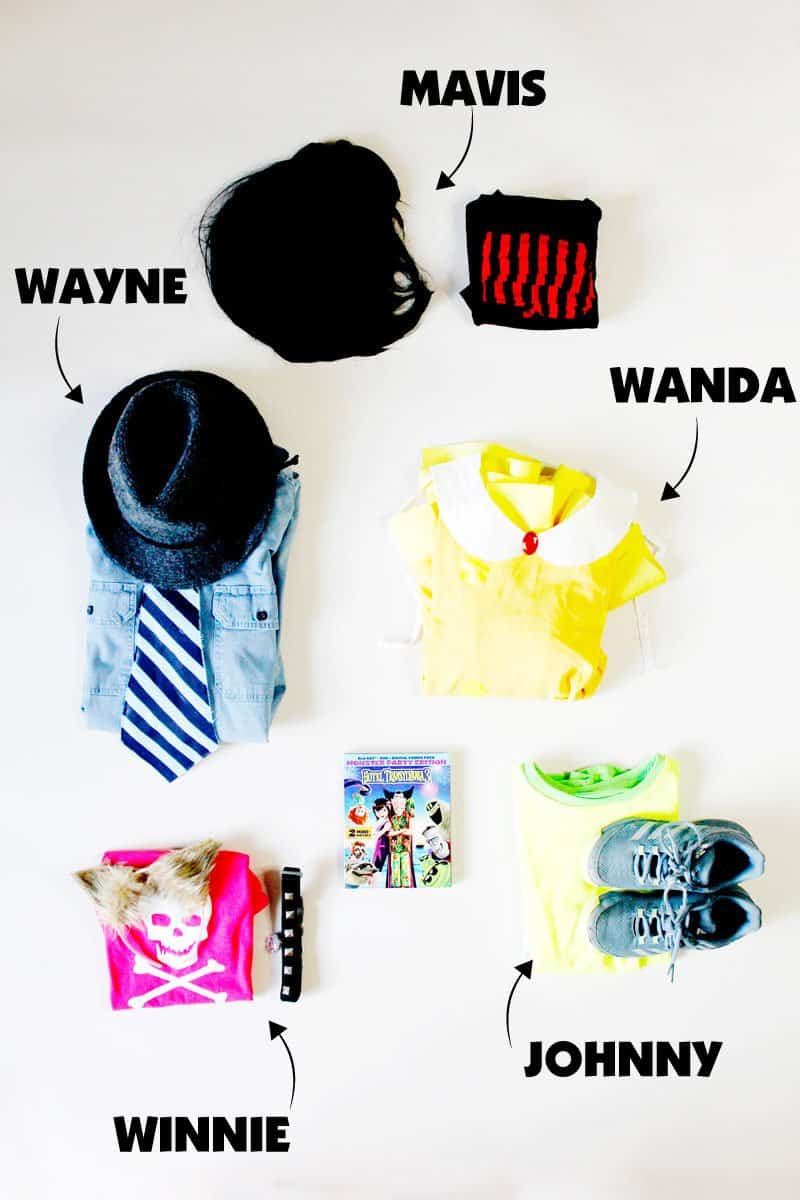
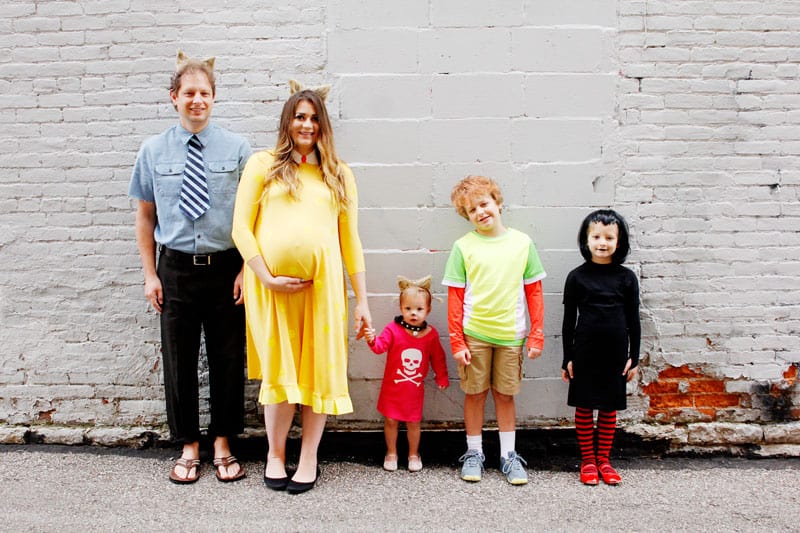
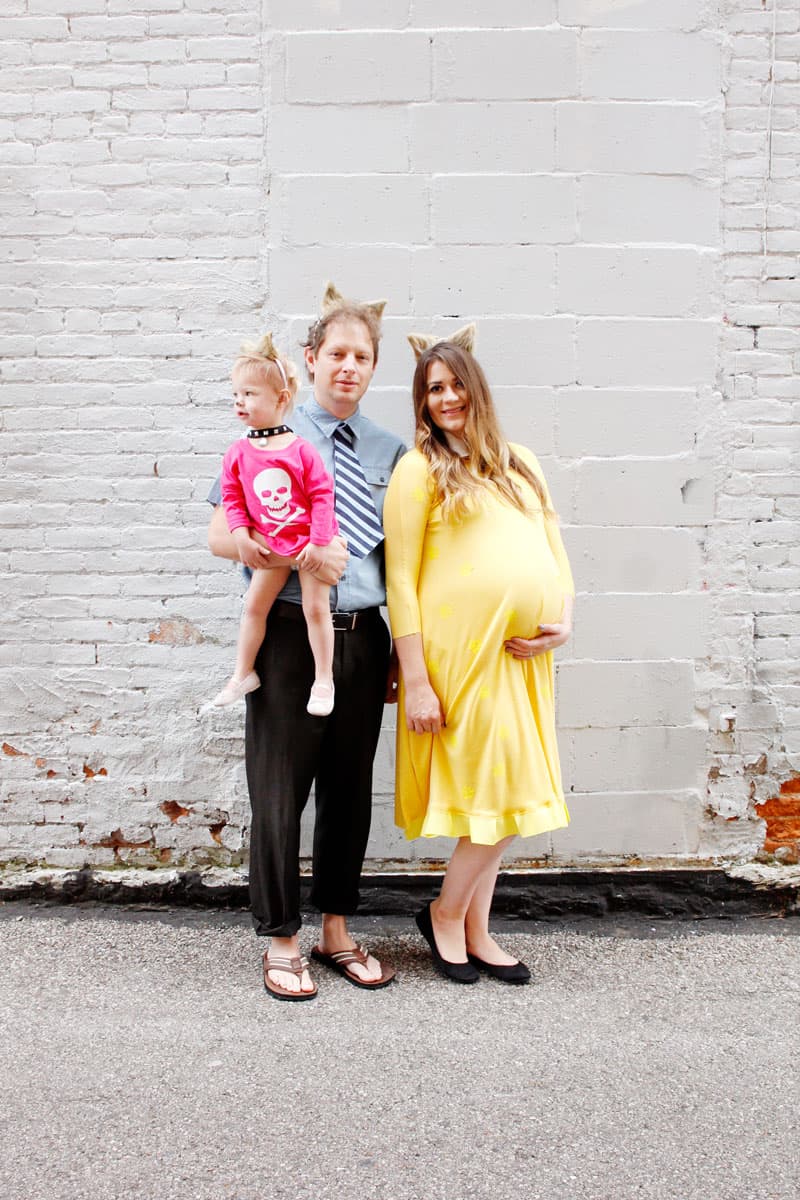
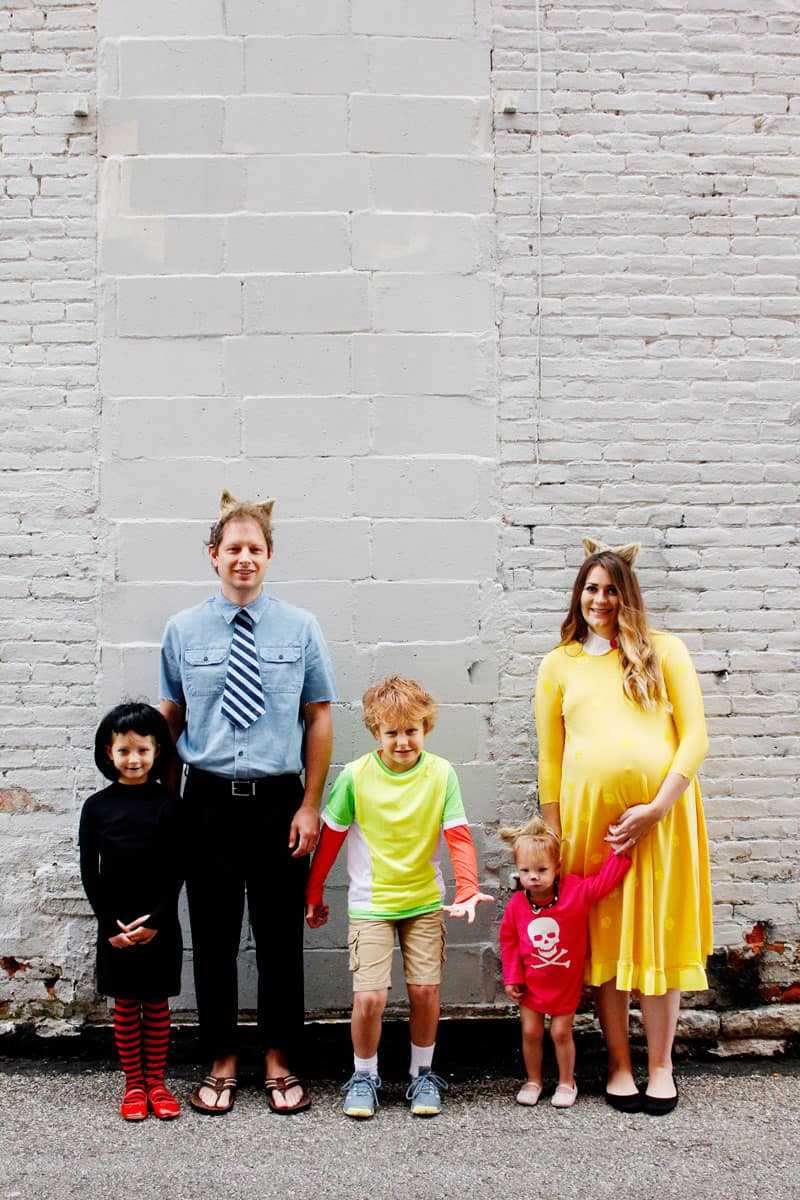
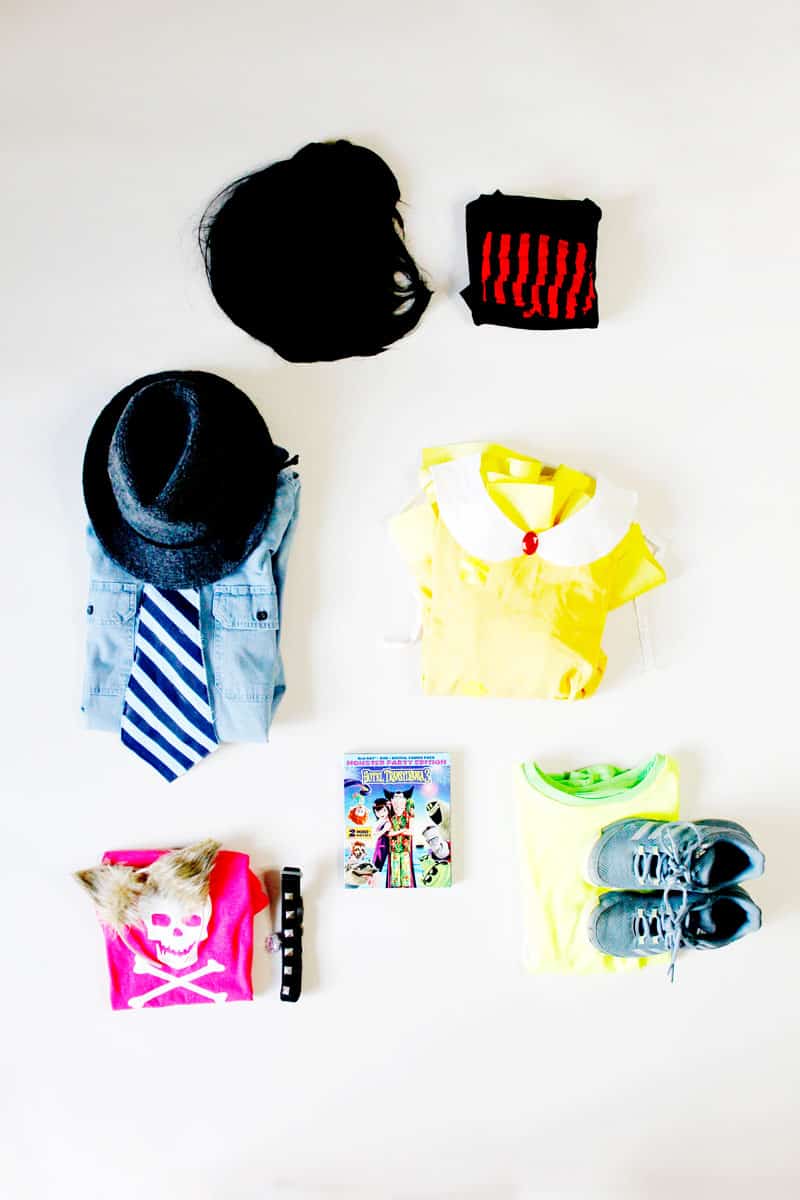
We reference the werewolf pups when the kids are in a big pile on top of us and I have been especially relating to the mother, Wanda the werewolf, lately, since she is always pregnant! So it was fun to dress up like her, belly included, for this family costume. I included the whole family in this one, each choosing a character they love! Their costumes were really fun to make – each has an element or 2 or 3 that is handcrafted or sewn, and each uses a few items that we already had! I started from basic tees for most of the costumes which made them really fast, too! I love a good family or group costume, and since there are so many fun characters in the Hotel Transylvania movies, it’s easy to find a role for everyone!
JUMP TO A COSTUME TUTORIAL//
MAVIS COSTUME
JOHNNY COSTUME
WEREWOLF HEADBANDS TUTORIAL
WAYNE WEREWOLF COSTUME
WANDA WEREWOLF COSTUME
WINNIE WEREWOLF COSTUME
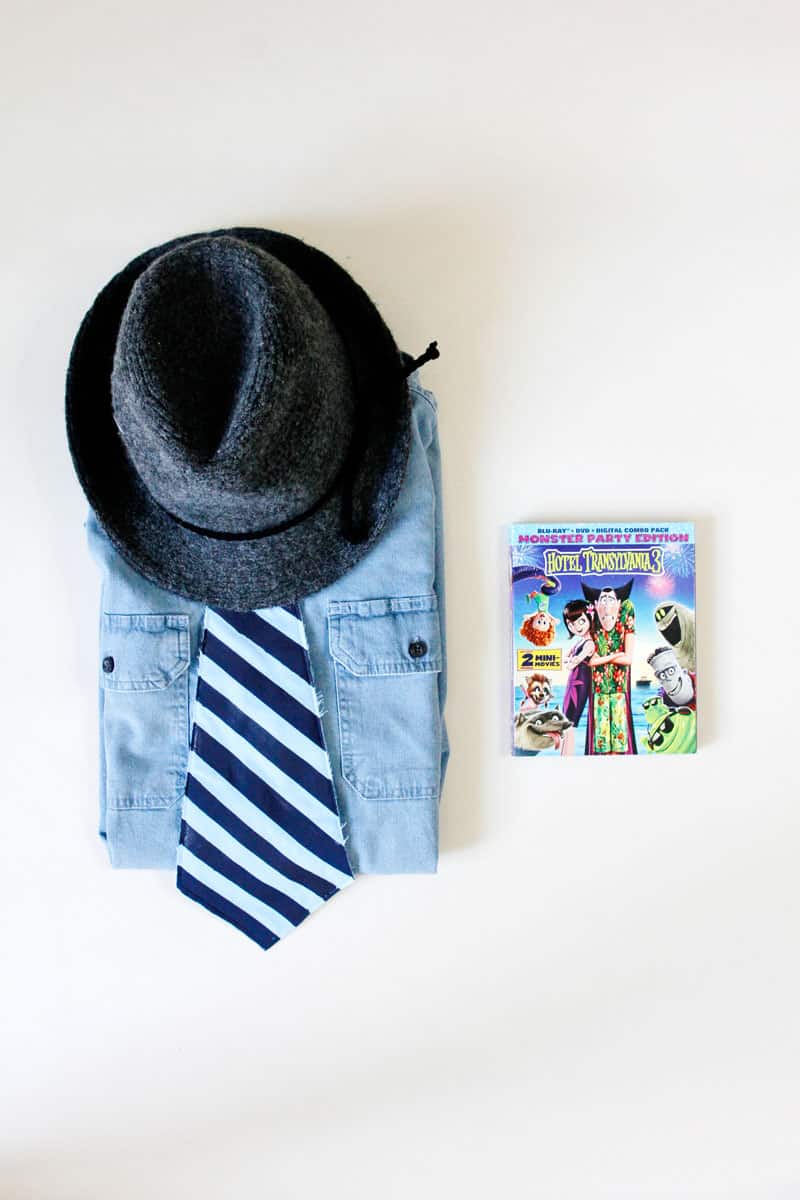
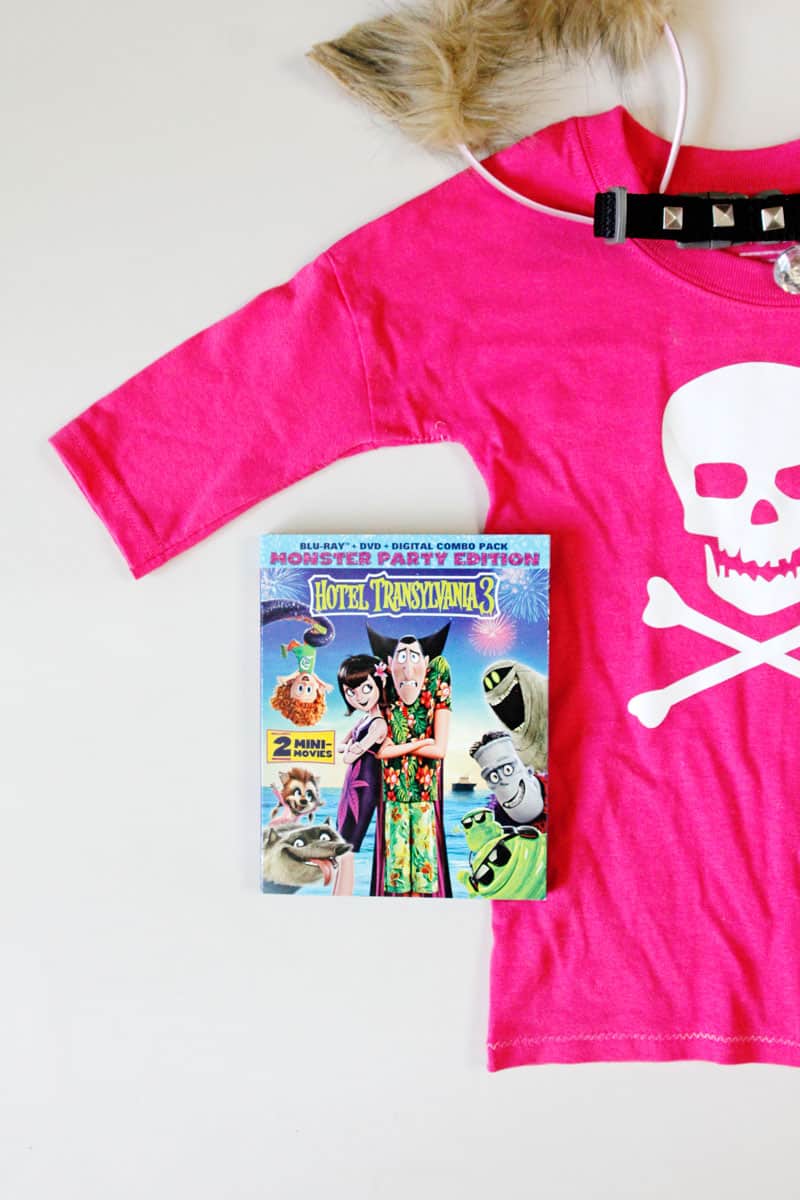
The Hotel Transylvania series is fun and we watch them all the time, but they will be especially fun to watch as a family during the Halloween season! The home release of Hotel Transylvania 3 is now available on Digitral and the DVD and Blu-ray release October 9! so you can grab yourself a copy and plan a movie night! Hopefully, it will inspire some Halloween costumes and activities! It has fun extras too, some super cute mini movies and more!
MAVIS COSTUME DIY//
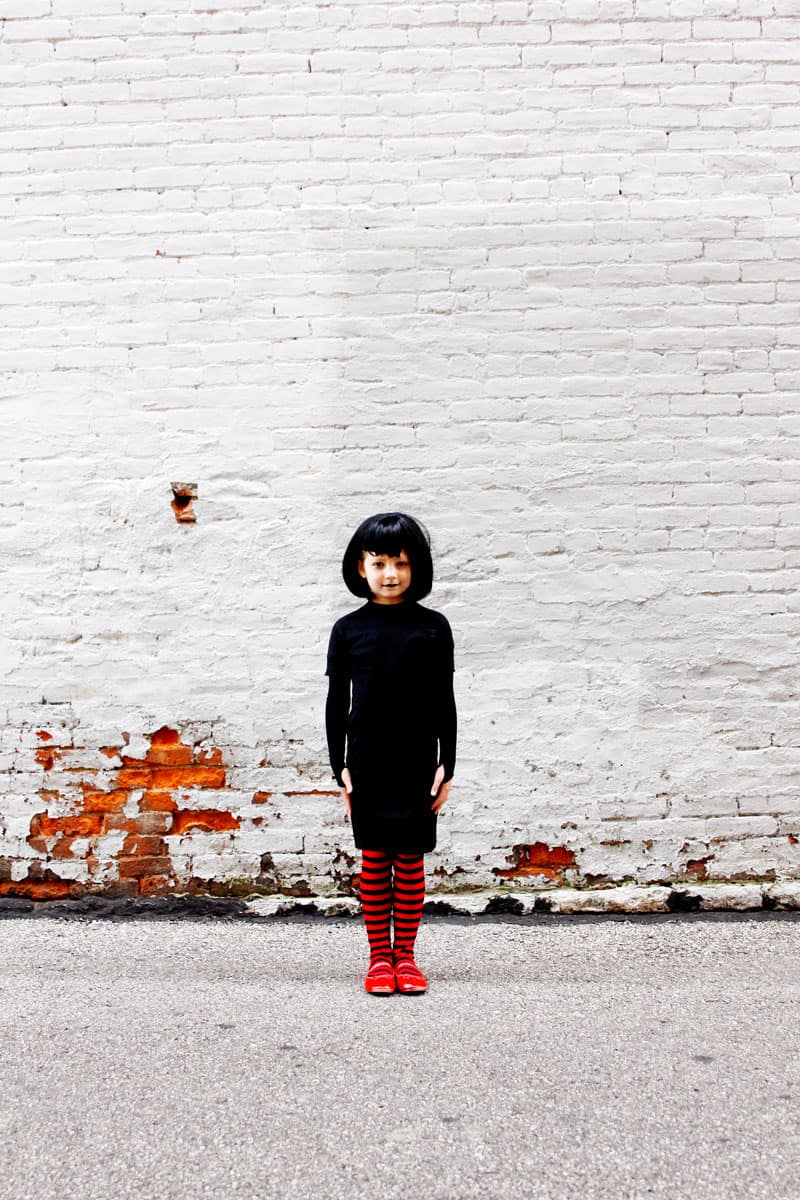
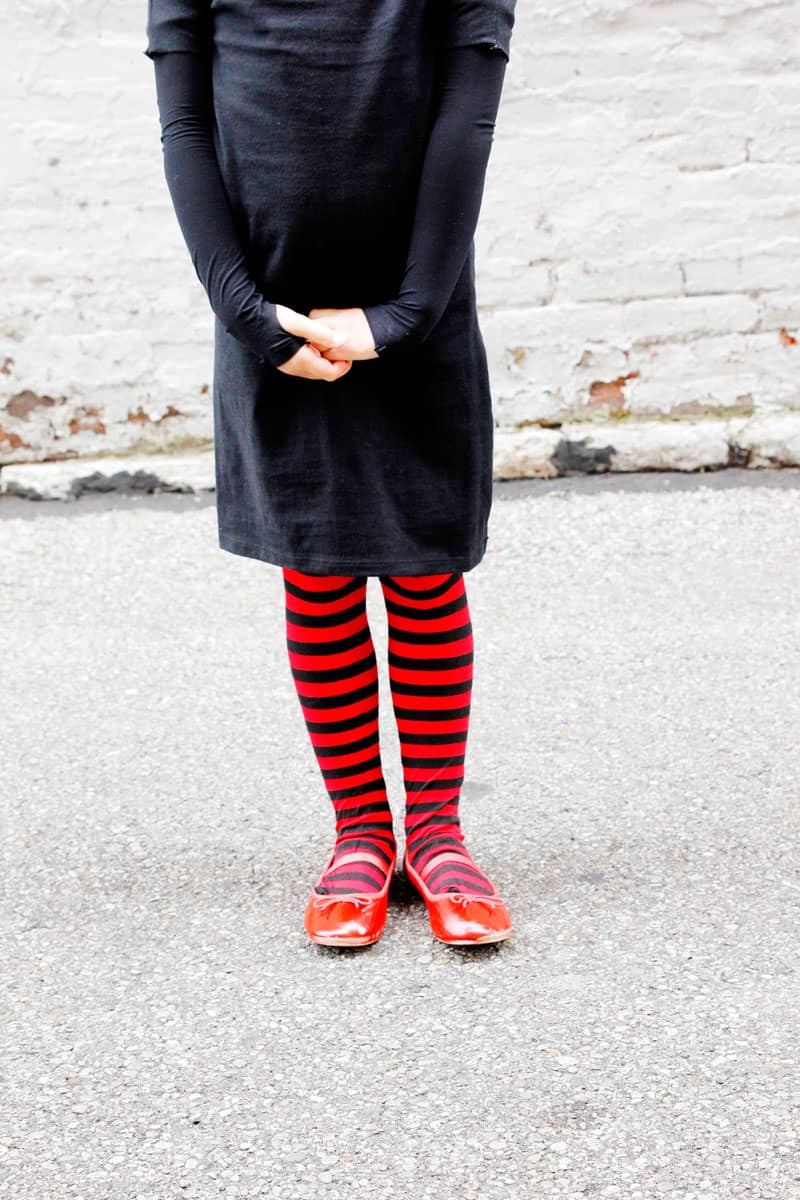
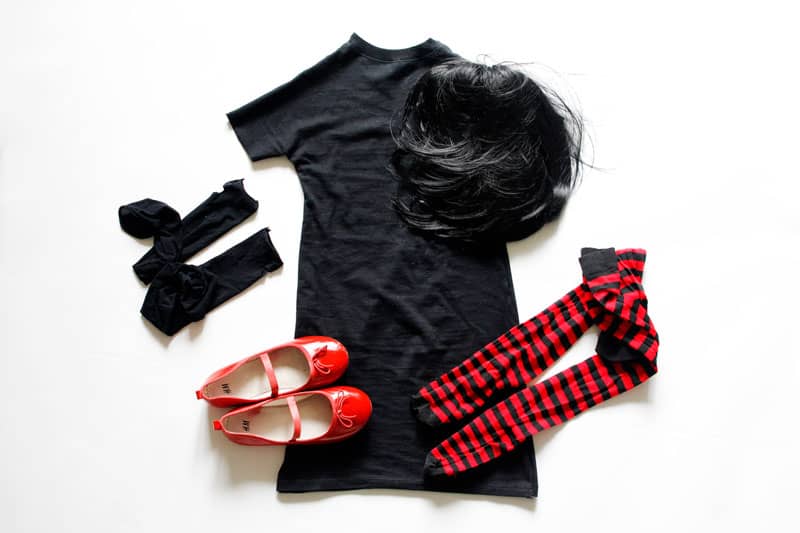
My older daughter loves Mavis especially because she turns into a bat! She was most excited about the fingerless gloves we made from tights! She wore them to school with a t-shirt the next day – haha – that is a costume win! The Mavis costume is very simple and very Halloween-y! I love that all the pieces from the costume can be thrown into the Halloween box and reused into other costumes in the future!
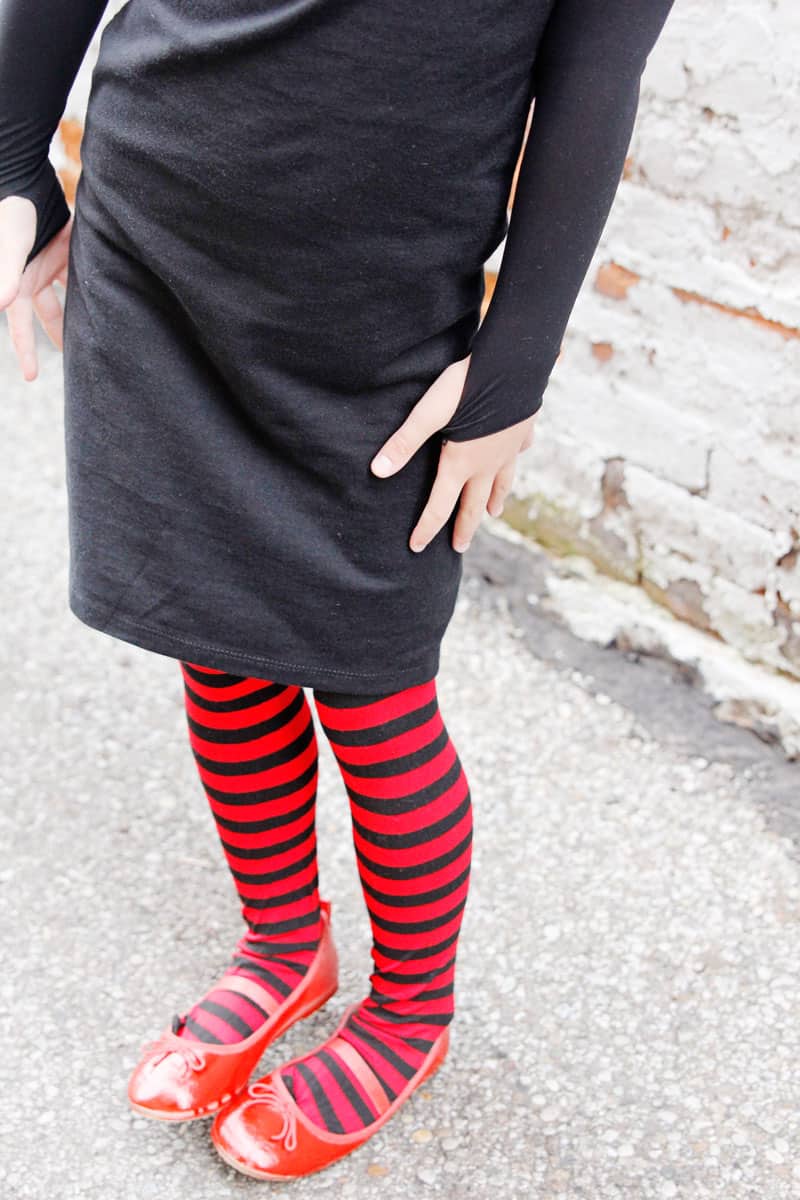

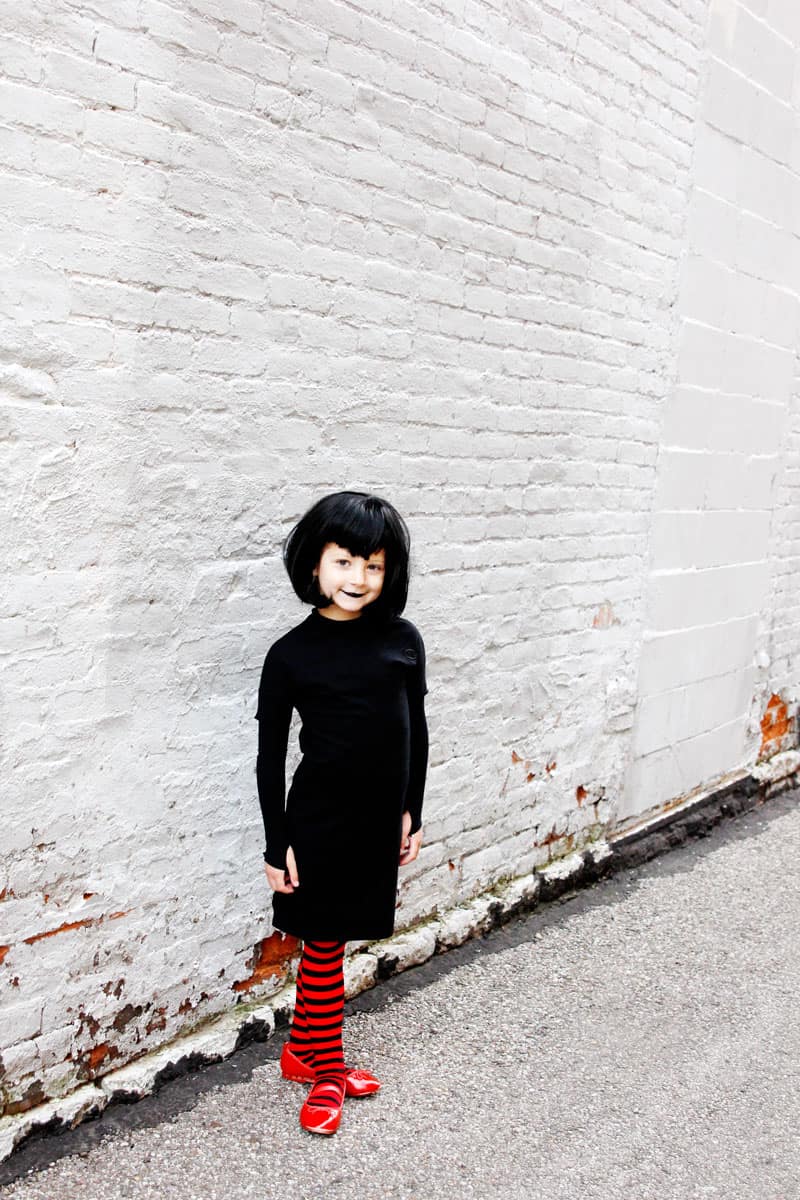
Materials///
-men’s L or XL black t-shirt
-a t-shirt or dress that fits your model to trace
-black wig cut to a bob
-black girls footed (thin, not sweater) tights, old tights are great for this!
Other accessories to add//
-red shoes (we spray painted some we already had!)
-black lipstick
-black and red striped tights
INSTRUCTIONS///
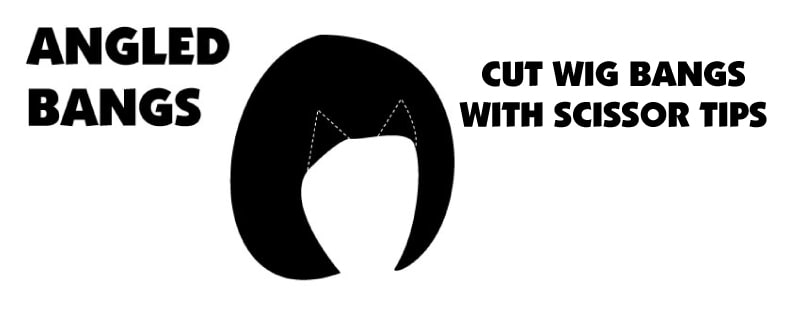
Let’s start with the wig! Purchase a wig already cut into a bob with bangs. We’ll modify the wig by cutting the bangs into an angle like Mavis’.
To do this, put the wig on a box or head and pull out your scissors! Trim from the corner of the wig to the middle of the bangs, leaving the length in the middle.
To create Mavis’ dress, find a stretchy dress or shirt that fits your child. We’ll use it to create the dress pattern.
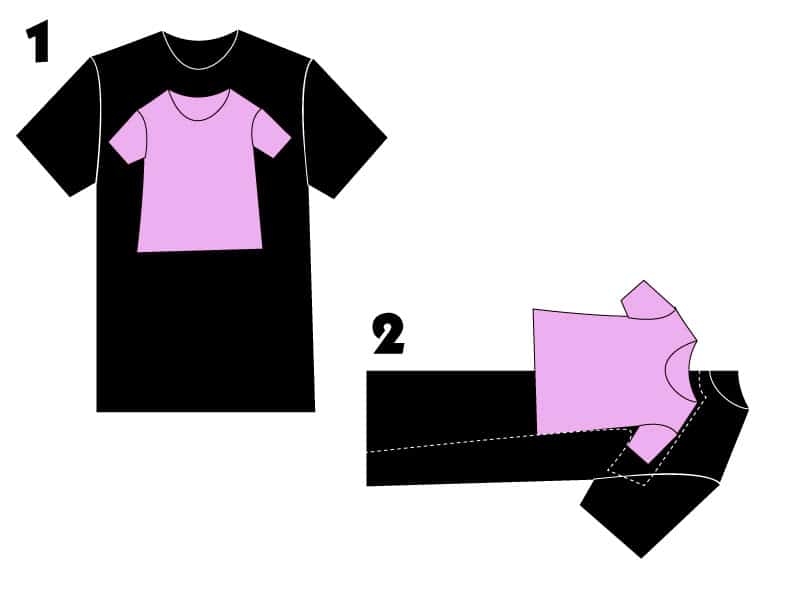
Fold the black t-shirt in half, matching up the sleeves and side seams. Lay the girl’s shirt right on top of the black t-shirt, below the neckline. Center the shirt on the fold.
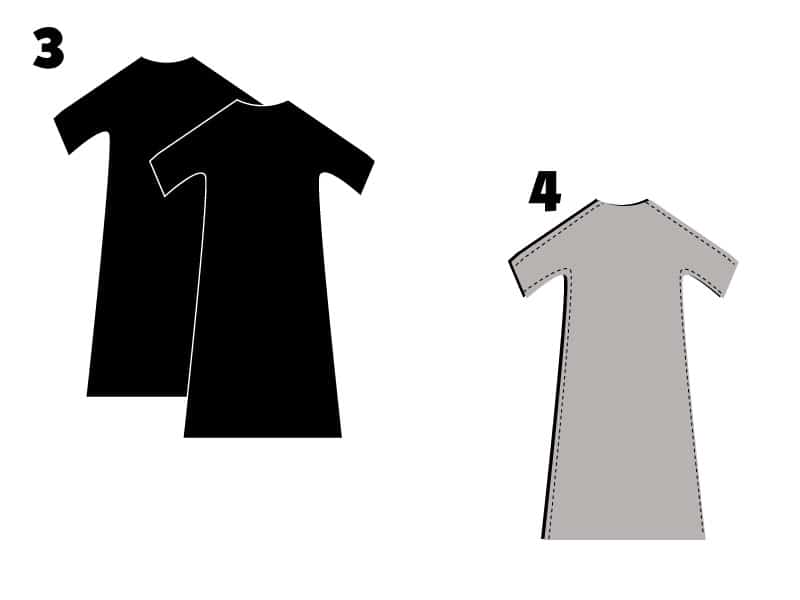
Trace the shirt as you cut out the dress, adding about 1/2″ to the sides for seam allowance. Taper the side seam into a dolman-style sleeve and trace up the neckband to create a mock turtleneck about 1-2″ tall. Bring the side seam all the way to the hem of the black t-shirt, tapering out to a slight A-line shape.
Cut through all the layers of the shirt at the same time so you have two dress pieces, a front and a back. Sew the pieces together along the shoulders seams and side seams to complete the dress!
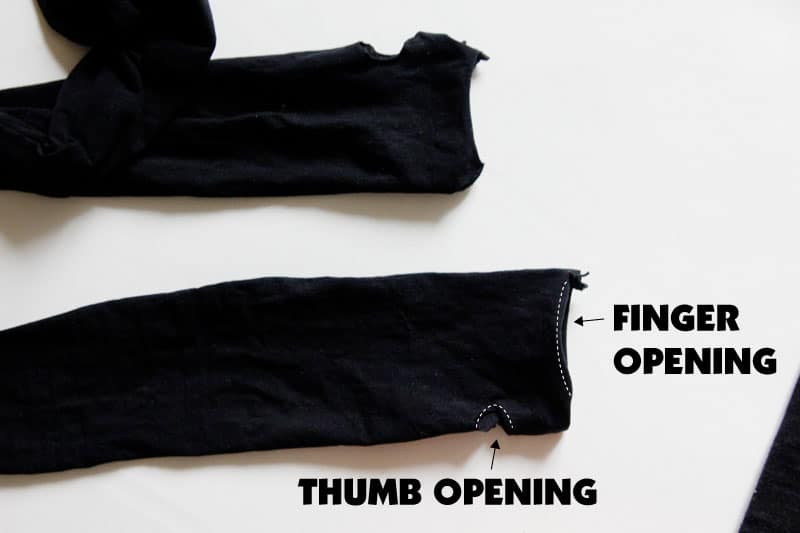
Cut the top of the thin tights off and lay them out flat. On the footed end, cut out a small hole for the thumb and a larger hole for the rest of the fingers, as shown:
JOHNNY COSTUME DIY//
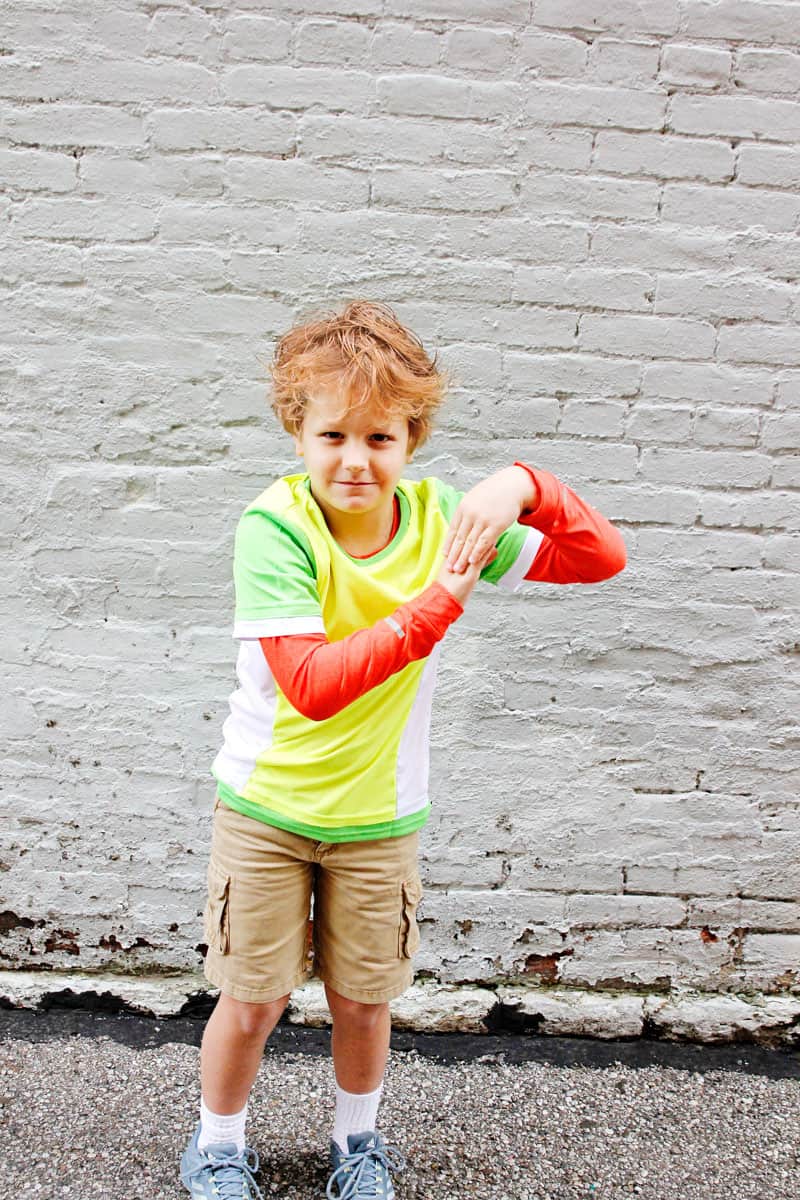
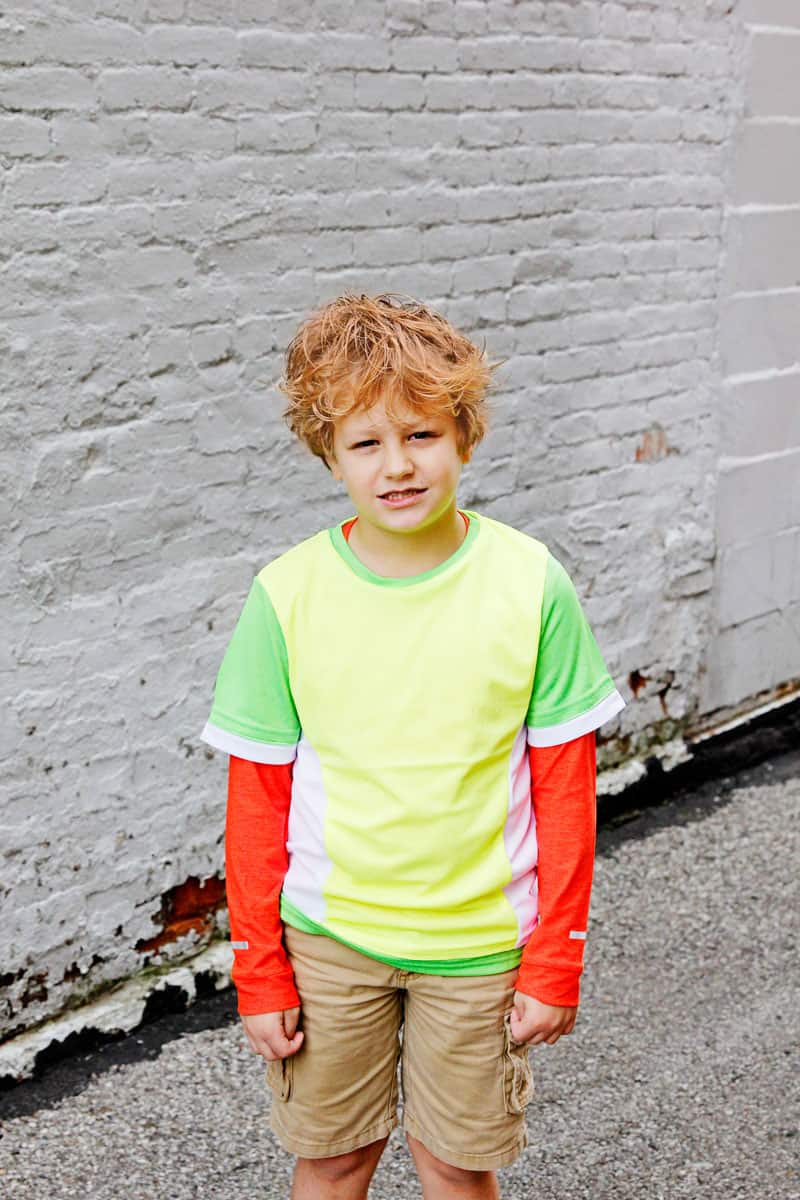
Johnny’s costume is very simple – since he’s one of the only humans in the movie he wears humanlike clothes! We already had most of the pieces of his wardrobe (basic socks, colorful athletic shoes and cargo shorts!) but added his iconic color blocked tee! And a little orange tint to my son’s blonde hair! The color blocked tee is made from 3 t-shirts, it was fun to hack into them and re-sew them together to make the perfect “Johnny” tee!
Materials///
-Boys shirts in yellow, green and white – choose the actual size you need for these
Other accessories to add//
-cargo shorts
-colorful athletic shoes
-orange hair spray
-orange long-sleeved shirt to wear under colorblocked tee
INSTRUCTIONS///
Johnny’s shirt is a fun thing to make – especially since you can start from 3 pre-made shirts. Cutting them all up is super fun!
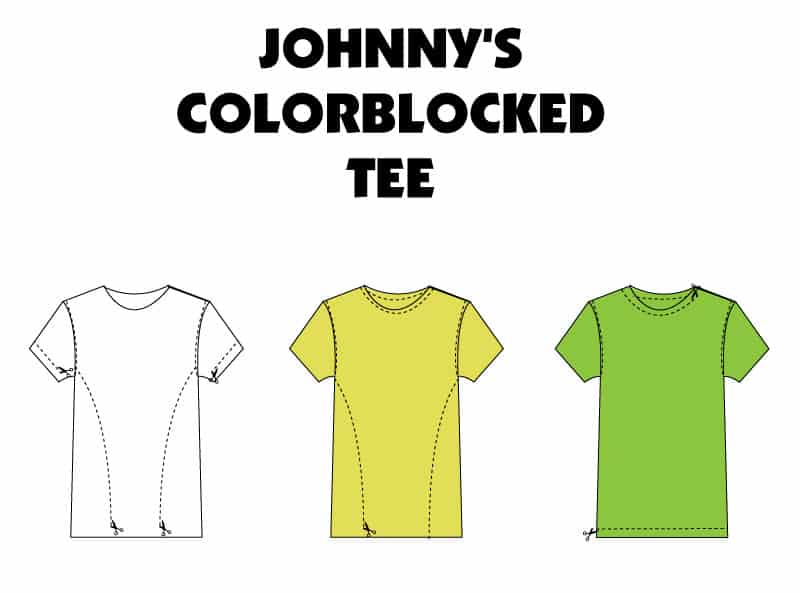
To start, cut into the shirts, following the diagram below:
Yellow shirt: Cut out neckband close to seam allowance. Cut off sleeves. Cut out a side piece curved out from the armhole.
White shirt: Cut off sleeves. Trim 1.5″ from each sleeve hem. Cut sides out.
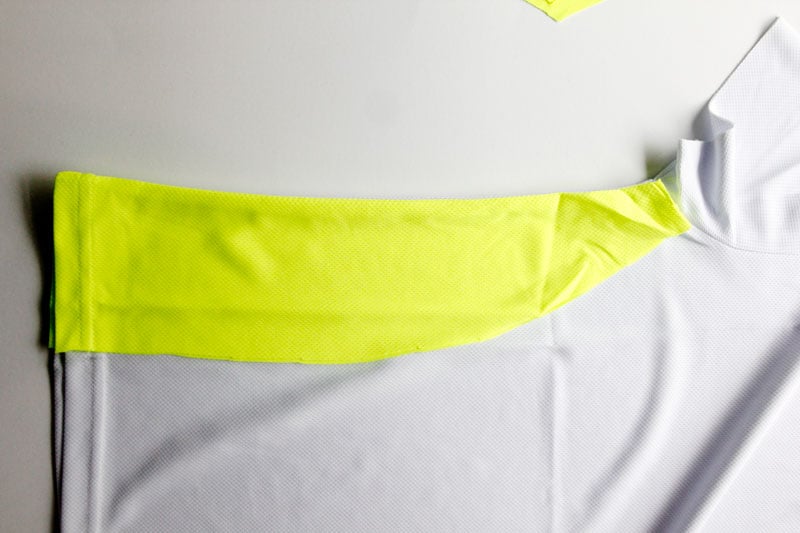
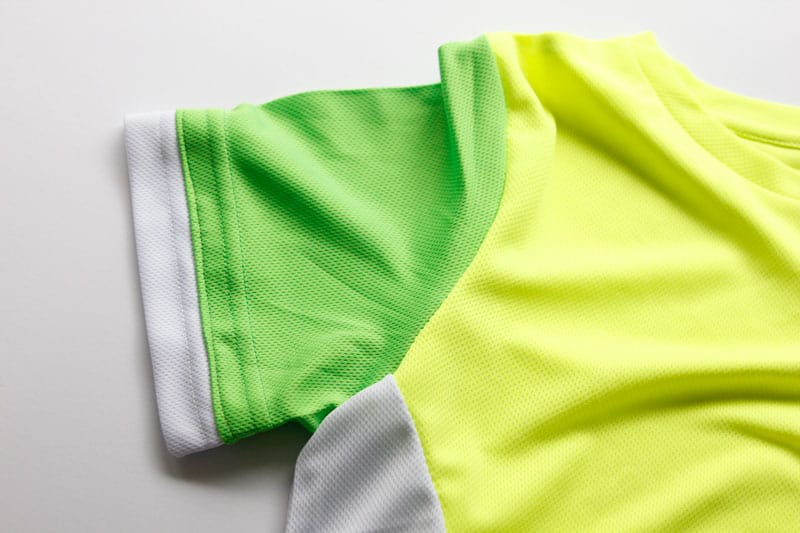
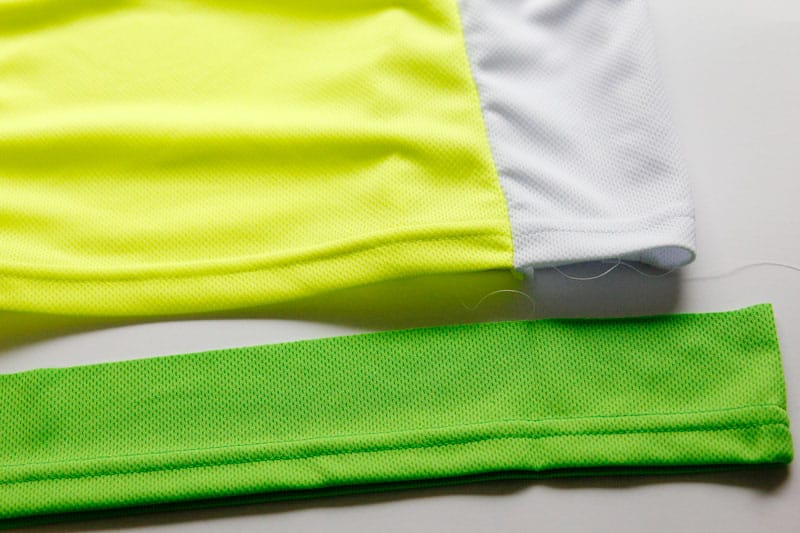
Green shirt: cut off the sleeves carefully along the armhole seams. Cut off 1.5″ from the hem. Cut the green neckband off adding 1/2″ for seam allowance. Place yellow shirt side pieces (the pieces you cut off) on top of the white shirt. Trace the yellow piece, adding 1/2″ for seam allowance.
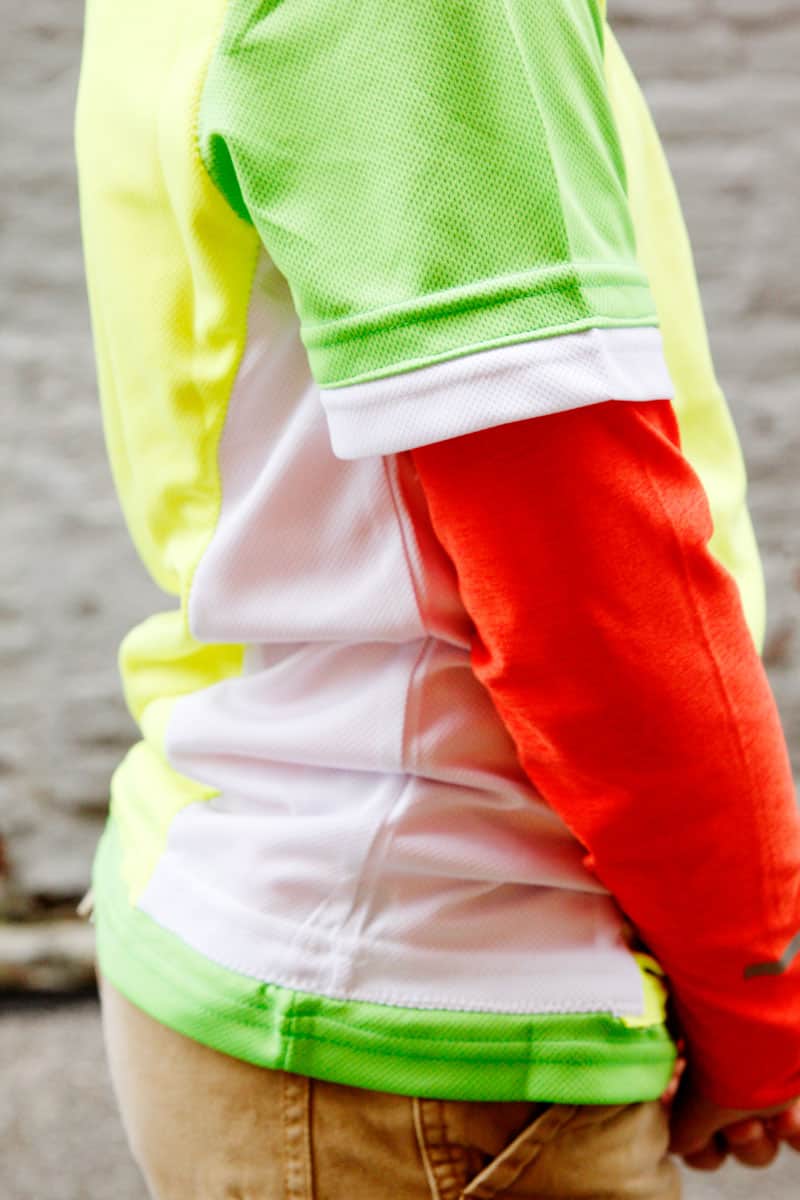
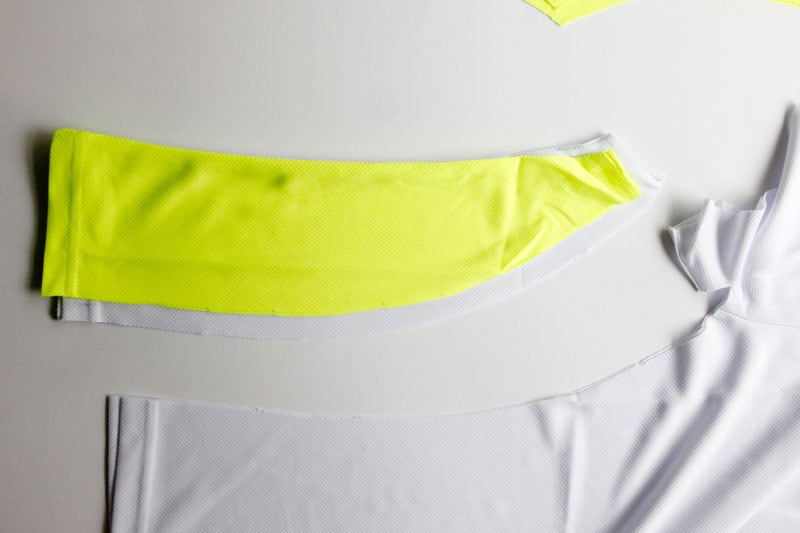
Tuck the band from the white shirt inside the sleeve hem of the green shirt and topstitch together.

Use the yellow side piece as a pattern piece for the white tee. This will insure that you have the correct shape for the sides.
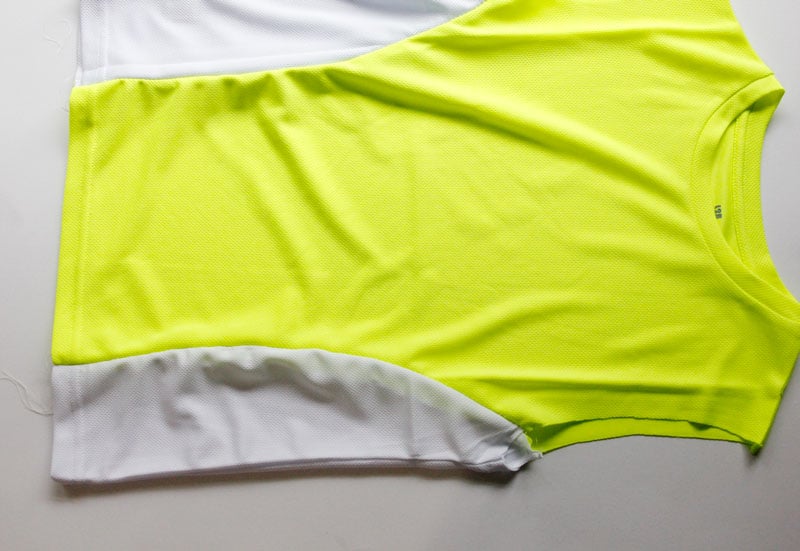
Recreate the shirt by sewing the yellow and white pieces together, right sides together. Pin the seams of the side pieces sew. You will contour the fabric a little bit to get these to fit together.
Sew and press.
Attach the sleeves into the armholes.
Sew the hem band to the bottom of the shirt, just like you did with the sleeves.
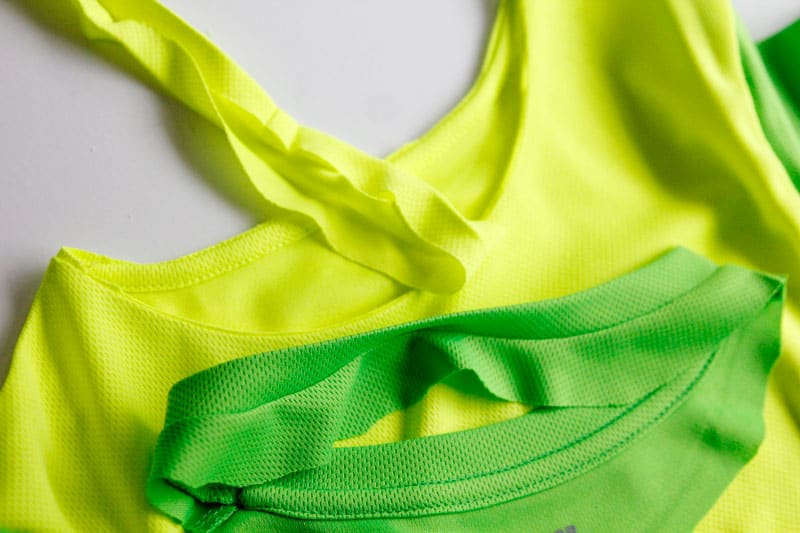
Sew the new neckband in.
WEREWOLF HEADBAND TUTORIAL//
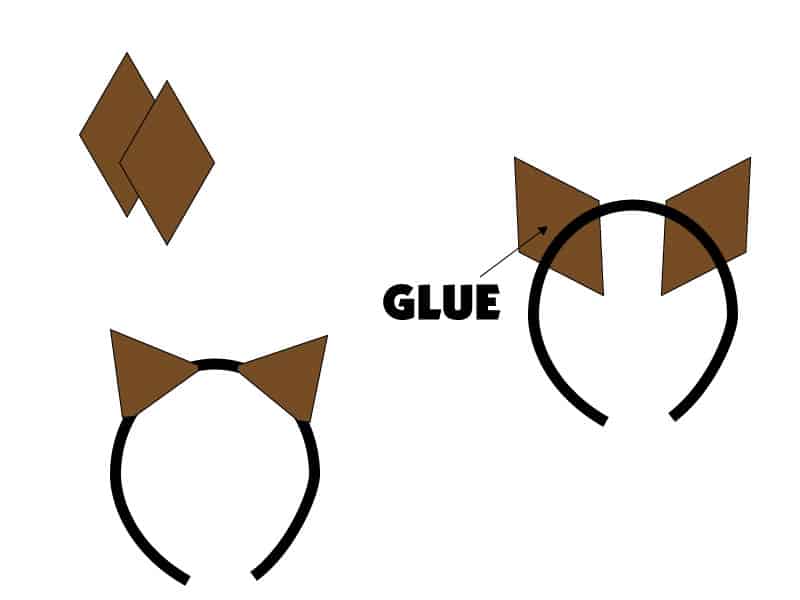
You’ll use this tutorial for all 3 werewolf costumes, but luckily, it’s SUPER easy! You can use the template included in the template pack, or just cut a diamond shape from the faux fur.
Materials//
-faux fur
-headbands
-glue gun
-template
INSTRUCTIONS///
Faux fur is very messy so beware! It will shed all over the place.
Cut out 2 ears from the template for each headband. Lay them under the headband and glue along the center of the ear piece.
Fold the back up and glue some more!
WAYNE THE WEREWOLF COSTUME DIY//
The tired werewolf Wayne is such a funny character! My favorite part of Hotel Transylvania 3 is when the werewolf parents are held hostage in a closet for the duration of the cruise. When they finally get out they are so happy and can’t wait to sign up for another cruise, haha! They are quintessential tired parents.
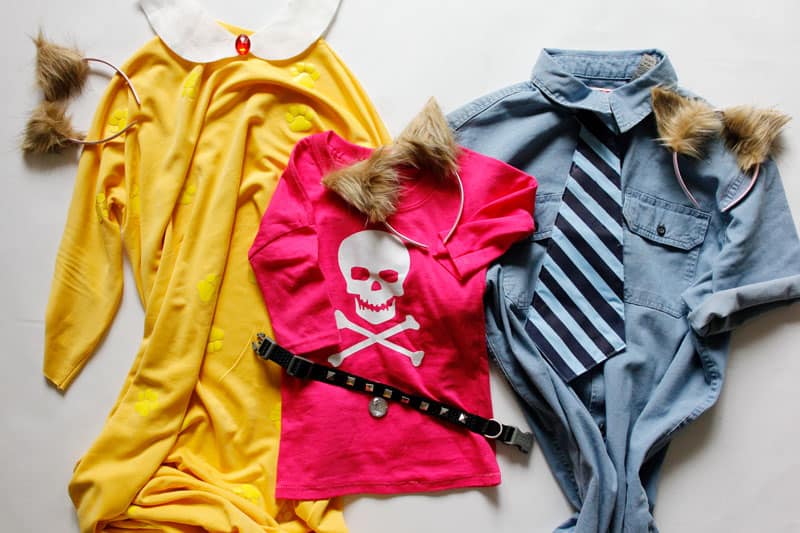
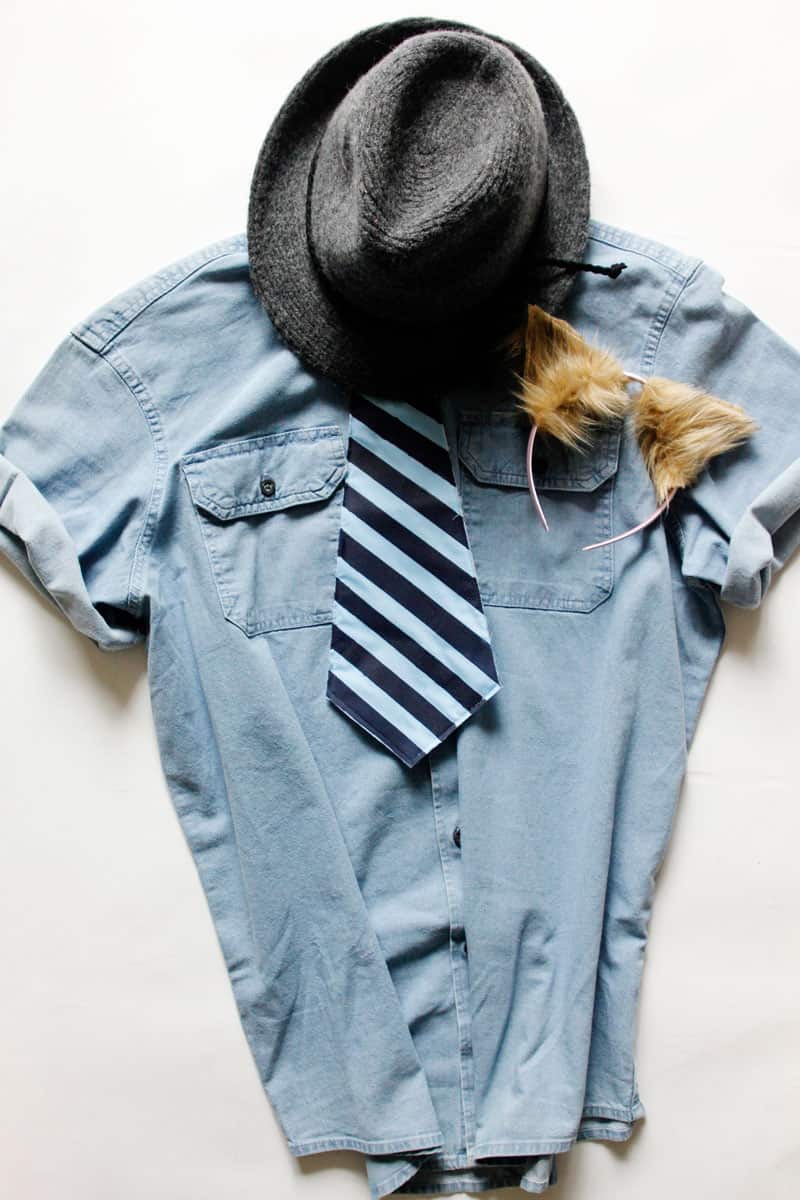
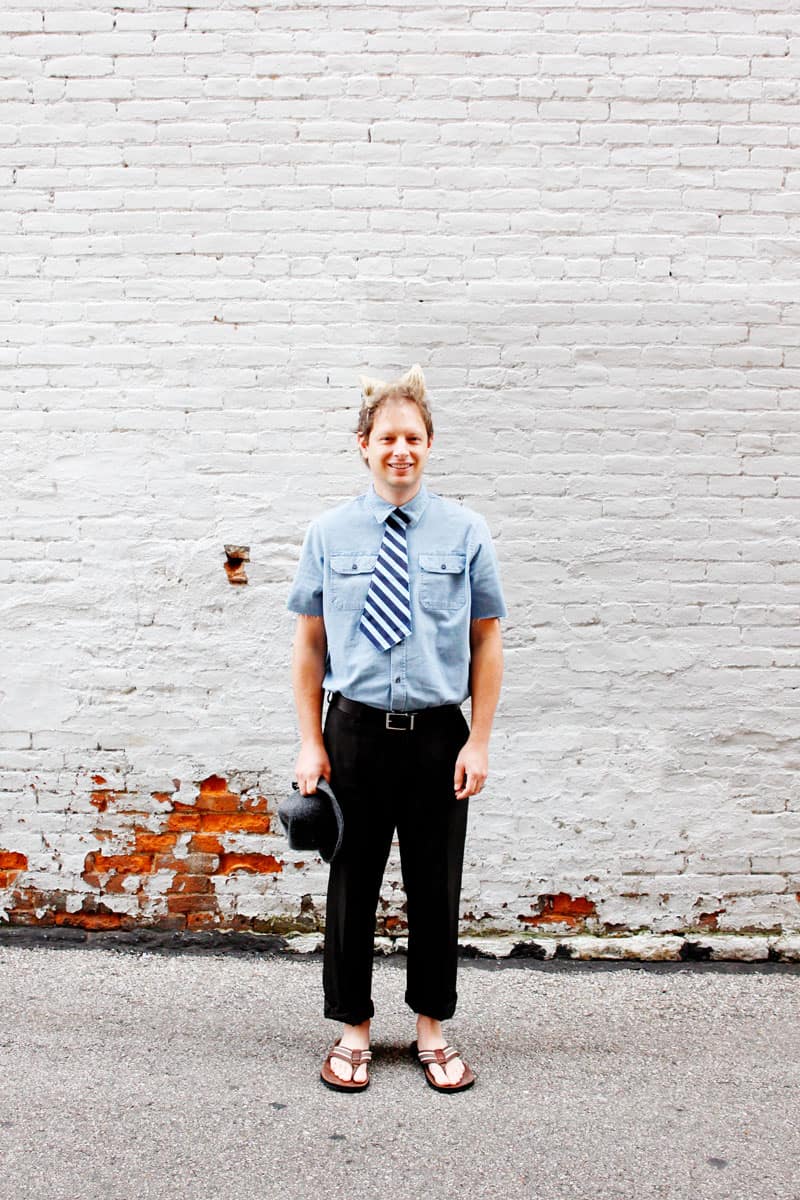
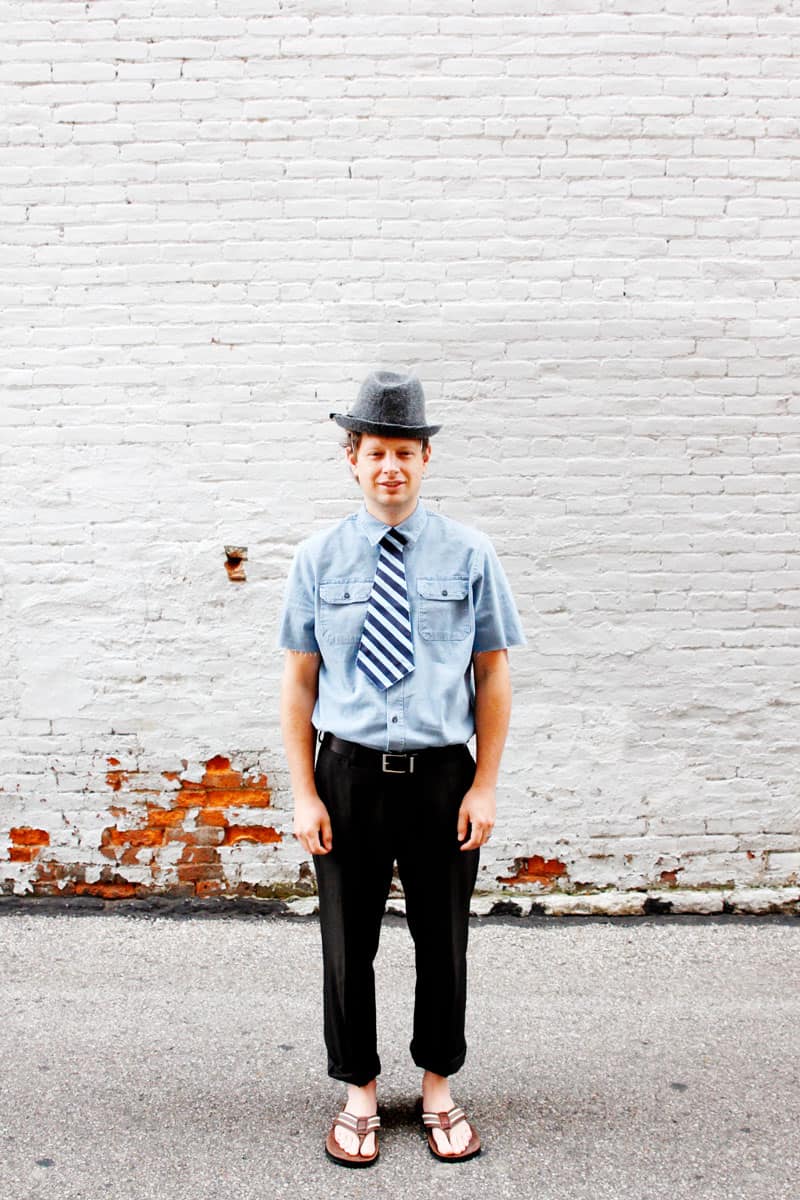
Wayne’s costume is very simple and fun! We started with a chambray shirt. It was actually a long-sleeve so I cut the sleeves shorter. Wayne wears rolled up pants and a fedora sometimes. You can also stick a pen in his pocket and add a belt.
The werewolf ears and tie will take it from a human outfit to a Wayne the werewolf outfit.
Materials///
-blue fabric
-felt
-dark blue fabric paint + paintbrush
-elastic
-washi tape
-tie template
Other accessories to add//
-chambray short sleeve shirt
-belt
-rolled up pants
-pocket pen and fedora (optional)
-werewolf headband
INSTRUCTIONS///
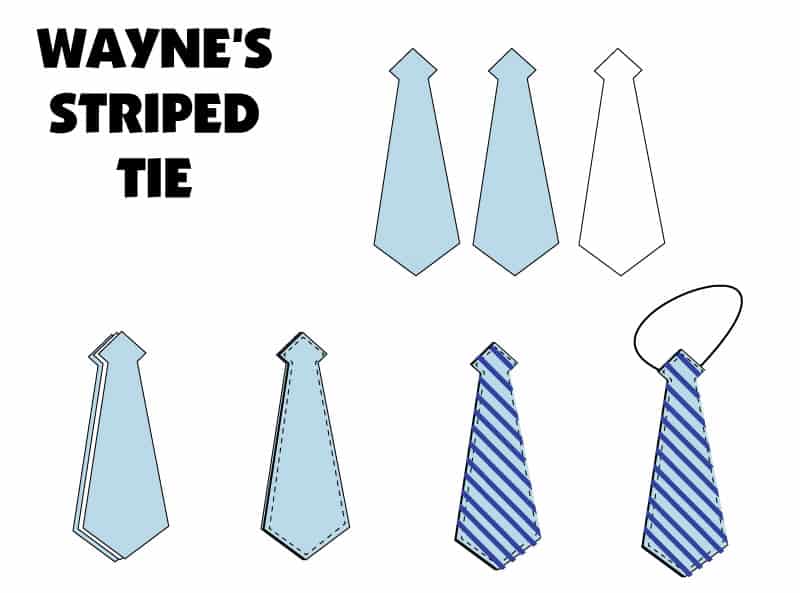
Print off the tie template from the template pack and tape the pages together. They will overlap a little bit, so trim off the excess paper and tape them together. Cut out 2 tie pieces from fabric and 1 from a thicker material such as felt.
Layer the pieces with the felt in the middle and sew around the tie pieces at 1/8″. Pivot at each turn.
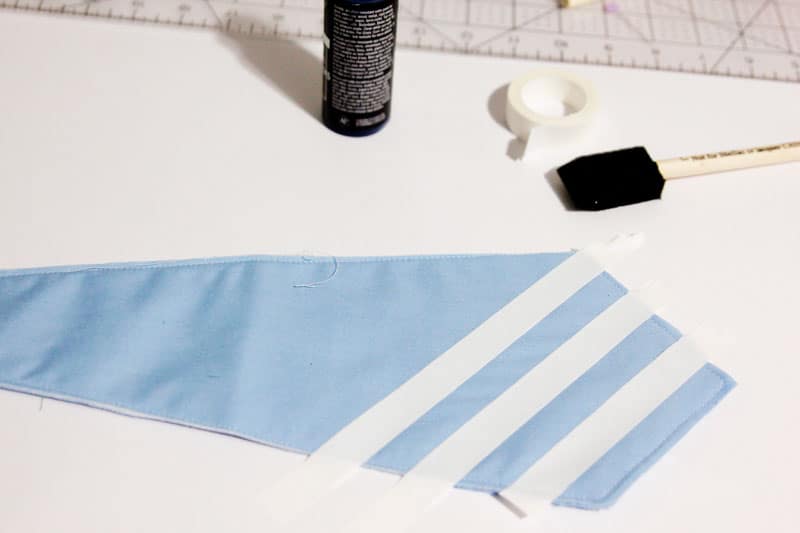
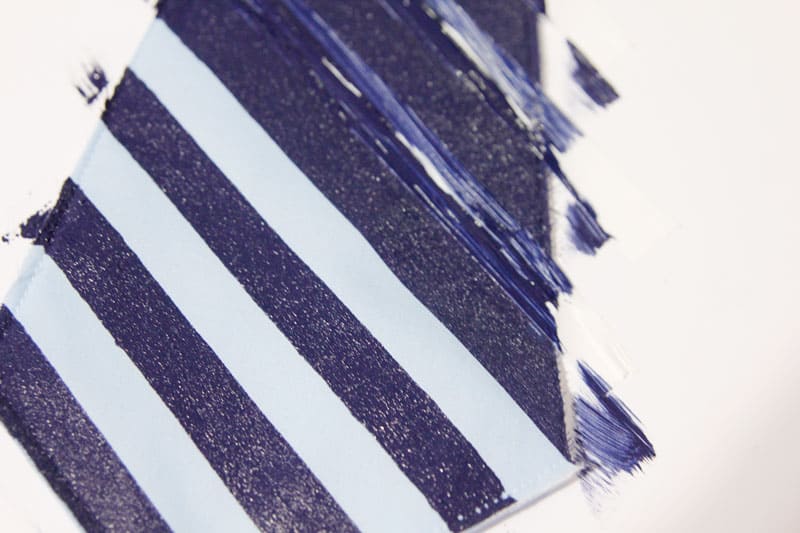
When the paint is dry (or before if you’re impatient like me!) peel the washi tape pieces off. Use a hot glue gun to glue a piece of elastic to the back of the tie. Glue both ends to create a band that can be pulled over the head and around the neckband of the shirt.
WANDA THE wereWOLF COSTUME DIY//
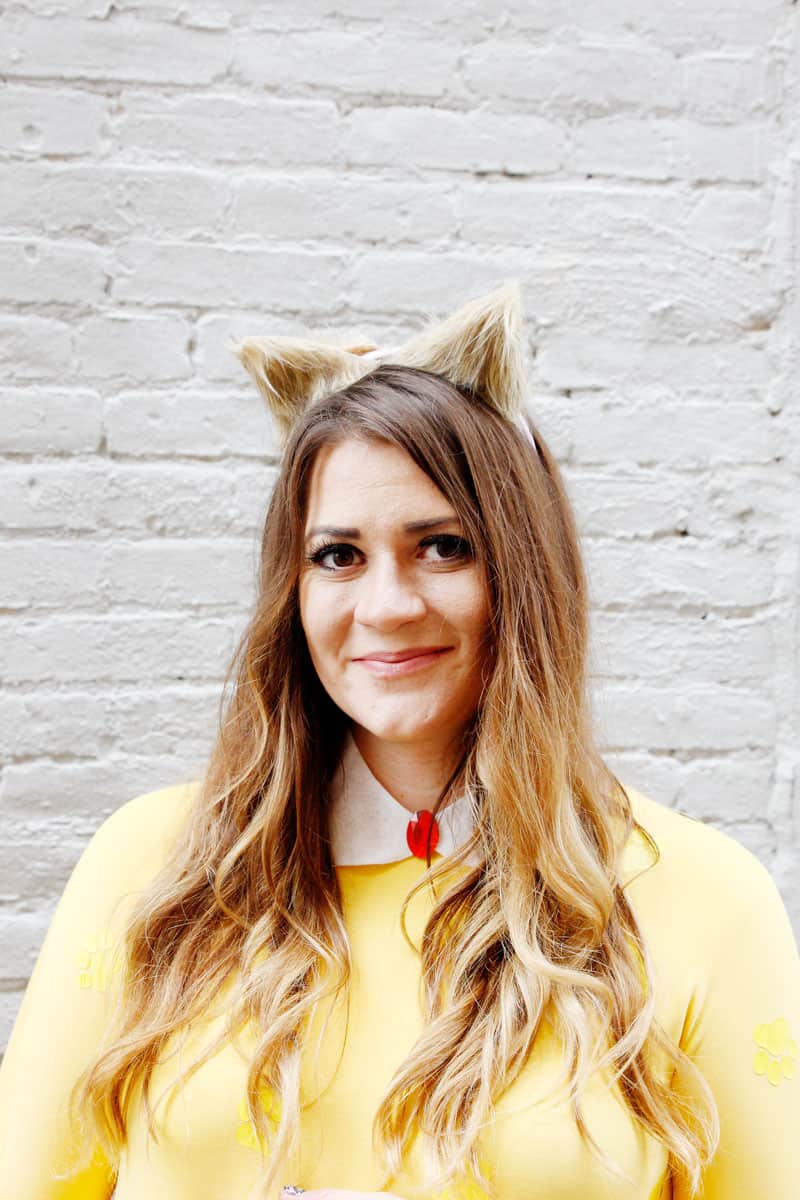
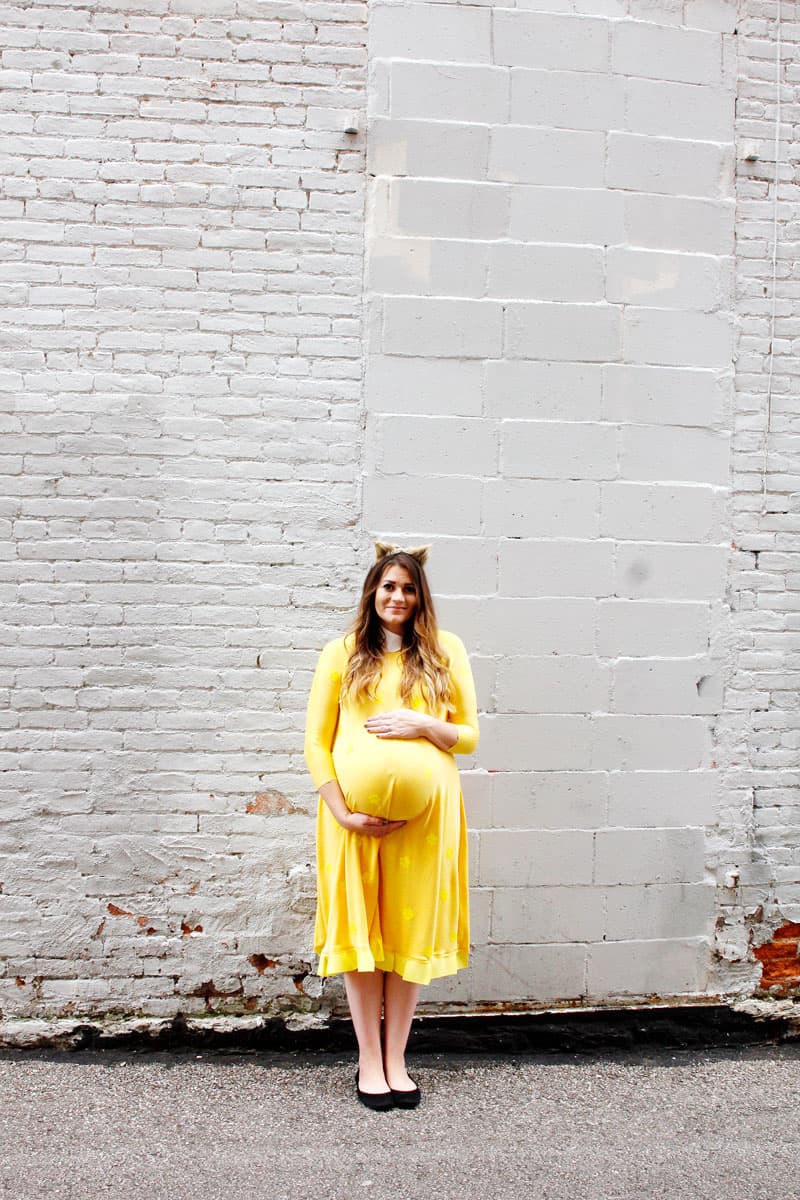
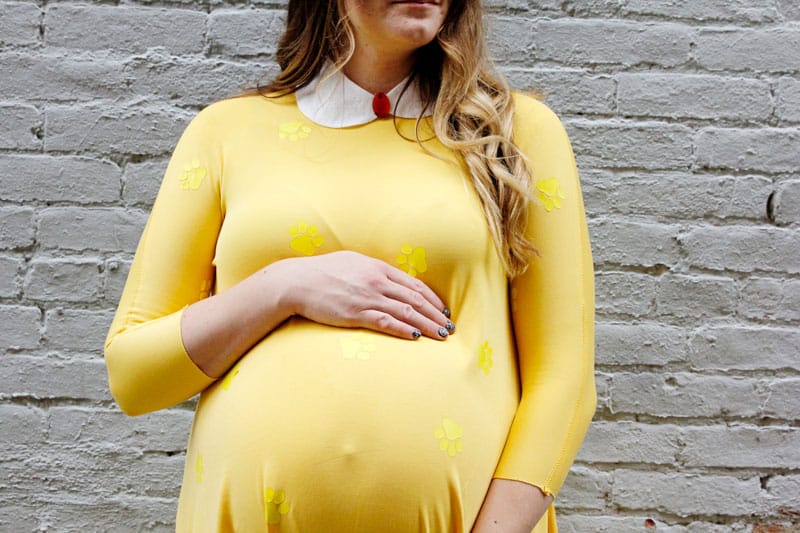
Since I’m about 8 months pregnant right now I just had to be Wanda in the family costume ensemble! Wanda is eternally pregnant and walks like I do about now! It was so fun to recreate her yellow dress with a collar. If you aren’t actually pregnant, you can go as an unpregnant Wanda or strap on a pillow underneath!
Materials///
-thrifted yellow dress
-yellow grosgrain ribbon 3″+ wide
-yellow fabric paint or yellow iron-on vinyl
-white or cream felt collar
-red jewel
-glue gun
-paw template /SVG file
-collar template download
Other accessories to add//
-werewolf ears
INSTRUCTIONS///
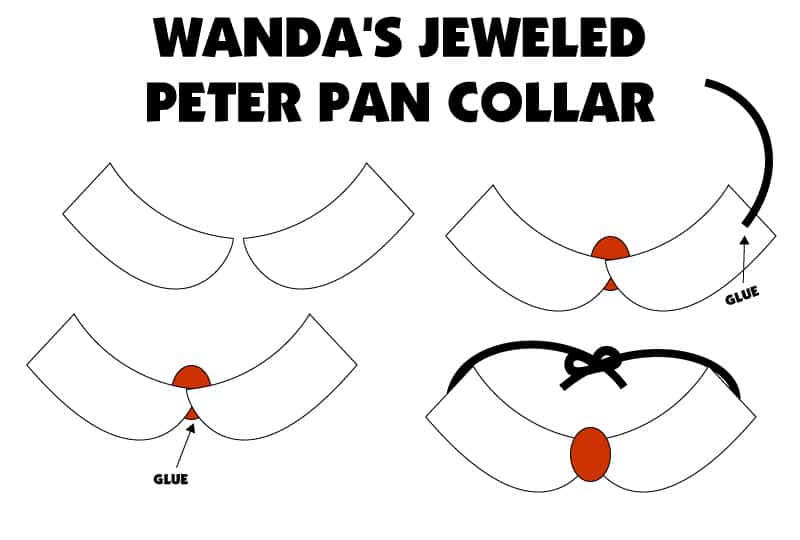
Use the collar template to cut 2 collar pieces from felt. Whip out your glue gun and glue the front points of the collar to the back of the jewel. Then glue two pieces of lace elastic to the other sides of the collar, to create a tie.
For the dress, raid the thrift store to find a yellow dress, or dye a white one. If you can’t find one, 3 yards of yellow fabric and a simple swing dress pattern will do the trick!
To make the dress fit for Wanda, we will add iron-on paw prints and a pleated ribbon at the bottom. The template pack has a paw print in it. You can use the SVG to cut out iron-on vinyl and add paw prints all over the dress – I used about 40. Or use a hand cutting knife to cut out the paw print and create a stencil. Use the stencil to paint paw prints all over the dress and let dry.
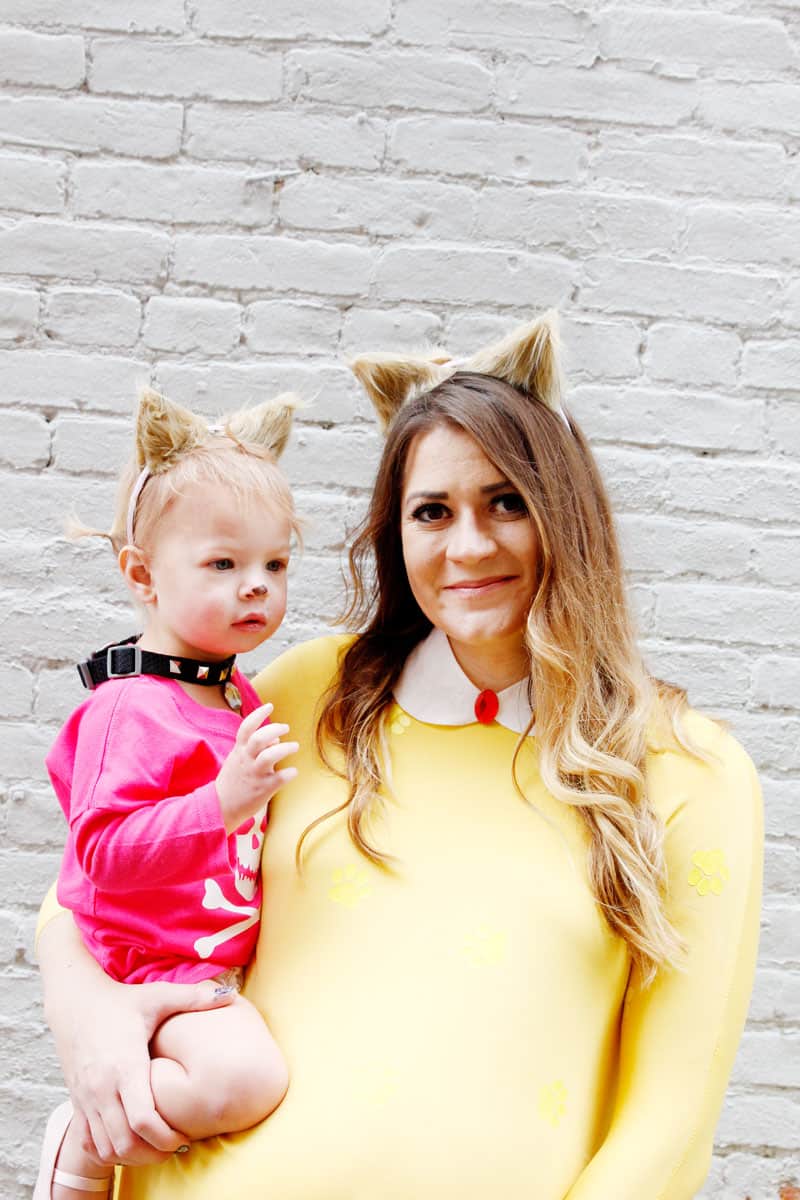
Since the paws are yellow on yellow, just like in the movie, they are pretty subtle and add a nice little dimensional pattern to the dress!
To add the ruffle to the bottom, start with a thick, 3-4″ grosgrain ribbon. Pin the ribbon to the inside of the dress hem and pin a 1/2″ pleat every few inches. Sew along the dress hem to attach to the dress.
WINNIE THE WEREWOLF COSTUME DIY//
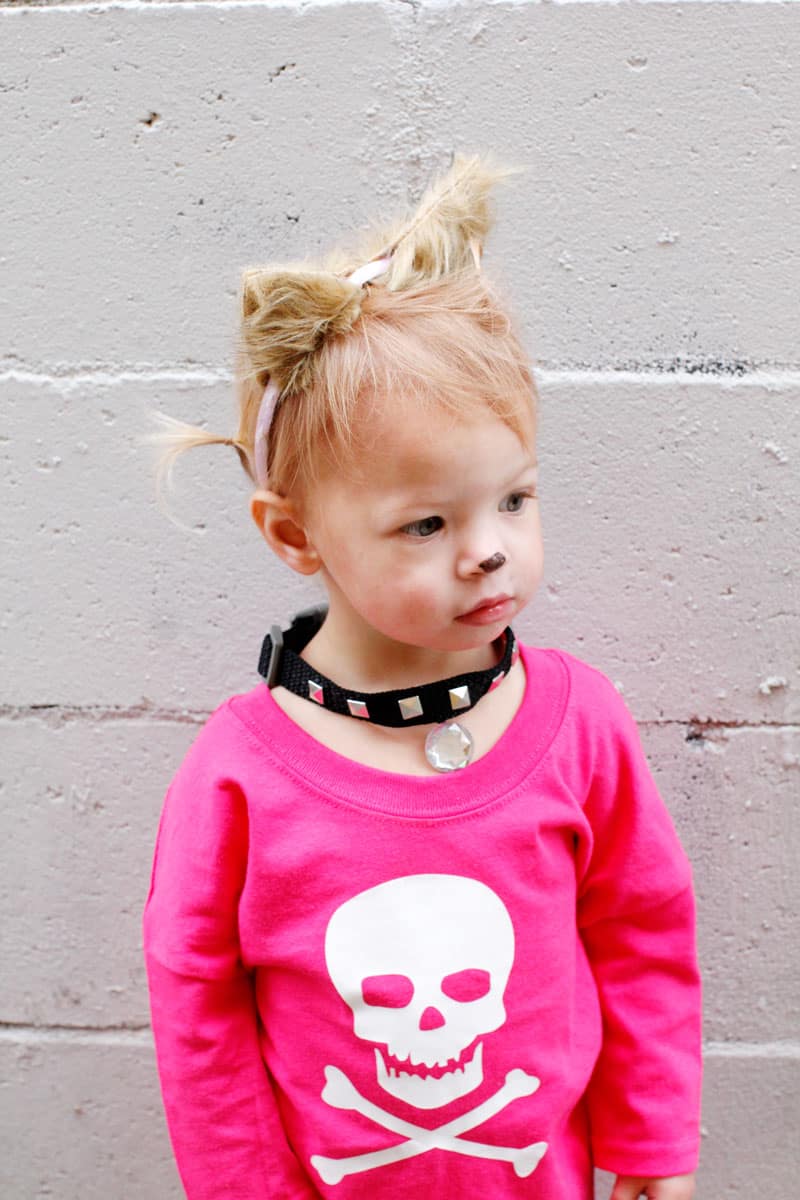
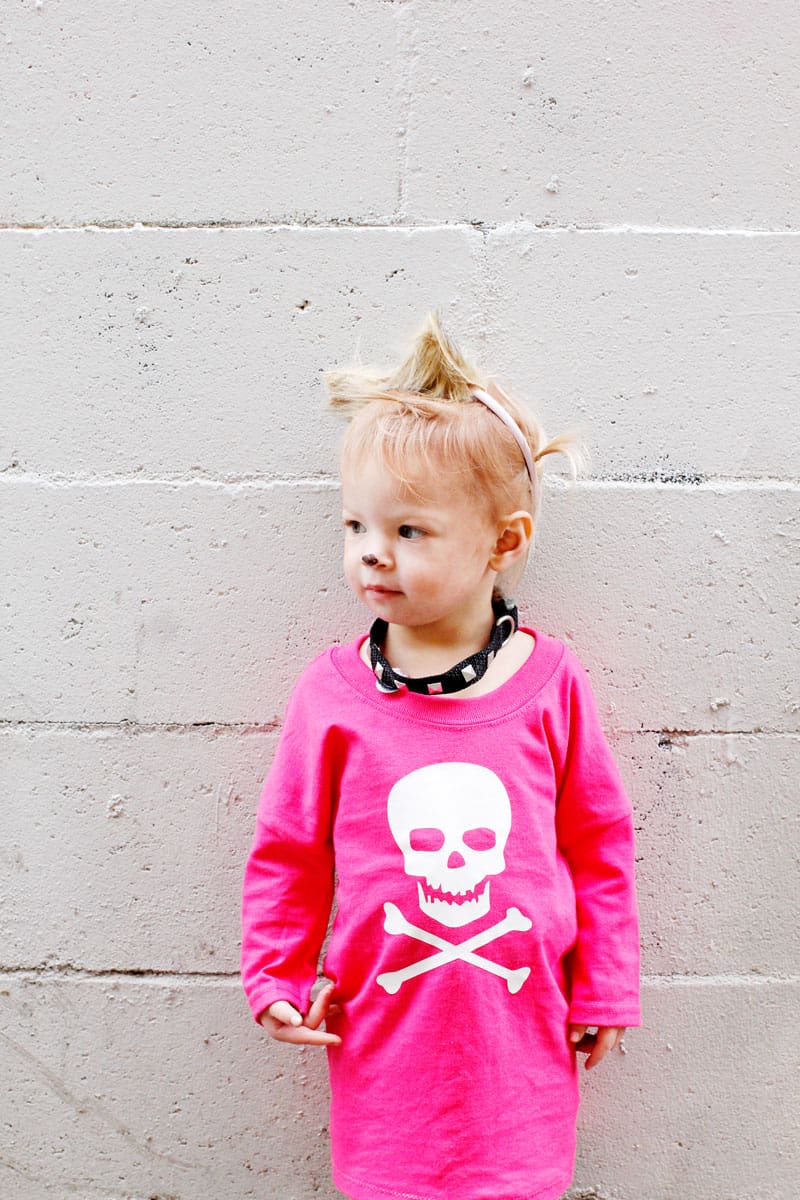
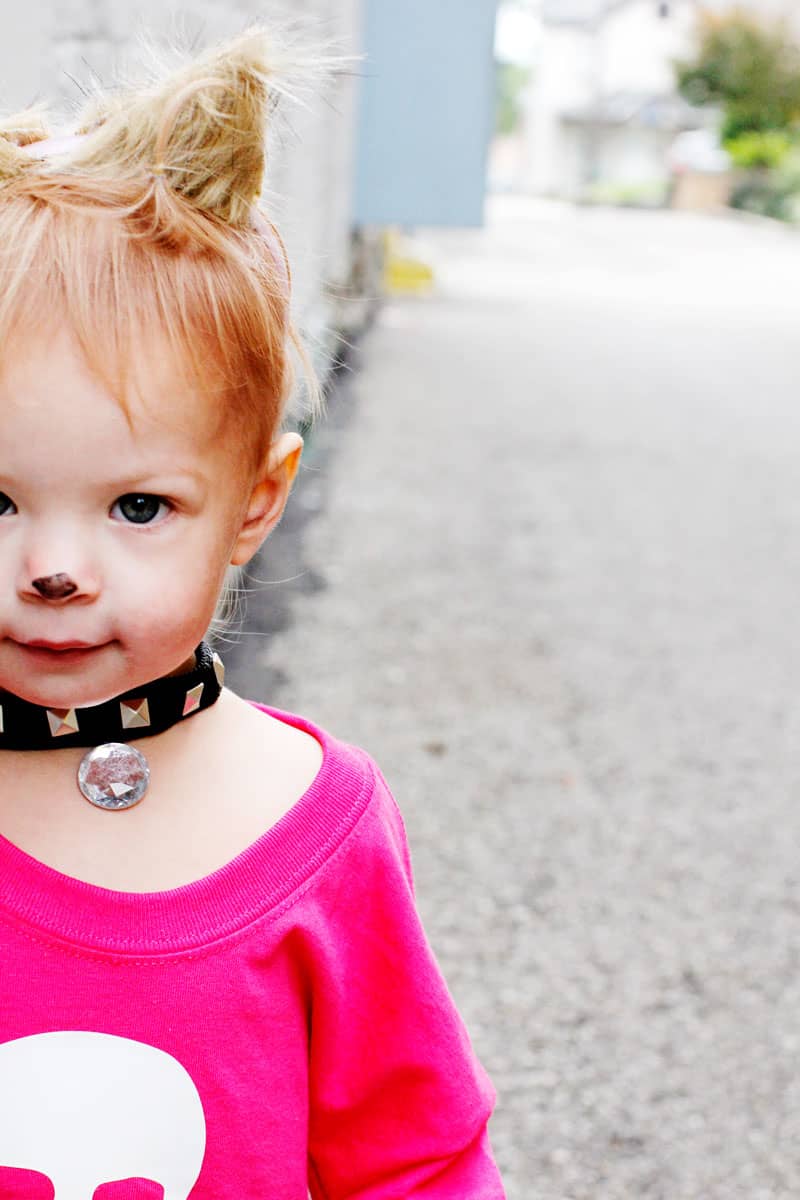
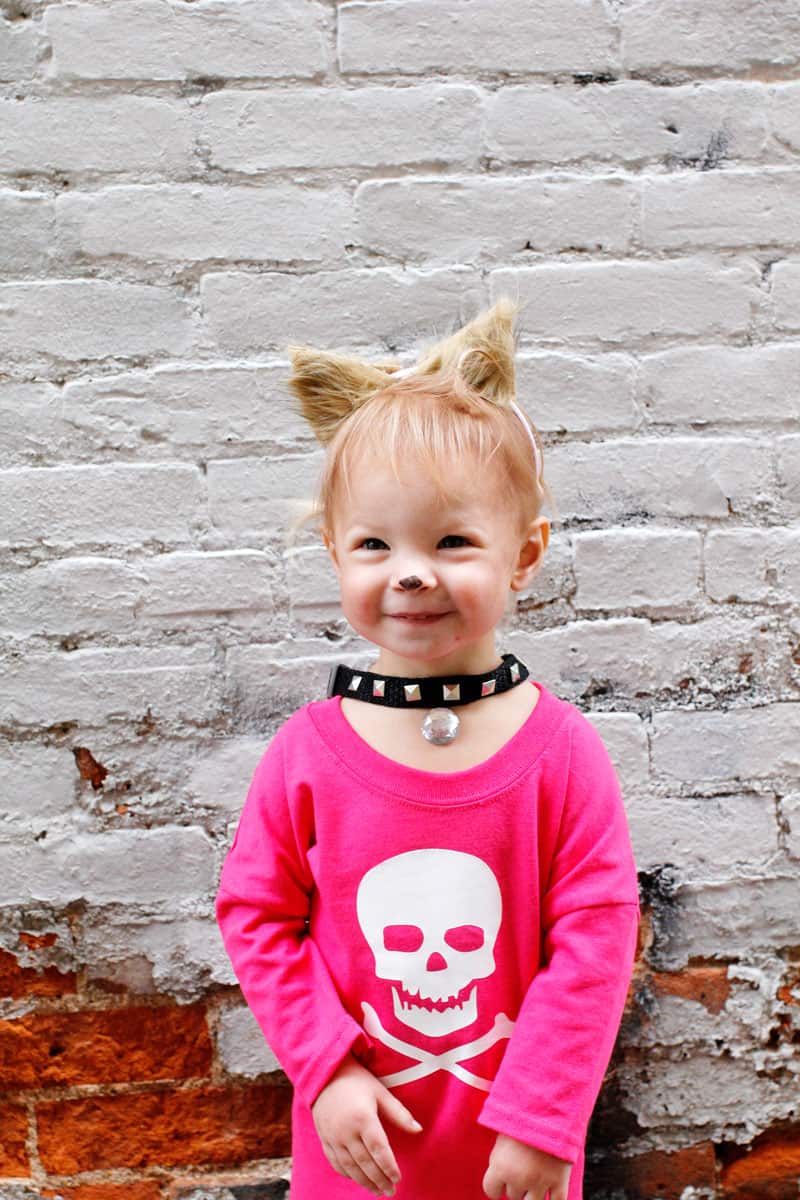
And my favorite- Winnie! My youngest daughter loves dogs and puppies, so dressing her like the cute little werewolf pup Winnie was perfect! Winnie is such a cute little puppy in the movies but she has some sass!
I love her rocker-esque outfit and it was really fast to make, too!
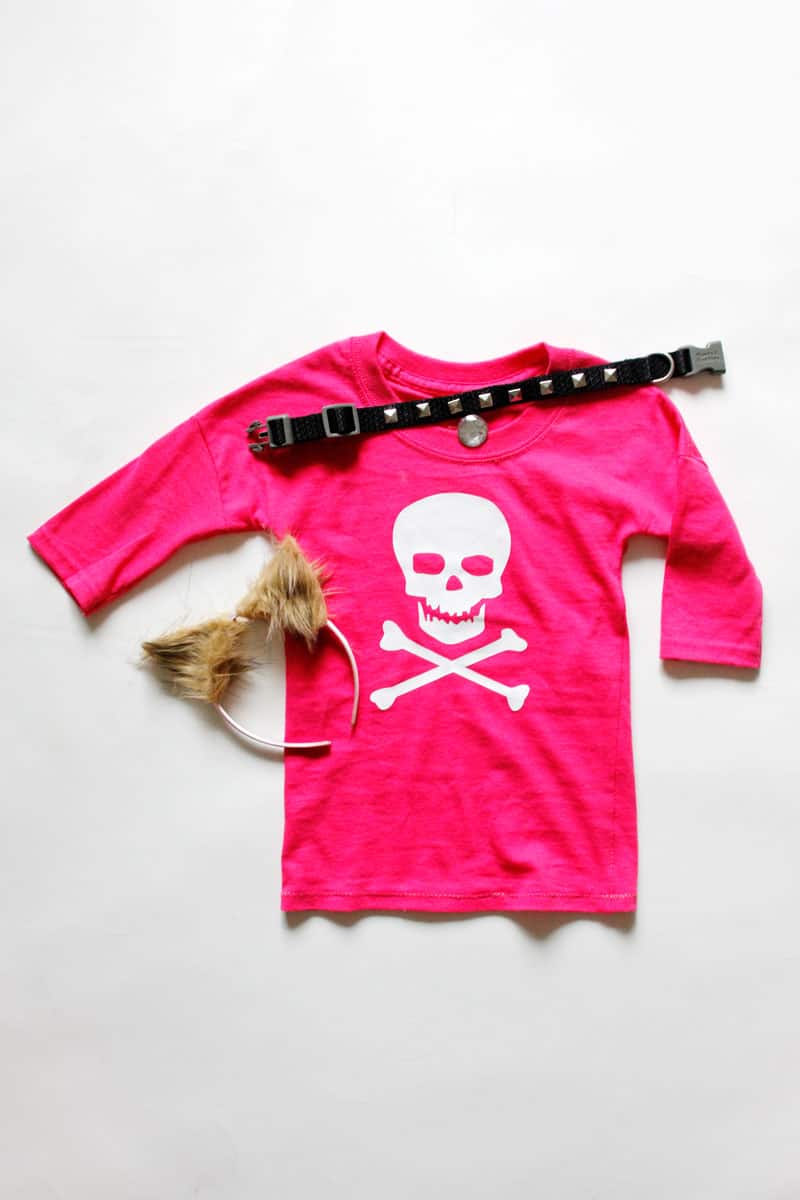
Materials///
-girl’s t-shirt 2-4 sizes bigger than needed
-white iron-on vinyl or fabric paint
-skull + bones template or SVG file
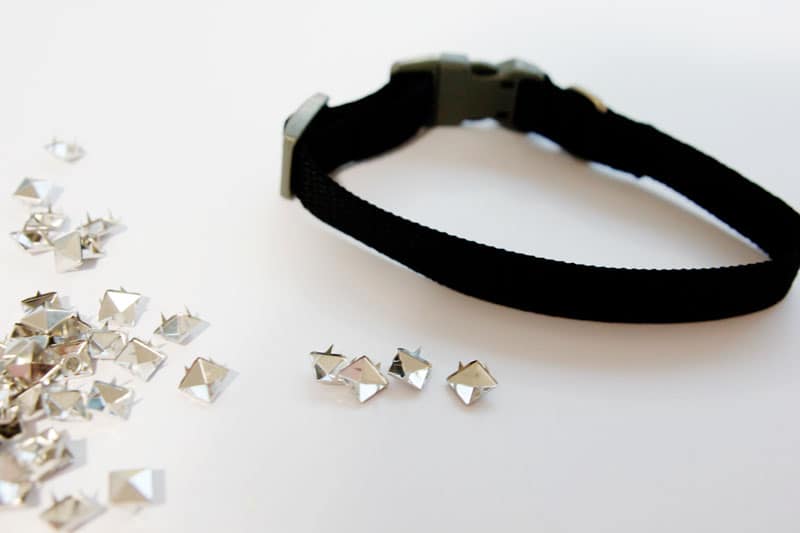
-black dog collar
-studs
-jewel, or coin for dog “tag”
Other accessories to add//
-pigtails
-werewolf ear headband (see above for tutorial)
-puppy face paint or black eyeliner for nose.
INSTRUCTIONS///
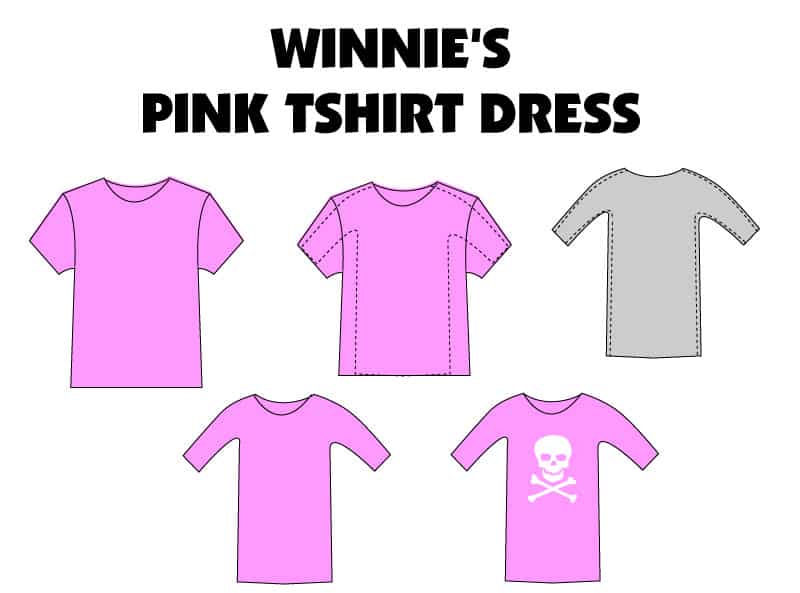
To make Winnie’s pink t-shirt dress, I started with a women’s small t-shirt and created a dress very similar to Mavis’. Use the same technique to create the dress pattern, using a dress or top that fits the model. Use the existing collar, hem and sleeve hem to make sewing this up super fast!
Use the template included in the template pack to create either a vinyl iron-on or stencil to use with paint. Apply skull and bones to the front of the dress.
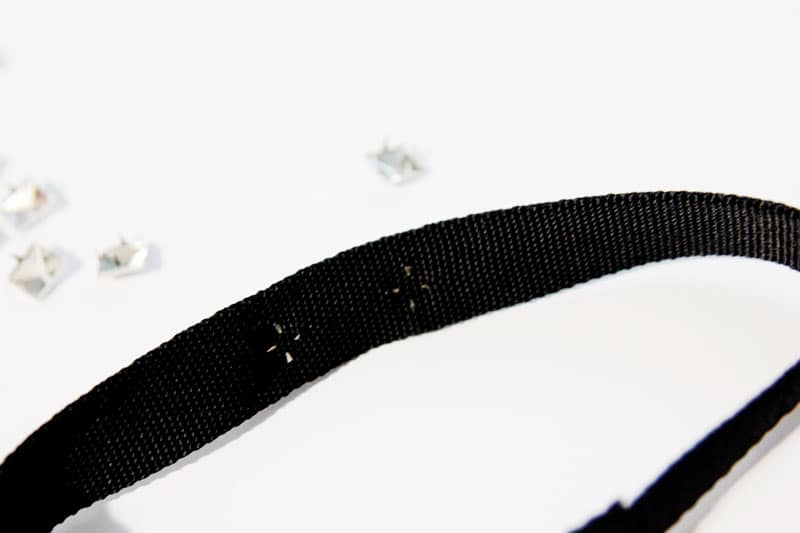
To make the collar, use studs from the craft store. Push them into the collar and bend back the sharp points with a pair of pliers. Place one every 1 inch or so.
Use a piece of ribbon or string to attach the jewel or coin to the middle of the collar. Glue the ribbon to the jewel and glue the other side of the ribbon to the collar.

