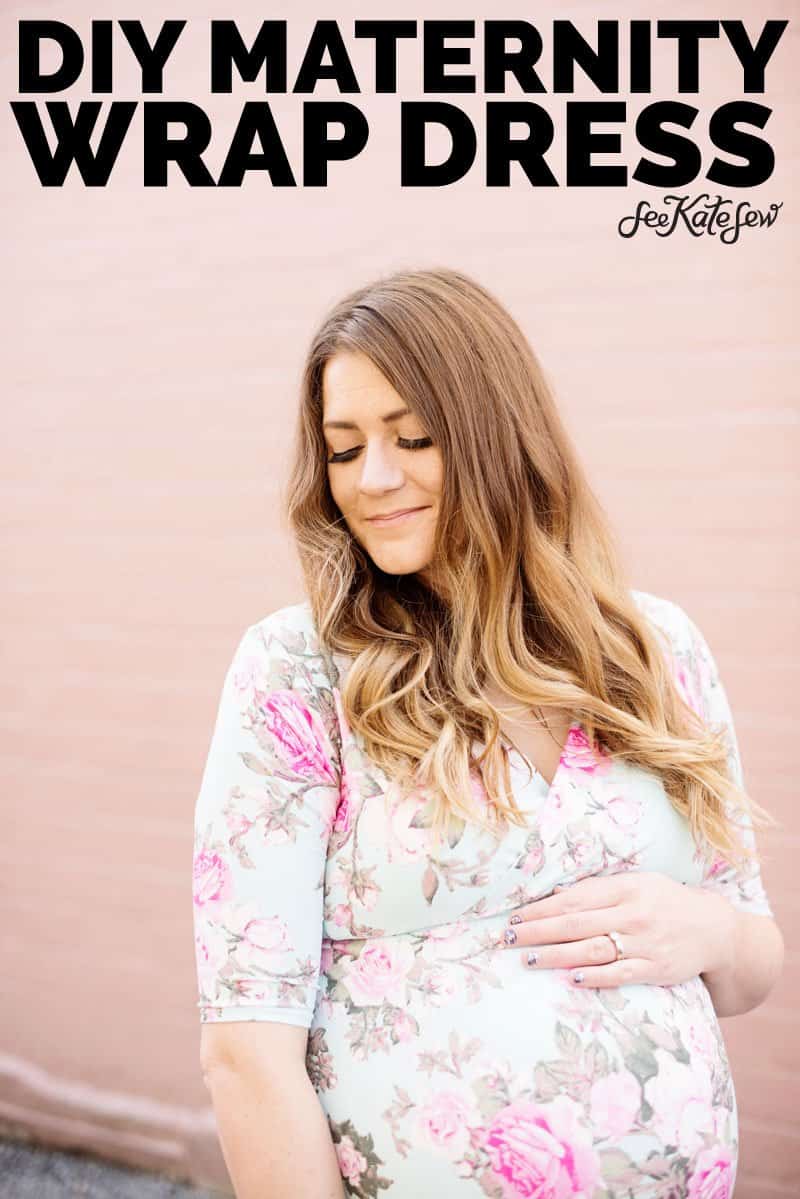
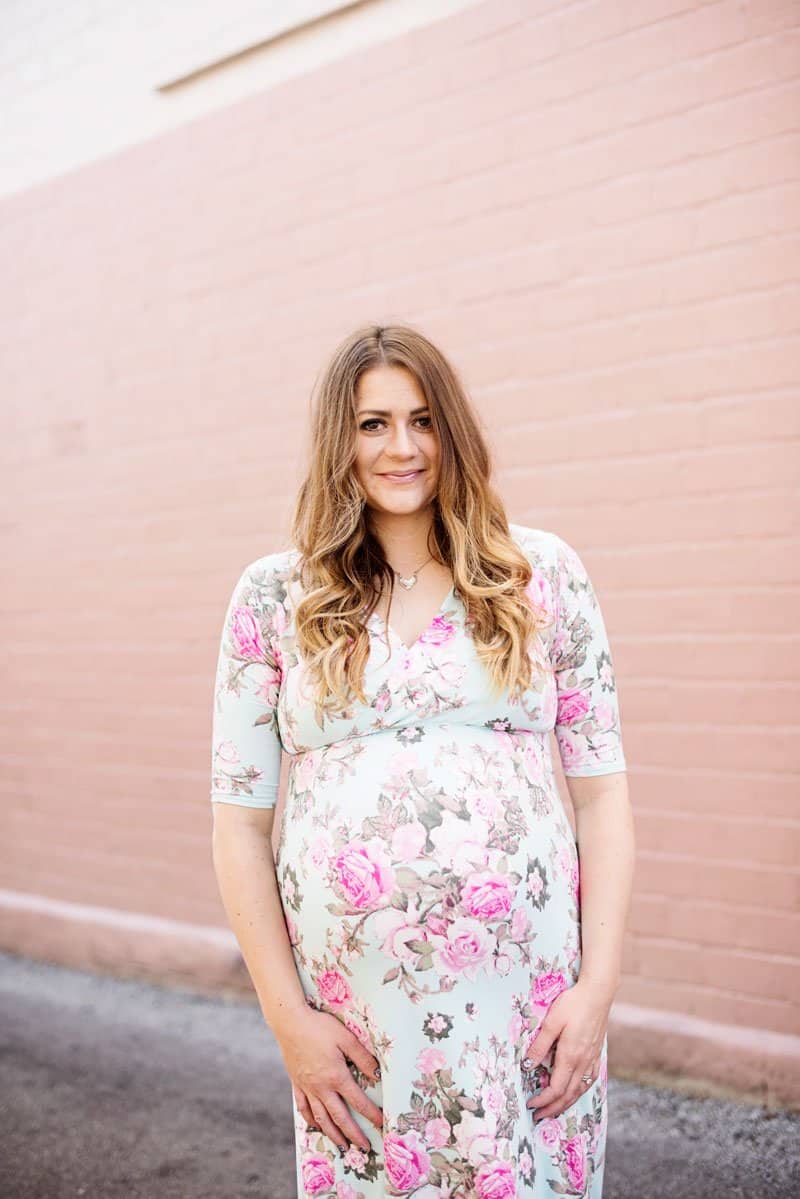
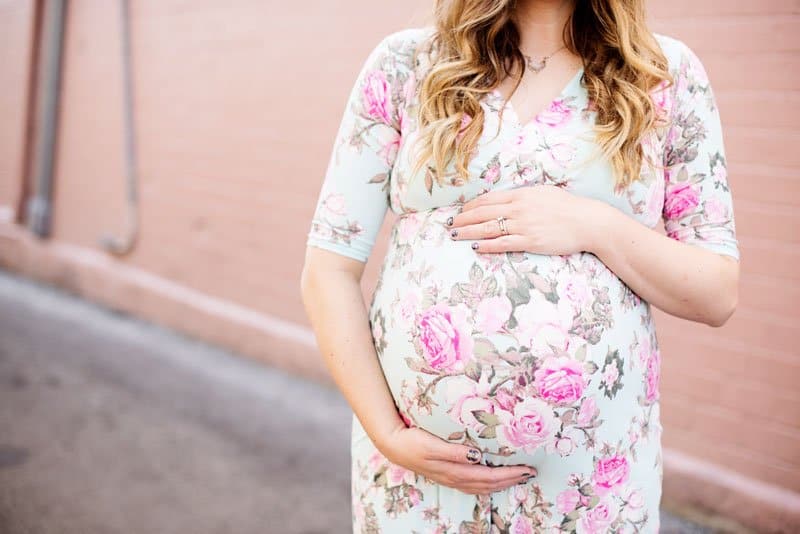
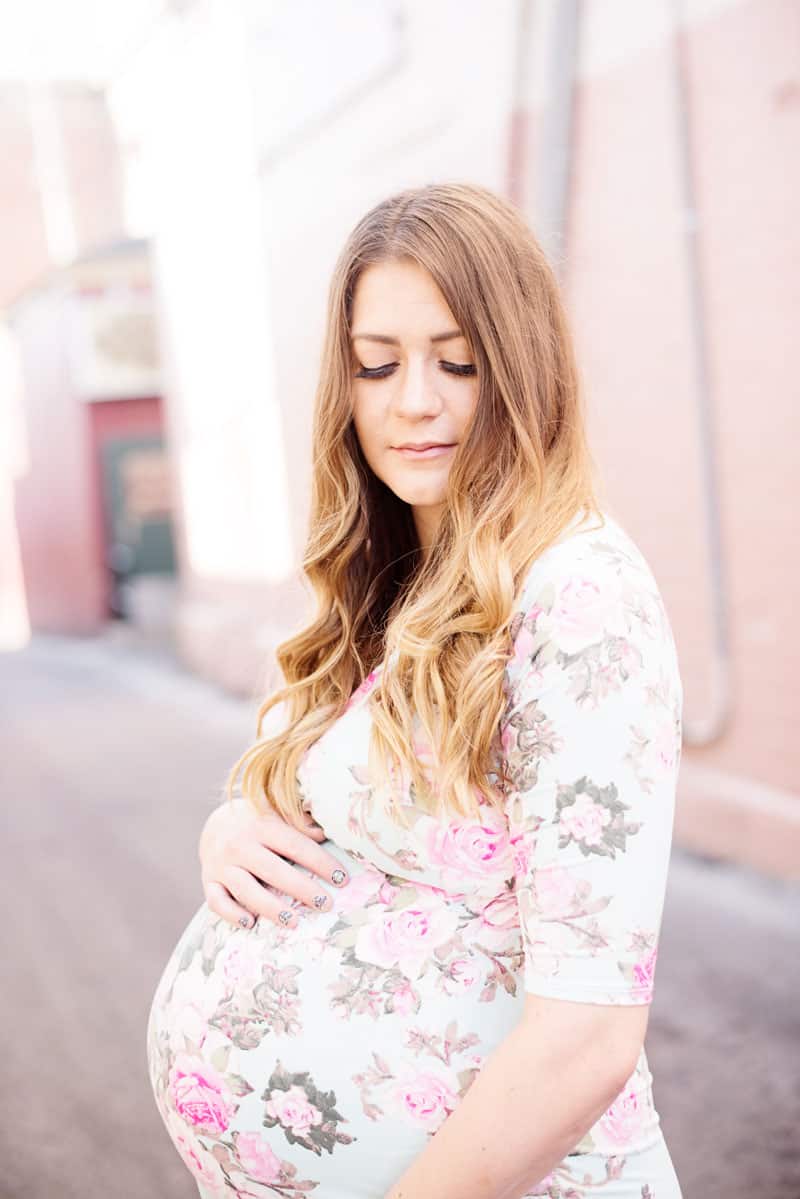
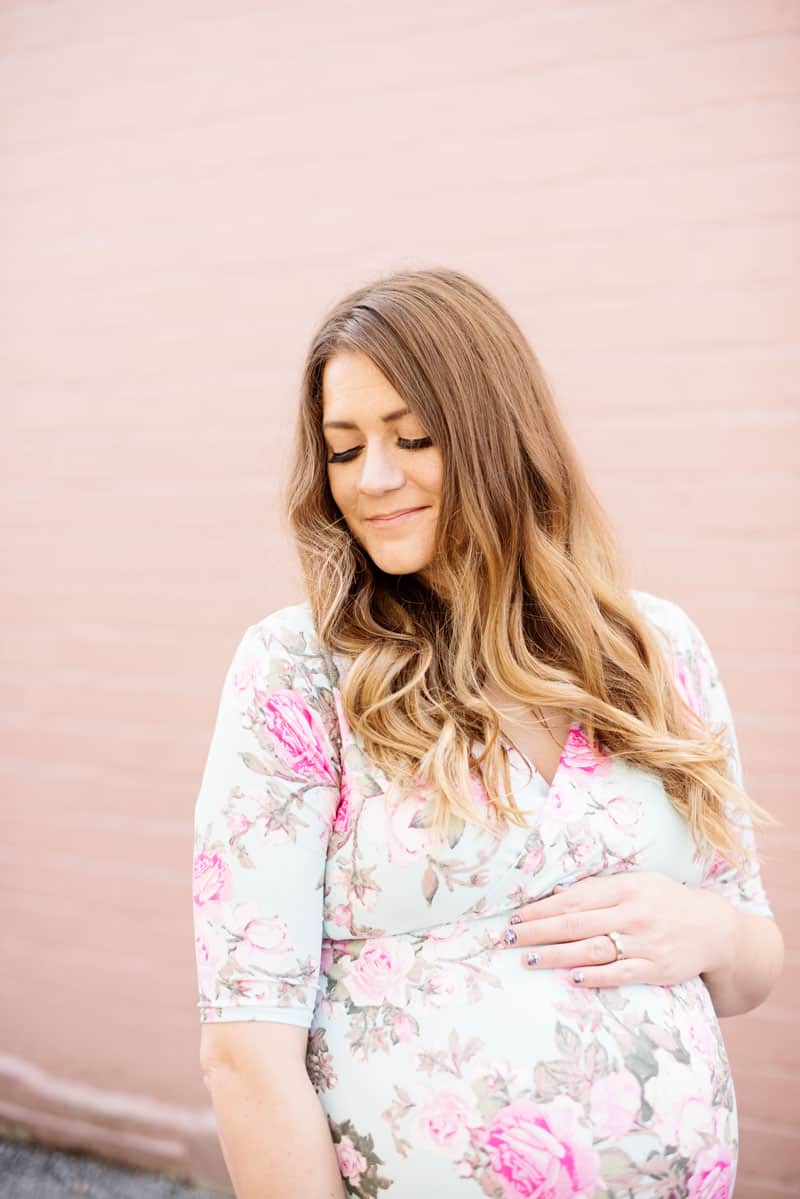
I’ve been meaning to make a DIY maternity wrap dress this whole pregnancy and finally snuck it in a few weeks before it’s over! I will have to make sure to wear it a lot in the coming weeks – although this style of dress is also perfect for nursing! Since I didn’t make the skirt super extra billowy, I think it will look great and not really like a maternity dress without the belly! I loved DIYing my own wrap dress because I could make sure the front didn’t dip too low. I think a common problem with wrap dresses is they show too much in the front and I always have to wear something underneath! This is a one-piece wrap dress that doesn’t need any other shirt or undershirt to go with it and looks extra cute with a v style necklace.
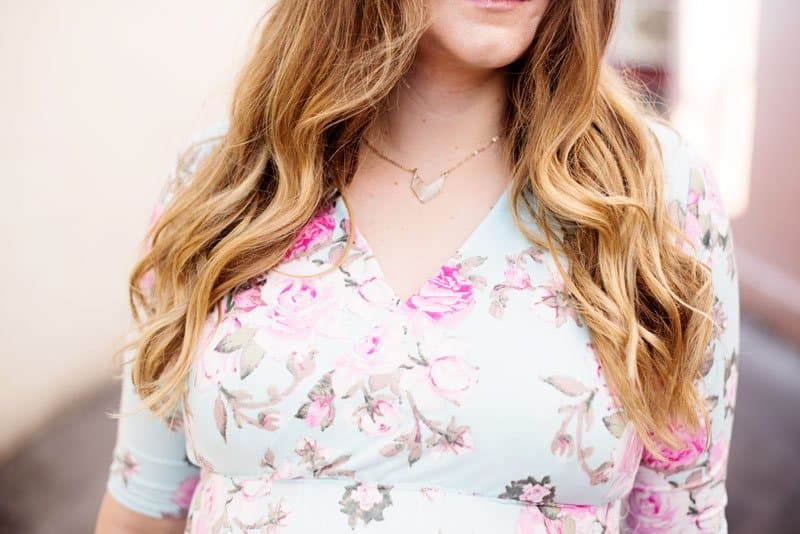
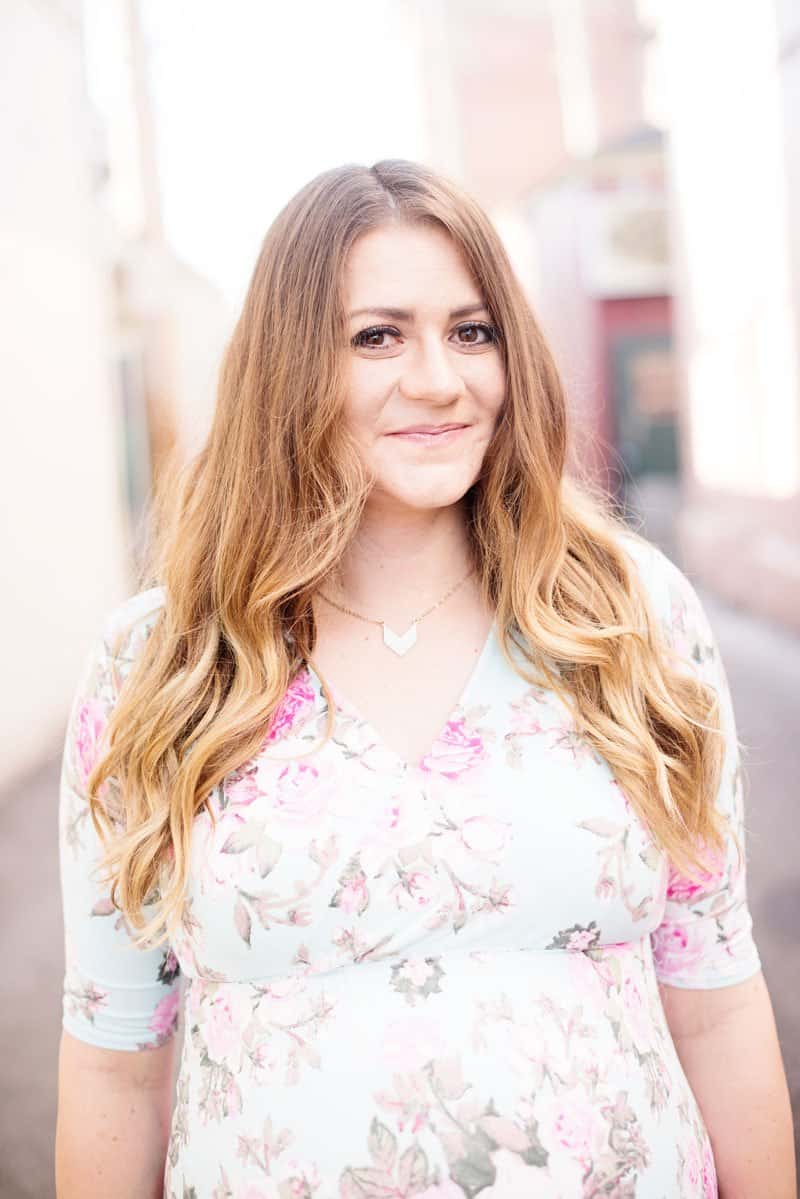
I constructed this using the Penelope Peplum as my base. You know I love a good pattern hack! The top is made from Penelope pattern pieces and the skirt is very simple to draft yourself. I’ll show you how!
I used the softest brushed poly for this and I never want to take it off, it’s serious cloud fabric! The fabric is this floral called Aqua Veronica from Sew So English.
Materials//
-3 yards lightweight knit fabric
–Penelope Peplum Pattern
-pattern drafting paper (I use this!)
–Acrylic ruler
-pencil
–1/4″ elastic
Instructions//
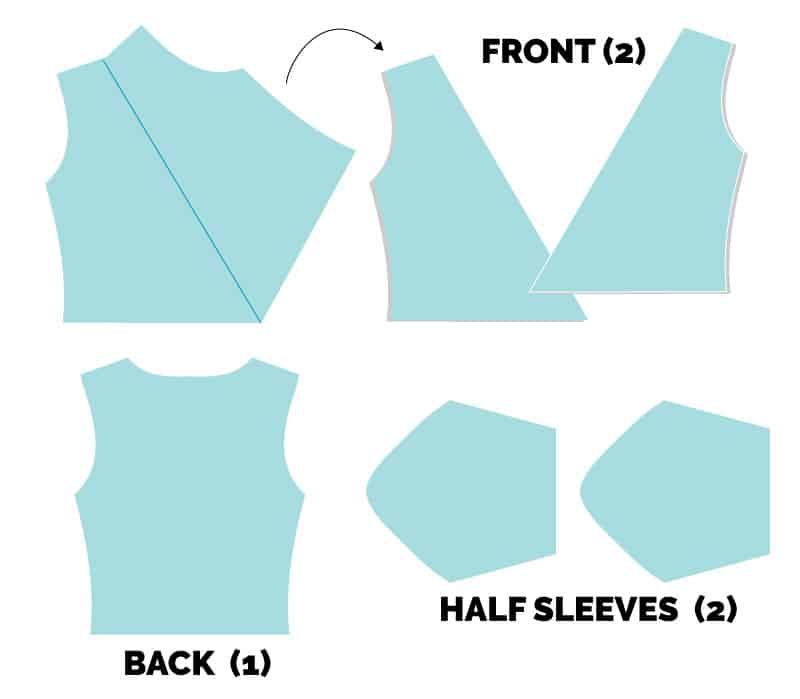
Print off the Penelope front, back and sleeve.
Cut 2 sleeves from the half sleeve pattern.
Reduce the length of the front and back pattern pieces by 4-5″. We want the bodice to hit below the bust, so you may want to hold the pattern piece up to your body to find the right spot for you.
Cut 2 back from the pattern piece.
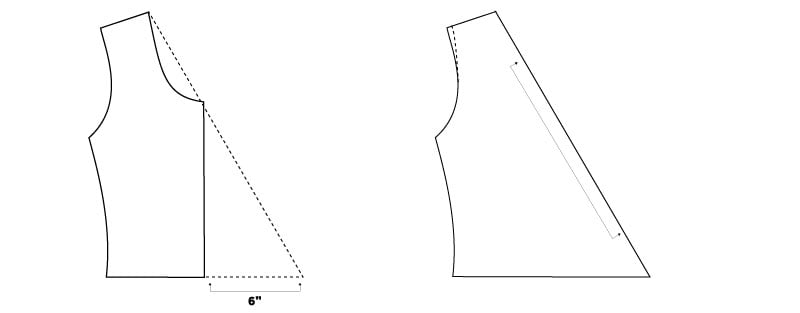
Now, we’ll modify the front. Lay the pattern piece on your pattern paper and tape it down. Draw a line from the neckline top to a point 6″ out from the hem line. Remove 3/8″ from the shoulder to compensate for the seam allowance at the neckline. This will be a CUT-ON-FOLD piece along the neckline angle so the front has extra stability and a nice finish!
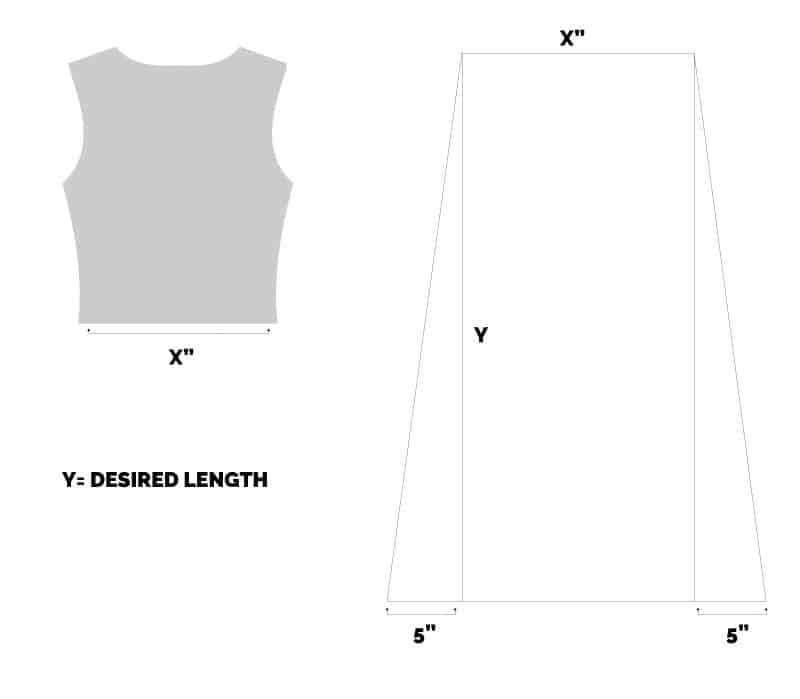
To create the skirt pattern, measure the back pattern piece at the bottom. The X measurement will match the top of the skirt pattern. Create the skirt’s length to your desired length. Measure from below your bust to the floor (or to where ever you want it to go!) and add 1.5″ from seam allowance and hem. At the bottom of the skirt pattern, add 5″ on either side to give the skirt a little bit of flow and a slight A-line shape.
Cut 2 skirt pieces from fabric.
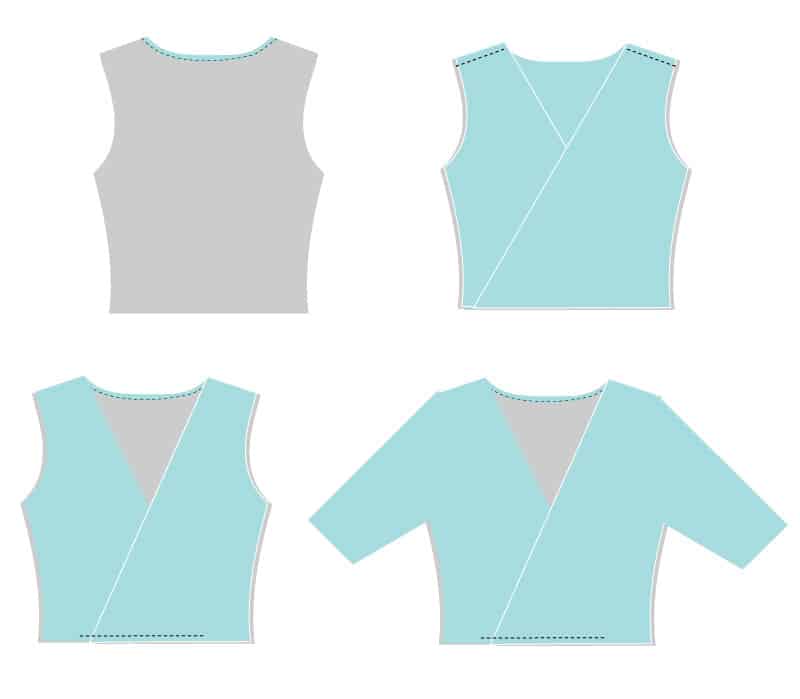
Now we’ll assemble the dress. Turn under 3/8″ at the bodice neckline and sew. Sew the front pieces to the back with right sides together at the shoulder seams. Remember the front pieces are cut-on-fold so both sides will be the “right side” of the fabric.
Turn the bodice right side out and match the fronts at the bottom. Overlap them about 6″ (more or less depending on your bust and preference) and baste together with a loose stitch. Hem the sleeves and insert them into the armhole.
Sew the front skirt to the front and the back skirt to the back. Don’t sew the side seams yet!
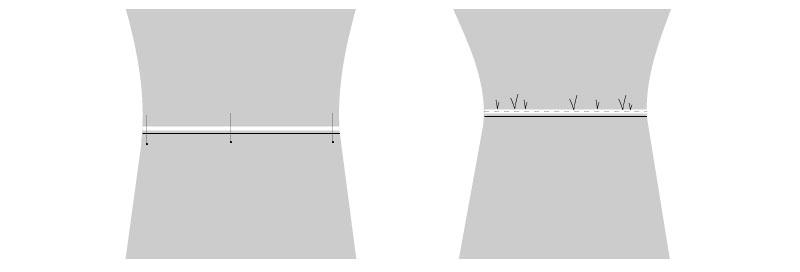
Cut a piece of elastic the same measurement as the point under your bust. Measure around the front, back and back to the front. And then cut the piece of elastic in half.
On the inside of the dress, press the seam allowance UP and then stretch the elastic from one side of the side seam to the other, on top of the seam allowance. Stretch and sew to gather the fabric.
Finish up the side seams of the dress and hem the bottom.







Love it!
Would this work the same for non-maternity? I want to create a wrap dress just like this from a pattern I already own.
Thanks