Written by Mandy Pellegrin of Fabric Paper Glue.
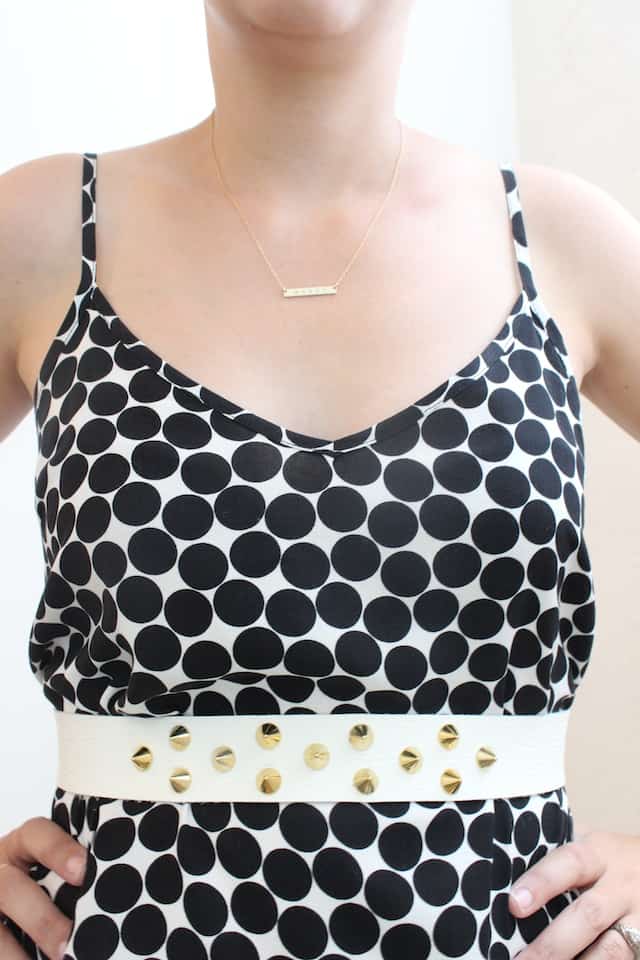
I love working with leather, but if you’re new to the material, it can be intimidating. If you’re looking for an easy, on-trend project to dip your toe in the water of working with leather, or you’re just looking for the perfect DIY accessory for cinching the waist of a recent longer, looser zippy top creation, perhaps, I’ve got you covered today. This belt is super cute and, even better, super easy!
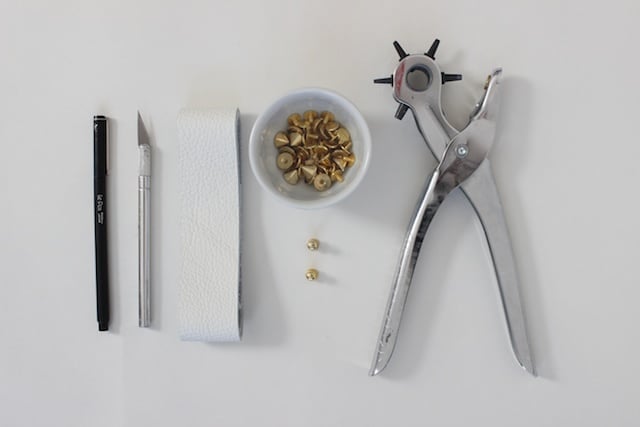
DIY Studded Leather Belt // Supplies: 1.5″ wide white leather strap, utility hole punch, craft or utility knife, 2 button stud closures, ruler, pen, screw-on studs
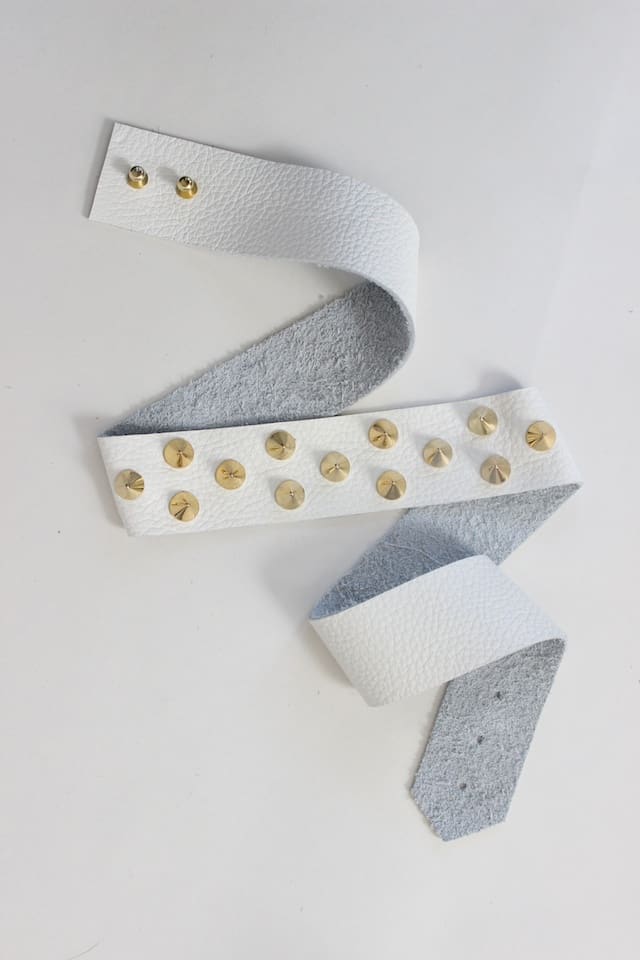
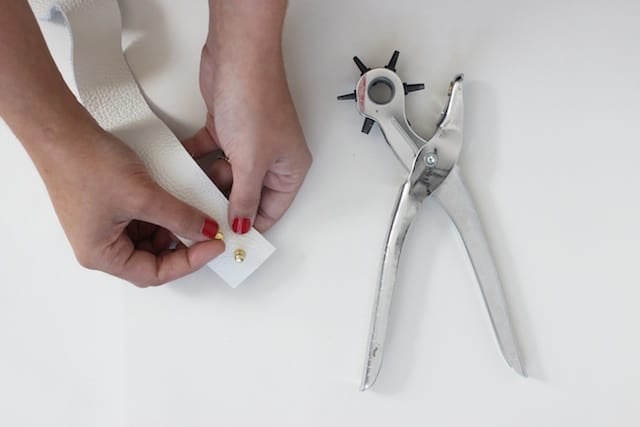
Step 1: In one end of the your leather strap, punch two holes about 0.75″ apart, and screw a button stud closure into each.
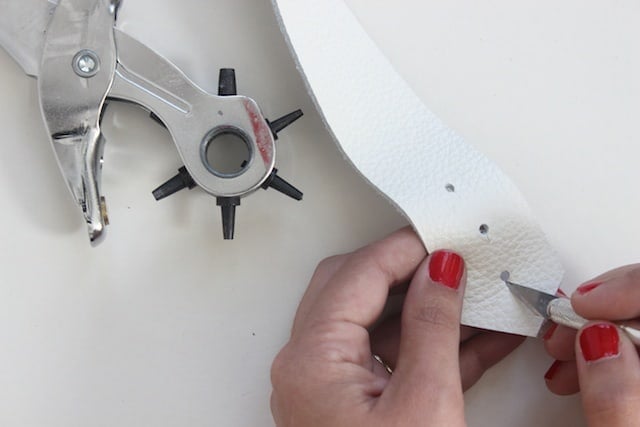
Step 2: On the opposite end, punch two or more holes (depending on how adjustable you want your belt to be) just smaller than the button stud spaced about 3/4″ apart. Use a utility or craft knife to cut a small slit on one side of each of the holes. This method allows the stud to slip on but not off when you’re wearing the belt.
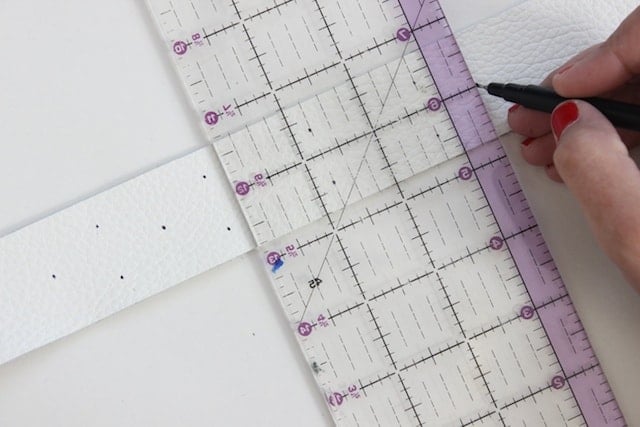
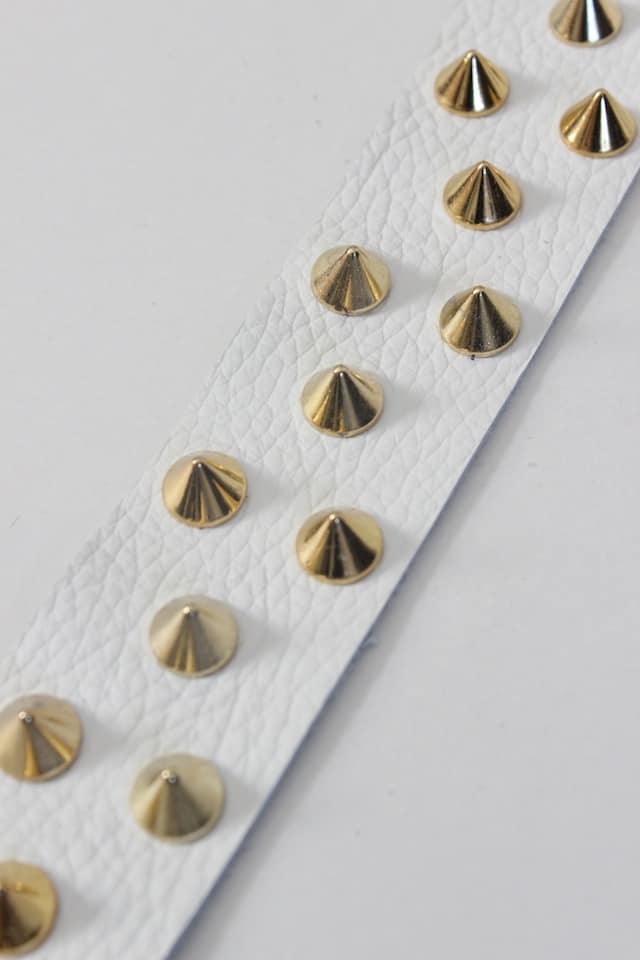
Step 3: Use a ruler and a pen to mark out the placement of your studs. I did 1-2-1 kind of pattern with spaced about 0.75″ apart.
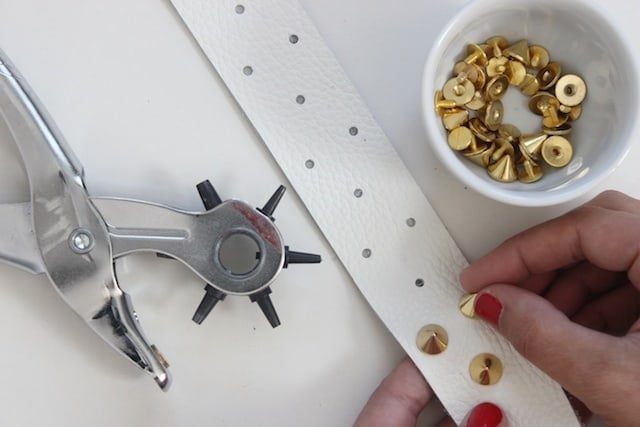
Step 4: Punch a hole over each of the marks, and screw a stud into each.








That is an awesome belt! I love the white and the gold studs!
oh I remember my white studded belt in high school ruining a lot of furniture! I’m glad the studs here are only on the front!
Cute! I’ve got a Craft Gossip post scheduled for this evening that links to your tutorial:
http://sewing.craftgossip.com/tutorial-no-sew-studded-leather-belt/2014/05/13/
–Anne