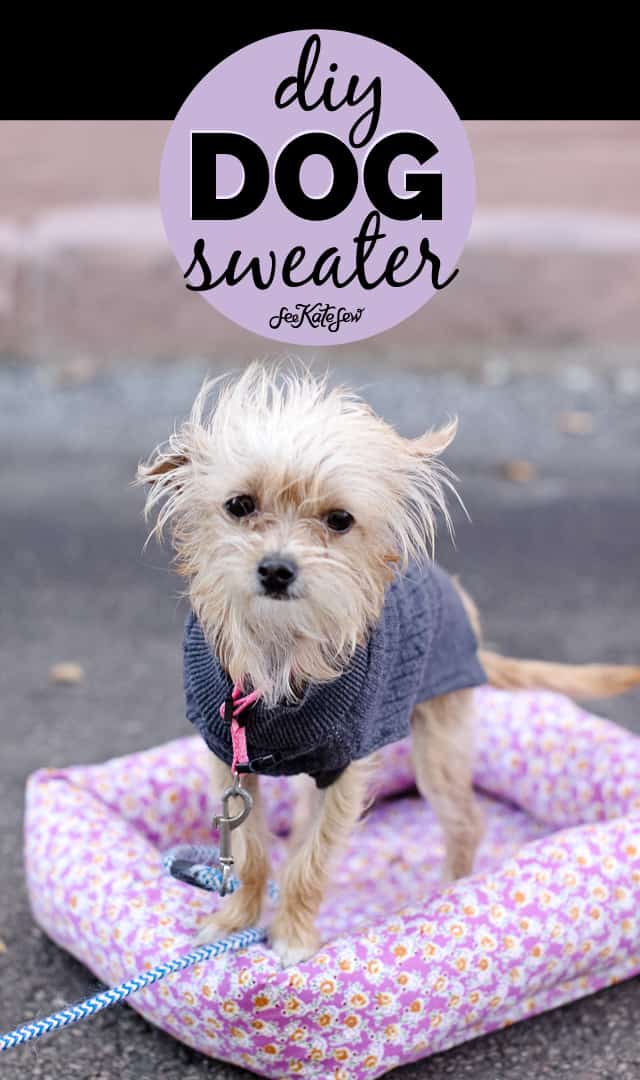
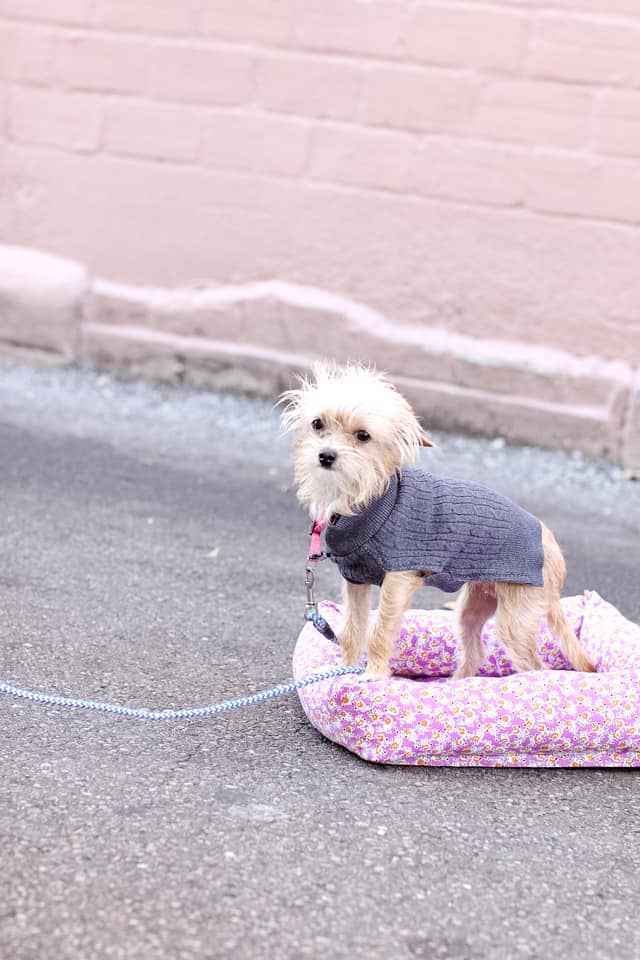
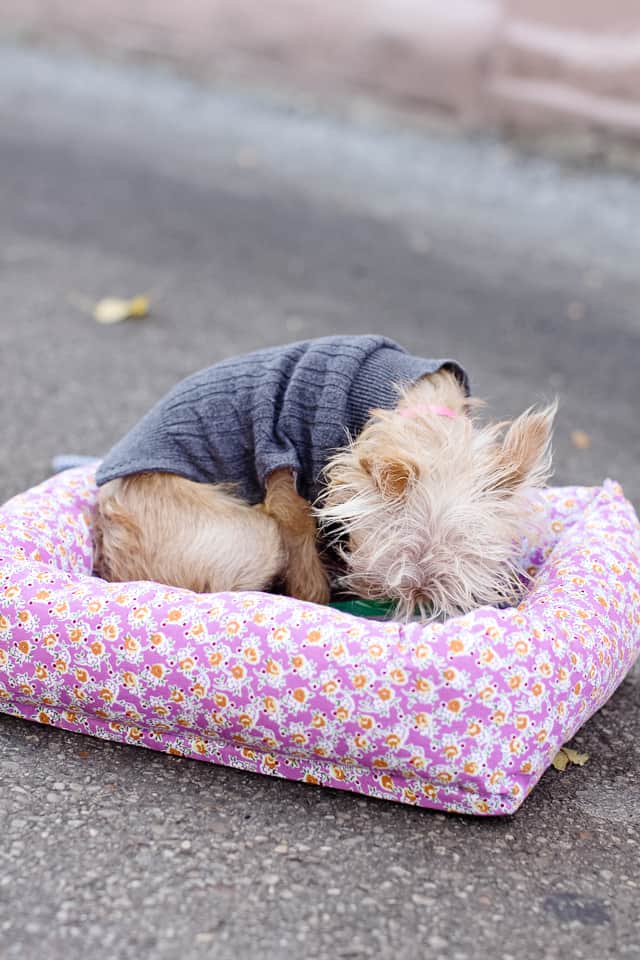
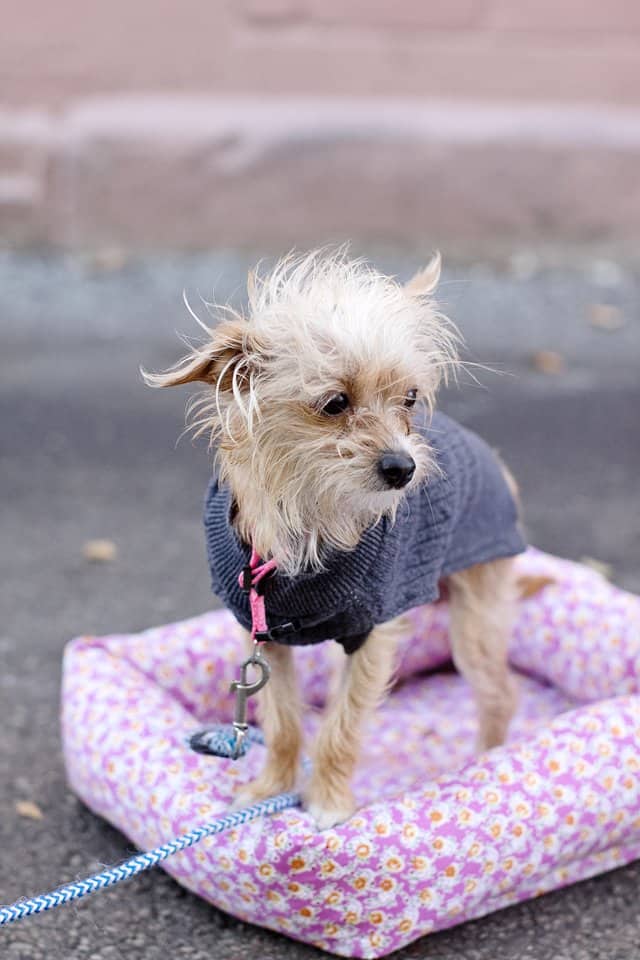
Make your own dog clothes with this dog sweater sewing pattern! This post includes a free template and simple instructions to create a dog shirt from an old sweater.
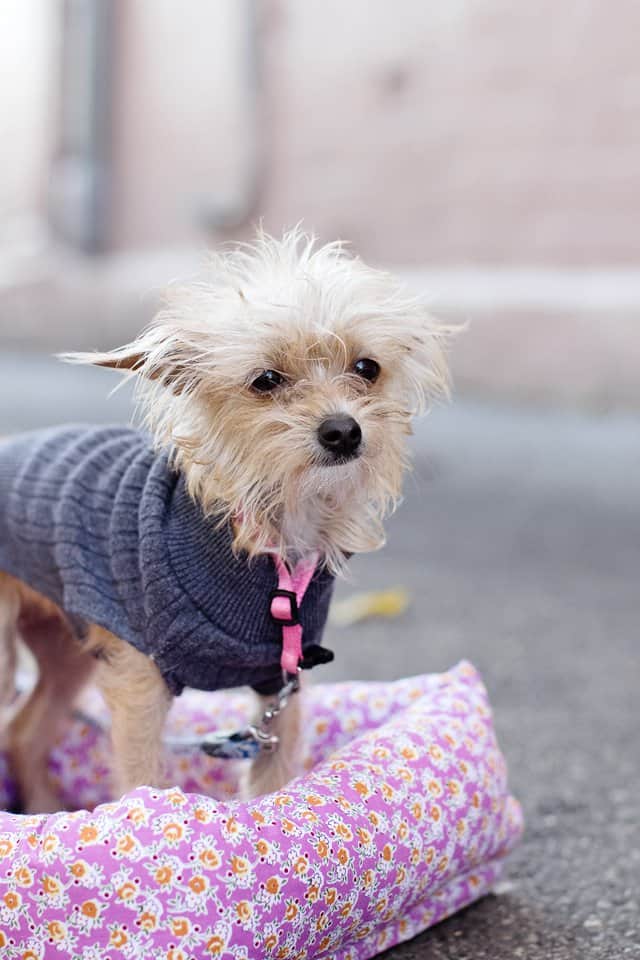
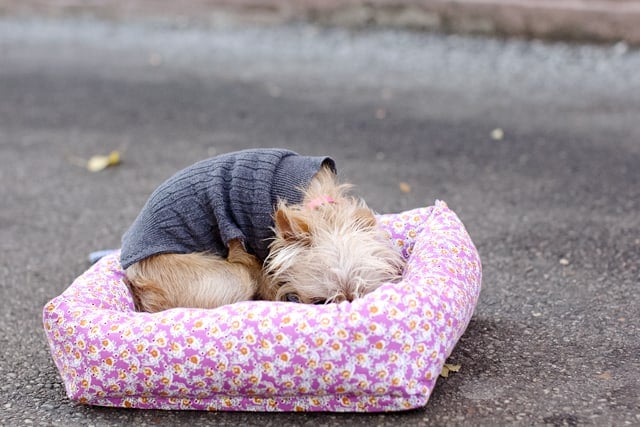
I love sewing for pets, it’s just so fun and they are so cute, this tiny one in particular! The last pet project I made was a few years ago – this cat shaped cat bed! I’ve been wanting to try more pet projects so here is a super cute sweater, up cycled from a thrifted sweater!
You can also raid your closet for a sweater you haven’t worn in a while.
It just has to have a ribbed waistband, any type of knit will work but a finer woven knit as shown will be the easiest.
Dog Shirt Materials
- 1 old sweater with a ribbed hem
- coordinating thread
- a serger (affiliate link) is very helpful for this tutorial but not required
- pattern in 3 sizes, download below
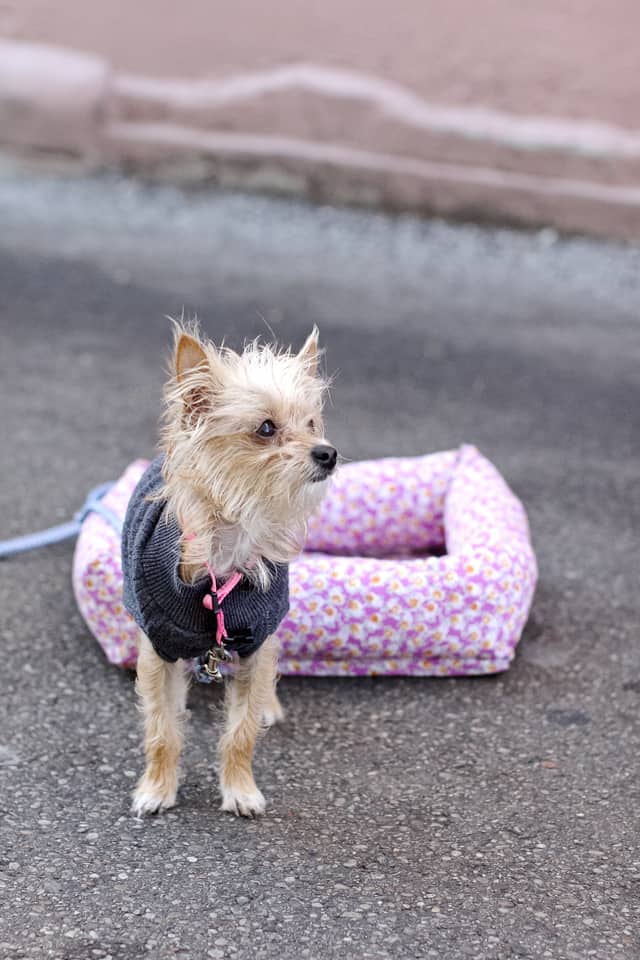
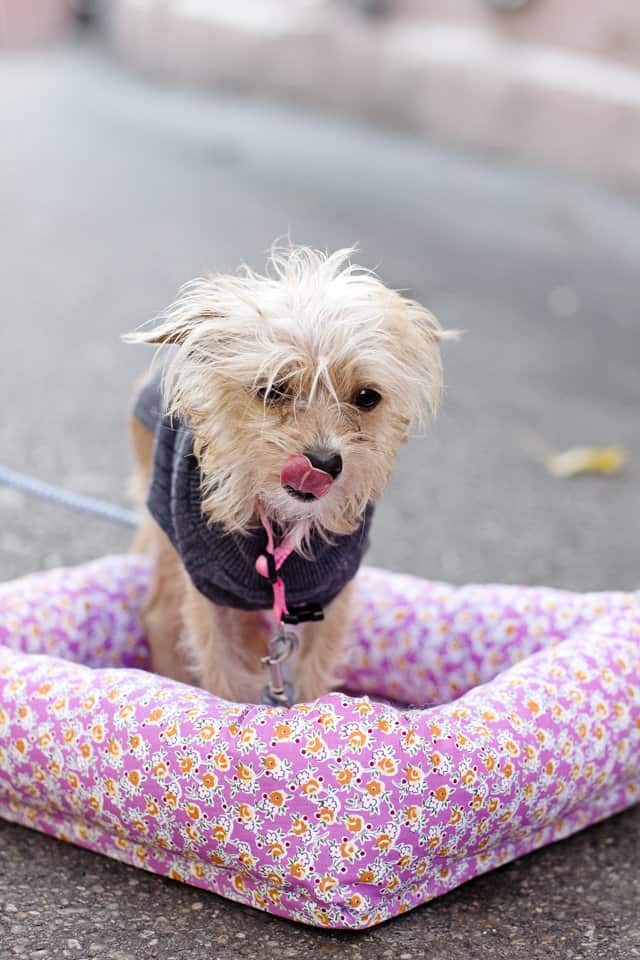
This pattern is really easy to sew, it has just 3 pattern pieces!
Dog Sweater Sewing Instructions
Print the dog sweater sewing pattern and piece it together. The pattern should print out at 100% or DO NOT SCALE. There will be 1/2″ on the side that you need to trim off and overlap. Tape together.
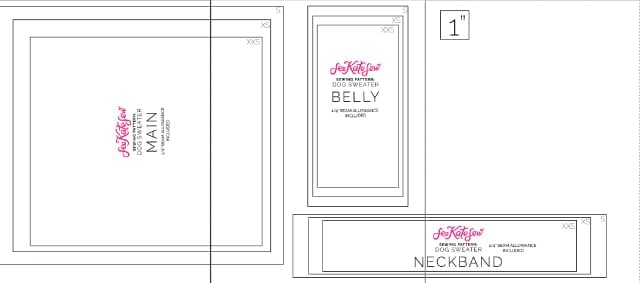
Dog sweater sizes
XXS – for teacups + tiny puppies (shown)
X SMALL – for chihuahuas, papillons, maltese,
SMALL – for mini dachshund, small terriers.
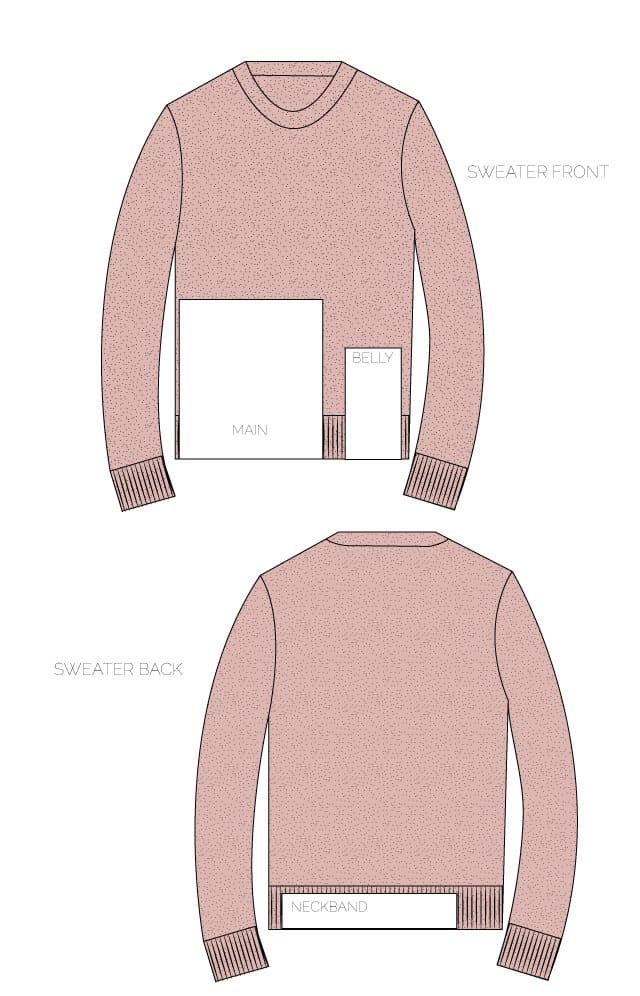
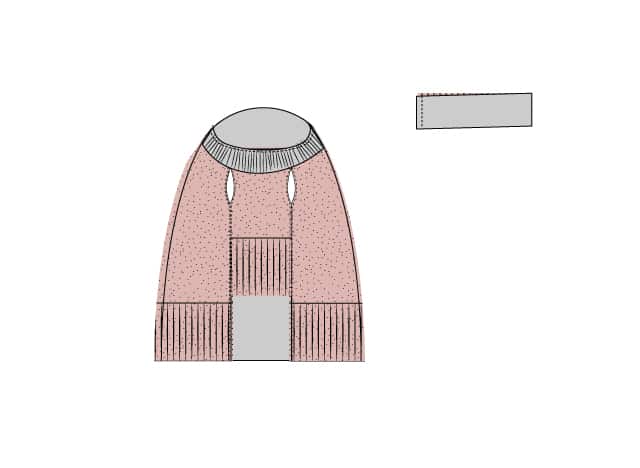
Lay the sweater down flat and pin the pattern pieces on it. Pin the main body and under body pieces on the bottom edge of the sweater to utilize the finished ribbed edge.
Use the ribbing on the back of the sweater to cut out the neckline piece.
Prep the body pieces. Serge (or zig zag stitch) the edges.
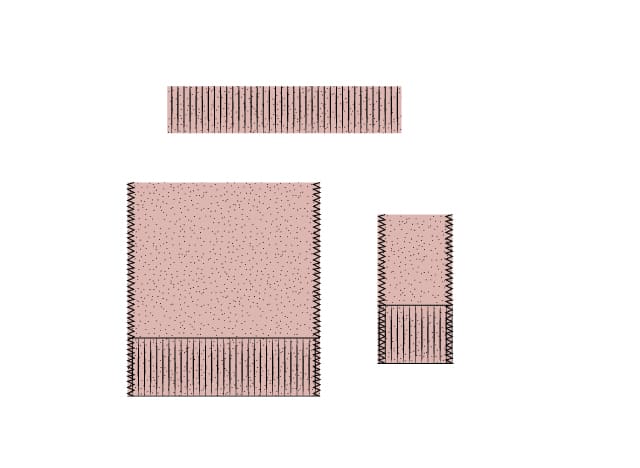
Then PRESS under 1/4″ on each side.
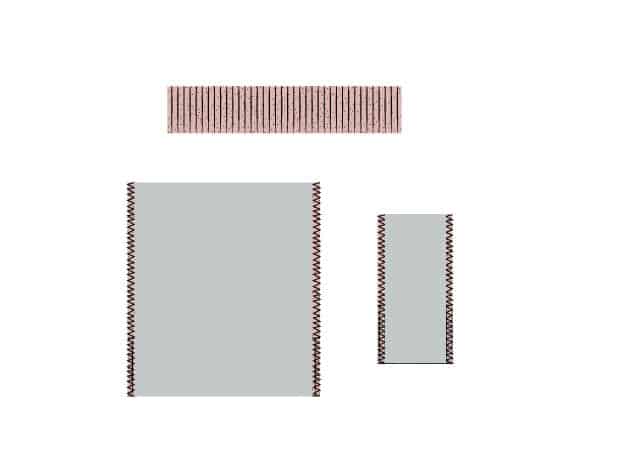
Open the pressed edge and pin these the two sides together with right sides together. Sew 1.5″ down from the top and then backstitch. Skip 2″ and sew again. The opening is for the front legs.
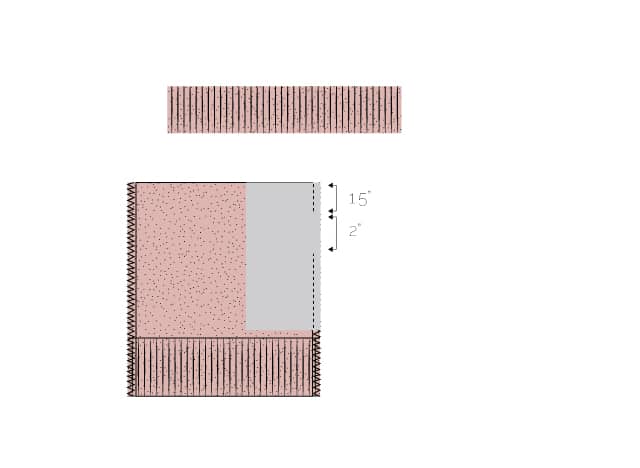
Sew the other sides together to create a tube.
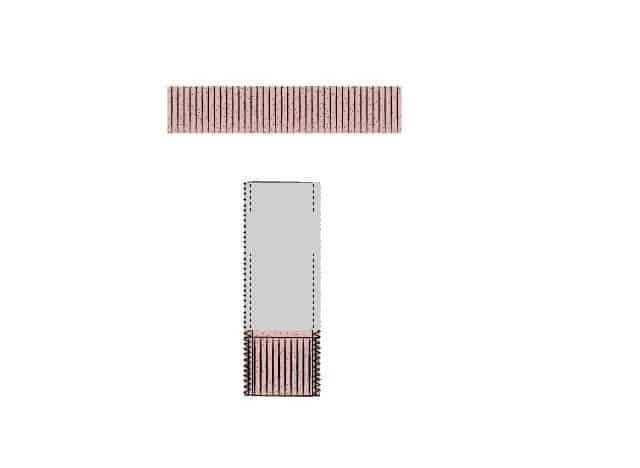
Press the side seam allowances open. Topstitch along both sides of the seam, stitching the seam allowances open and creating a finish for the leg openings. Stitch at 1/8″ from the seam. Repeat on the other side seam.
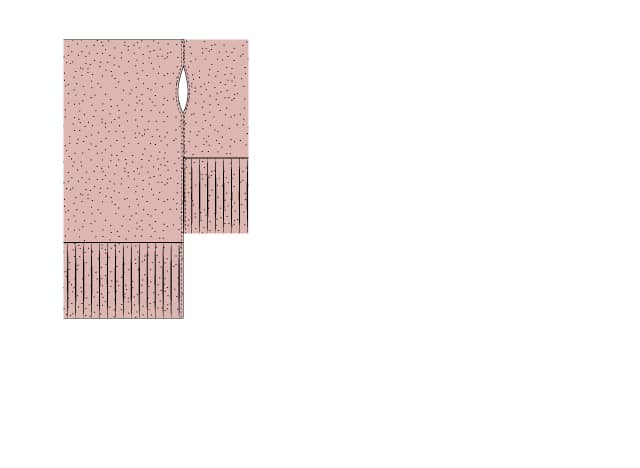
You’re almost done!
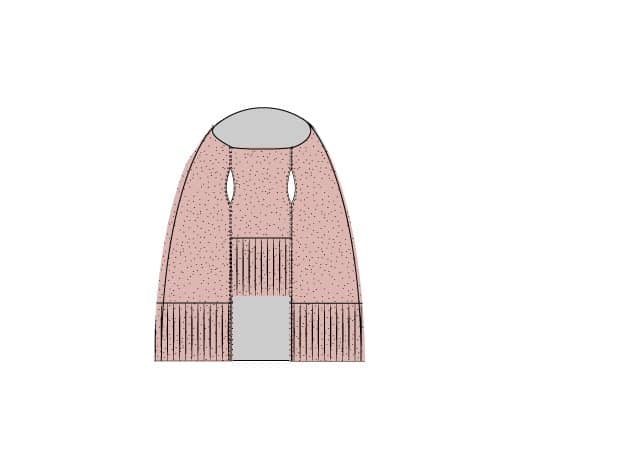
Now sew the ribbed neckband together along the short edge with right sides together. Pin the neckband to the neck opening with right sides together. Stretch neckband to fit and sew in place. Press.
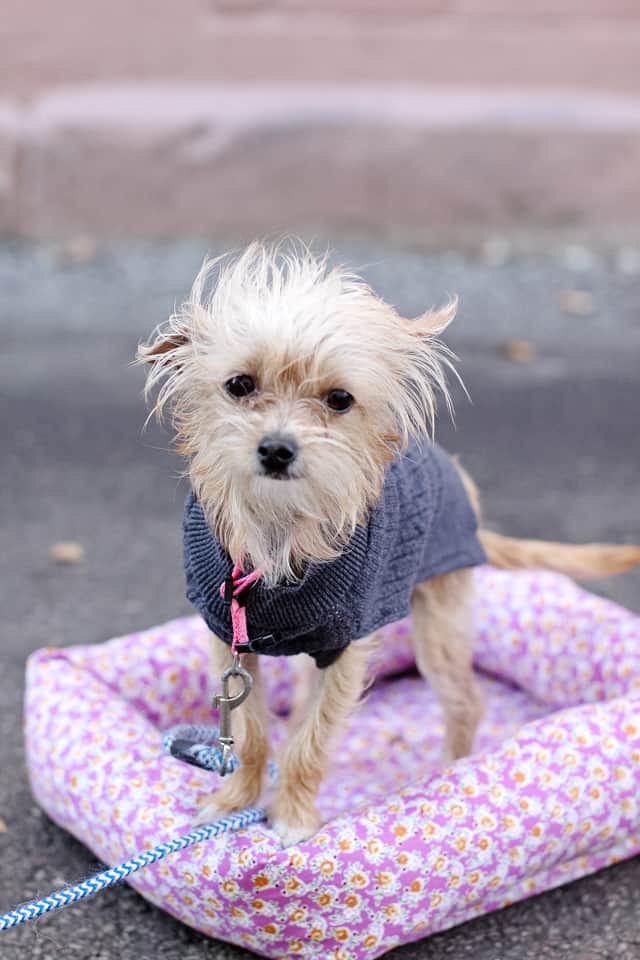
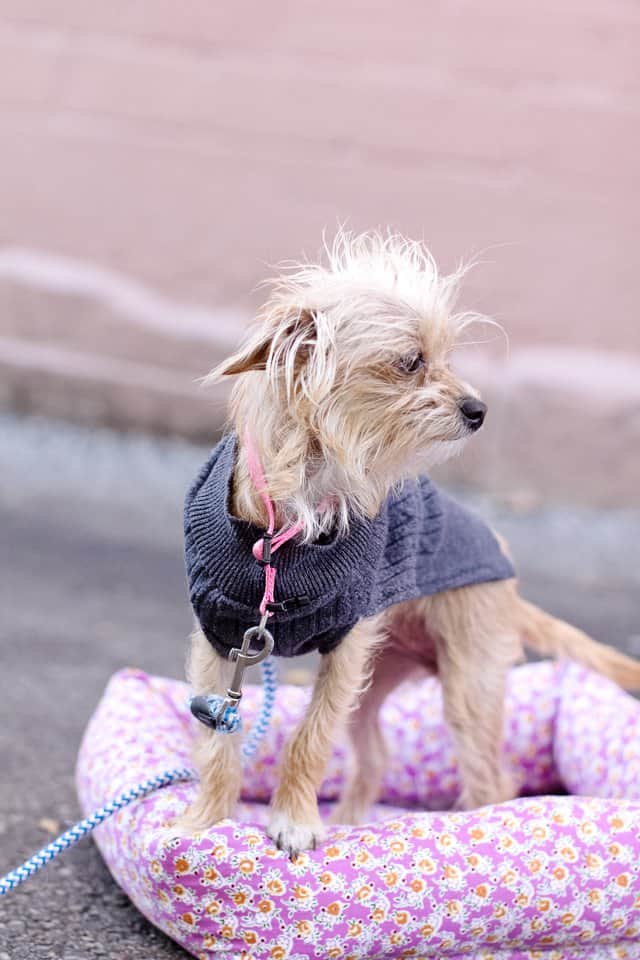
All done! Now go find that dog and test out your new dog sweater!






Cute idea! Thanks for the free pattern as well!
What a sweet little dog! Reminds me of my Mr. Lucky Duck.
Sweet dog!
I’ve got a chiwawa and would try this little project.The patterns are not downloadable but I have bookmarked the page.
Your DIY tutorials are very clear. I was able to make a babe cloth with hoodie applying your tutorial here https://seekatesew.com/baby-hoodie-pattern/
I always have to check back, is there a way to get update on your new post. Maybe a subscription on the comment section or where to add email
Thanks
Say I wanted to use this pattern as a base to make a larger dog a sweater. Particularly a 80lb pitbull/beagle, do you have any advice on how to go about that?