I’m excited to share a new project with you today – an easy doll sleeping bag tutorial! I made a doll sleeping bag for my daughter.
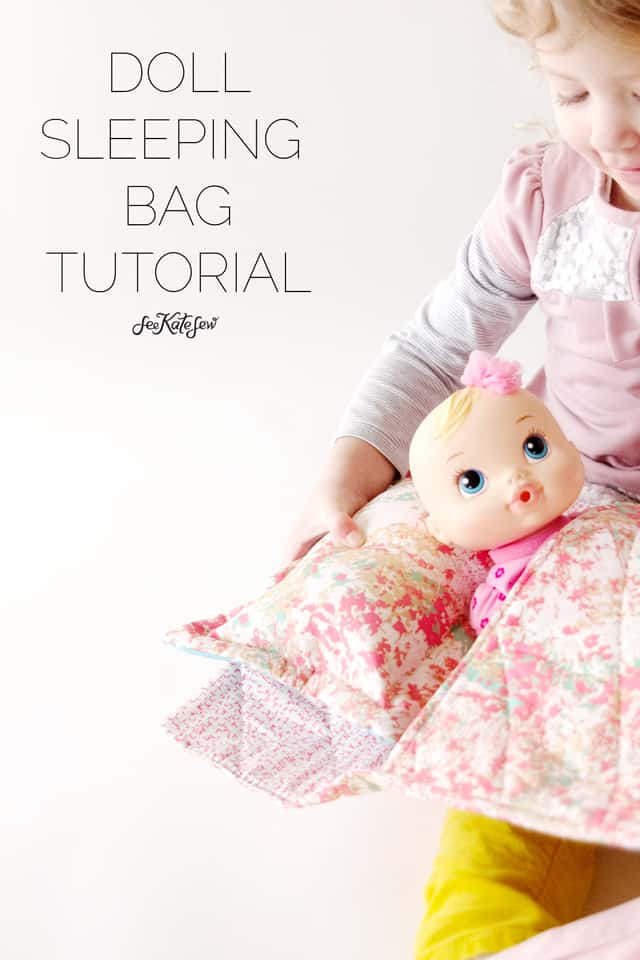
I thought it would make a great Christmas gift but then she ended up in the photos….so it’s just a December gift now! The good news is she loved it and proceeded to play for it for the next hour or so! It’s a win! And as a bonus, it’s REALLY fast and easy to make! You might even have all of the supplies already!
Art Gallery Fabrics sent me this beautiful fabric from Pat Bravo’s new Dare line. There are some really pretty prints in the collection!
I picked a few favorites for this project, but they also sent me a fat quarter set that I fell in love with! So I’ll have more projects coming!
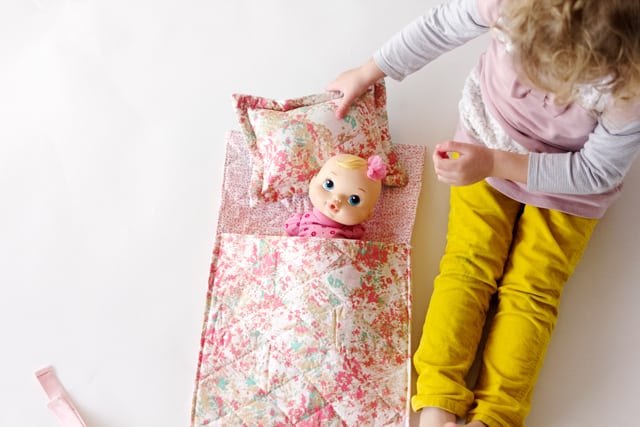
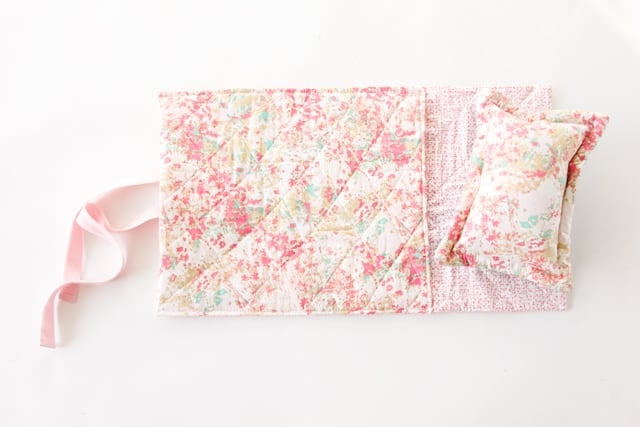
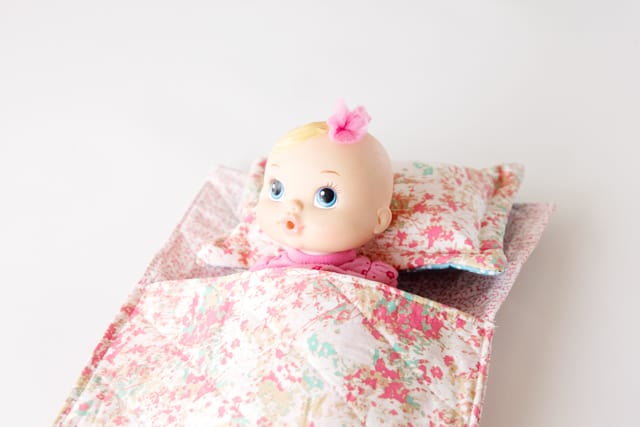
The sleeping bag has a little pouch that should fit most dolls up to 18″.
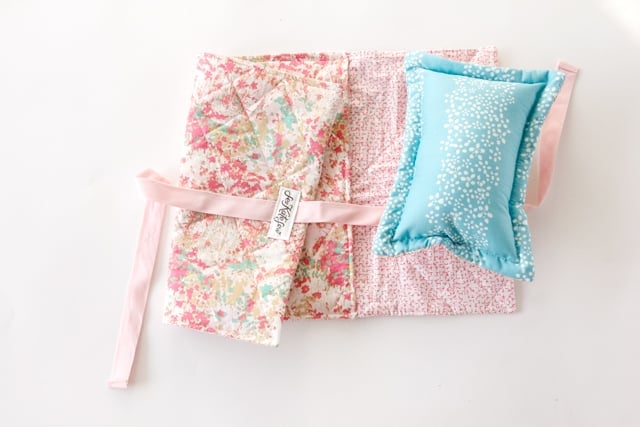
The sleeping bag part is quilted with a diamond pattern. I also created a reversible pillow to complete the bedding set.
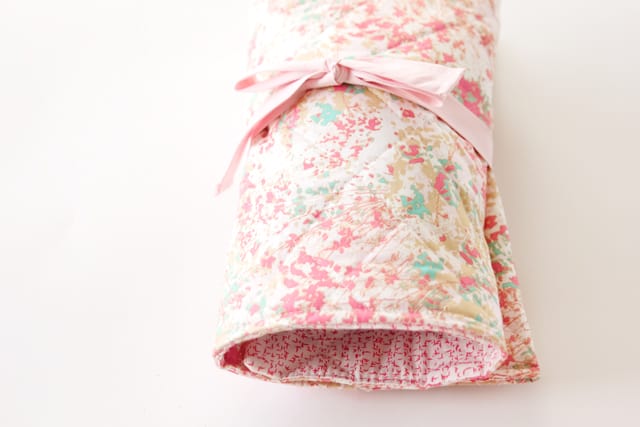
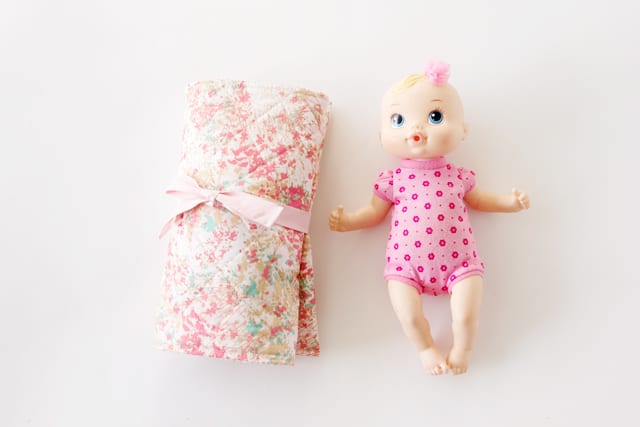
It’s easy to roll-up, too!
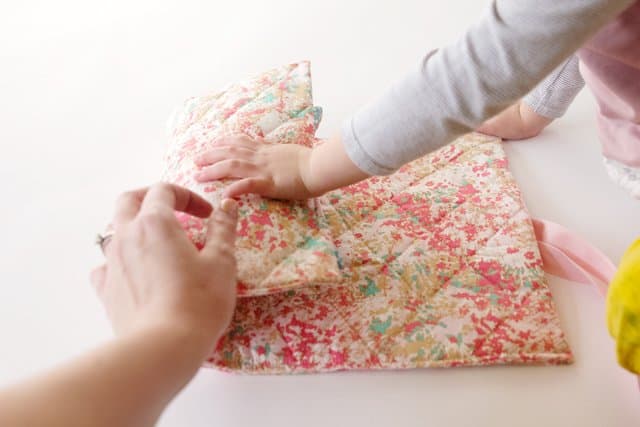
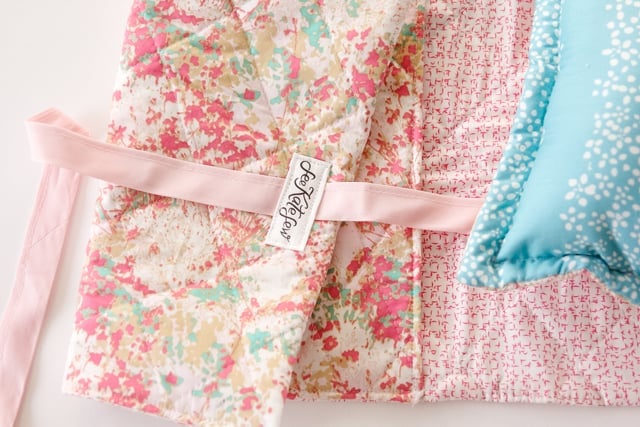
The tie on the back lets you tie it in a roll so it’s ready to go!
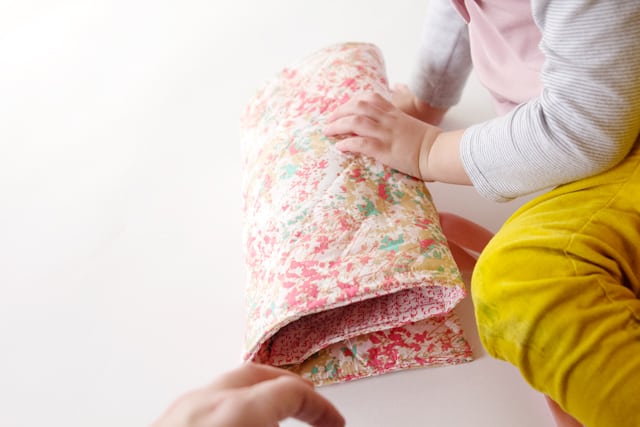
Ready to make your own? Let’s get started!
Easy Doll Sleeping Bag Tutorial
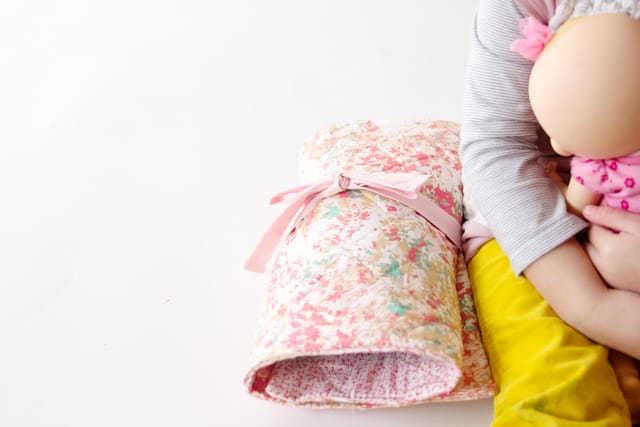
Baby Doll Sleeping Bag Set Materials
- 1/2 yard fabric for sleeping bag
- 1/2 yard lining for sleeping bag
- 3/4 yard fusible fleece or batting
- extra fabric for pillow (scraps or 1 fat quarter)
- 1 yard 1″ quilt binding
- fiberfill stuffing
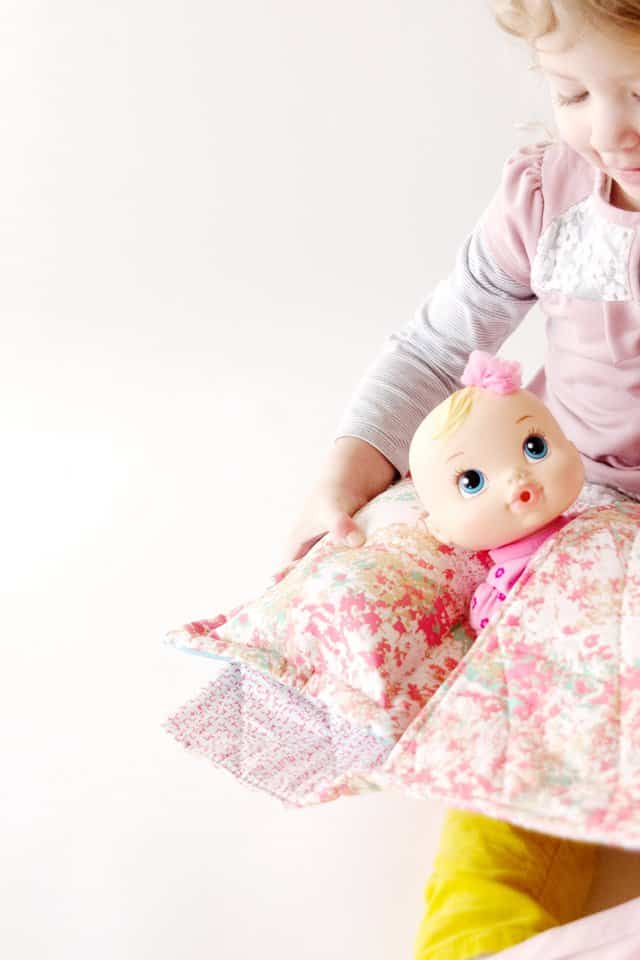
Sleeping Bag for Dolls Instructions
Use 3/8″ seam allowance.
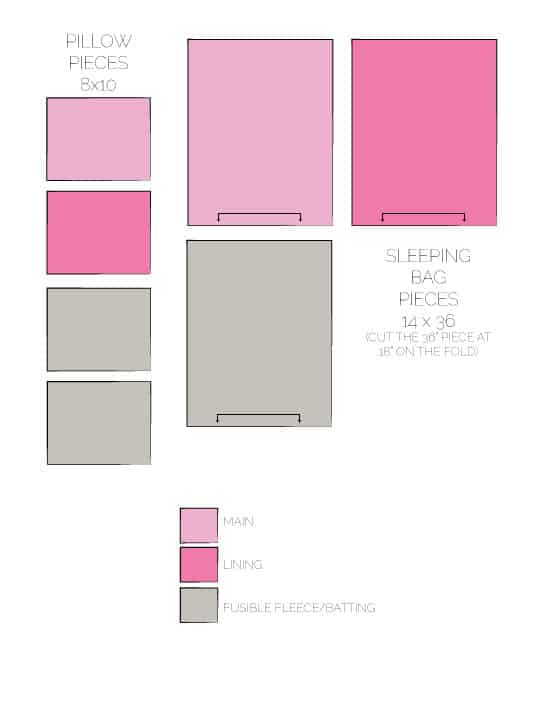
Step 1: Cut out the following from fabric:
- 1 pillow piece from main 8X10
- 1 pillow piece from lining
- 2 pillow pieces from fusible fleece/batting
- 1 sleeping bag piece from main 14″ X 36″
- 1 sleeping bag piece from lining
- 1 sleeping bag piece from fusible fleece/batting
Step 2: Fuse fleece to both pillow pieces and main sleeping bag piece.
Step 3: Sleeping bag: Sew main(with fleece or batting attached) and lining together with right sides together. Sew around the sleeping bag pieces, leaving a 3″ opening on one side.
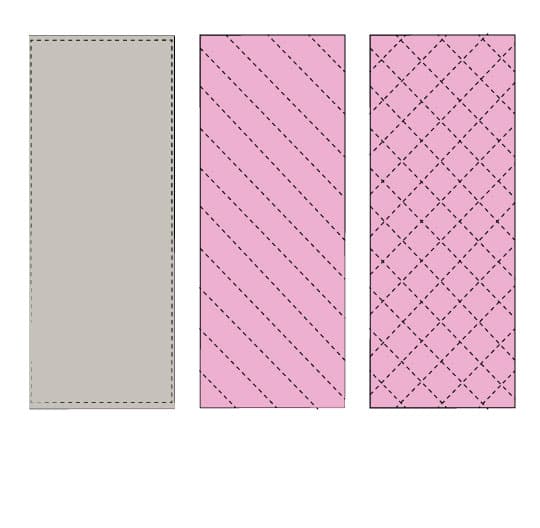
Turn right side out and press. Then start topstitching to create a diamond quilting pattern. First, sew diagonal lines one way and then sew them the other way as shown below:
Step 4: Sew long edge of quilt binding together so the binding won’t open and then sew it to outside of the sleeping bag (main fabric side).
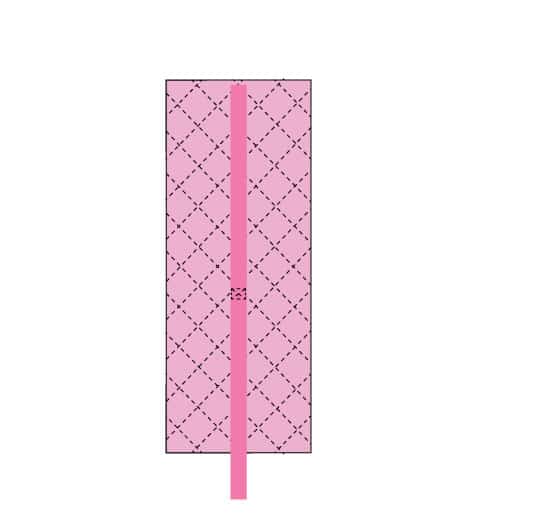
Arrange the binding so it will be at the bottom of the back of the sleeping bag.
Step 5: Turn the sleeping bag piece so the lining is facing up. Then fold the bottom up to the top, leaving 6″ of the lining showing. Sew along both sides and backstitch.
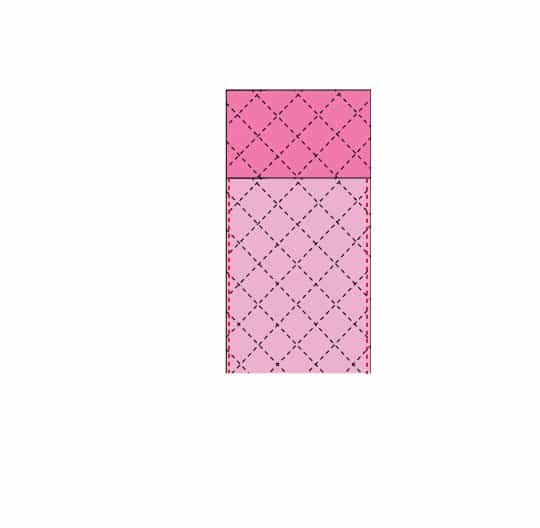
The sleeping bag is done!
Step 6: Finish the pillow:
Sew pillow front and back together with right sides together. Fusible fleece or batting will be on the back of both pieces. Leave a 2″ opening.
Turn pillow right side out and press well. Topstitch around pillow at 1/2″ to create a decorative trim. Leave the same opening to stuff. Stuff pillow. Finish topstitching and sew the other edge opening closed with a needle and thread.
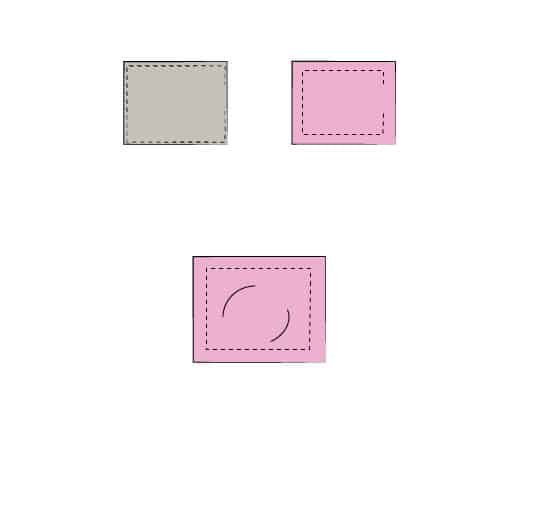
All done!
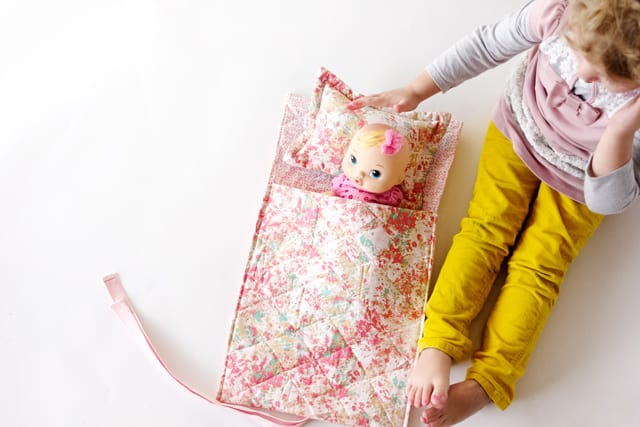
Play time!
For more handmade gift ideas check out my BUY+DIY series! And this could totally work: BUY a doll and DIY a sleeping bag!
Baby doll featured is by Baby Alive.
Love this post? Make doll sheets with this tutorial!





MANY THANKS FOR THIS BEAUTIFUL TUTORIAL ! It will be a very appreciate gift for christmas !
Best regards from Paris
Elisabeth
Oh, this is so darn cute! Thanks for the tutorial and inspiration!
This is too cute! Love the pillow add on!
awww. so cute!! I’ve got a Craft Gossip post scheduled for later today that features your tutorial: http://sewing.craftgossip.com/?p=85776 –Anne
I love this! Must make this for my little grand-girls!
This is super cute! I was just today thinking of making something like this for a little neighbor friend. Thanks :)
This looks great!!! I’m a little confused as to wear the binding strip attaches to?
I made this today for my niece, it turned out so cute! I’ll post it on instagram after she’s opened it on Christmas. I know she’ll love it. Thanks for the tutorial! Handmade gifts are the best.