This is a sponsored conversation written by me on behalf of Cricut. The opinions and text are all mine.
5 ways to use the Cricut Explore Air 2 for sewing!
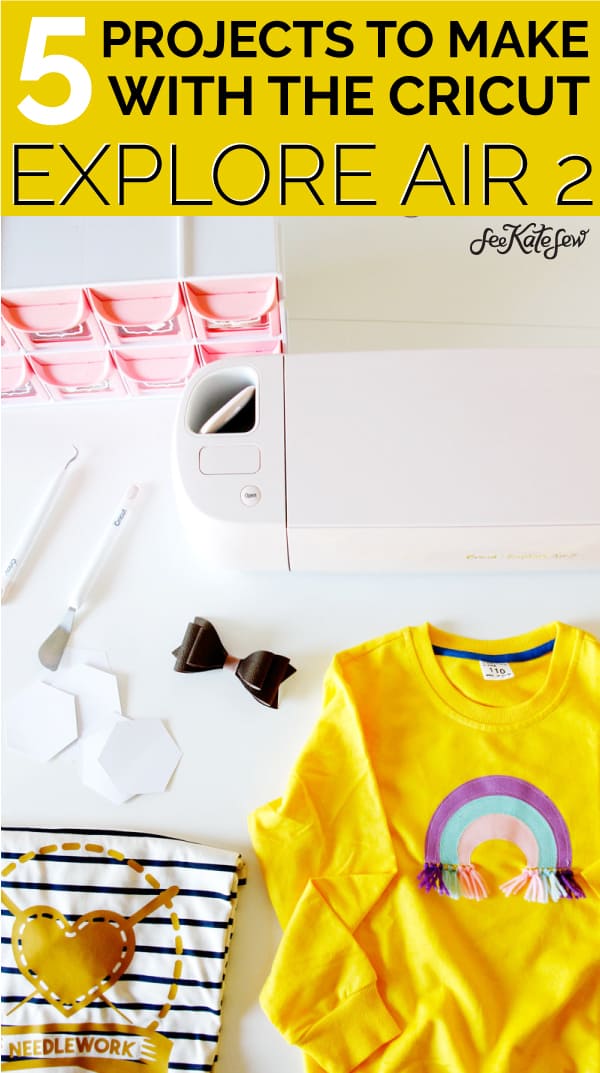
By now you know I love my Cricut Maker! But I know it’s an investment so today I’m going to show you FIVE ways you can use the Cricut Explore Air 2 with your sewing projects! The Explore Air 2 is a great deal and cuts over 100 materials! So today I’m going to share my top FIVE ways to use the Cricut Explore Air 2 for sewing!
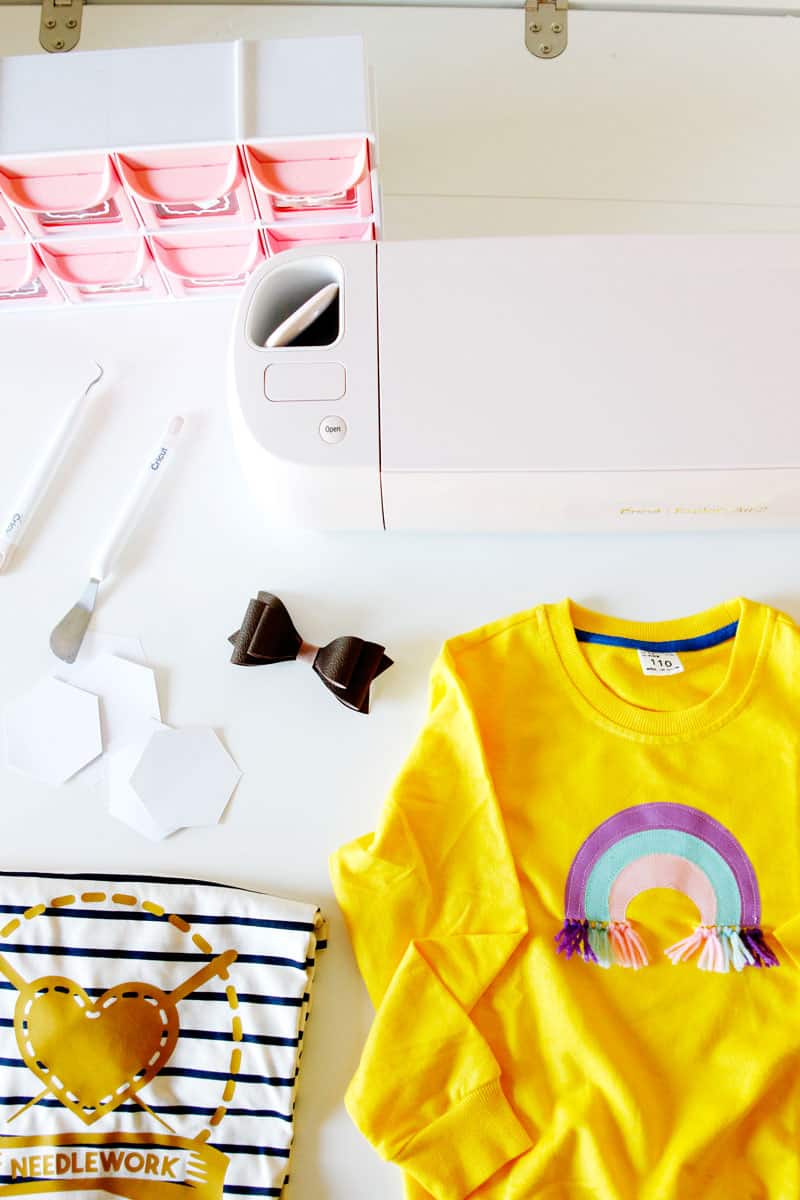
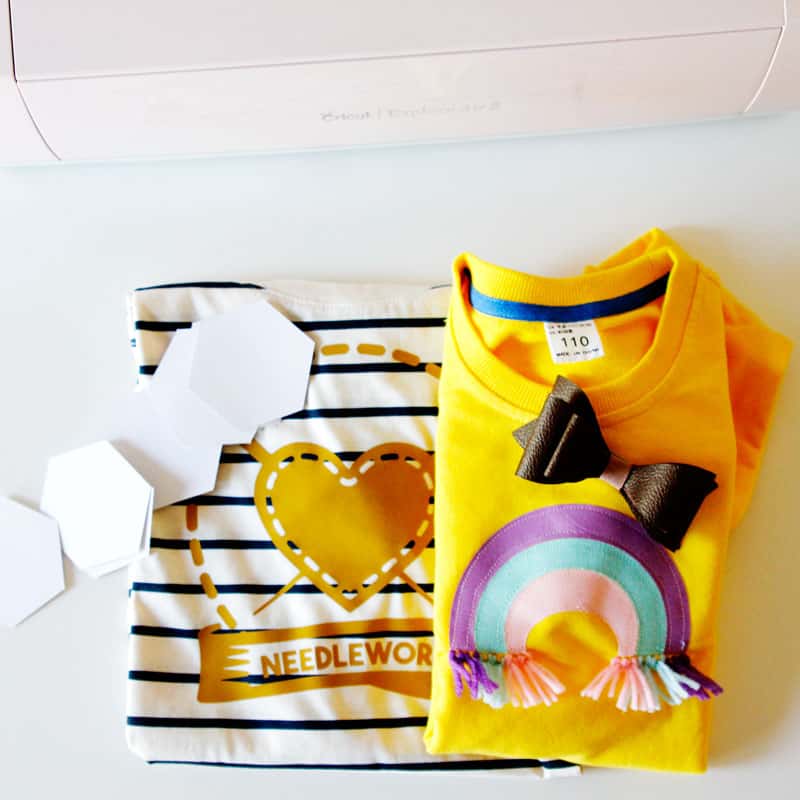
There are quite a few materials the Explore Air 2 can cut that can be incorporated into sewing! So my top five reasons involve all of my favorite materials to cut: fabric, faux leather, iron-on vinyl, regular vinyl and cardstock!
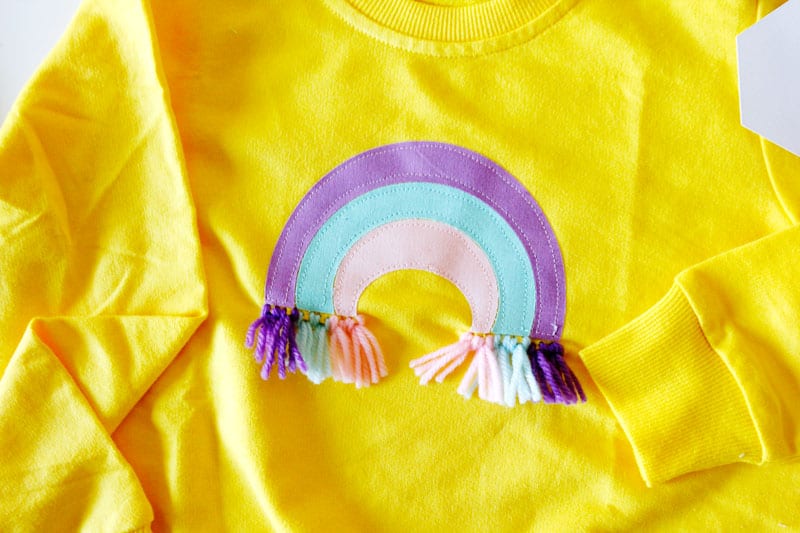
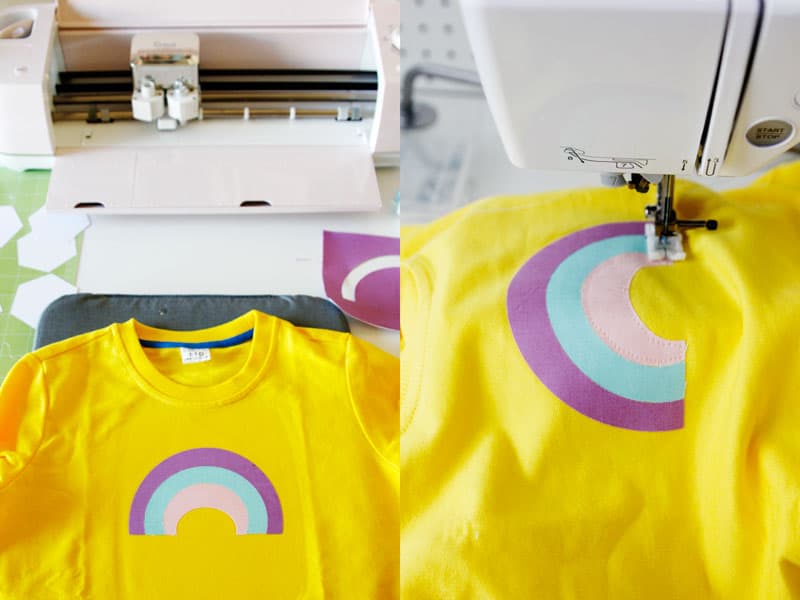
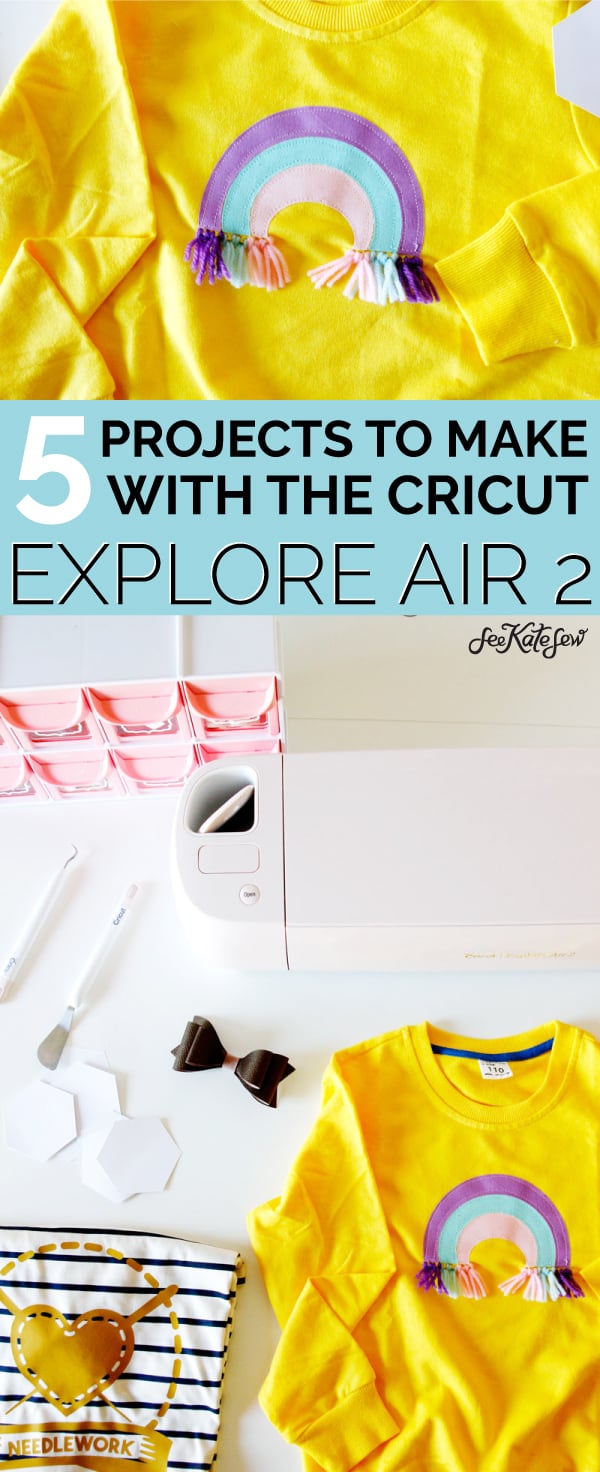
And this happy yellow rainbow sweatshirt is one of the things you can make, the tutorial is below!
#1: Applique with the Cricut Explore Air 2
The number one reason you should have a Cricut Explore Air 2 if you don’t already is for appliqués! If that is all you plan to use this machine for, that is totally enough to justify getting it. The fabric must be backed with Heat N Bond for it to cut properly, but since you have to back appliqués anyway, that is perfect! (The Maker can cut fabric without a backing!)
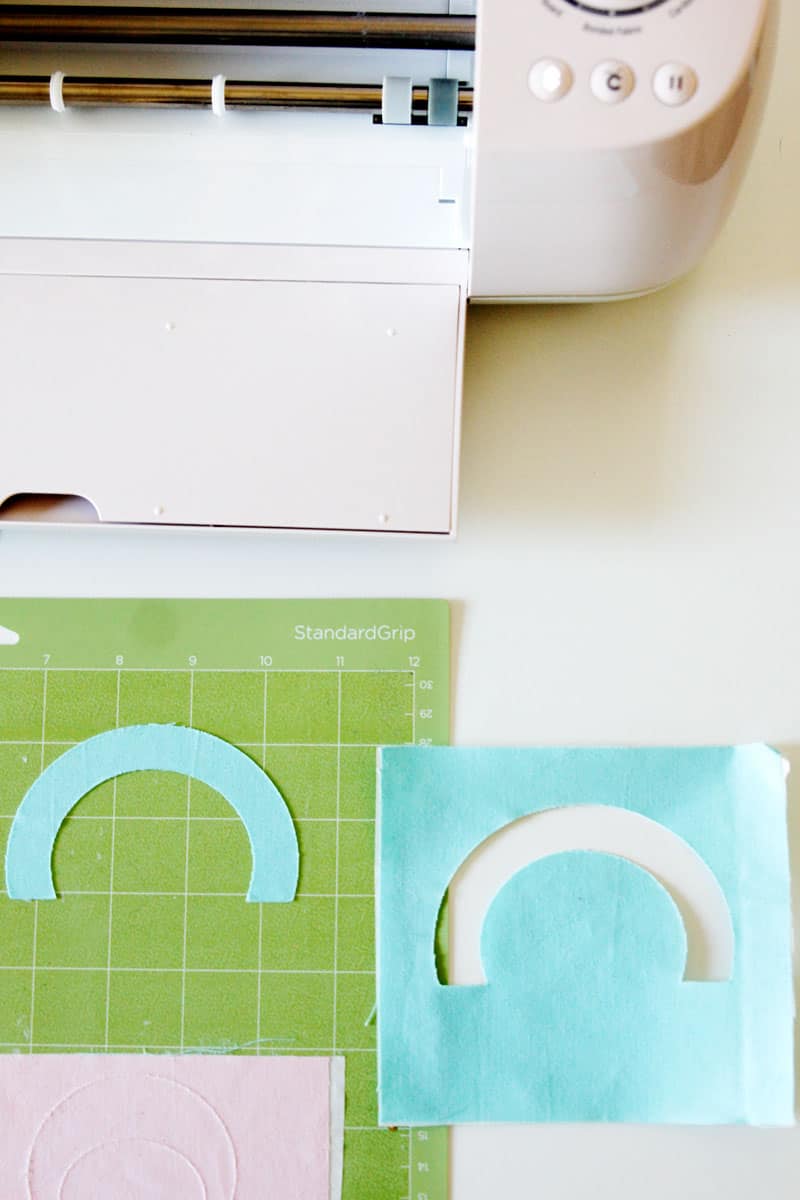
To cut appliqués shapes out, back your fabric with Heat N Bond ultra – the one in the red package. Make sure you bond the Heat N Bond to the fabric really well so you get a clean cut!
Turn the Explore Air 2 dial to Bonded Fabric press the bonded fabric to a mat with the paper side down. Cut it out!
For this rainbow design, click on my Rainbow Sweatshirt Design in Design Space and cut the three different bands with 3 different fabric colors. You can arrange the rainbow bands on the canvas and then match all 3 different fabrics to it so you only have to run one mat though.
Iron the fabric onto the sweatshirt. I used my Cricut EasyPress for this since I always have it handy. Then outline the fabric with topstitching to hold it in place.
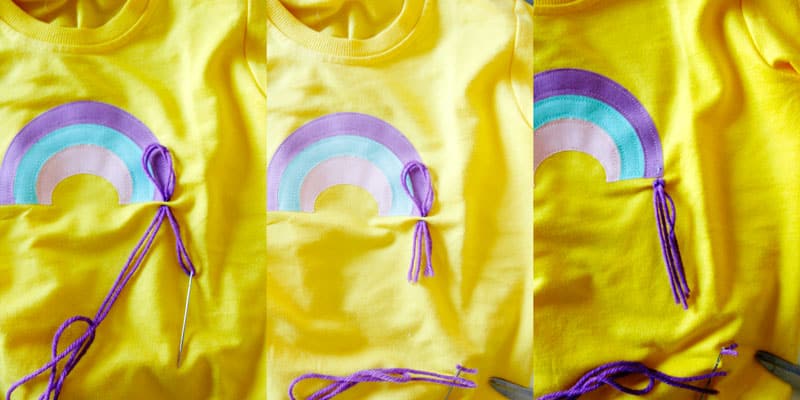
Use a large embroidery needle to thread matching yarn to the bottom of the rainbow and back down. Make a Larke’s Head knot to secure, by threading the ends back up through the loop. Tighten. Repeat until you have enough rainbow thread, I put 2 under each color on each side. The yarn makes this a hand-wash only item, but I think it’s worth it for that rainbow fringe!
#2: Cutting faux leather with the Explore Air 2
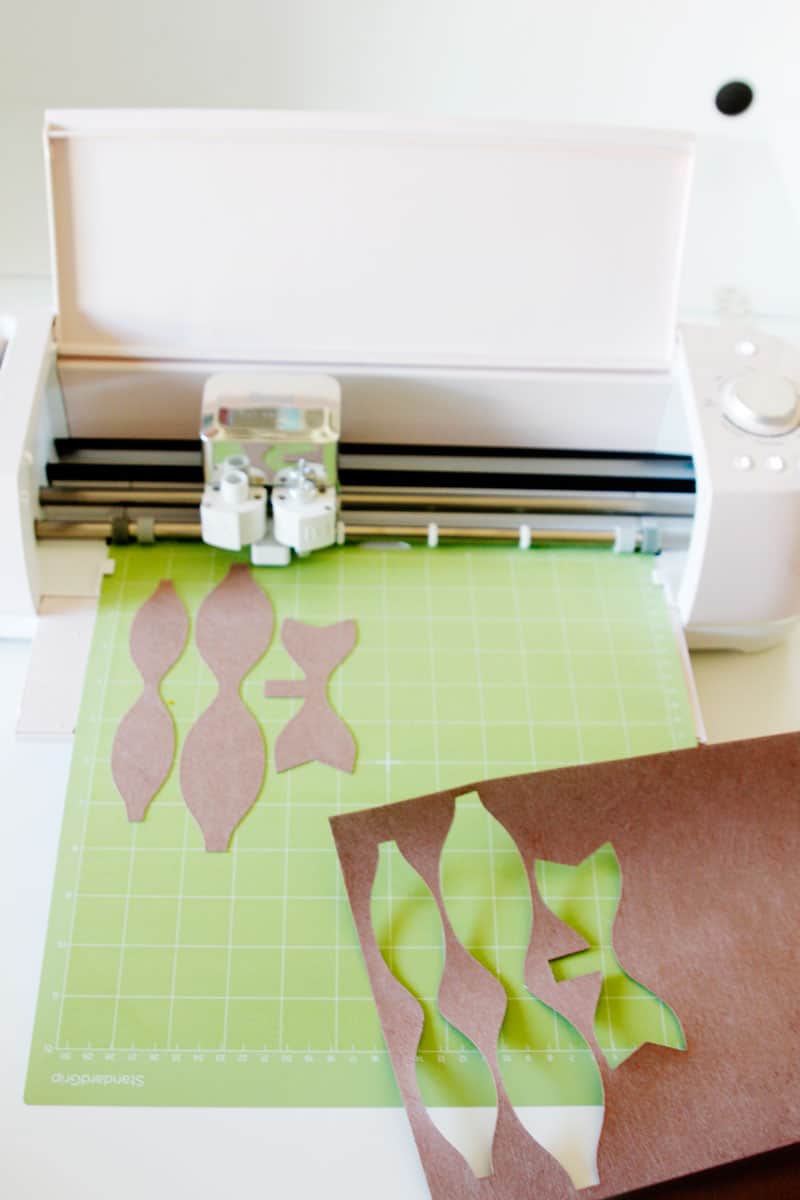
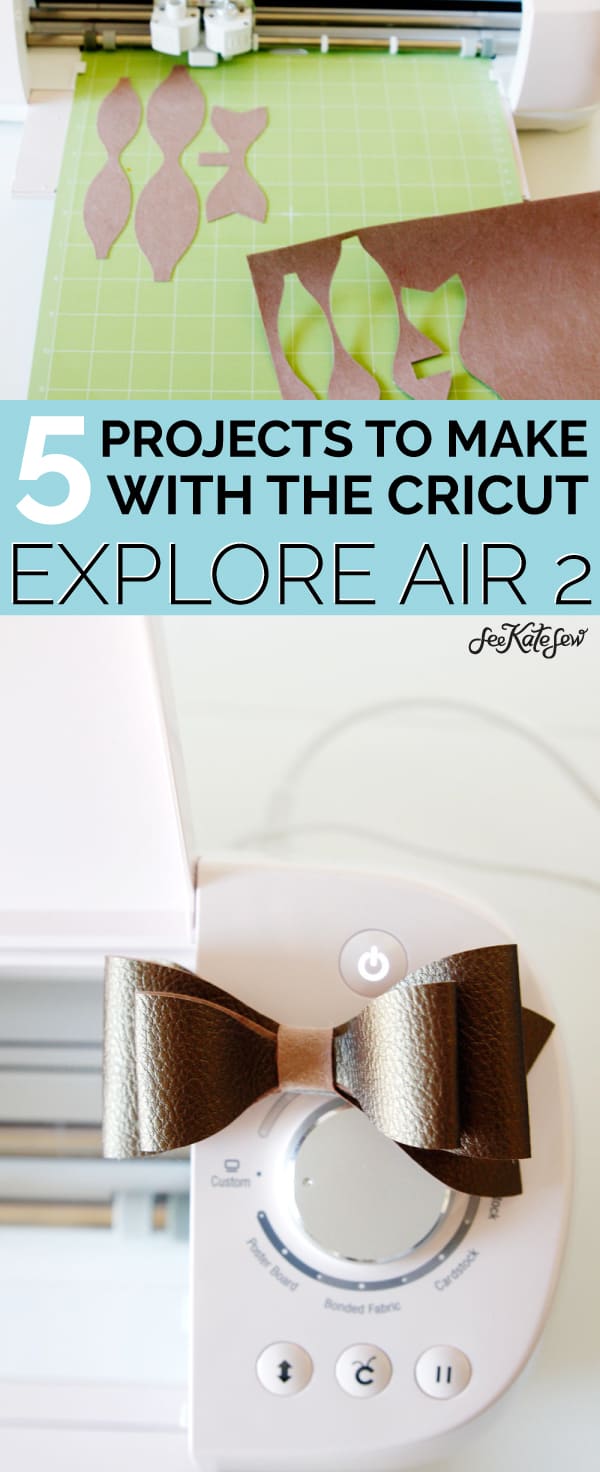
This faux leather is made by Cricut and comes on rolls just like vinyl. It’s paper thin and so pretty! There are a few different colors to choose from.
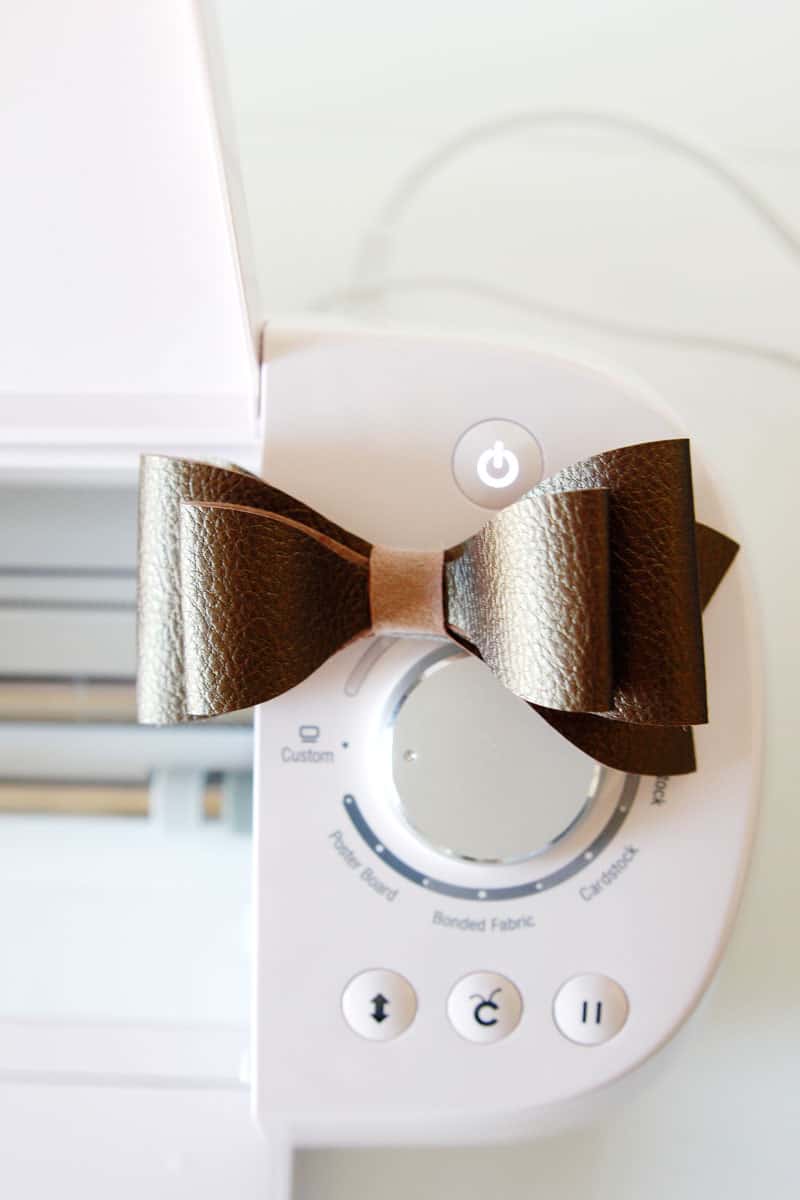
The Explore Air 2 cuts this out without a backing, its so easy to do! Just set the dial to “Custom” and choose Faux Leather, Paper Thin on the menu. The faux leather should be face down on the cutting mat. I love making hair bows for my girls with my Cricut. The template linked here creates a double bow, it’s so pretty and you can just glue it together with a glue gun.
Although I glued this project, faux leather does open up lots of sewing possibilities, too. Think faux leather applique, little leather notebooks, elbow pads and more! The Explore Air 2 can also cut genuine leather and felt!
#3: Making crafty tees with iron-on vinyl
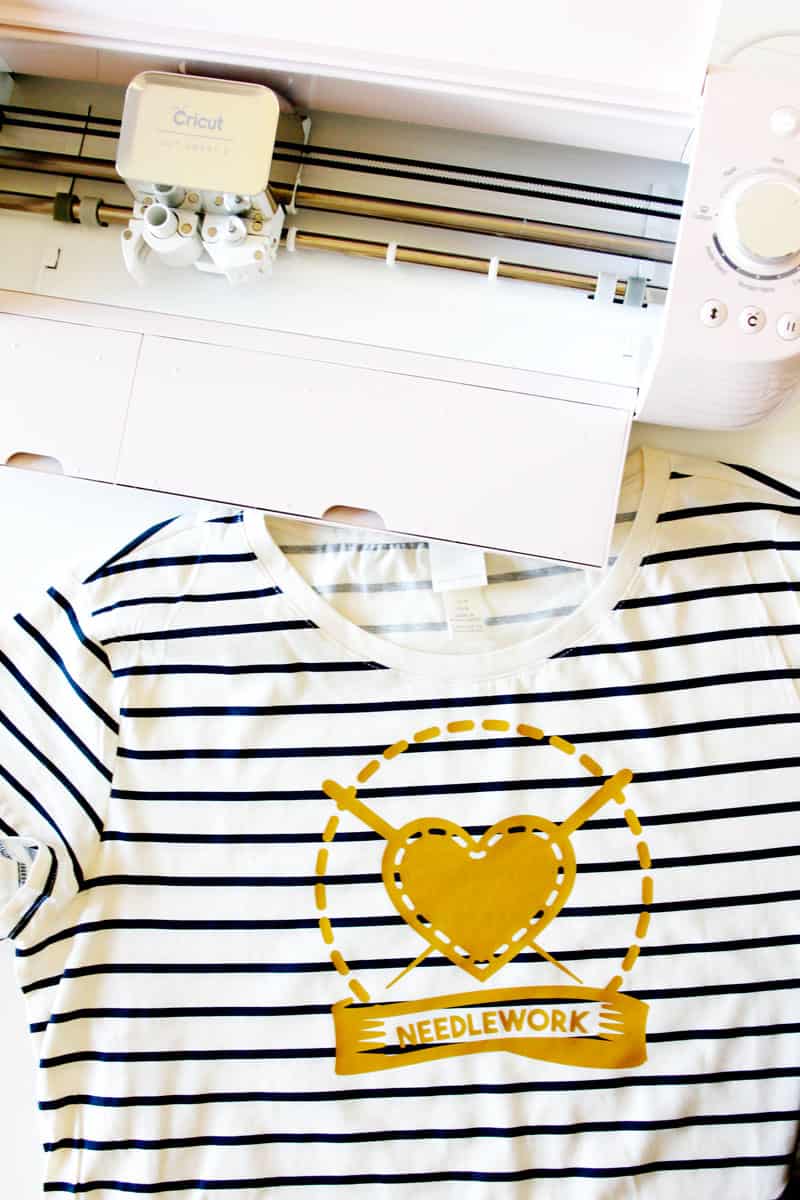
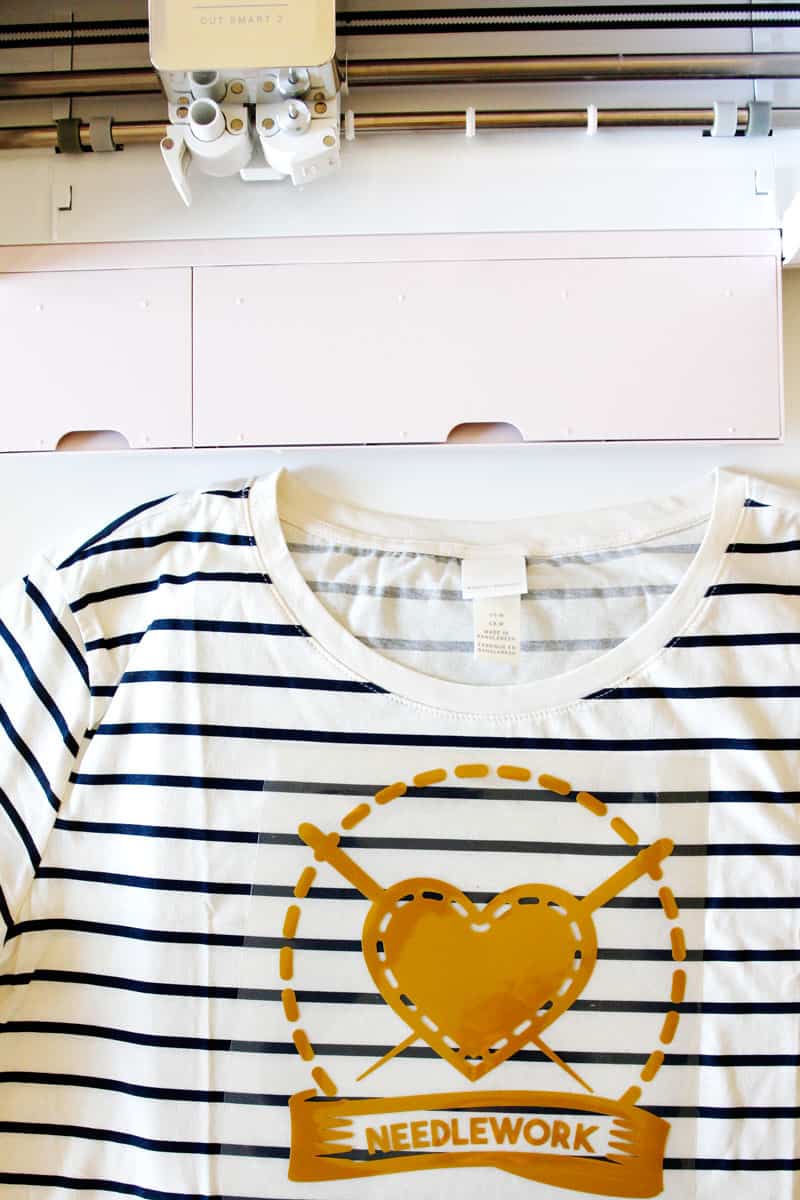
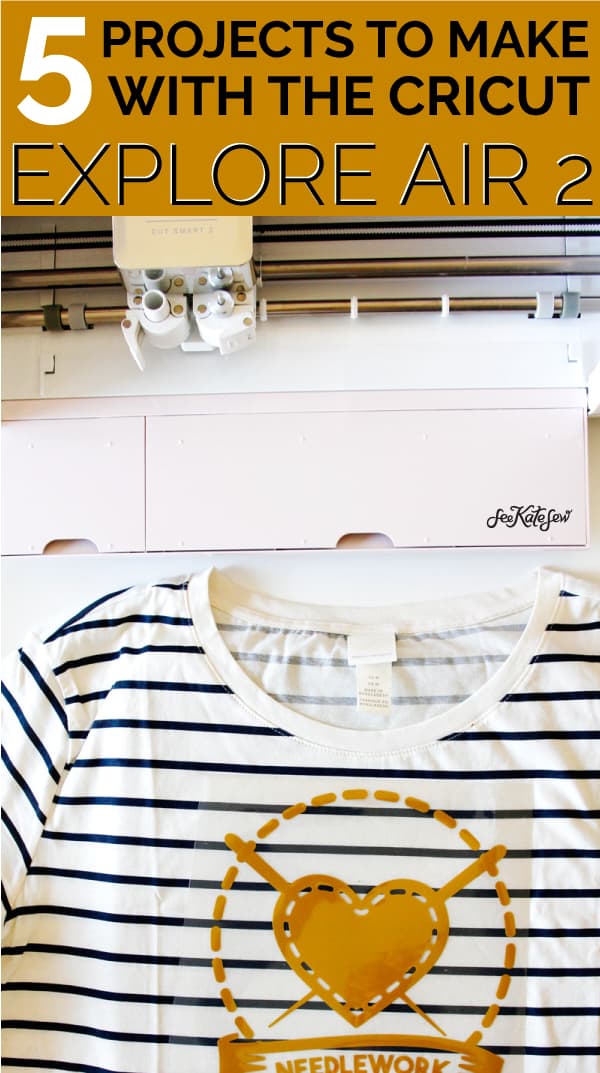
Okay, if you don’t have a closet full of crafty tees, what are you waiting for? You can whip these up so fast with iron-on vinyl. I loved this “Needlework” design I found in Design Space so I made it with mustard iron-on on a striped tee!
Iron-on vinyl needs to be cut out with the mirror image option on.
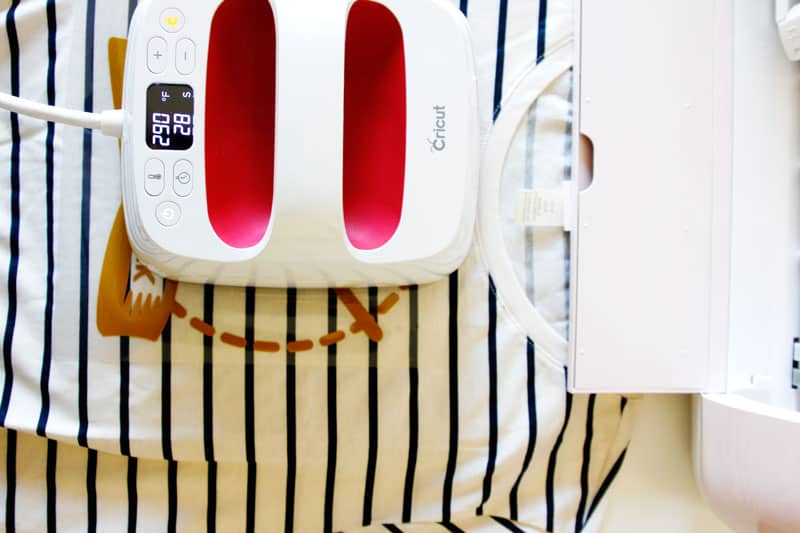
Then use the EasyPress to adhere it to the shirt. I use this method weekly for onesies, tees, totes and more.
#4: Cutting vinyl for craft room organization!
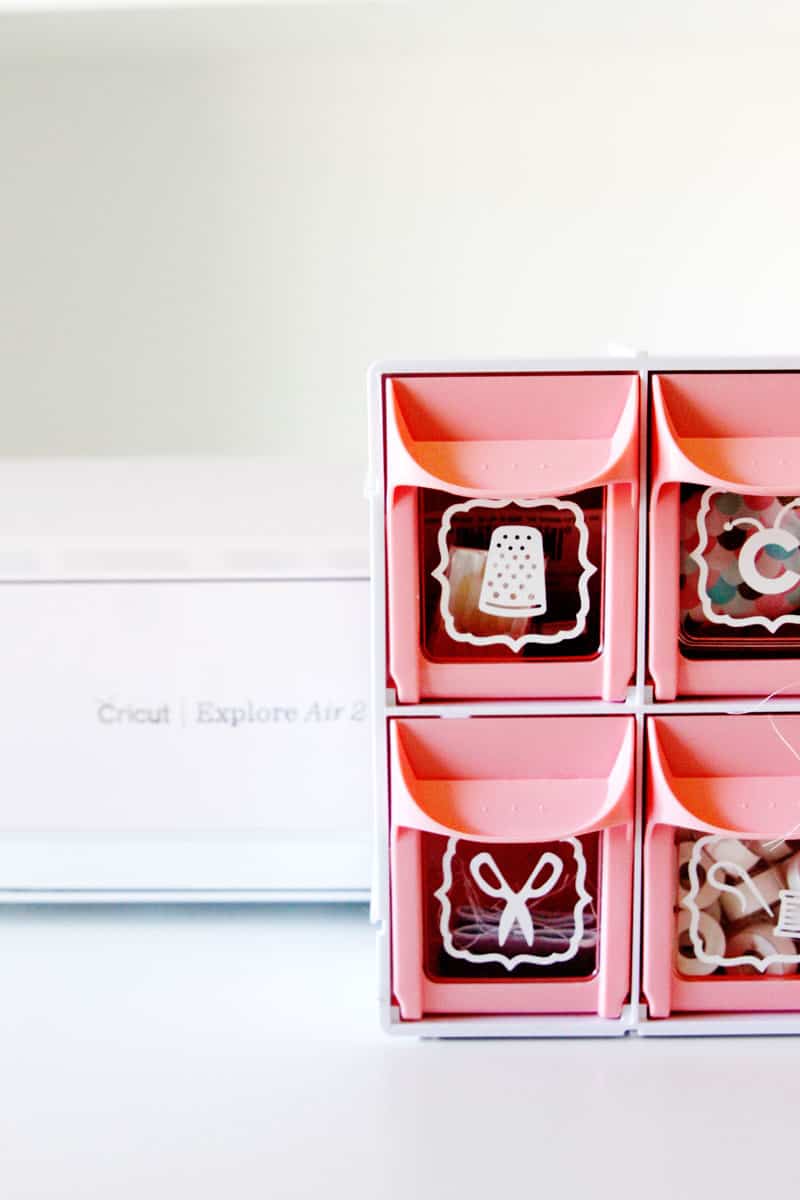
Regular vinyl sticks to so many objects which makes it perfect for adding cute sewing themed items to all your sewing room organization! I made this little drawer earlier this year and it’s one of my favorite things! I keep it right by my sewing machine so all the essentials are handy. The Cricut Explore Air 2 cuts all types of vinyl, and there are so many options to get creative and organized!
#5: Making cardstock templates for quilting
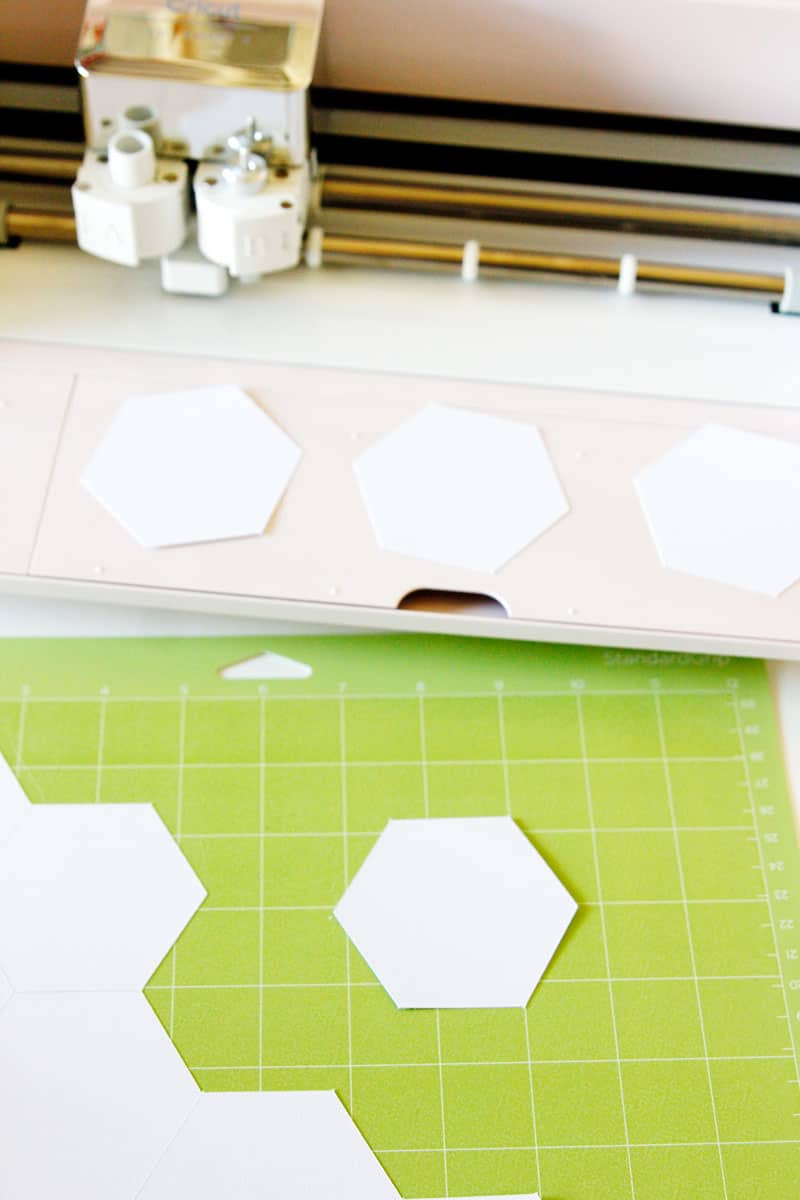
I love having quilt templates (and other sewing templates) cut out from cardstock instead of plain paper. Design Space has a TON of preloaded quilting shapes including hexagons! You can cut your own hexagon papers and other quilt and appliqué templates. Cardstock templates last longer and I always get better results from using cardstock over computer paper! See the hexagon templates in Design Space here!
If you are still debating which machine to buy, check out my post comparing the Maker with the Explore Air 2!
Here are a few more craft room organization hacks you can make with a Cricut!
And 10 ways to use the Cricut Maker for quilting!

