This post, Fabric Box Pattern, is a sponsored conversation written by me on behalf of Cricut. The opinions and text are all mine.
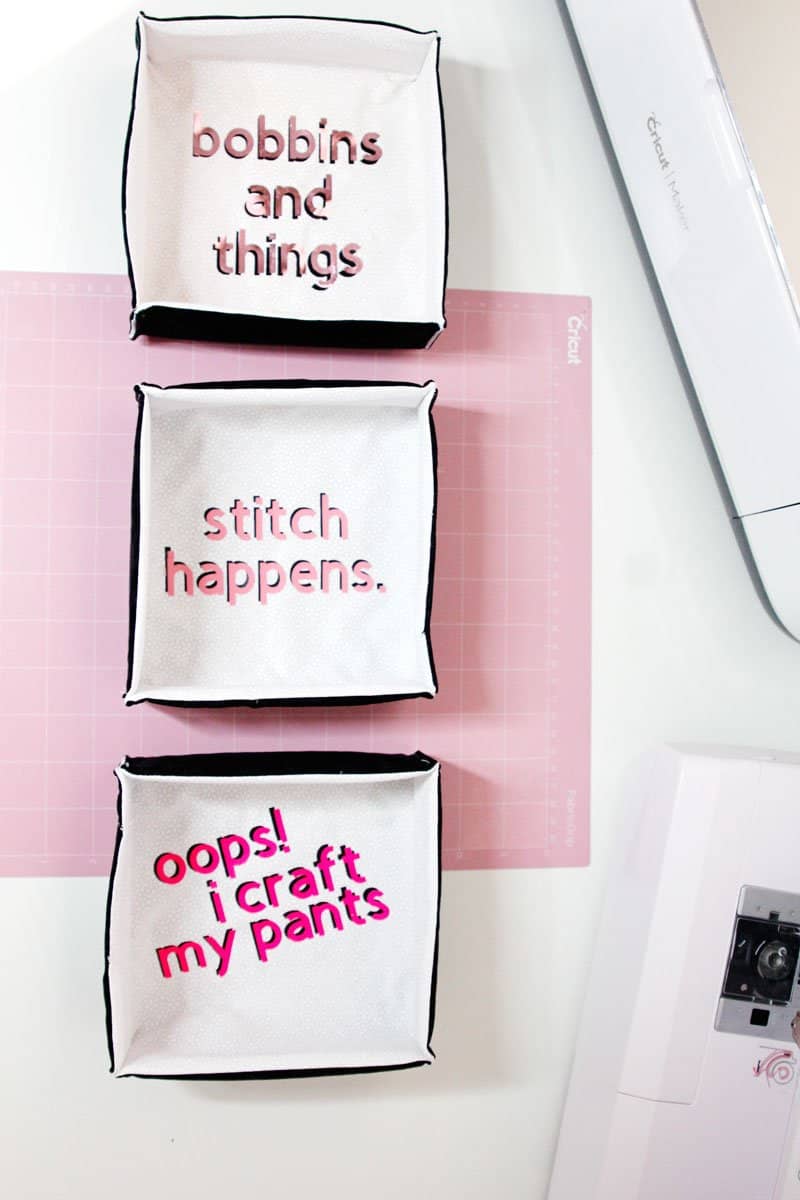
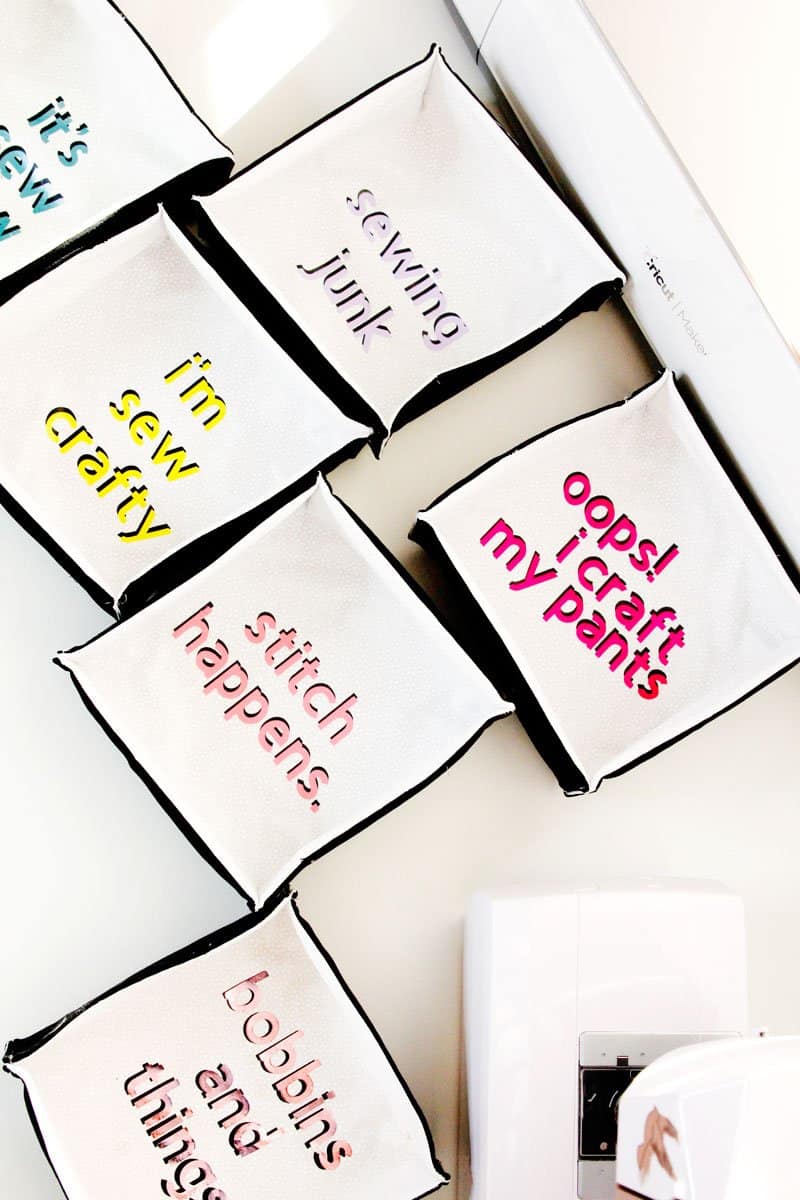
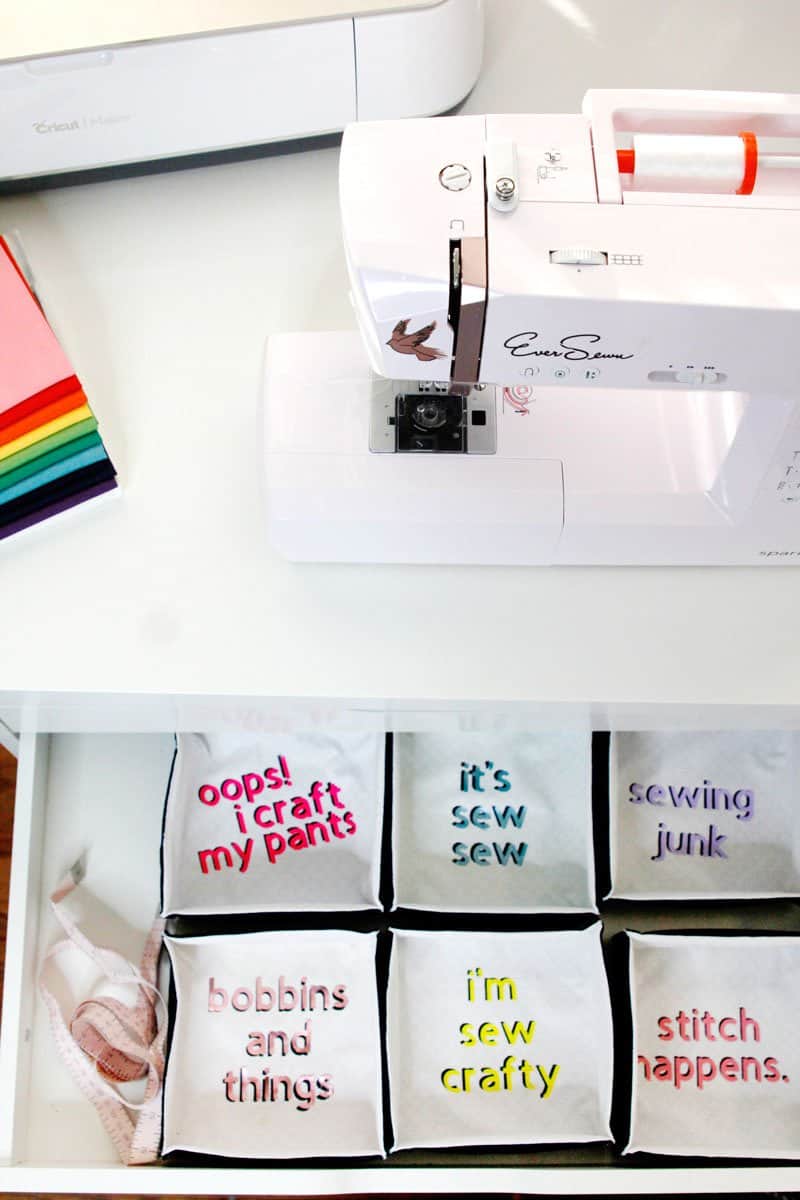
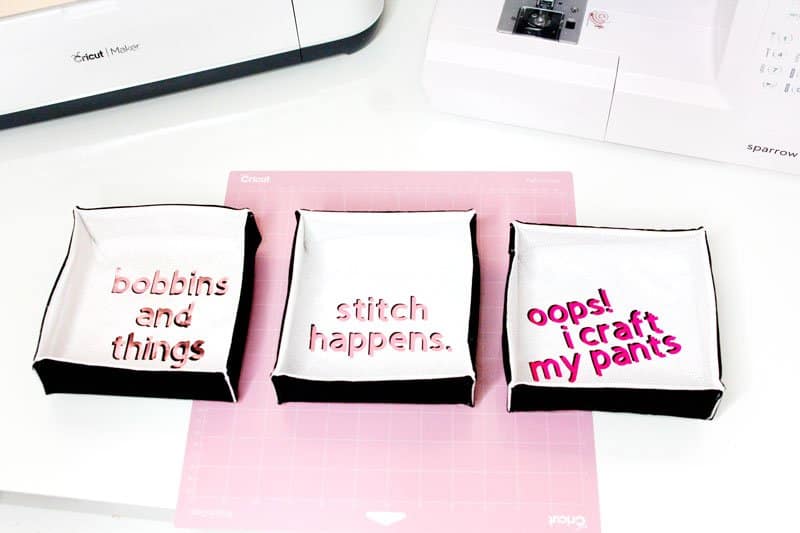
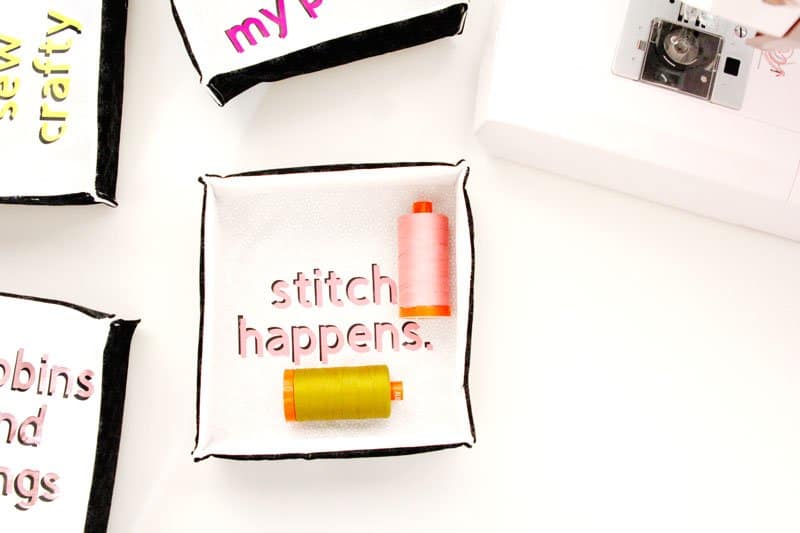
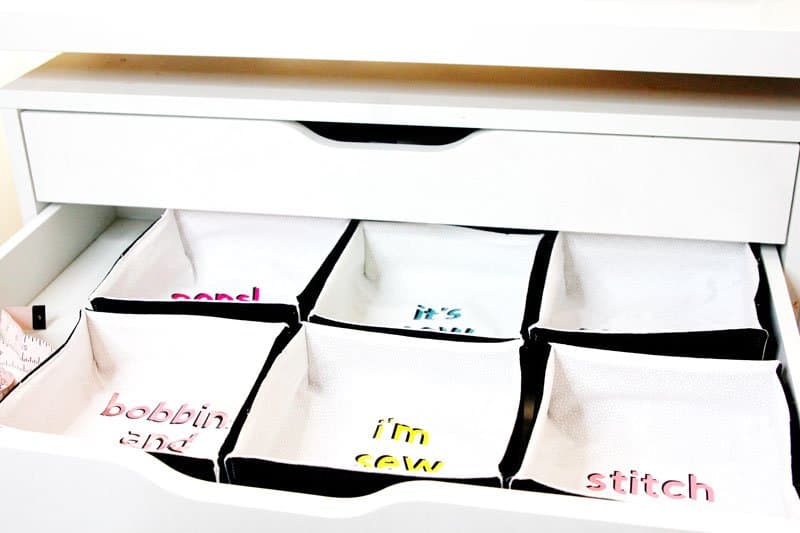
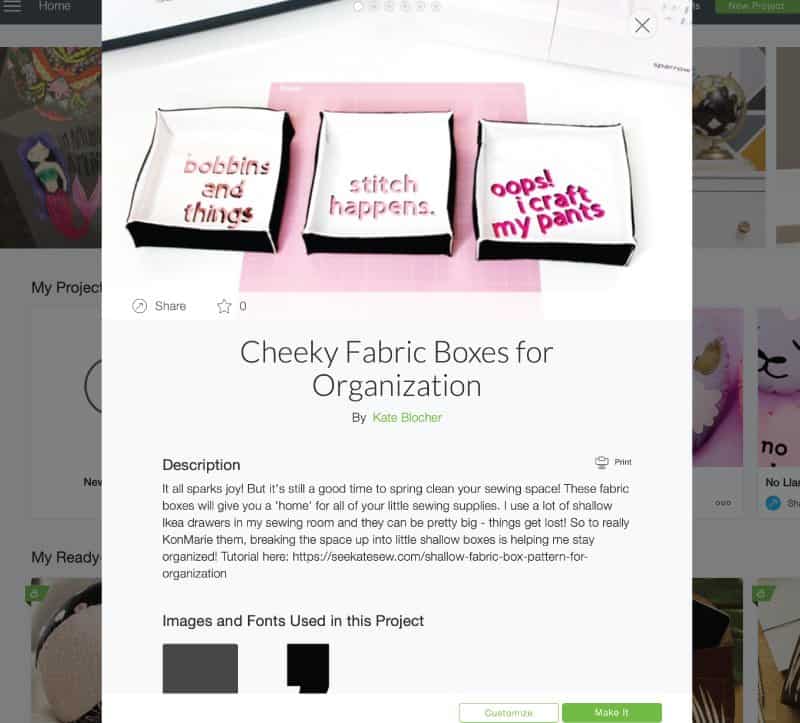
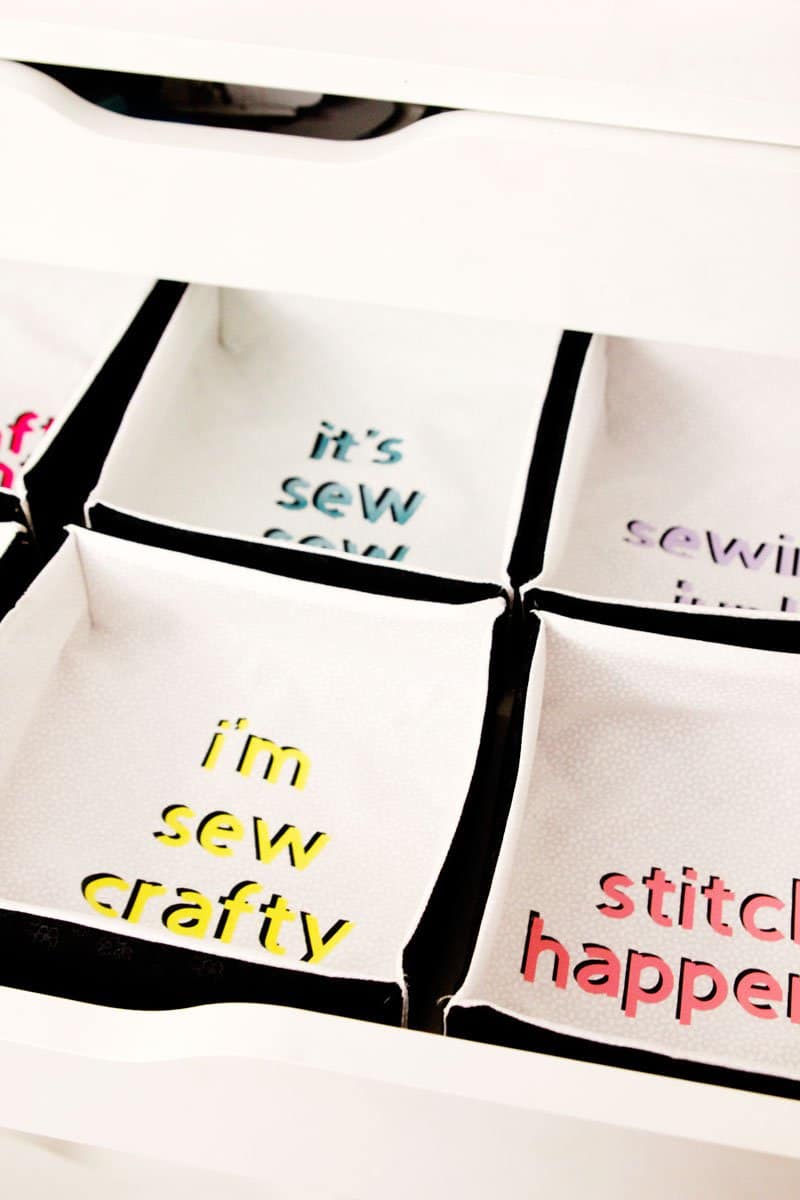
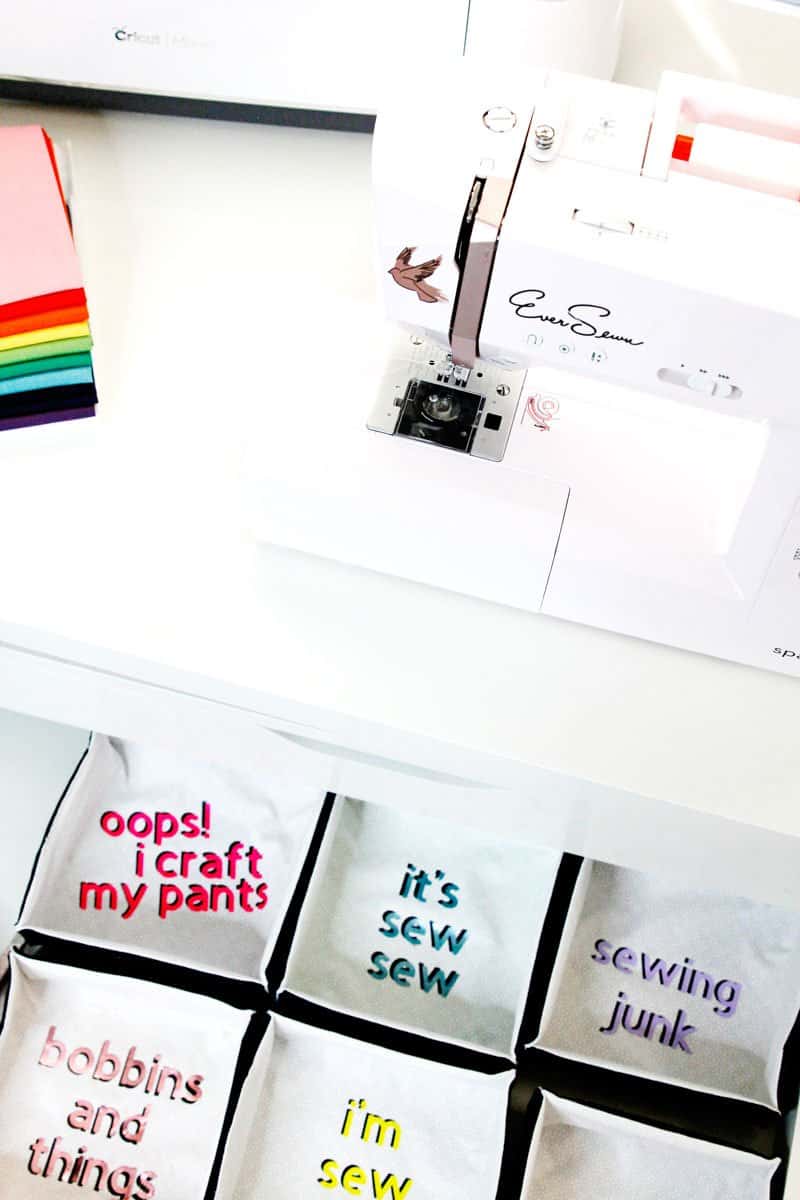
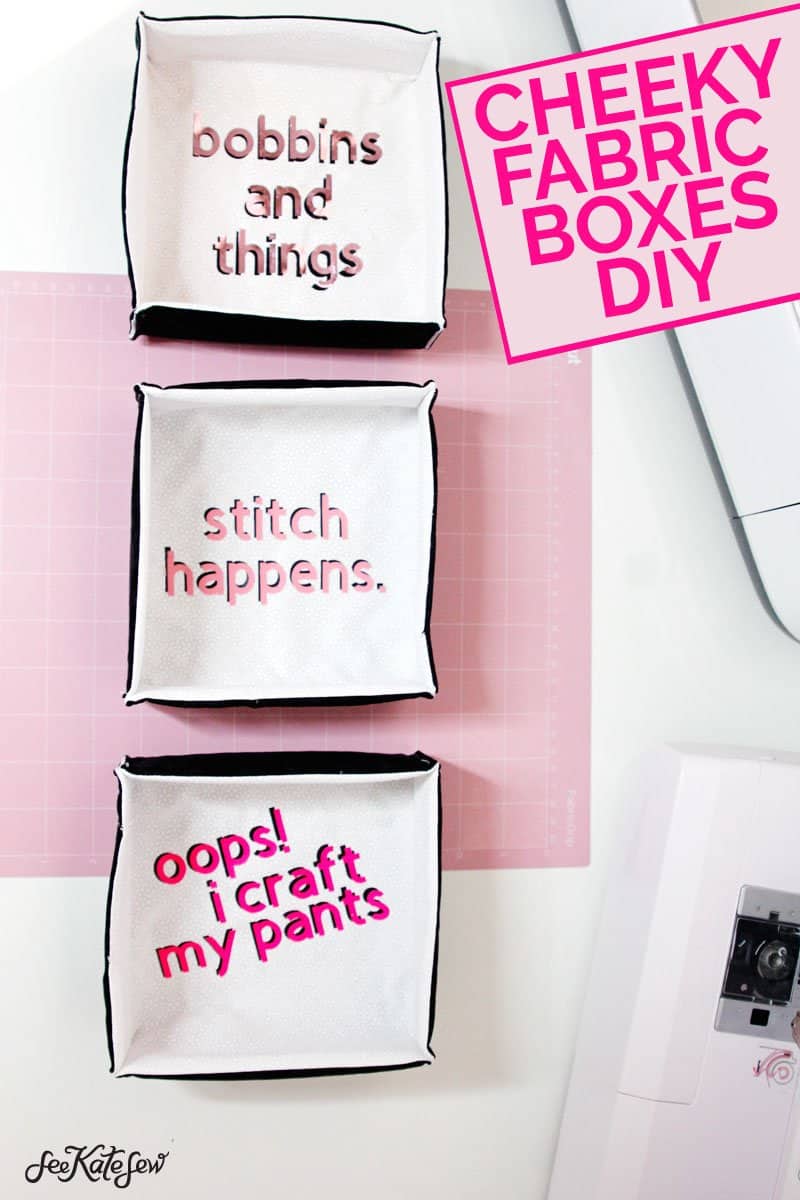
It all sparks joy! But it’s still a good time to spring clean your sewing space! These fabric boxes will give you a ‘home’ for all of your little sewing supplies. I use a lot of shallow Ikea drawers in my sewing room and they can be pretty big – things get lost! So to really KonMarie them, breaking the space up into little shallow boxes is helping me stay organized! I cut the fabric with the Cricut Maker which takes the stress out of cutting a pattern and all the edges are super crisp. No dealing with paper patterns and no cutting by hand! Then I added sewing themed phrases with 2 layers of iron-on vinyl to make them extra fun and bright. These are made with basic cotton so you can find something in your stash or use black and white for a modern look! Let’s get sewing (and organizing!)
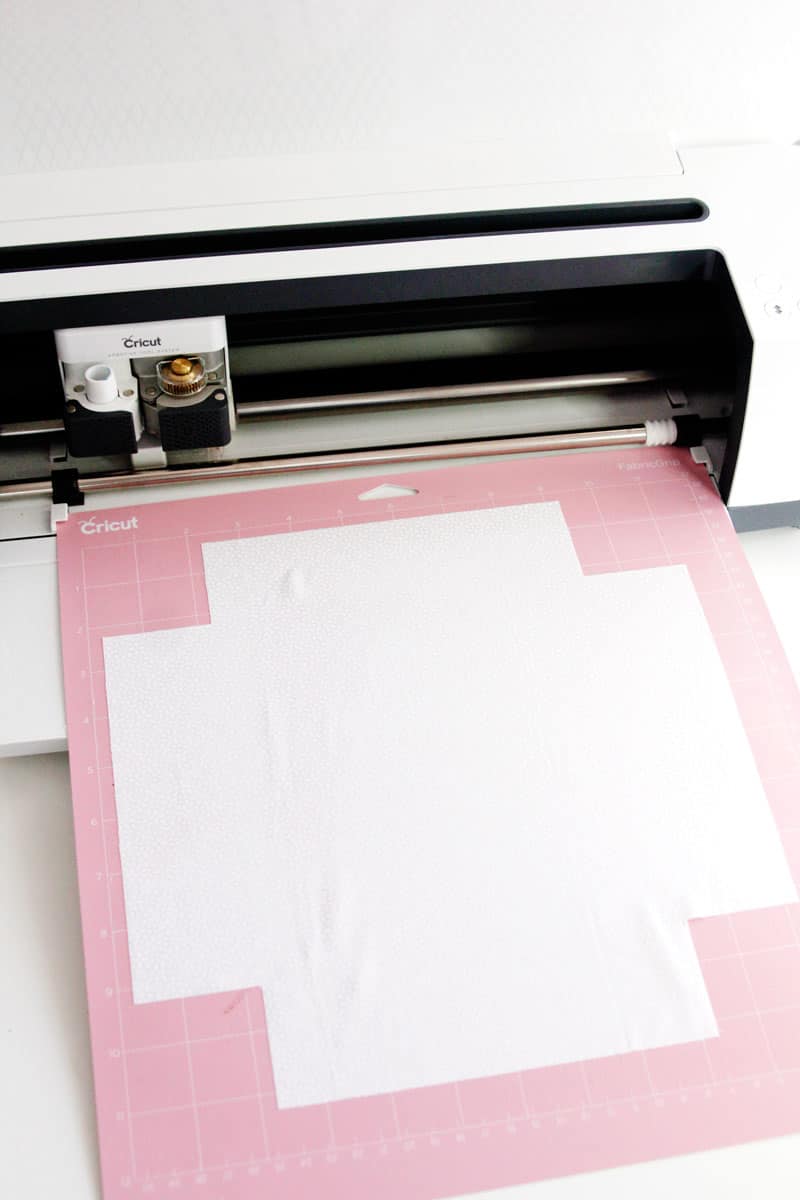
I used a layer of Cricut Felt inside, which I also cut on the Maker! Cricut has nice felt – it’s sturdy, thin and great for interfacing! I’ve used it before for felt flowers and llama pillows. It’s really fun to cut felt out on the Maker because it gives you perfect edges!
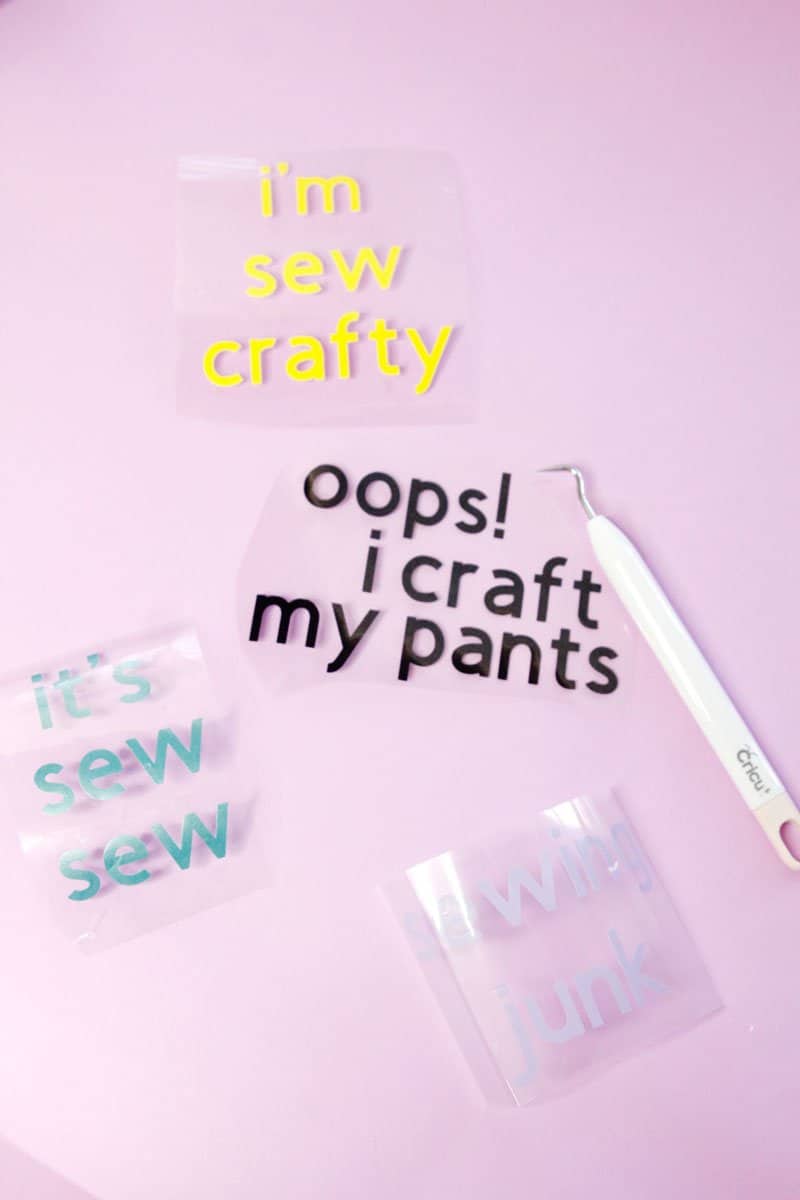
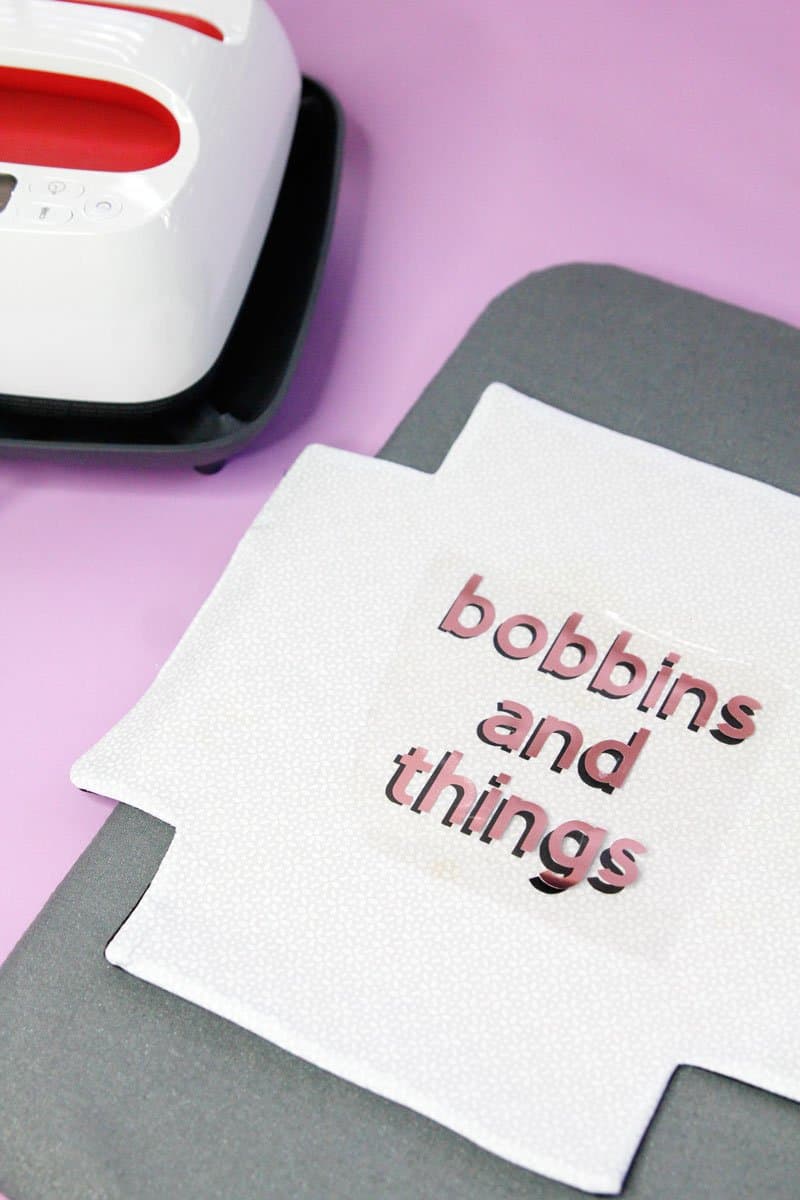
The cheeky phrases are iron-on vinyl and are perfect for crafters! I included all 6 in this tutorial so you can mix and match!
Cut all the words elements from iron-on vinyl. Be sure mirror image is ON. Weed the elements.
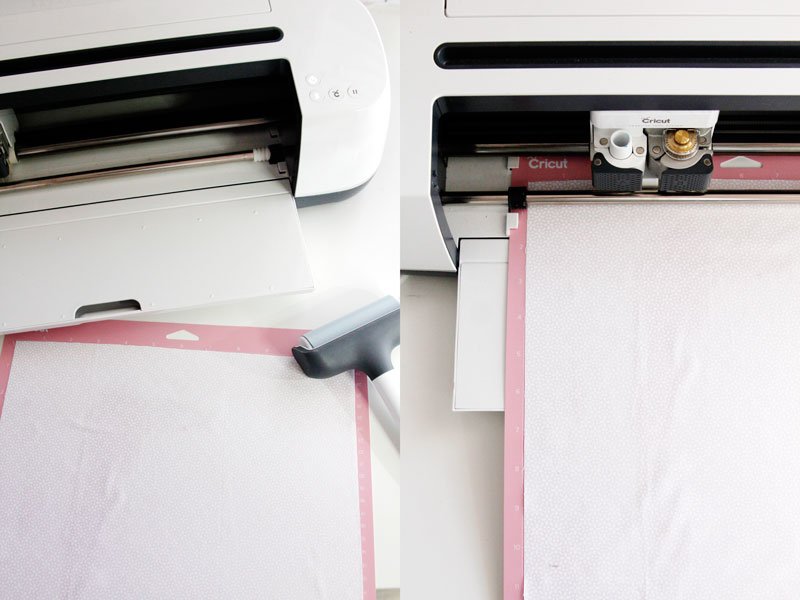
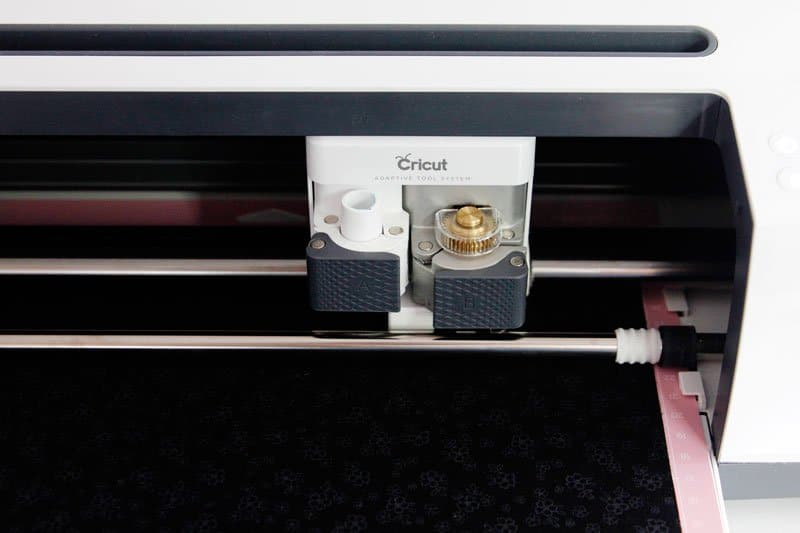
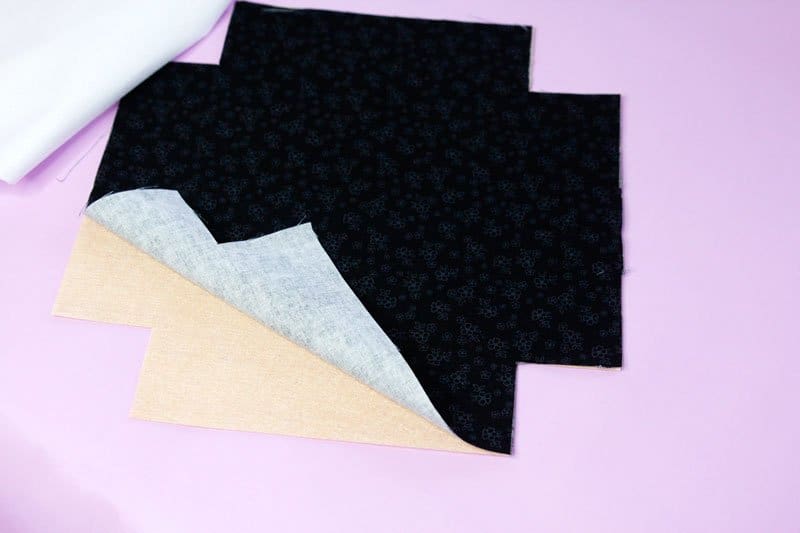
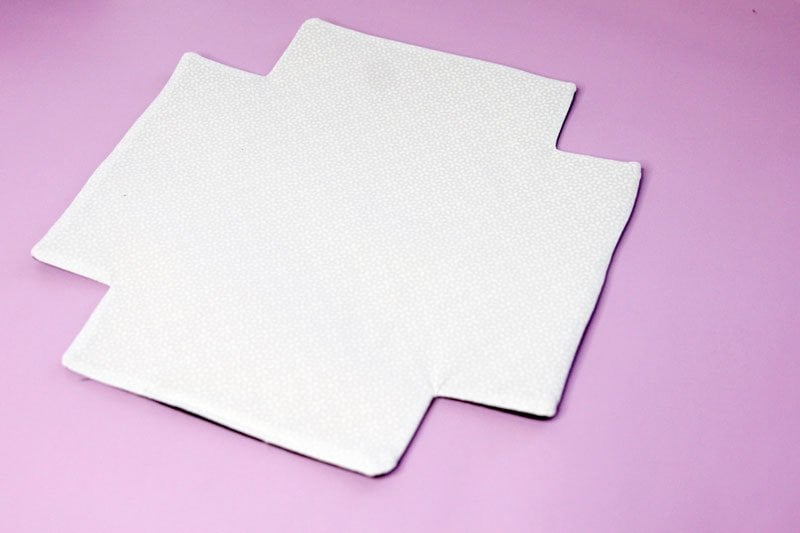
For each box, cut out 1 fabric piece from black fabric, one from white fabric, and 1 from felt. Change the material from fabric to felt to make sure the settings are correct. The Cricut Maker comes equipped with the Rotary Blade and it will cut both materials like butter!
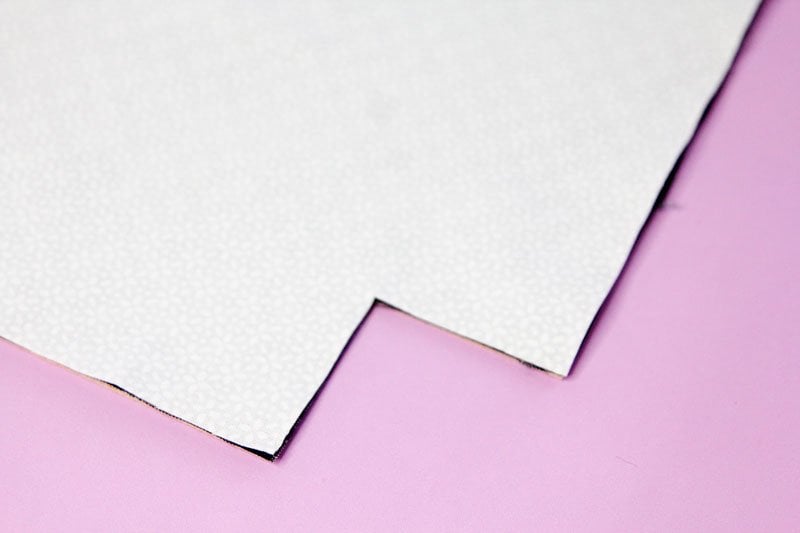
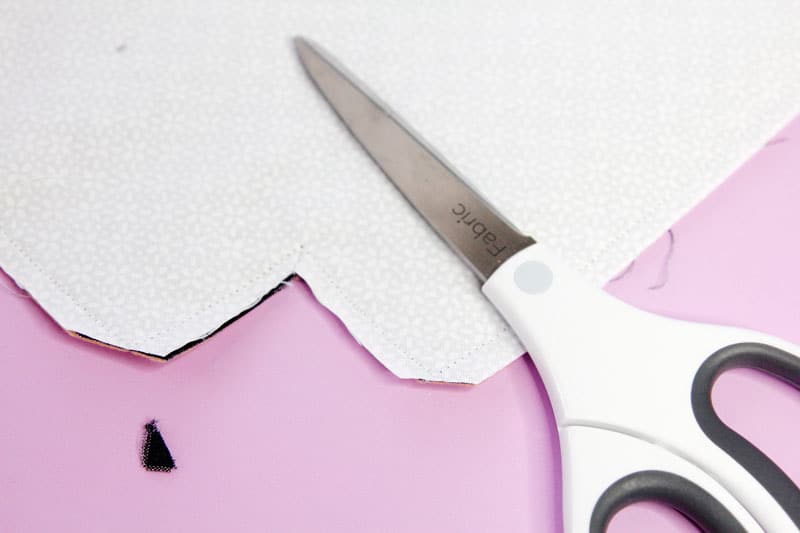
Peel off the excess fabric.
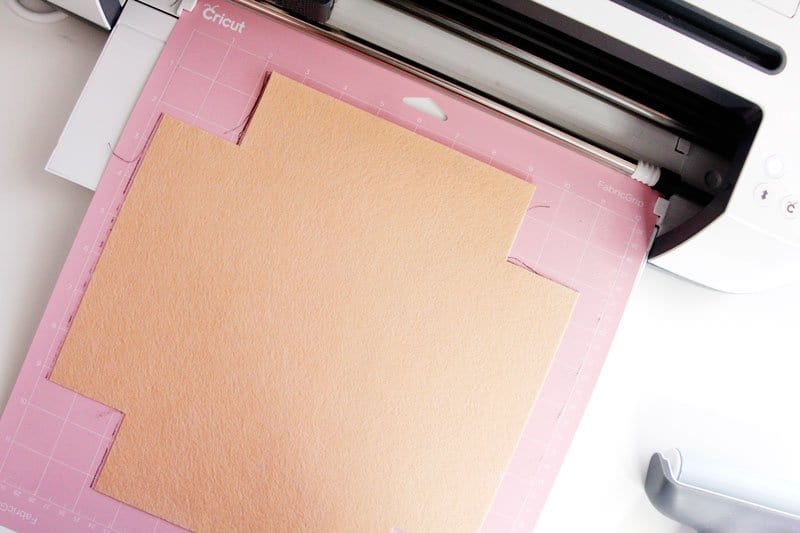
Repeat with black!
And felt!
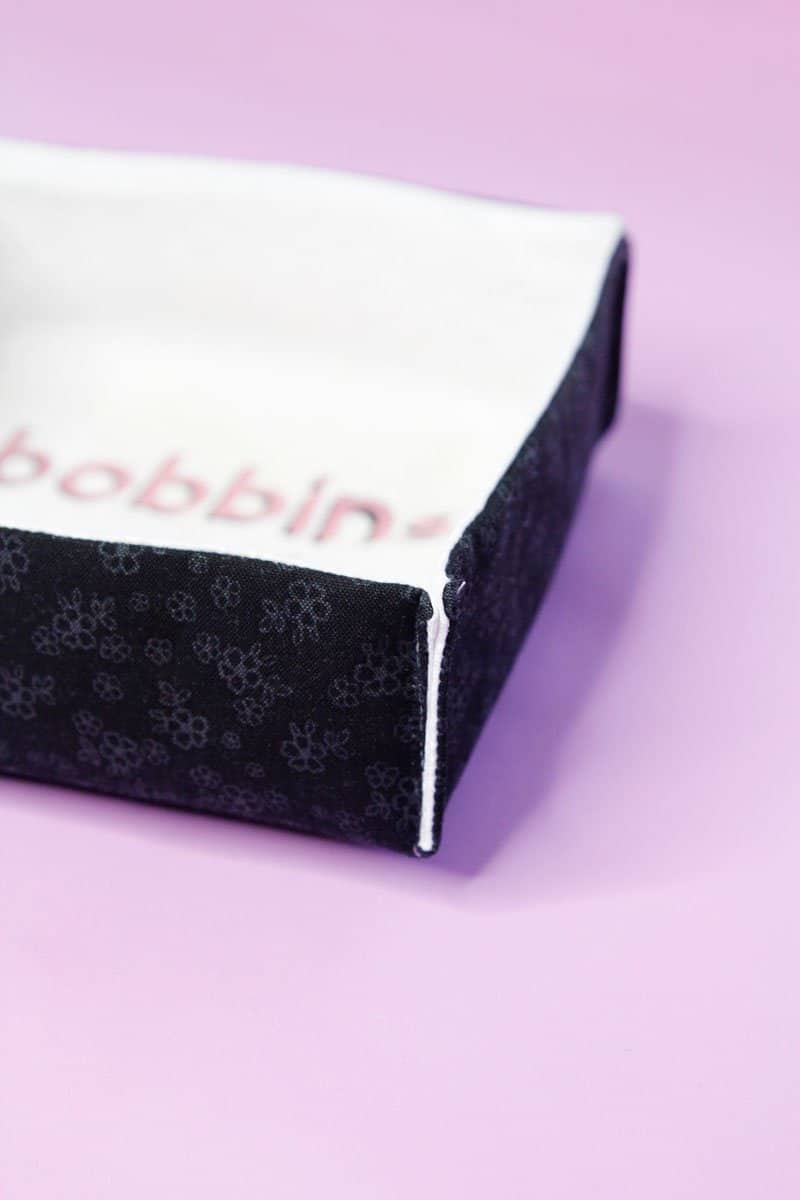
Layer the black fabric face UP on the felt.
The put the white fabric face DOWN on the black fabric.
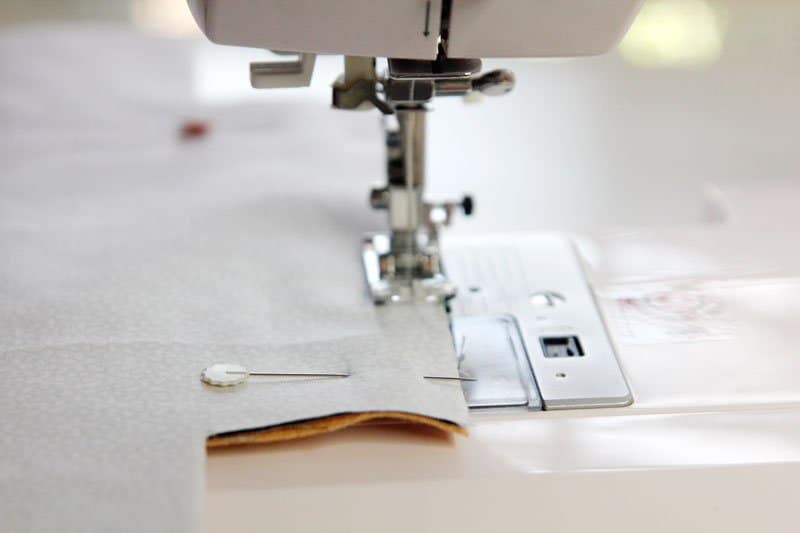
Pin and sew around all the edges, leaving a 2″ opening on one of the long straight edges of the box.
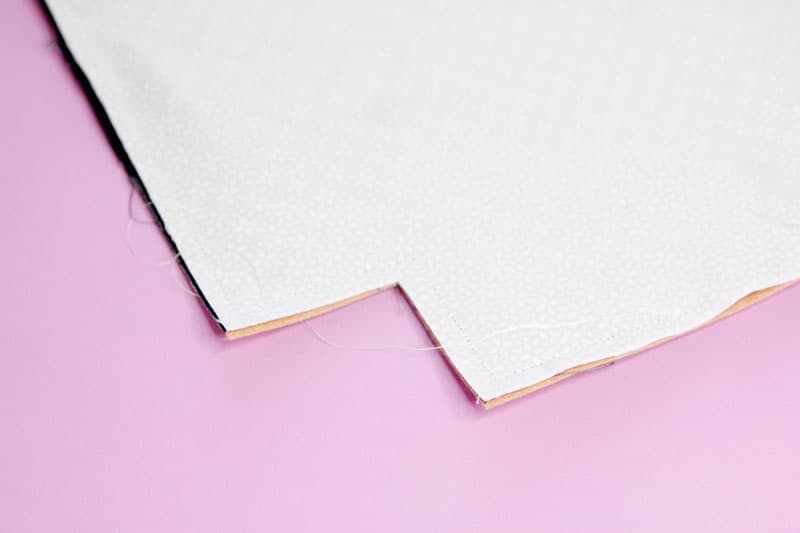
Trim and clip corners and trim seam allowance.
Turn right side out and press. Sew the opening closed with a topstitch on the machine.
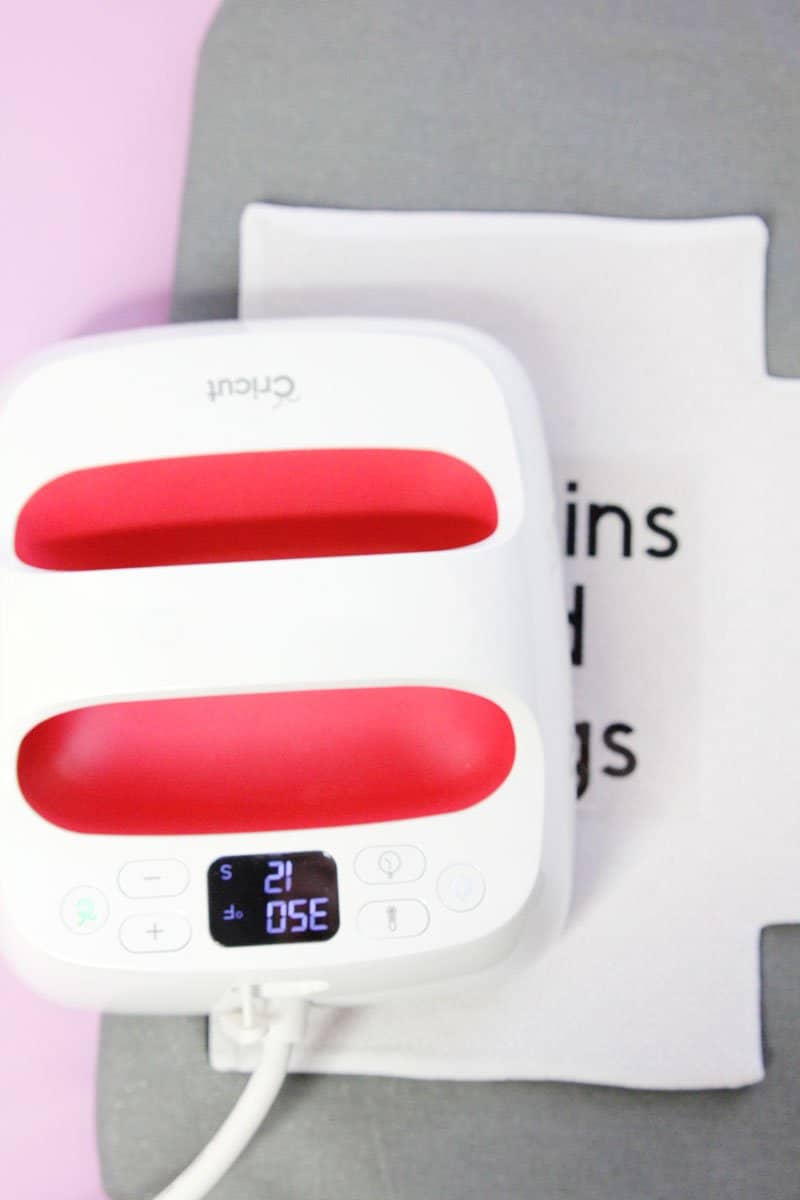
Use the EasyPress to fuse the black vinyl down first.
Once it is cool, layer the second color on top, offset just a little bit!
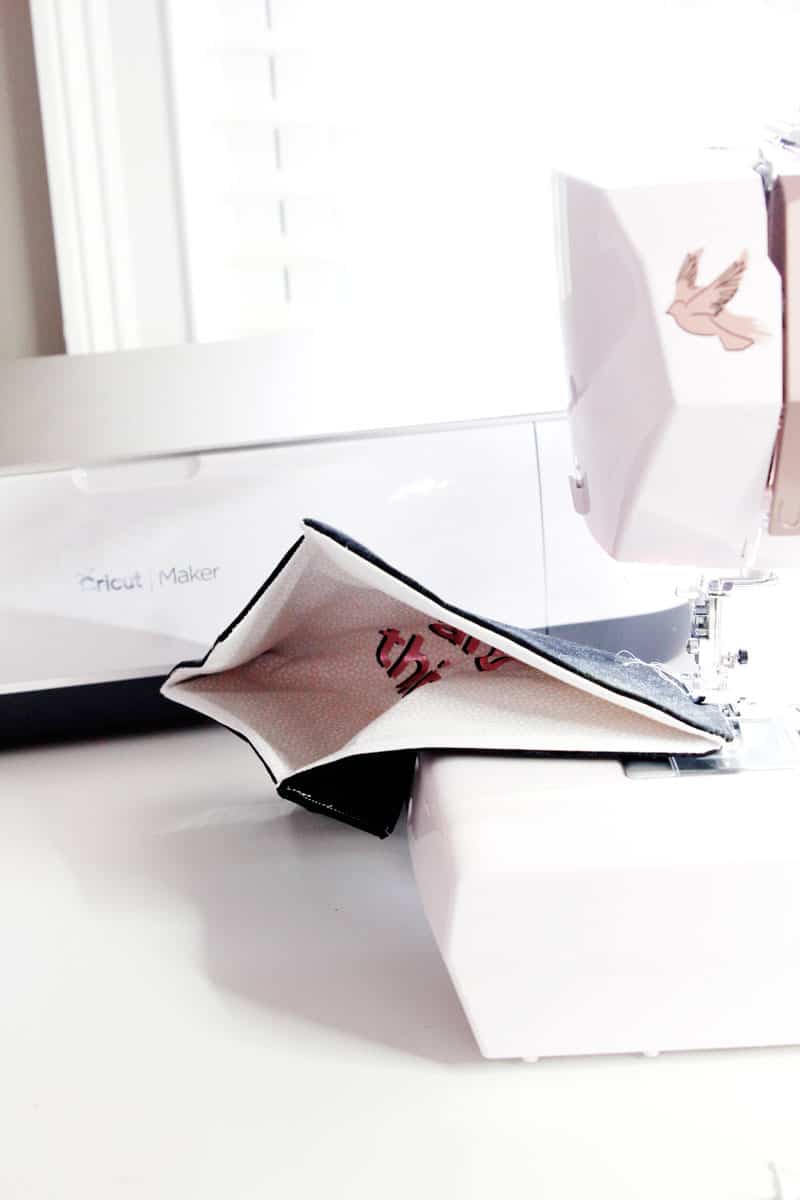
Now fold the corners up with the inside layers touching and sew to create a dimensional box.
Backstitch at the beginning and end of the corner and trim the threads!
Now make a bunch more!
Exclusive Free PatternRuffled Apron
Sign up for my email newsletter and receive my ruffled apron pattern totally FREE!
We take your privacy seriously. See our privacy policy here. Unsubscribe at any time.
I would love to make this project, but, unfortunately, I have Silhouette not Cricut.
Glenda Hyde
Thanks Kate , I printed the PDF . & fixing to try it out !
Stephanie
I cannot find this in design space. I looked under sewing and searched for cheeky fabric boxes and searched again for just boxes and nothing came up that was this project. Any suggestions of how to find it?


I would love to make this project, but, unfortunately, I have Silhouette not Cricut.
Thanks Kate , I printed the PDF . & fixing to try it out !
I cannot find this in design space. I looked under sewing and searched for cheeky fabric boxes and searched again for just boxes and nothing came up that was this project. Any suggestions of how to find it?
thank you
Make sure you are signed into your cricut account on a desktop before clicking the link https://design.cricut.com/#/design/new/projects/user-project/131922350
What would you recommend as a replacement for the felt if you do not have a cricuit?
You can still use any kind of felt or a thick interfacing :)