This DIY Unicorn Valentine Box is a sponsored conversation written by me on behalf of Cricut. The opinions and text are all mine.
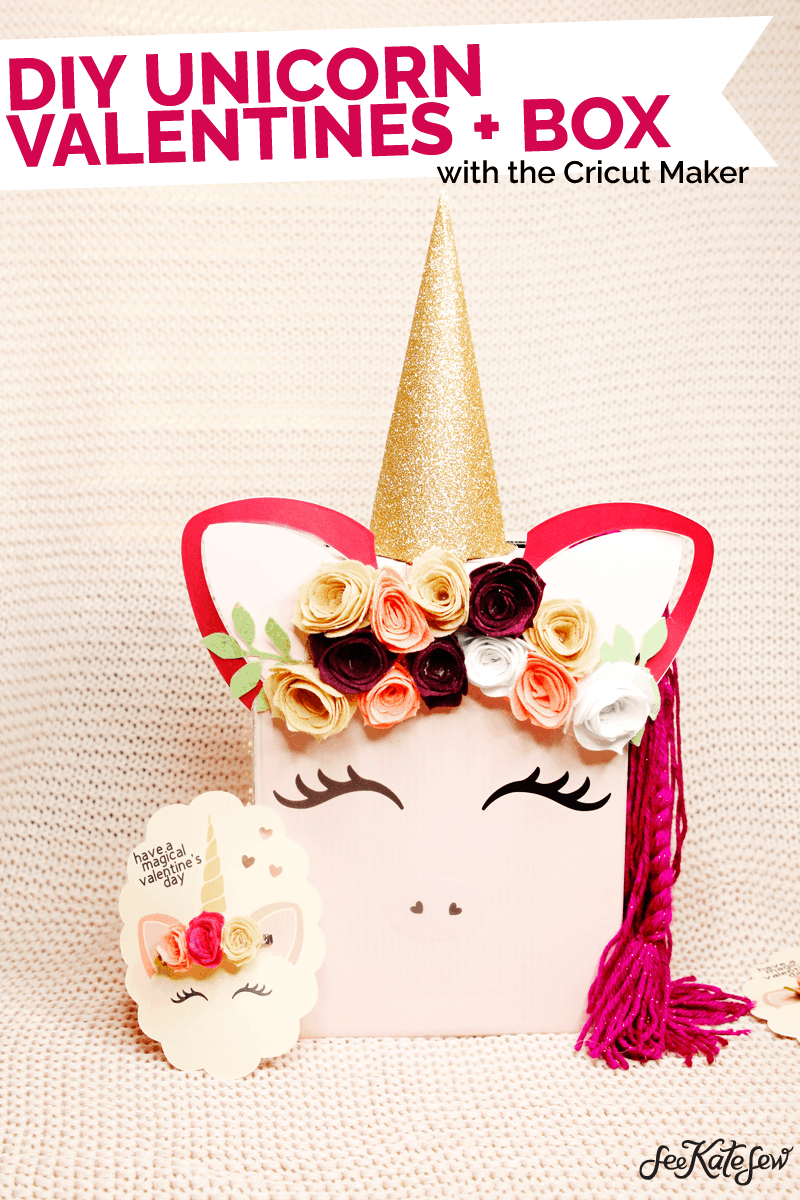
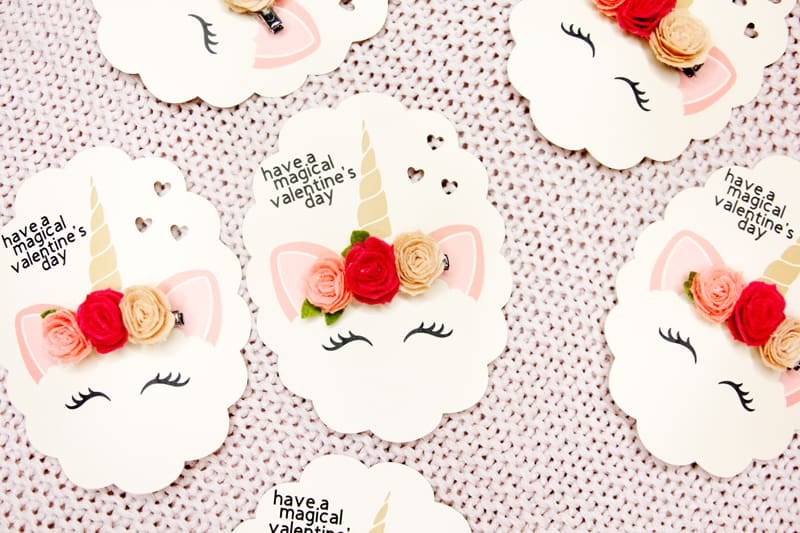
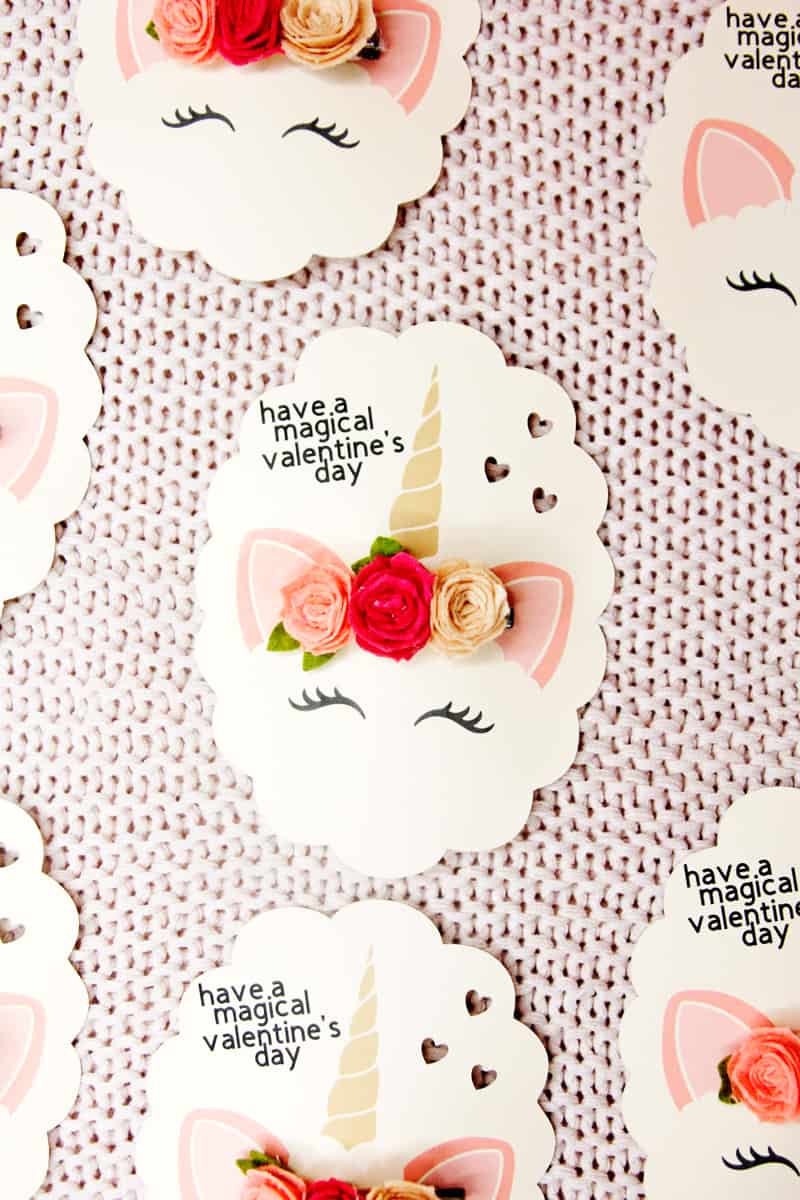
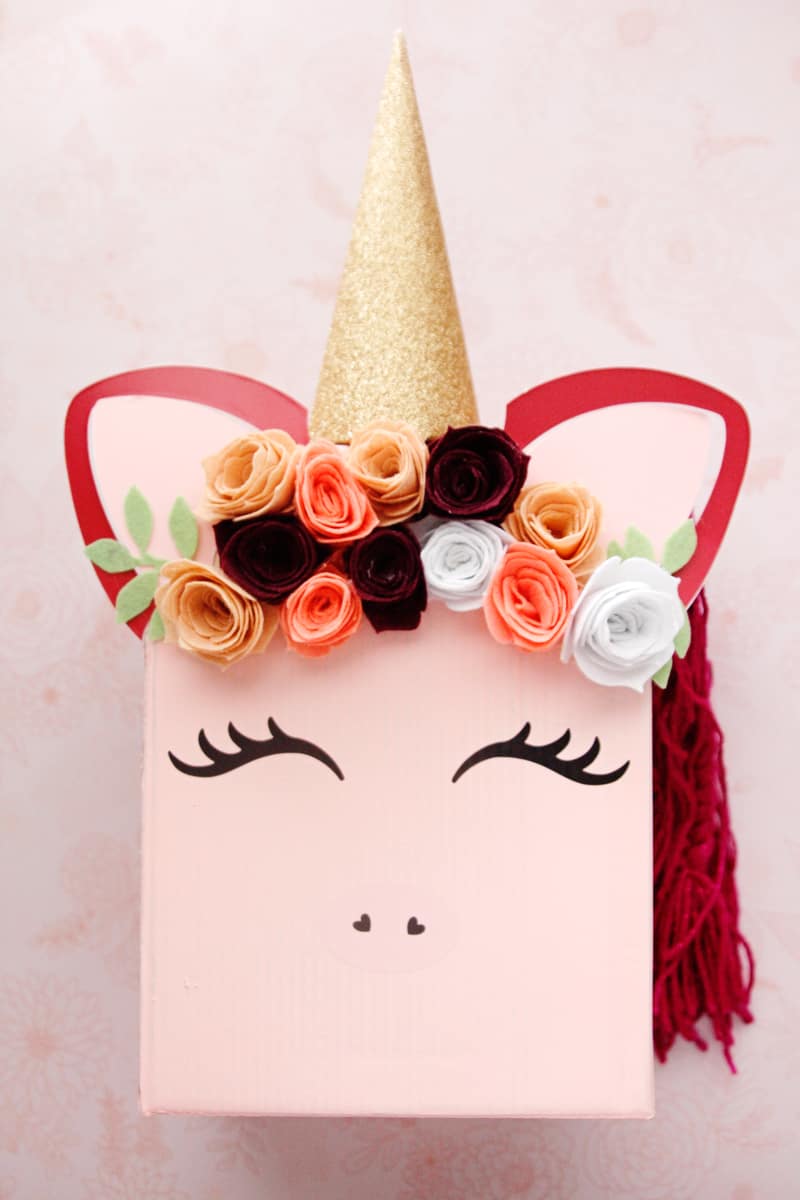
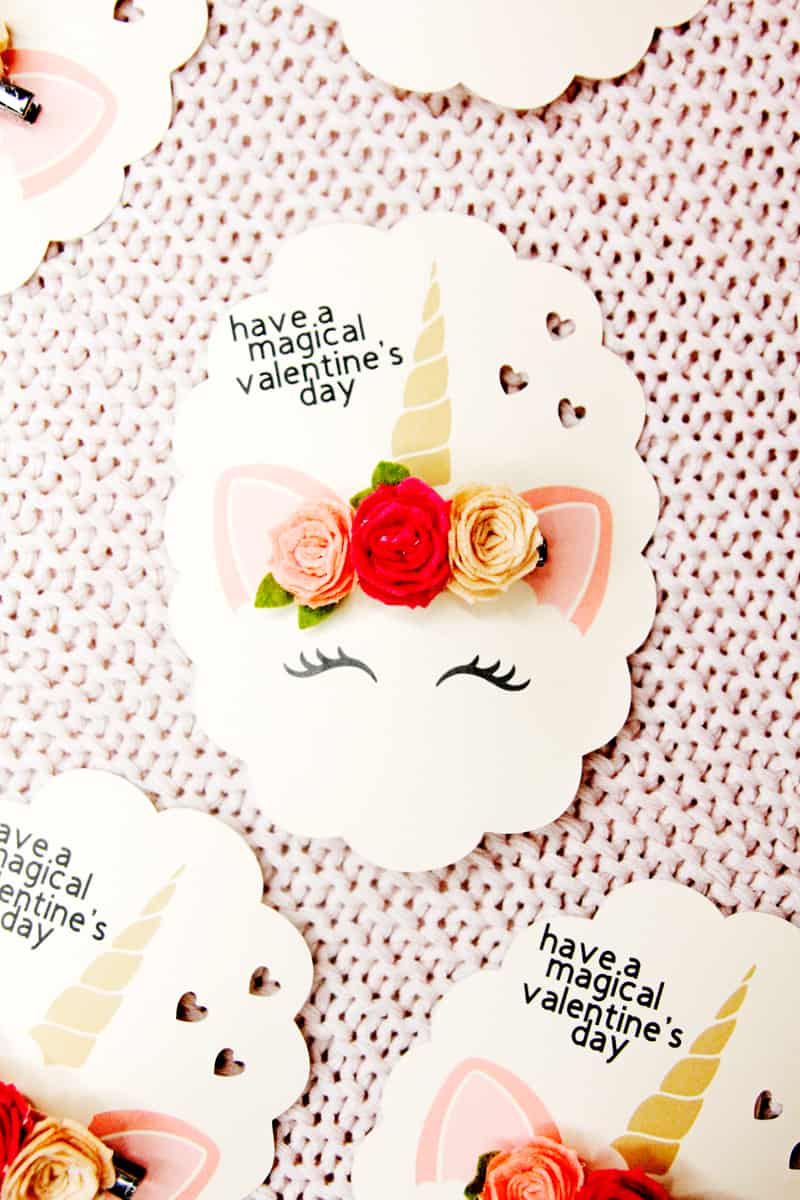
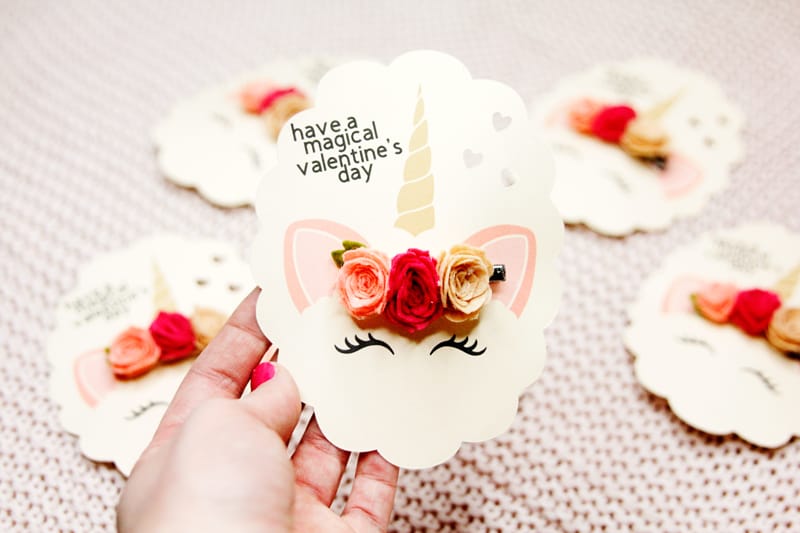
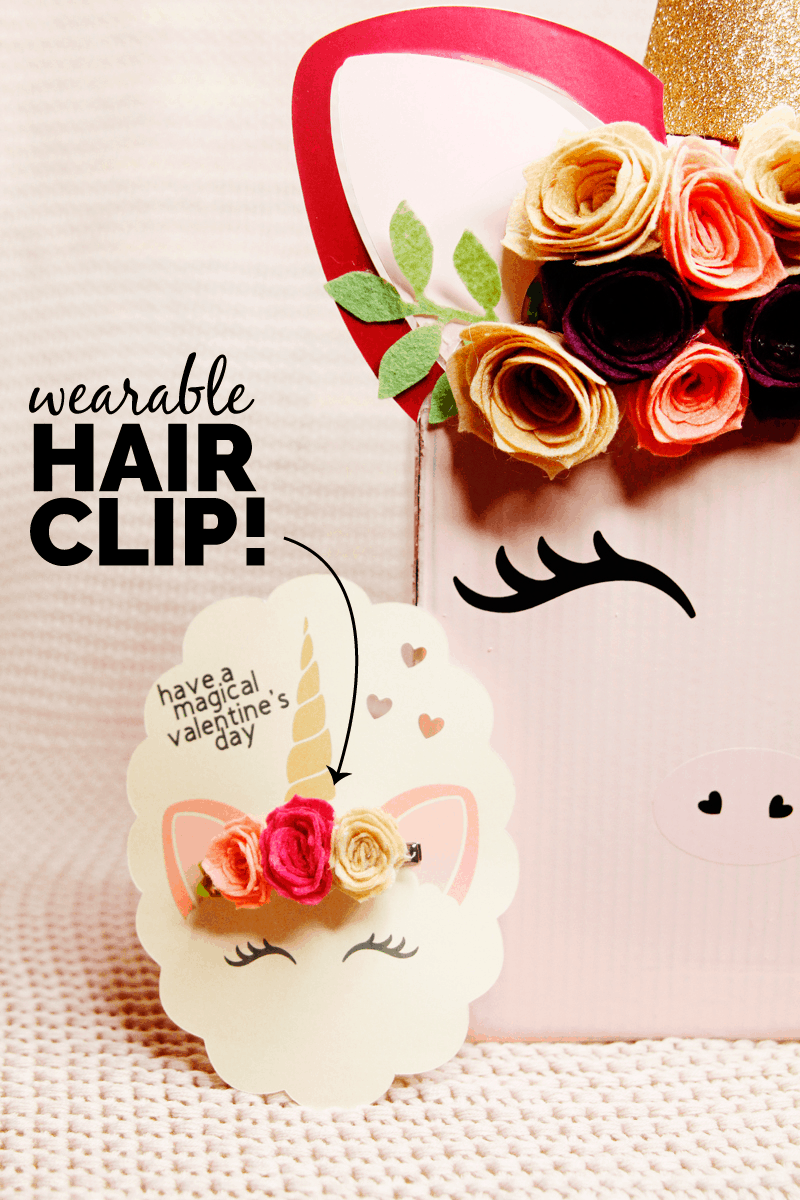
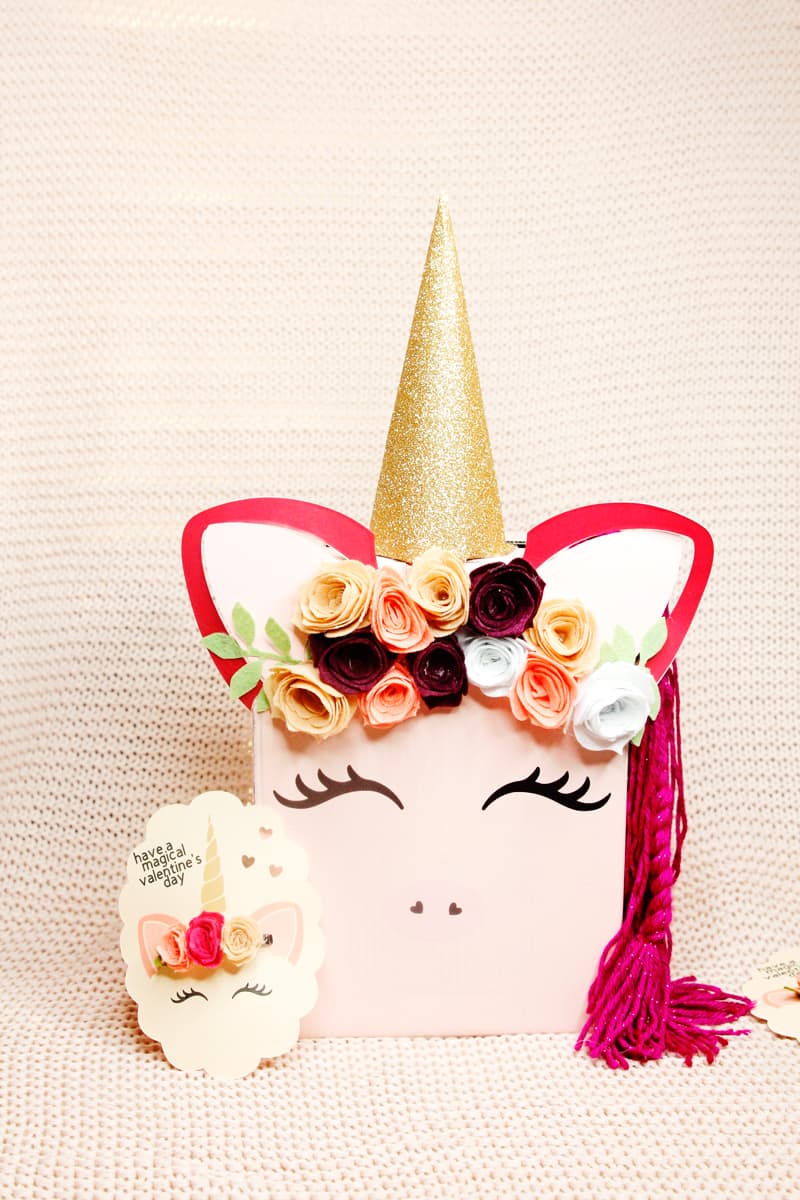
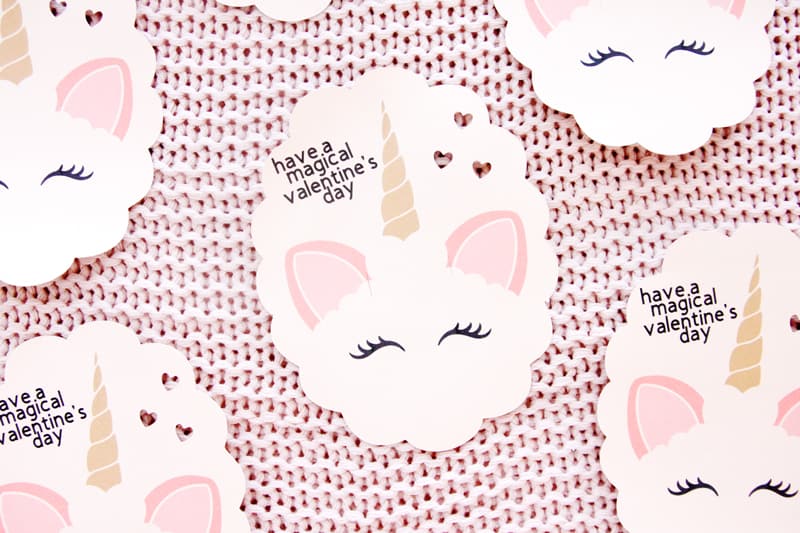
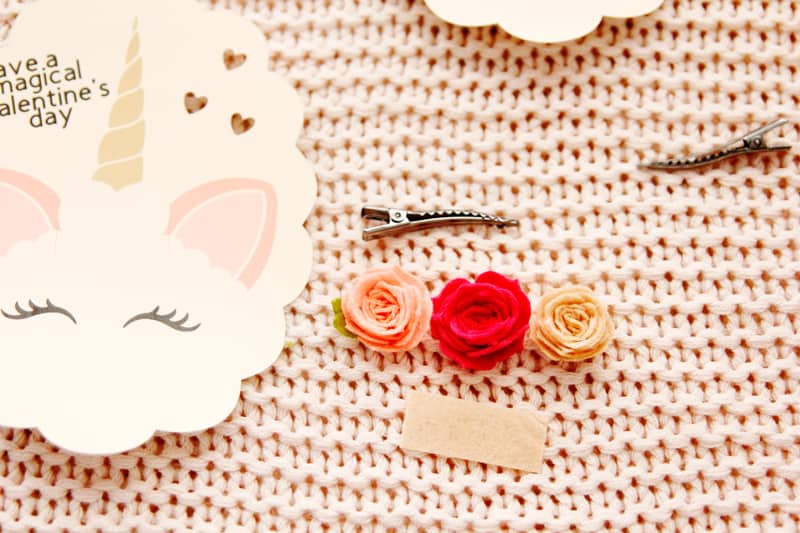
I love Valentine’s day, mostly for the punny crafts ;) My daughter and I made a quick DIY Unicorn Valentine Box that is simple and was super fun to make! I used the Cricut Maker to cut out all the elements of the unicorn so you can replicate it exactly! The mane is made with yarn and the other elements are card stock, vinyl and paint! And coordinating Unicorn Valentines to pass our were a must! My daughter helped me make these flower hair clips to go on the valentines! The unicorn “wears” the bow but it can be removed and is a usable bow for the recipient – so fun! I am always looking for non-candy valentines to give and I love that this one doesn’t have a junky toy! This project is TOTALLY repeatable, I linked to all the materials and designs I used to create it so you can replicated it exactly if you want, or put your own spin on it!
If you don’t have a Maker yet, I recommend this bundle!
We’ll start with the unicorn box and then make the hair clips! The hair clip tutorial includes a video!
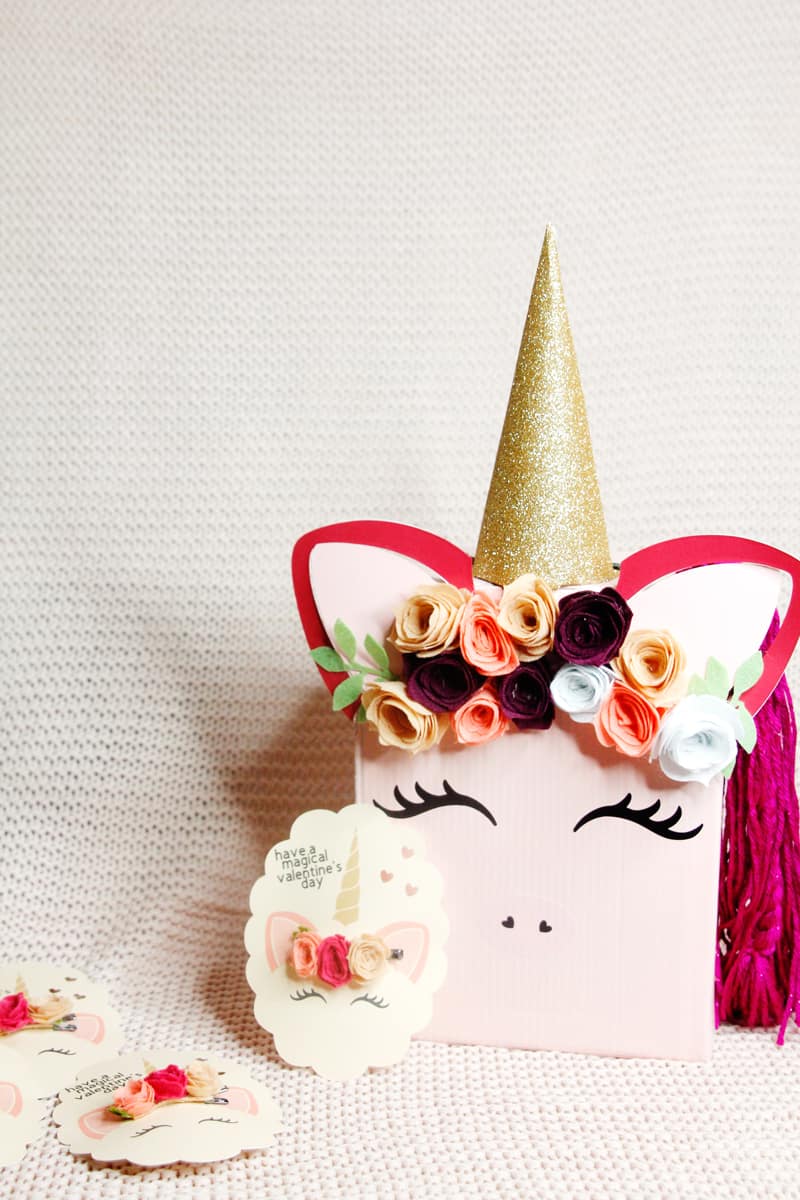

UNICORN Valentine BOX Materials
- Cricut Maker
- Cricut Kraftboard
- Cricut Vinyl Pink, Black + Green
- Cricut TrueControl Knife
- Cricut Cutting Ruler
- Cricut Cardstock
- Gold Glitter Cardstock
- Cricut Felt Sampler – Summer Sky
- Cricut Felt Samper – Carousel
- Box
- Pink spray paint
- Purple shimmery yarn
- Hot glue
- Unicorn Valentine Box in Cricut Design Space
Unicorn Valentines & Hair Clip Instructions
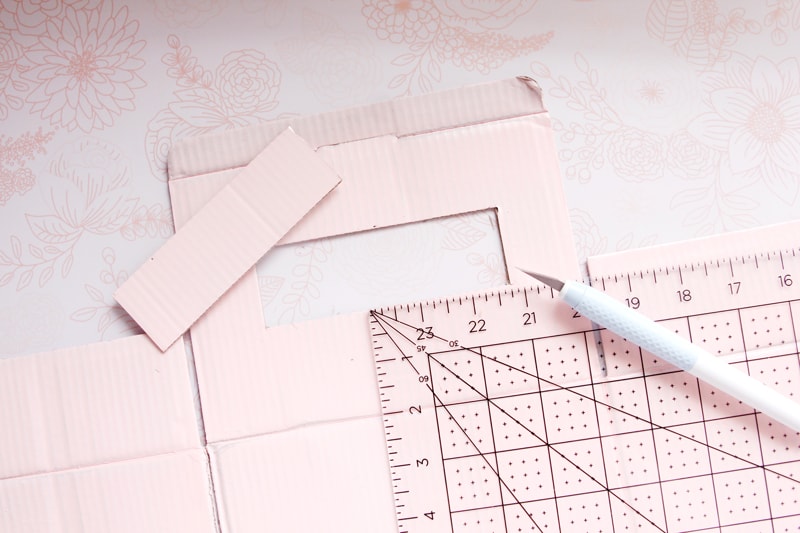
Find a box to use! If you need to – turn it inside out and reglue it so you have a nice surface. Spray paint box pink (or any color!) Use the TrueControl Knife and ruler to cut out a space at the top of the box about 1.5″ tall by 5″ long.
Click on the Unicorn Valentine Box project in Design Space. Sign into Design Space before clicking. This project will take you to all the images you need in one spot! There are 8 canvases for different materials. On mats 6 and 7 you can move the rose on Mat 7 to Mat 6 by clicking the three little dots in the left corner of the object.
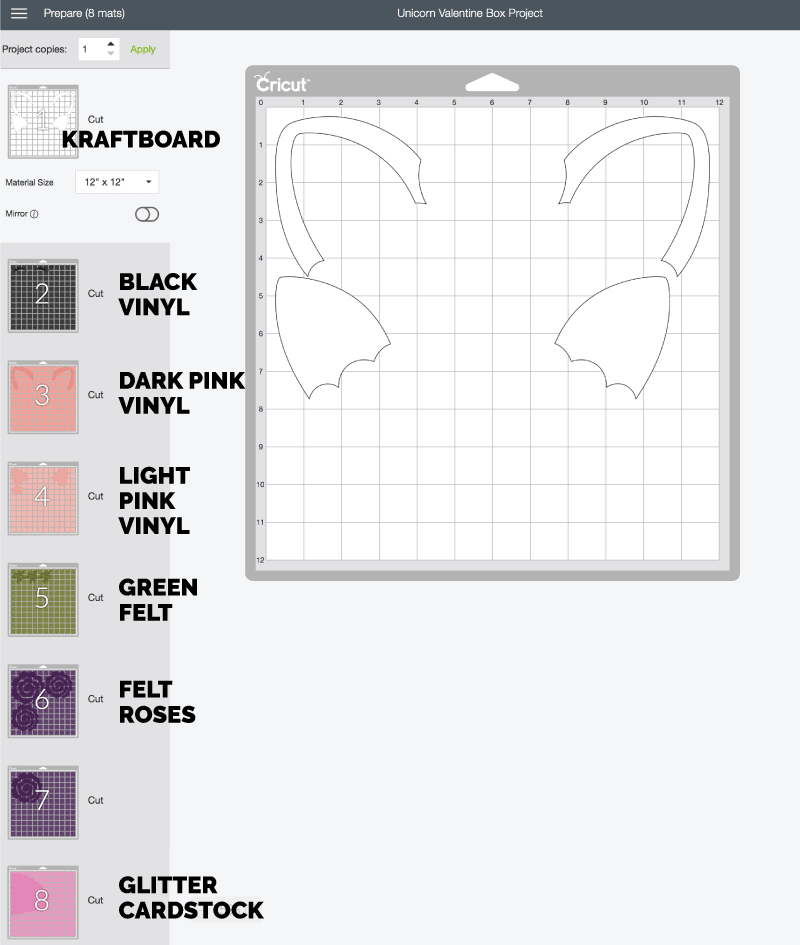
Kraftboard: Ears
Black Vinyl: Eyelashes, Nose pieces
Pink Vinyl: Nose outline, Inner ears

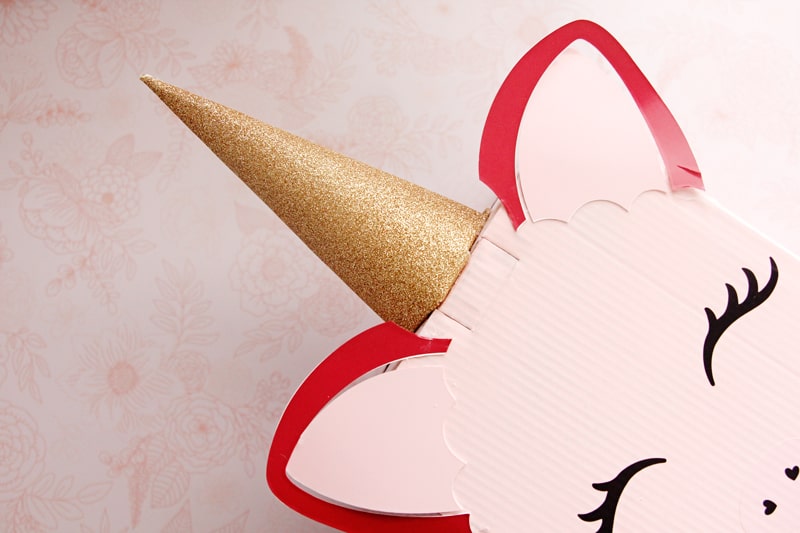
Gold Glitter Cardstock: Cone (unicorn horn)
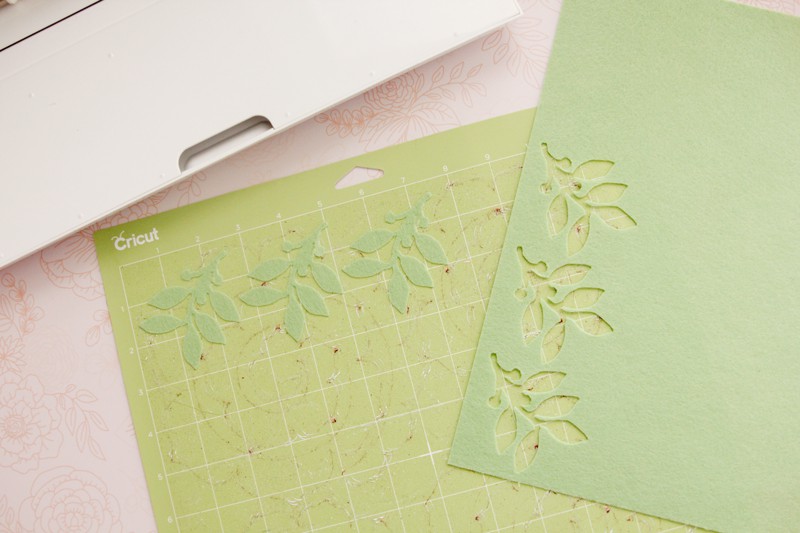
Green felt: Leaves
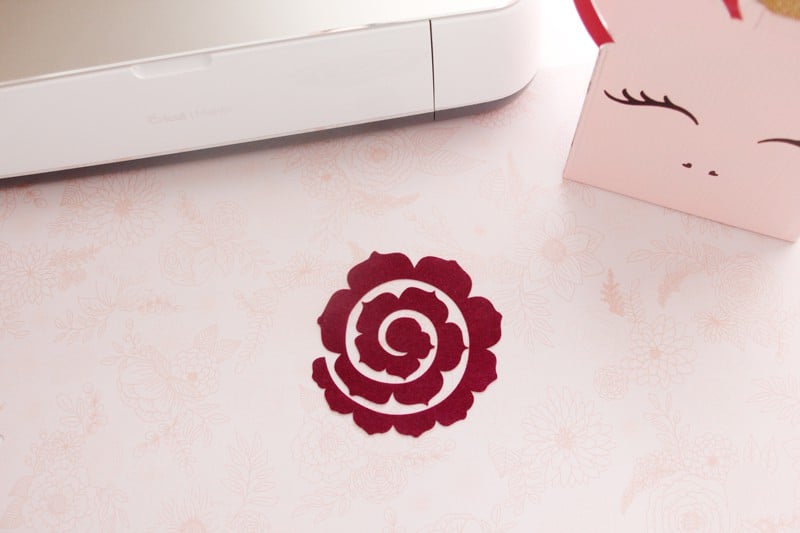
The canvas with the spirals is the felt roses, they wrap into flowers. Cut out 12 of these (3 sheets) with different colors of felt.
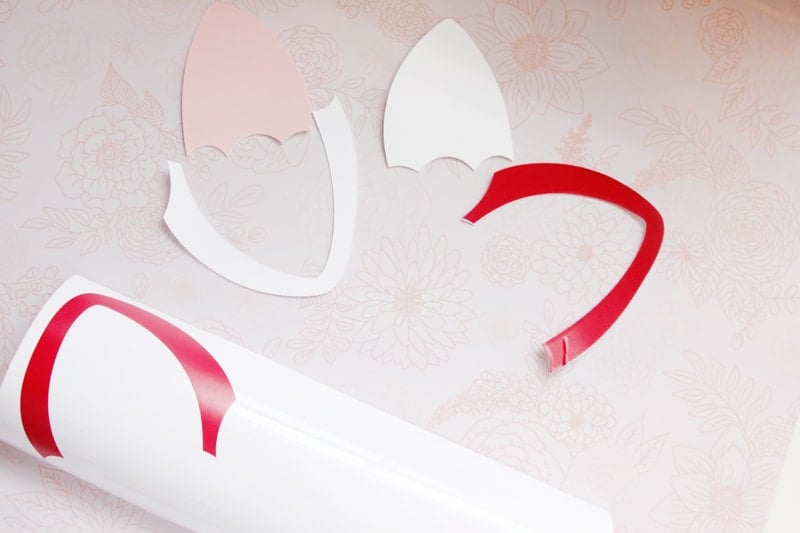
Peel the vinyl ears off and attach them to the kraft board. Glue the ears to the box’s corners.
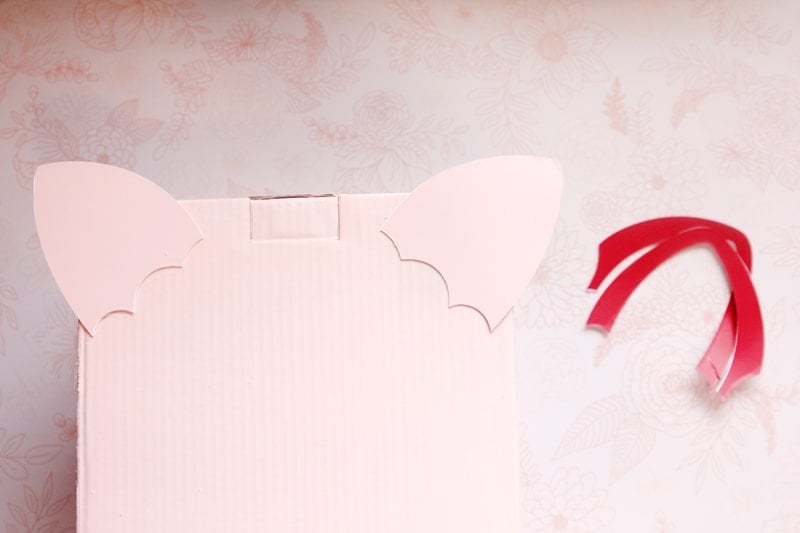
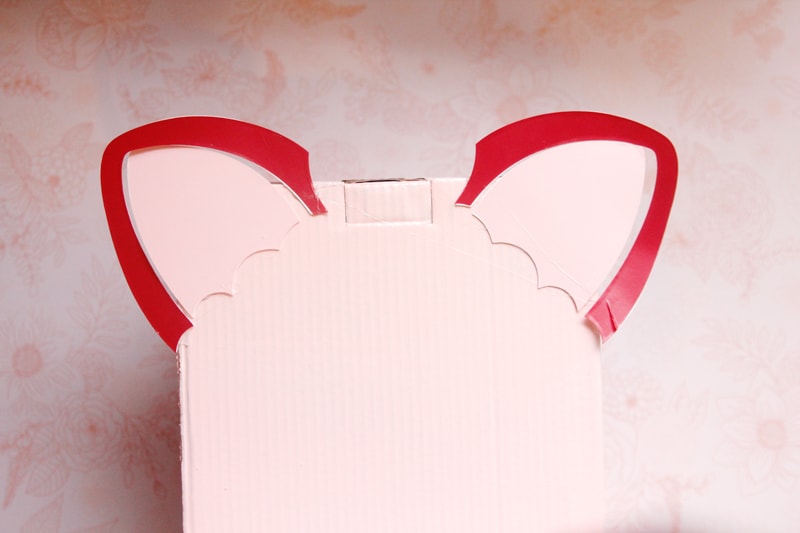
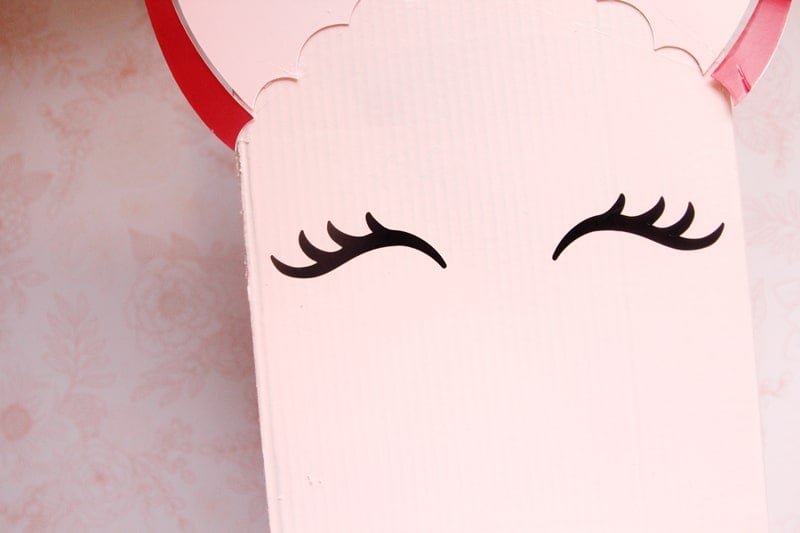
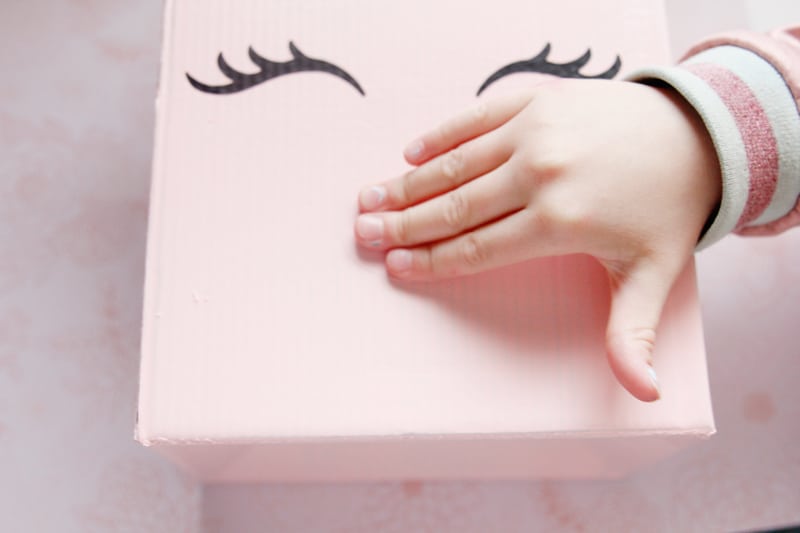
Stick the eyelashes, nose and hearts to the box.

Cut the cone from gold glitter cardstock. Roll it and glue into cone shape. Then fold under the scallops and glue those down to the top of the unicorn head.
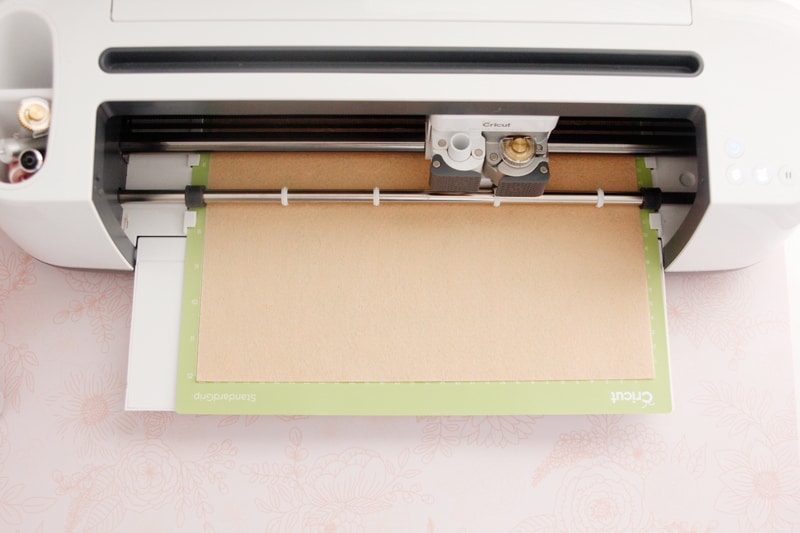
Cut out the felt using the Rotary blade on the Maker. Read more about all the materials the Rotary Blade can cut in THIS POST!
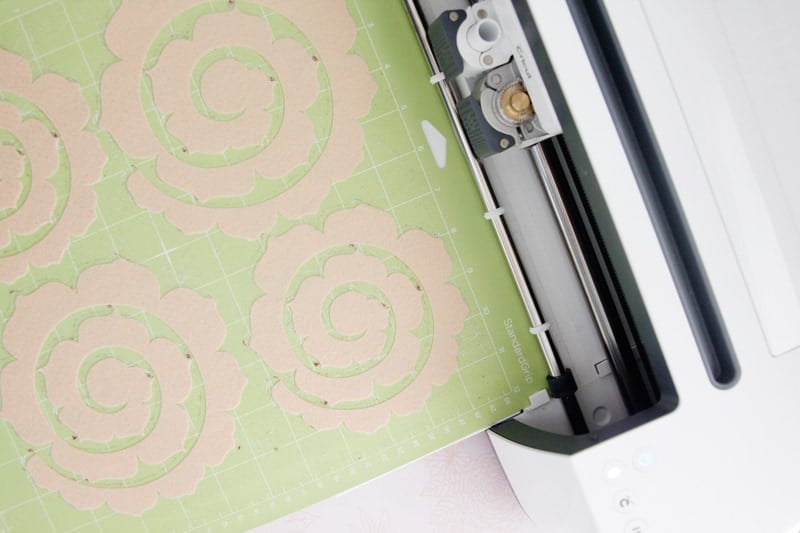
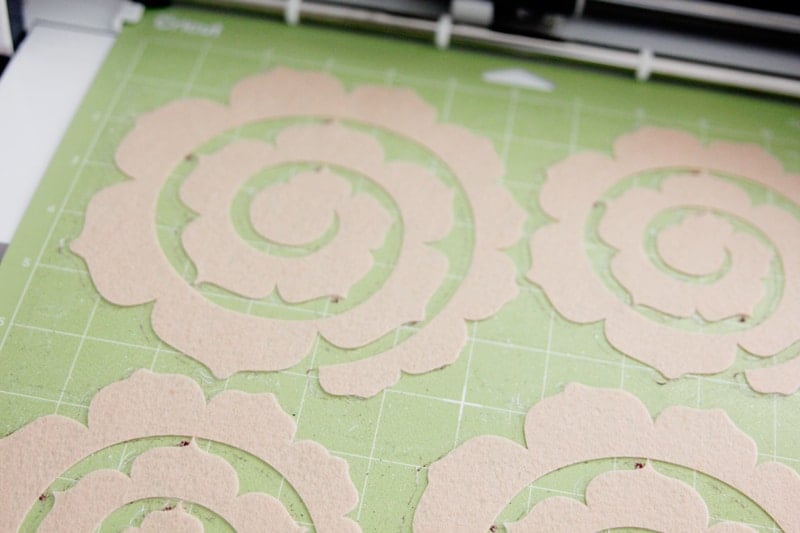
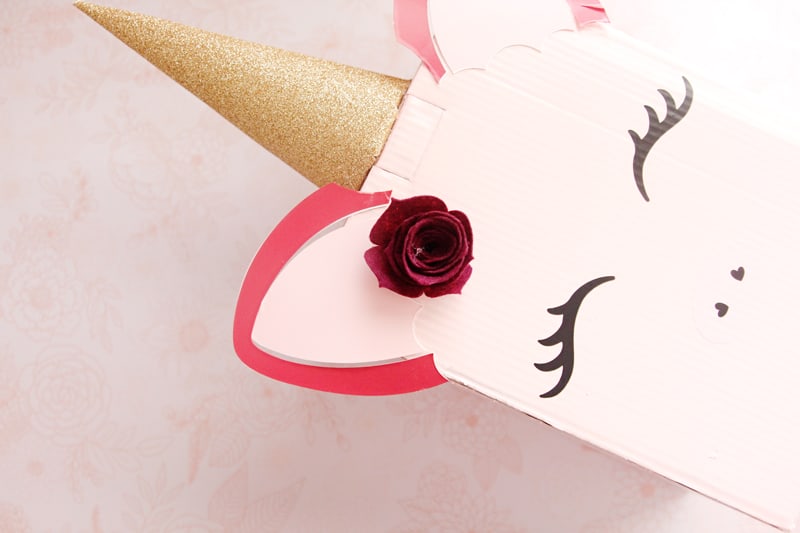
Roll the felt roses. This part is so fun! Each spiral will turn into a rose. Start by rolling the end without the circle. When you’re finished rolling, put hot glue on the bottom and cover it with the circular base.


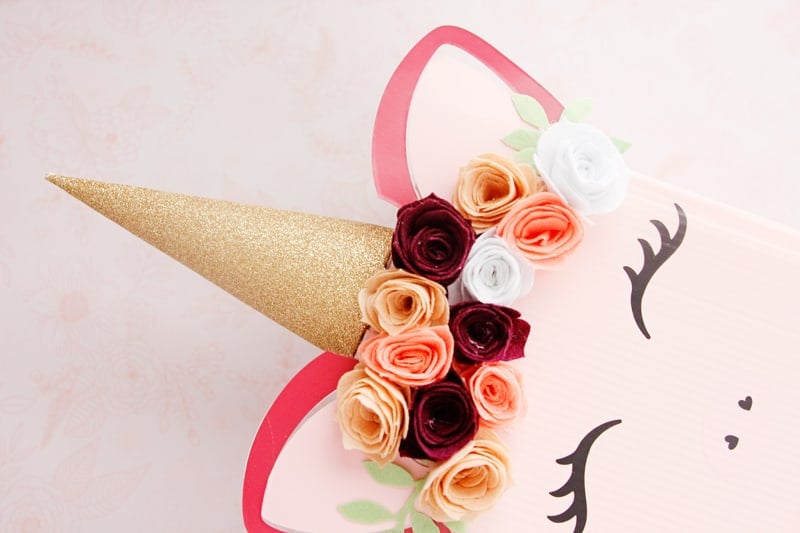
Arrange them all along with the leaves on the unicorn’s forehead and glue down.
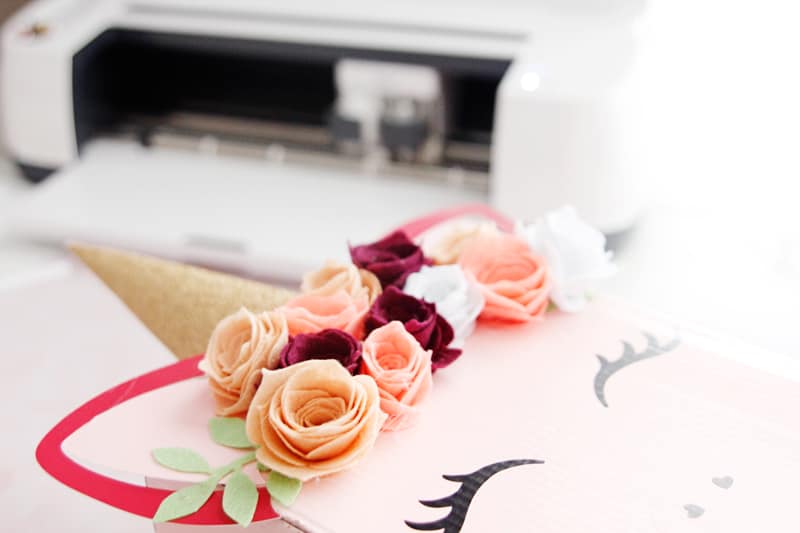
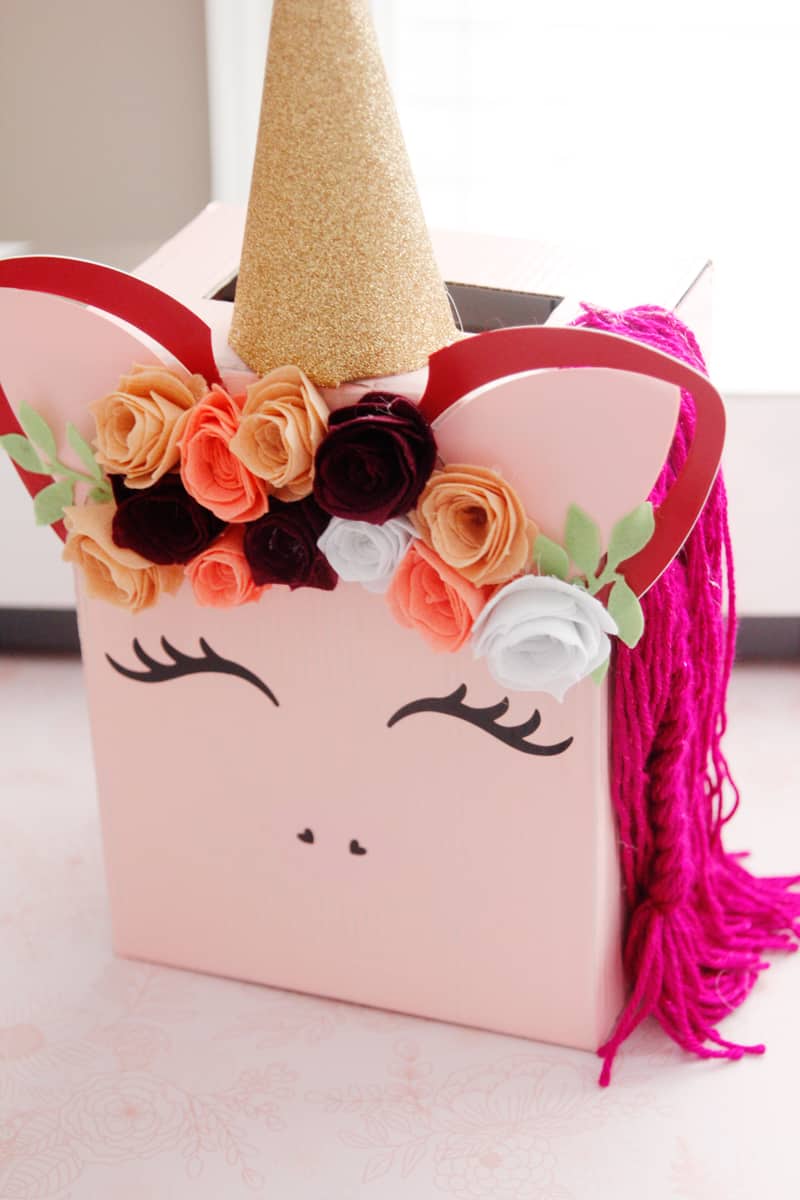
Glue yarn to the side of the unicorn. I added a yarn braid, too!
UNICORN VALENTINES Materials
- Cardstock (Print on the smooth side)
- Cricut Felt Sampler – Summer Sky
- Cricut Essentials trimmer
- Hair Clips
- Hot glue
- Unicorn Valentines in Design Space (Sign in to Design Space first then click the link!)
- Felt Flower Hair Clip Project in Design Space
VIDEO//
INSTRUCTIONS//
Print the Valentine images from the Unicorn Print + Cut Valentines Project – 2 will fit on each page.

The Design Space Project will not print the hearts, cutting lines, or unicorn heart headband thing.
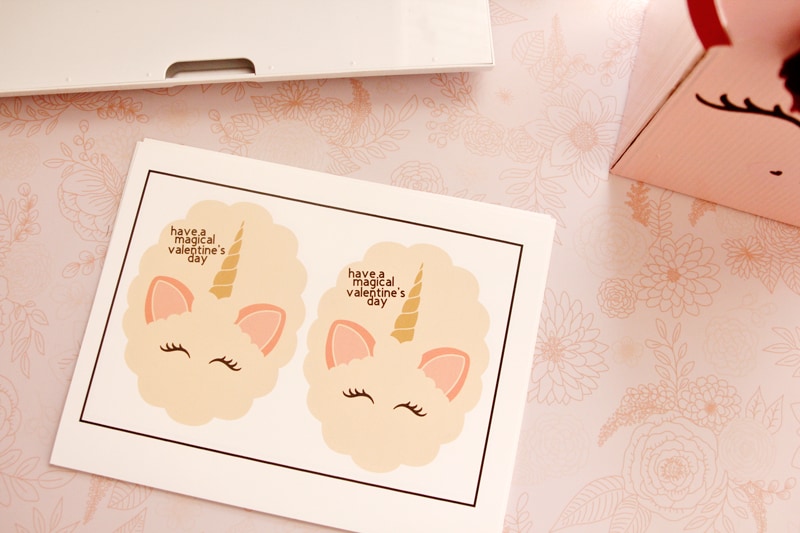
After you’ve printed, go back to the project and HIDE the unicorn face/horn/ears and the words. That way the machine will only cut out the scallop outline, decorative hearts and hair clip lines.
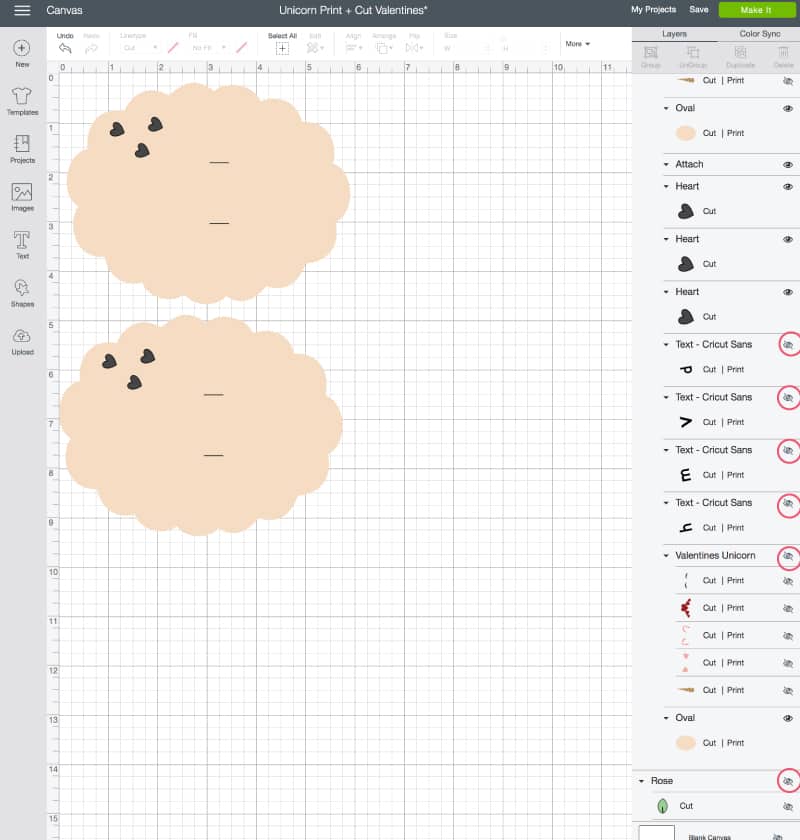
Now click CONTINUE again and proceed to CUT the image.
Put the paper on the Standard Grip mat as shown in Design Space and below:

The Cricut Maker will find the black lines and know where the cut the scallops, hearts and hair clip slits. It’s magical and the result is perfect and beautiful! I’d never be able to hand cut such perfect scallops!
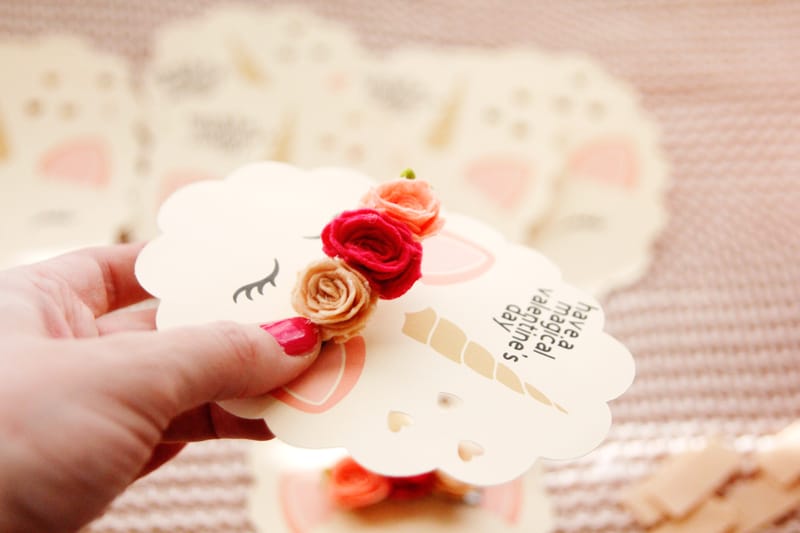
When you peel the Valentines off the mat they will be ready to insert the hair clips in!
The hair clips are very similar to the roses on the box, but the designs are on a separate Project board.
It’s the same rose design, just a little bit smaller. Make 3 for each hair clip. I used ombre pink colors from 2 of the felt samplers (Summer Sky and Carousel) and then added a little leaf or two. The Design Space project for the hair clips has leaves, roses and a rectangle base.
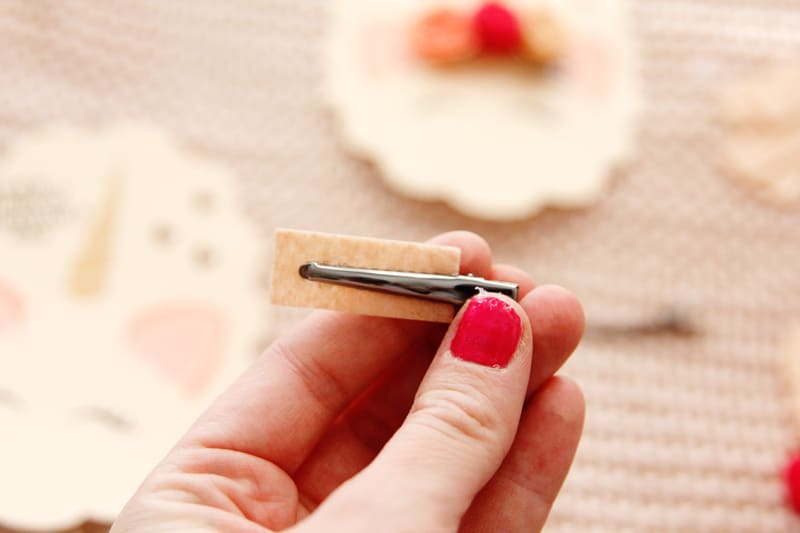
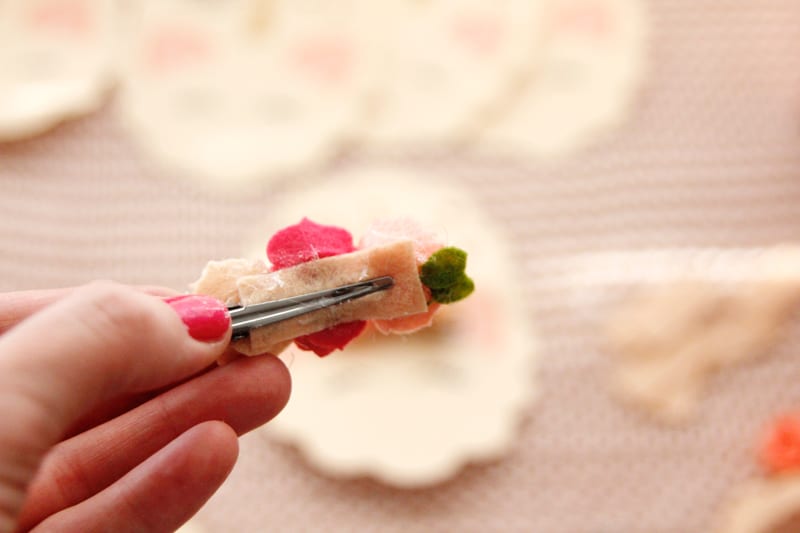
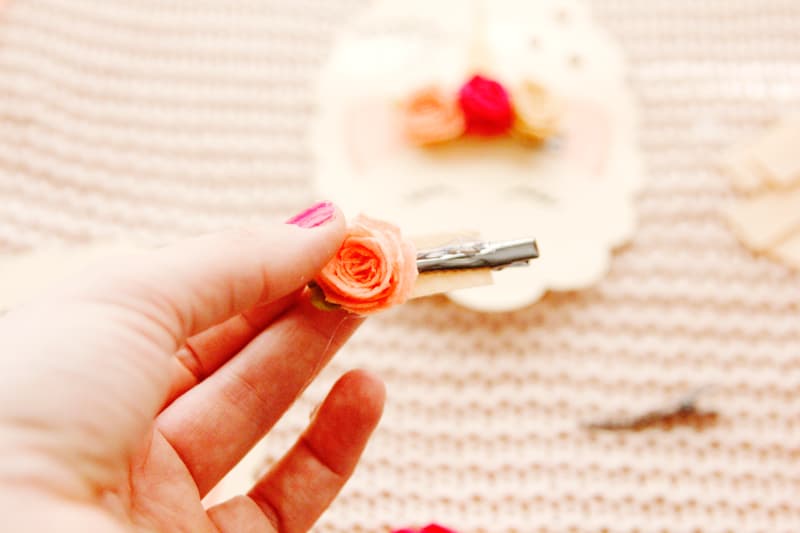
Glue the base to the back of the TOP of the hair clip. Now glue 3 flowers in, squish them together and press as they dry.




Thank you so much for this! You made it so easy to make a personalized cute valentine for my daughter. You are amazing! I love crafting but just had my second babe and time and energy are very hard to come by. Thank you so much for doing all of the leg work for us!
You’re welcome and congrats! Have a blast making them!
Is the Unicorn Valentine Box and hairbow project strictly only for the maker?