Here’s a great gift idea for your favorite Stranger Things fan! I’m always racking my brain for DIY gift ideas for my husband and this is a perfect one! We love watching Stranger Things together, if you haven’t watched it, DO! I’m not really into scary shows but this is so far-fetched its really not scary, if that makes sense? Anyways, we’re obssessed. If you’ve seen any of it, you’ll probably get these DIY Stranger Things Inspired DIY Tees!
I started with the upsidedown waffle tee and just couldn’t stop thinking of things to put on more tees!
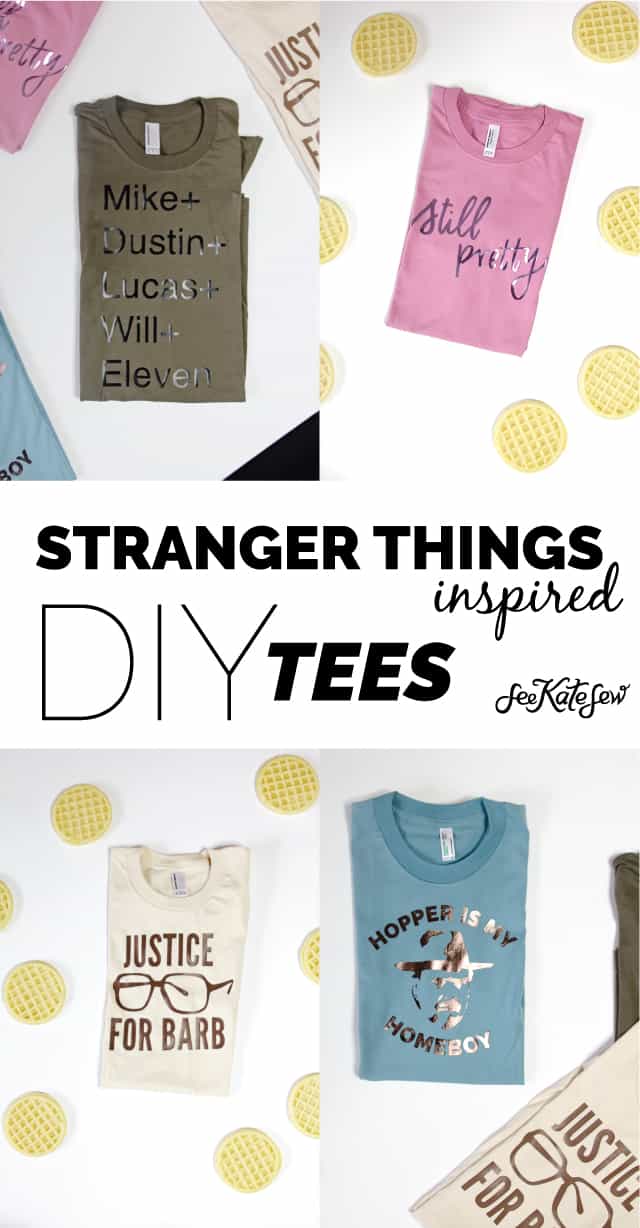
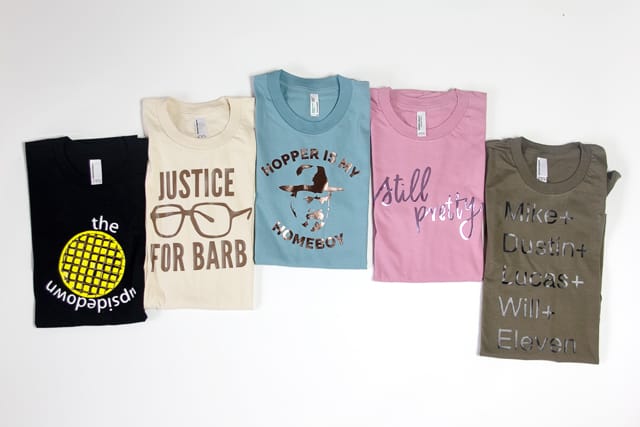
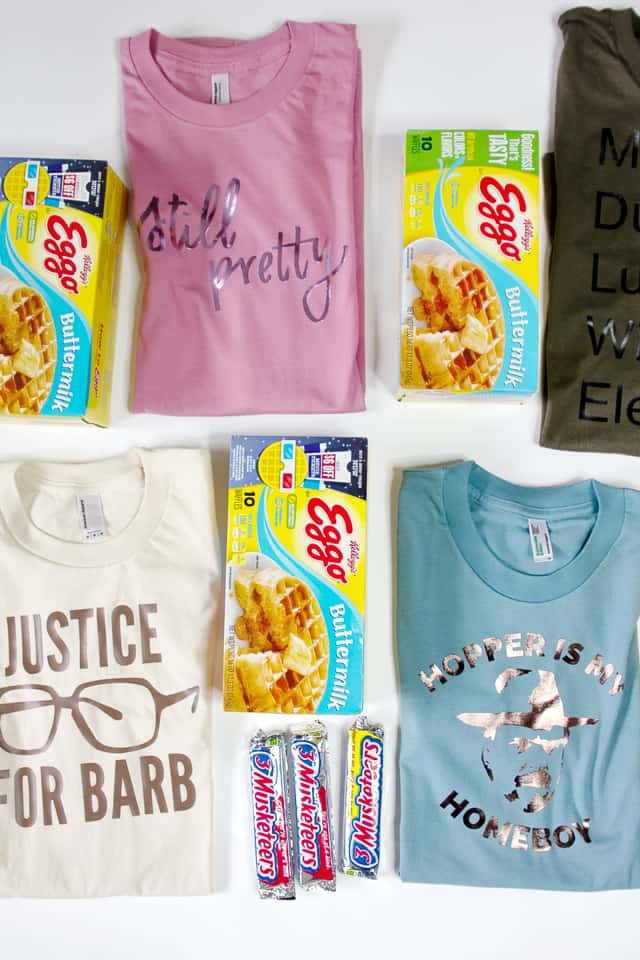
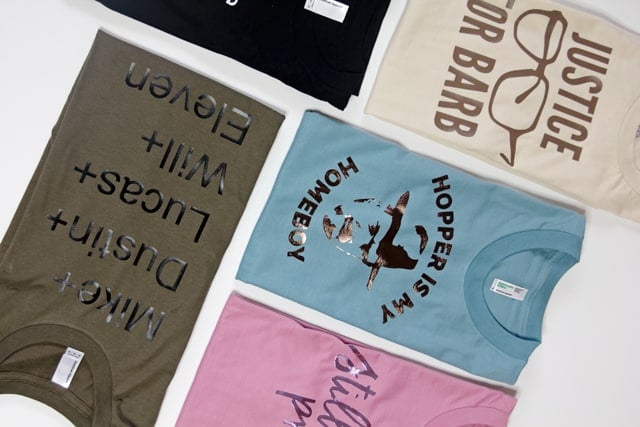
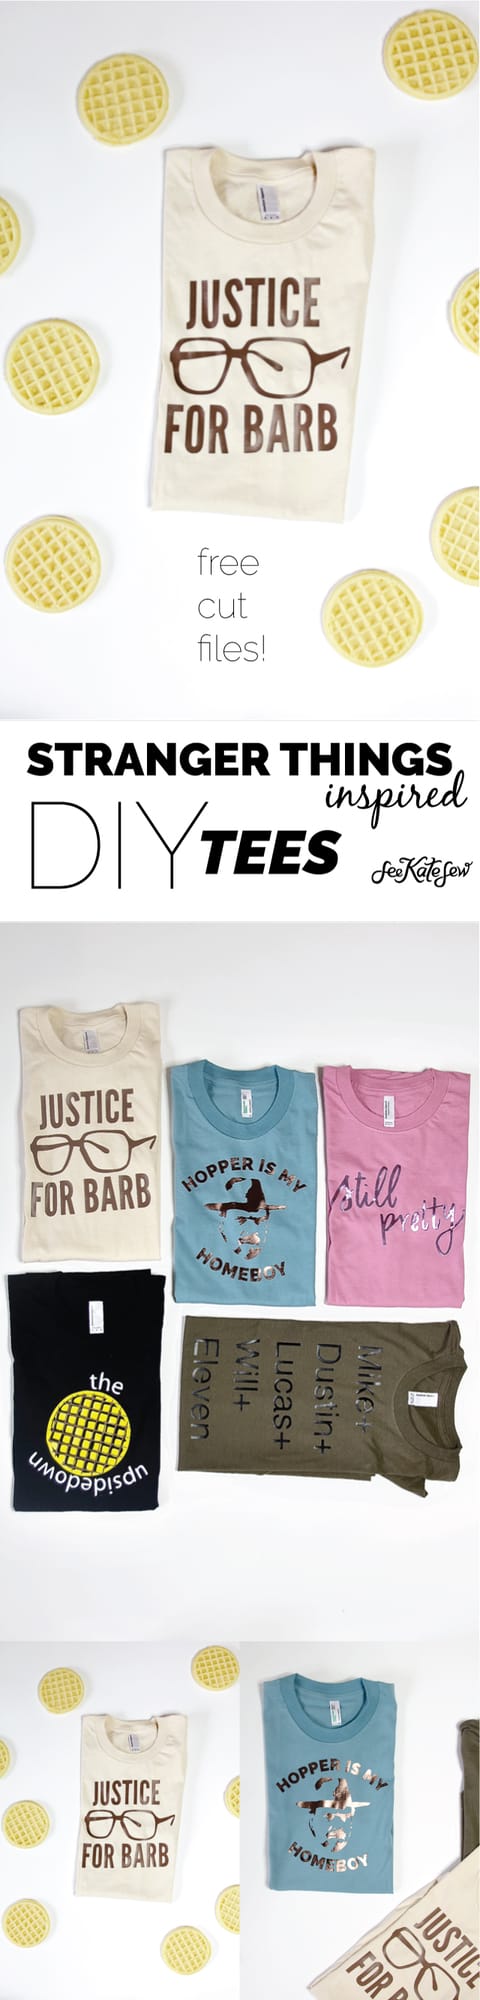
There are 5 tees to choose from and each one has a FREE cut file! I made them all the same way – with Iron-on Vinyl and my Cricut machine!
Materials//
-blank tees, I love American Apparel brand for their softness and color selection
–Cricut machine + iron-on foil and vinyl
Cut Files//
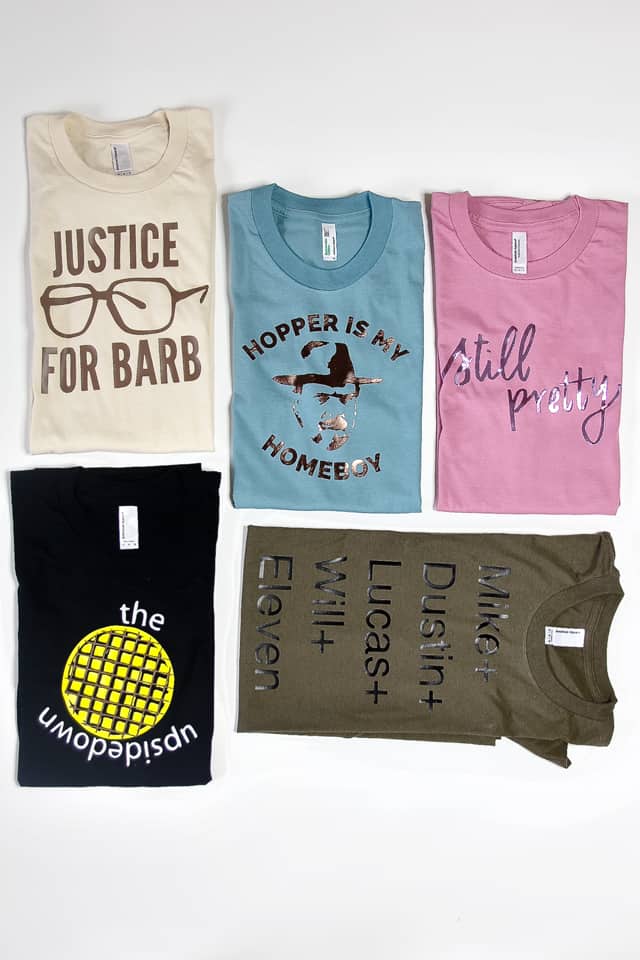
-‘The Upsidedown’ waffle tee (3 files)
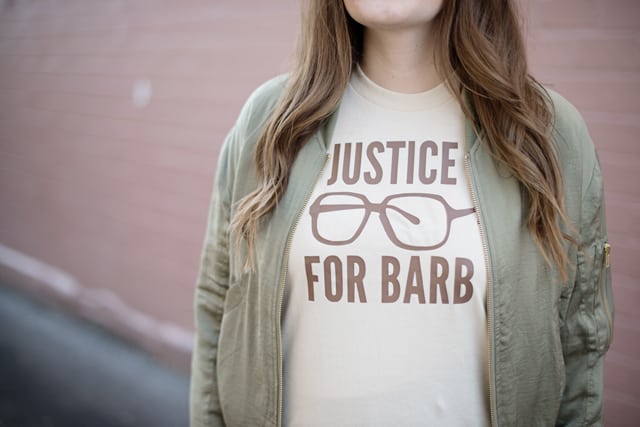
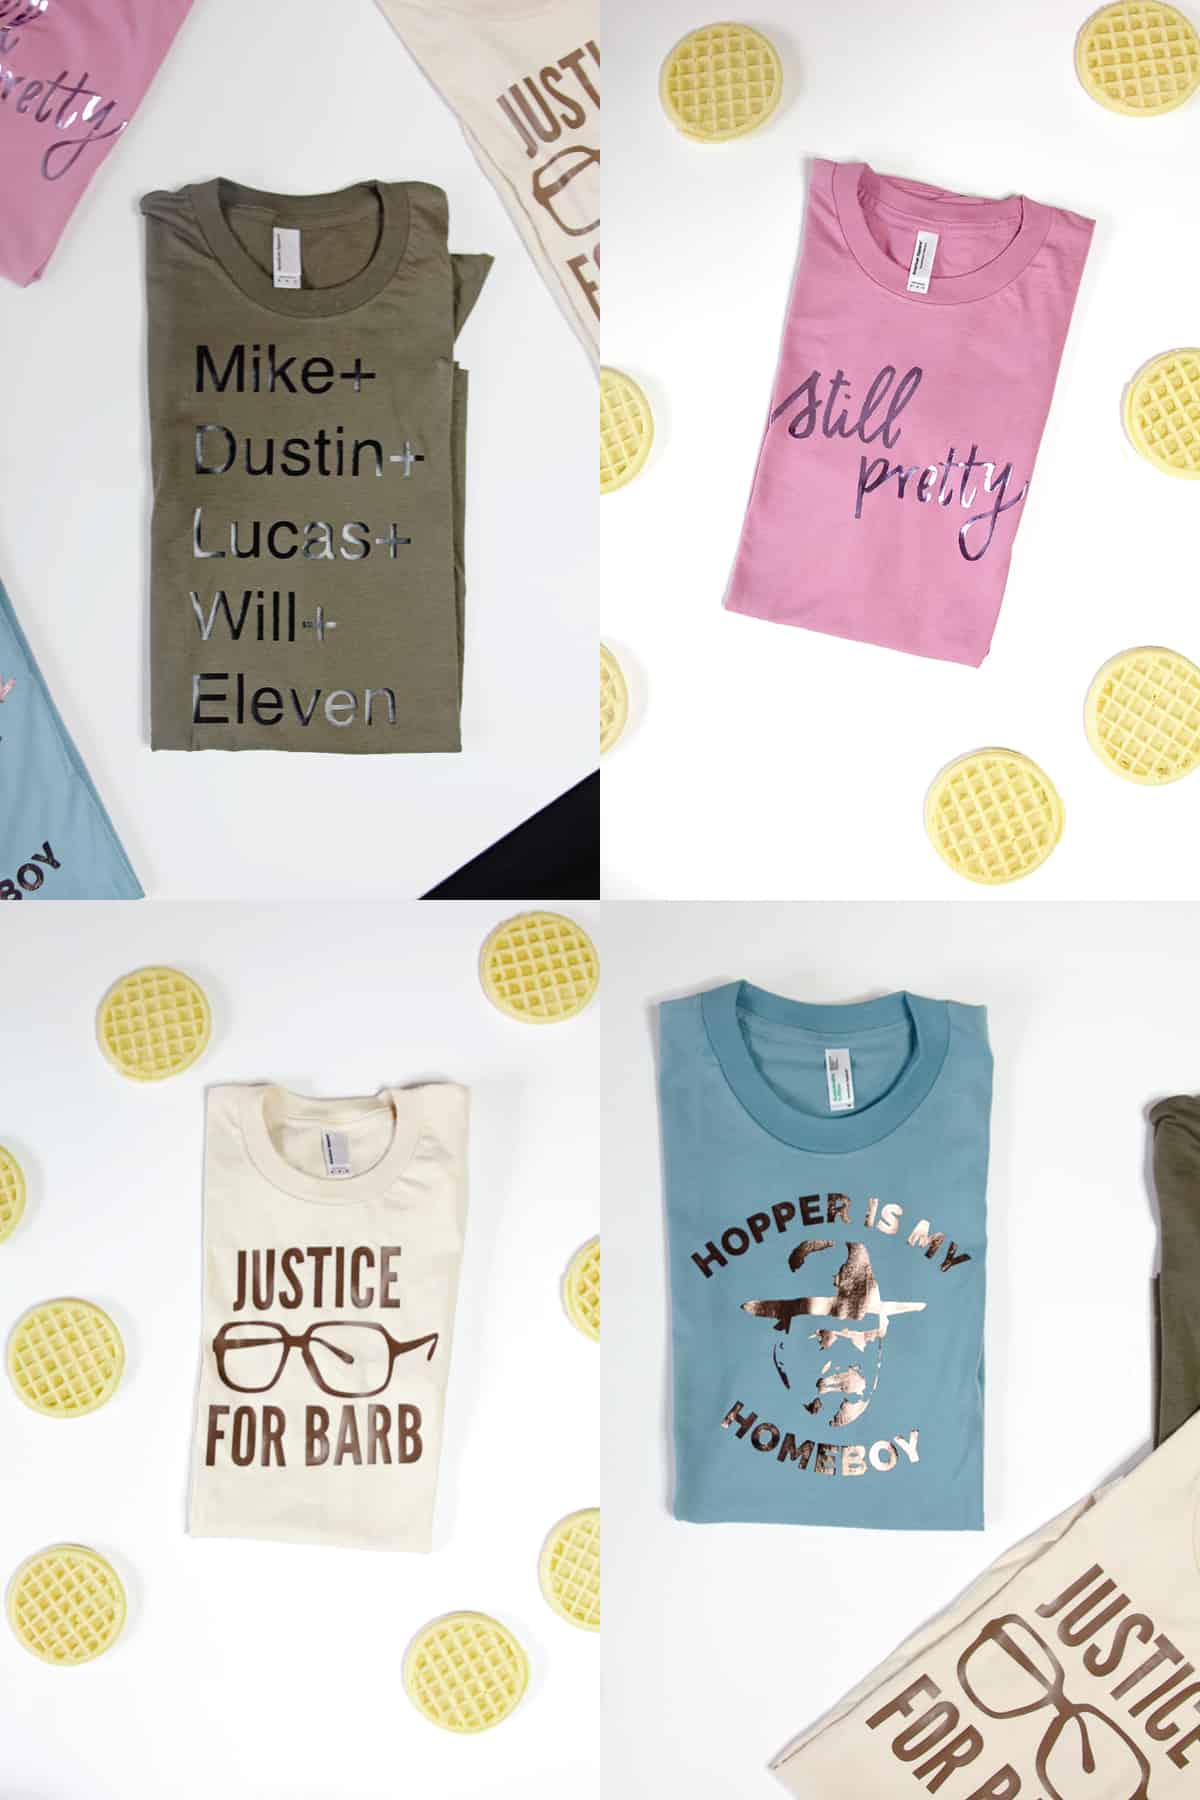
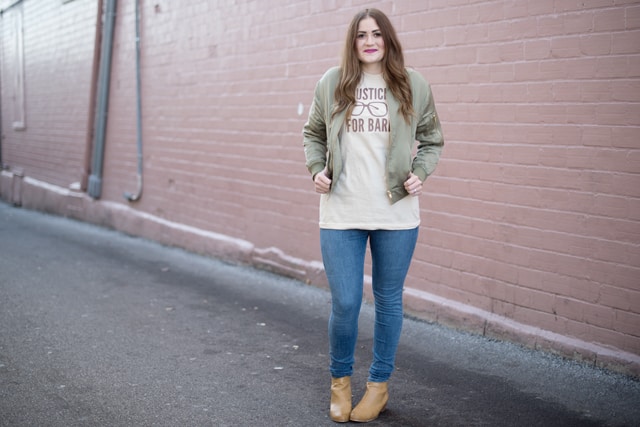
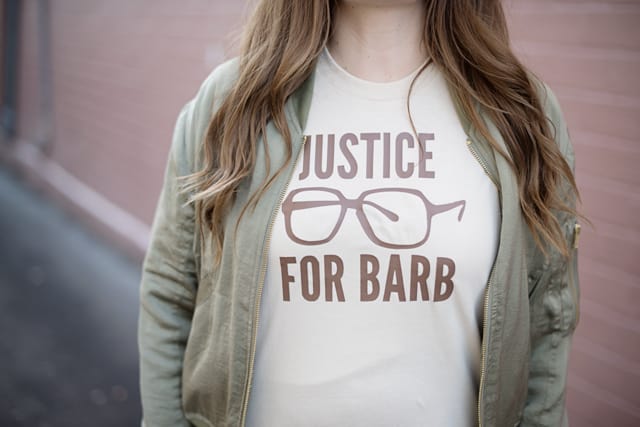
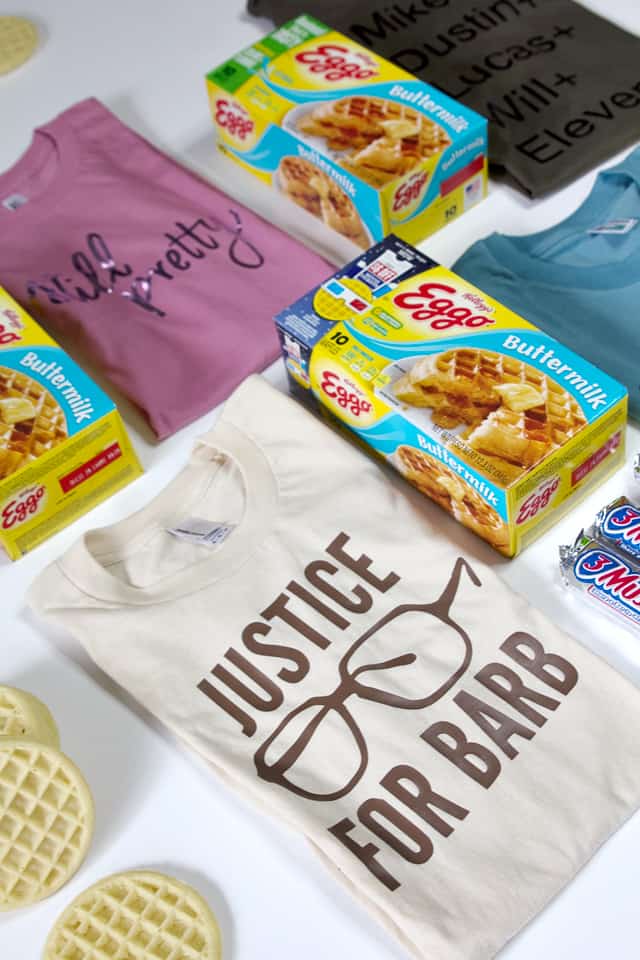
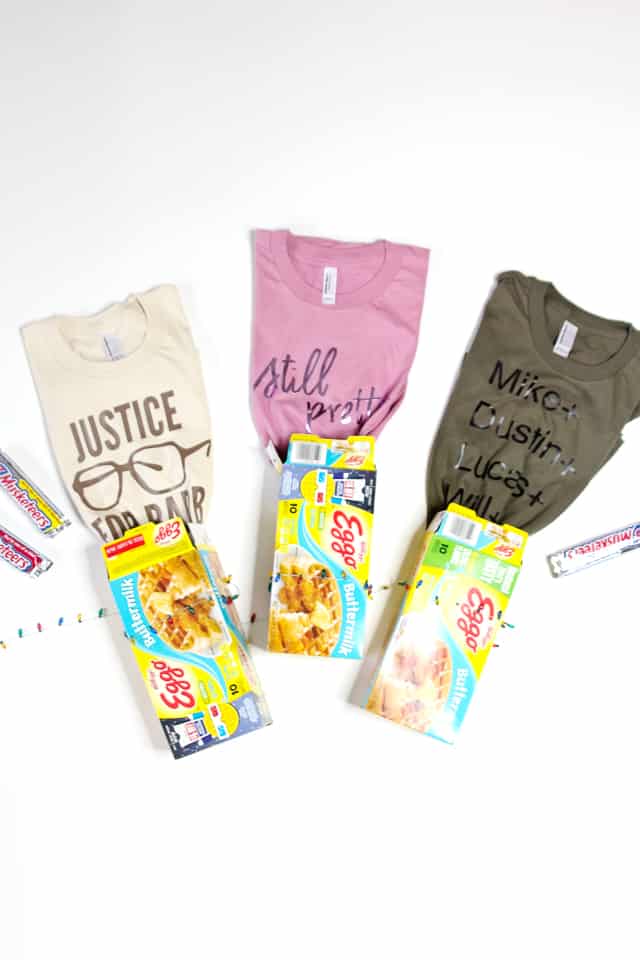
-‘Justice For Barb’
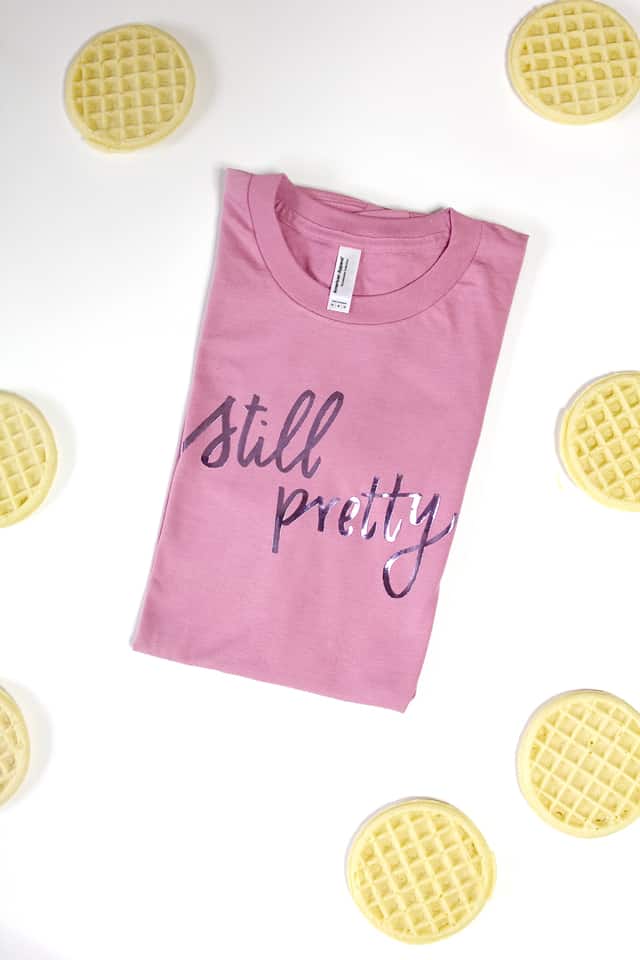
-‘still pretty’ Eleven tee
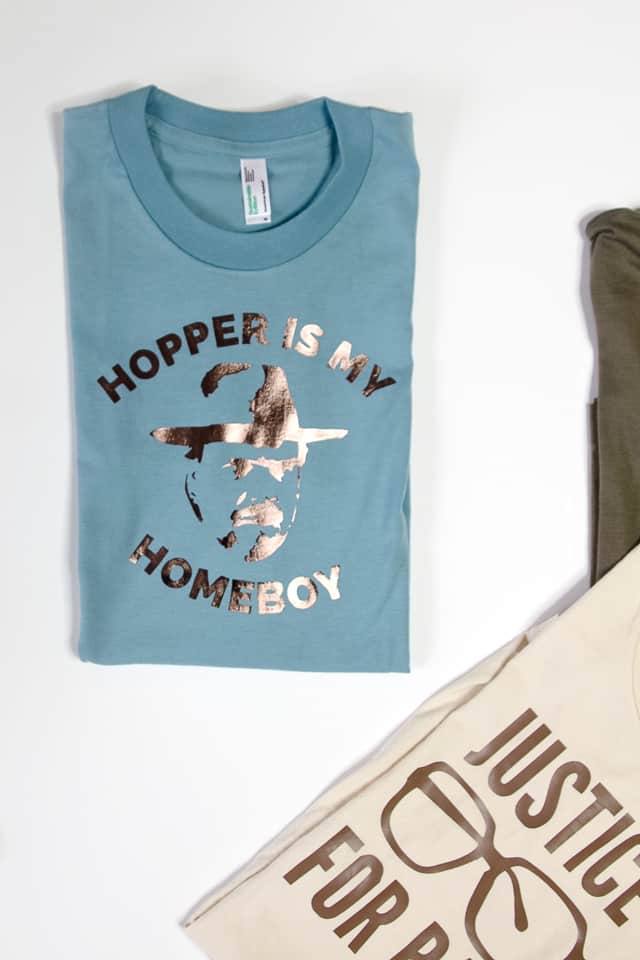
-‘Hopper is my Homeboy’
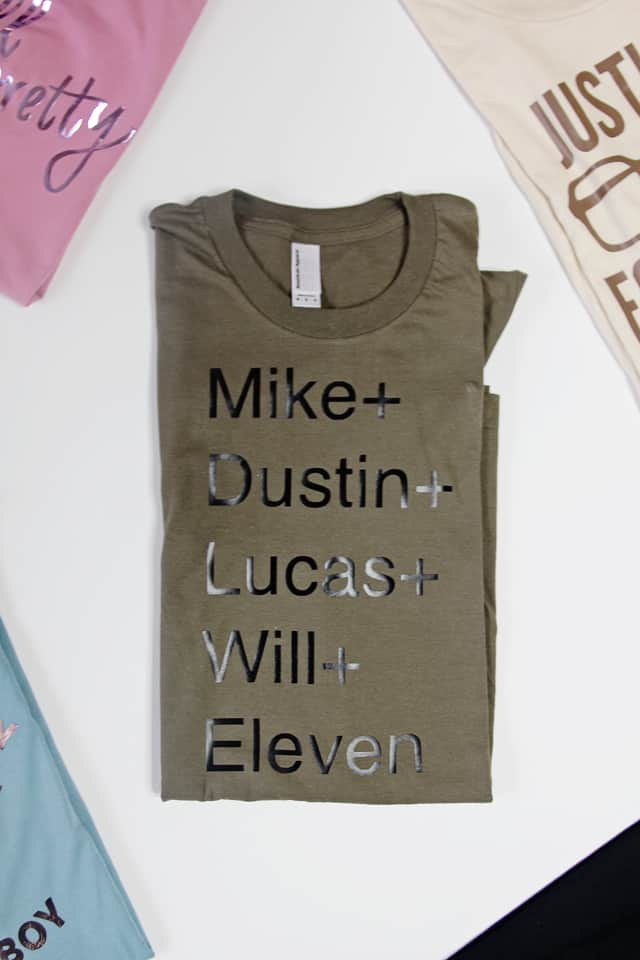
-the Crew tee ‘Mike + Dustin + Lucas + Will + Eleven’
Stranger Things Inspired Cut Files
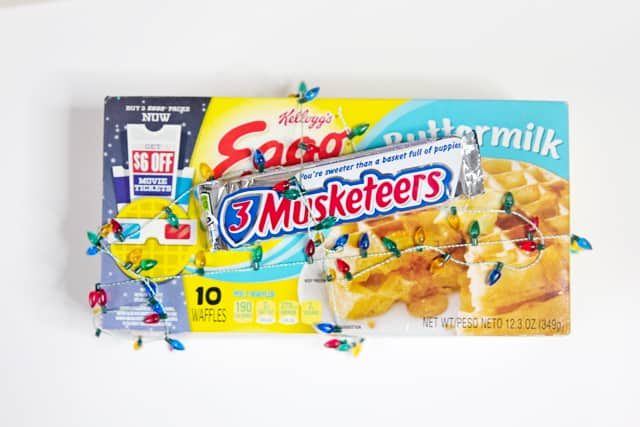
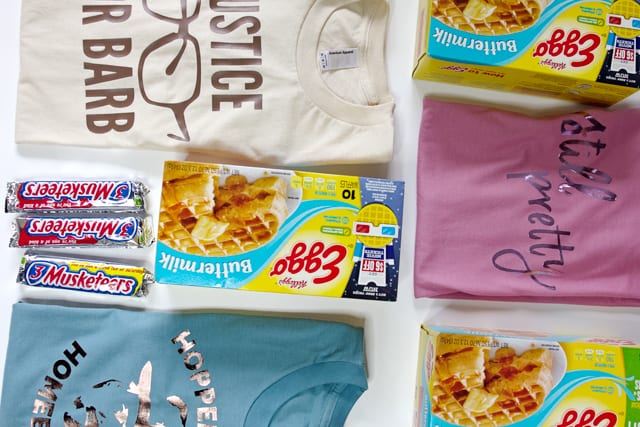
Wrapping Materials//
Instead of using wrapping paper, use an Eggo waffle box! Just take the waffles out first (or eat them!). Top it with a 3 Musketeers if you can stomach it, and then tie it up with little christmas lights!
-Eggo box
-3 musketeers gift topper
–tiny light bulb garland
Instructions//
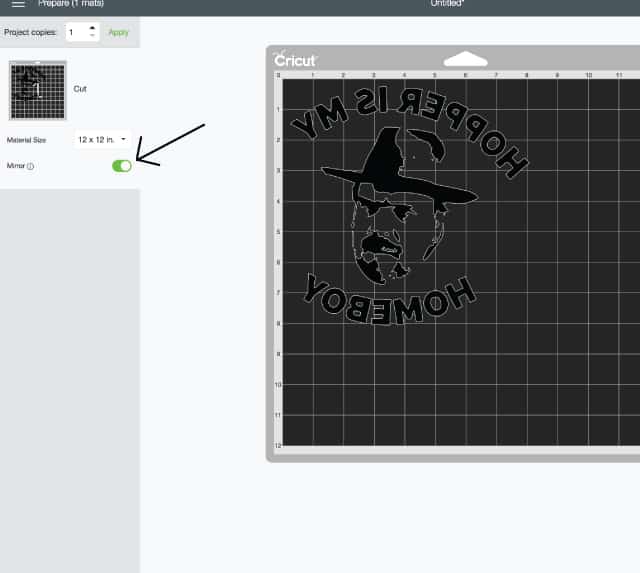
Pull up each design separately into Design Space. Stretch the design to 8-9″ across. The single color designs are really easy, just click MAKE and then be sure MIRROR IMAGE is ON for the cut file. See this tutorial for more information about using the Cricut EasyPress. You can also use a standard iron to adhere the vinyl.
For the waffle tee, you can opt to cut it out in 1 color, which looks pretty cool! To do that, just hit “weld” at the bottom right of the Design Space interface. That will cut the 3 layers as one image.
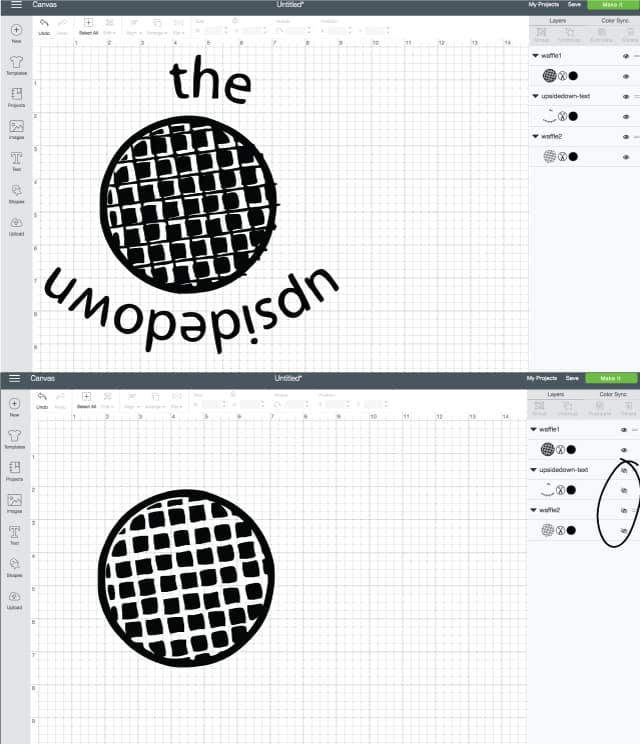
To cut it as 3 colors (yellow, brown and white) cut each layer separately. You want to make sure you stretch the 3 designs together so they are the correct scale. When your design is the size you want, hide 2 of the layers with the little eye on the right. Click 2 layers off and cut the 3rd layer. Then repeat with each layer.
SaveSave
SaveSave