This post, DIY Llama Pillow, is a sponsored conversation written by me on behalf of Cricut. The opinions and text are all mine.
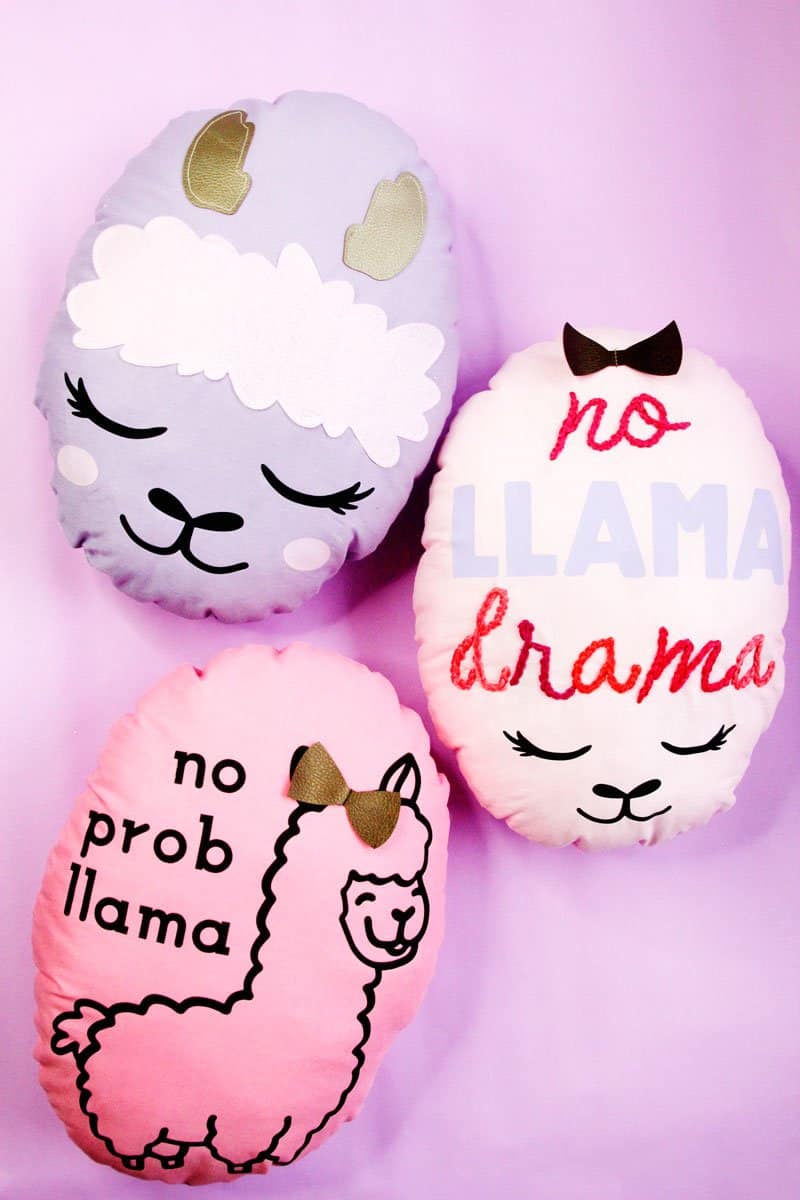
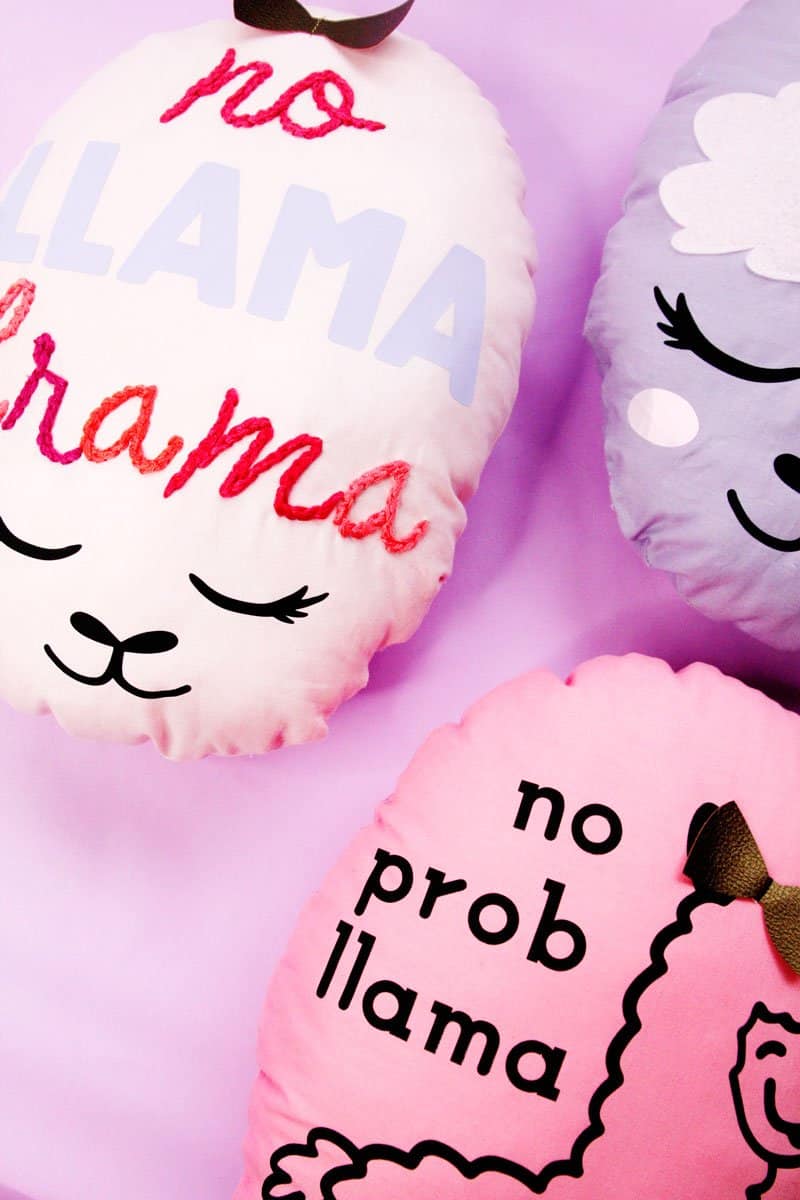
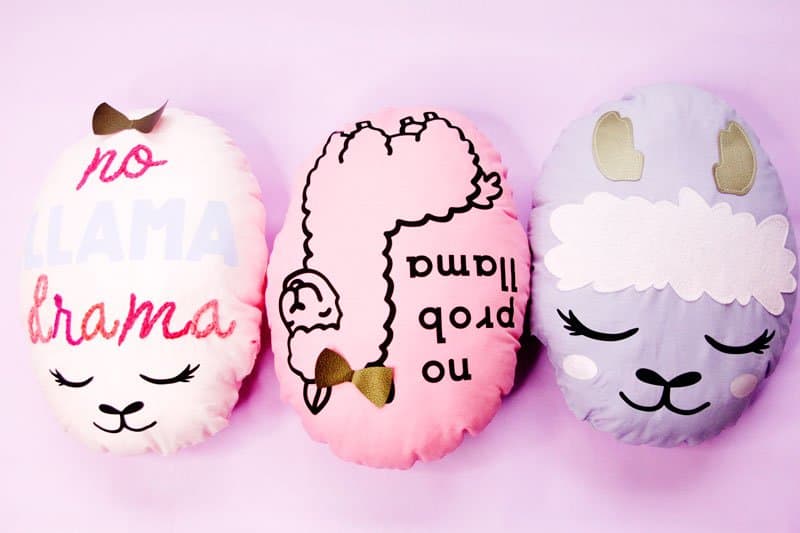
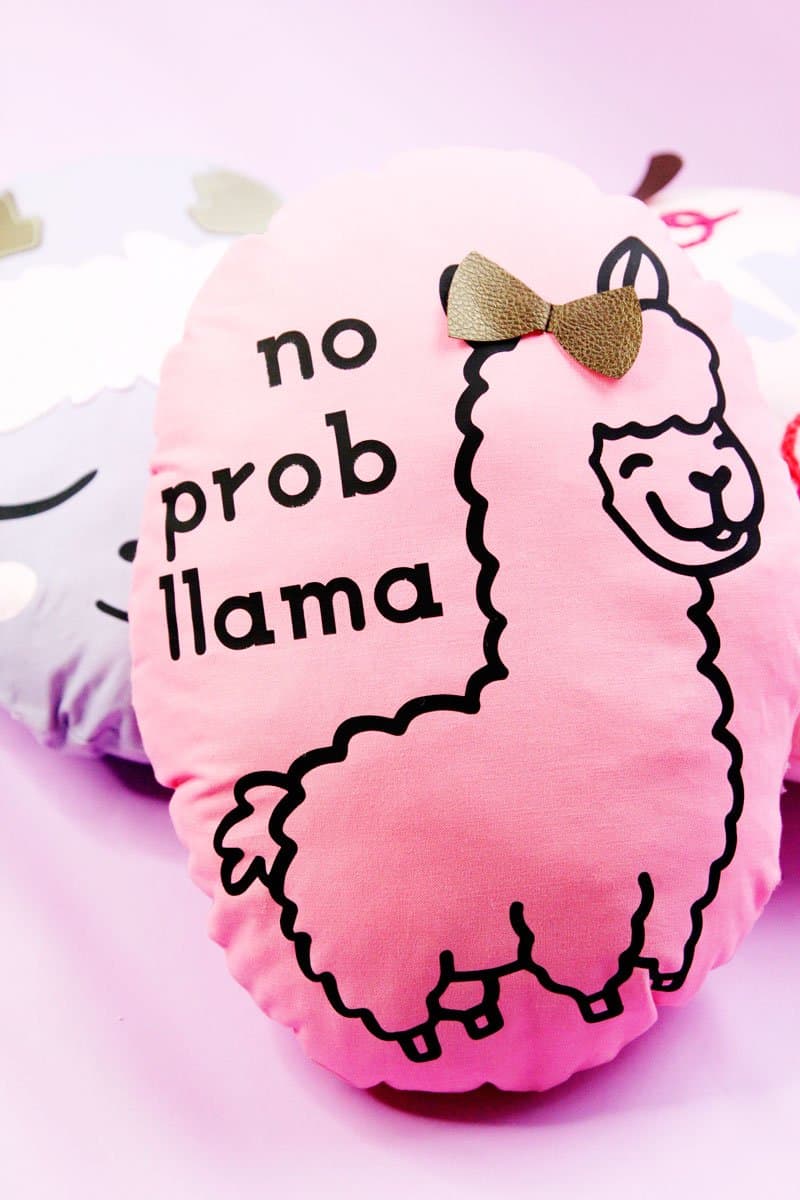
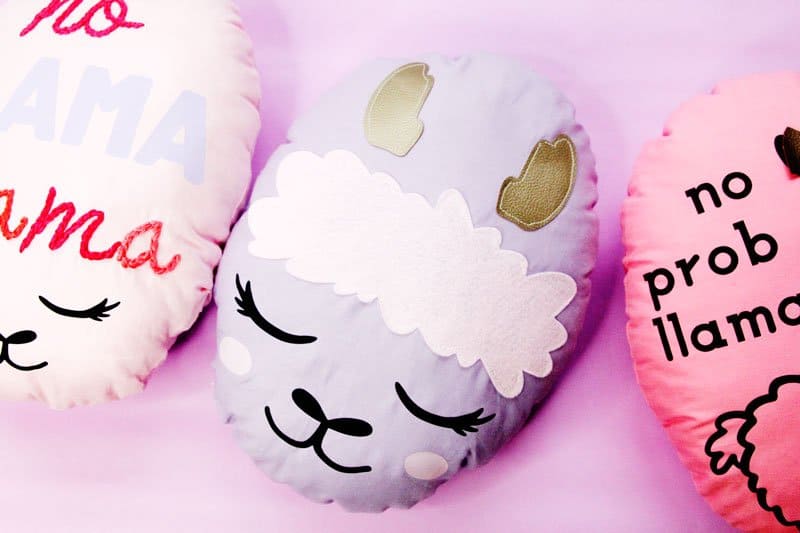
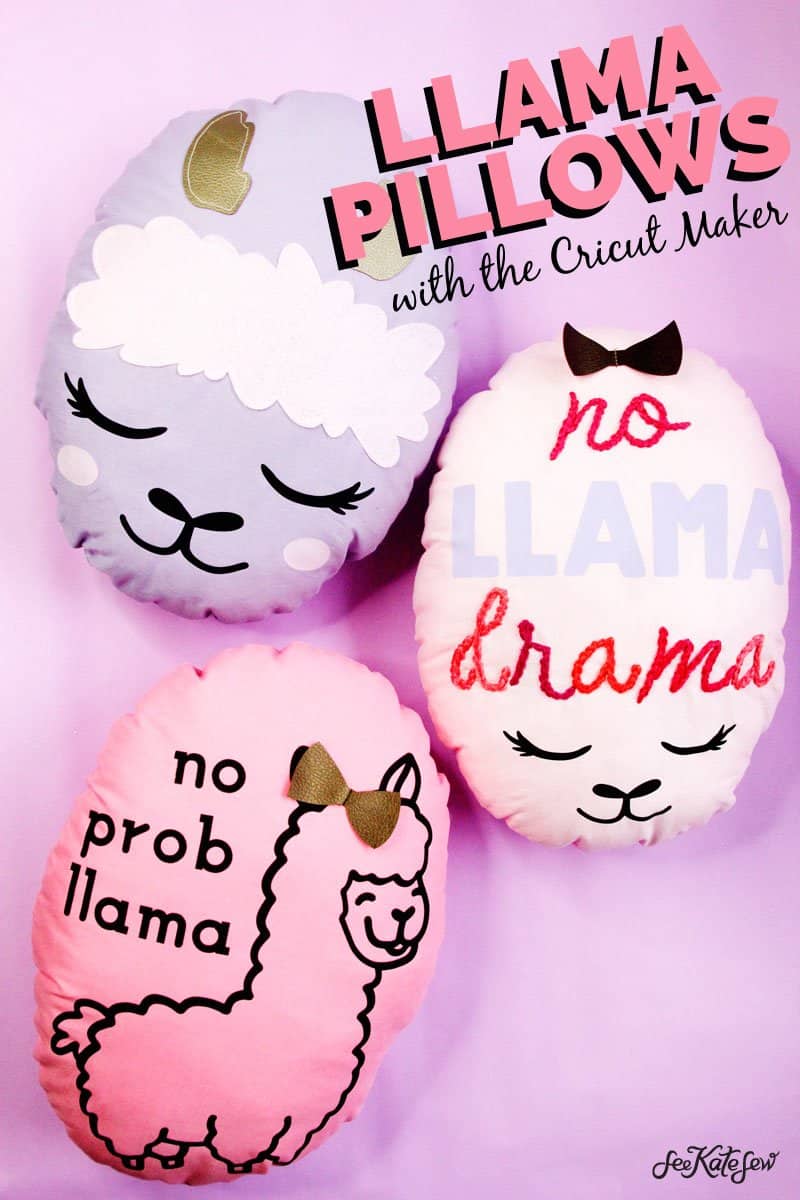
Save that drama for your llama! This pillow set is an adorable way to upgrade your kids room or add a little quirk to your living room! An easy llama pillow makes a great gift and is a fun handmade item for a beginner.
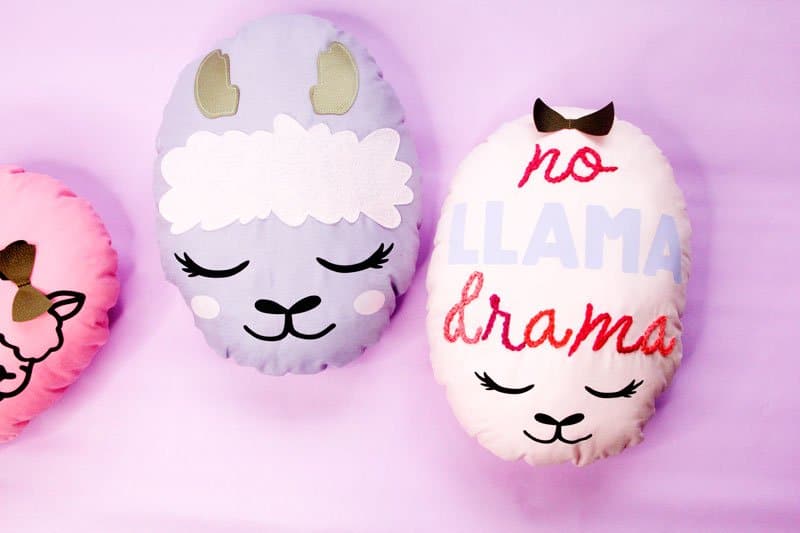
Llamas are so cute and cozy looking so I think they are the perfect motif for a little book nook or couch cushion. These DIY Llama pillows are made with the Cricut Maker, every single piece was cut out on this awesome cutting machine, including the fabric!
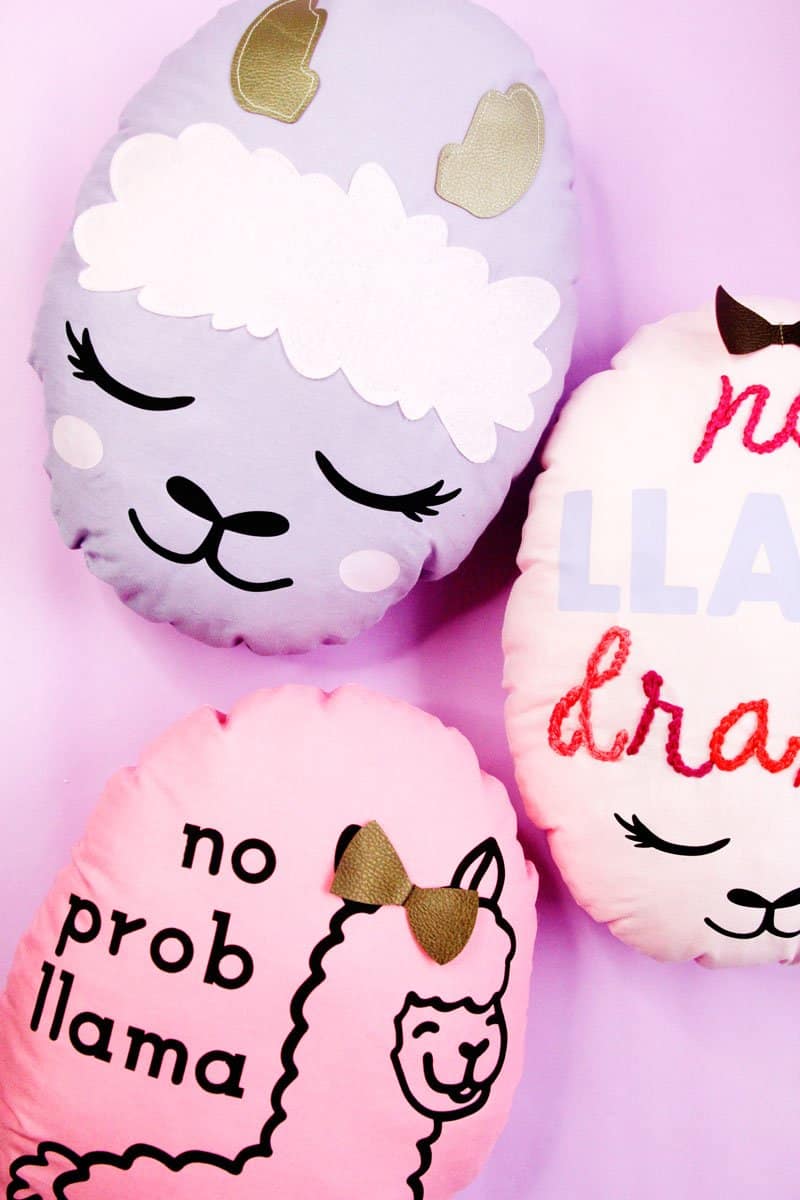
The Cricut Maker is so fun to do projects like this with because it cuts out all the materials including the felt, faux leather and iron-on vinyl so you get perfect cuts.
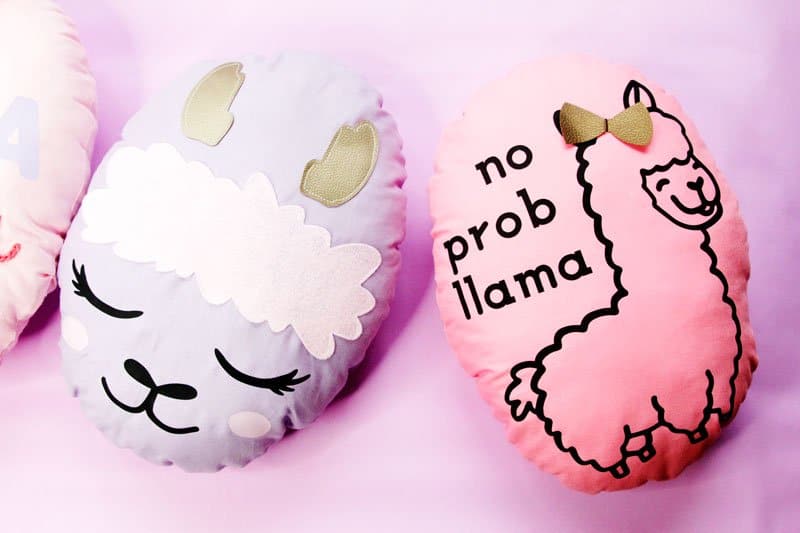
It is so satisfying to do a fail-proof project and this is one of those!
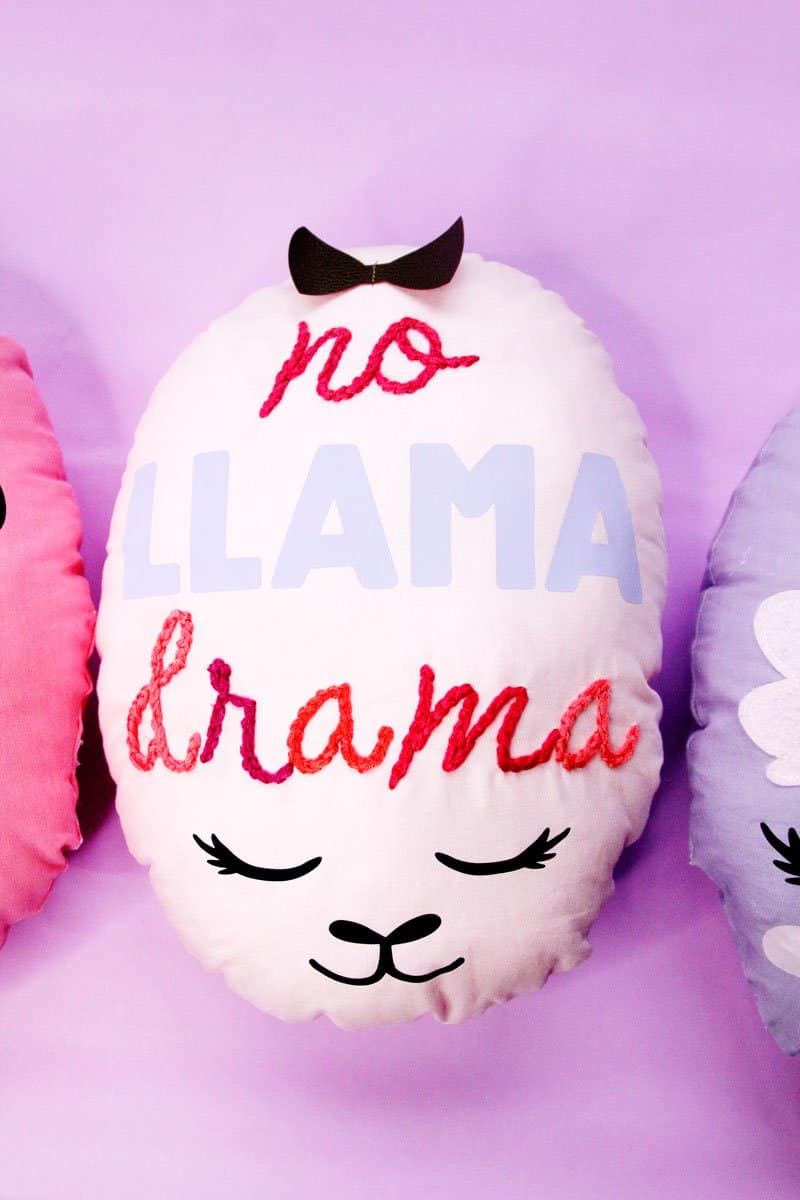
On the “no llama drama” pillow, I used the Cricut Maker to write out the embroidery design on the fabric! I didn’t have to do any fabric transfers so it was super easy to embroider the words!
DIY Llama Pillow Materials
- Cricut Maker (affiliate links)
- Cricut EasyPress 2
- Fabric, I’m using Riley Blake Solids in Rose, Petal Pink and Riley Lilac
- Faux Leather
- Iron-on Vinyl in black, white and pink.
- Sewing machine and thread
- Polyester Cluster Fiberfill
- Embroidery Floss + hand sewing needle for embellishments
- Designs! These Designs are all loaded up in Design Space and ready to go. When you click on the link, be sure you are logged into Cricut.com!
Llama Pillow Video
DIY Llama Pillow Instructions
Click on the Design Space project above and you’ll be taken to this screen:
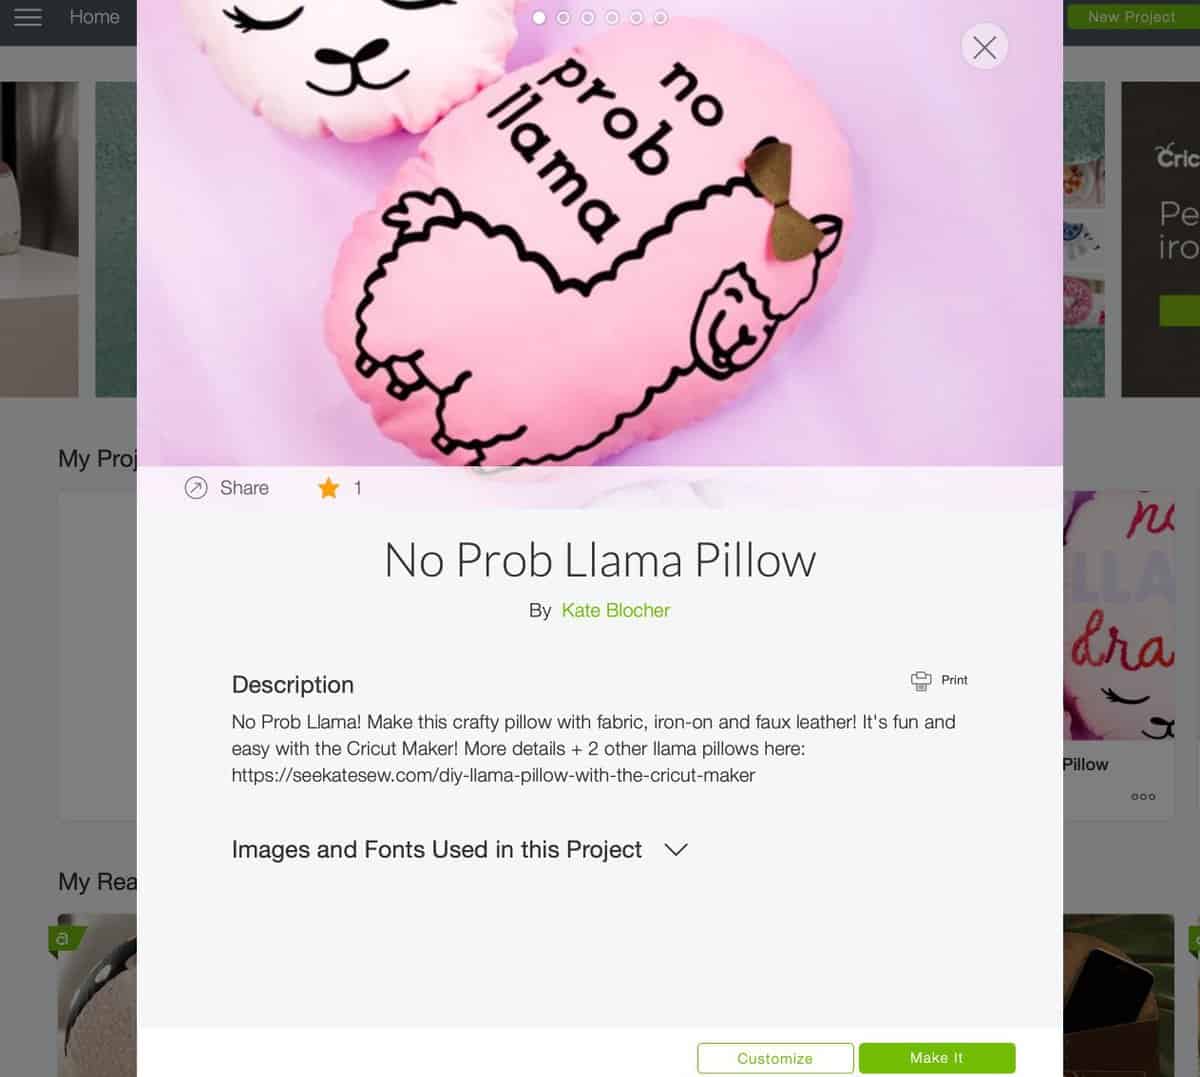
If you want to adjust the size or any of the elements, click CUSTOMIZE at the bottom. If you dont want to change anything, hit MAKE IT.
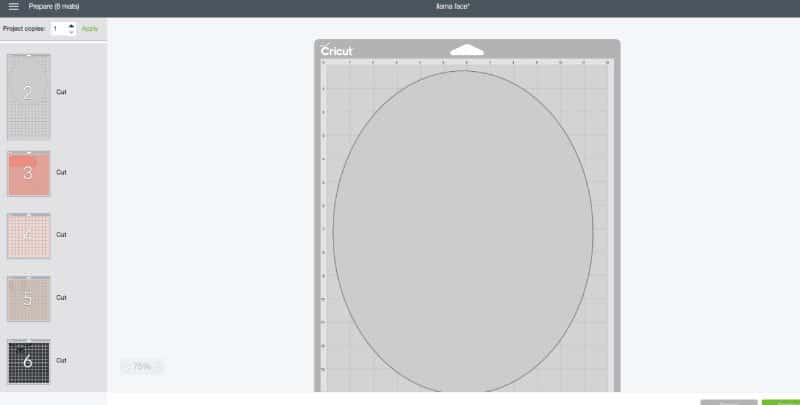
You’ll be taken to the Mat screen. On the left you’ll see a column of “mats” which are the materials you need to prepare. Each color represents a material:
- Black= iron-on vinyl (make sure MIRROR-IMAGE is ON especially for any text)
- Brown: faux Leather
- Purple: iron-on vinyl
- Pink: felt
- Light pink: iron-on vinyl
- Blue: washable fabric marker
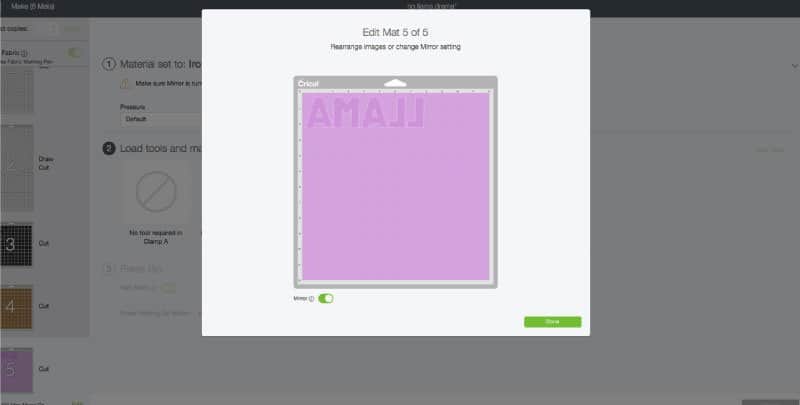
Cut out all your materials with the Maker! You will have to adjust the material setting and possibly the blade between each mat.
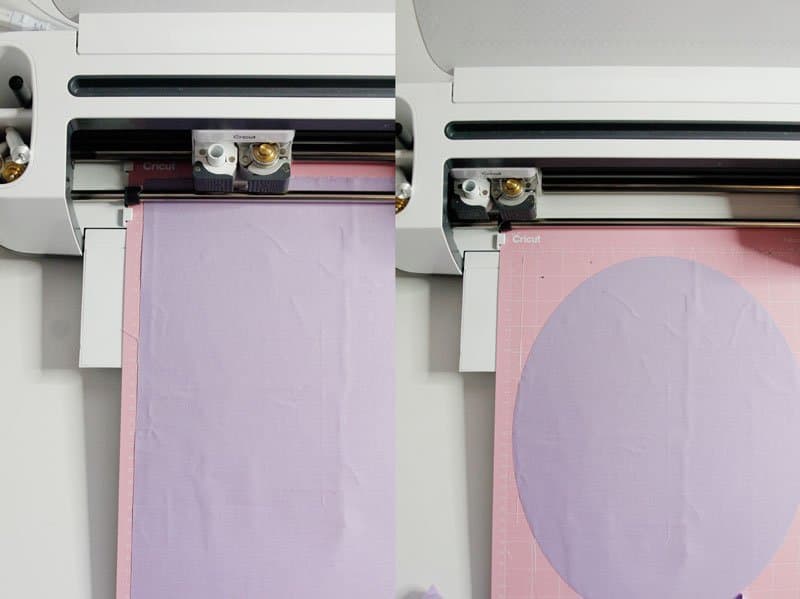
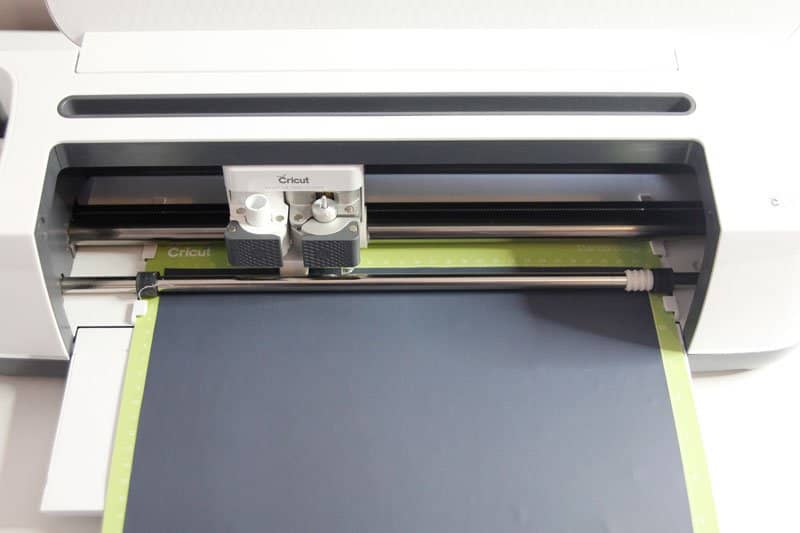
Cut the fabric pieces out with the Rotary Blade and the material set to 100% Cotton.
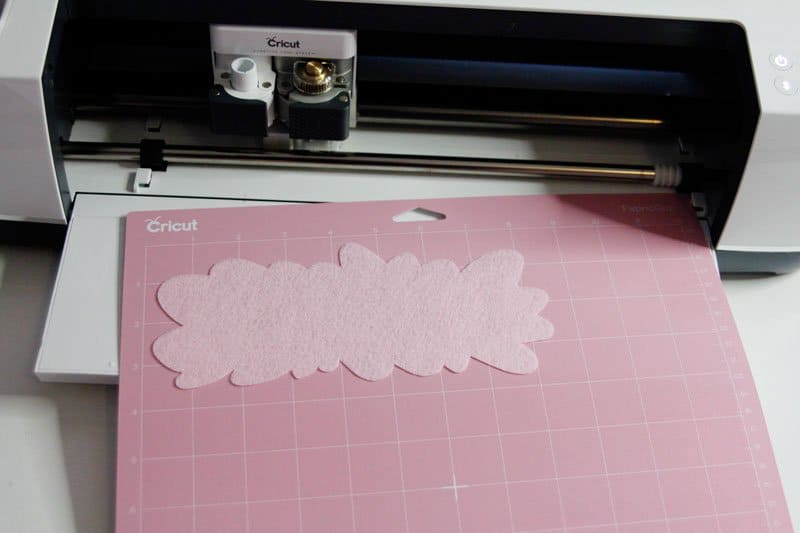
Cut the felt out with the Rotary Blade.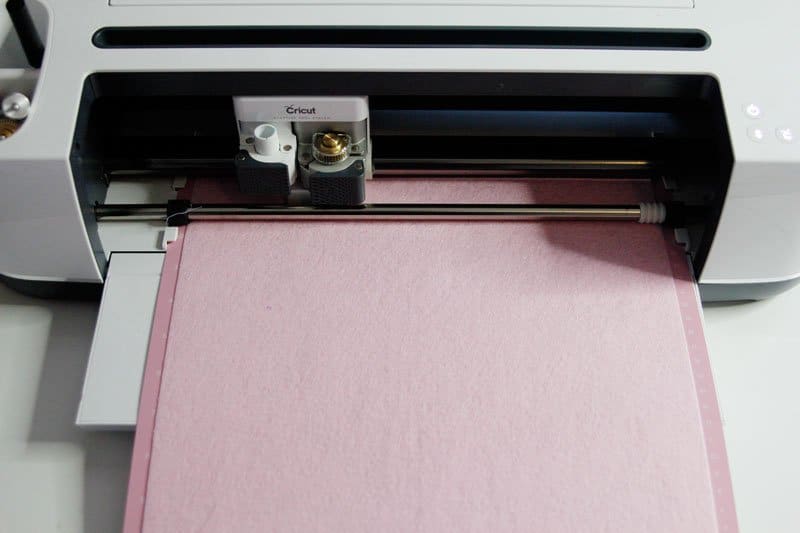
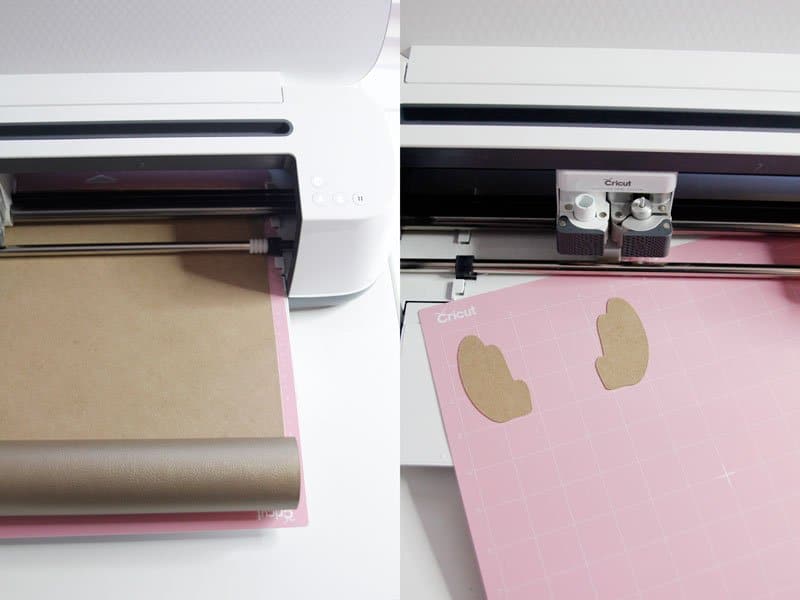
Cut the Faux Leather out with the Fine-Point Blade (the standard blade). You can leave the excess felt hanging over the edge of the sticky mat. That way you won’t waste any!
Cut the iron-on vinyl out with the Fine-Point Blade.
For this project, we will add the designs to the front piece of the pillow before creating the actual pillow!
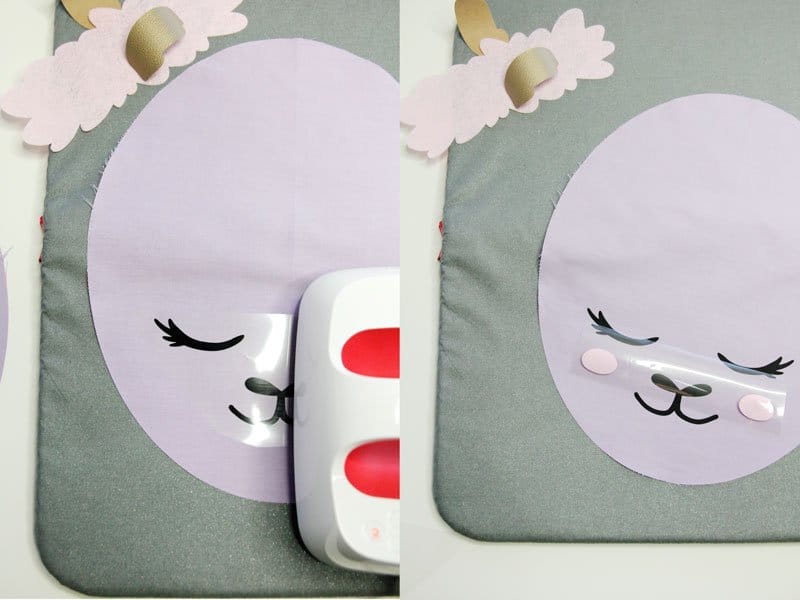
Weed all the iron-on designs. Stick the design on the fabric where you want it to go and use the Cricut EasyPress 2 to fuse it down. This little cheat sheet is perfect for finding the correct settings for your materials. I use it on cotton so much that I’ve memorized the settings and instructions:
- Preheat the surface for 5 seconds (basically iron-out any wrinkles and make it warm)
- Stick design on
- Heat at 315* for 30 seconds on the front
- Heat at 315* for 15 seconds on the back
- Peel clear sheet off while the design is still warm

If you have different colors of iron-on do them all separately.
Sew the applique
Next we’ll do the sewn elements! I love doing the iron-on first because it helps with placement for the rest of the materials.
Pin the felt pieces to the pillows and stitch around the edges, about 1/8″ from the edges of the felt. Use a similar thread color.
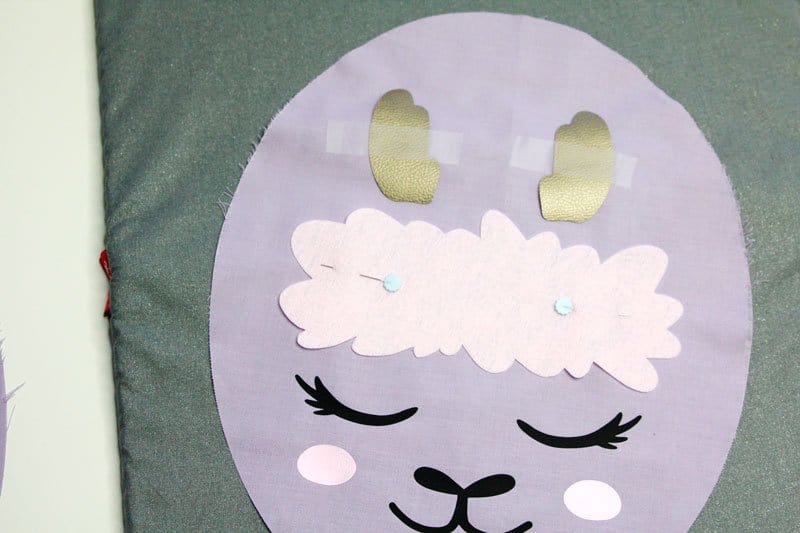
Do the same with the faux leather. Instead of pinning these I use invisible tape and then remove it after. That way you don’t get pin marks in the leather.
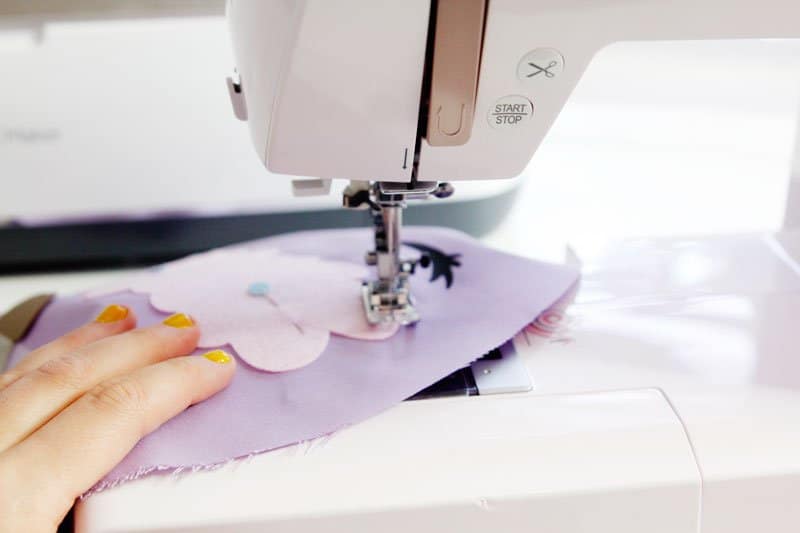
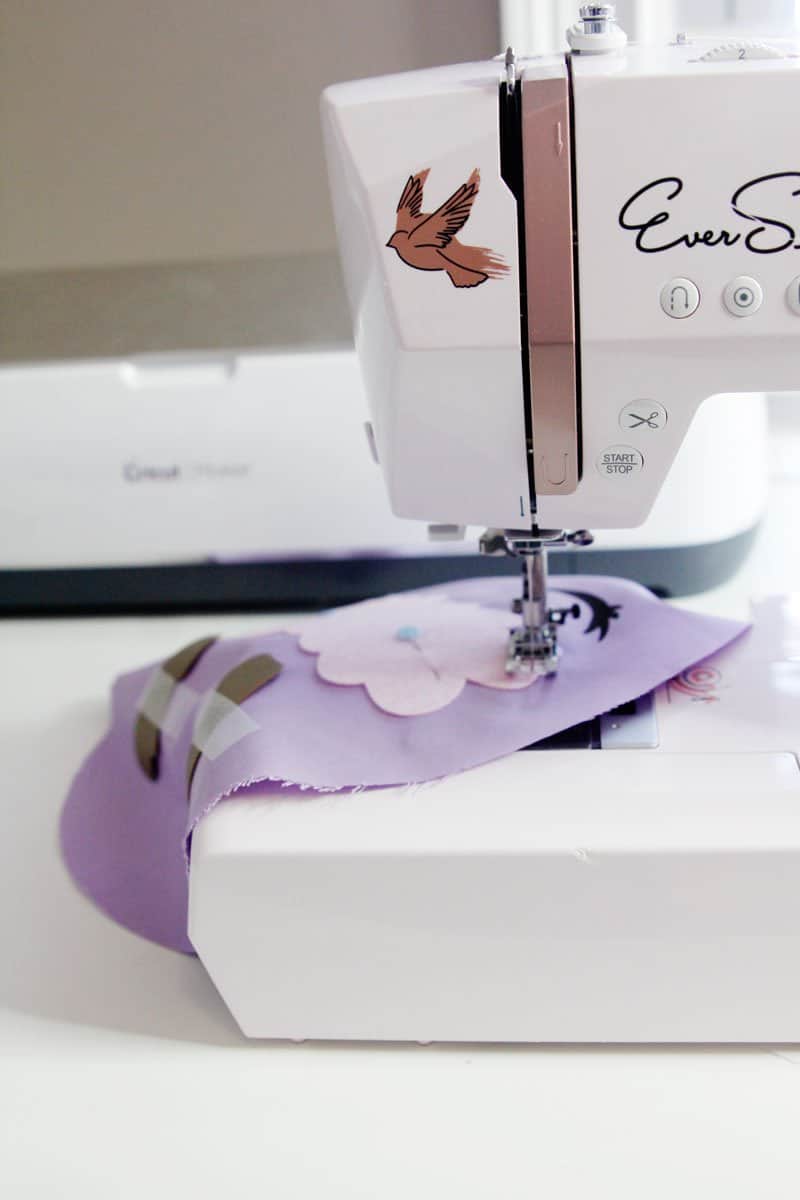
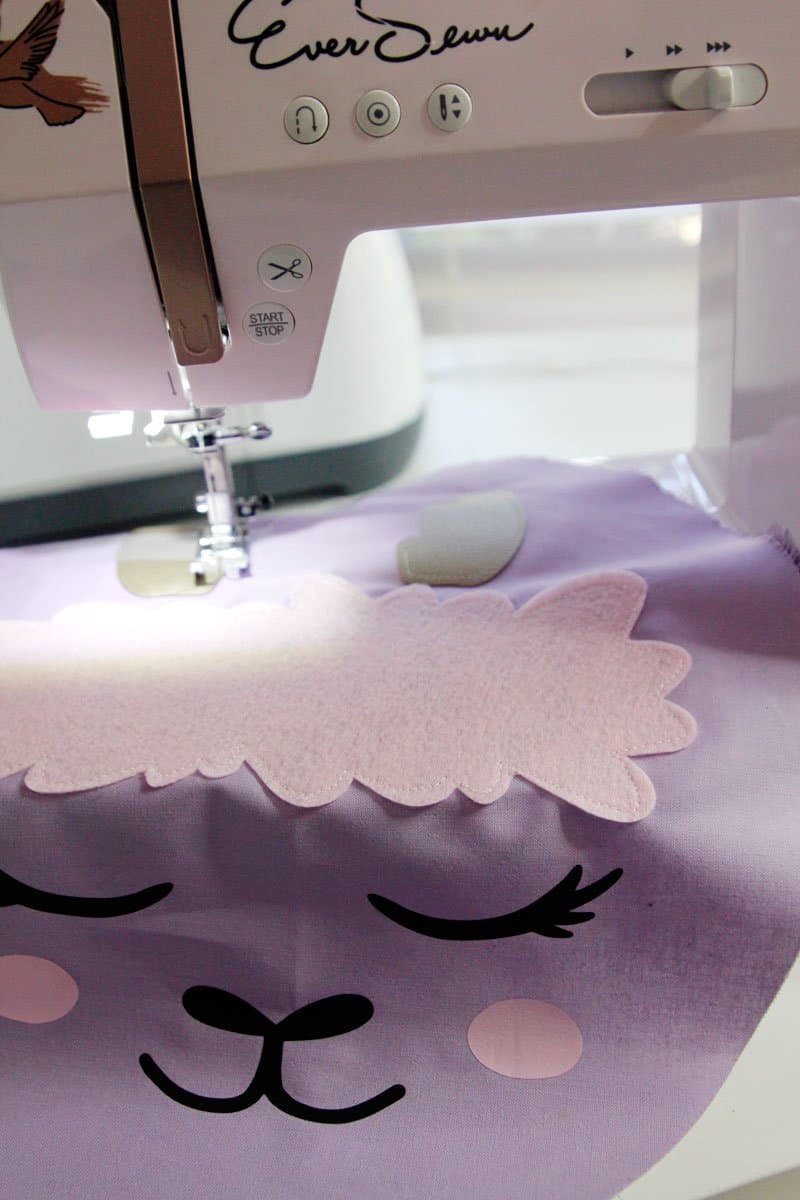
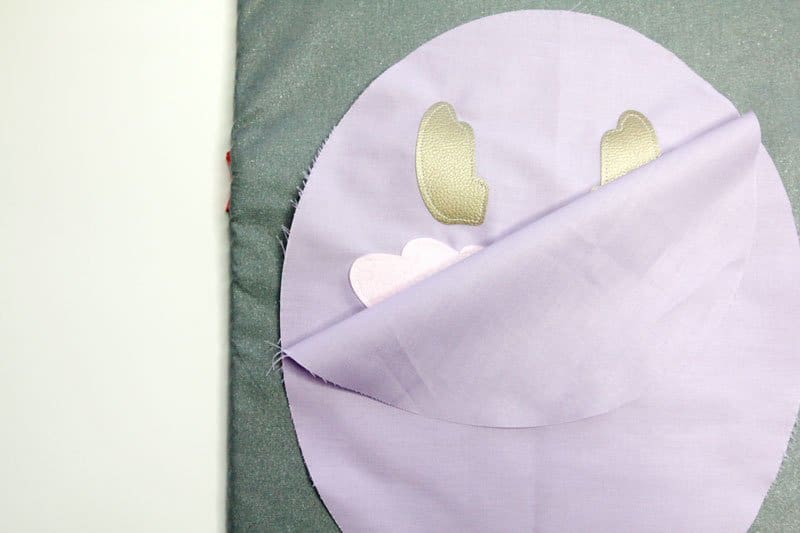
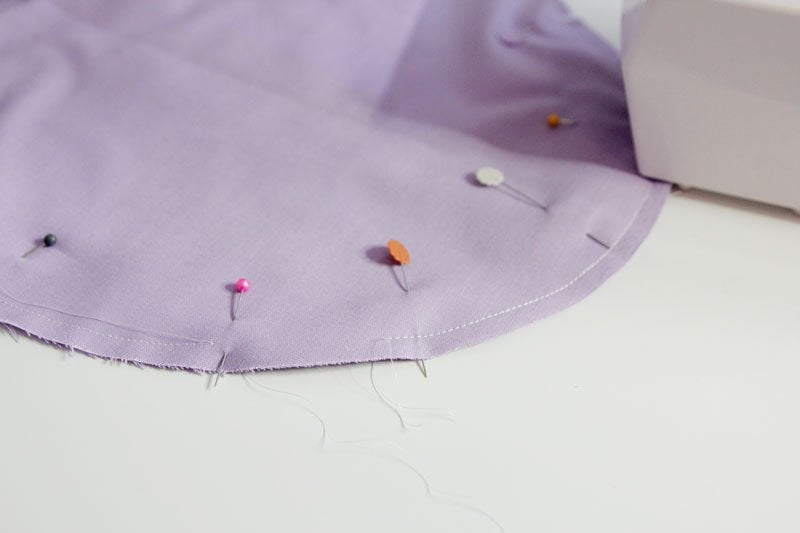
Place the back fabric face down on the front with your design. Sew around the edges all the way around leaving a small opening about 1.5-2″ for turning and stuffing.
Since this is a rounded shape, clip the seam allowances all the way around. The more you clip the crisper the pillow will look!
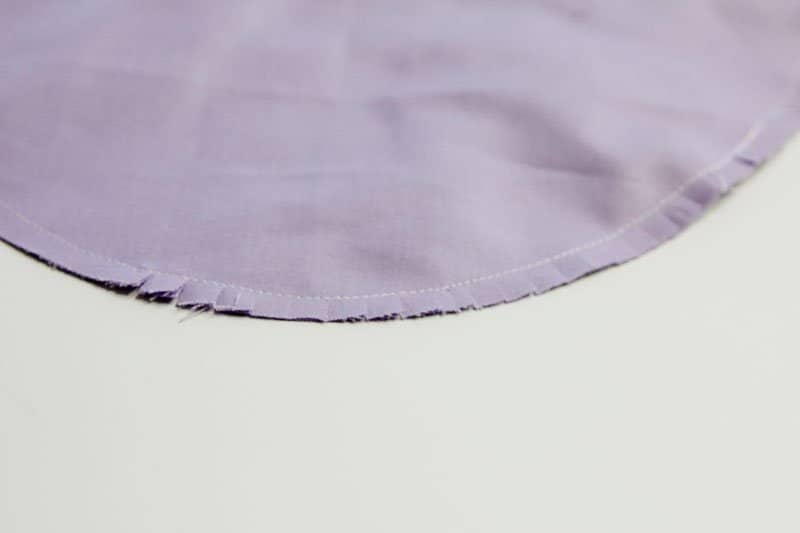
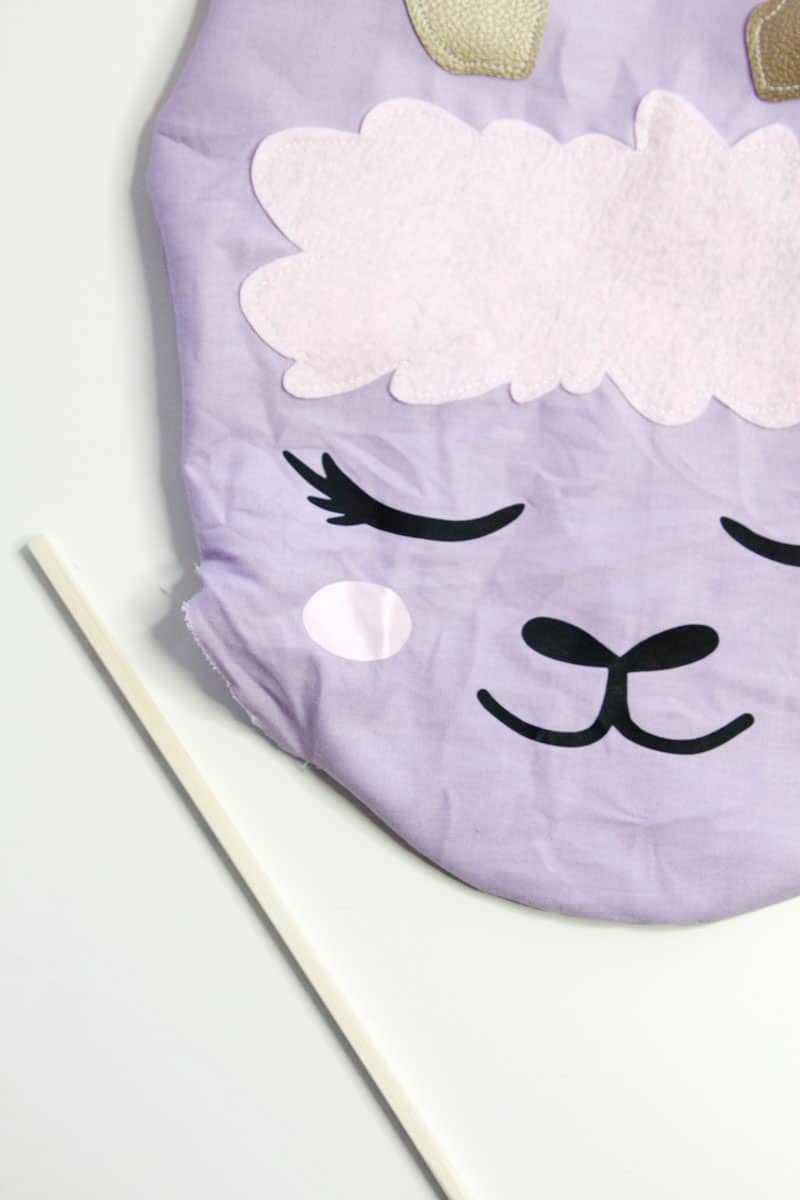
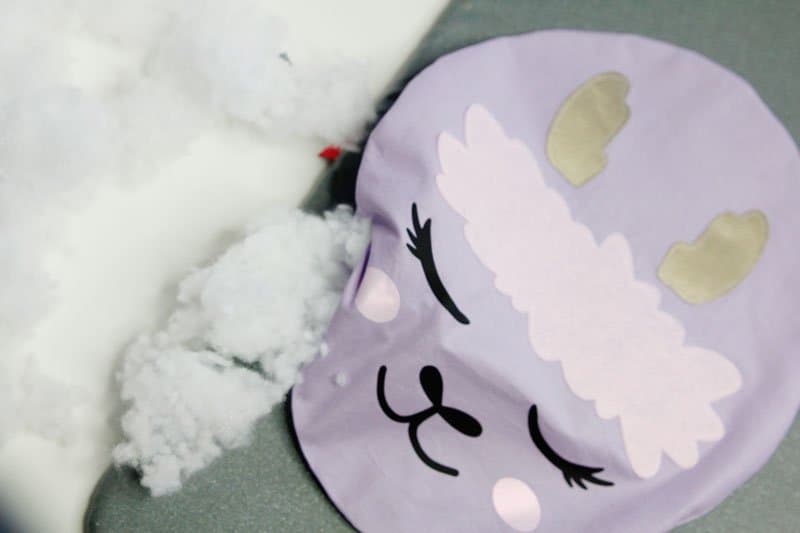
Stuff with fiberfill stuffing. I prefer cluster fiberfill because it stuffs more evenly. And then sew up the opening.
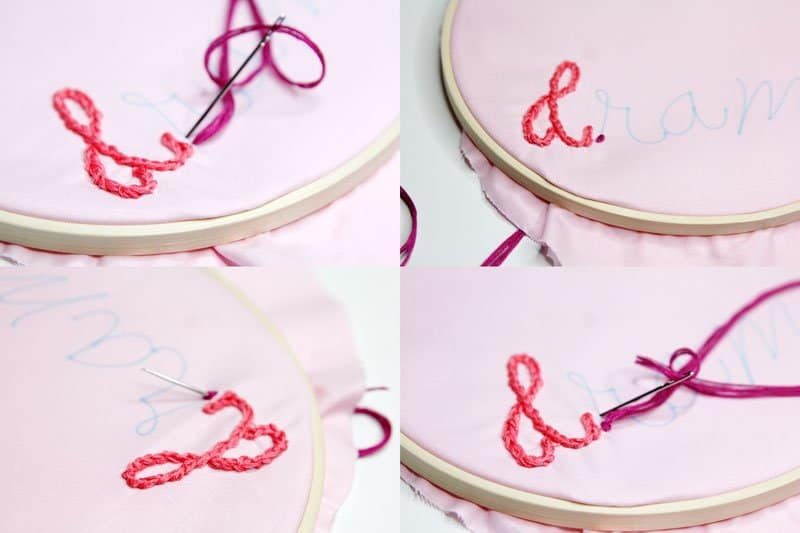
For the “No Llama Drama” pillow, Design Space will prompt you to load the Washable Fabric Pen and it will WRITE ON THE FABRIC before cutting out the oval! This is one of the coolest things the Maker does.
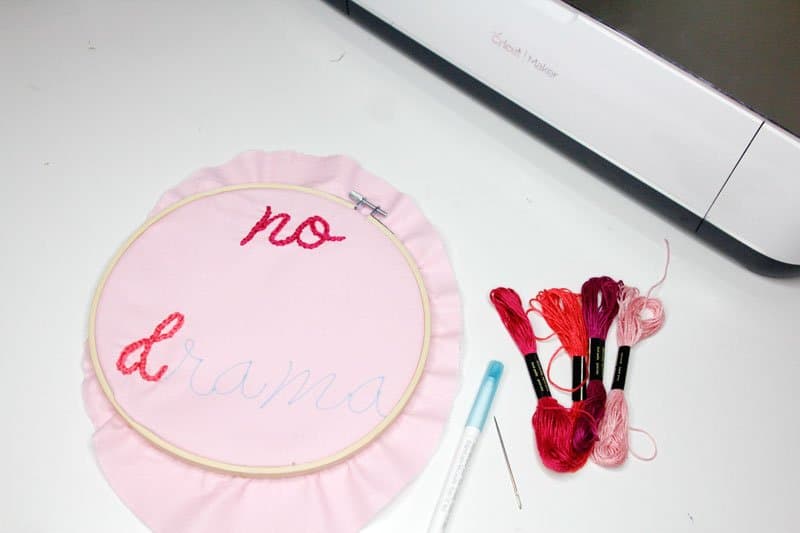
I like a really thick embroidery stitch for this so I double the thread before putting it through the needle and then let all the threads hang down so you have 4 strands. Create a chain stitch by creating a stitch and then pulling the needle out through the middle of the first stitch to start the second.
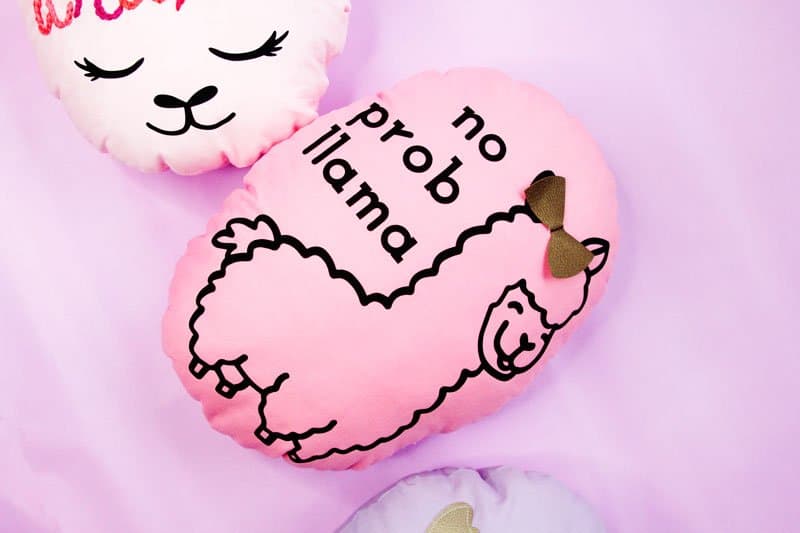
The Faux leather bows are the last elements! These are really fun because you can just sew the center of the bow down and keep the bow a little loose for extra dimension or sew around the edges like you did with the felt.
Comments submitted may be displayed on other websites owned by the sponsoring brand.





Did Cricut take this project down? The link will not take me there and when I search it doesn’t come up
No it is still there! Make sure you are signed into your Cricut account and on a desktop before clicking on the link!