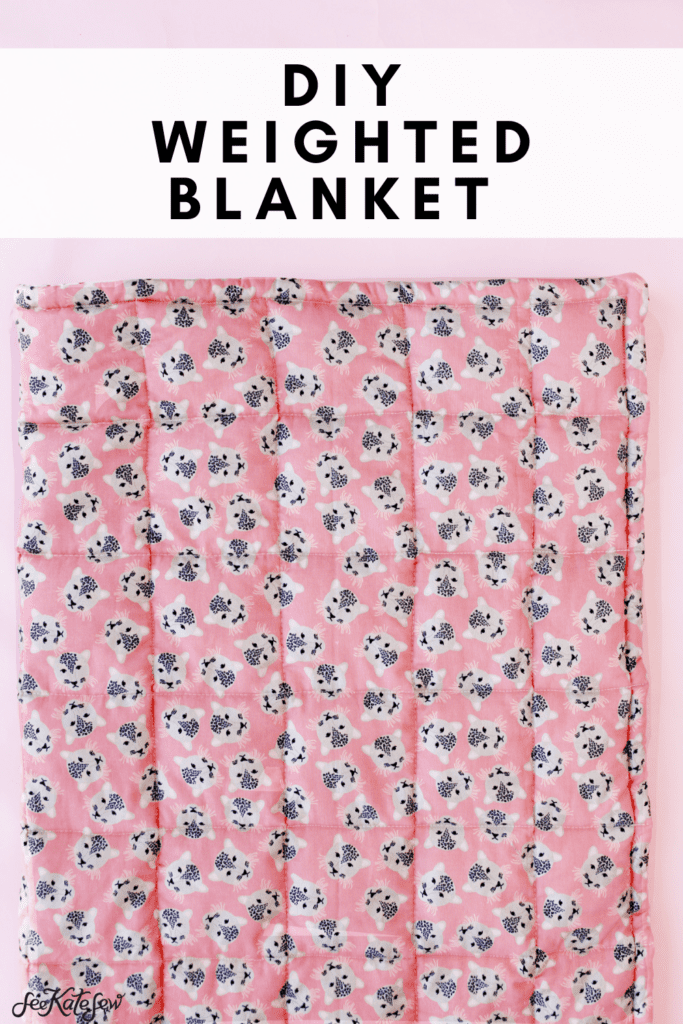
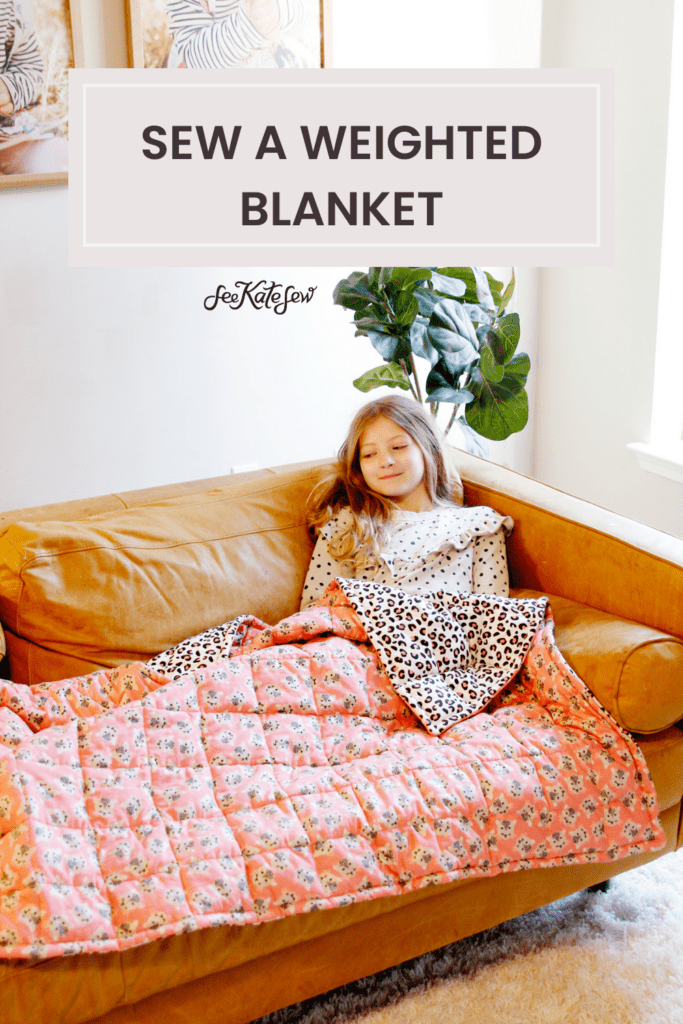
We love weighted blankets in our home but they are so expensive! It’s simple and easy to make your own blanket so in this post I am going to show you how to make a weighted blanket!
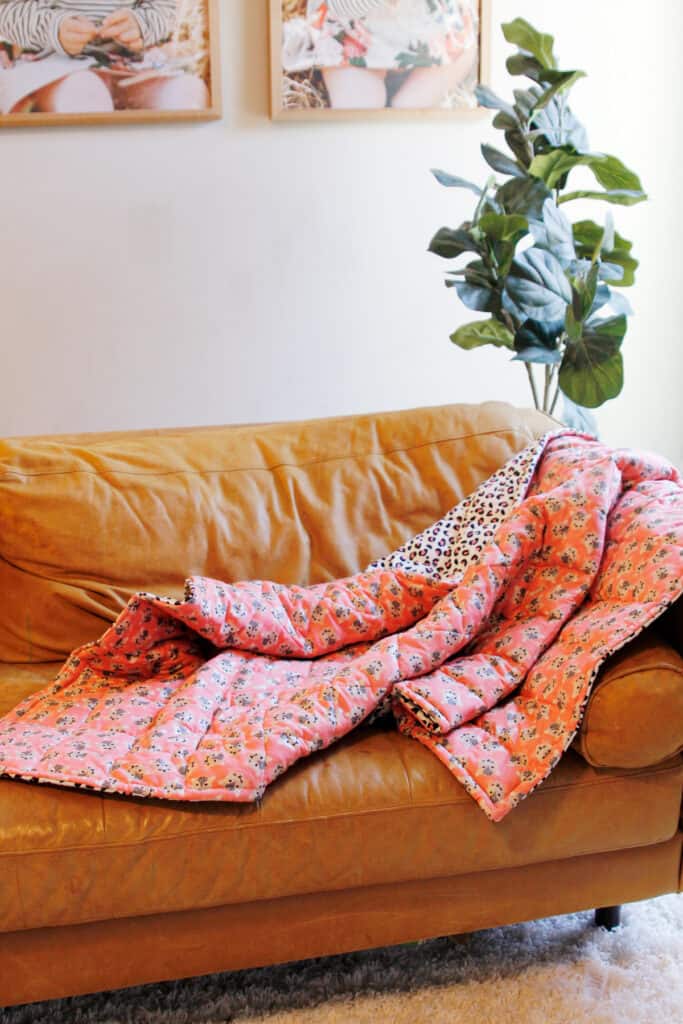
These are great for helping you get to sleep and the weight provides extra comfort. It’s easy and you can make them for your whole family!
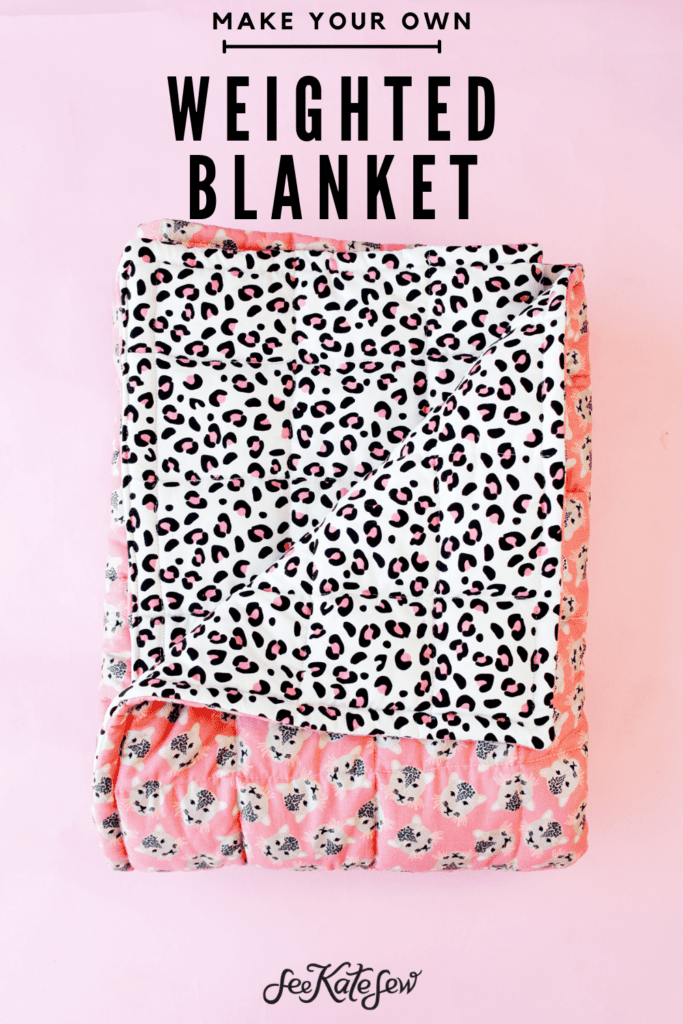
In this post I’ll walk you through the materials and supplies you need and how to make a weighted blanket for a fraction of the cost of buying one! There is even a super cheap option below!
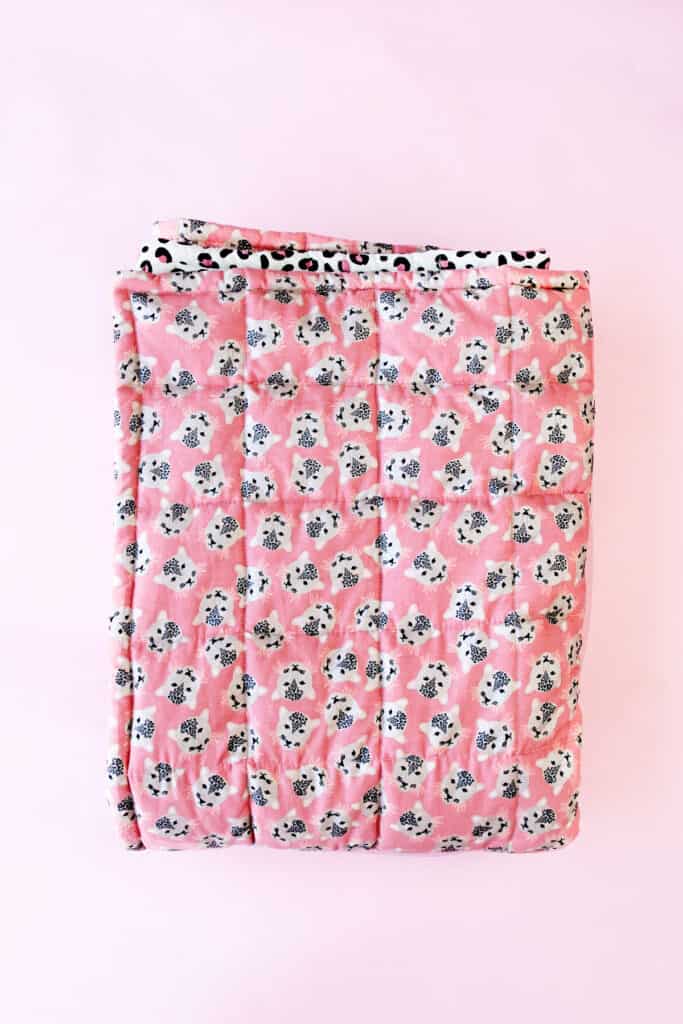
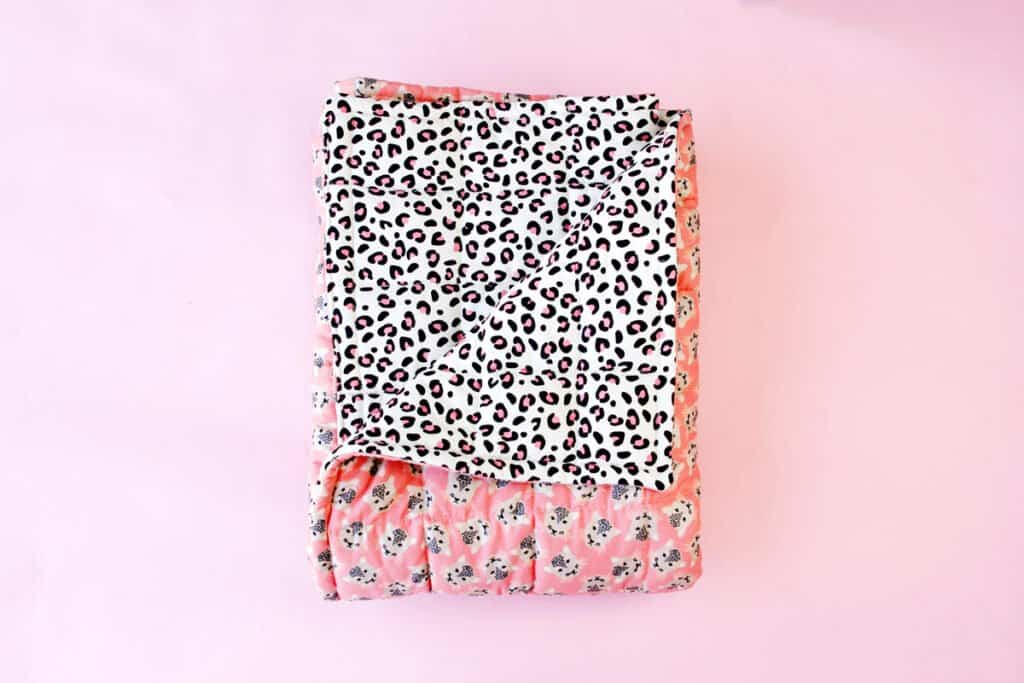
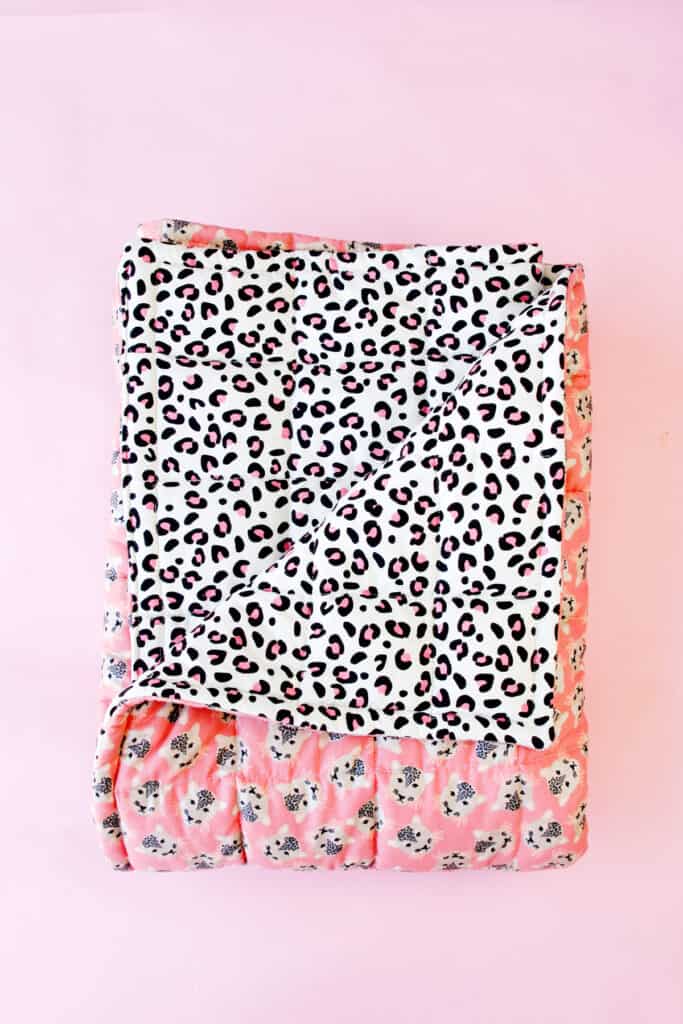
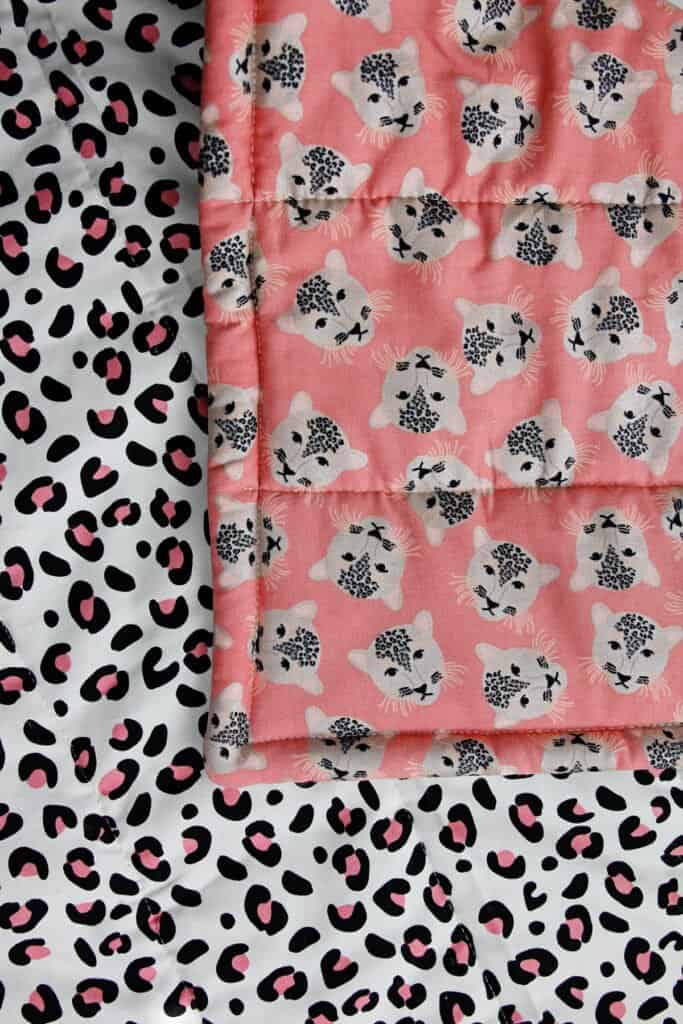
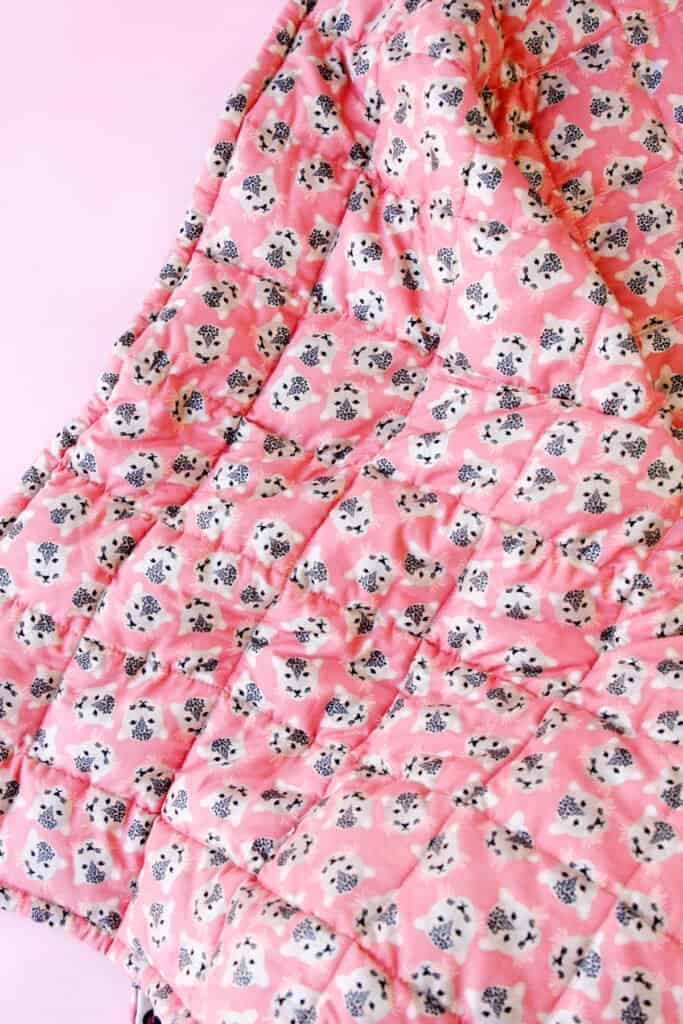
I love the final result of this blanket – it almost feels like a bunch of little bean bags sewn together!
Homemade Weighted Blanket Materials
- Fabric, or 1-2 flat sheets, see below for yardage requirements
- Needle felted batting (affiliate links), or fleece, 2 layers, same measurements as fabric
- Weighted filler such as poly pellets (I’m using these), or dried beans
- Matching thread
- Tailor’s chalk or fabric marker
- Large acrylic ruler
- Sewing Machine
- Walking foot, the walking foot will help your machine “walk” over the bulky fabric
- If you don’t have a walking foot, use a wide stitch length
- Scissors
- Spray baste
- Iron
- Pins
- Measuring cup and funnel
- Kitchen or postal scale, recommended
Weighted Blanket Sizes
In this post I’m providing measurements for 2 different blanket sizes: small and large. Feel free to adjust the measurements to make any size weighted blanket.
The SMALL size is great for a lap blanket or just one person. The final measurement of this blanket size is approximately 40″ by 60″.
The LARGE size is great for a larger queen or king sized bed or adult. The final size is about 60″ by 80″.
Reference the weight section to help you decide what size blanket you should make.
How much fabric do I need to make a weighted blanket?
To make a small weighted blanket, 40″ by 60″, you need 4 yards of fabric. If you want to use two different prints, get 2 yards of each. This size is great for a twin bed or a couch blanket.
To make a larger weighted blanket, 60″ by 80″, purchase 2 twin size flat sheets. You can also use wide back quilting fabric for a larger cut. Quilt backing fabric comes 108″ wide, so you would need 2 yards for each side. This post includes a list of great quilt backing fabrics.
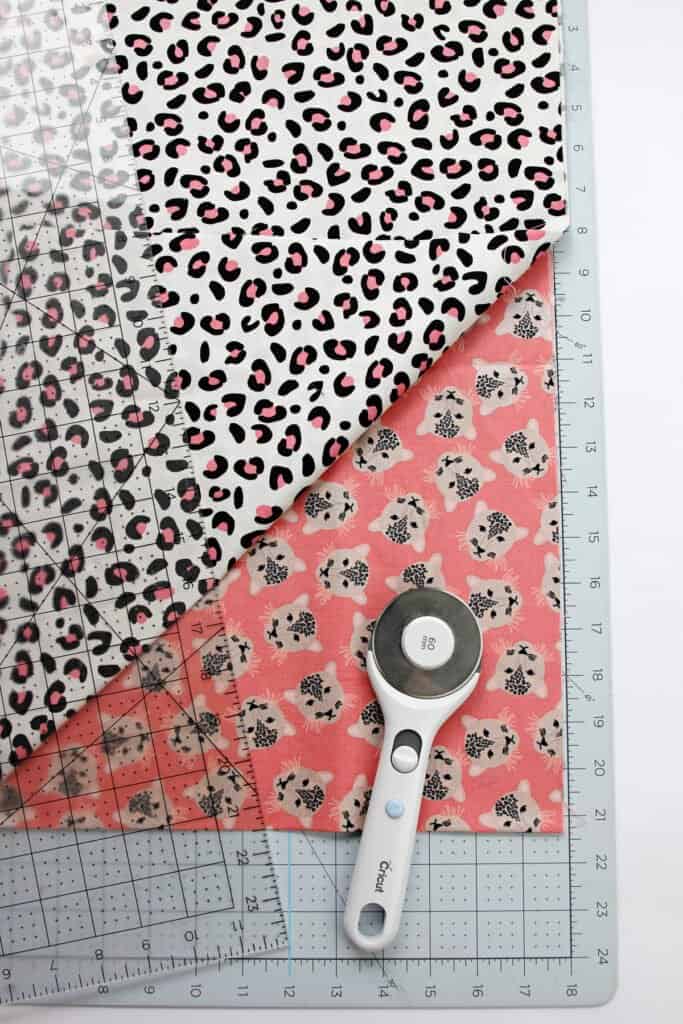
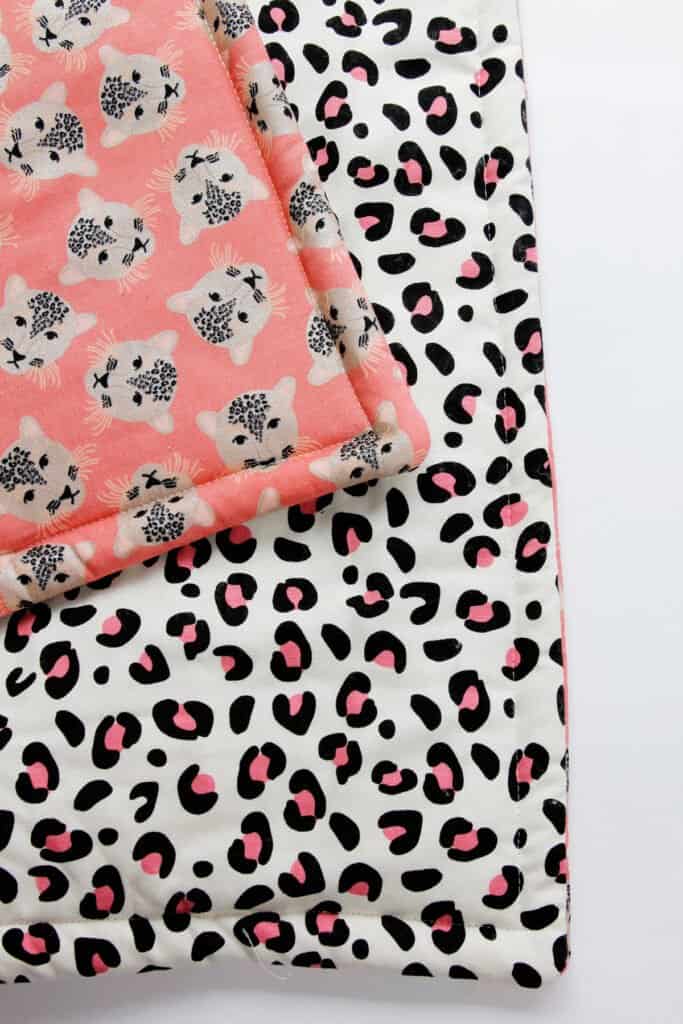
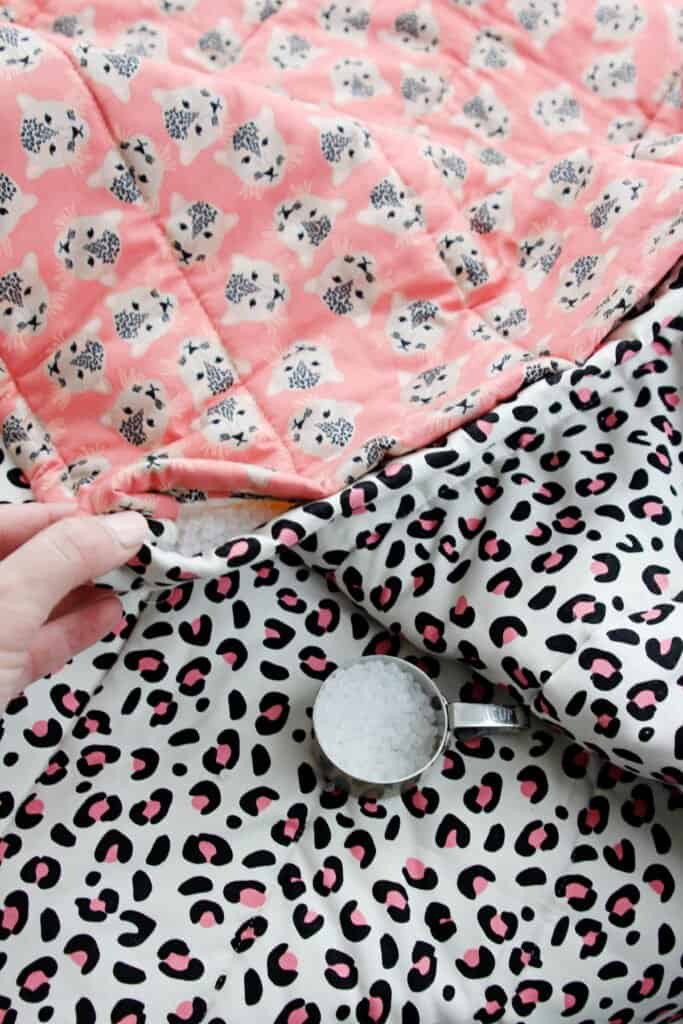
In this weighted blanket tutorial I am using two pieces of fabric from my Spotted fabric collection including the pink leopard spots fabric and the main fabric with metallic leopard faces! However, to make your blanket even more fun, you can piece fabric to create a quilt to use on one or both sides. Or just piece larger cuts of fabric to make the size you need.
Each side of the weighted blanket will have a layer of batting, so be sure to get enough batting to cover your quilt size TWICE. The batting will make the blanket soft, heavy and also secure the weighted pellets well.
What kind of fabric should I use?
I recommend using woven cotton fabric for this DIY weighted blanket. 100% cotton is a great choice. Choose a high quality quilting cotton (not a polyester blend) for best results and durability. Other durable fabrics such a flannel fabric, linen, etc, may be used.
If you want to use a fabric such as fleece, you can use the fleece on the outside and the cotton as a lining layer. Fleece is weaker than woven cotton and may stretch from the weight of the poly-fil beads, so using it is fine as long as you have another layer to keep the beads from stretching the fleece.
Fleece can also be used as a batting, though I prefer a needle-felted batting as it is easier to sew with.
If you are using a questionable fabric, you can use a fusible interfacing to back the fabric before basting on the batting just to give it an extra layer of stability.
What’s inside a weighted blanket?
Weighted pellets are designed for this project and are the best option because you can wash the blanket with the pellets. The pellets are made of polyester and they feel like beads. I recommend this option because it is machine washable. You may be able to find poly-fil beads at your local craft store, but I had to order them online. I bought this box from the Roly Poly brand. It should be able to make me 2-3 blankets.

Beans, such as dry black or navy beans, are another option. Dry beans are a very CHEAP way to fill a blanket. However, if you chose to fill your weighted blanket with beans, you will not be able to wash the blanket. A workaround for this problem is to create a blanket COVER a little bit larger than the blanket with velcro or snaps that you can remove and wash. Rice is another alternative, though, again, it is not machine washable.
Although it may sound like a good idea, I do not recommend using sand to fill these blankets as it may eventually seep out the small holes in your fabric.
How much weight do I need?
How heavy to make a weighted blanket will depend on who is using it! A good rule of thumb is 5-10% of the user’s body weight. Pellets are sold by weight and cost about $3-4 dollars per pound. Some larger bulk boxes will only run you about $2.50/lb. You can get dry beans for less than a dollar per pound, so that does make a big difference in your project price. If you end up with extra fill, you can it them to make bean bags!
Not for use with children.
Use a kitchen scale or the weight on the package to help you decide how many pellets or beans you need to buy.
How to make a weighted blanket
Use a 3/8″ seam allowance, unless otherwise noted.
Let’s get sewing! First, cut out two layers of fabric using your starting measurements. Batting stretches easily so you may want to wait to trim the batting down until after you have basted the fabric to it.
Fabric cutting measurements
- Small: 41″ x 61.5″
- Large: 61″ x 81.5
Get your spray baste ready. Lay one layer of batting out on the floor or other large surface. Lay the fabric piece on top with wrong side down on the batting. Make sure all the corners and edges line up.
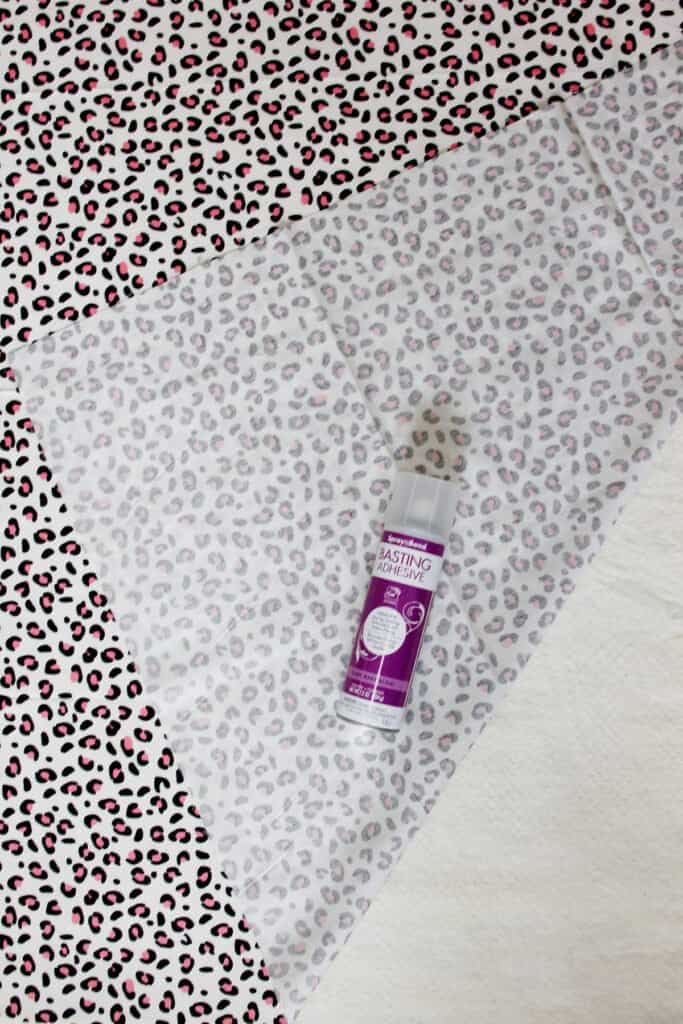
Then fold your fabric in half and begin spraying basting along the batting. Carefully press the fabric down as you go working your way out to the outer edges.
Sewing a weighted blanket
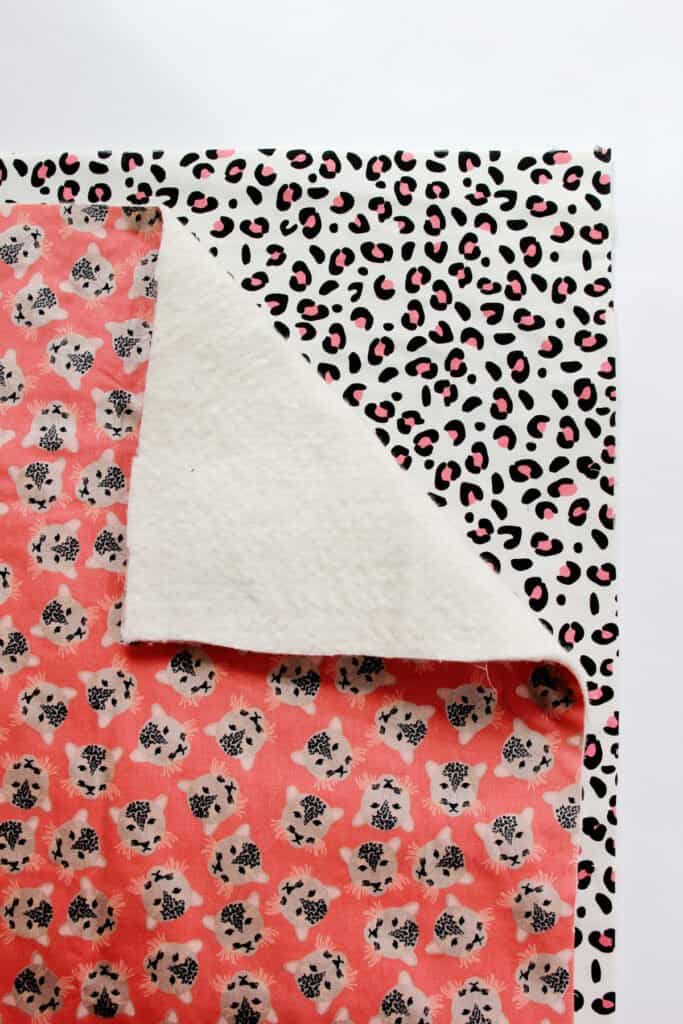
Repeat with the second layer of batting and fabric.
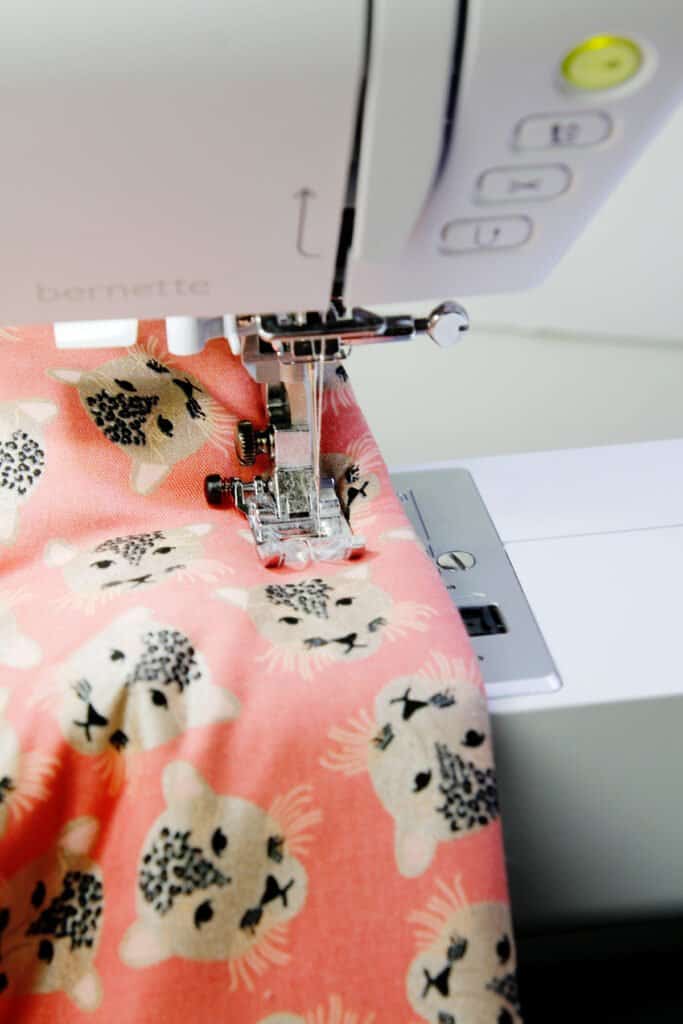
When you have your two fabrics backed with batting, press under 1″ along both of the top edges of the blanket. Sew along this edge, leaving 3″ on either side.
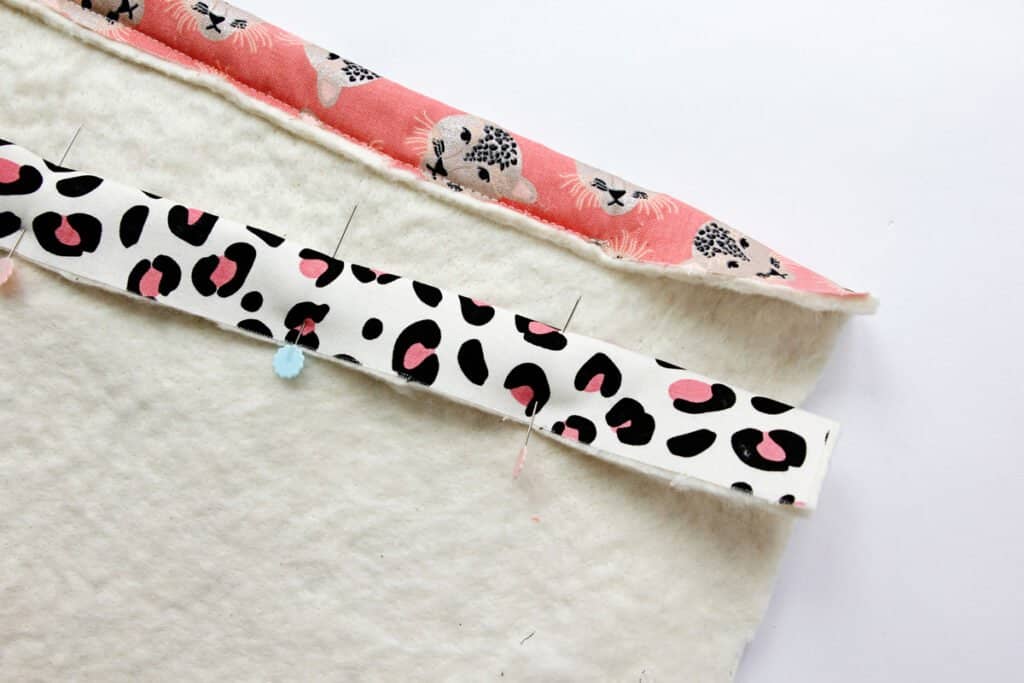
Then, lay the fabrics together with right sides together. Line up the long sides, the corners and flatten the layers out. Sew around the long side edges and the short bottom edge with a 3/8″ seam allowance, pivoting at the corners. Sew into the top edge about 1″ from the edges.

Clip the corners of the fabric and turn the blanket right side out. Press the edges well.
To create a thick hem, sew around the blanket edges about 1/2″ from the edge.
Align your needle to the right and butt the presser foot up against the thick edge. Sew the bottom and sides and about 1″ along the top edge.
Flatten out your blanket on a surface and pin the layers together to keep it from shifting.
Sew the grid
Now, draw a grid on your blanket using tailor’s chalk or a fabric marker. Use your large acrylic ruler to create a grid of squares 4″ by 4″ measuring from the edge of the blanket.
If you are putting more than about 2 ounces of pellets in each square you will want to use a larger measurement for the grid so the pellets fit. Use 5″ or 6″ squares instead of 4″. If you are using an air soluble fabric marker, the marks may evaporate before you finish sewing. You can redraw if that happens.

Rearrange any pins that may be in the way of your grid and sew the vertical lines, backstitching at the bottom and leaving about 1″ open at the top.
Remove pins for now. You will have about 10-15 channels or columns running vertically, depending on the size blanket you are making.
Add the weighted pellets!
Now comes the fun part, math! First take the weight of your final blanket in pounds and divide it by 16 to get your total in ounces. If you want to factor in the weight of the fabrics and batting, weigh those two items and subtract from your total weight before calculating pellet weight.
If you are making a small blanket, divide the total weight you are using by 150. For the large blanket, divide the total weight by 300. That number is the weight of the pellets that will go in each of the blanket cells.
To start, place a small bowl on your scale and zero it. Find a measuring cup and experiment with different amounts of pellets until you find a good way to measure out your ounces for each blanket cell.
For example, if you are making a SMALL blanket with 15 pounds of weight, here is the math:
15 x 16 = 240 ounces
240 ounces / 150 cells = 1.6 ounces per cell
Use different measuring cups until you find an amount close to 1.6 ounces. It doesn’t have to be perfect, but by distributing the weight this way we will make sure it doesn’t all clump up in one area of the blanket!
Poly-fil pellets weight
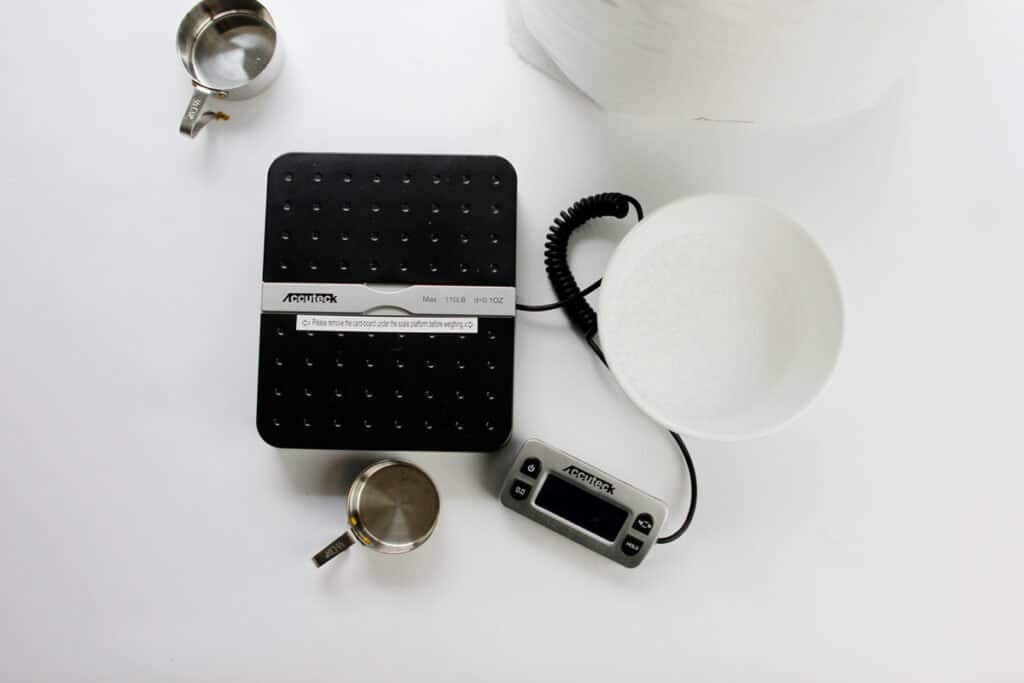
I measured my poly-fil pellets and got the following weights:
1/4 cup = approx 1 ounce
1/3 cup = approx 1.7 ounces
1/2 cup = approx 2.5 ounces
Pour amount into each cell from left to right. Be sure you are pouring into the middle of the blanket, between two layers of batting, and not between the layers of cotton and batting.
The squares on the edges will be a little bit smaller than the ones in the middle, you may have to put a little less pellets in those ones.
Sew the grid
Once each cell has pellets, beans or beads, at the bottom, carefully pin and sew along the first horizontal grid line at the bottom of the blanket. Be sure not to sew over the pellets, your needle will break! These stitches will seal the weight into a little square for good distribution. Repeat the process of filling the cells from left to right and then sewing the horizontal lines until you get to the top of the blanket.
When you reach the last row of the blanket, fill cells with pellets and carefully sew two seams across the top of the blanket, backstitching at each end.
Check your seams and make sure they are all secure. Then your blanket is finished!
Weighted blanket variations
- If you want to bind the blanket, you can add a quilt binding for an extra pop of color. The edges will be thick so keep that in mind.
- Sew a quilt top and then turn it into a weighted blanket! A quilt top will add a little more interest than a solid color or print and it’s more fun to make, too! Sew any quilt you want then use a lightweight interfacing before basting to the batting.
- Add some hand quilting! Grab a hand quilting needle and thick thread and sew designs all over the blanket
- Add a vinyl label. See this post to personalize your blanket with iron-on vinyl.