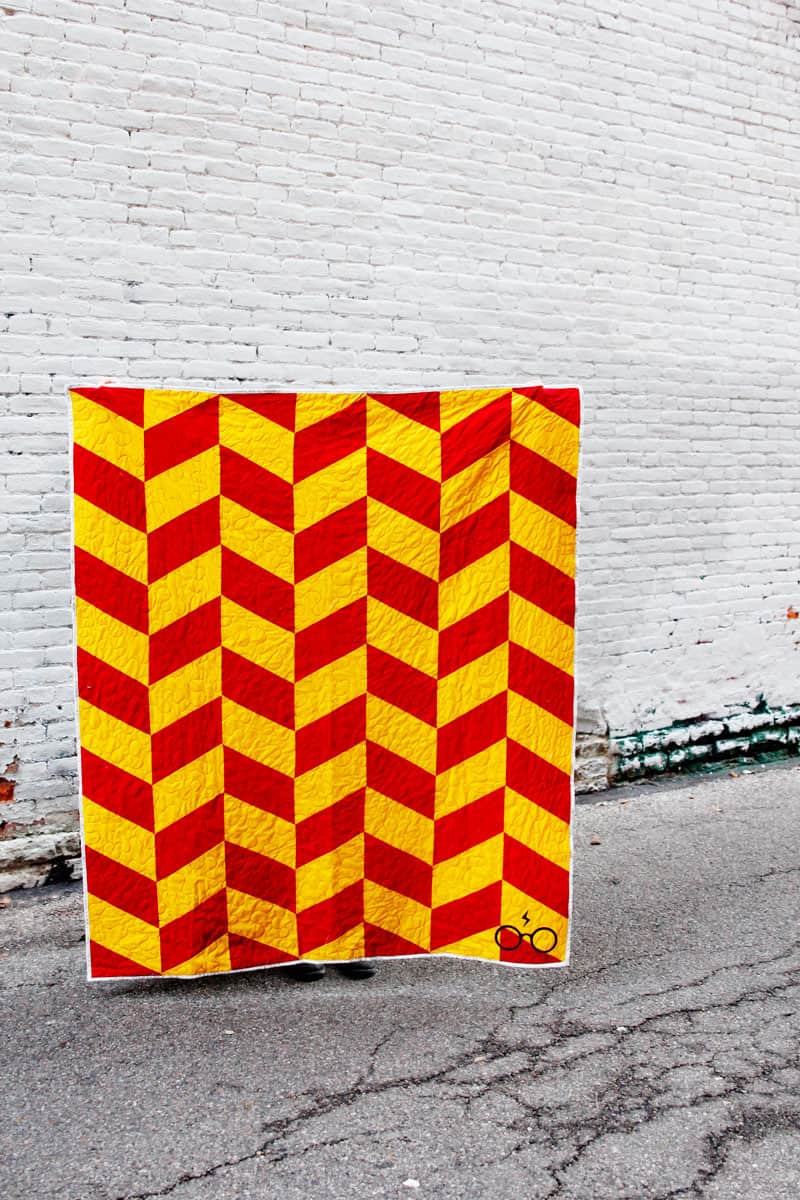
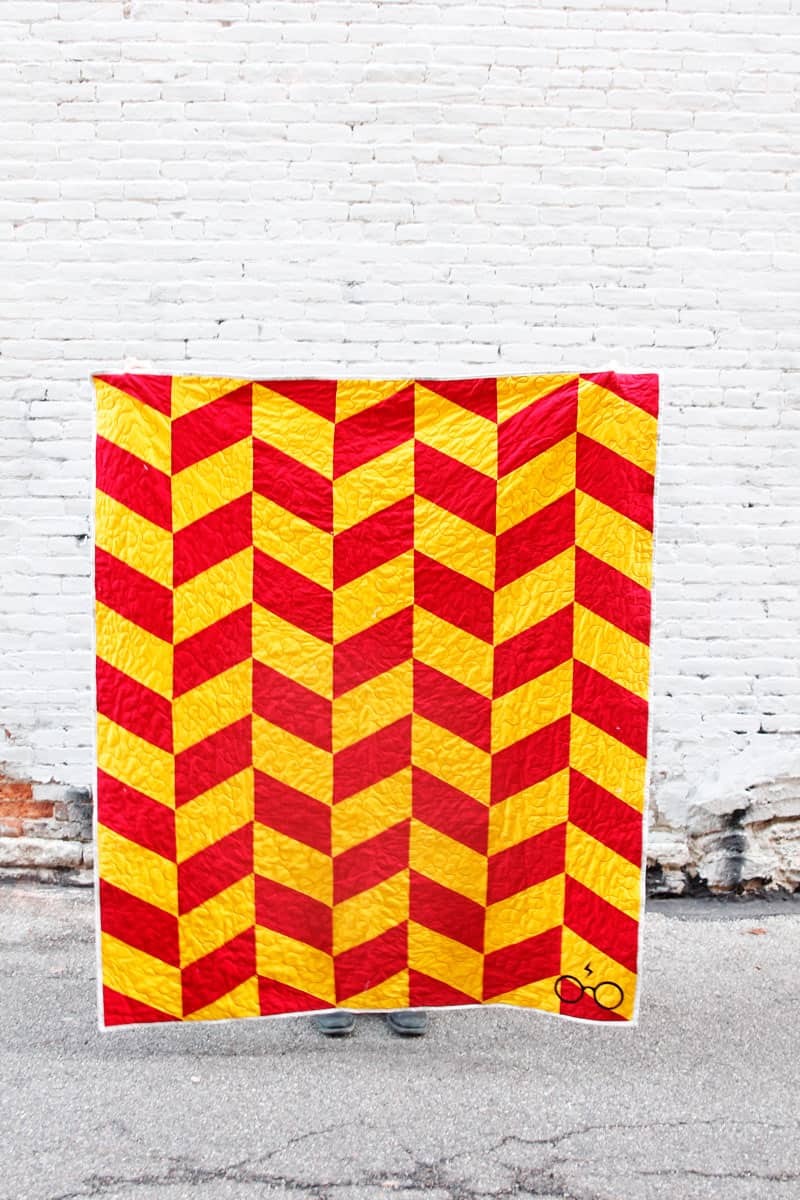
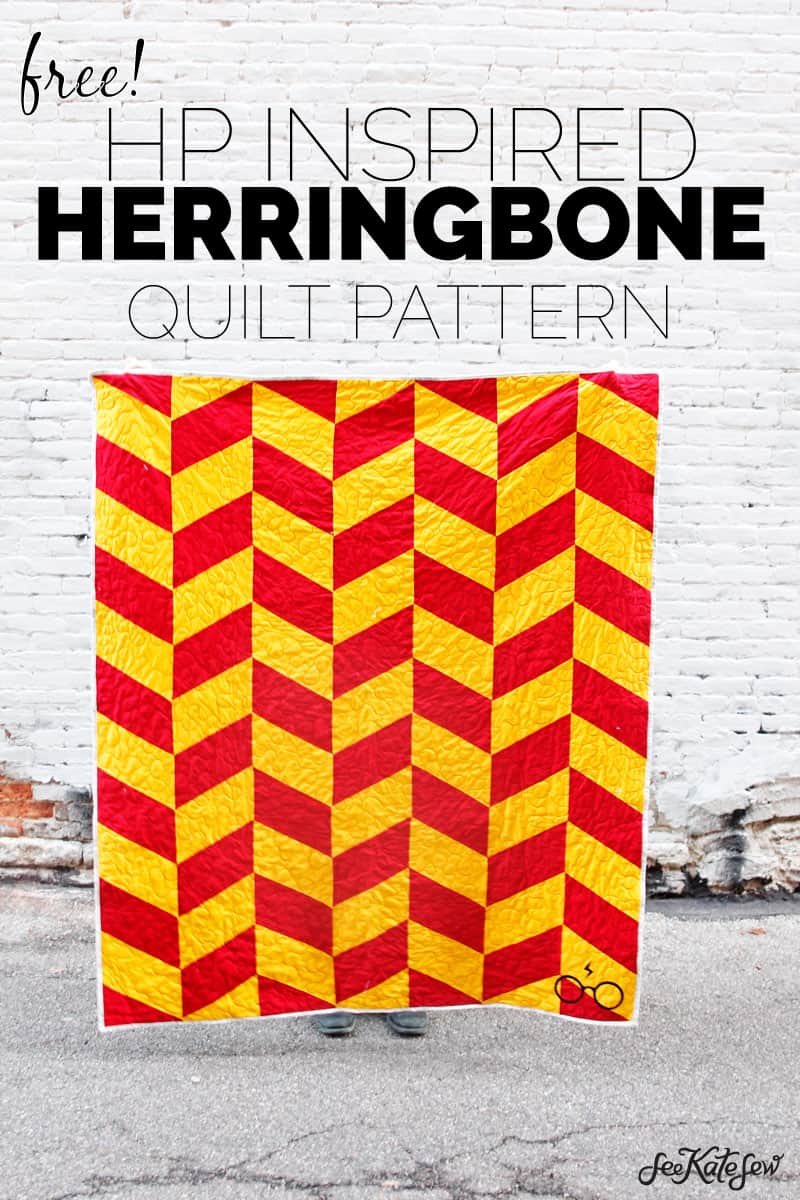
10 points to Gryfinndor! I’m really excited about this project, it’s the first time I’ve been able to finish a quilt in time for Christmas and I know my son is going to LOVE IT! I just can’t wait for him to open this quilt and use it! This Harry Potter quilt tutorial is a herringbone pattern using just 2 colors!
I used red and yellow/gold for a Gryfinndor quilt but it can easily be adapted to ANY Hogwarts house, which is so fun! Since the top of the quilt is made with 2 solid colors, you can use this quilt pattern to match any bedroom decor, character your kid loves or your two favorite colors! It was so fun and easy to make that I’m already itching to make another.
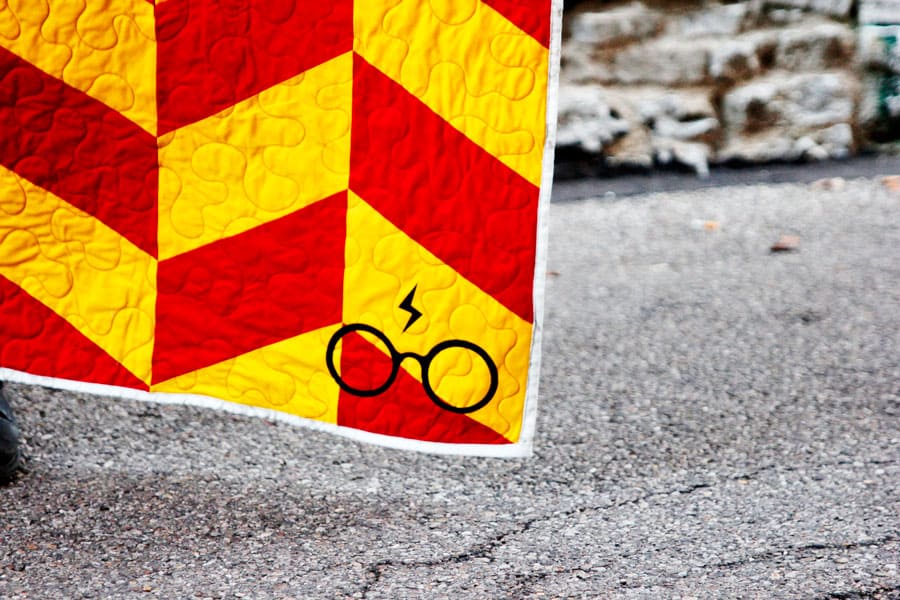
I included a pattern template for this quilt along with an SVG file for cutting it on the Maker. The Harry Potter glasses and scar are an iron-on decal I also made with my Cricut machine!
Harry Potter Herringbone Quilt Tutorial
Finished Quilt Size Approx. 58″ x 70″
Materials//
–2.5 yards Kona Cotton Grellow
–2.5 yards Kona Cotton Rich Red
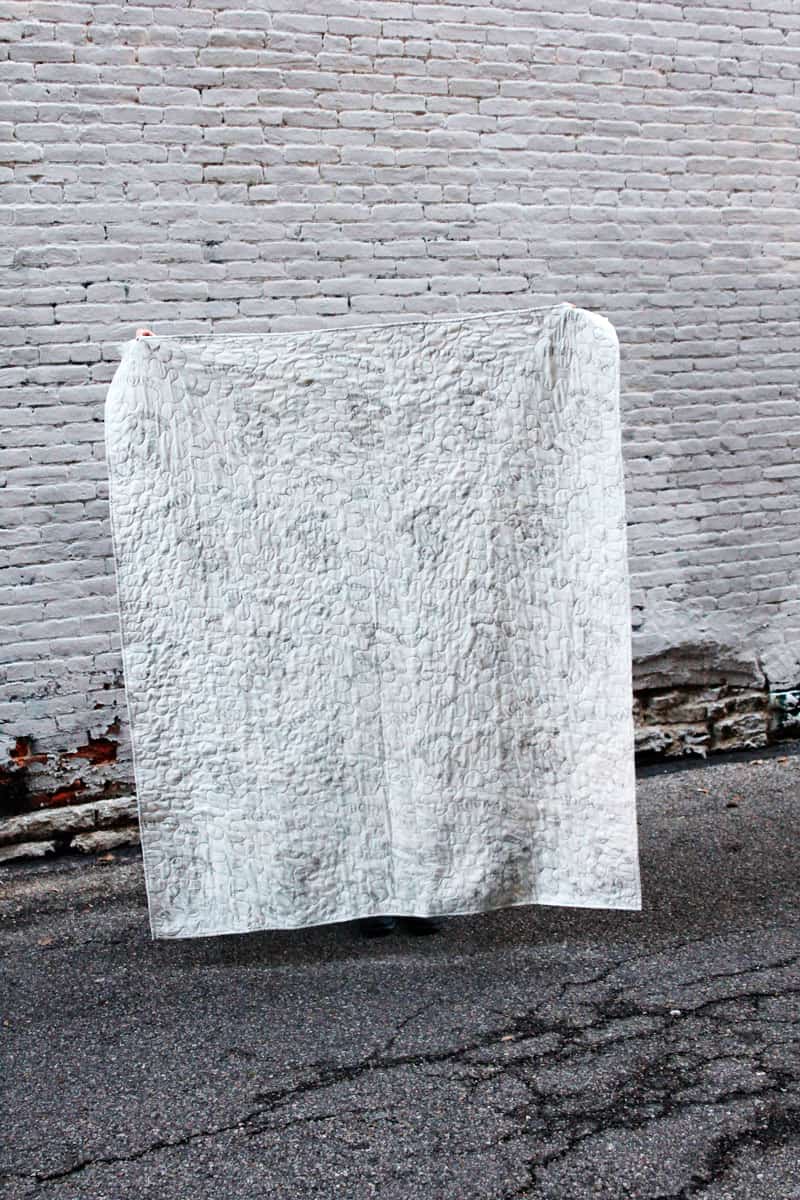
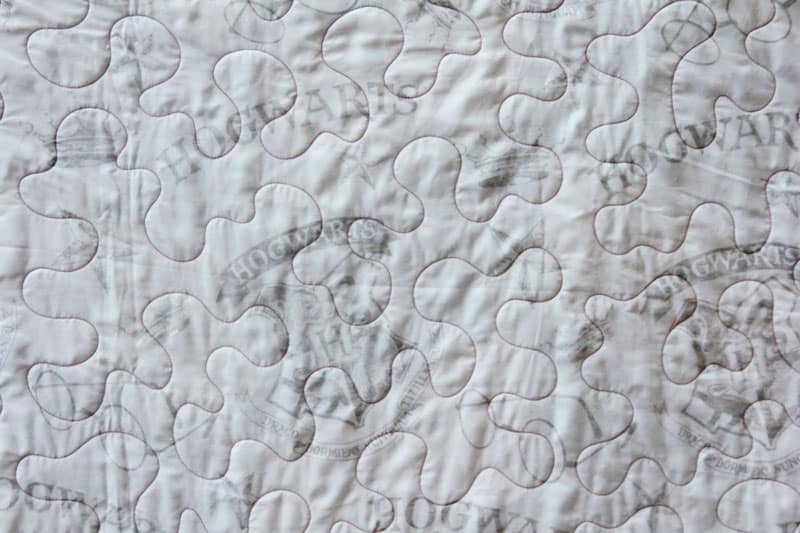
–Full size Harry Potter flat sheet for backing*
–Iron-on Vinyl in Black for glasses
–Twin size packaged batting
-Herringbone Pattern Pieces, download by entering your email below to subscribe to the newsletter!
Herringbone Template – SVG file
Herringbone Template – PDF file
Harry Potter Glasses SVG
*Here’s another HP sheet set, I almost used this one and love it, too! Using a flat sheet is a nice little hack for creating a quick quilt back without a seam! It’s also a nice way to “compromise” when your kid demands character stuff but you don’t want to give in! Haha, just use a few colors from the theme of the character on the front and then give them the characters on the back!
Sign up below to access 40 SVG files including the Harry Potter ones!
When buying a sheet set you’ll end up with extra fabric, too. You can use the fitted sheet and pillowcase to coordinate with the quilt or turn them into something else!
INSTRUCTIONs//
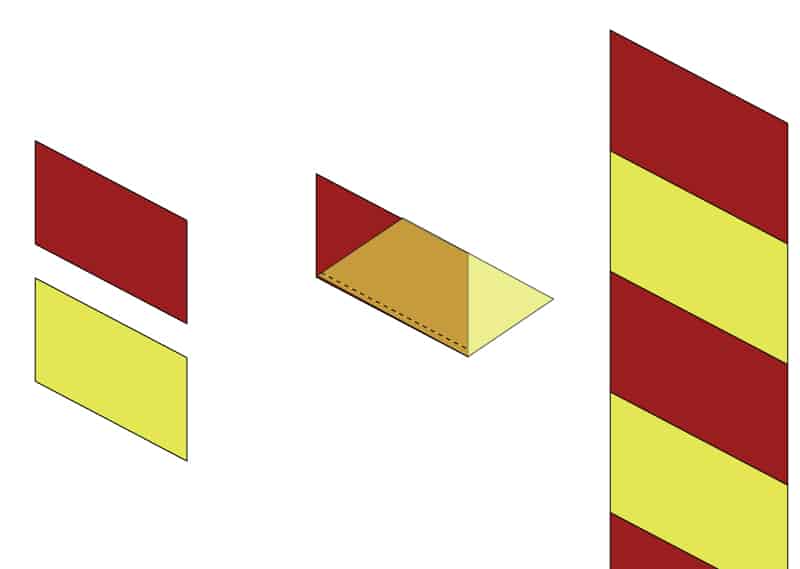
Cut 48 herringbone template pieces from EACH color of cotton.If you’re using a reversible solid fabric, you don’t need to pay attention to the way you cut the fabrics out. However, if you are using one-sided fabric or directional fabric, cut 24 from the pattern piece right side up and 24 with it right side down.
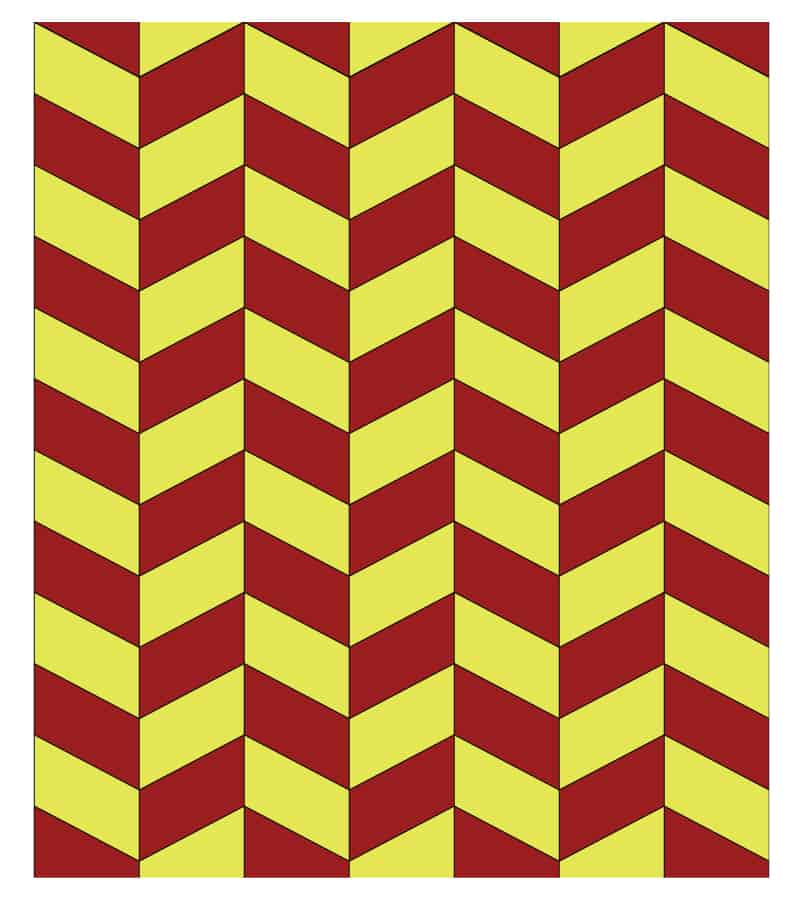
We’re going to sew these together in 8 columns and then sew the columns together. This will actually go much quicker than you may think!
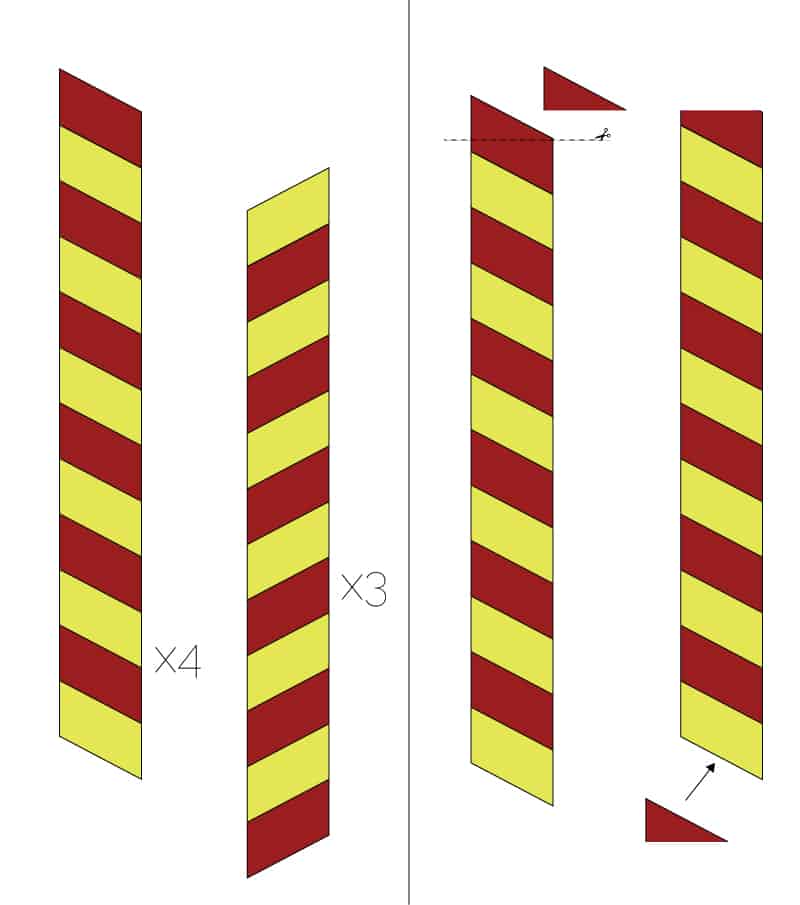
Each column is put together by alternating the two fabrics. Sew 12 pieces together to create 1 column. The blocks you cut with the template right side up will go in the first column, then the ones cut right side down in the next.
When you have 12 pieces sewn together, square up the top piece with a rotary cutter. Sew the extra fabric from the top to the bottom of the column to finish it off. Repeat until you have 4 of the first column (with red at the top) and 3 of the second column (with yellow at the top). Sew the columns together, alternating. Press well and your quilt top is done!
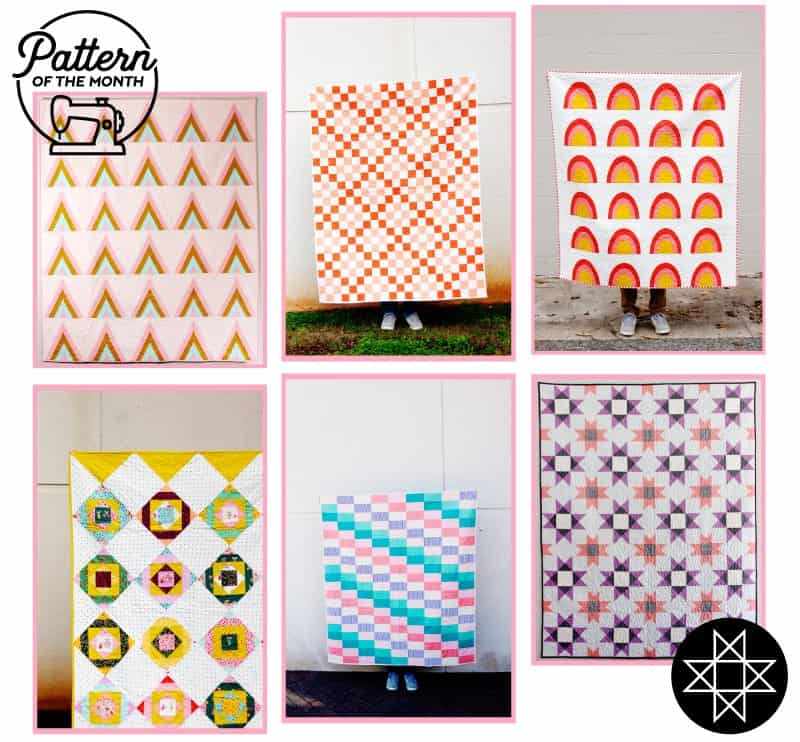
Love quilting? Join Pattern of the Month and get a new modern quilt pattern emailed to you EVERY SINGLE MONTH!




Expelliarmus!!! ( That’s the only one I can think of without looking at the book ????????????) great job!
Did you cut this all out on the Cricut?