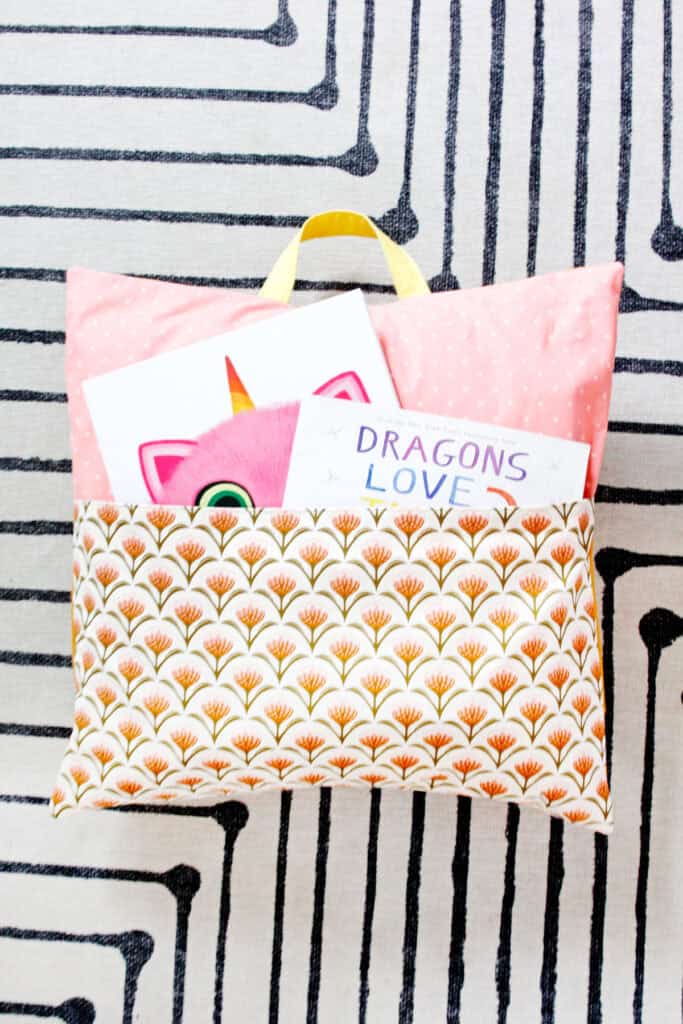
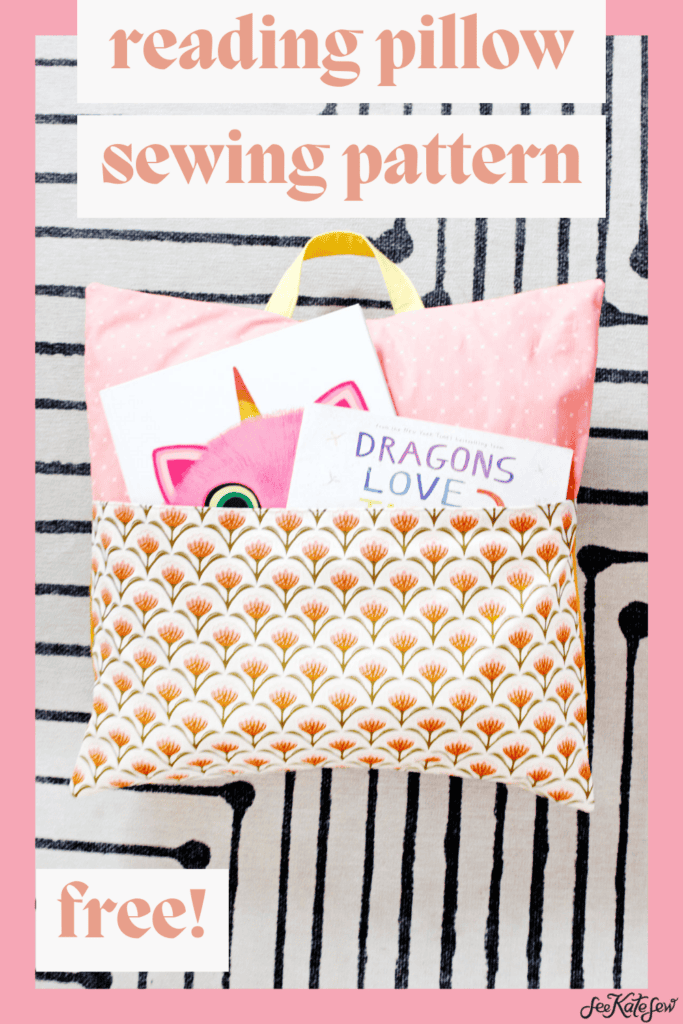
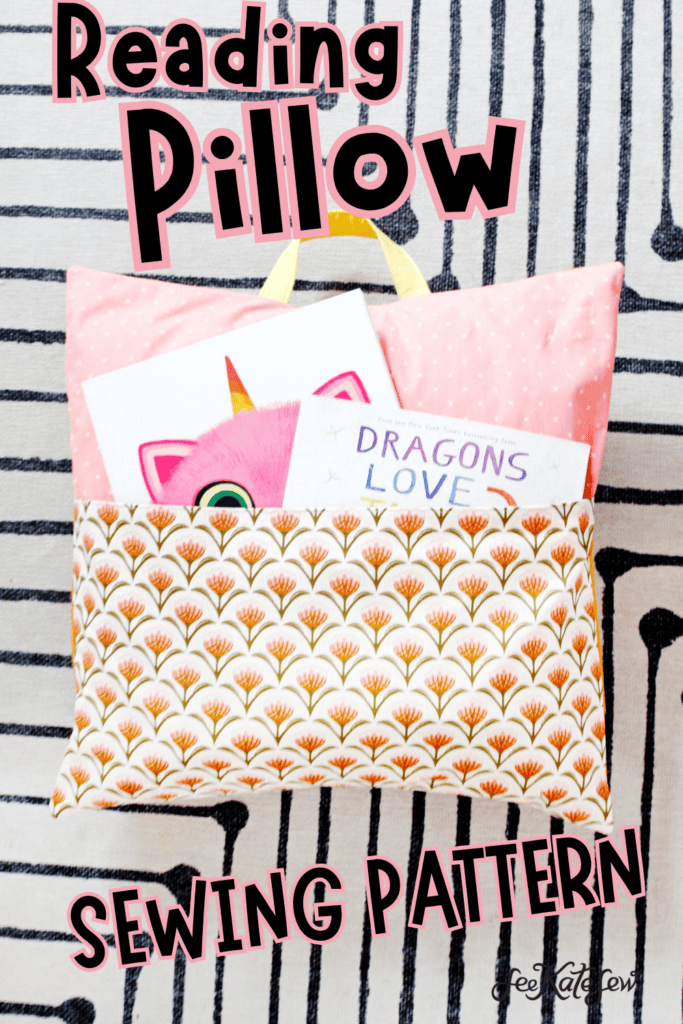
Learn how to make a reading pillow with this easy sewing pattern! This DIY reading pillow is a great project for beginners and is so fun for kids to use!

The best part about this pattern is that you can use a few fabrics to make your reading pillow perfect for your bookworm! This pattern includes a book pocket and a handle!
Reading Pillow Video Tutorial
The handle allows for lugging around to find the perfect reading spot!
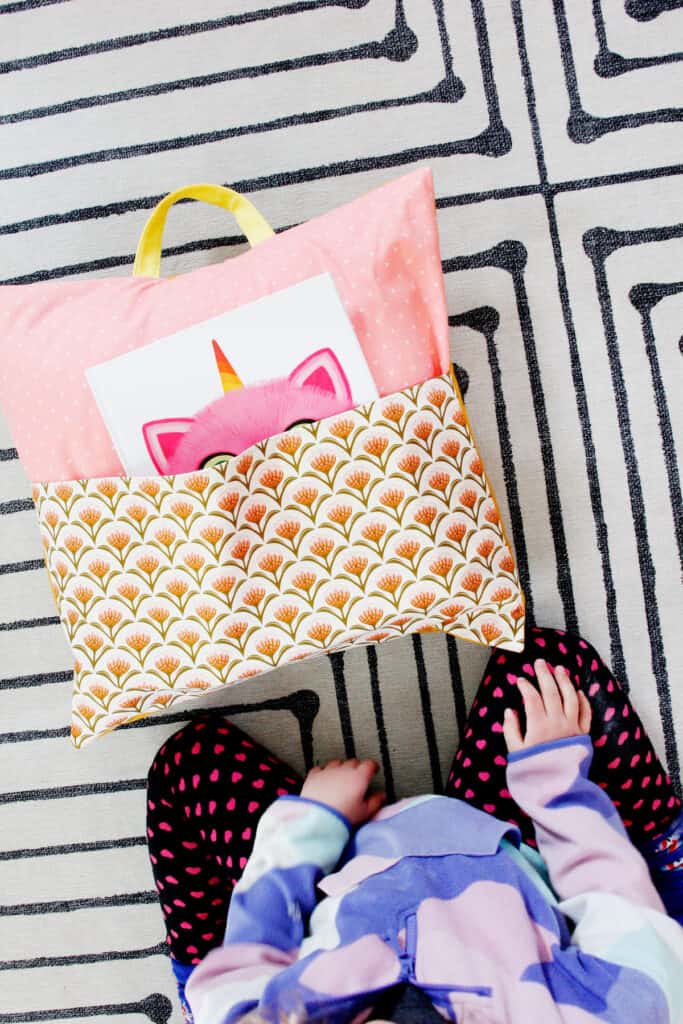
And the pocket keeps your favorite books handy and ready to read!
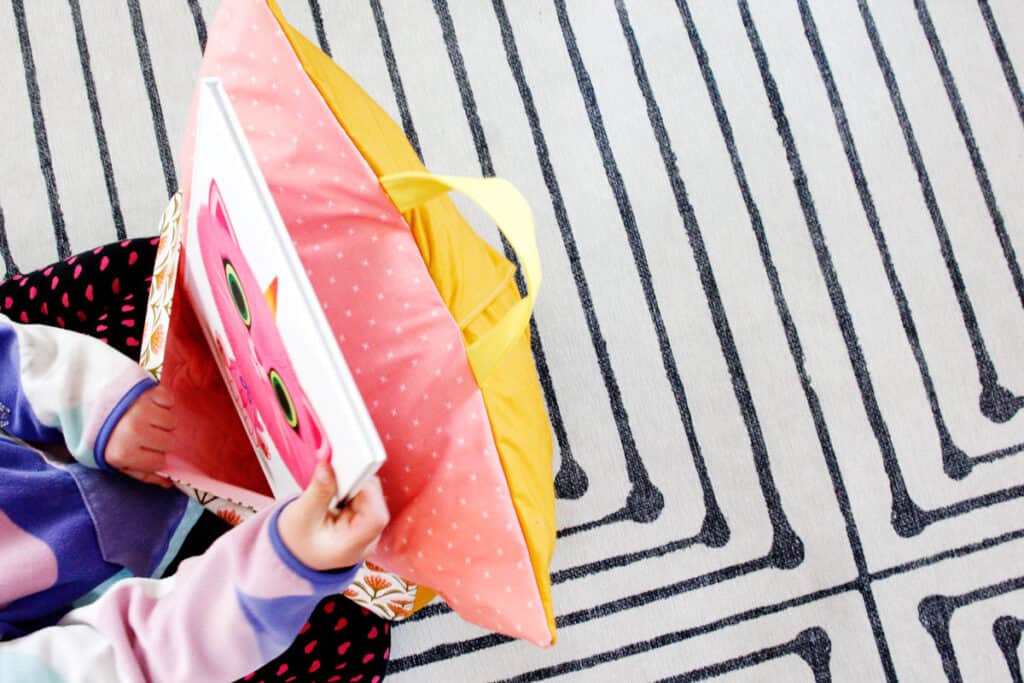
Reading Pillow Sewing Supplies
- 100% cotton fabric – use up to 5 different prints*
- About 1/2 yard for exterior and
- About 1/2 yard for lining
- Fat quarter for contrasting pocket
- Scraps for a handle
- Lightweight fusible interfacing, I like Pellon PLF36(affiliate links) or Pellon P44F
- 18″ pillow insert
- Basic sewing supplies including a ruler, rotary cutter, iron and turning tool
*Prewash all fabrics.
Want to print the instructions? Click here for an easy-to-print version!
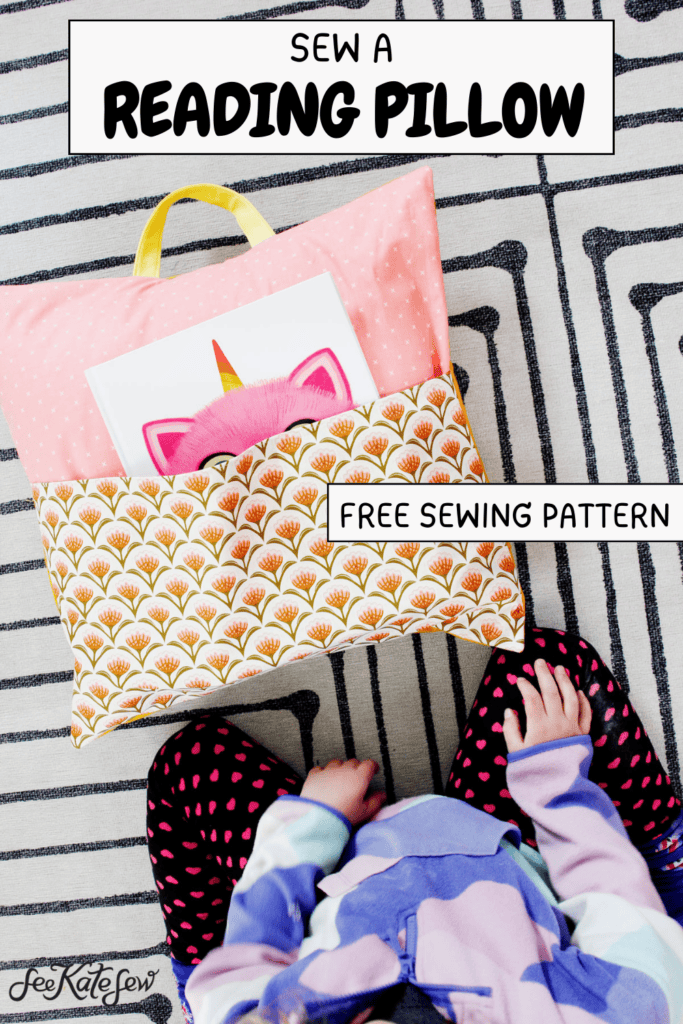
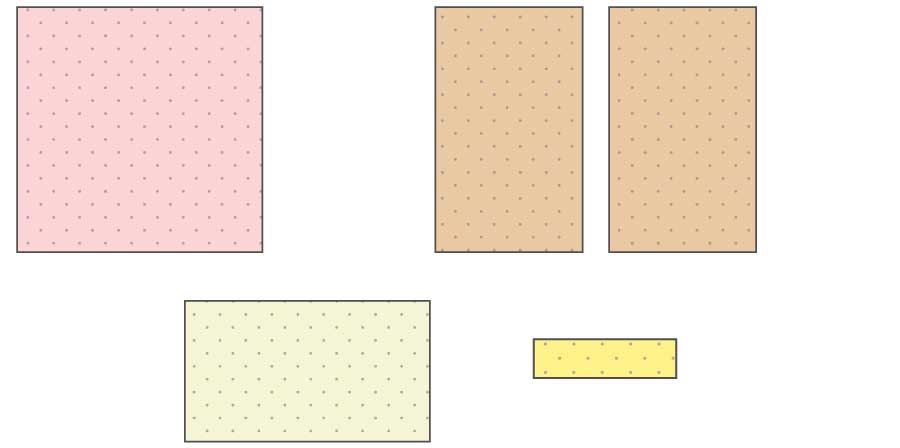
Reading Pillow Cutting Measurements
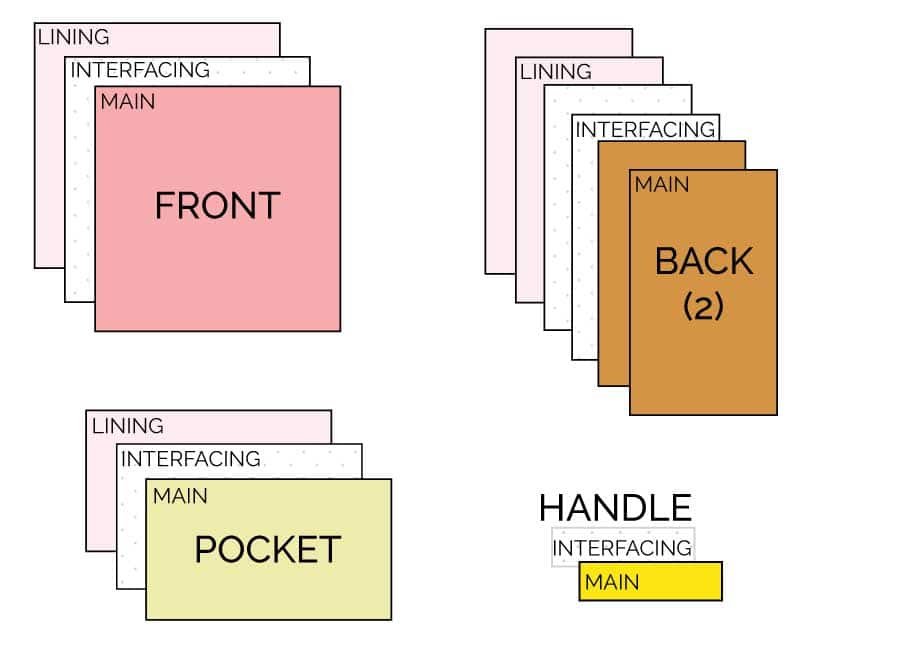
Main fabrics:
- Front: 20 x 20″
- Back (2): 12″ x 20″
- Pocket : 12 x 20″
- Handle: 4″ x 10″
Lining Fabrics:
- Front: 20 x 20″
- Back (2): 12″ x 20″
- Pocket : 12 x 20″
Interfacing:
- Front: 20 x 20″
- Back (2): 12″ x 20″
- Pocket : 12 x 20″
- Handle: 4″ x 10″
Want a printable version of these dimensions? Click below to download and print! The page also includes a coloring page so you can design your pillow before you start – super fun for kids!

How to sew a book pillow
Use a 1/2″ seam allowance.
Start by fusing interfacing to the back of the main fabric pieces. Lightweight interfacing will give this pillow a crisp finish without compromising softness!
Assemble the handle. First, press the long edges into the center of the handle fabric piece so the right sides are showing. Then fold the strip in half again to match up the folded edges. Topstitch the handle 1/8″ from the folded edges. Repeat the topstitching on the other long edge of the handle.

Place the pocket lining piece down on the pocket main piece with right sides together. Sew together at the top. Then flip the pocket piece right side out and press well. Topstitch 1/8″ from the seam.

Place the front main on the front lining with wrong sides together. Line the pocket up with the bottom of the main pocket piece. Baste around the front edges about 1/4 inch from the raw edges to hold the layers together. Set aside.

Place the back lining on the back main with right sides together. Sew one of the long edges.

Repeat with the other back pieces. Then flip right side out, press well and topstitch about 1/8″ from the edge.

Pin the handle on the front piece, centered with about 4″ between the two handles. Baste.

Assemble the Pillow Cover
Now we will assemble the pillow cover. Place one of the back sides face down on the front of the pillow, aligned to the left side. Then put the other face down aligned to the right. You’ll have about 4″ of overlap to keep the pillow cover closed. Sew around the whole pillow cover, backstitching at the ends. Trim the corner seam allowances if you want.

Turn right sides out and press well. Stuff in your pillow insert and find a book to read!
Watch the Reading Pillow video tutorial!


