• Skip to main content
  • Skip to primary sidebar
  • Skip to footer
  • Blog
  • About
  • Contact
  • FAQ
  • Sponsor

see kate sew

sewing, crafts, tutorials, DIY

  • Patterns
    • Free Patterns
    • Pattern of the Month
  • Tutorials
    • Accessories
    • Bags and Pouches
    • Clothing
    • Costumes
    • Crafts
    • Cricut Projects
    • Holiday
    • Household
    • Kids
    • Maternity
    • Quilting
  • Topics
    • Baby
    • Boy
    • Christmas
    • dog
    • Dolls
    • Easter
    • Girl
    • Halloween
    • Lookbook
    • Party
    • pet
    • Printables
    • Training
    • women
  • No Sew
  • Sewing 101
  • Sew4Good
  • Pet
  • Sewing Room
    • DreamBox
  • Reviews
Home
  • Patterns
    • Free Patterns
    • Pattern of the Month
  • Tutorials
    • Accessories
    • Bags and Pouches
    • Clothing
    • Costumes
    • Crafts
    • Cricut Projects
    • Holiday
    • Household
    • Kids
    • Maternity
    • Quilting
  • Topics
    • Baby
    • Boy
    • Christmas
    • dog
    • Dolls
    • Easter
    • Girl
    • Halloween
    • Lookbook
    • Party
    • pet
    • Printables
    • Training
    • women
  • No Sew
  • Sewing 101
  • Sew4Good
  • Pet
  • Sewing Room
    • DreamBox
  • Reviews

11.30

How to make crayon letters – fun way to recycle old crayons!

Welcome to See Kate Sew! If you’re new here, sign up for my email newsletter for access to free patterns, tutorials and all the latest sewing news! Tour my sewing room HERE!

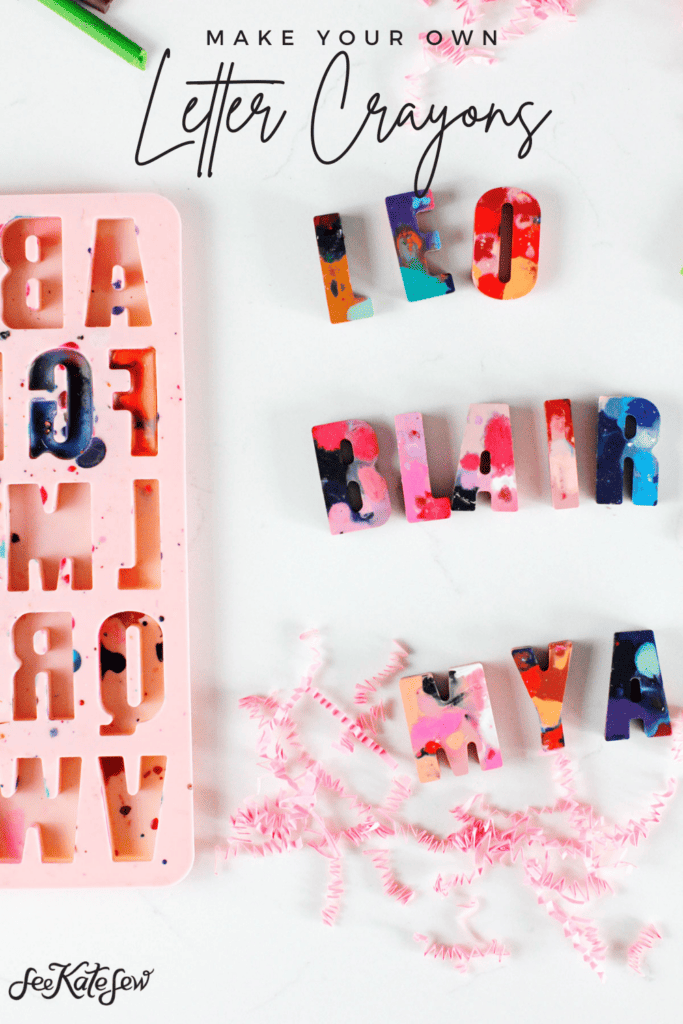
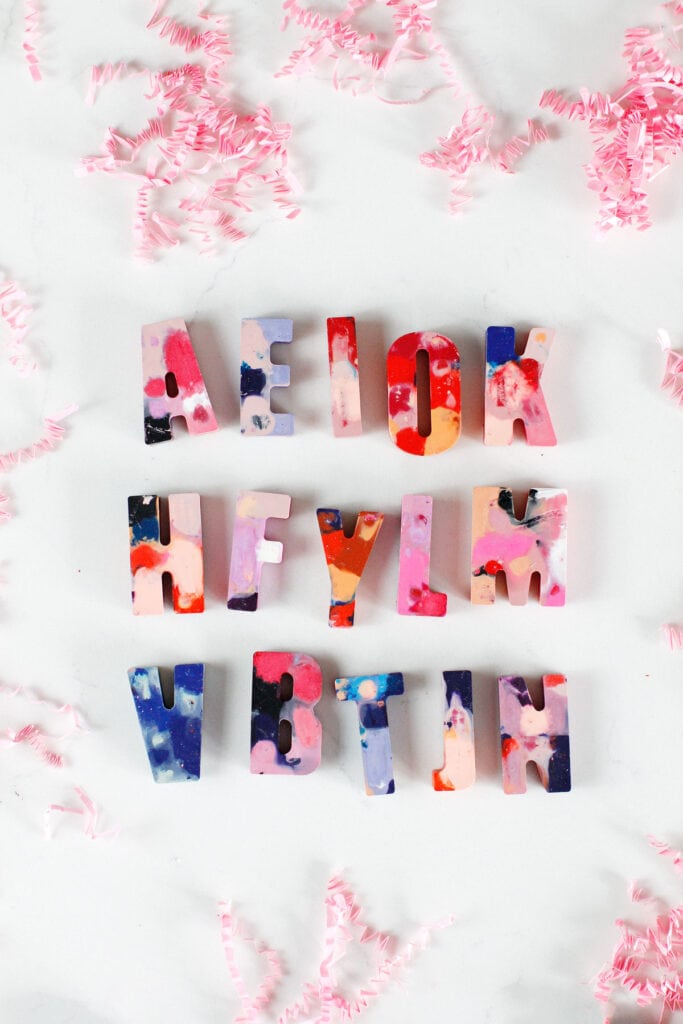
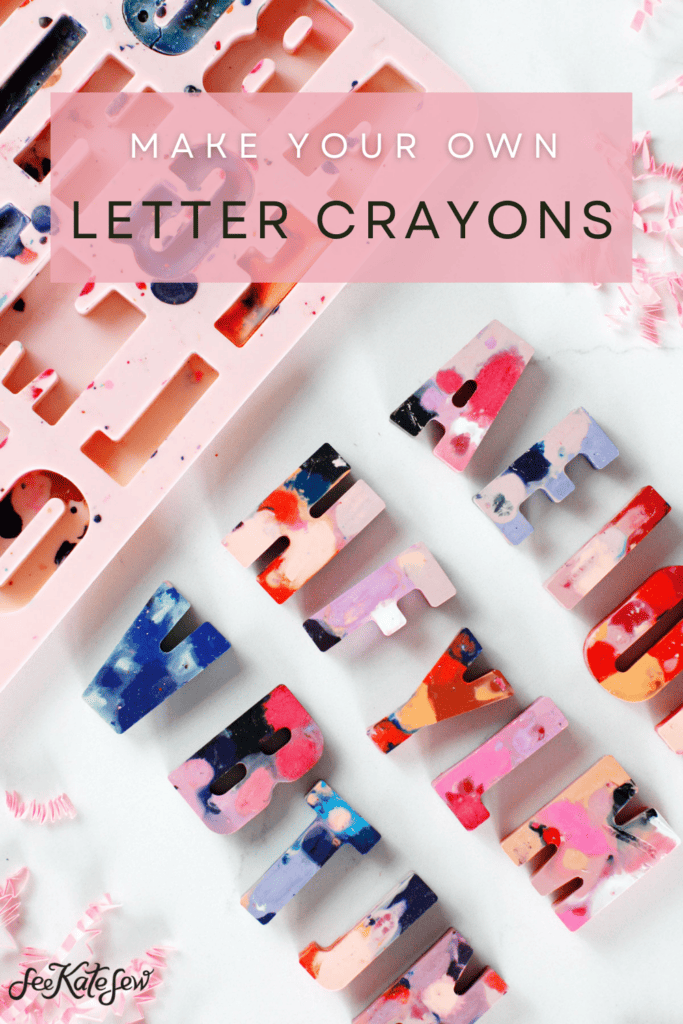
Here’s a great craft project to give as a gift! In this post I will show you how to make crayon letters with a silicone mold.

How to make crayon letters

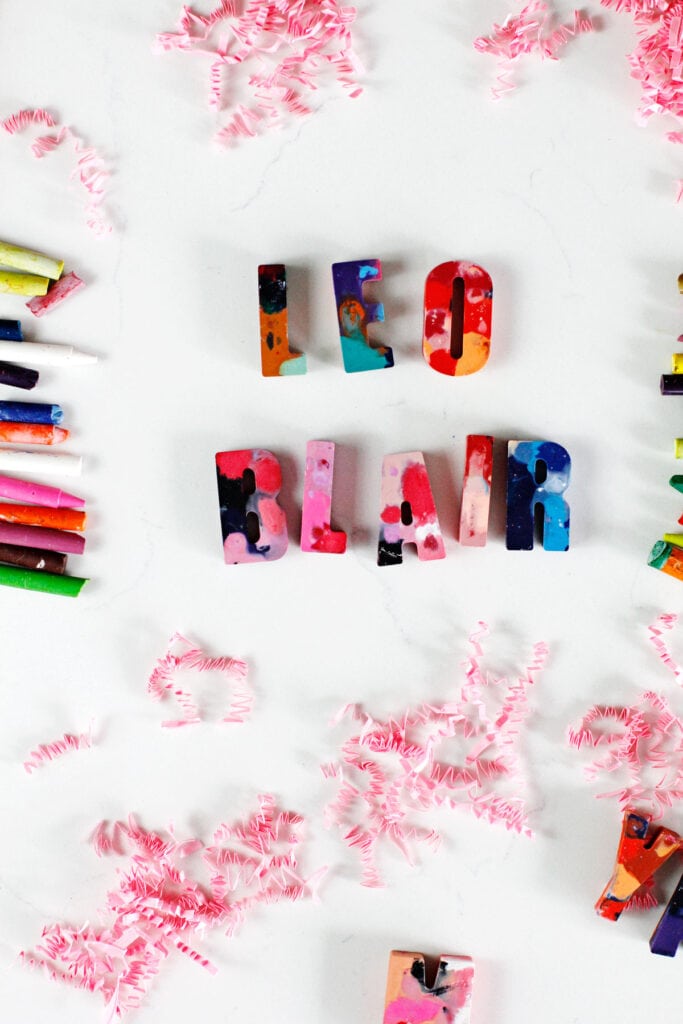
Use these letters to make name crayons for all the neighbor kids or as custom stocking stuffers!

How to make crayon letters

My kids and I had a blast making these for friends this holiday season. I let them help break the crayons, fill the molds and wrap the finished crayons.

They can also help spell the names and give them away! The in-between parts have too many hot things for little kids to help with but there are still plenty of steps to involve them in.

How to make crayon letters | Name Crayons with a silicone mold

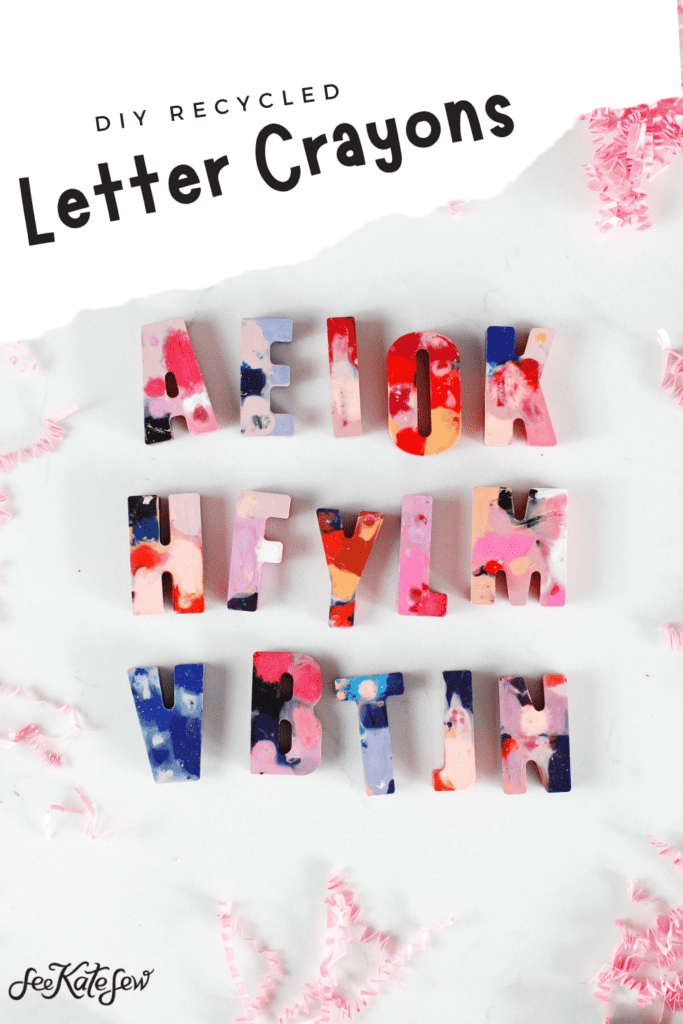
Making crayons letters is a great way to give new life to old crayons.

Crayons

We had a LOT of old crayons in pieces and I’m so glad we saved them!

Letter Crayons DIY Materials

  • Old crayons
  • Silicone letter mold (affiliate links)
    • Any silicone mold will work for this. Try donuts, or holiday shapes.
  • Crinkle cut shred filler for gifting, optional
  • Polyurethane bags and ribbon for tying
Old Crayons >> Letter Crayons

How to make crayon letters DIY

Baking crayons is simple! Preheat the oven to 275 degrees Fahrenheit.

Then start by taking all the paper off of your crayons. If you submerge the crayons in warm water with the paper on, the paper will come right off.

How to make crayon letters | Name Crayons with a silicone mold

Sort the crayons into colors if you want to do ombre effect crayons. You can also sort them into color groups or just throw them all in together – you can get creative here!

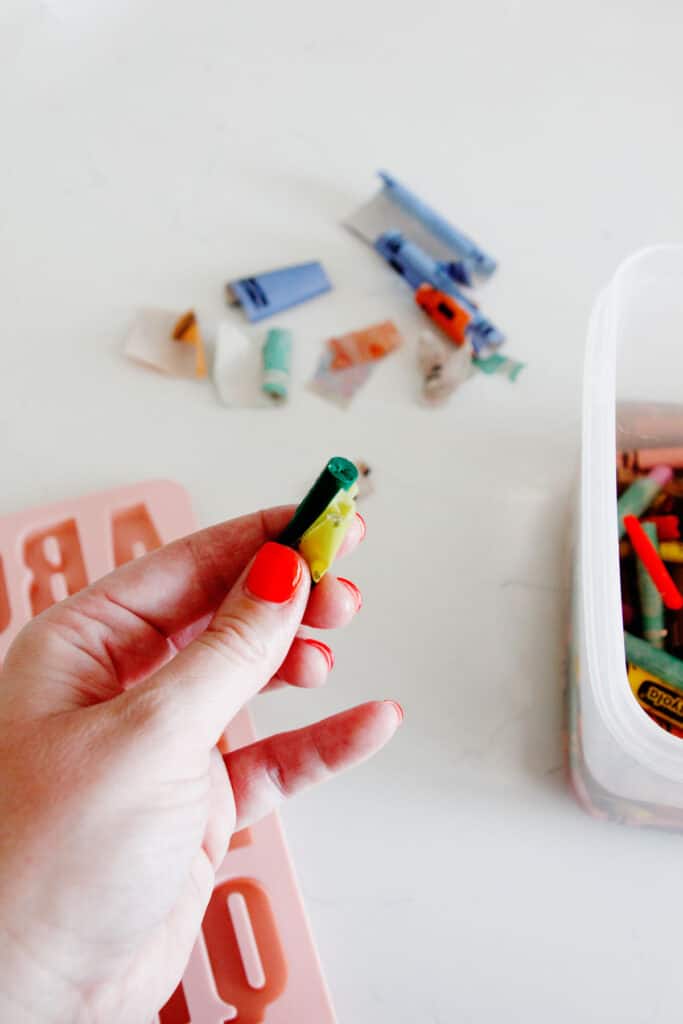
Now chop the crayons into smaller pieces. For the letter molds, we need little pieces between 1/4″ and 1/2″ long. For other molds, you may be able to use larger crayon pieces.

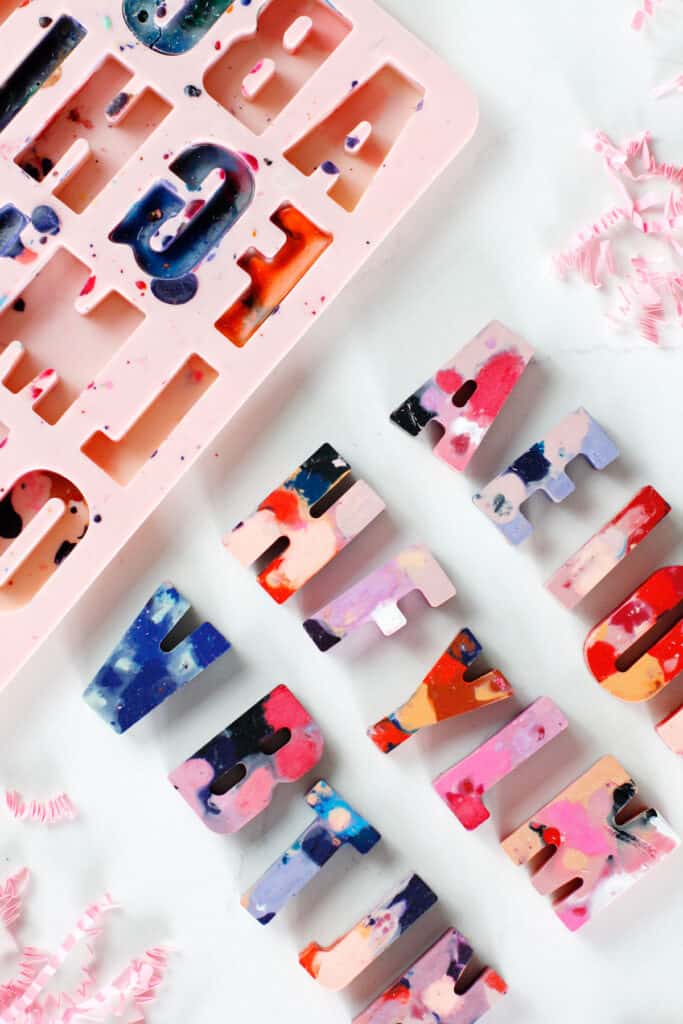
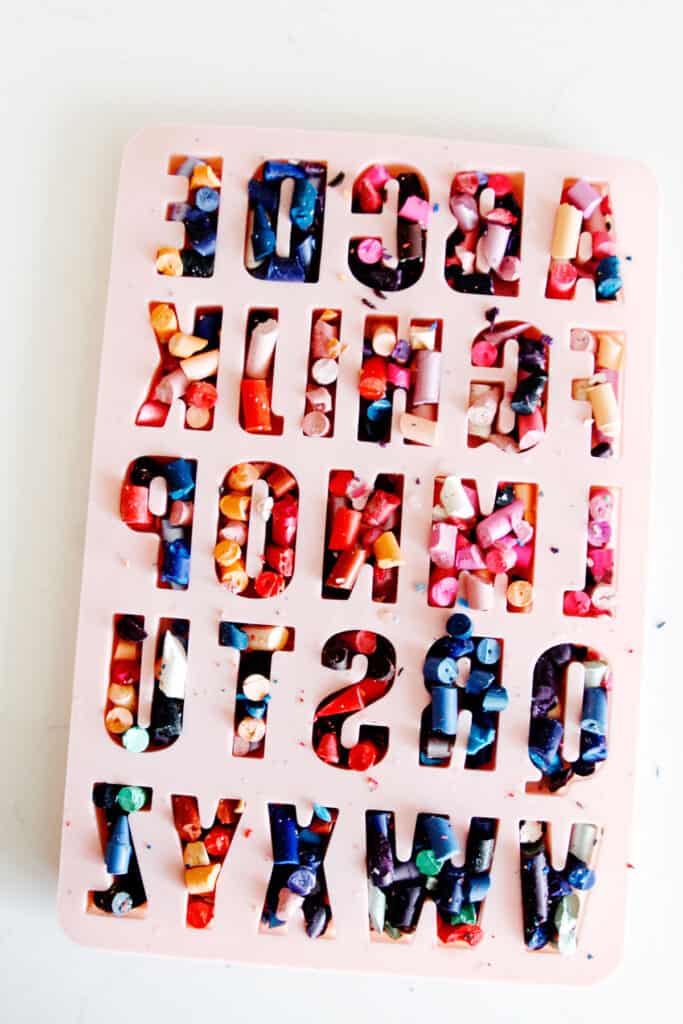
Fill up the letter cavities with your crayon pieces, starting with the bigger pieces and ending with any crayon dust you have on top.

Place the silicone mold on a cookie sheet. Then stick it in the oven. After about 5 minutes in the oven you can check the crayons and add more pieces if you feel like the letters are too shallow after they have melted a little.

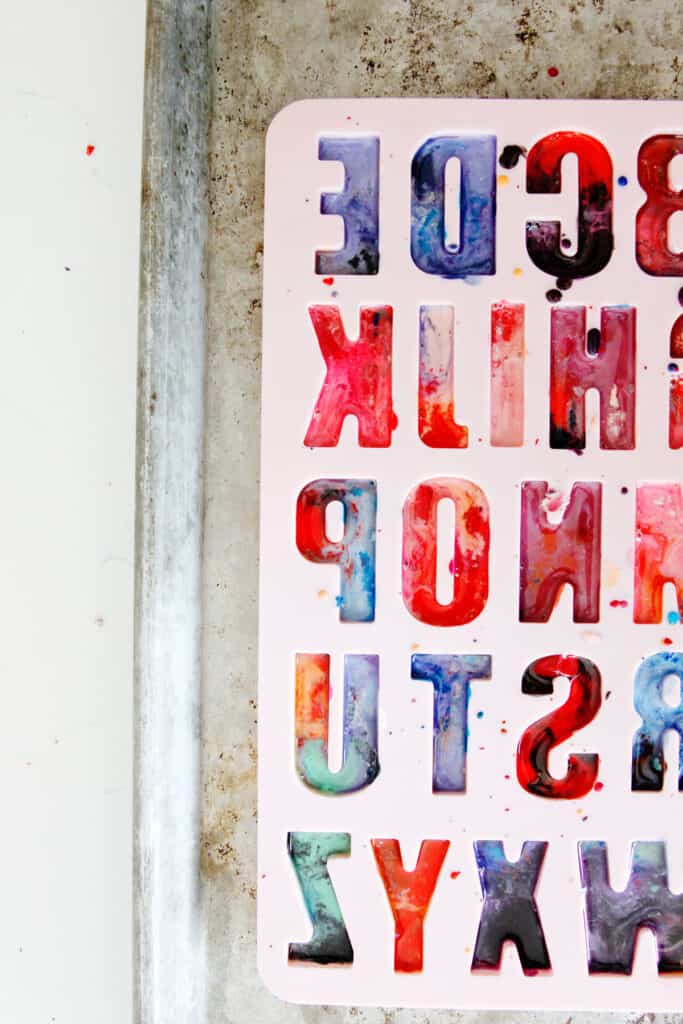
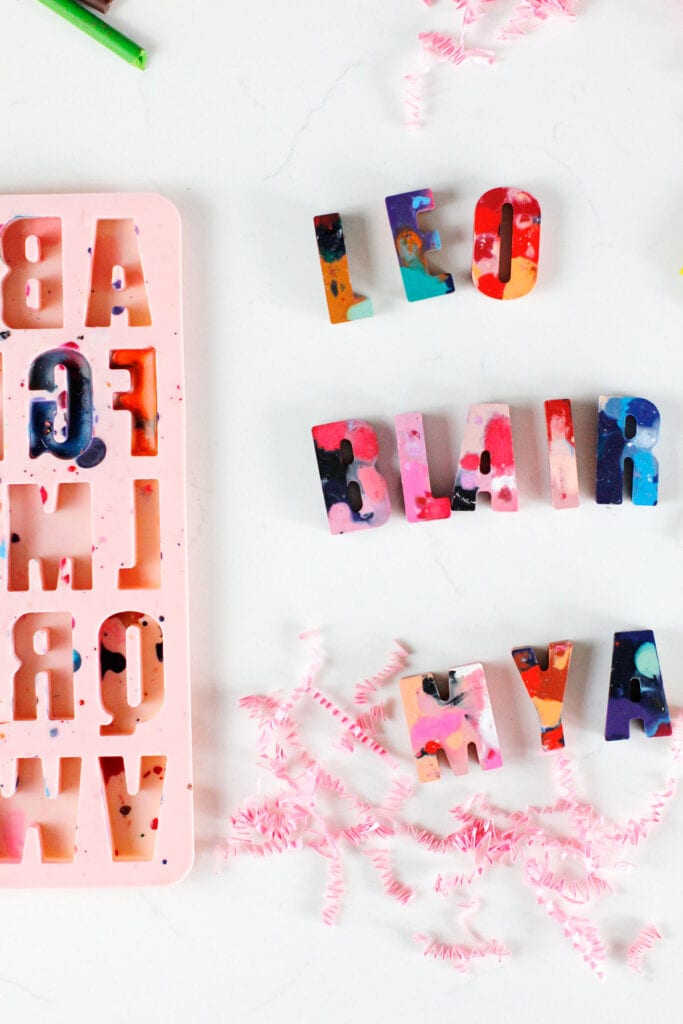
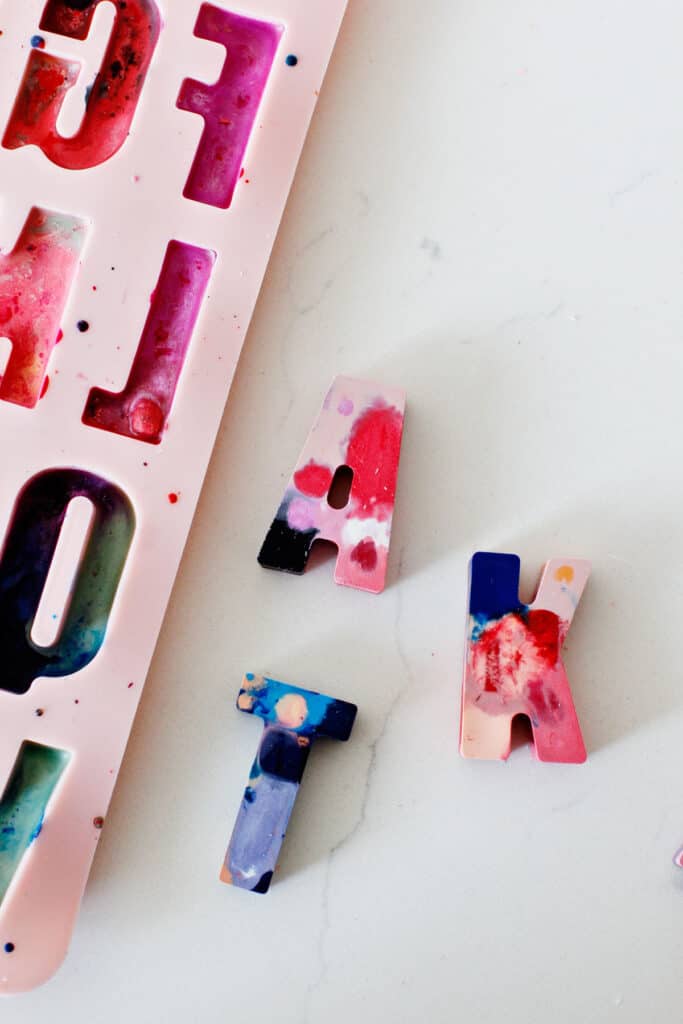
Once the crayons are fully melted (about 10-12 minutes) take them out of the oven and let them cool on the cookie sheet on a flat surface. The melted crayons will take about 30 minutes to cool. Then you can peel them out of the mold!

How to make crayon letters | Name Crayons with a silicone mold

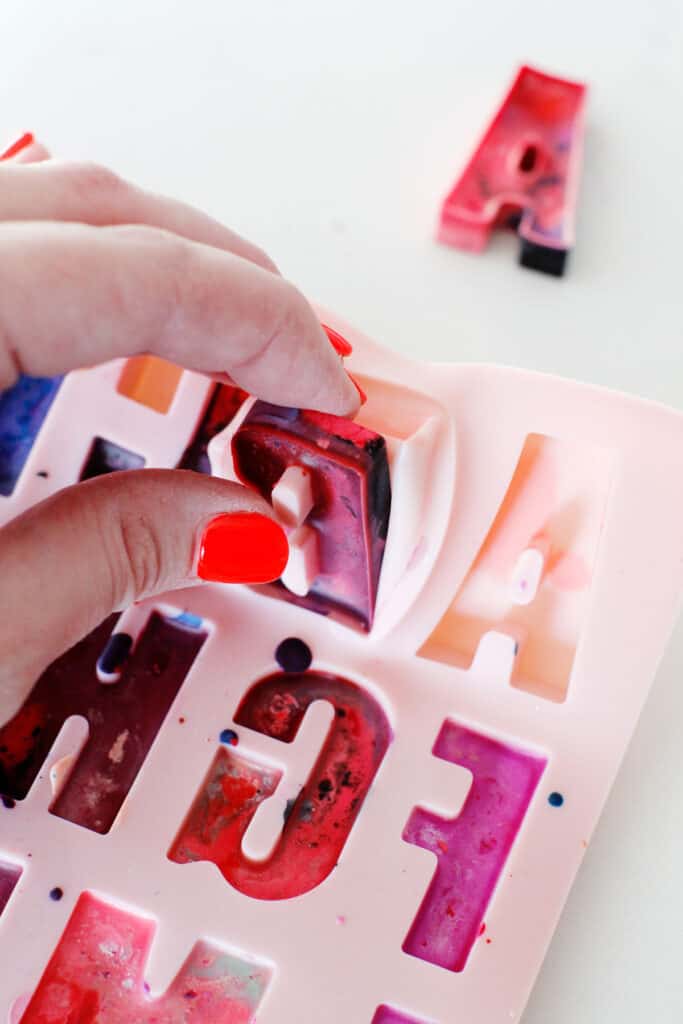
Be careful with the curved letters like C and G – they tend to break easily. Focus on making those thicker with more crayons or peel them very carefully out of the mold. I used the end of a spoon to help me push the middles out.

How to make crayon letters | Name Crayons with a silicone mold

Wrap them up in a clear poly bag with a bow. I used double stick tape to tape the bag to the back of itself.

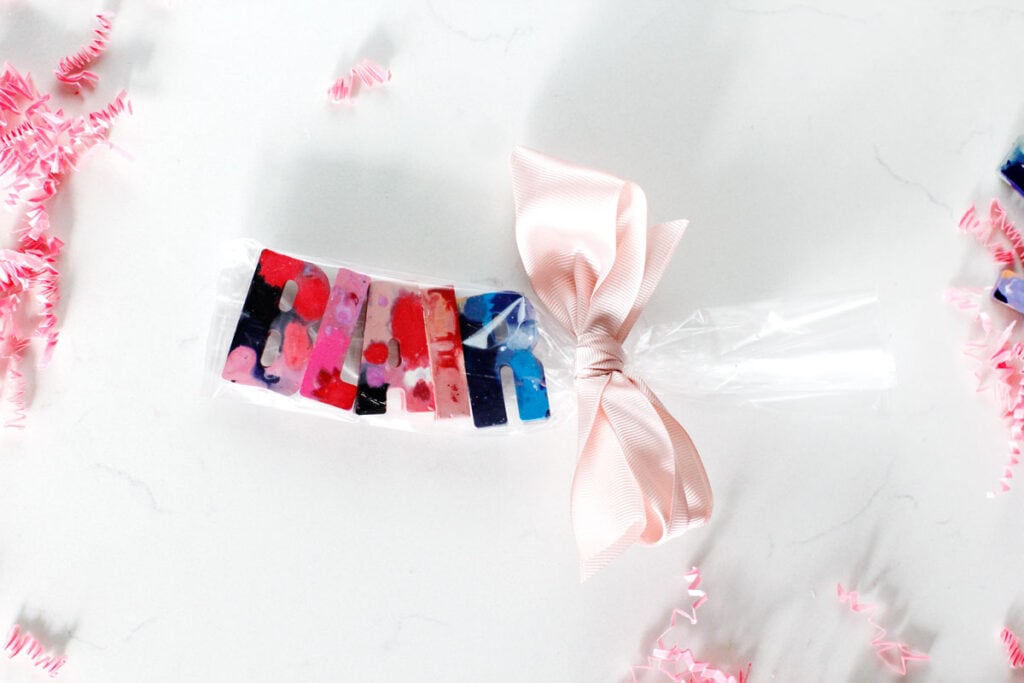
If your bag is too big, just tape on the back to keep the letters tighter together so the name stays together in the right order!

More personalized gifts to make

  • Acrylic disc ornaments
  • Monogram journals
  • Monogram onesies
  • DIY Stockings

Leave a Comment | Crafts, Holiday, Kids, No Sew

Exclusive Free PatternRuffled Apron

Sign up for my email newsletter and receive my ruffled apron pattern totally FREE!

We take your privacy seriously. See our privacy policy here. Unsubscribe at any time.

You may also like these posts...

Charm Square Casserole Hot Pad✅ 2 Sewing Ideas For Scrap Fabric That Will Make You Amazed – Pinterest Sewing Projects9 Patch Quilted Zipper Pouches🛍 SIMPLE SEWING – 5 BUDGET SEWING HACKS FROM THE DOLLAR STORE 💰

Primary Sidebar

  • Facebook
  • Twitter
  • Instagram
  • Pinterest
  • Email

Exclusive Free PatternRuffled Apron

Sign up for my email newsletter and receive my ruffled apron pattern totally FREE!

We take your privacy seriously. See our privacy policy here. You can unsubscribe at any time.

Don’t miss these popular posts!

easy baby dress pattern for the summertime

easy baby dress pattern for the summertime

modern ombre + b/w triangle quilt tutorial + pattern

modern ombre + b/w triangle quilt tutorial + pattern

Fabric

Quilted Cosmetic Case Kiss Me KateKiss Me, Kate FabricOne Hour Granny Square Quilt Tutorial | See Kate SewModern Granny Square Quilt Whole Cloth

Pattern Hacks

Easy Baby Summer Dressthe EMMA pattern | See Kate SewThe EMMA Dress

Footer

Hello friends!

My name is Kate, a twenty something fashion lover and mother of two. When I’m not chasing kids you can find me at my sewing table or daydreaming up new designs. You can read more about me here. Thank you for visiting!

8a918f8da8e0e69102dc0f33a718de85a99c31a57283e0e3e2

FOLLOW ME HERE

  • Facebook
  • Twitter
  • Instagram
  • Pinterest
  • Email
  • Blog
  • About
  • Contact
  • FAQ
  • Sponsor

Copyright © 2025 See Kate Sew  •  All Rights Reserved  •  Privacy Policy  •  Site Design by Emily White Designs