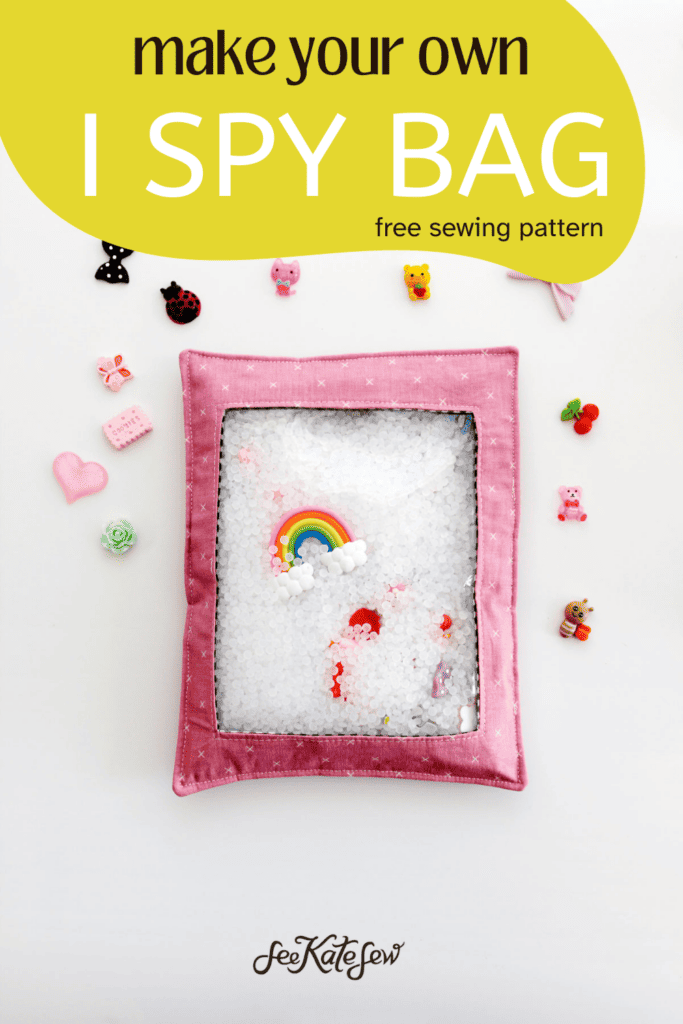
Sew an I spy bag! This DIY I spy bag is easy to sew and fun to play with!
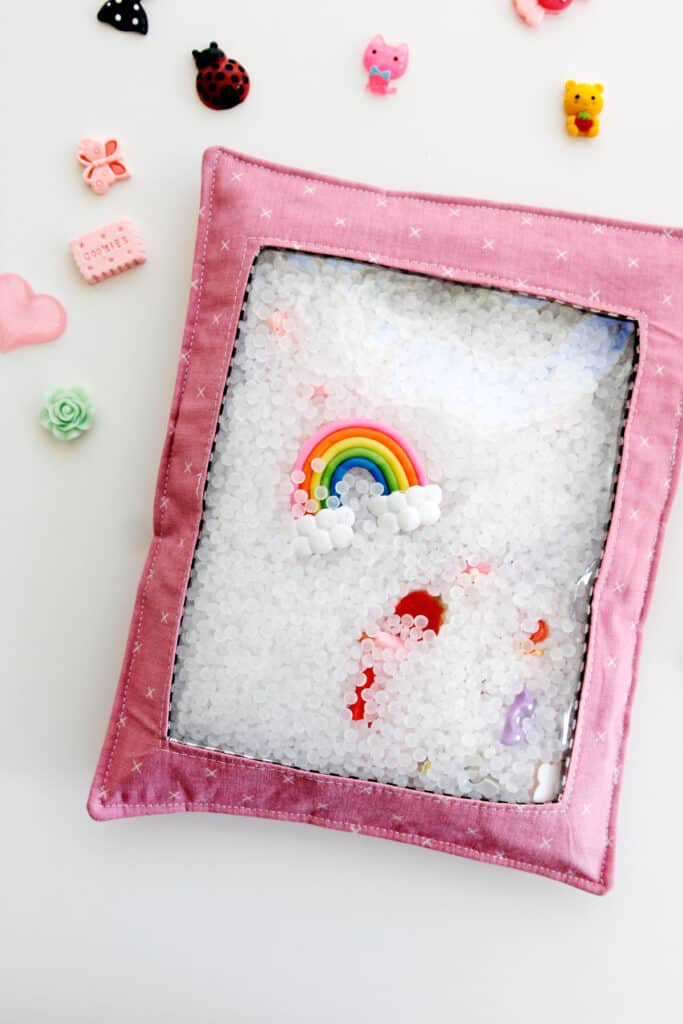
The bag is full of little trinkets and poly pellets making it a fun fidget toy or calming activity – see if you can find all the items on the list. Use a dry erase marker to mark them off, wipe it clean and play again!
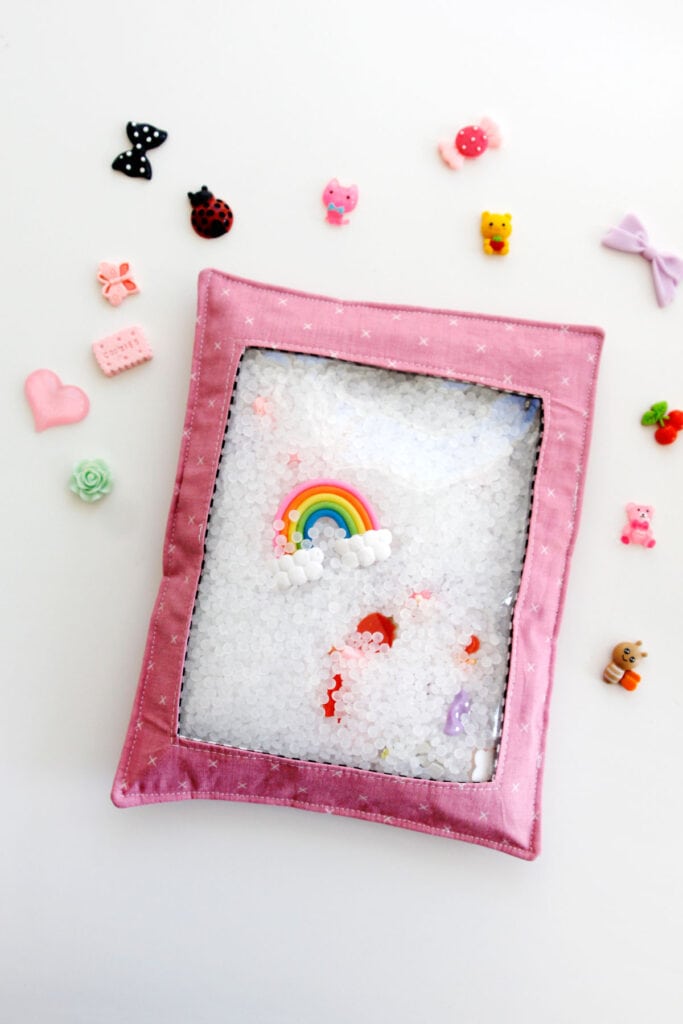
This post includes a full tutorial and I spy bag pattern plus information on items to fill it up with. I spy bags are great for busy bags and travel activities. Throw it in your purse for a quiet activity whenever you need it!
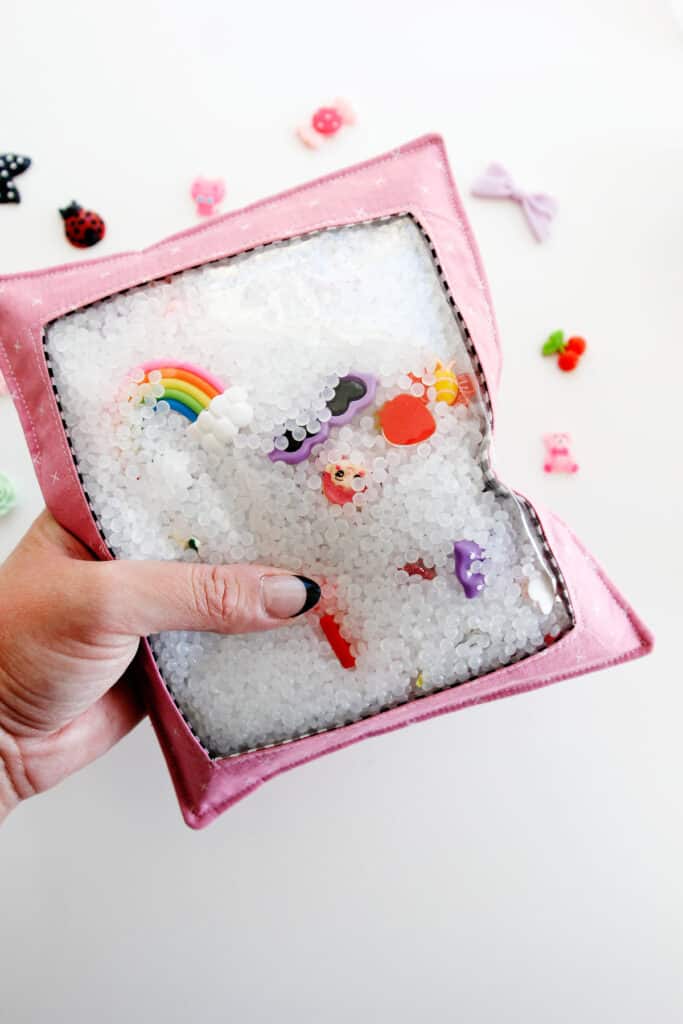
Print off a checklist of the little objects inside and use a dry erase marker on the back of the I spy bag.
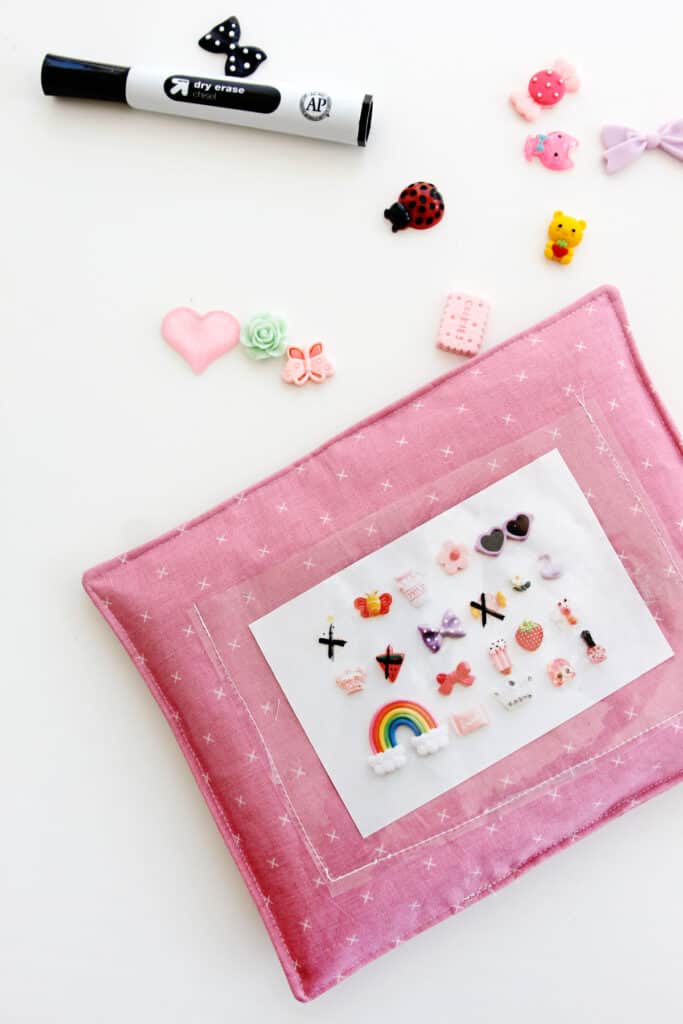
You can also take a picture of the items before adding them into the bag. Print the photo off and stick it in the pocket on the back of the bag – this is a great option for younger kids. Use a phone camera to take a photo and a home printer to print it out.
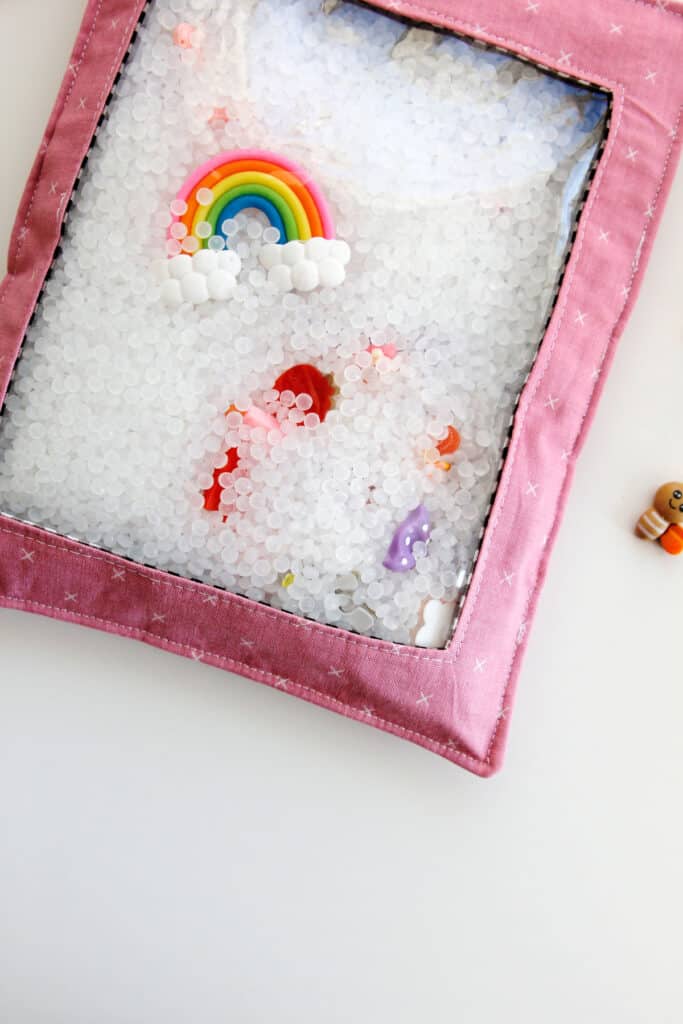
This is a super fun fidget toy to keep in your diaper bag or for a car trip that will help with fine motor skills and dexterity. This sewing project is easy enough for any skill level, even the confident beginner.
I Spy Sensory Bags Materials List
- 1/3 yard cotton fabric, such as quilting cotton
- Optional: use a pretty contrast fabric for the lining since you’ll be able to see a little of it through the beads!
- Lightweight fusible Interfacing
- Clear vinyl
- Vinyl usually comes on larger rolls in the home decor section of your fabric store, or recycle a sheet bag or other vinyl package.
- 3 cups I spy bag filler, use either rice or poly pellets (affiliate links)
- Poly pellets are sometimes called teddy bear pellets
- Scotch tape or a teflon foot (non-stick) machine foot
- Glue stick
- Tissue paper
- Trinkets, see options below
- Mini dry erase marker
- Printable PDF templates, see below
I Spy Bag Pattern Download
Download and print the I Spy Bag PDF Pattern below. Just enter your email address to sign up for the newsletter and you’ll be taken to the download page.
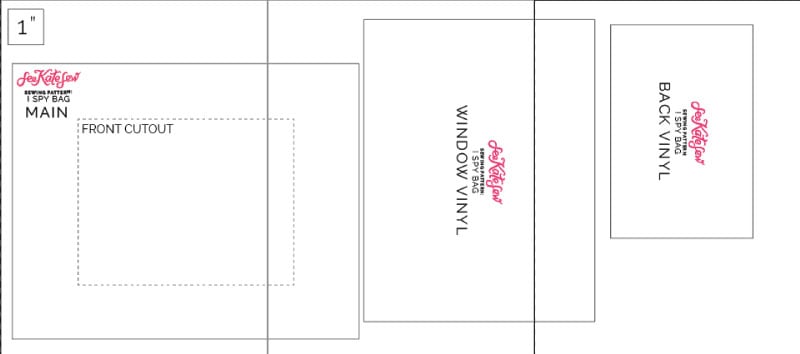
Print off the templates at 100% or DO NOT SCALE. Trim the pages and tape together as shown:
I Spy Bag Trinkets
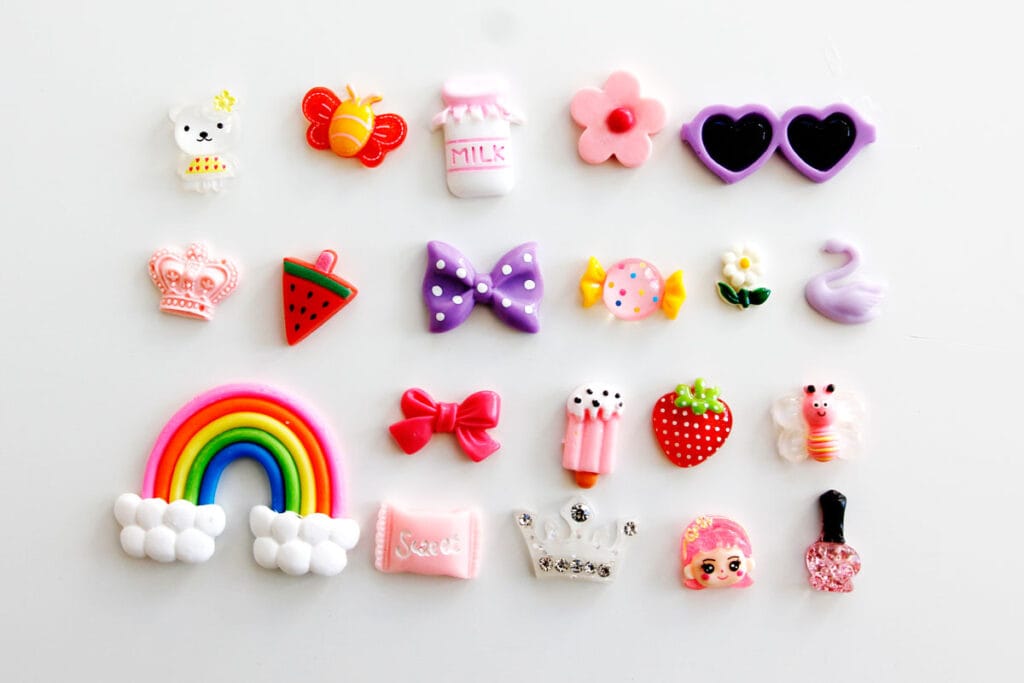
I used this set of resin trinkets from Amazon (affiliate link). It came with 50 pcs which is enough for 2 or 3 I spy bags. Search for “slime charms” or “flat back resin charms.” I used 20 in each bag.
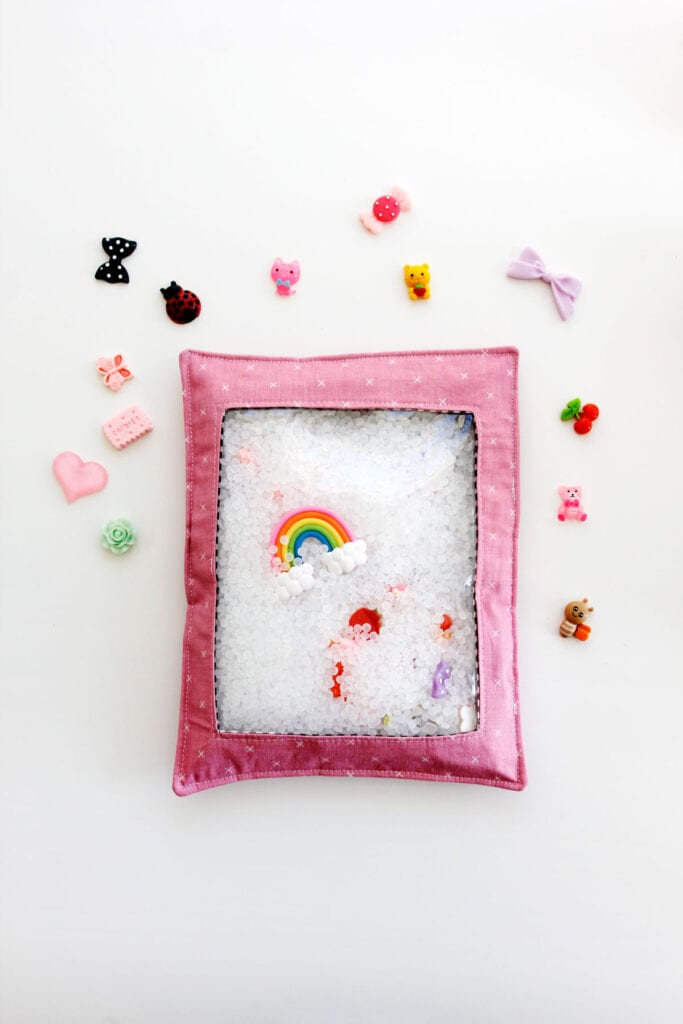
If you are looking for a different option, here is gender neutral food charm set or this Christmas set would make a fun holiday themed I spy bag.
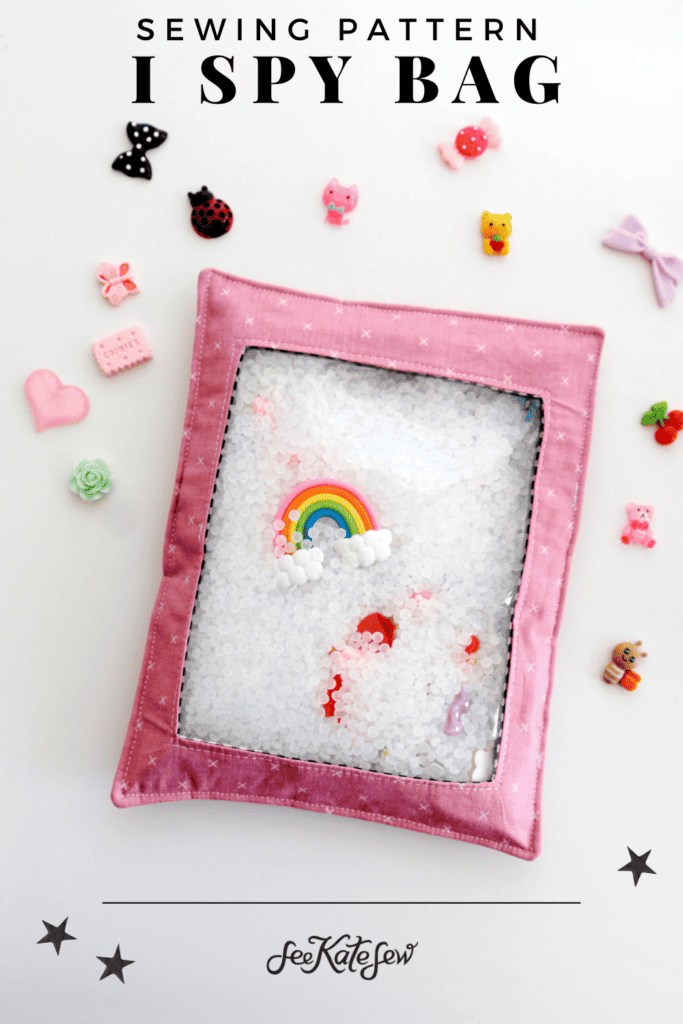
You can also use other small items such as jewelry charms, beads, tiny toys, dice, a coin and novelty buttons. Browse the craft store, party city, or party favor aisle for little items to add. You can even use large letter beads to help your child with letter building or stick with little objects for an object identification game.
how to make an I Spy Bag – Pattern Instructions
This post contains full written instructions. For a free video tutorial, check the video player in this post or head to YouTube.
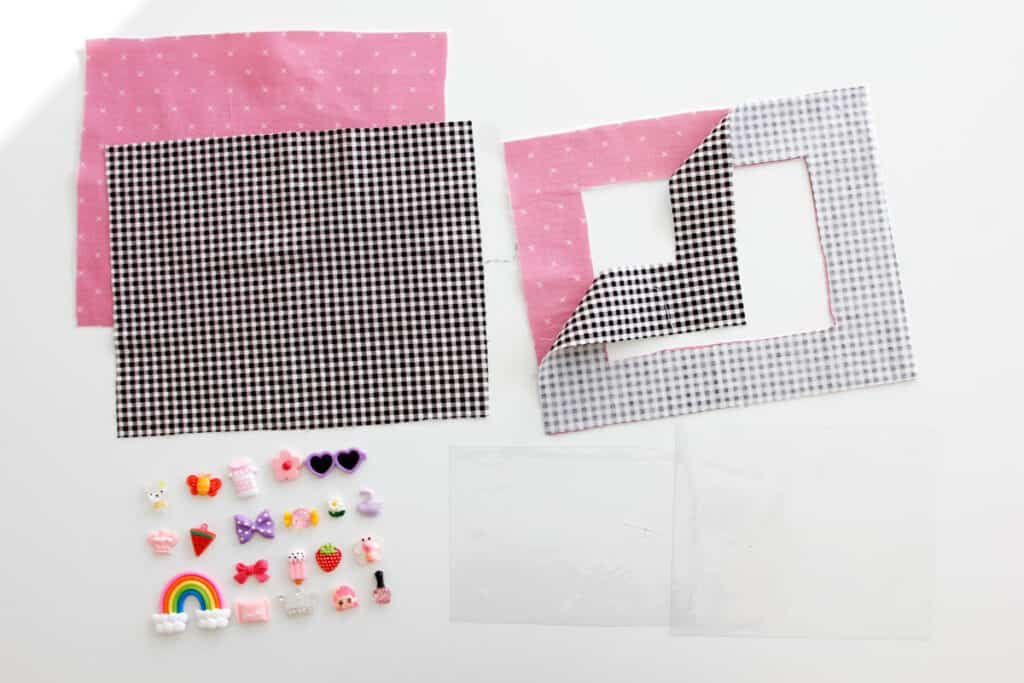
Cut out two layers from each fabric with the main pattern piece. Also cut two piece of tissue paper from main pattern piece.
Cut out the inside cutout from one of each fabric.
Use the pattern piece labeled VINYL to cut out a piece of vinyl for the see-through window. You’ll need another smaller piece of vinyl for the back of the back to hold the search list – use the BACK VINYL template.
Fuse interfacing to the back of outer fabric pieces: the main back and main front pieces.
Sew window fabric pieces together around the inside cutout with a 1/4″ seam allowance.
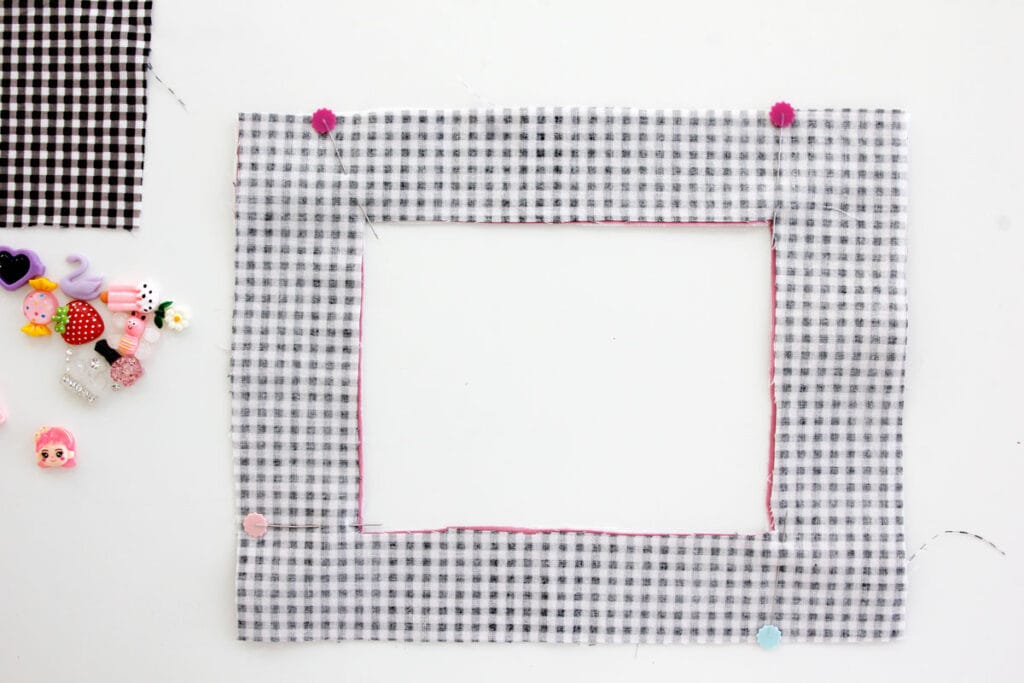
Clip into the seam allowance at the window corners.
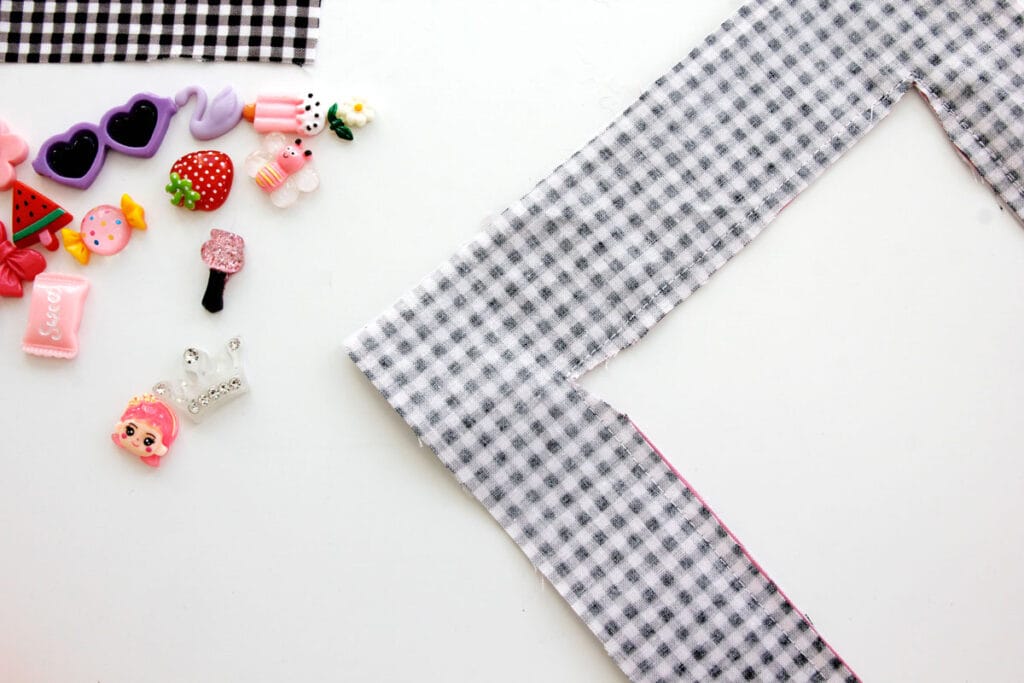
Turn right side out and press well.
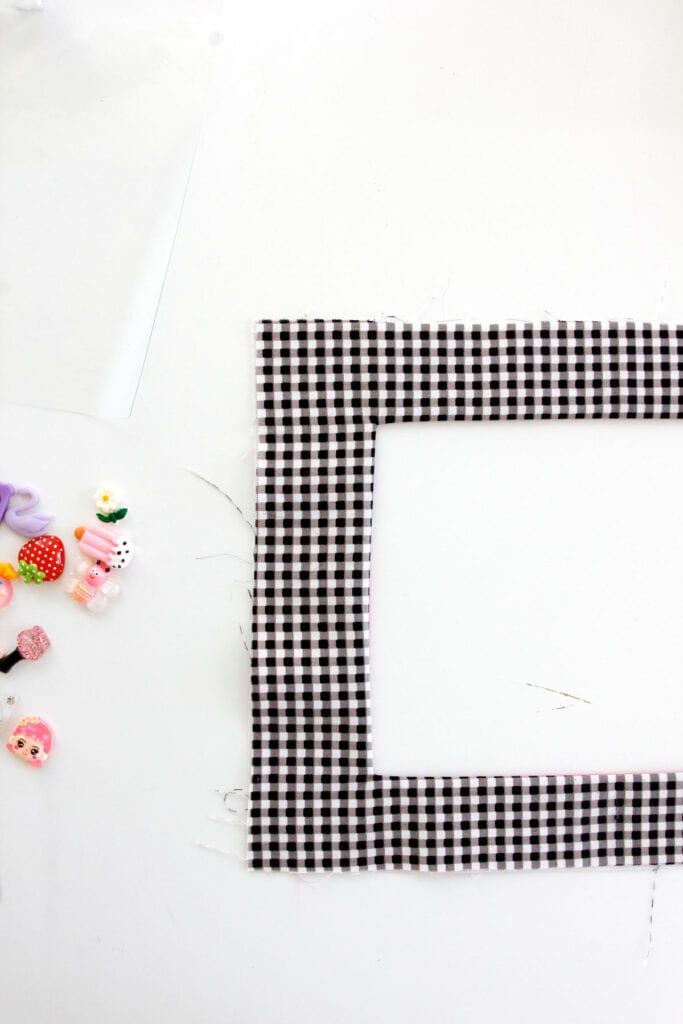
Add the clear vinyl window
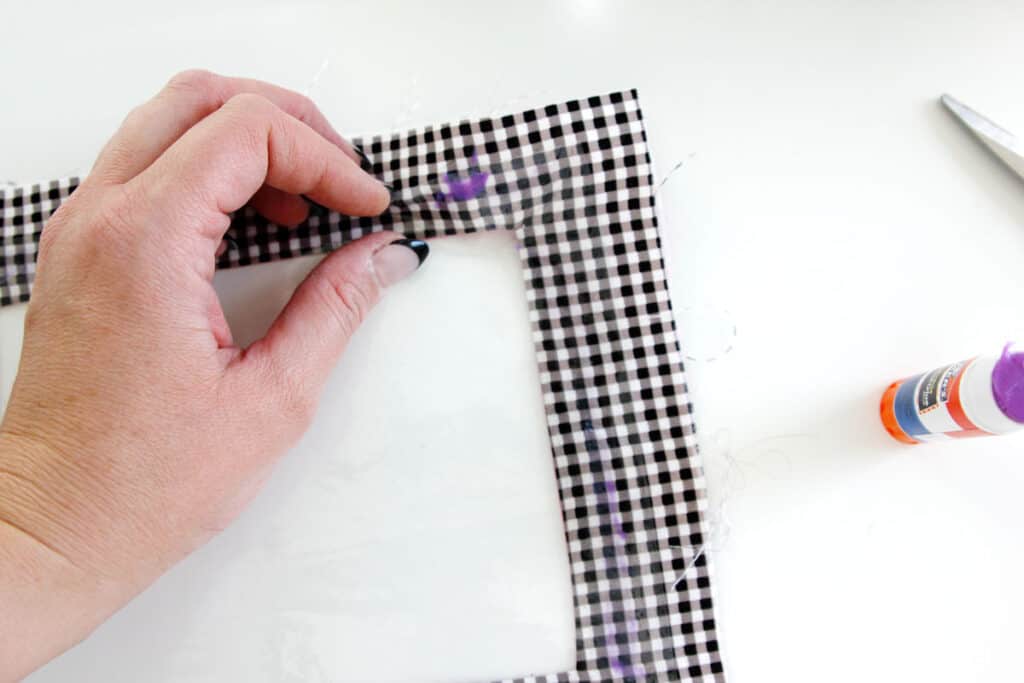
Glue the edges of the clear view window vinyl to the lining fabric window to hold in place. Press the front with an iron to help dry the glue. This will keep the vinyl in place while we sew – we don’t want to use pins since pins would puncture the clear plastic window.
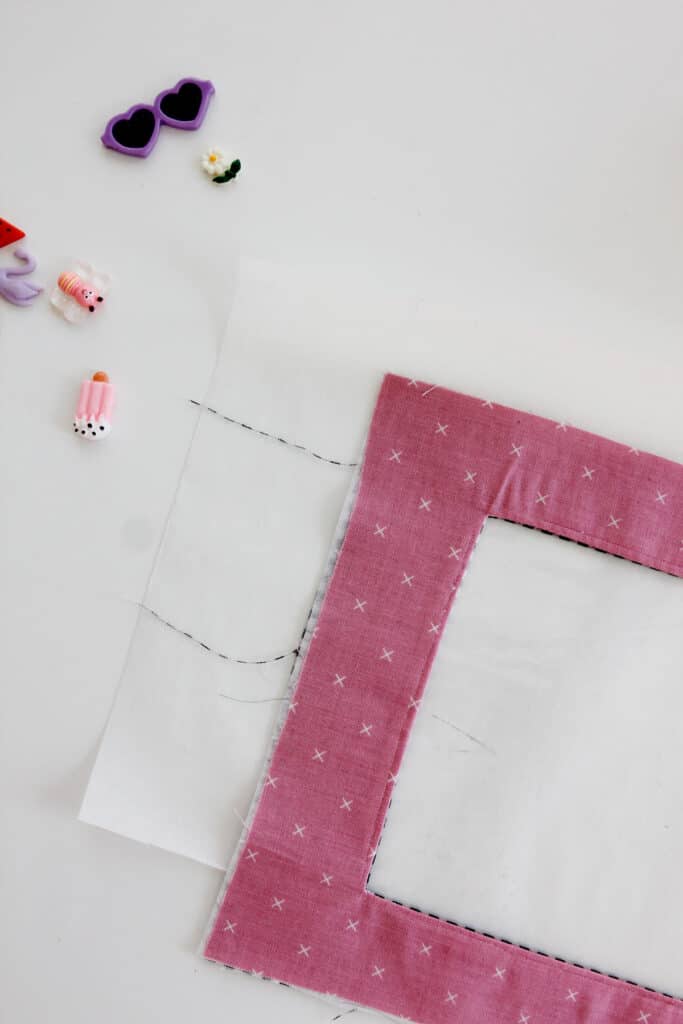
Cut a piece of tissue paper about the same size as your project. We will use tissue paper behind the i spy bag because it will prevent the vinyl from sticking to your machine.
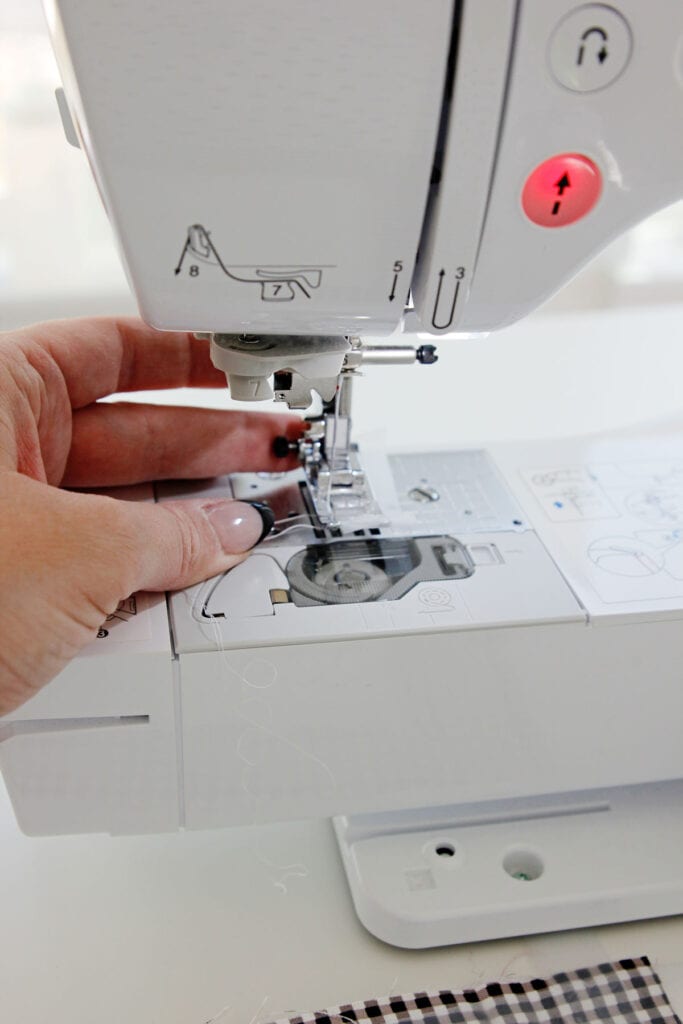
Also prep your machine’s foot by replacing it with a teflon foot OR using a piece of tape on the bottom of your regular presser foot. The tape will also help the presser foot move over the vinyl without getting stuck.
Sew around the window on the main fabric, securing the vinyl behind it about 1/8″ from the window’s edge.
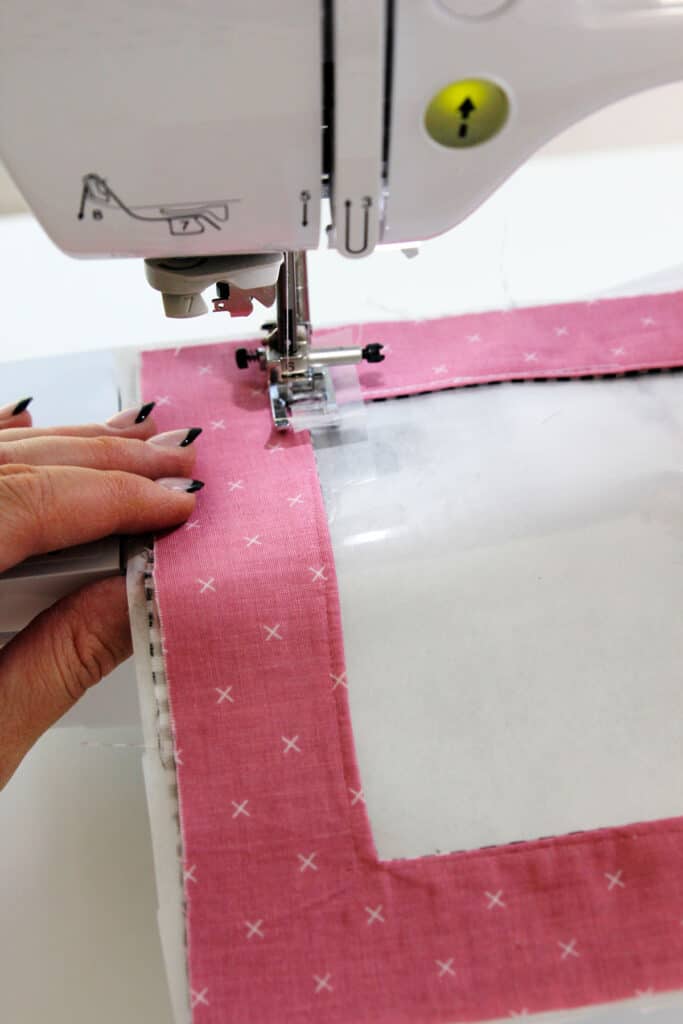
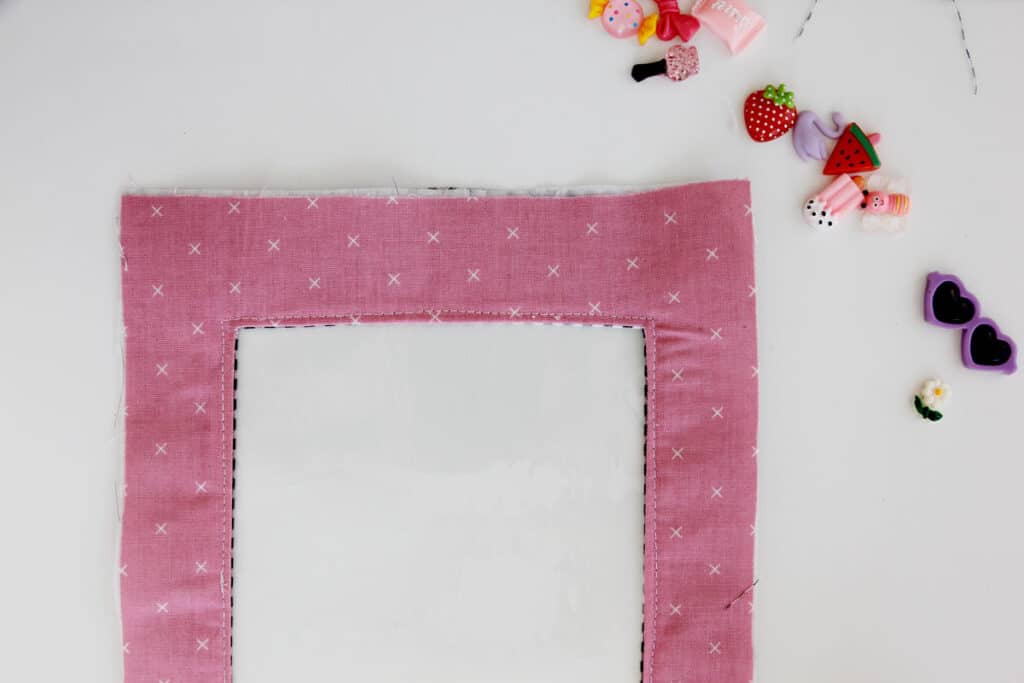
Be sure to backstitch at both ends of your stitching so the bag doesn’t come undone and create a big mess!
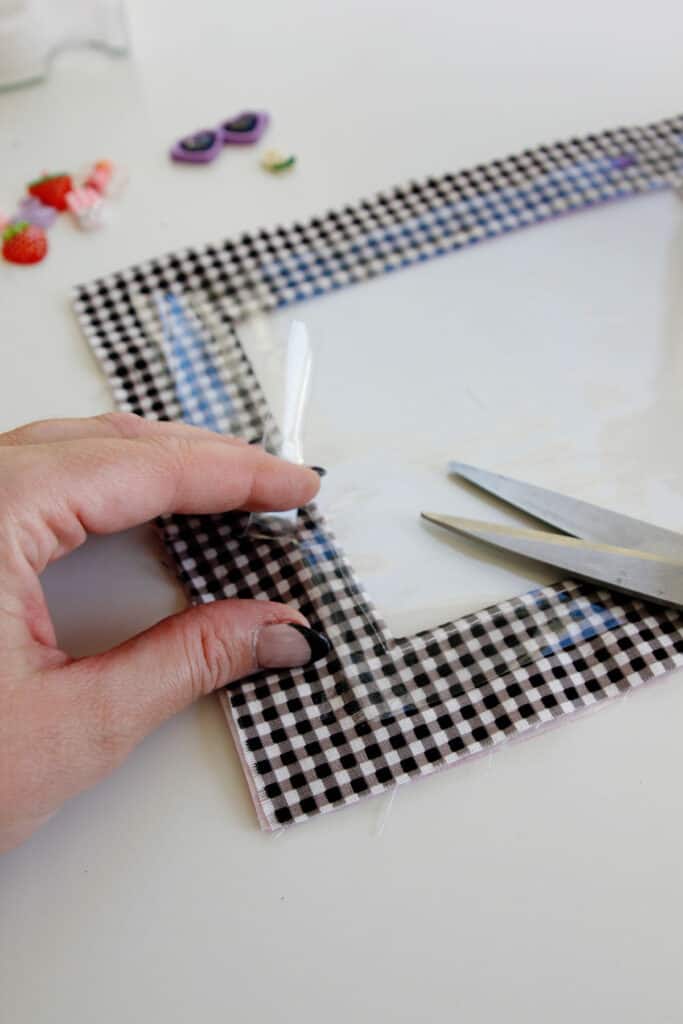
On the inside of the bag, trim the vinyl down to about 1/2″ from the stitching to prevent the trinkets from getting stuck behind the vinyl.
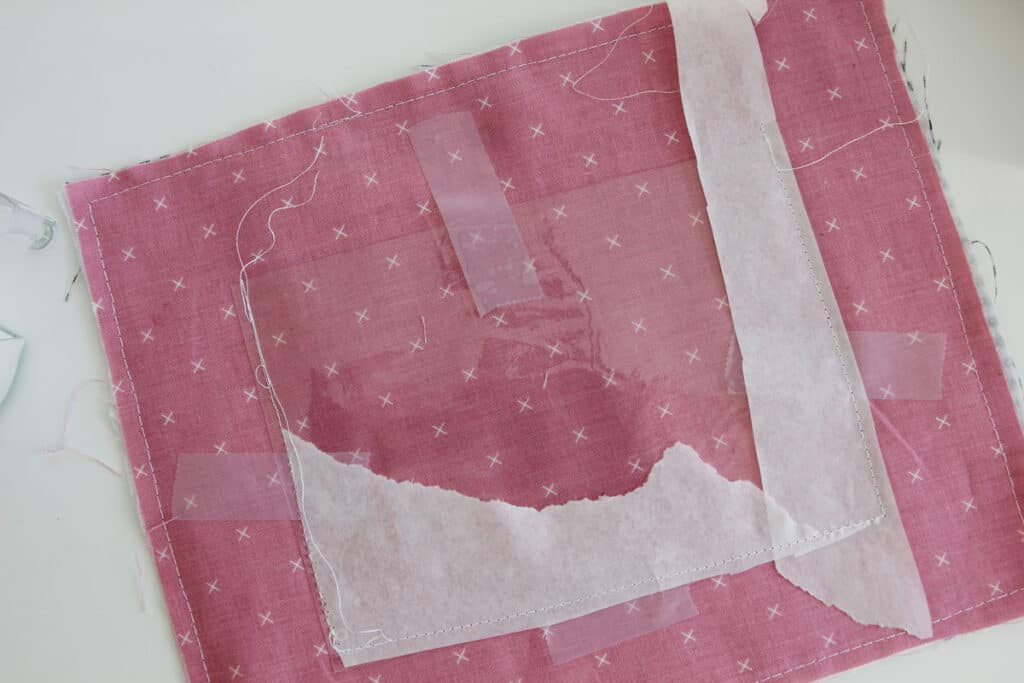
Baste the back main and back lining pieces together with wrong sides together. Center the back vinyl on the main or exterior fabric side. Tape in place then sew the sides and bottom using a strip of tissue paper to help.
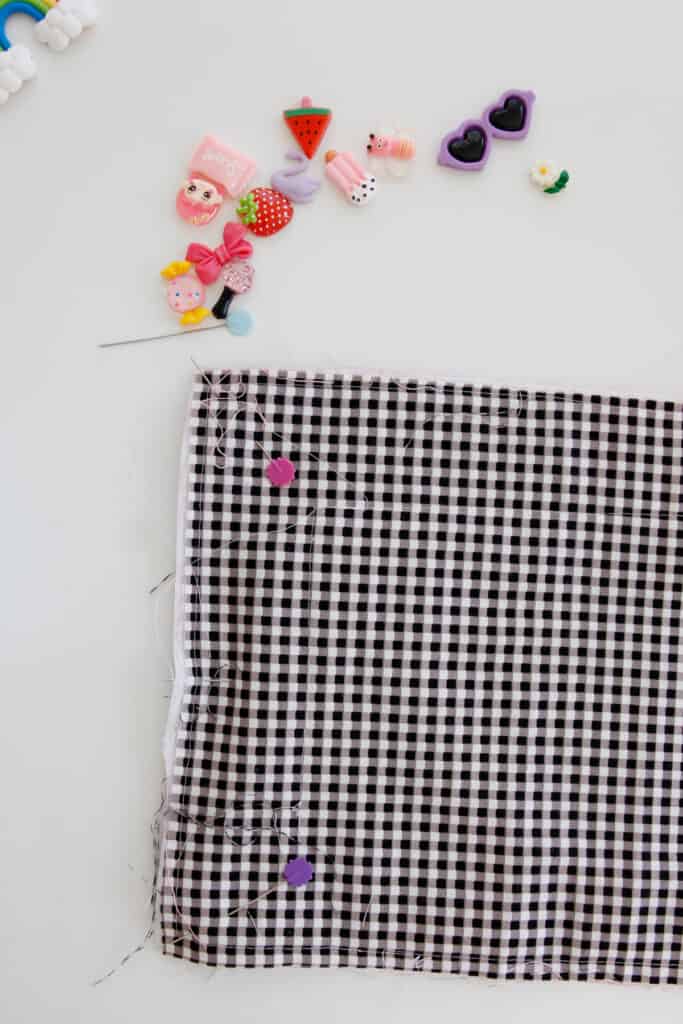
Lay back main on the front window side with right sides together. Sew around with a 3/8″ seam allowance leaving about 3″ open for filling. Clip corners to reduce bulk and turn. Topstitch around the bag about 1/8″-1/4″ from the edges.
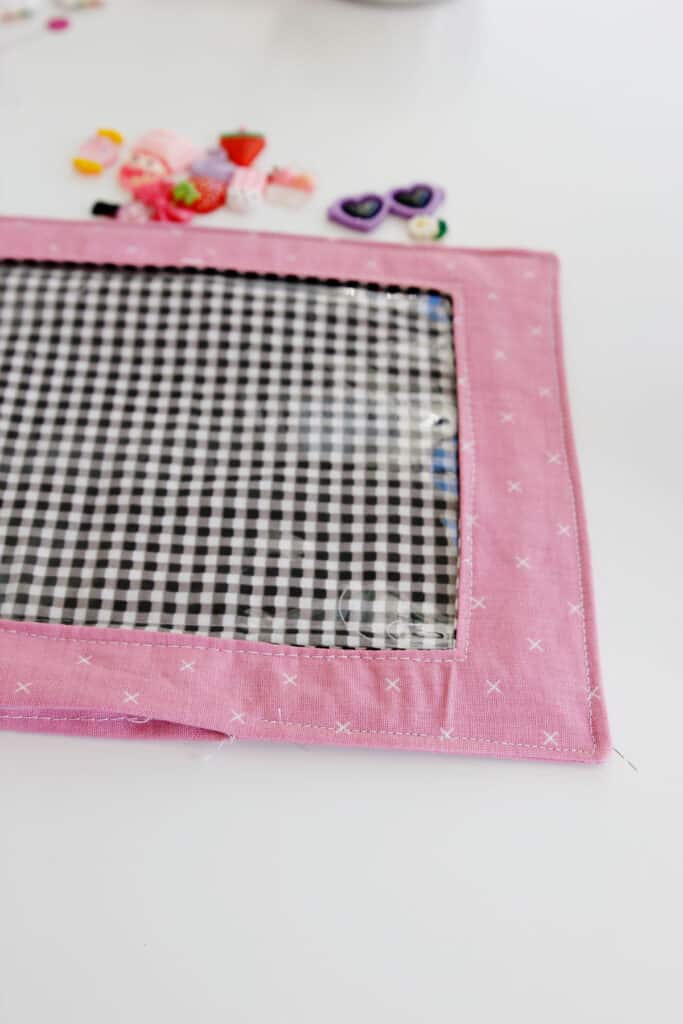
Fill the I Spy Bag with Poly Beads
Use a funnel to fill the bag with about 3 cups of plastic pellets (or rice).
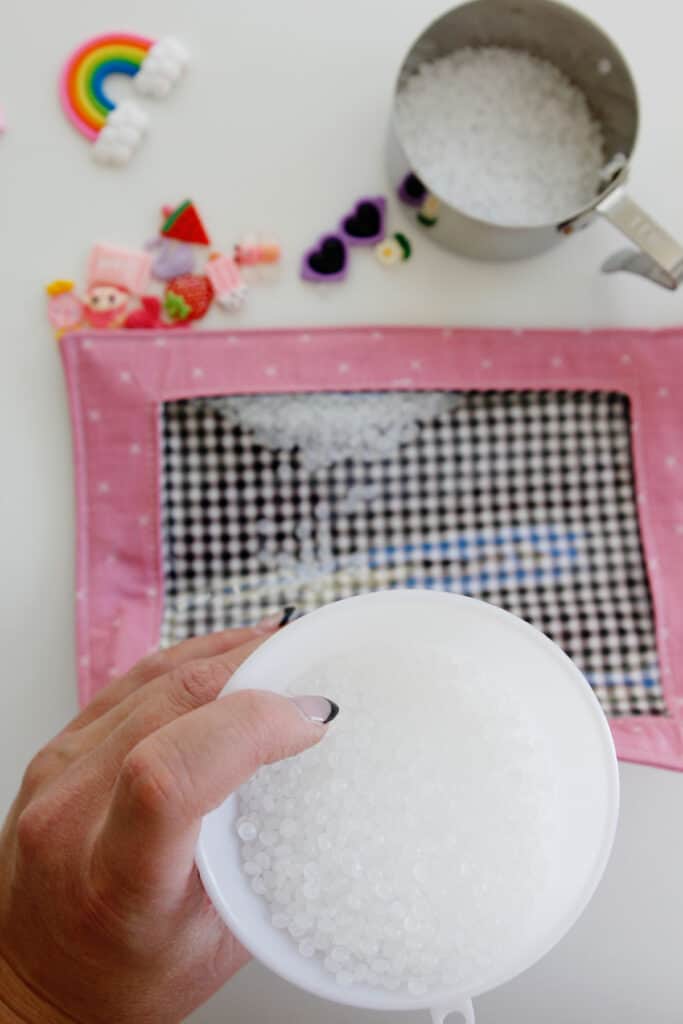
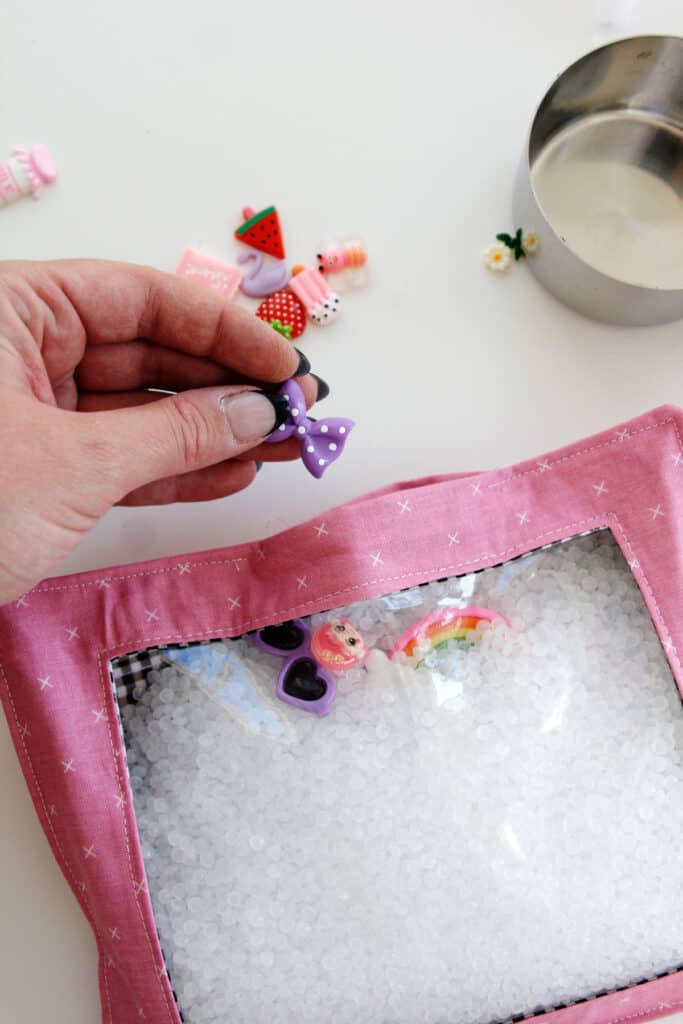
Add the small trinkets of your choice then sew the bag shut, making sure to backstitch well at both ends.
And you’re done! Stick the photo/list and a dry erase marker inside the back pocket and it’s ready to be played with!
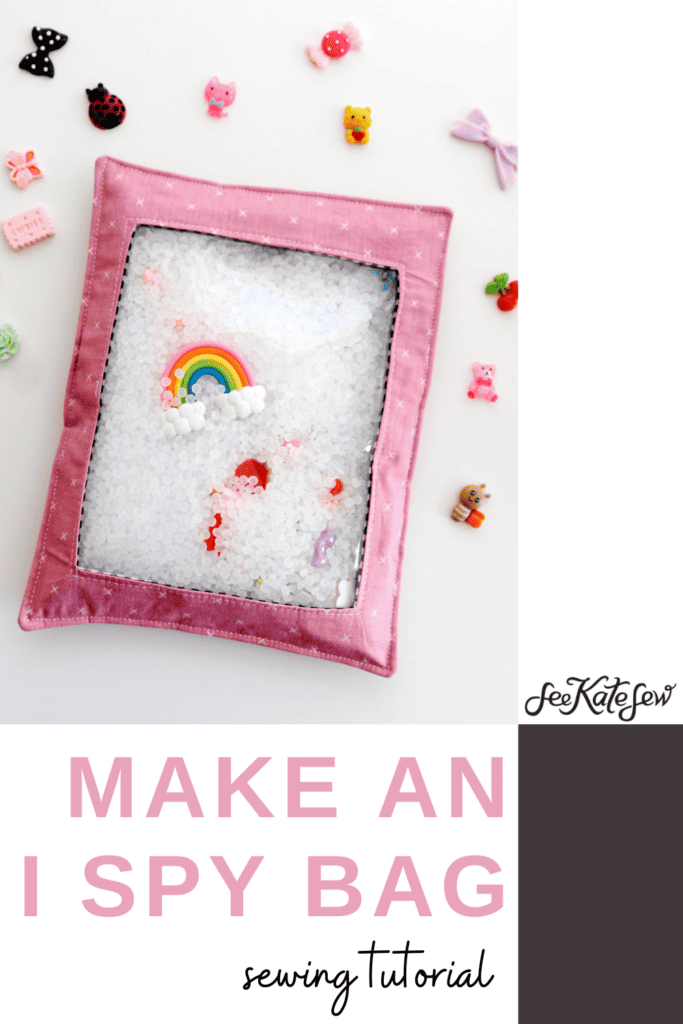
Looking for a full video tutorial? Check out See Kate Sew on You Tube!


