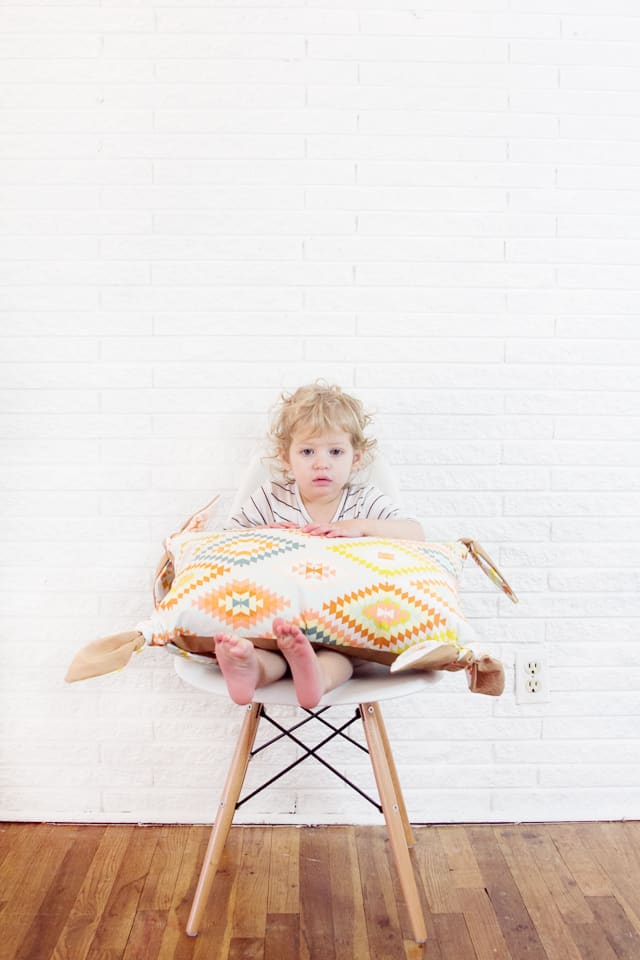
April Rhodes sent me some of her pretty new fabric line, Wanderer. The fabrics are really unique and colorful, I thought they would be nice accent pillows so I sewed up these and made a knotted pillow cover tutorial!
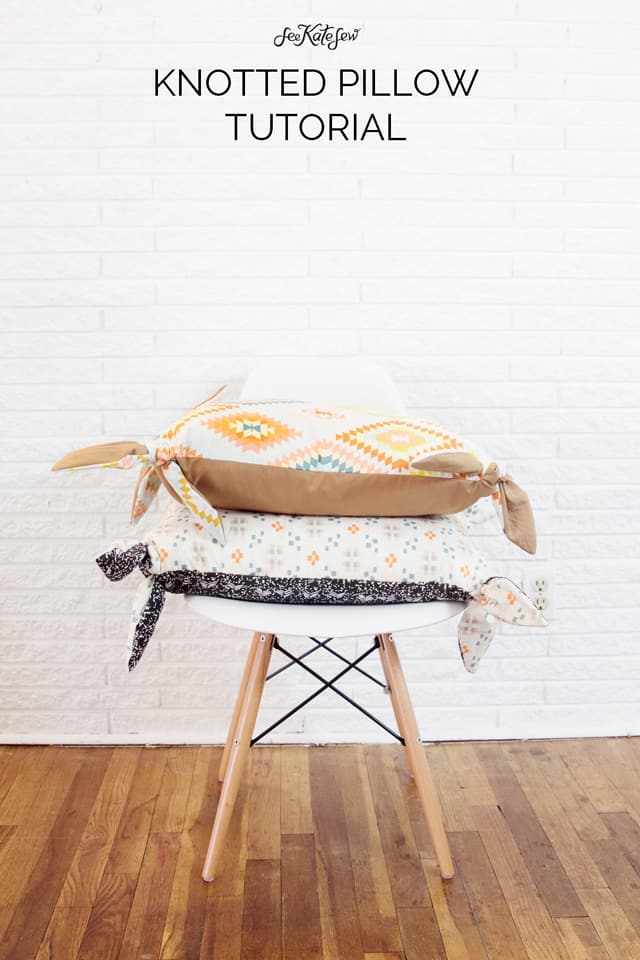
I had a really hard time picking fabrics to use because I love so many of the prints. There are a few knits and voiles, too!
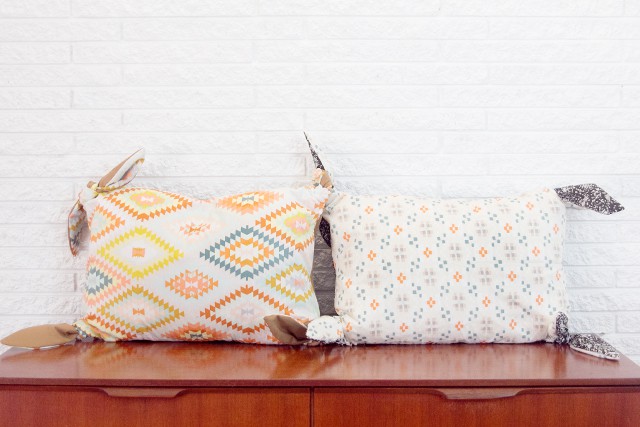
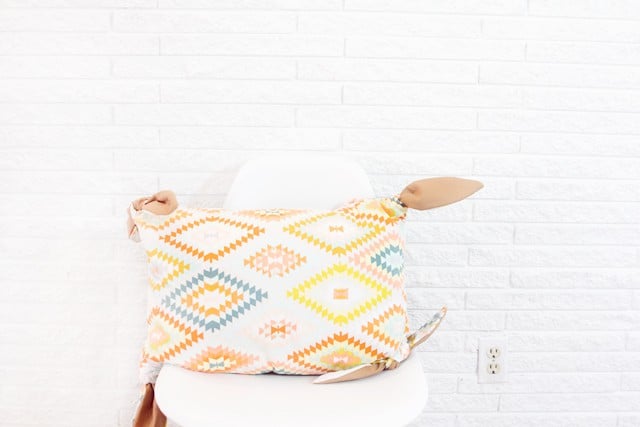
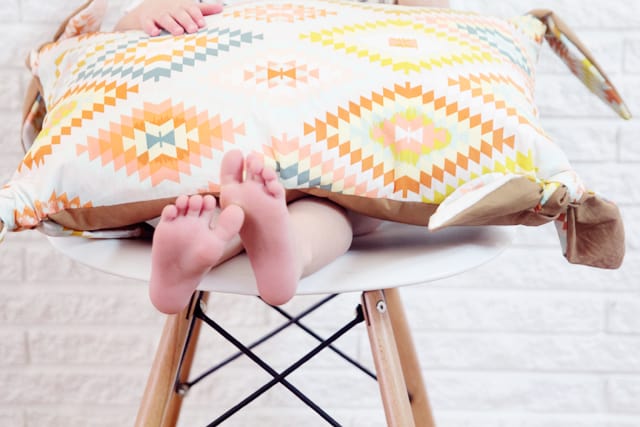
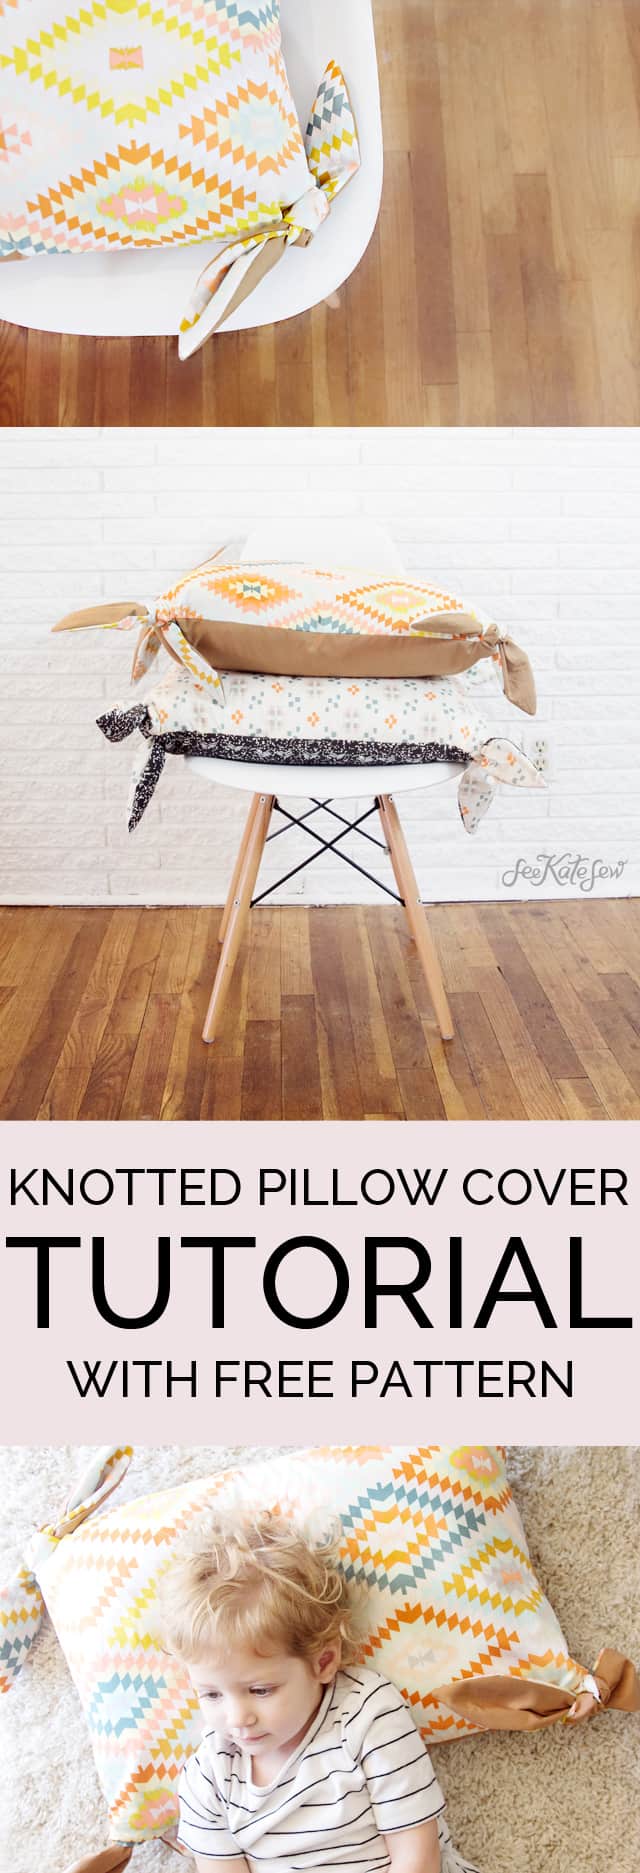
I ended up choosing 3 that I really loved and made them into 2 two-tone pillow covers with knotted corners. I used a different color or print for the backside of the pillow which is visible in the knotted tabs, since the knots go all over the place! I used two prints for the black/white pillow and a coordinating kona solid for the back of the other one. Two options for two different looks. I love how they have spruced up my living room already!
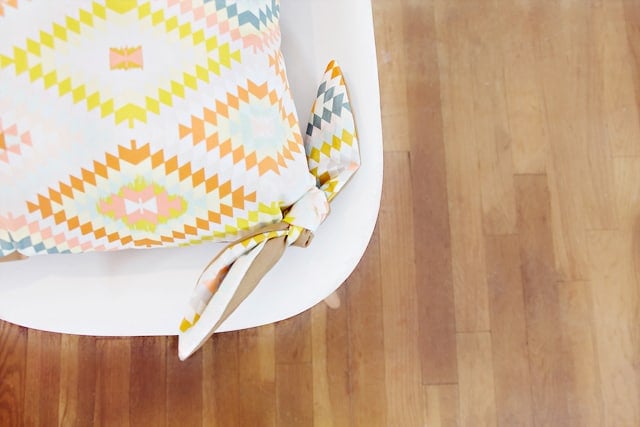
The knots are fun because you can see the back fabric when they twist and turn. This pillow has a hidden invisible zipper which is super easy to install and I included a free pattern that you can just download and print.
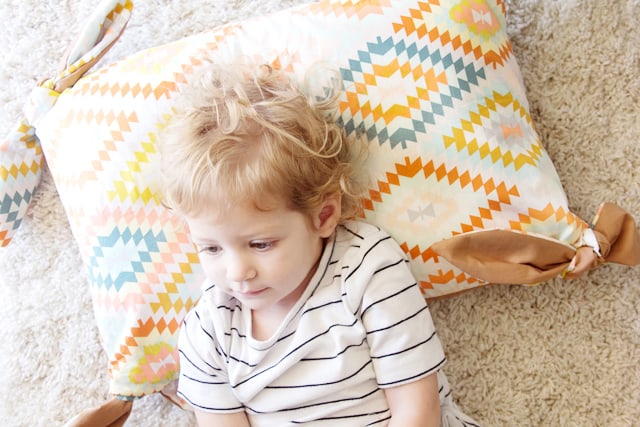
The pillows require 1 yard each of 2 prints, which is kinda a lot for a pillow cover. The knots take up a lot of space on the fabric but you will have some large chunks of scraps to use for smaller projects later. I pieced together a few large scraps of the brown fabric. I really wanted to use that fabric, but didn’t have enough. So that is an option, too!
I included instructions on lining the inside of the pillow. I do recommend doing that, it makes them easier to clean and just nicer. But if you want to skip the lining that is up to you! The pillow cover is designed to fit a 15″ by 22″ ish pillowform. I got mine at IKEA but here are a few other options : 15″ by 22″ or 16″ by 23″ feather.

two-tone knotted pillow cover tutorial
- Materials:
- 1 yard fabric
- 1 yard contrast for back
- 1 yard for lining (optional)
- batting
- one 16-18″ invisible zipper
- pillow form
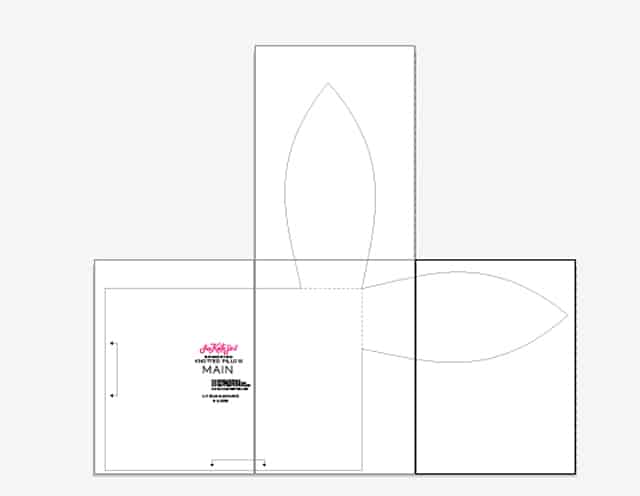
Print pattern and tap it together as shown below.
Pages will overlap a little bit.
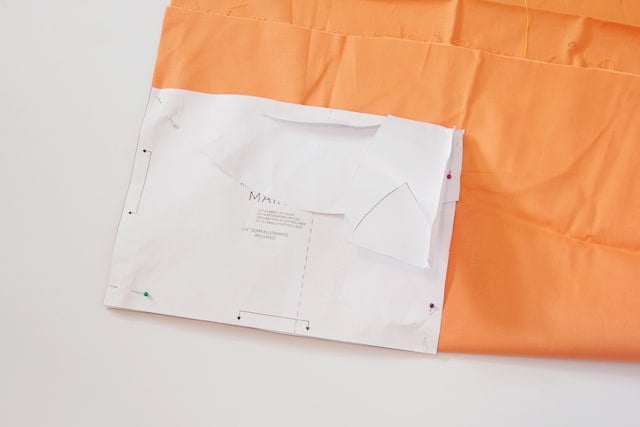
Fold your 1 yard of fabric in half twice.
Place the pattern piece on both folds.
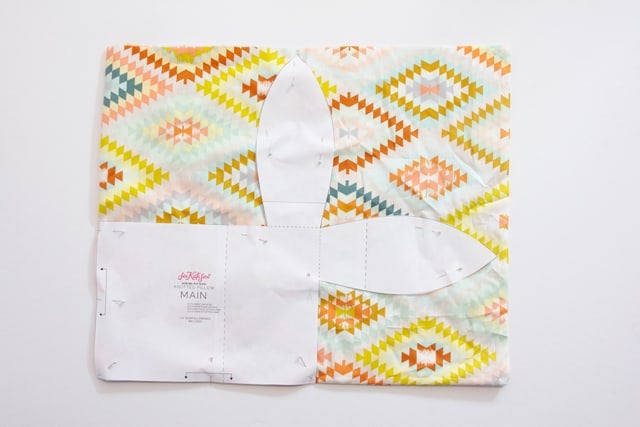
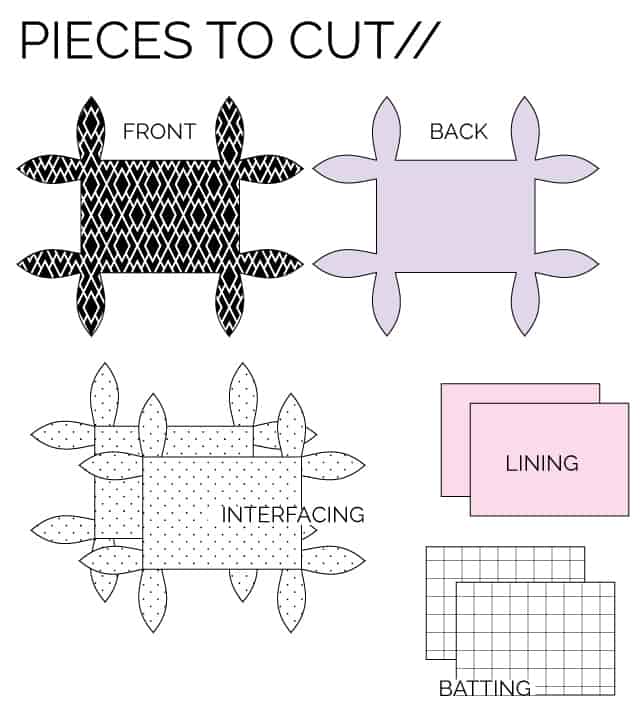
Cut out 1 pillow piece from front, one from back.
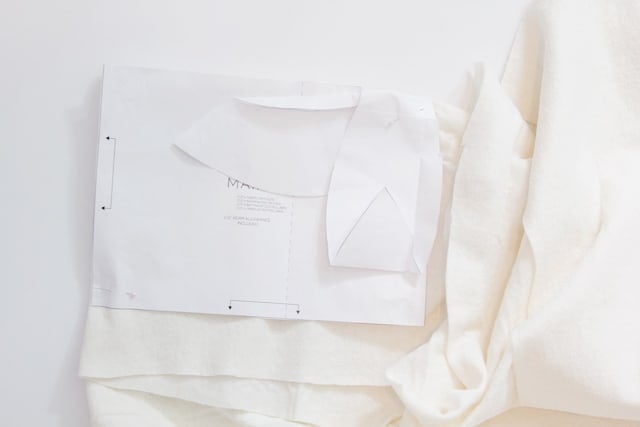
Then fold the knot piece under and cut 2 from batting and 2 from lining fabric.
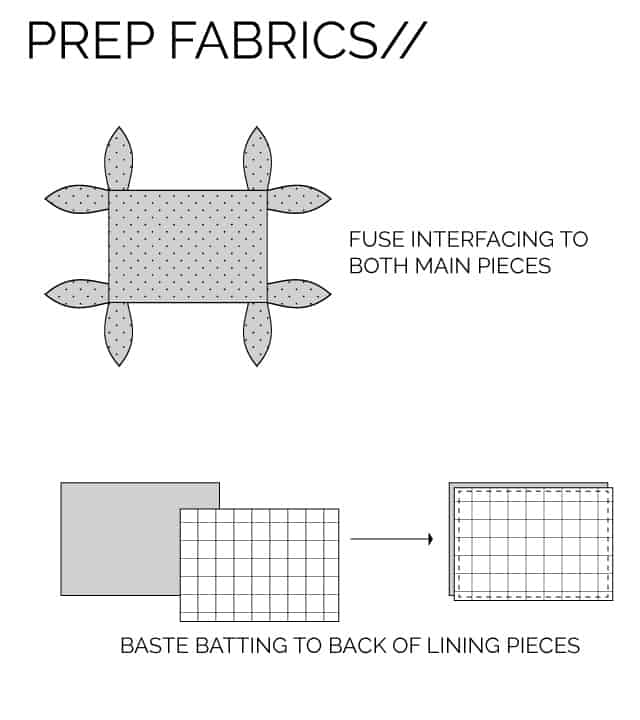
Fuse interfacing to back of main pieces. Interfacing will make the fabric a bit sturdier and also keep it smooth.
Baste batting to the back of the lining pieces around the edges. The batting will create a soft case around the pillow form. Pillows should be super soft and if you’re using a down feather pillow form you won’t feel any prickly feathers through this cover!
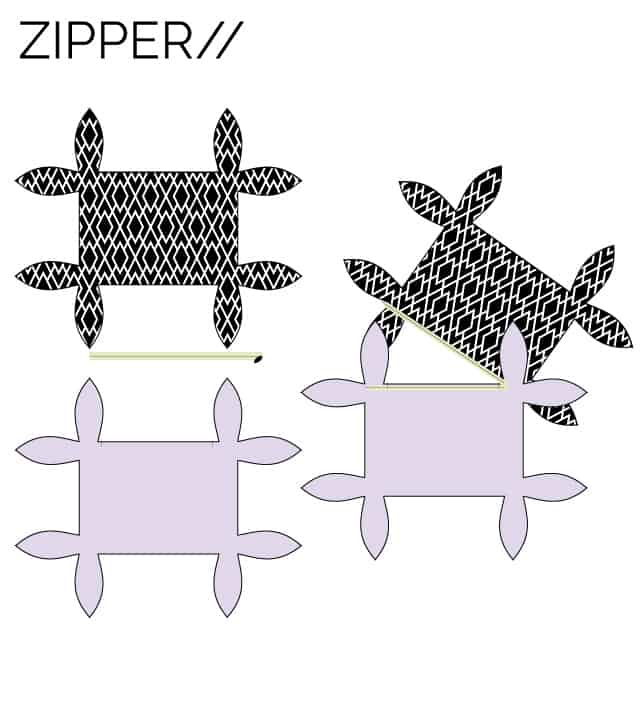
Sew the zipper into the pillow. Lay the zipper down on the right side of the case. Use an invisible zipper foot to sew the zipper on. Repeat on the other side. See my invisible zipper tutorial, it’s the easiest zipper to install and you will love the results!
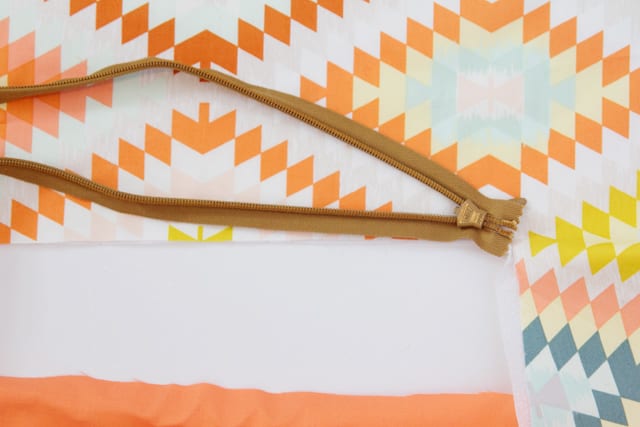
Once you have sewn the zipper in, sew the lining to on the other side of the zipper. The lining and fabric will be right sides together and the zipper will be in between.
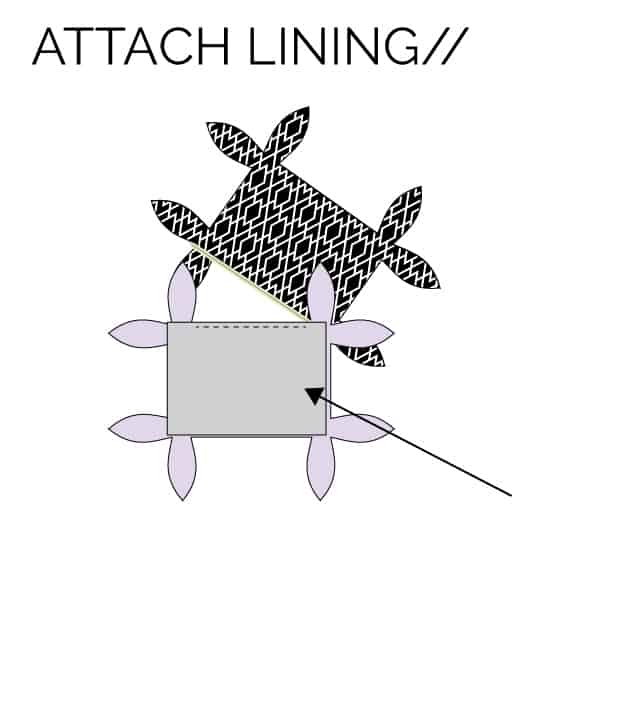
Sew both linings together. Now lay the pillow cover out with the outside pieces (the ones with the knots) facing and the lining pieces facing. Sew all the way around the whole case, including the knot tabs and the lining. Make sure the zipper is OPEN. Also, leave a 6″ opening at the bottom of the lining. Clip corners of seam allowance.
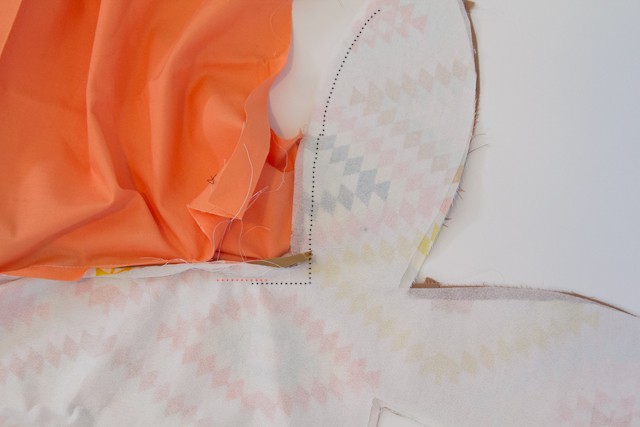
When you sew near the zipper, sew right underneath or right up against the stitching that you made to sew the zipper on (shown in red). The new stitching (shown in black) will match right up to that stitching to give you a seamless transition from the zipper when you turn your pillow. Be sure to backstitch.
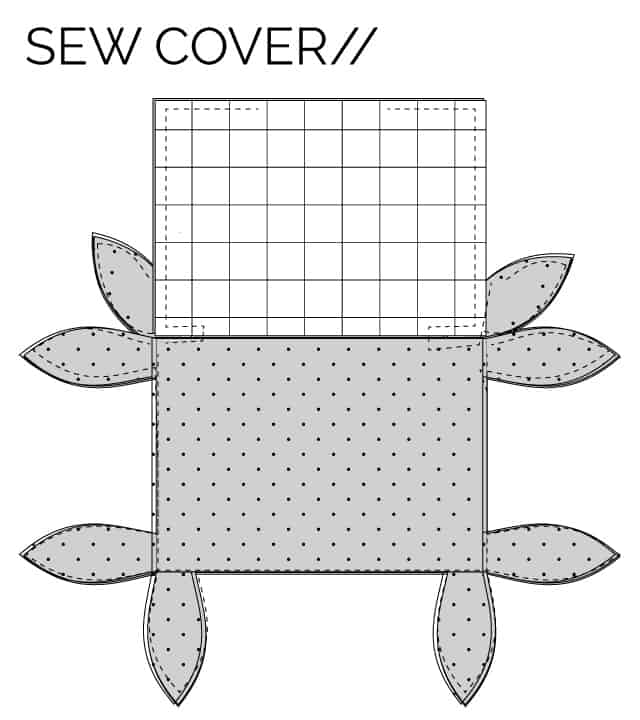
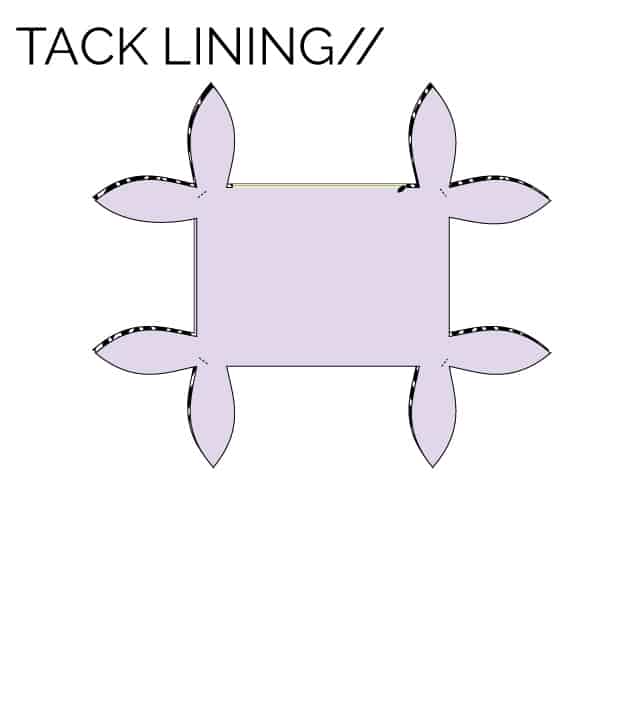
Turn the pillow cover right sides out. Push the knot tabs out and use a pointed stick or pencil to make the points sharp. Sew the hole in the lining with a topstitch. Push the lining into the pillow case and push the corners of the lining into the corners of the pillow cover. Tack the inside lining/batting piece to the outside of the pillow cover by sewing a 3/4″ line of stitching right in the corner between the knot tabs. Backstitch at start and finish of this little line of stitching. The knot will cover it up and the stitching will just make sure everything stays put together when you take the pillow form in and out or when washing, etc.
Your pillow is pretty much done! Now tie the knot tabs into a knot and throw it on your couch!
Fabrics and sources:
Serape Dream Air
Crochetting Clouds Air
Painted Pony Appaloosa
Solid Kona Cotton in Bisque, fabric.com
White side chair






These are so awesome. I’ve got a Craft Gossip post scheduled for later this morning that links to your free pattern:
http://sewing.craftgossip.com/free-pattern-two-tone-knotted-pillow-cover/2015/02/20/
–Anne
Thanks for the tutorial. I like the knotted corners.
These are super cute Kate. Love ’em!
These are so cute!!
Love these pillows! The patterns and colors look so fun! Thanks for the free pattern – I might use this for my dorm room pillows next fall :)
These look awesome! I love the knotted corners and those fabric prints are so eye-catching and colourful!
Super cute Kate! I love how these turned out.
Cute Kate! These are really, really fun. How has no one done this before?? You are genius. Cute fabrics too.