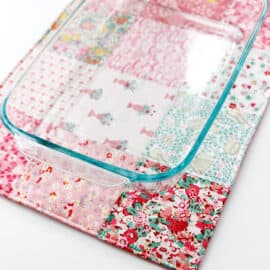
This lined tote bag pattern is the perfect tote for so many uses! It can be a library tote, a dance bag, a pool tote and more!

This tote bag pattern has a professional finish with a full lining and a flat bottom. If you use the right interfacing you can get it to stand up on its own! Even though it has a professional finish, it is simple to make!

I love making tote bags because they are so useful and make great gifts. This pattern has a purse shape and the straps are long enough to sling over your shoulder.

Use it for groceries and other errands!

Grab a few favorite fabrics and let’s get started!
Lined Tote Bag Materials
The tote bag can really be made in a variety of fabrics from cotton to canvas. You can even use recycled denim, upholstery fabric or duck cloth. The interfacing is important – a heavier weight interfacing will allow your tote to stand up.

- 1/2 yard fabric for main(outer) fabric
- 1/2 yard fabric for lining
- 1/3 yard contrast fabric for straps and base (or use additional lining fabric)
- 1/2 yard medium weight or heavy-weight fusible interfacing, I’m using Pellon Decor Bond (affiliate)
- Safety pin
- Matching threads
- Sewing supplies such as a sewing machine, rotary cutter, scissors, pins, etc
Lined Tote Bag Pattern Download
Click on the button below to download the pattern pieces! Print at 100% or DO NOT SCALE and tape together along the dashed lines.
Measurements are included in the instructions below, but if you prefer to have a pattern click below to get the digital download.

Free Lined Tote Bag Pattern – Finished Dimensions
This free pattern finished about 16″ wide by 12″ tall with a 4″ base.
Tote Bag Cutting Measurements
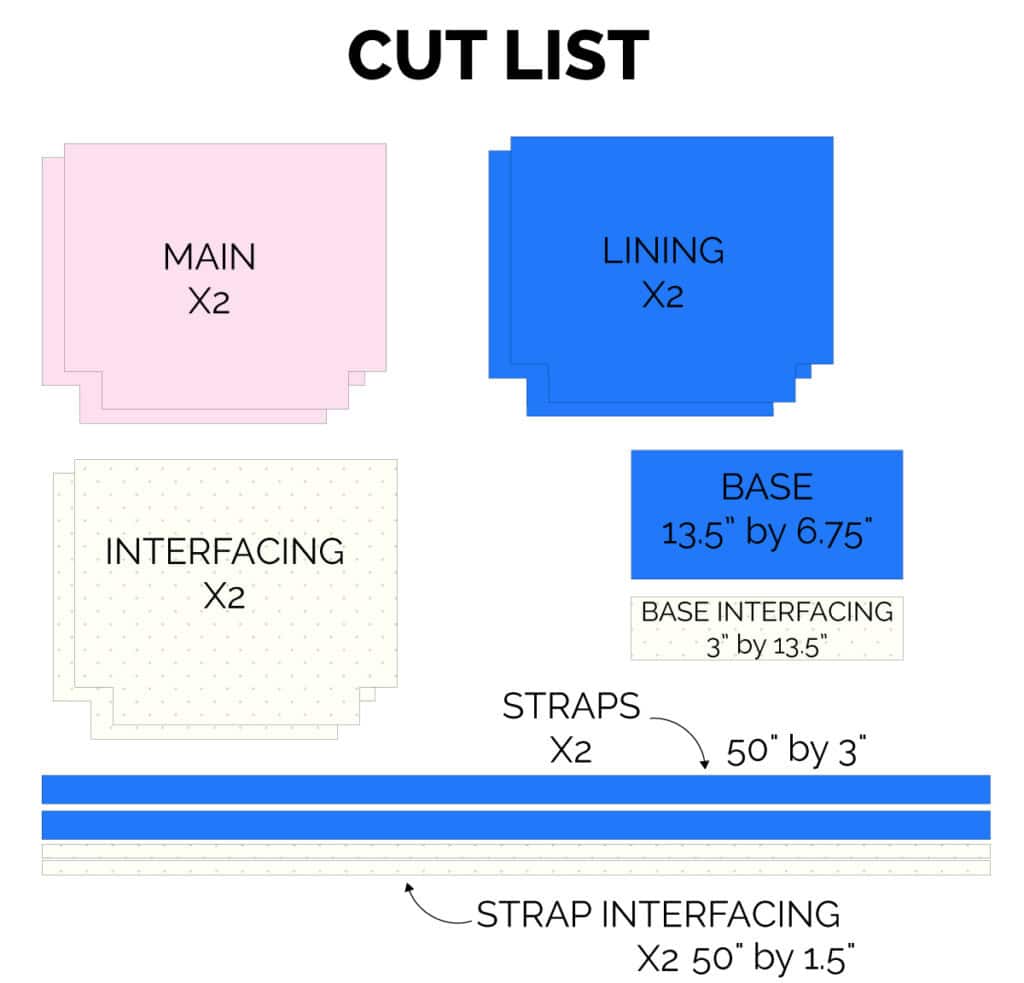
Tote pieces
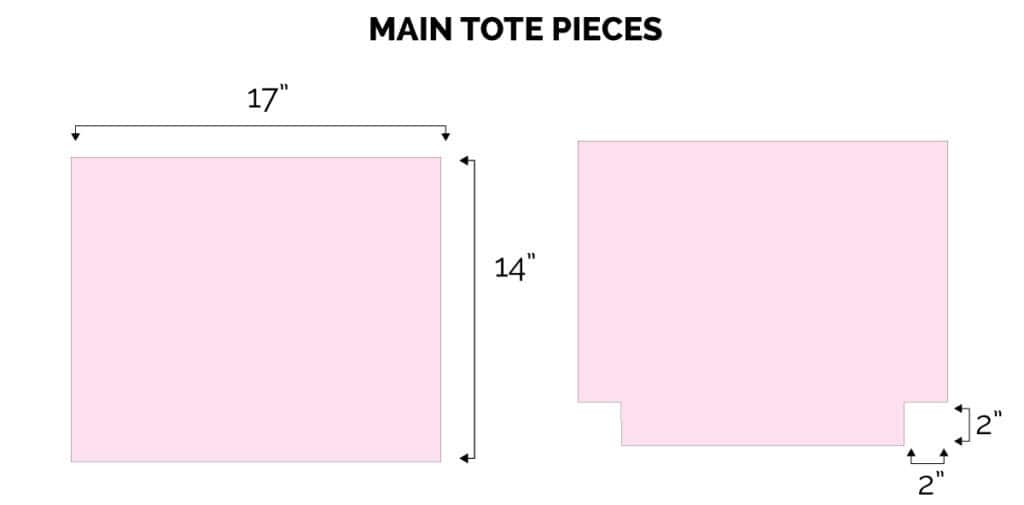
The tote pieces measure 17″ wide x 14″ tall with 2″ corner cutouts at the bottom corners.
- Cut 2 main/outer fabric
- Cut 2 lining
- Cut 2 interfacing
Fuse interfacing to the back of exterior fabric before cutting the corners.
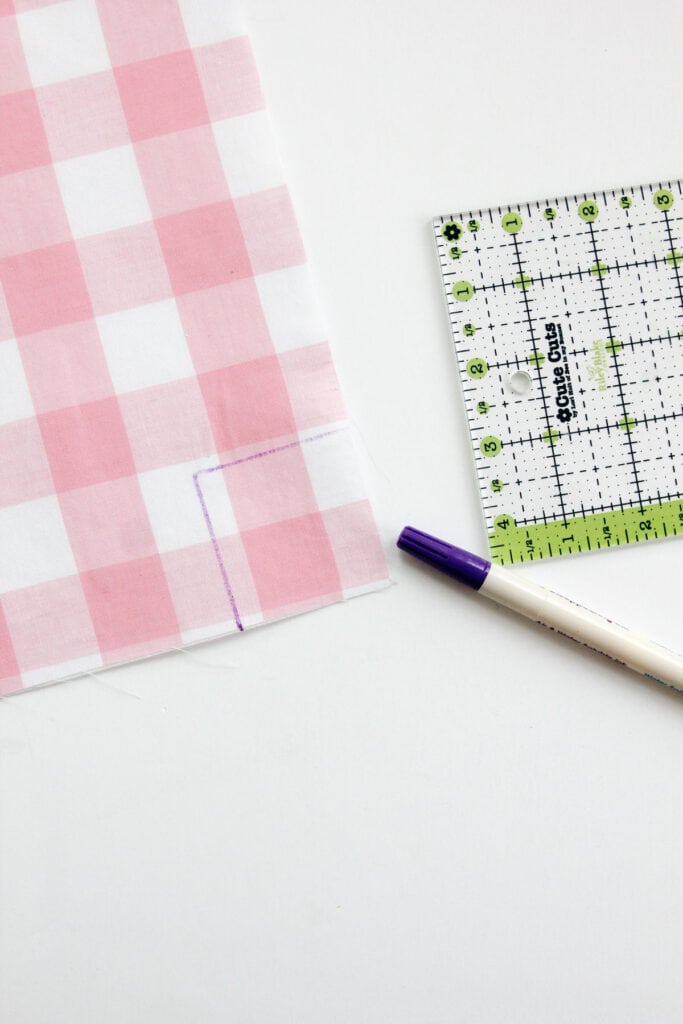
Use a ruler to measure a 2″ square at the bottom corners.
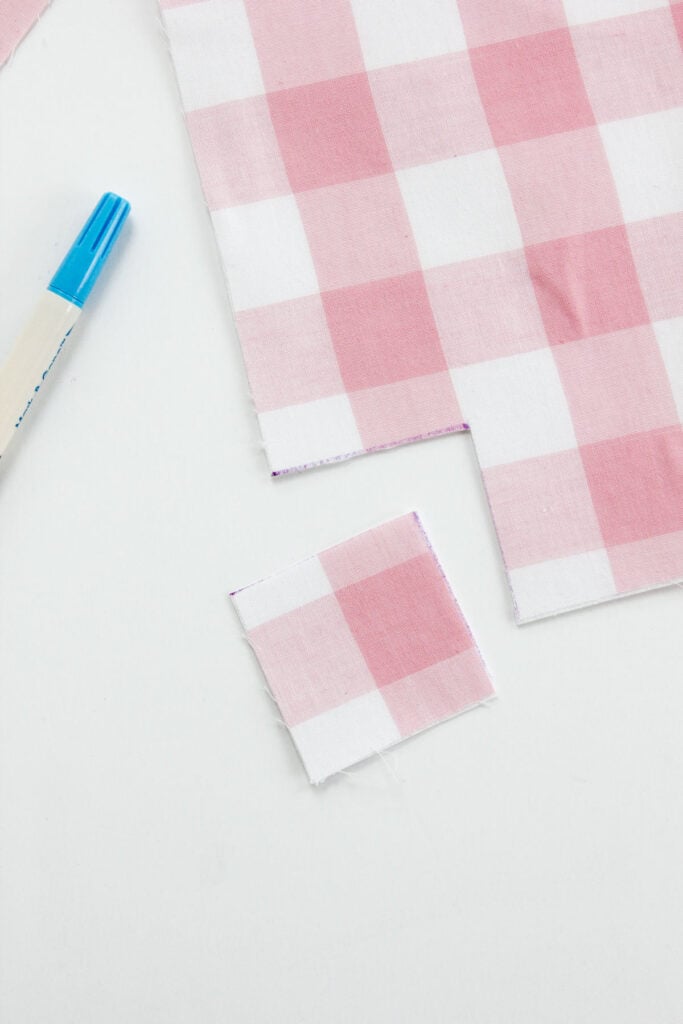
Cut them out and repeat with the lining fabrics.
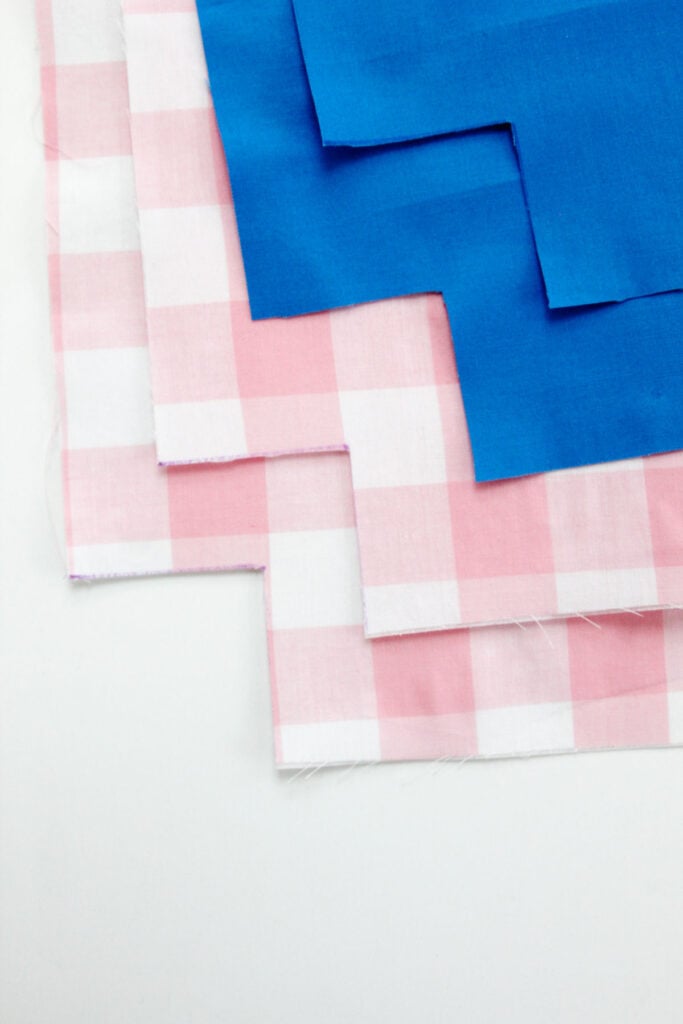
Straps/handles
The strap pieces are long so feel free to piece fabric together to achieve the length you need.
- 2 from strap fabric 50″ long by 3″
- Cut 2 straps from interfacing measuring 50″ by 1.5″
Base Pieces
- Fabric: 6.75″ x 13.5
- Interfacing: 3″ x 13.5:
How to sew a lined tote bag
Use a 3/8″ seam allowance.
Fuse interfacing to the back of main outer fabric pieces if you haven’t already done so. Set aside for now.
Assemble Straps
Fold straps in half lengthwise and press. Then fold the long edges into the middle crease. Press.
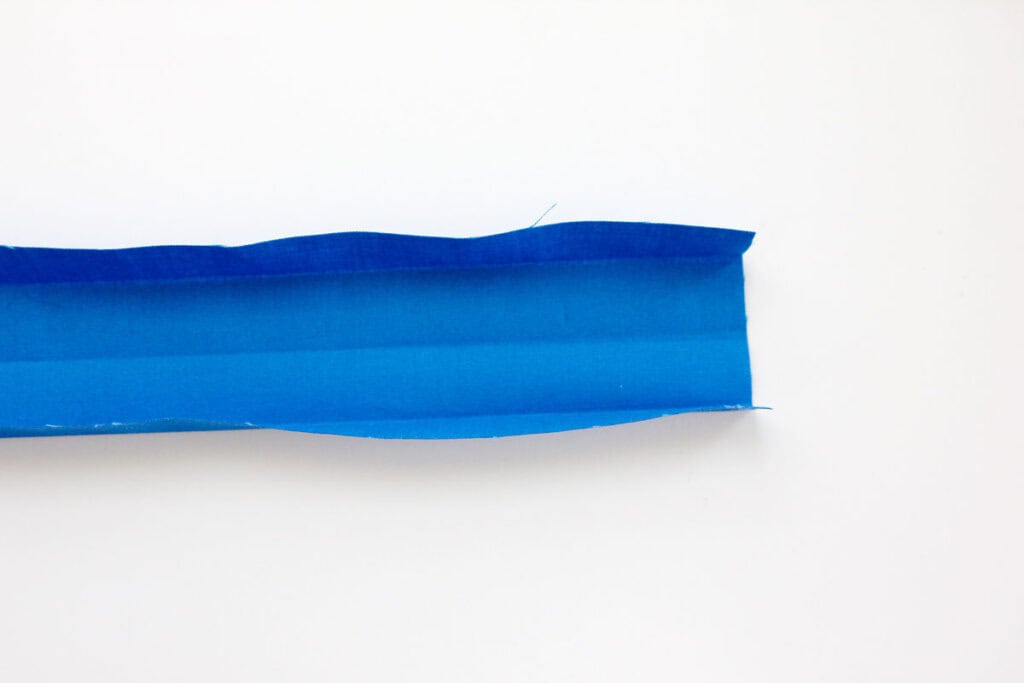
Open the flaps and fuse interfacing strip into the middle of the strap piece, as shown below.
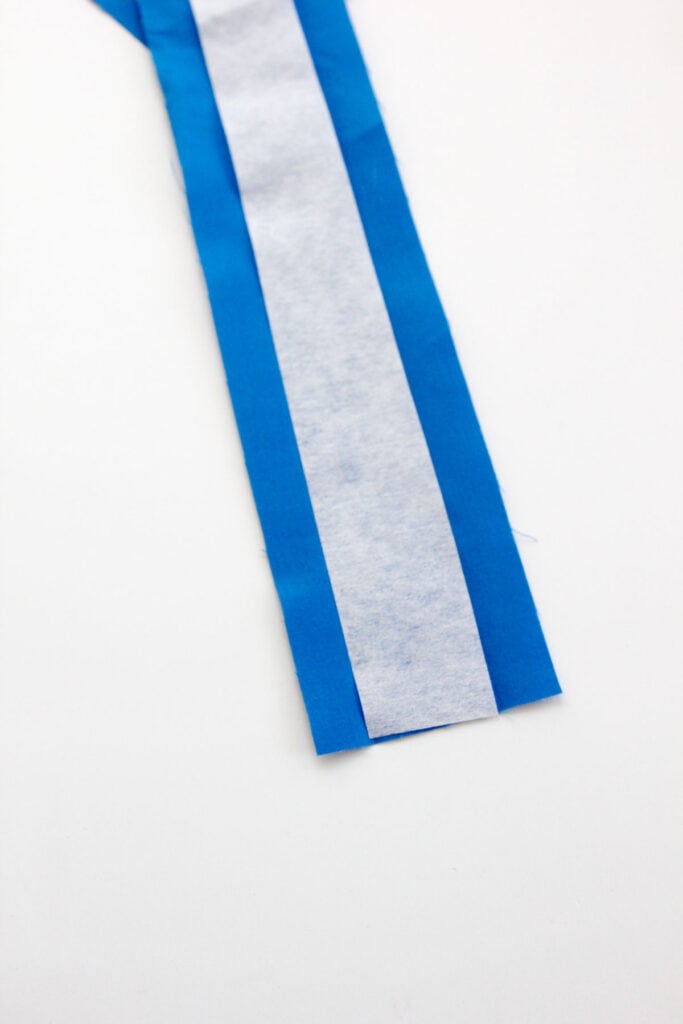
Once fused, fold edges back in and press again. Then fold in half once again and press to create a strap. Topstitch on both edges of the strap 1/8″ from the edges.
Bag Base Assembly
The base will add some extra weight and stability to the bag and it will also hold the ends of the bag straps.
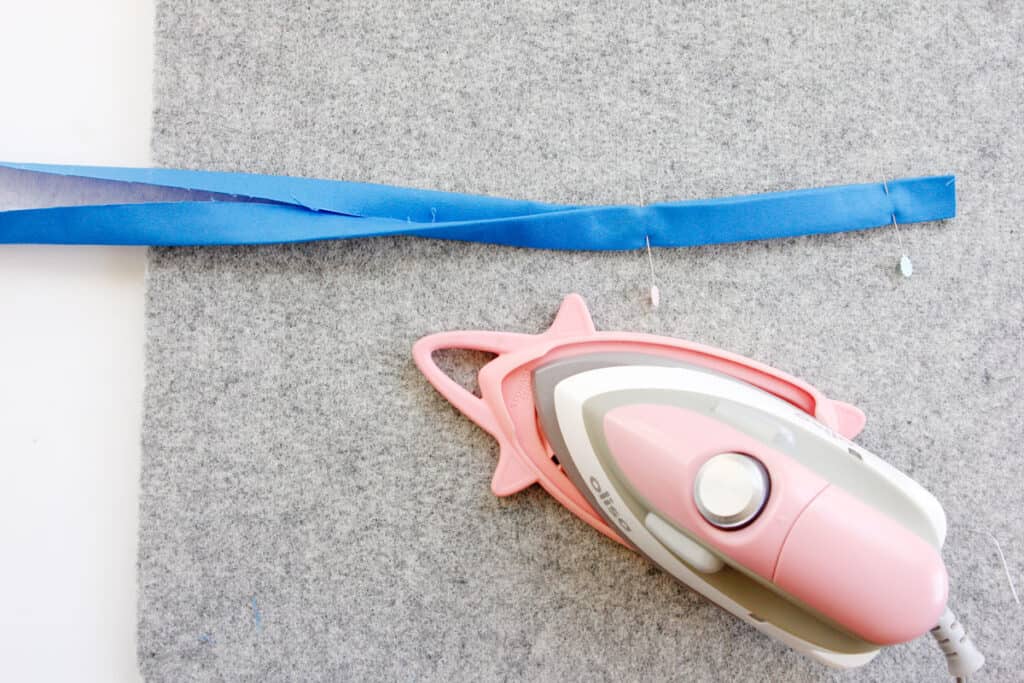
Fold the bag base piece lengthwise and sew.

Press seam allowance open and then turn rightside out. Press with the seam centered on one side.
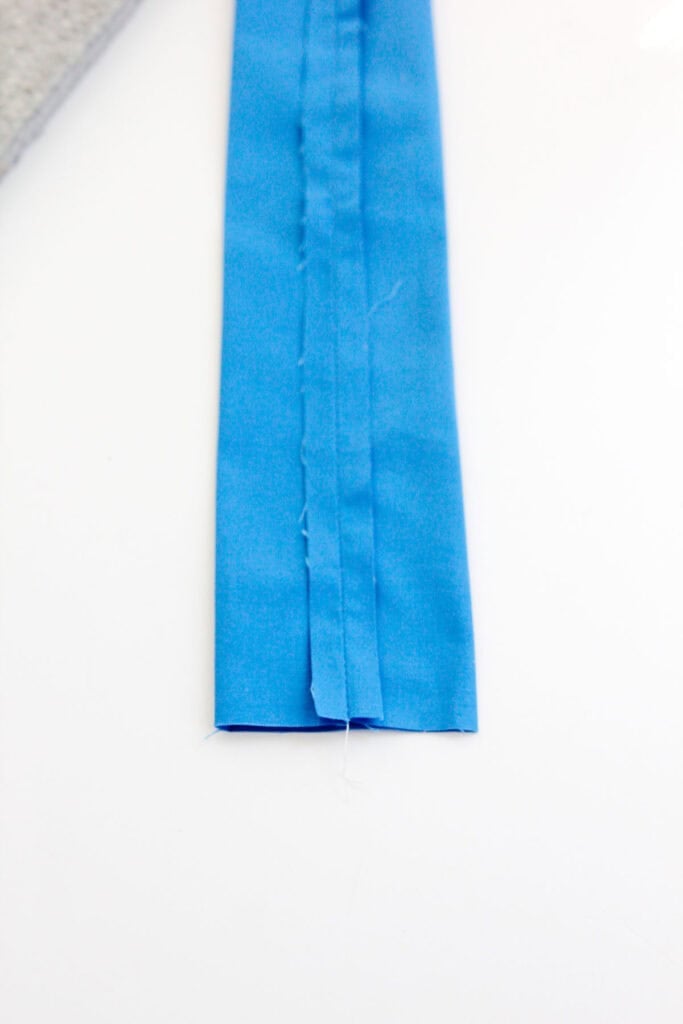
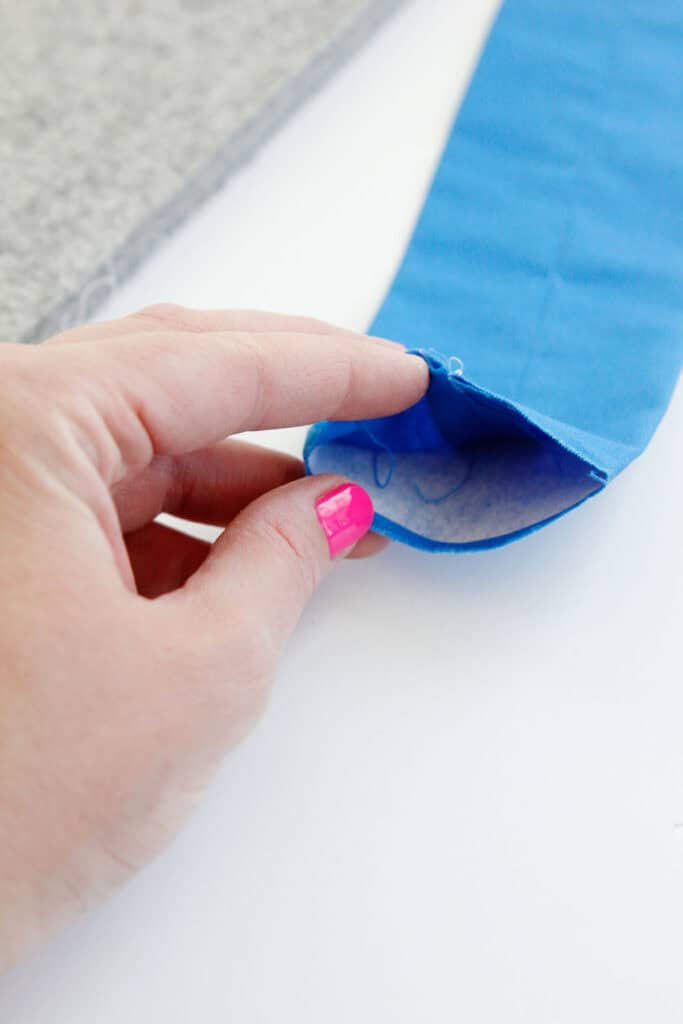
Use a safety pin to pull the interfacing into the tube with the glue side on the fabric without the seam. Press to fuse interfacing.
Attach base
Lay the main pieces on each other with right sides together. Sew the bottom edge. Press open.
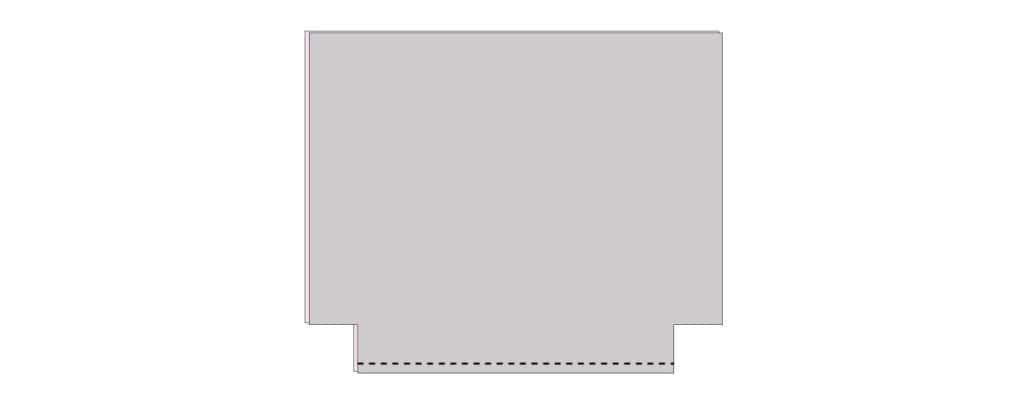
Press seam allowances open and pieces bag as shown:

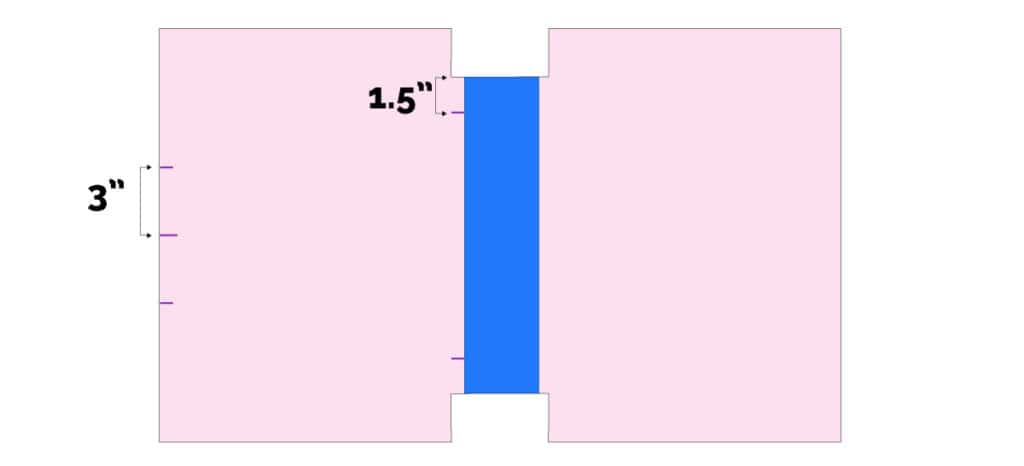
Lay base piece centered at the bottom of the tote, with the base piece’s seam facing down. Pin loosely.

Measure 1.5″ from the edges of the fabric at the bottom. Mark. Find the middle at the top of your tote and measure 3″ on either side. Mark.
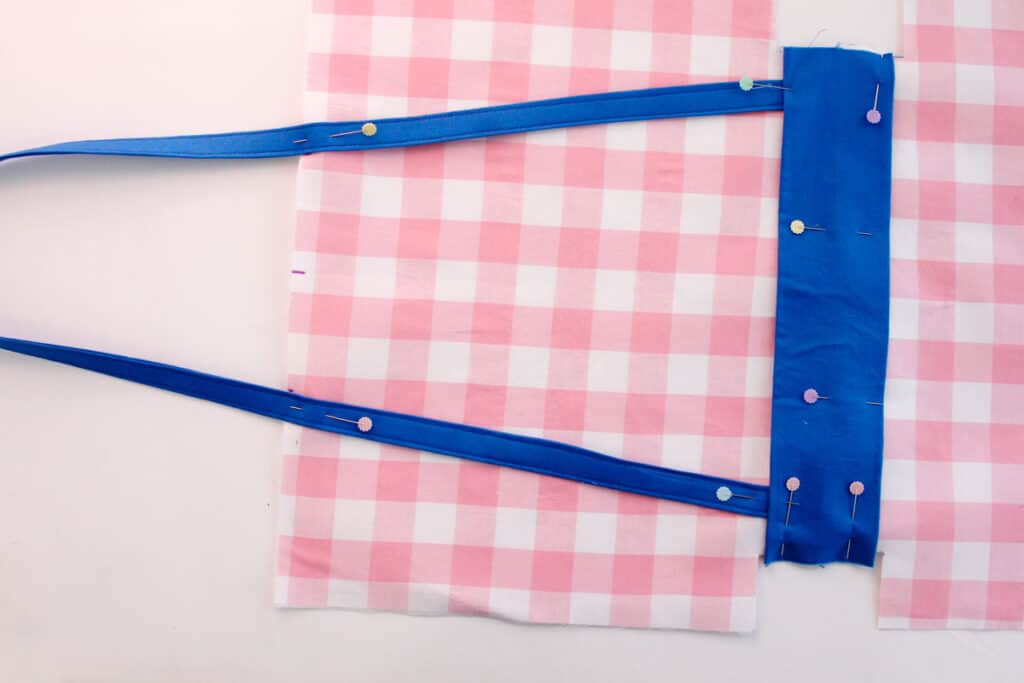
Grab a strap and slip the ends under the base with the edge of the strap at the mark. About 1/2″ of the strap will be concealed. Angle the straps up to the marks at the top. Pin in place.
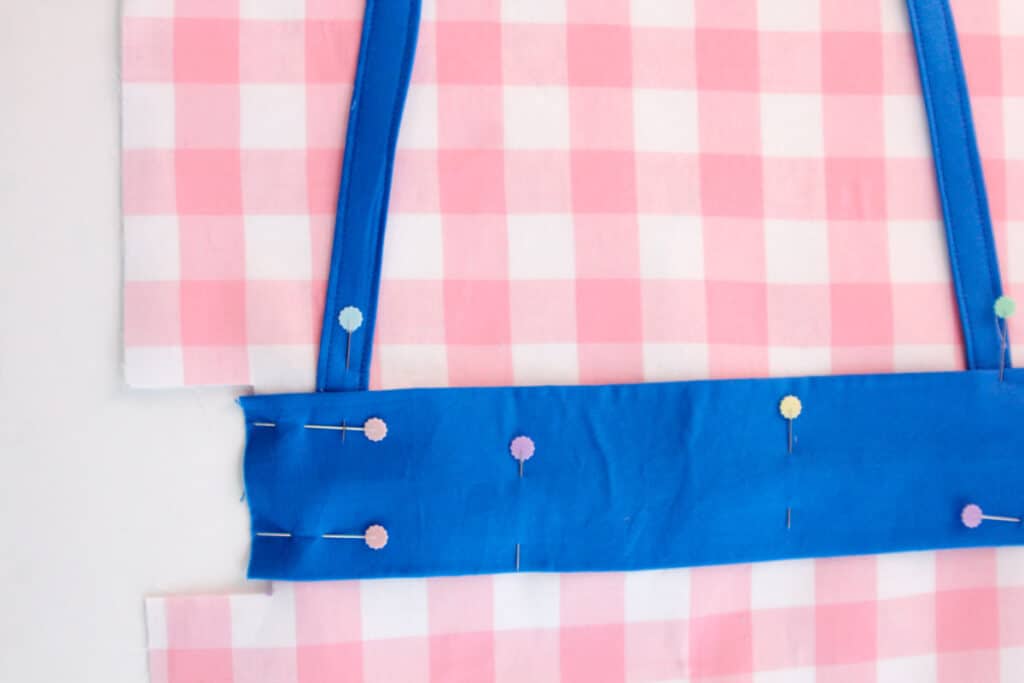
Once you have the angle correct, readjust the strap ends underneath the base piece. Pin in place. Then topstitch the edge of the base 1/8″ from the edge.
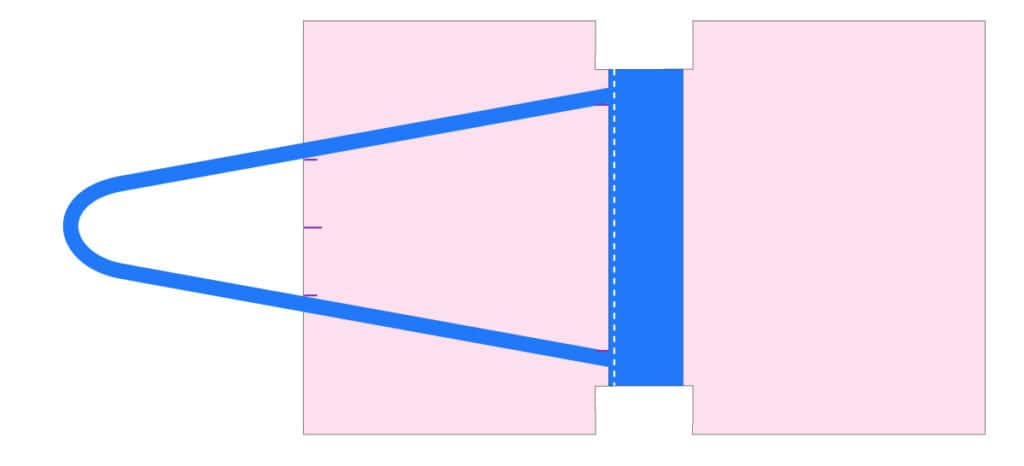
This stitching will also hold the strap in place at the bottom.
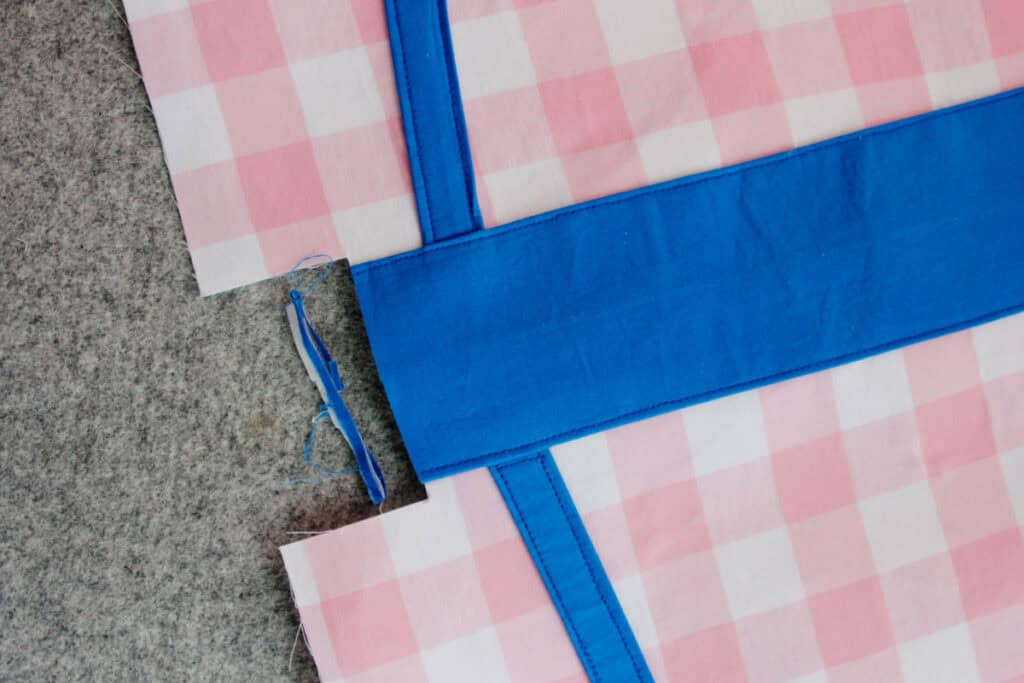
Trim off the excess fabric from the base piece.
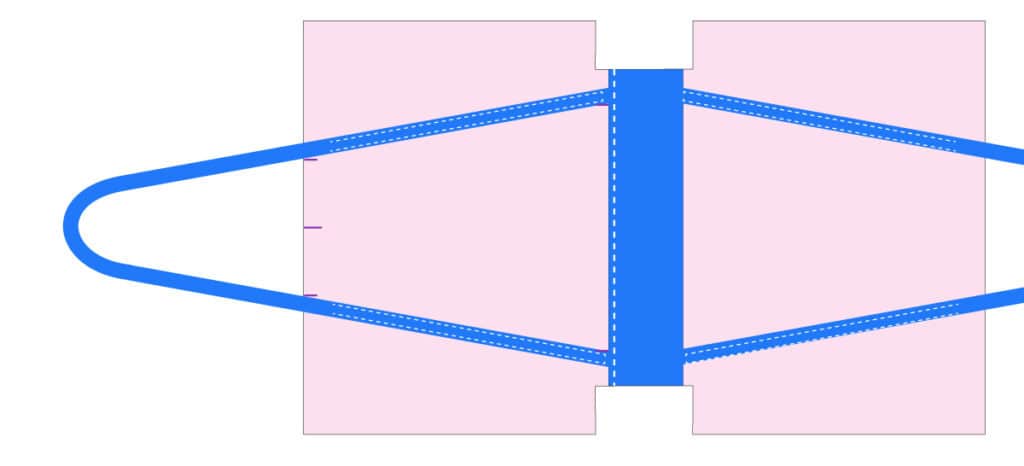
Topstitch along the strap edges, following the existing stitching. Leave about 1″ unattached at the top of the bag – we will finish this later.
Sew Tote Corners
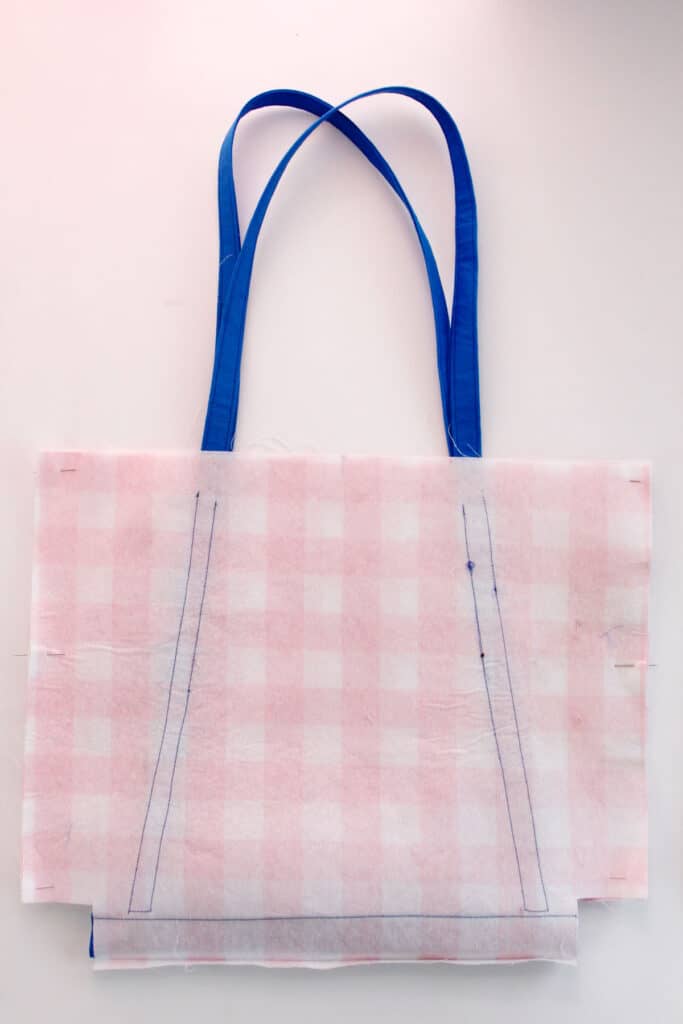
Stand up the bag and open the corner.
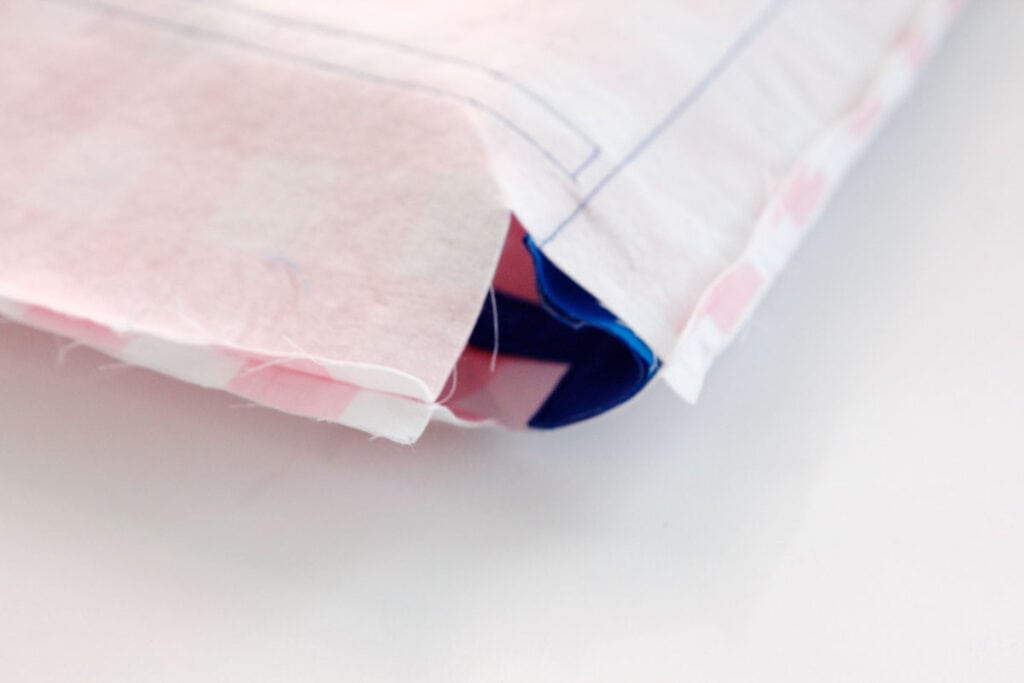
Match the side corner of the bag with the bottom corner and pin. This step will give the bottom of the tote the dimension we want!
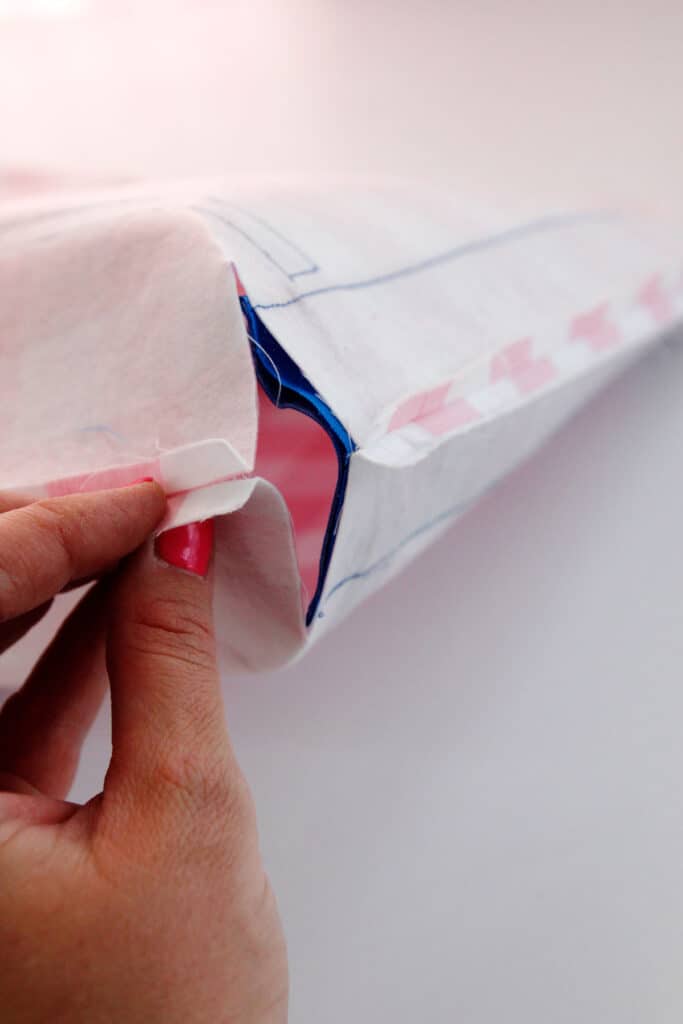
Pin together and pin.
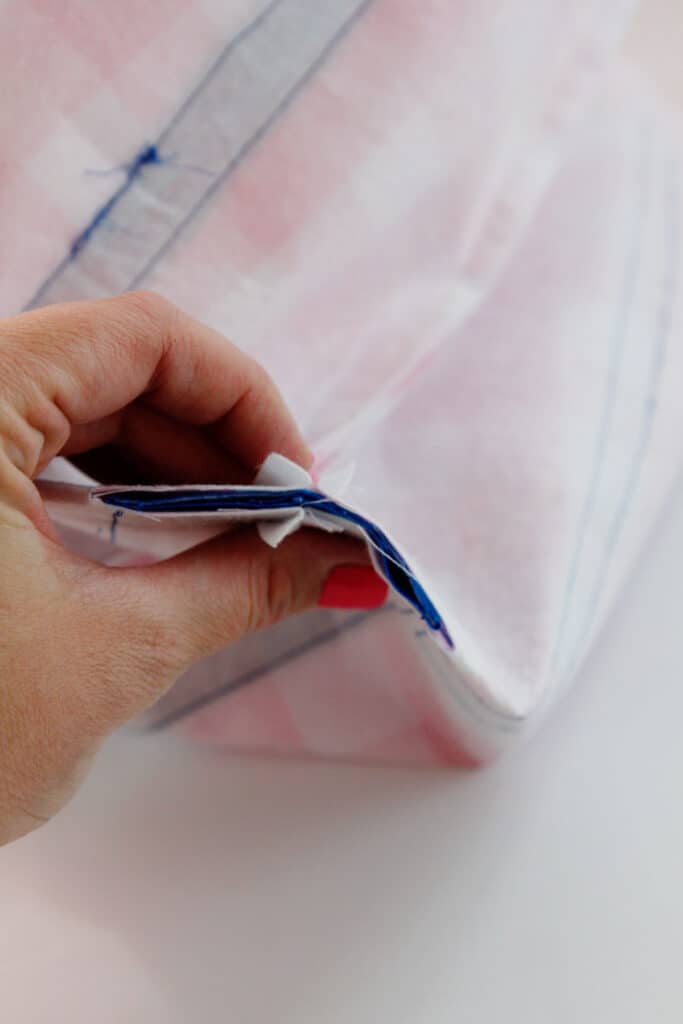
Sew across the bottom, backstitching at both stitching ends.
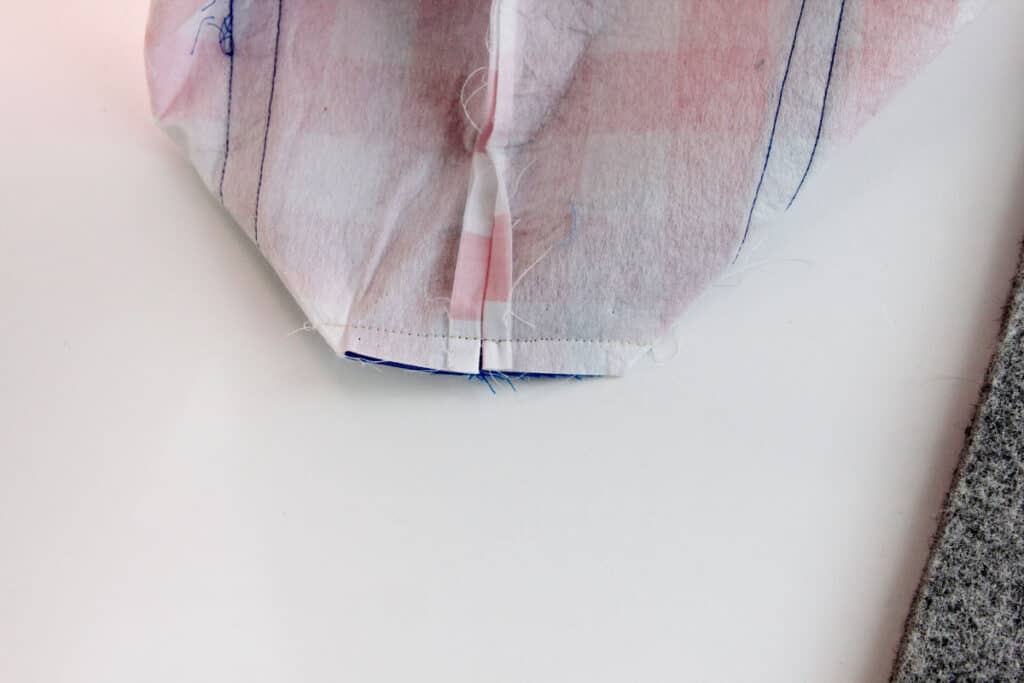
Assemble Tote
Sew the lining pieces together with right sides together. Sew both side edges. Then sew the bottom edge, leaving a large opening (4-5″) in the bottom of the lining.

To assemble the tote bag, leave the main fabric wrong side out. Turn the lining right sides out and slip it into the main tote bag. The right sides of the fabrics should be facing. Tuck the straps inside the tote pieces.
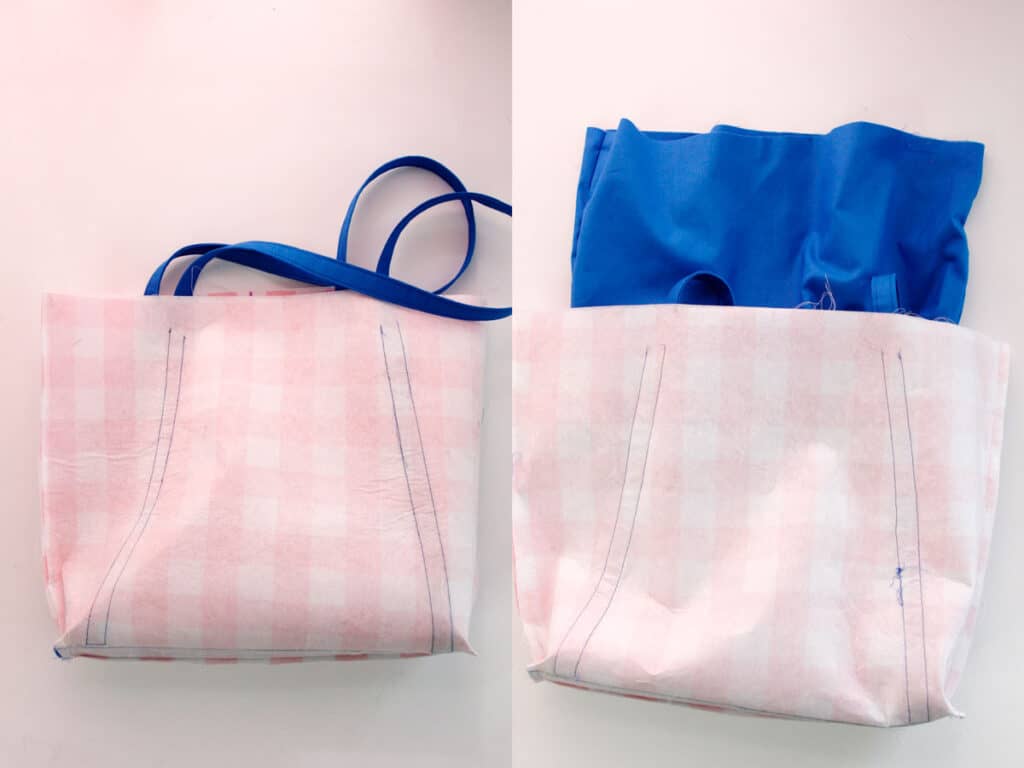
Line up the main and lining at the top of the tote with the edges matching.
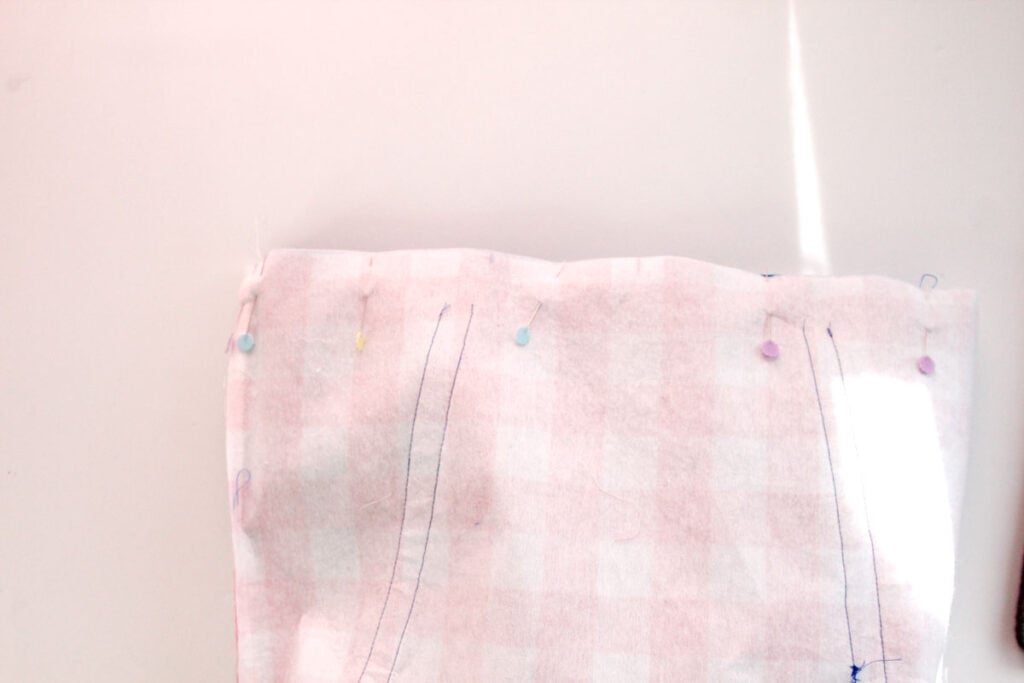
Pin and sew around the top edges of the tote. Sew around the entire top edge. Then trim seam allowance down to 1/4″.
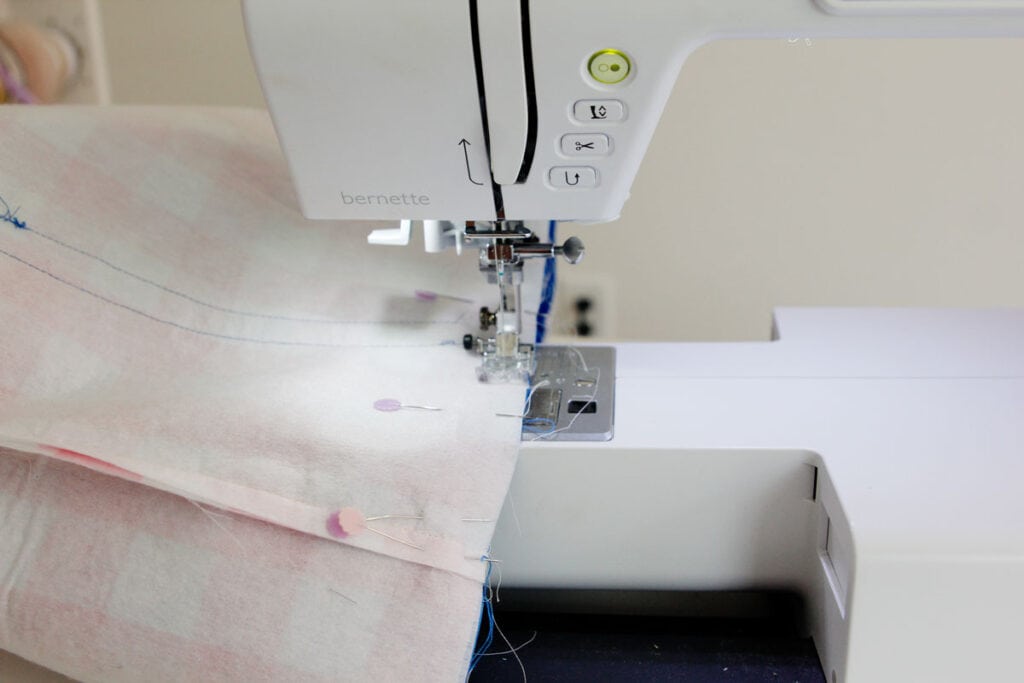
Use the opening in the lining to turn the bag right side out. Press the bag well. Sew the lining opening closed with your machine or by hand and tuck the lining into the bag.

To finish it off, press the top edge of the bag well and topstitch 1/8″ from the edge. Then finish sewing the straps on, backstitching at the top and stitch edges.

If you want the bag to close, you can add a snap at the top of the bag. Try KAM snaps, they are so easy!

I hope you enjoyed this lined tote bag pattern! For more projects see below!


