Fabric gift bags are great for wrapping oddly-shaped or jumbo gifts! They are also fun to use for normal gifts and offers an eco-friendly alternative to wrapping paper! This fabric gift bag pattern comes in a few different sizes and variations for all types of hard-to-wrap gifts!
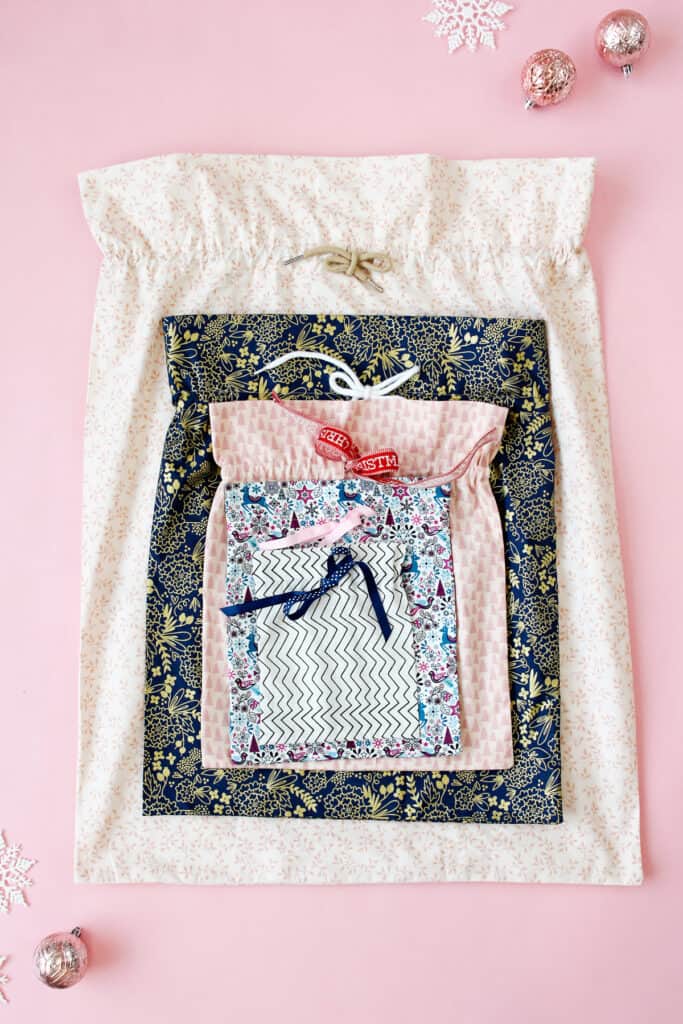
Reusable gift bags will save you time and money on wrapping paper in the long run.

Make some this year and use them next year and for every Christmas, birthday or celebration! This project was born out of necessity! I need a large bag to wrap a big stuffed animal!
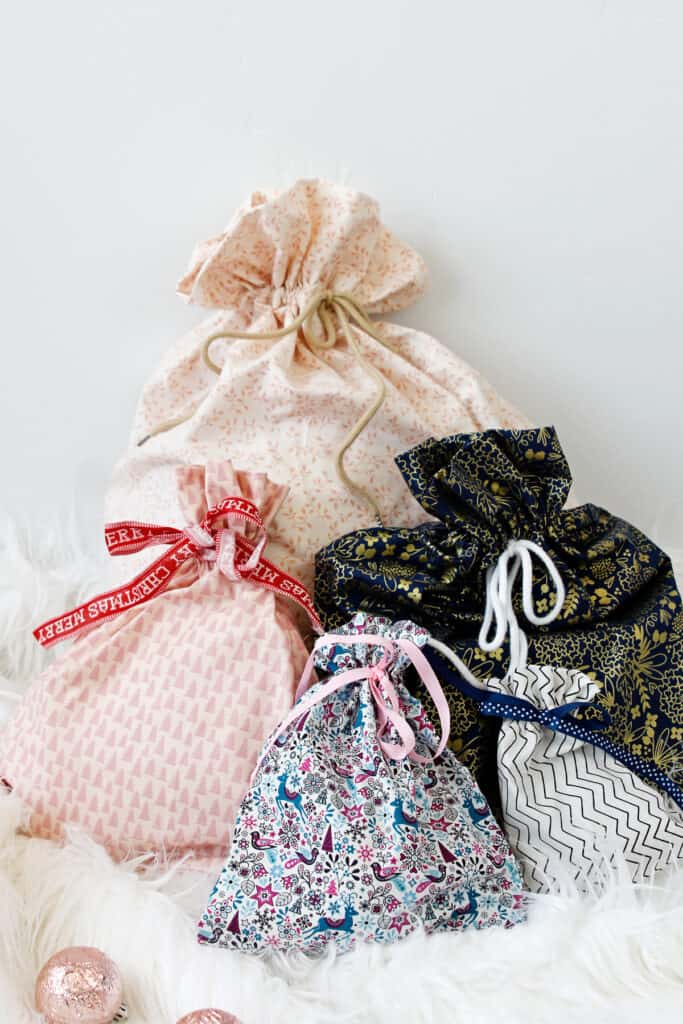
I’ll show you how to make a basic fabric gift bag with a drawstring or one with a sash that ties at the back. The drawstring method uses buttonholes but the sash option doesn’t, so it’s a little bit easier.
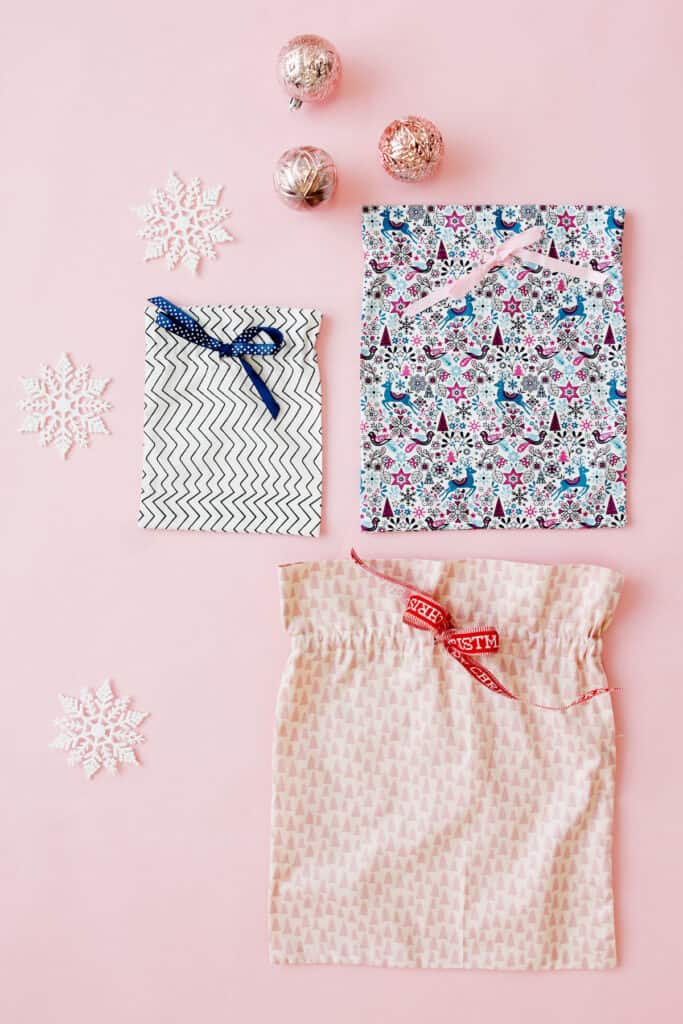
At the end of the post, I added a ruffle top to the diy fabric gift bags for a feminine variation!
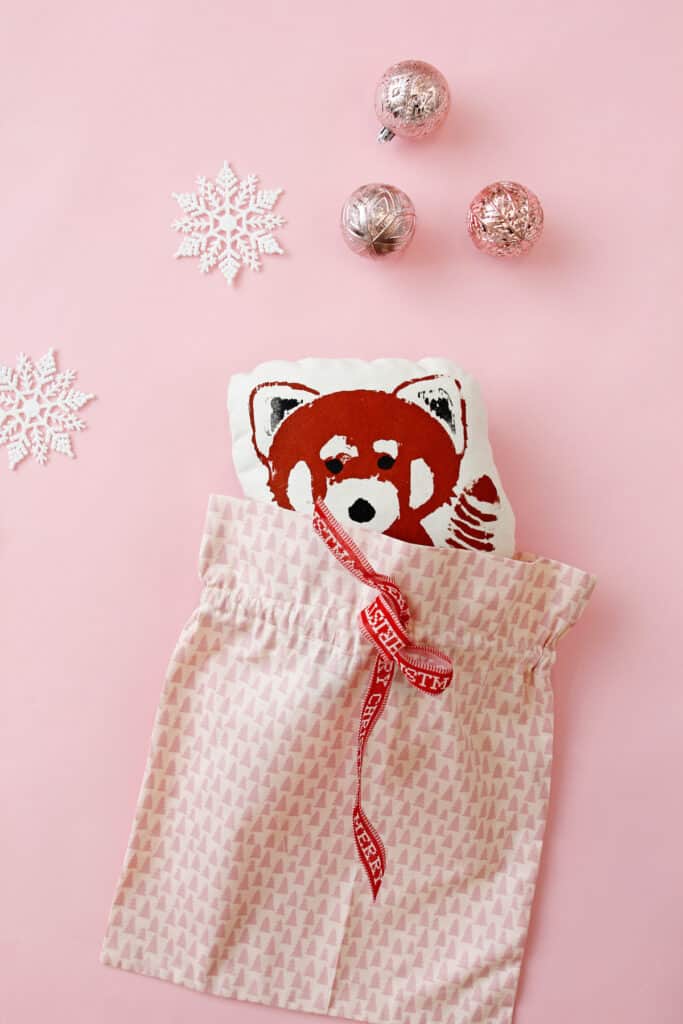
Drawstring gift bag materials
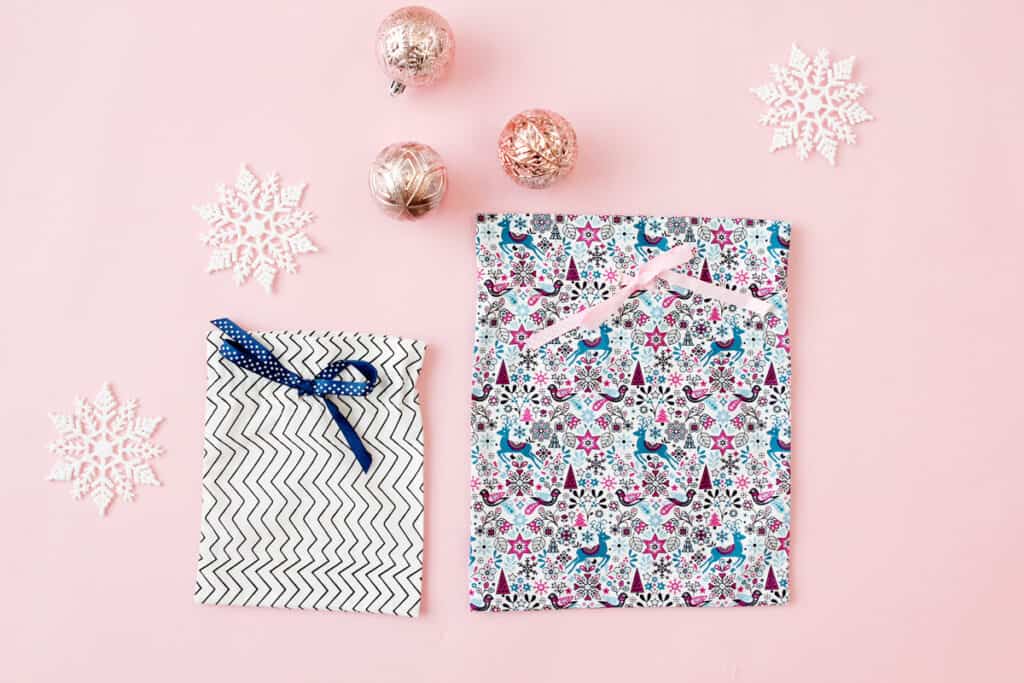
- 1/3 to 1.5 yards cotton fabric, or more for really large bags
- If you are wrapping a very large gift, consider 60″ or 108″ wide fabric for easier sewing
- Double yardage if you want too add a lining
- Bias tape, ribbon or pre-made drawstring cord (affiliate link)
- Fusible interfacing for buttonholes
- Optional: Fusible interfacing for buttonholes and buttonhole presser foot
- Cord threader (affiliate links) or safety pin
You’ll also need a sewing machine and basic sewing supplies like fabric scissors and straight pins.
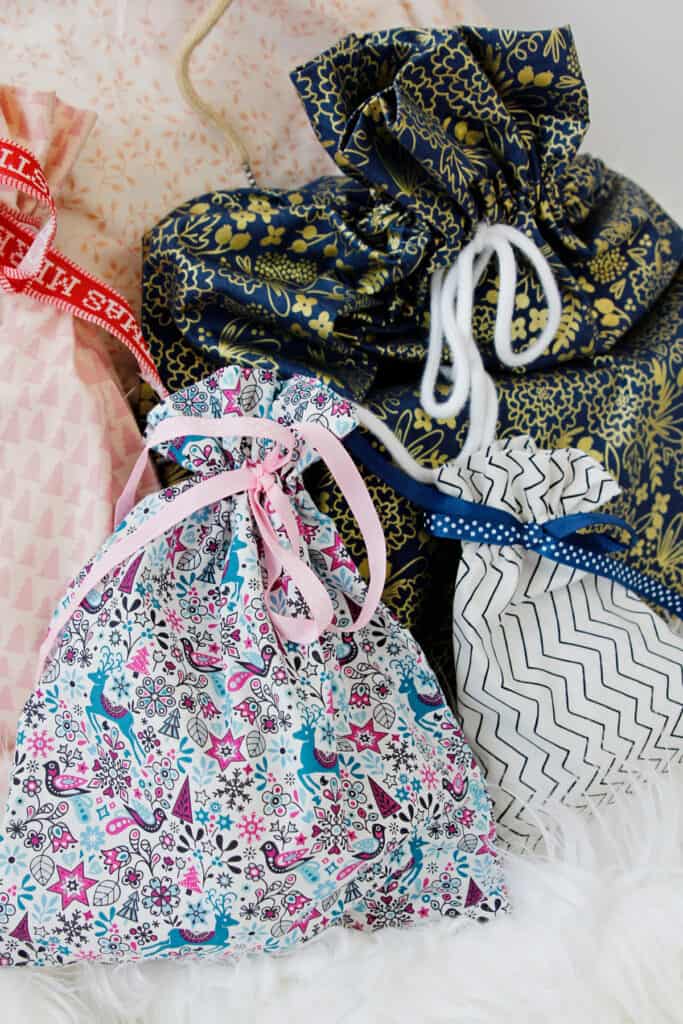
Fabric Gift Bag Sizes
This fabric gift bag pattern can be adapted for any size gift. For a custom size fabric gift bag, lay your present on your fabric and add about 3″ all the way around plus 5-10″ at the top. If you are sewing these without a specific gift in mind, here are some sizes to use:
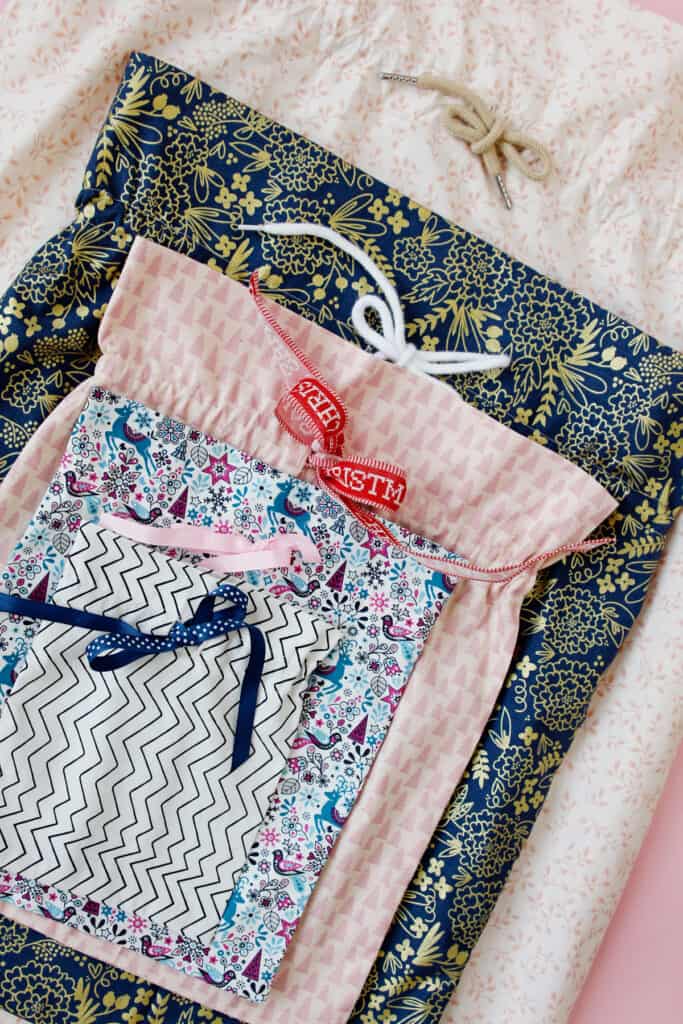
- Extra Small
- Finished measurements approx: 6.5″ by 8″
- Yardage required: 1/3 yard
- Cut size: 7″ by 11″
- Top fold: 2.5″
- Small
- Finished measurements approx: 9.5″ by 11.5″
- Yardage required: 1/2 yard
- Cut size: 10″ by 15″
- Top fold: 3″
- Medium
- Finished measurements approx: 13″ by 15″
- Yardage required: 1/2 yard
- Cut size: 13.5″ by 20″
- Top fold: 4″
- Large
- Finished measurements approx: 17.5″ by 21″
- Yardage required: 2/3 yard
- Cut size: 18″ by 26″
- Top fold: 4.5″
- Jumbo
- Finished measurements approx: 23.5″ by 30.5″
- Yardage required: 1.5 yards
- Cut size: 24″ by 36″
- Top fold: 5.5″
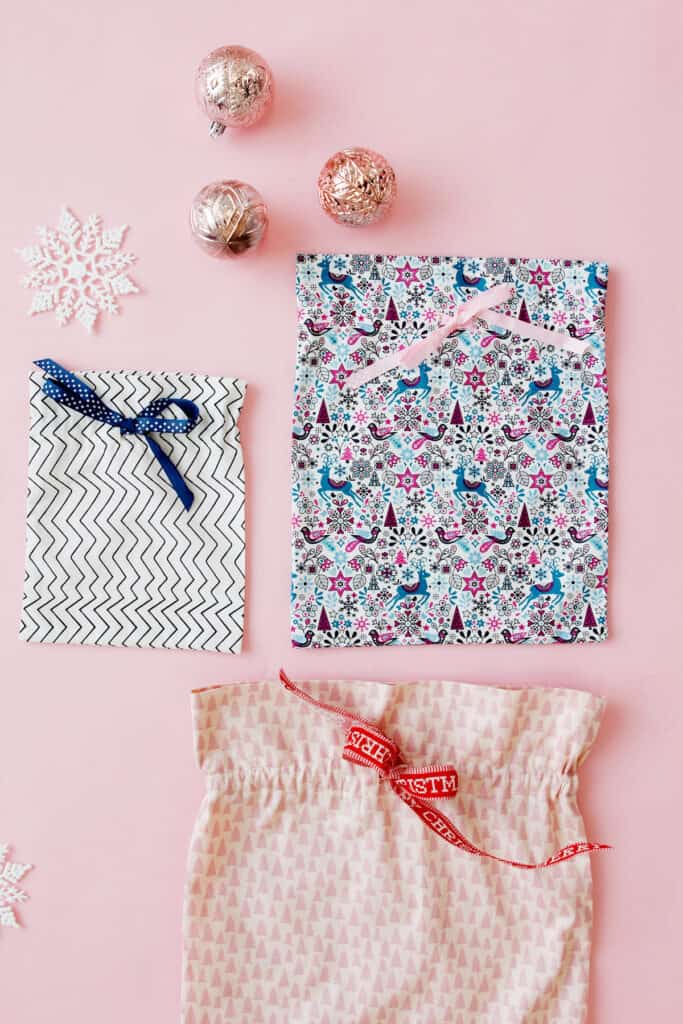
How to sew a drawstring fabric gift bag
Use a 1/2″ seam allowance.
These DIY gift bags are great because they start with just one piece of fabric! Cut fabric using the fabric gift bag pattern measurements provided. The longer measurement or the length will be on the fold.
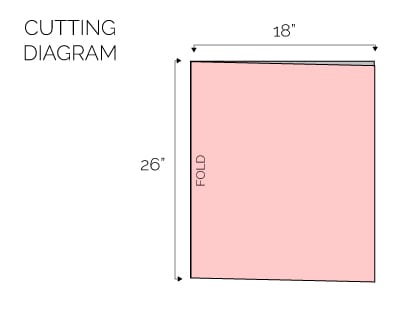
Fold over the top of the bag the measurement listed above for your bag size. Lift the fold up and fold under 1/2″.

Fold flap back down and fold the bag in half.
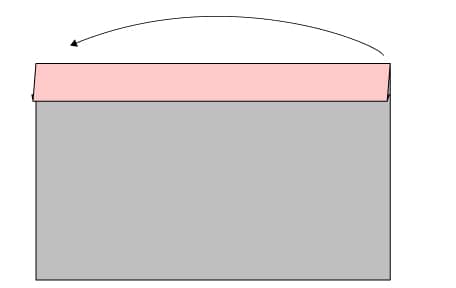
Mark the midpoint of your bag, omitting 1/2″ for the seam allowance from your measurement. Fold the bag flap up out of the way. Make buttonholes 1/2″ on either side of the midpoint, right above where the flap will hit. Use fusible interfacing on the inside of the bag to make the buttonholes sturdy.
Make 1/2″ buttonholes and then cut them open. Each bag needs two buttonholes for the drawstring to go in and out of.
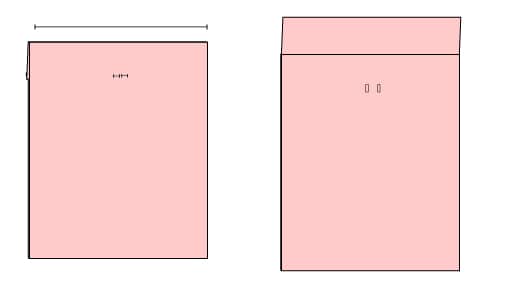
Fold the bag in half with wrong sides together, including the folded flap. Sew the bottom and open side edge all the way up.
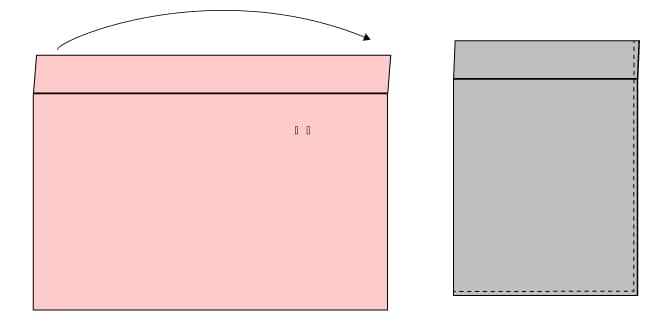
Omit the buttonholes and drawstring from the tutorial above to create a gift bag with a sash. The sash option is shown in the ruffle gift bag at the bottom of the post.
If you want to add a lining, create a second bag piece the same width as the first. Adjust the length as follows: flap measurement (minus 1/2″) x 2. Sew the lining fabric together as you did the bag. Then slip the lining right sides out under the top flap of the main bag. The main bag will be inside out. Proceed to make the casing, catching the top of the lining in the seam.
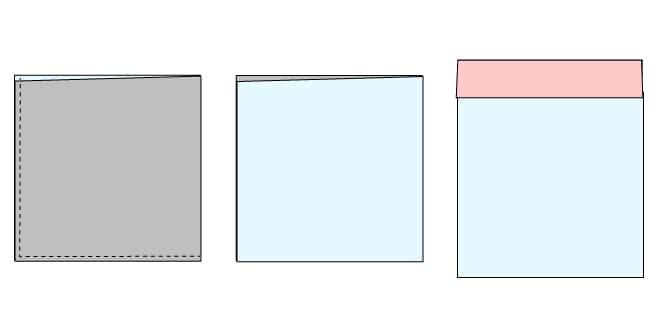
Make the casing
Fold the flap and pressed 1/2″ seam allowance down into the bag. Sew a casing 1/8″ above the folded flap edge and again 3/4″-1″ above the first line of stitching. If it helps you can turn the bag right side out before sewing the casing. Top stitch the casing above and below the buttonholes.
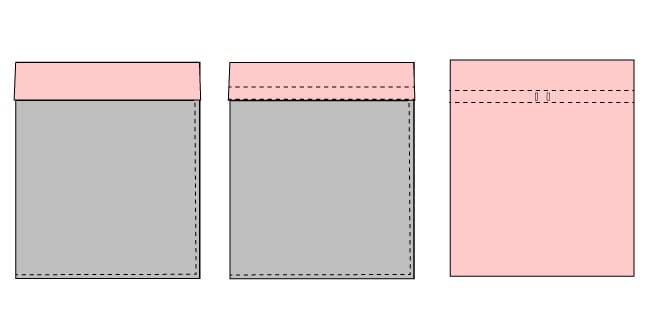
Turn the bag right side out.
If you used ribbon, clip the ends of the ribbon so they are nice and sharp. Use fray check if you want to keep the ribbon from fraying.
Thread your ribbon or cord through the drawstring casing and tie the ends of the cord or ribbon in a bow.

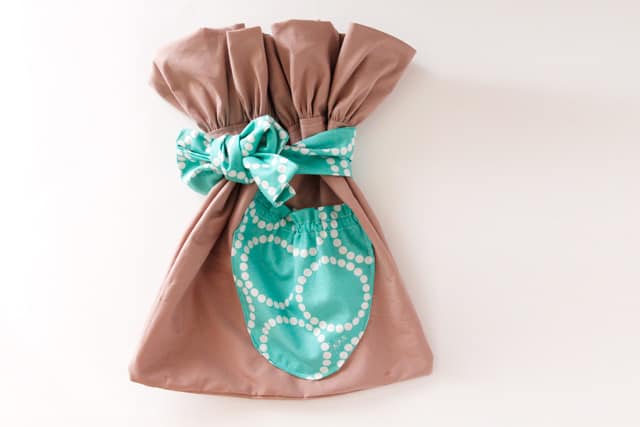
Medium size fabric gift bag with a ruffle – no drawstring
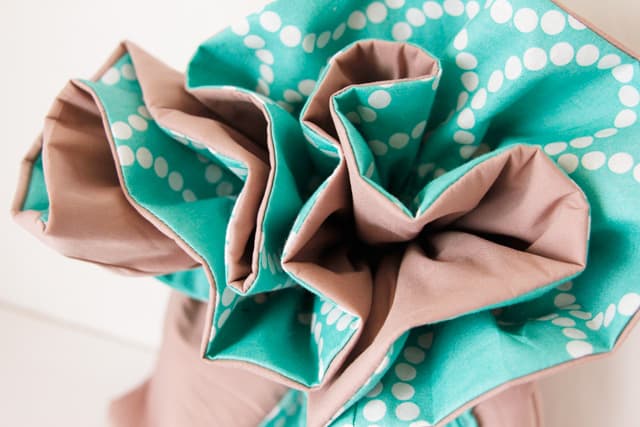
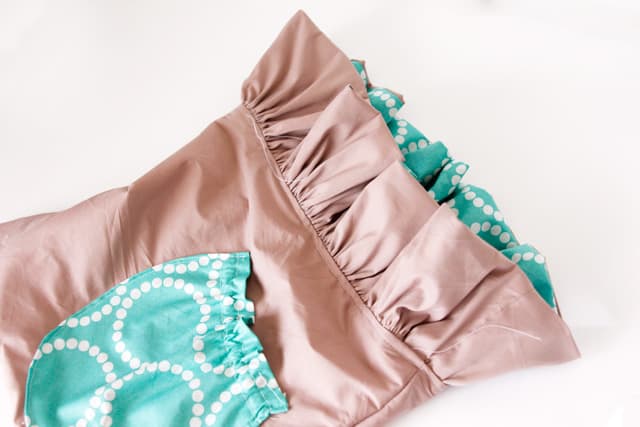
If you want a gift bag with an extra ruffly top – use this tutorial. This bag also shows you how to sew a sash to the back of the fabric gift bag if you don’t want to use a drawstring.
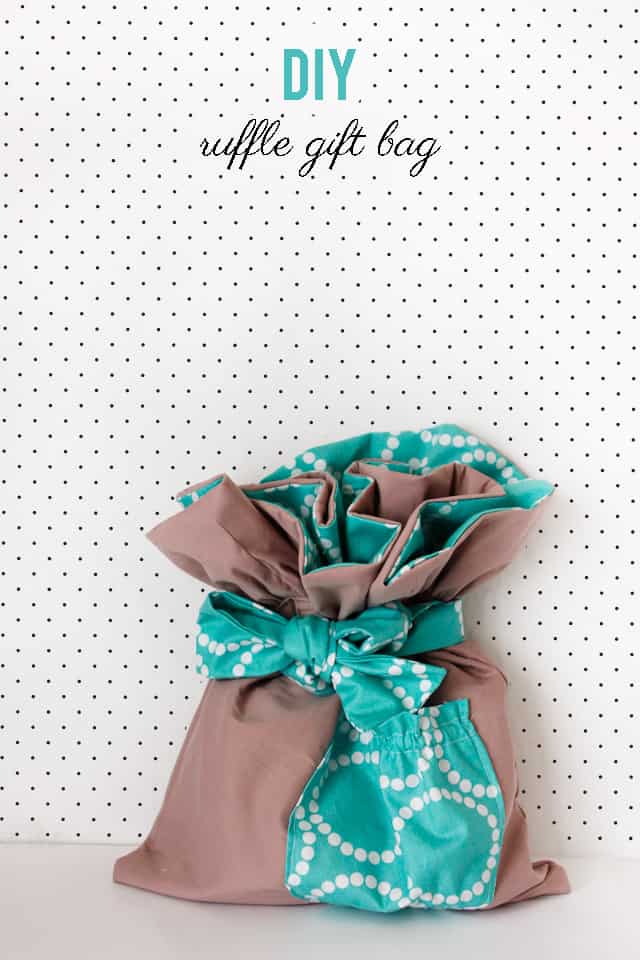
Ruffle Gift Bag Materials
- Two rectangles of fabric 14″ by 14.5″
- 1 pocket pattern from the ruffled apron
- Two long strips 44″ by 5″ for ruffle
- 2 rectangle strips for sash, any size
Ruffle top gift bags instructions
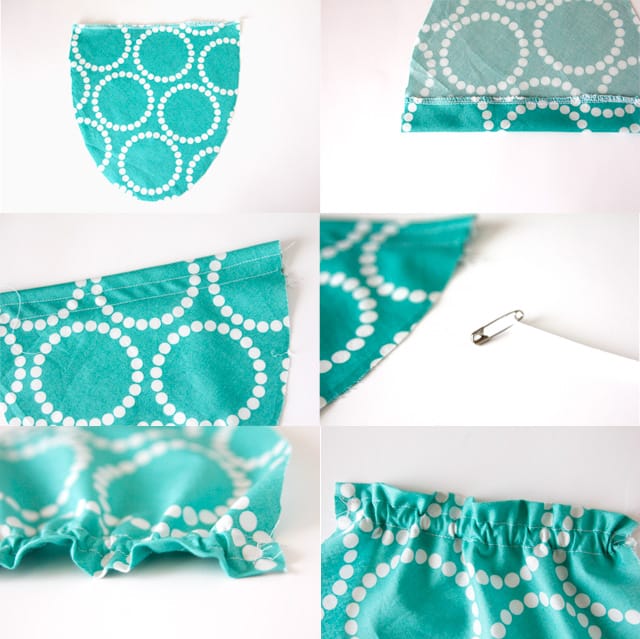
To make the pocket, use the pocket from the ruffled apron pattern. Finish the top edge and fold over 1 1/4″ at the top. Press, then sew two lines of stitching at 3/8″ and 6/8″. Pull your elastic through (7″) using a safety pin and sew in place at each end. The top of the pocket will gather up. Now fold over 1/2″ all the way around and sew on your bag.
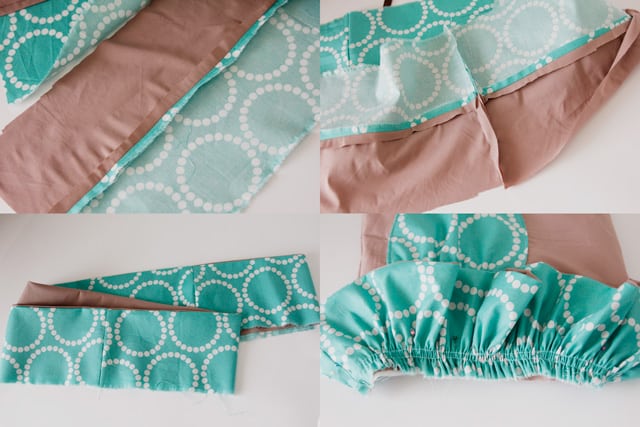
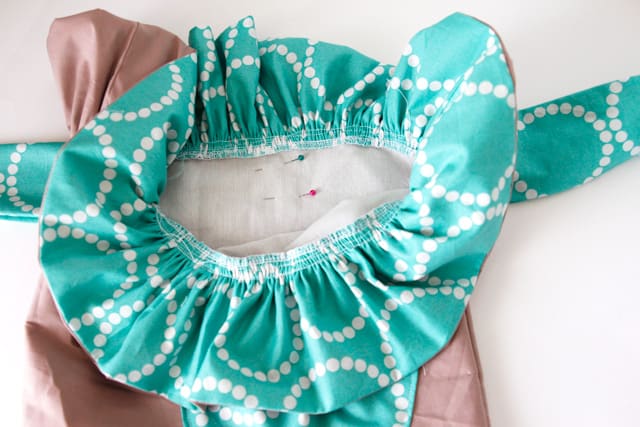
To make the ruffle part of the back, sew two long strips together at the long edge. Then sew the short edges together. Fold the strip in half so you have a tube with both fabrics showing on their right sides. Gather the strip and attach it to the top of your bag.
Press the ruffle up and topstitch along the edge.
Make a sash and attach it at the back.
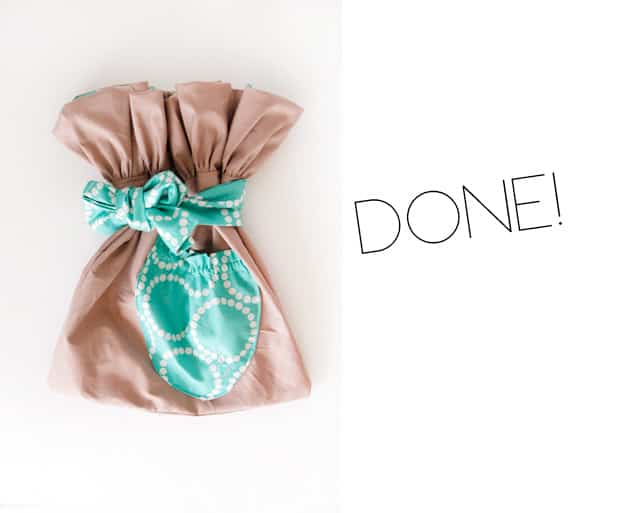






So cute!!!
I love this fabric!!! And what a cute bag :)
I just love the fabric you all used!! Lovely, and ruffles… even better :o) I’d love toe do a mystery fabric challenge sometime if you are ever looking for new blood :o)
EMily@nap-timecreations.com
Kate, this bag is FABULOUS!!
Can’t wait to make one!
Thanks for sharing your patterns and expertise with us.
Blessings…