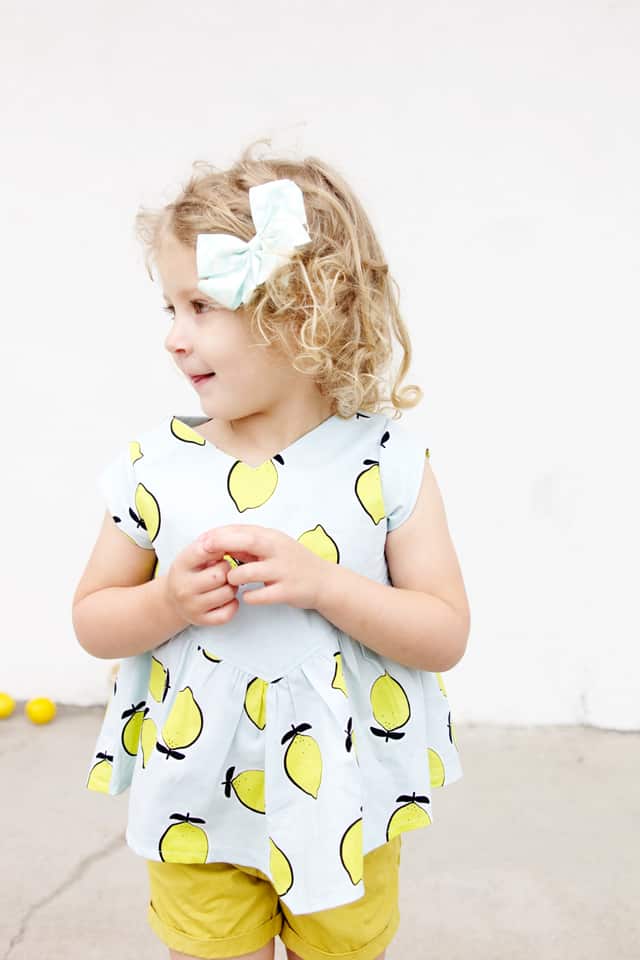
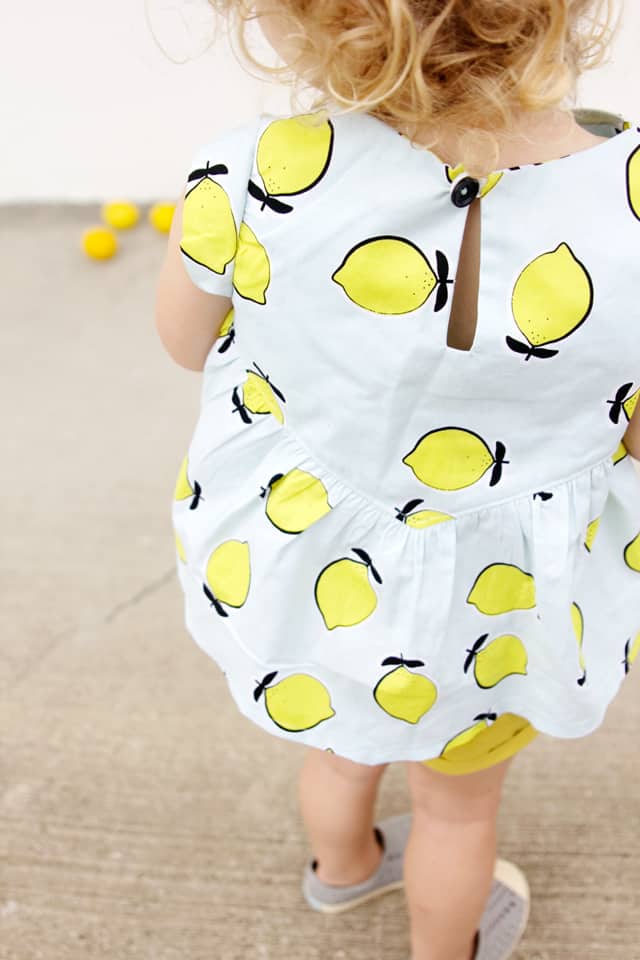
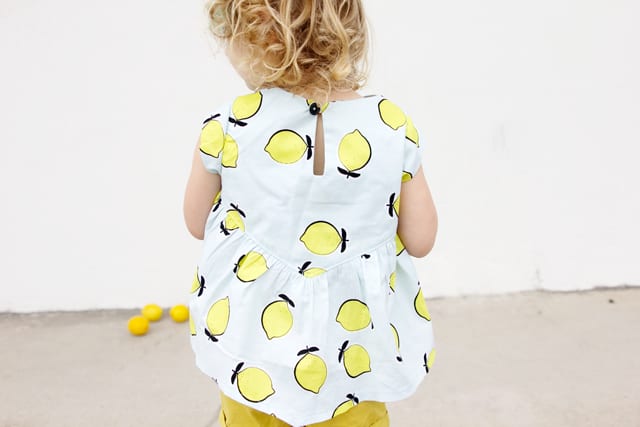
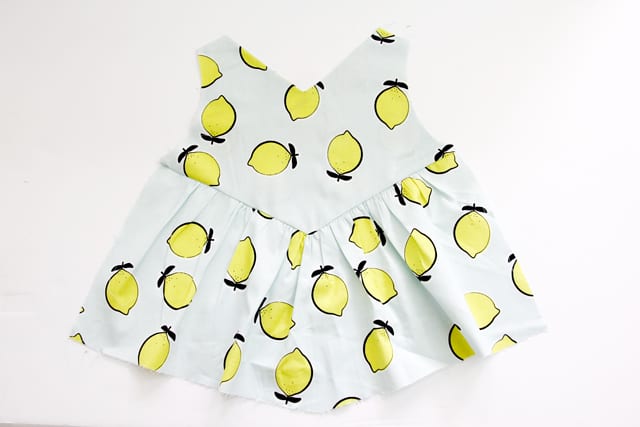
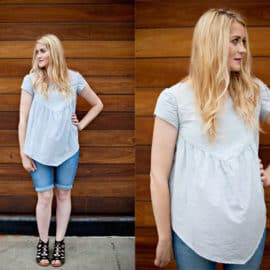
It was pretty fun making a Manhattan Blouse in this lemon fabric I designed for Riley Blake! It was like a full-circle design experience! I made this fabric with summer in mind and I think it’s perfect for the Manhattan Blouse! Screams summer if you ask me! I bought a bushel of lemons for this photoshoot (maybe not a whole bushel…) and we had fun!
I used a little black button for the closure.
And made a Manhattan Doll Dress for the dolly!
In this post I am going to show you how to sew the Manhattan Blouse step-by-step with photographed instructions! I hope this will break it down for you if you come across a tricky step. The steps for the Manhattan are almost identical to the Soho blouse, but all the tricky parts should be covered here. So, if you’re sewing the SOHO, this can be a reference for you, also.
The doll dress is sewn a bit differently, but has a few of the same steps, including the gathering and shoulder seams. So it can be fairly helpful for that one, too!
Manhattan Blouse Tutorial
Materials:
–The Manhattan Blouse Pattern (or the Soho!) (or the Dolly Manhattan!)
-Round elastic OR 1/4″ elastic for loophole
-1 button
-fabric, see pattern for yardage requirements
It’s best to reference your pattern instructions while looking at these photos. That way you will have a photograph and an illustration to compare if you’re confused!
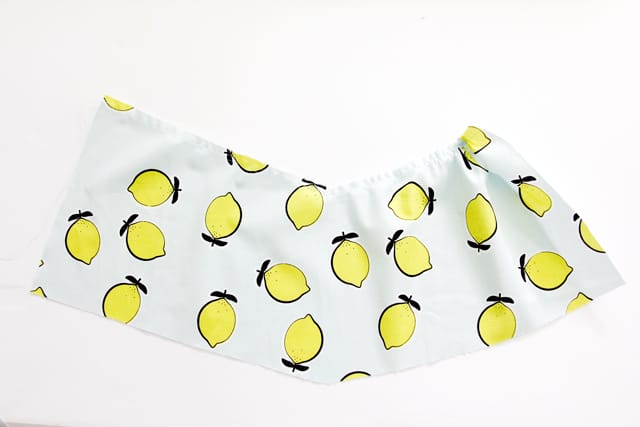
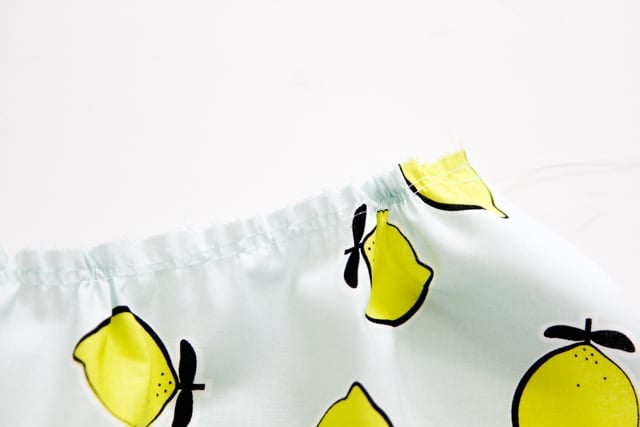
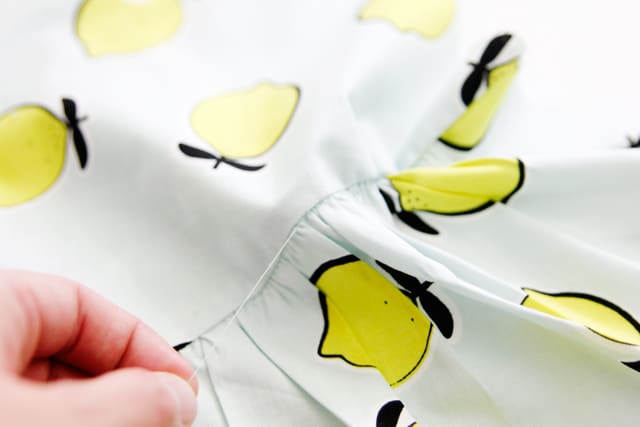
Start with the skirt! Run two rows of baste stitching across the top. I like to make them about 1/4″ and 3/8″ from the top edge.
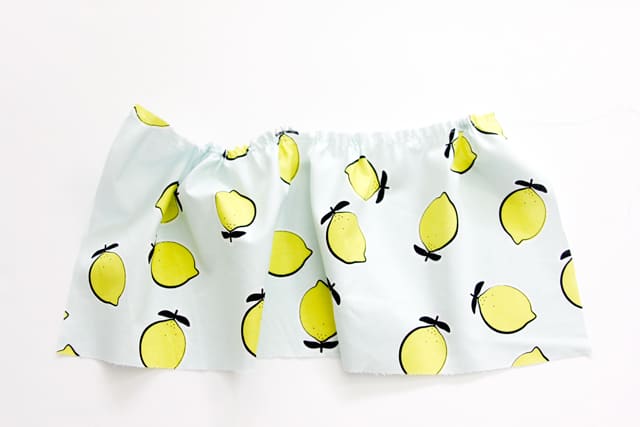
Pull the threads to gather the fabric.
Pulling both threads at the same time will help you get an even gather.
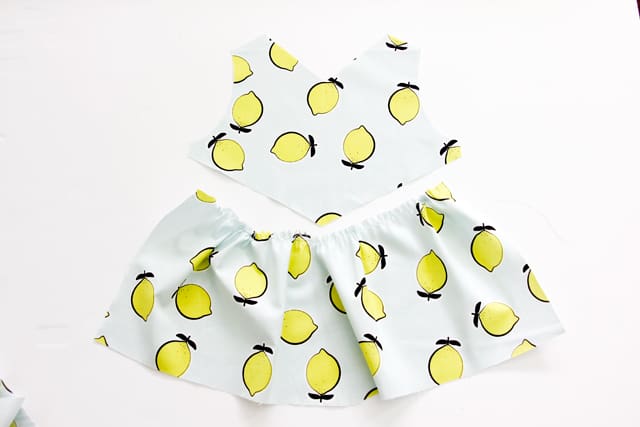
Gather until the skirt matches the width of the bodice.
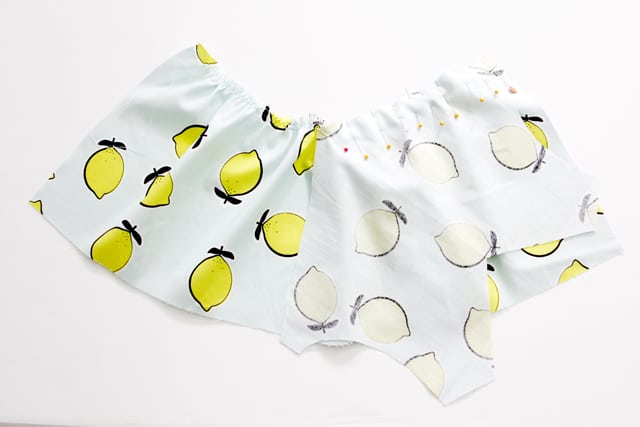
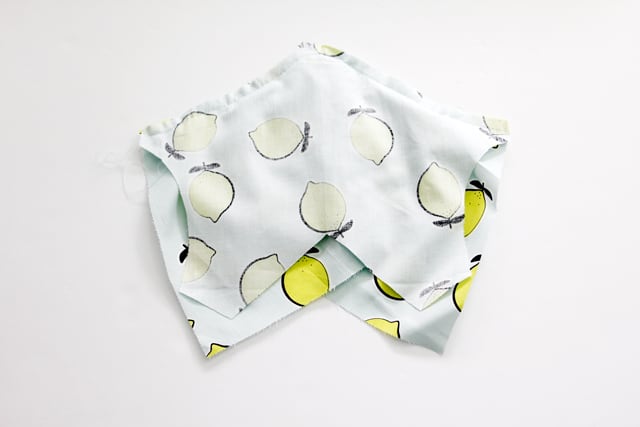
Turn the bodice piece onto the skirt with right sides together and match half the skirt to half the bodice. Use plenty of pins to keep it even and pull threads more if needed.
Pivot the bodice and repeat on the other side.
Sew with a 3/8″ seam allowance, pivoting at the point. You may want to reduce the stitch length of your thread about 1″ on either side of the point. That will help you get a sharp and secure point.
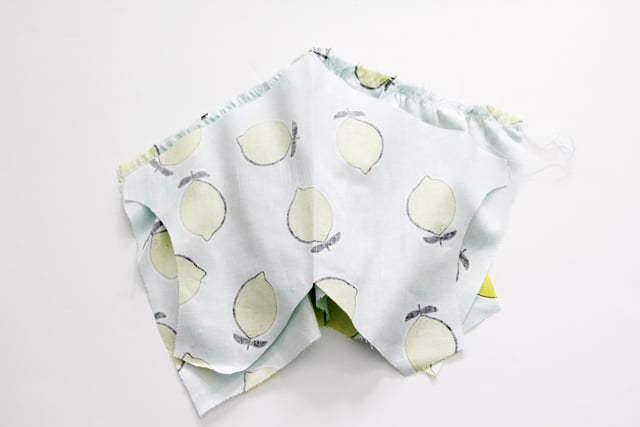
Flip the skirt piece over and sew the other bodice to the other side of the skirt. The right side of the bodice will be DOWN and the skirt’s right side will also be DOWN.
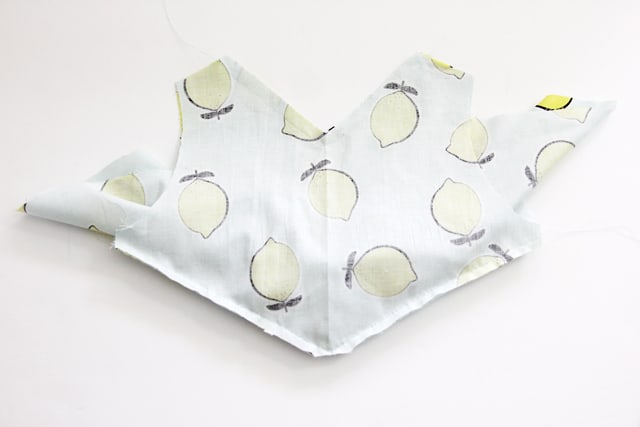
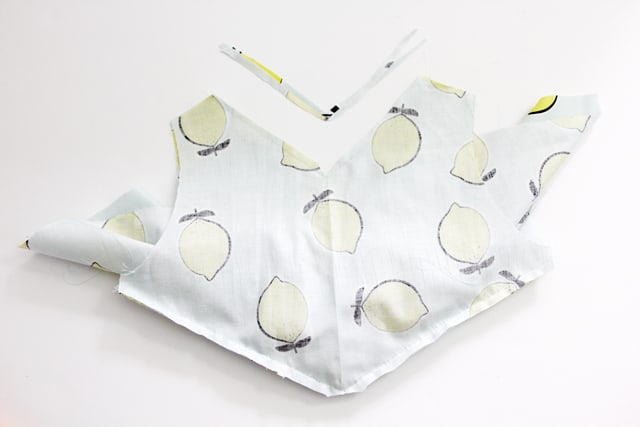
Clip the point off and trim seam allowance.
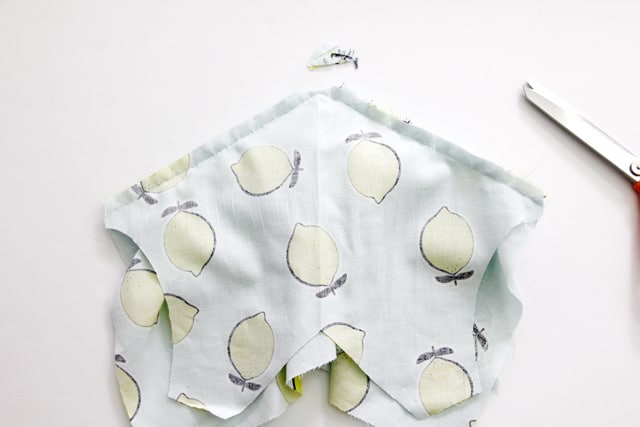
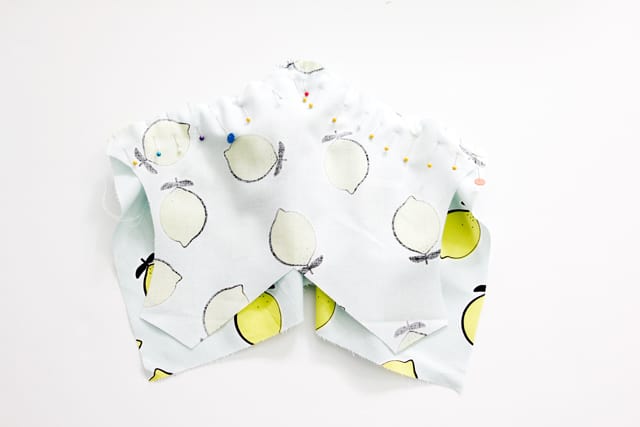
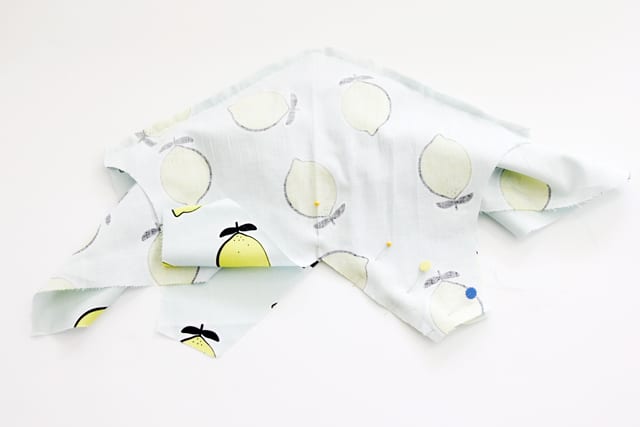
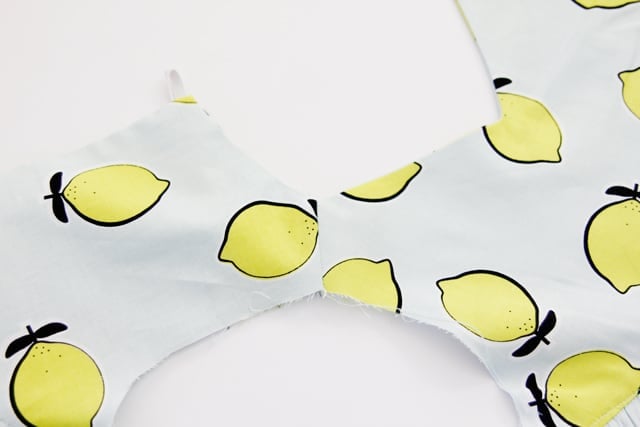
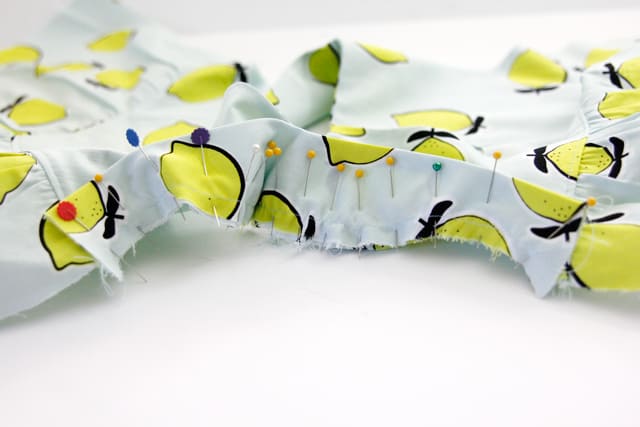
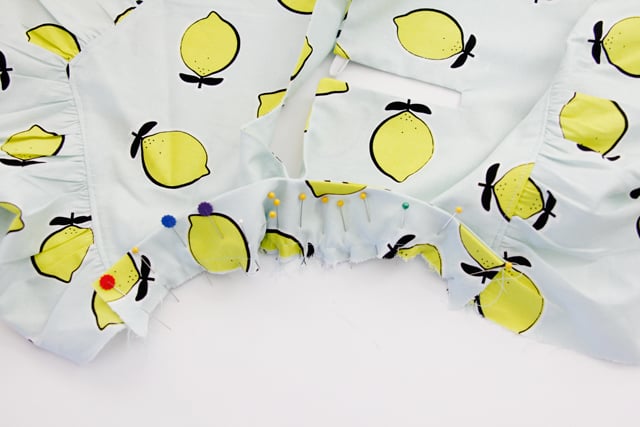
Now scrunch the skirt piece and match the bodice’s necklines. The main bodice and the bodice lining will be right sides together. Match and pin.
Sew neckline V. Here, again, use a shorter stitch length at the point.
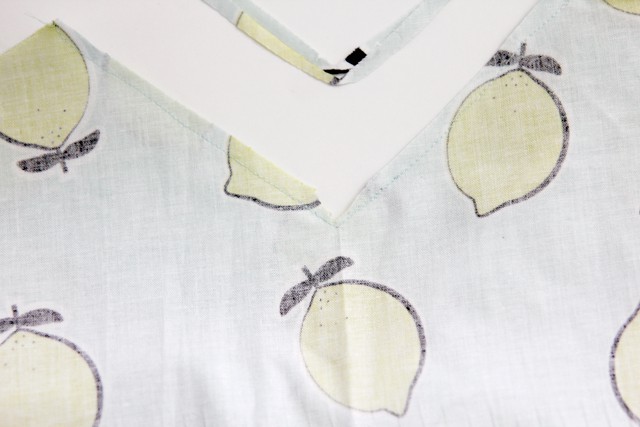
Trim seam allowance.
And clip into the point, being careful not to clip into stitching.
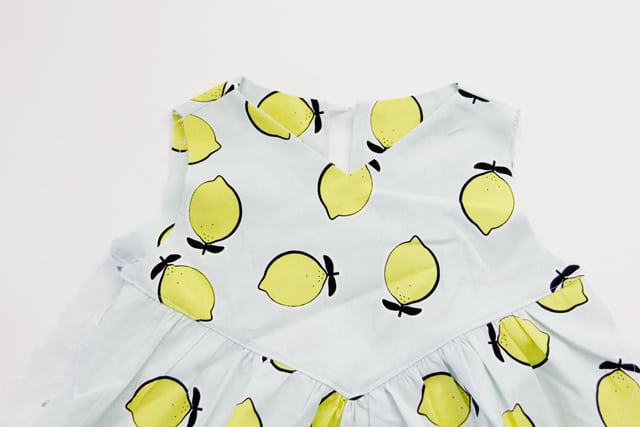
Turn the front piece right side out and press well.
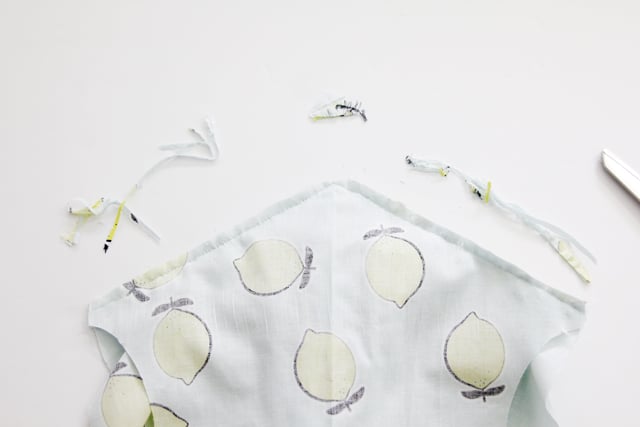
Remove any basting stitches that may be visible.
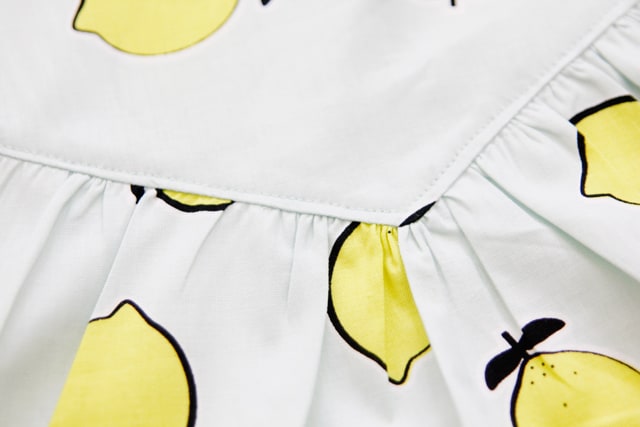
And topstitch the bodice along the point.
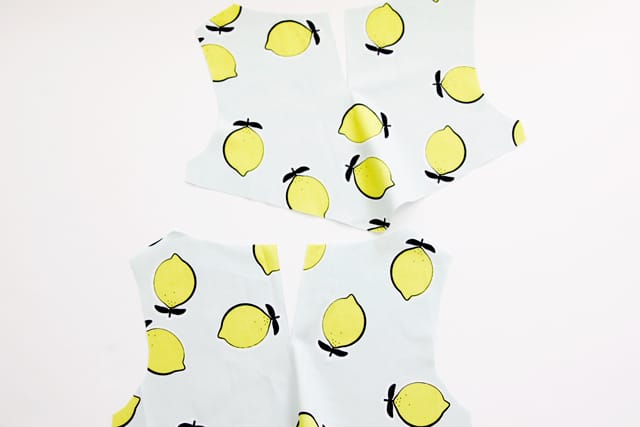
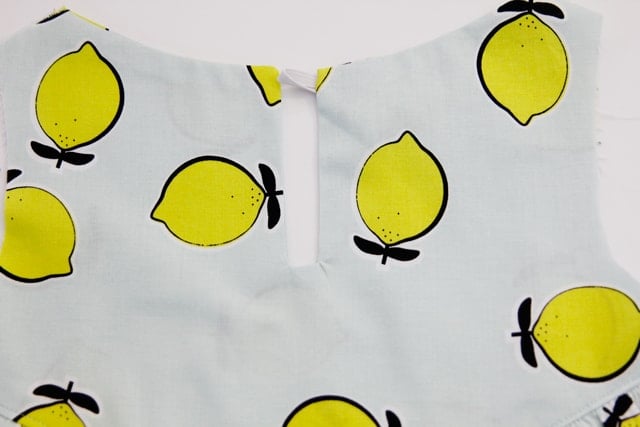
Now we’ll sew the back. Find your back pieces and cut the slit down to where the pattern indicates.
Repeat the same steps for gathering the skirt fabric and attaching the bodice back and bodice back lining to the skirt. When you get to the point where you match your back neckline, pin all the way around the neckline and down into the clipped opening. 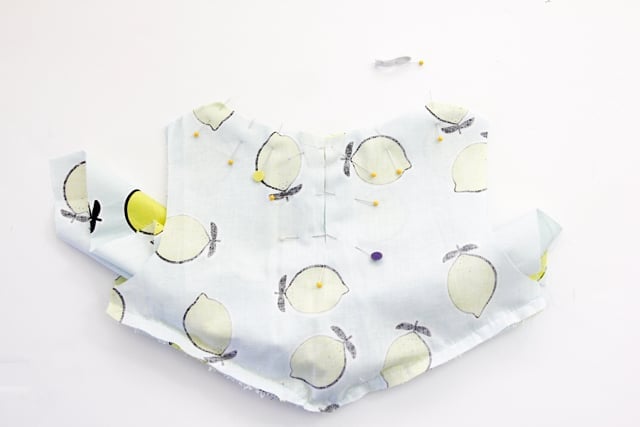
Open up one side of the back and stick the elastic inside, with the raw ends of the elastic matching the raw edges of the fabric. Pin closed and sew all the way around.
Clip the corners and turn right side out.
Press well and topstitch along bodice V, like you did with the front.
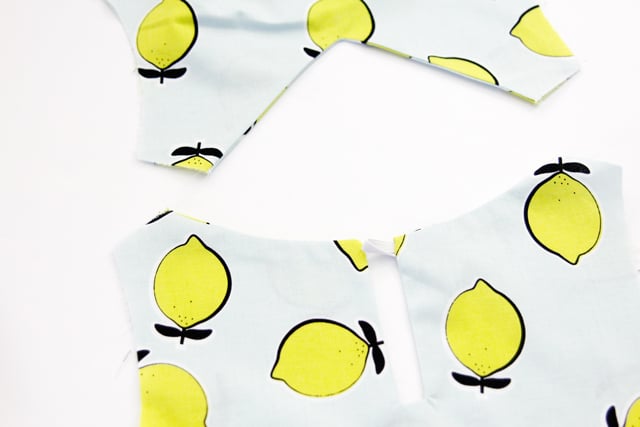
Now the front and backs are complete. We’ll stitch them together at the shoulder seams. This is a tricky step to explain, but it’s easy to do!
Lay your front and back on a table with the right sides UP.
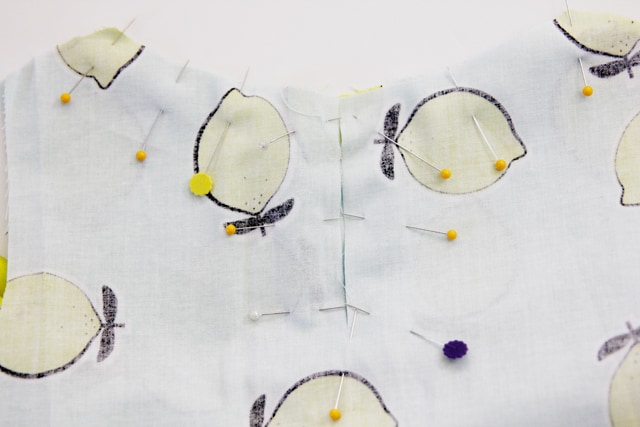
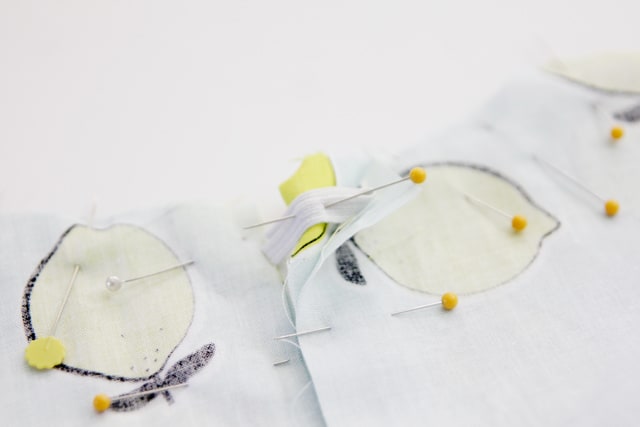
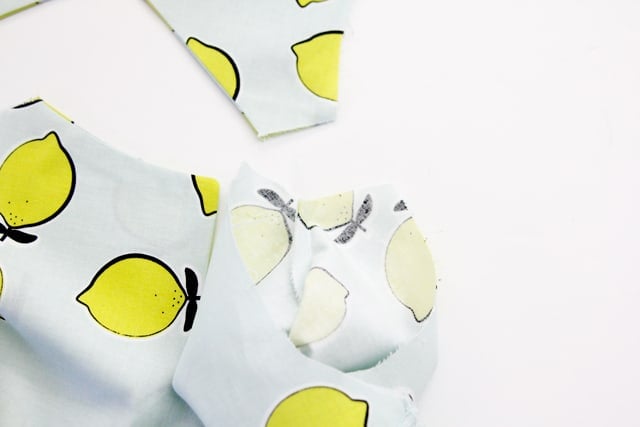
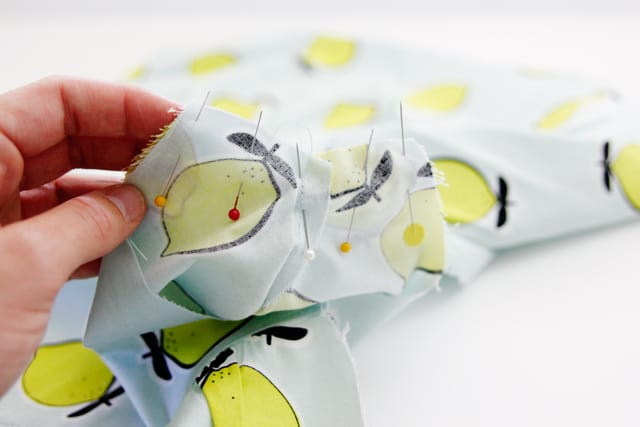
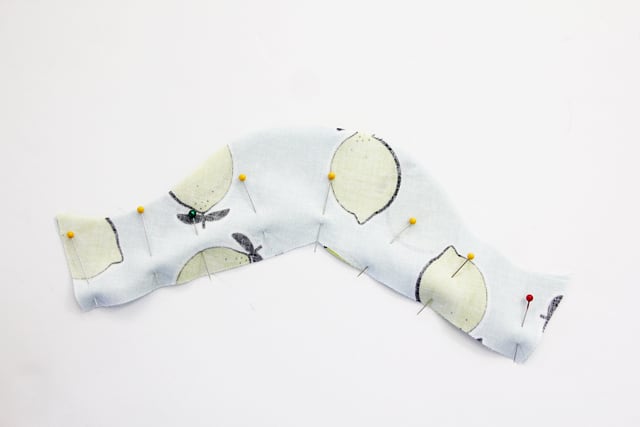
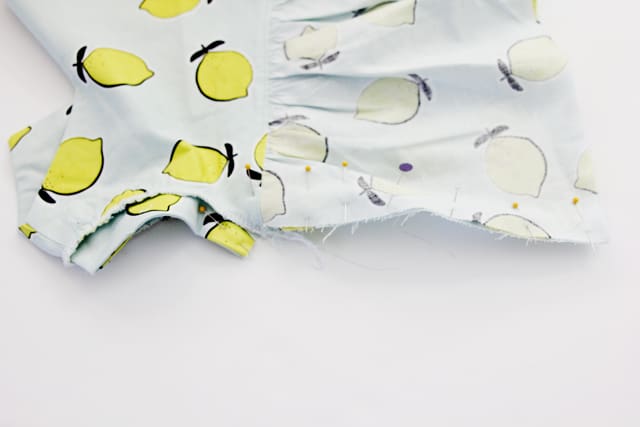
Open up the shoulder seams and match them together, with right sides together. You’ll match the front and back shoulder seam on each side. The right side of the front needs to be touching the right side of the back. Same for the linings. Match the seam so they are even and pin well.
The “right sides” are on the left, where the hands are holding the fabric in the photo below. Since I used the same fabric for the lining, it is not as clear, but the lining fabrics are matched up on the right. 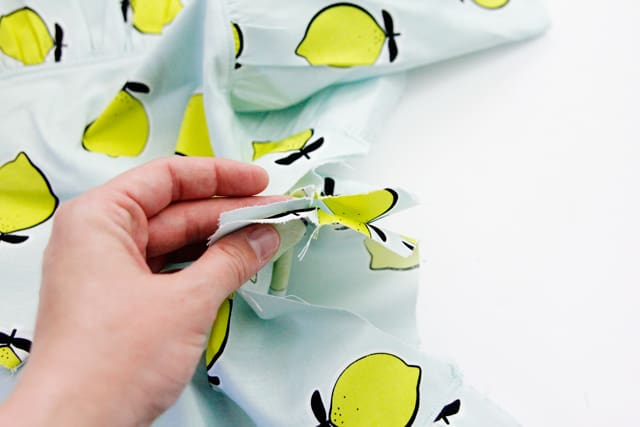
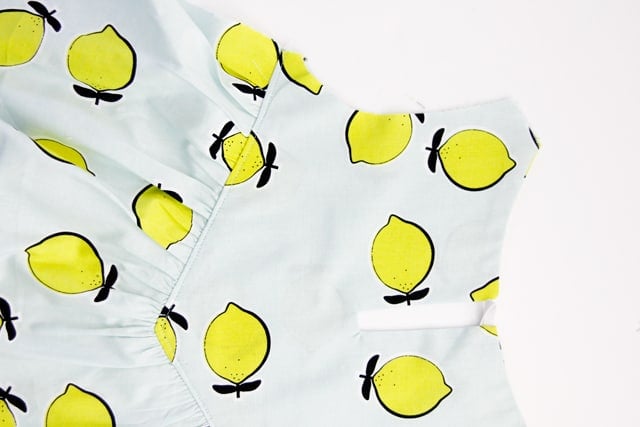
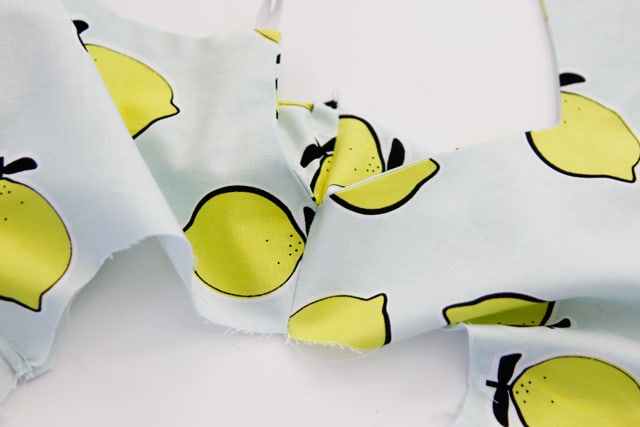
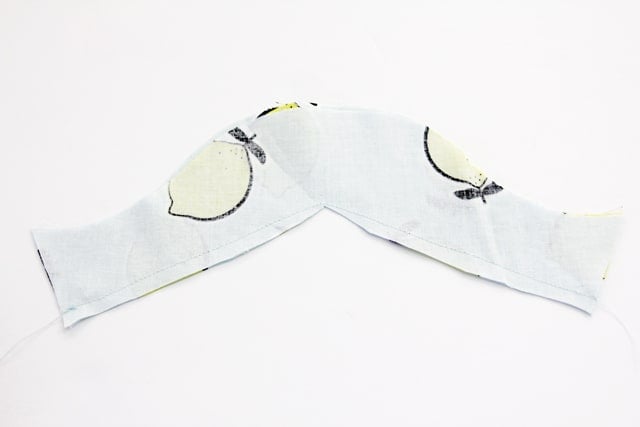
When you’re done sewing, the shoulder seam will look like this:
Tuck the lining under and press well.
Repeat on the other side and your shoulders will be all nice and finished!
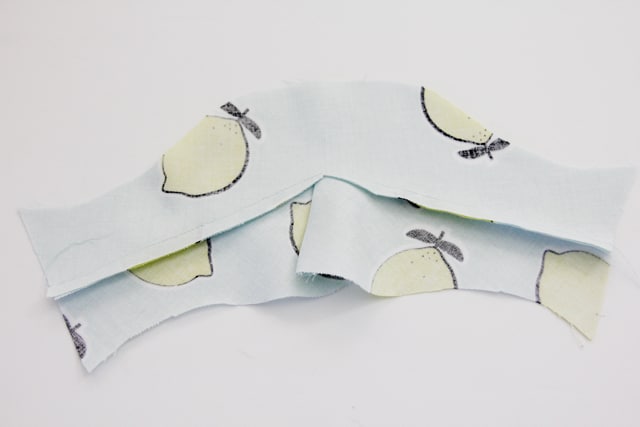
To make the sleeve, stack 2 sleeve pieces together with right sides together. Pin the bottom edge and sew.
Trim seam allowance and clip into the point, being careful again to not snip through the seam.
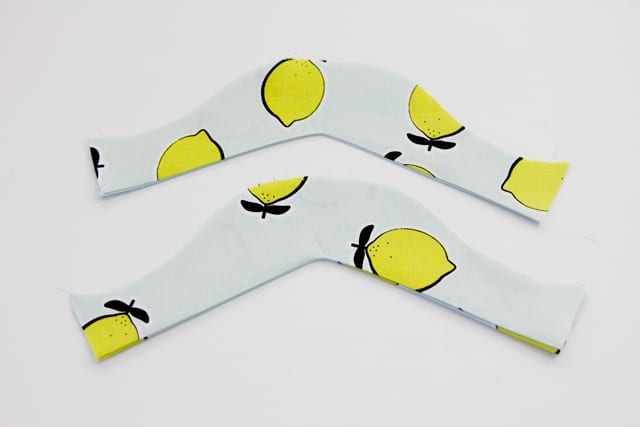
Press open and press seam allowance down. Then press the lining up to get a crisp edge.
Match the top curved edges to finish the sleeve. Repeat with second sleeve.
Sew a line of ease stitching at the top of the sleeve. Tug threads slightly as you ease it into the armscye.
Sew it up and finish seam allowance.
Sew the side seams, including the side seam of the sleeve. Finish seam allowance and then hem the top!
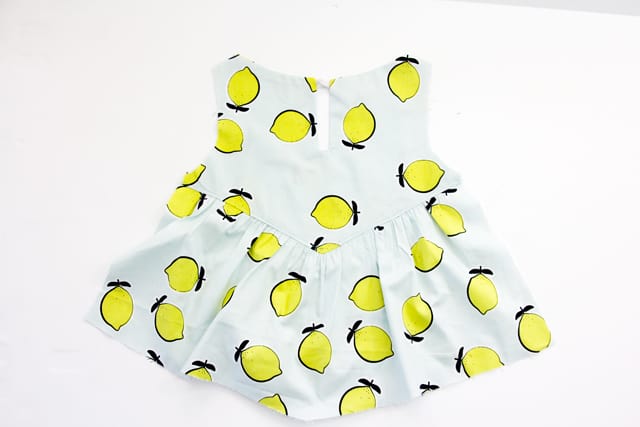
That’s it! You’re finished!
See the rest of the SOHO-along posts:
–SOHO-along Kick-off
–Babylock Lyric Giveaway
–Fabric Selection
–$100 Fat Quarter Shop Giveaway
–$100 Raspberry Creek Fabrics Giveaway
–Manhattan Doll Pattern
Lemon + Pretzel Fabric Sources:
This fabric is my own design! I designed this last summer for the Riley Blake Novelty collection and it is available now! Though, it is selling out fast, so I tracked down each of the prints and made a list for you if you were hoping to snag some!
Lemon Print Light Blue
Fabric.com
Lemon Print Pink (I call this one Pink Lemonade!)
Fabric.com
Lemon Print Navy
Fabric.com
Pretzel Print Pink
Amazon
Fabricworm
Pretzel Print Light Blue
Amazon
Fabricworm







This lemon fabric is too cute! Love the outfit…love it! Now I need you to have another boy so that you get inspired to create more boy outfits! Love the Manhattan but not so much for my boys!!!