To celebrate the first day of Spring (tomorrow!), how about a free skinny tie pattern? Okay!
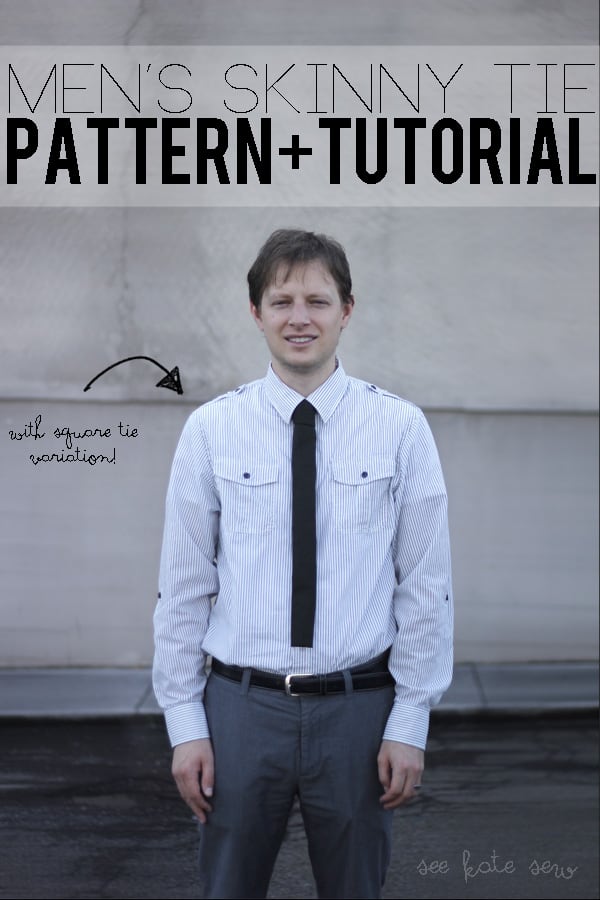
Most of the time when we’re tie shopping, I say NO NO NO to just about every tie. Their patterns are so boring (more diagonal stripes? or weird computer generated shiny patterns?) and their shapes are so huge and sometimes clown-like. I like minimalism for menswear. Bold and clean cut lines. And I’m really digging square ties right now! I bought my husband a few for Christmas, but decided to make some so I can choose exactly what I want them to look like.

I made a pattern so I can make more whenever I want to. And I’m sharing it with you so you can, too! The link is below. It’s totally free! Click the link below to download.

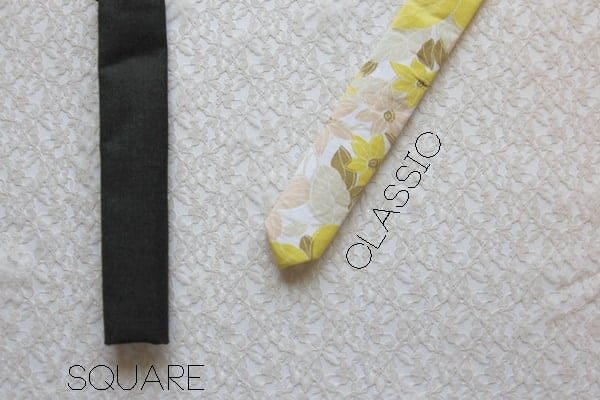
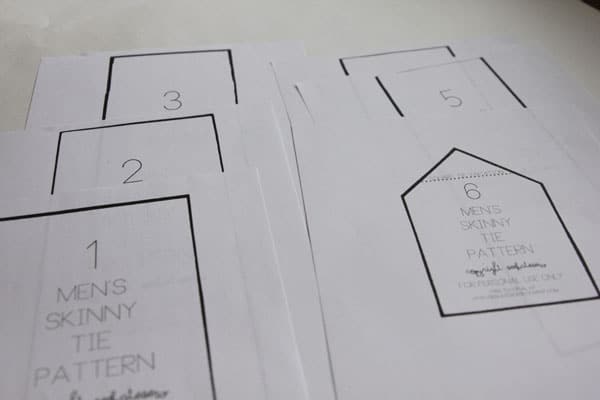
The pattern is 6 pages long, ties use more fabric than I thought! It includes full-size pattern pieces with a square tie variation. I originally planned on making just a square tie, but I thought it would be fun to have a choice.
So do you want some skinny ties, too?
materials:
-1/2 yard fabric of choice
-1/2 yard fusible lightweight interfacing
-1/2 yard lining fabric of choice
Print out all your pattern pieces and cut them out.
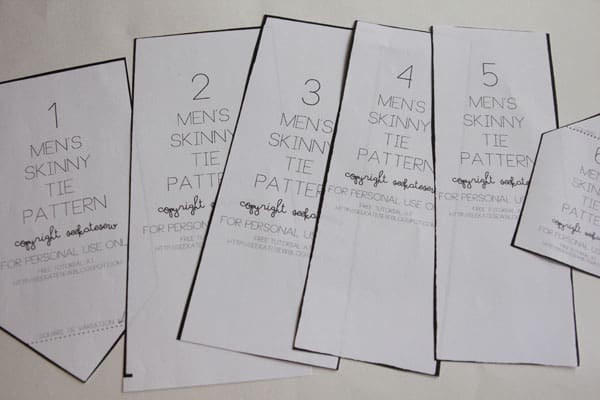
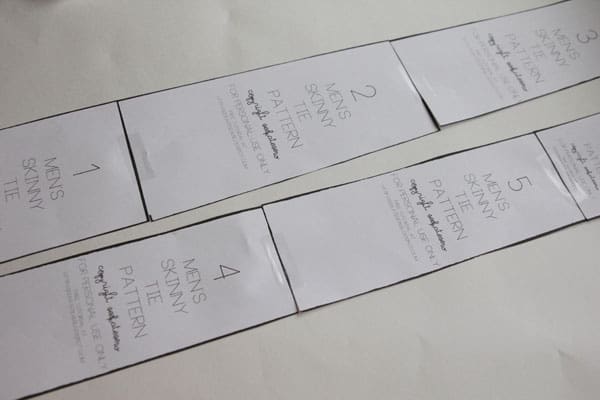
Tape pieces 1, 2 and 3 together.
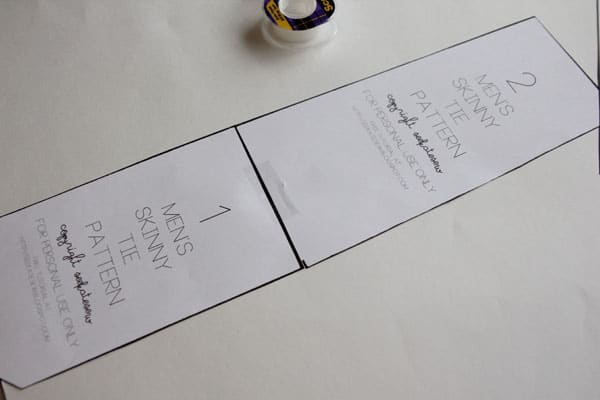
And tape 4, 5, and 6 together.
With each pattern piece, cut out 3 layers.
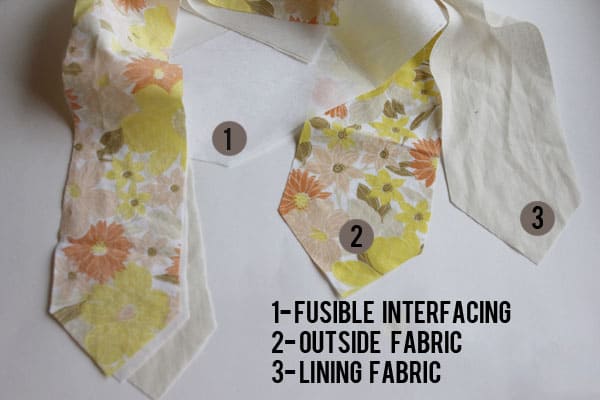
Iron the fusible interfacing to the back of the outside fabric. Then pin the small and large ends of the tie together in the middle. Sew at 1/2.
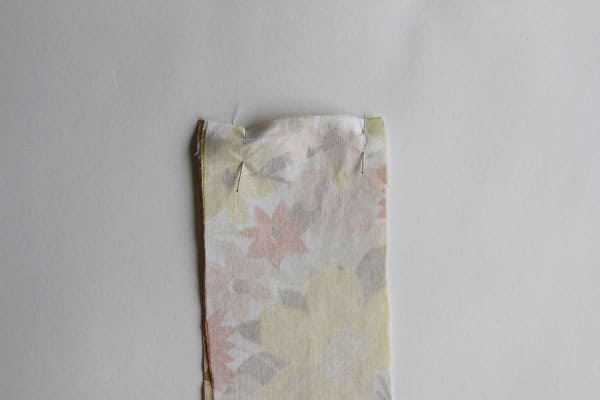
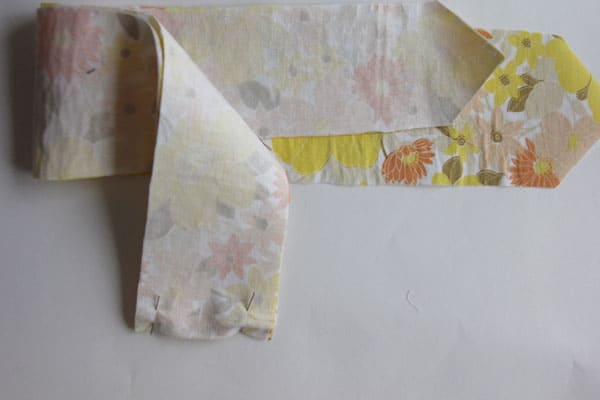
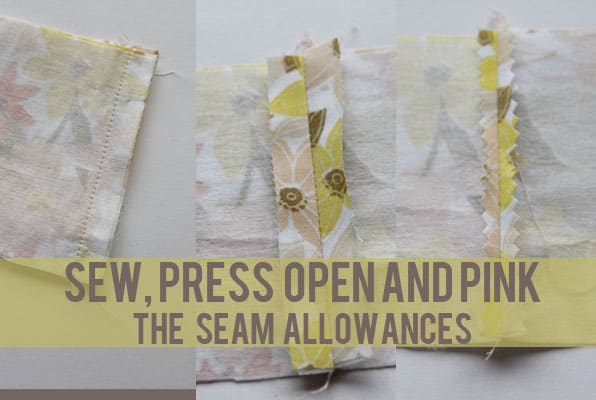
Repeat with lining fabric.
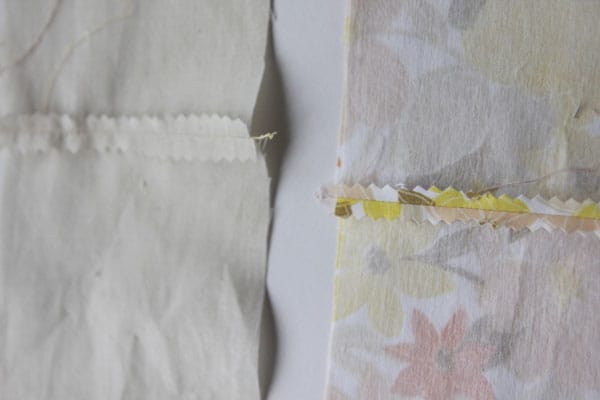
Now pin the two pieces together, right sides together.
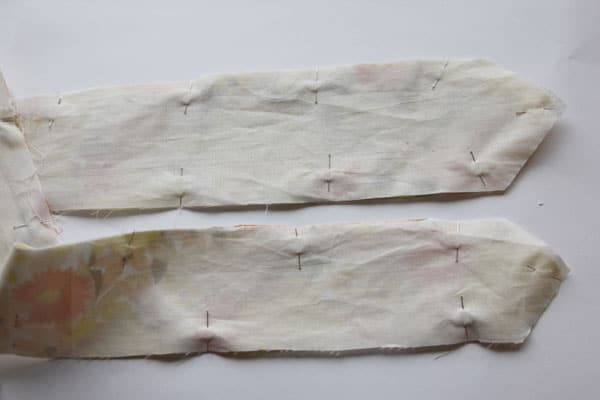
On both ends, stretch the lining fabric just a little bit and pin it spilling over the edge. About 1/4.” This will help insure that the lining doesn’t show on the front of the tie.
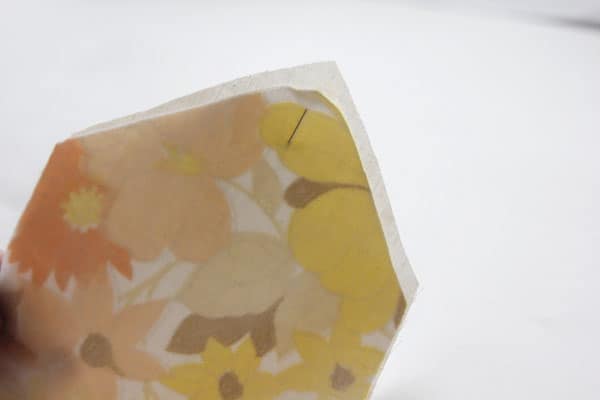
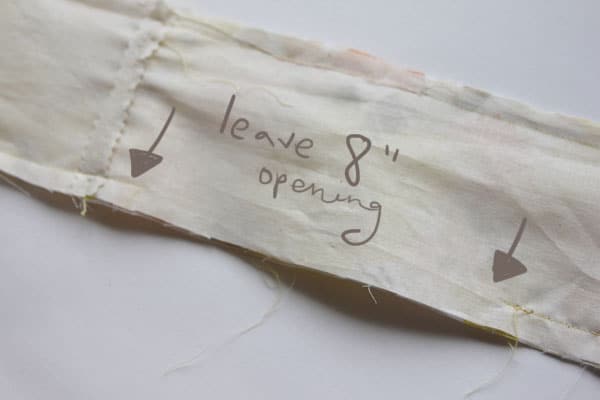
Sew all the way around the tie at about 3/8″. Leave an 8 inch opening near the middle of the tie on one side.
Pink all the way around the tie to reduce bulk. If you don’t have pinking shears you can just trim it down to about 1/8″.
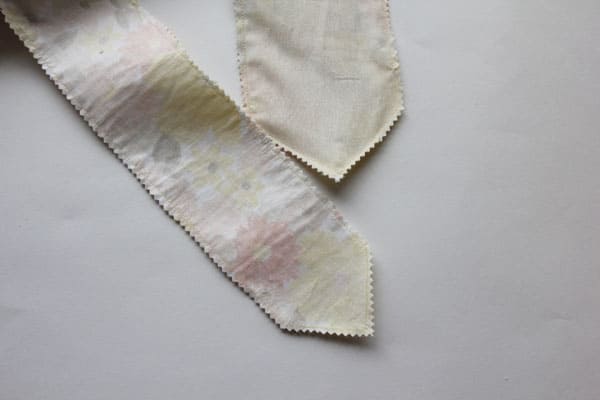
Turn right sides out and press.
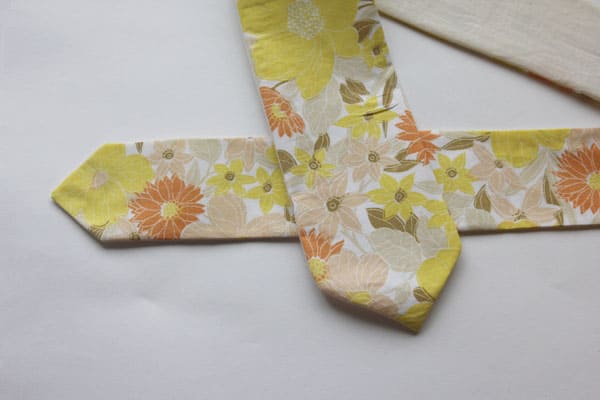
Press under the edges of your 8″ opening.
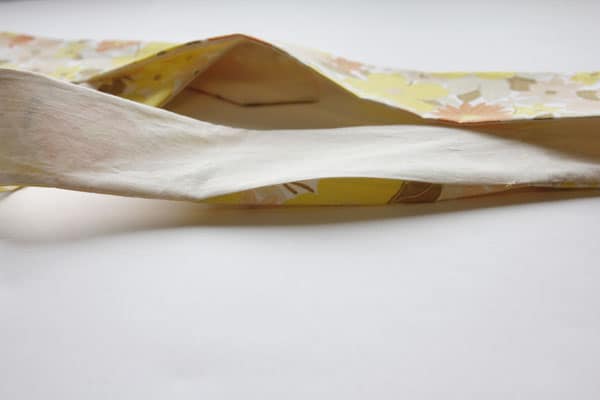
Now, fold over the side of the tie with the 8″ opening. It should go about 1/2 way into the tie.
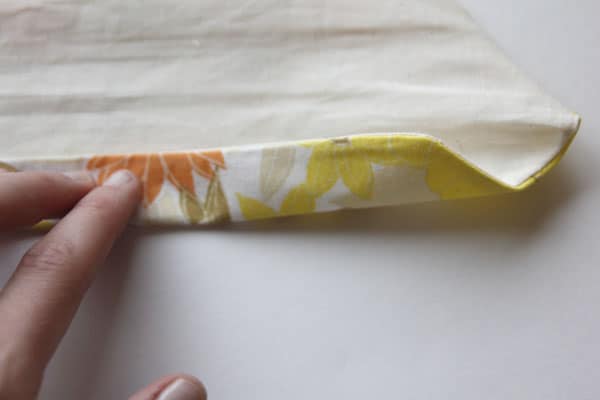
Fold the other side on top and pin in place.
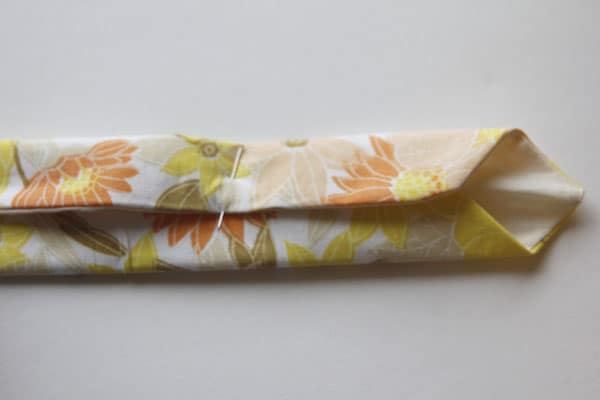
When you get to the 8″ opening that you left, you’ll just continue folding it under. This will hide the opening.
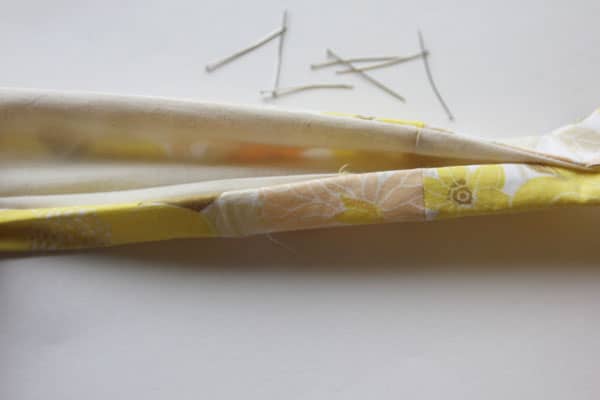
Pin all the way up.
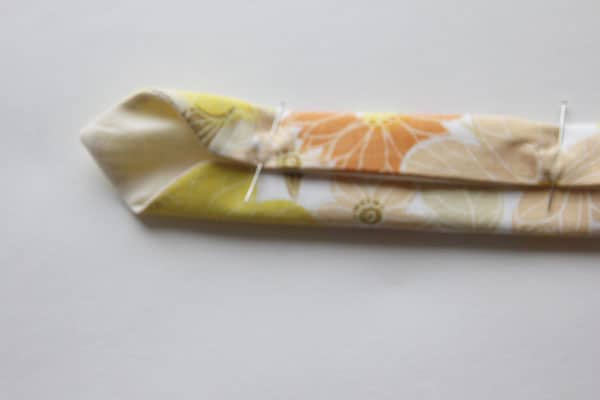
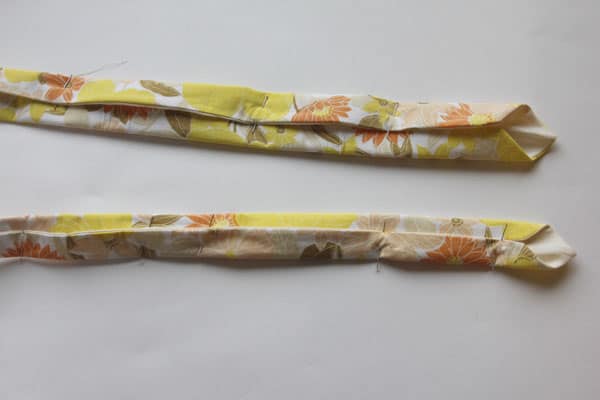
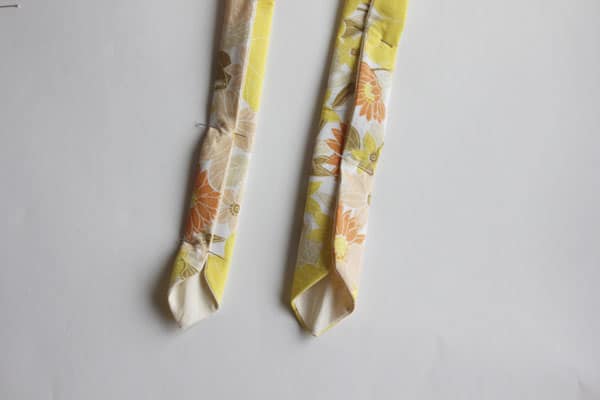
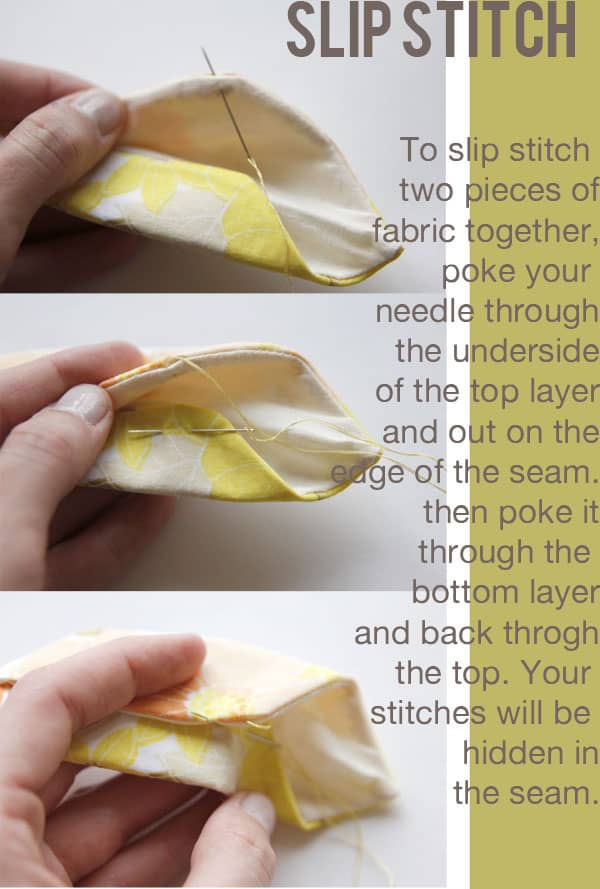
Finish the tie by hand stitching the middle seam with a slip stitch.
To make this tie look legit, add a little loop on the back of it.

Add a little label if you want.
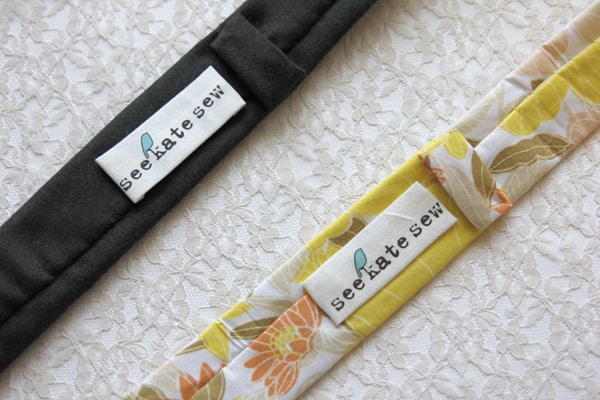

Yep! All done! Now round up your man and make him try it on!
Would you like to see some serious tie-tying animation?
I thought so.

Are you thinking what I’m thinking? Matching baby/daddy ties to match my Easter dress?? Yes. I am that mom.
The baby/kid size skinny tie pattern+tutorial is available right here.




This is great!! Can’t wait to try out your pattern!! Thanks so much for sharing :)
Love the animation! And thanks for the freebie. I’ve pinned it. My hub is in desperate need of some new ties! Perfect tie-ming. ((cough cough…sorry…I’m a cheeseball))
Aloha,
Charlie
This is awesome! Thanks so much for sharing. Just the other day I asked my husband if he would want a skinny tie and he was totally for the idea. I agree with you about those store bought ties. Now I can make him whatever I want. ;)
justenoughstyle.blogspot.com
So dang cute! I love the skinny ties, ok I might have to make some. My hubby is a biology teacher and wears a tie every day.
thank you for this! i was just looking for a tutorial over the wkend & couldn’t find one. you just made my day! :)
this is nice blog
Corporate Ties
Hi Kate! You have such a cute blog! I’m stoppping by from the SNAP link up to say hello and introduce myself. I’m so thrilled to be attending SNAP next month with so many talented bloggers and look forward to seeing you there. Happy and safe travels!
Um, my husband and two steps are going to have matching ties for family photos this fall. And that’s all I have to say about that. (!!!) Thank you so much, Kate! :) My husband has to wear a tie almost every day (and prefers skinny ties) so this is perfect!
one-girl-vs-world.blogspot.com
I love your personality. The cute animation rocks too! You’re adorable. Excited to meet you at SNAP!
Literally the day you posted this I used it for making a tie for my son’s 80’s costume for his school dance. I used the pattern and just serged it since it was for one night but he loved it and won best boys costume!! Thanks so much!
I love this and am gonna make one but only one problem when cutting out the tie should it follow the straigh of grain or on the bias cuz some tie patterns ask for on the bias
We really love this tutorial and we’d like to share it with our readers at WeAllSew.com! We will share a link to your tutorial right here at your blog this coming Friday at WeAllSew.com. Please let me know if you have any questions about being featured!
Thanks for such a great tutorial, I found it through WeAllSew and I am going to be trying it out very soon!
sorry if i missed it in the tutorial, but what are the final measurements of this tie, especially the width at its widest point? thank you.
Just stumbled across this–was in serious need of a low-impact project to make for my two dude housemates as a welcome-back-to-campus gift (the girls are so easy…headbands, quickie jewelry, there are a million accessories, but the guys? aagh!) and this looks perfect. Thanks so much for putting it out there!
Nice, but where is the guide for the square ended tie?? :)
Nice!! Thanks. But where is the guide for the square ended tie? :)
This is so awesome, thank you!! I can’t wait to try it out.
Thank you! Can’t wait to try!
Thank you! that’s all i can say!