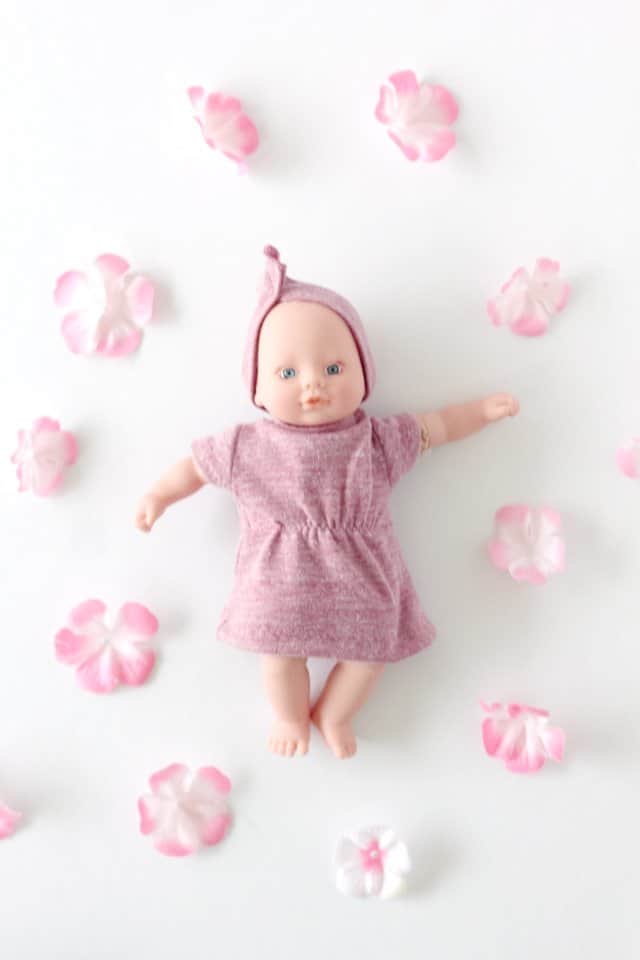
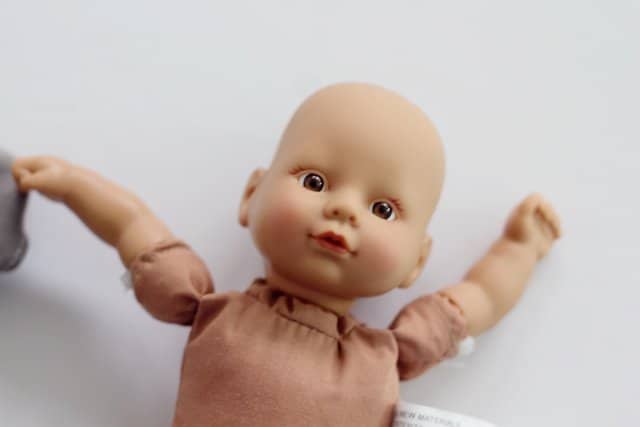
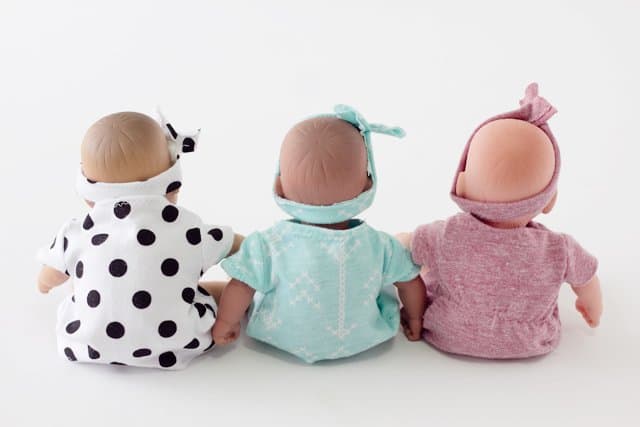
Those mini target Circo dolls get me every time. They are so cute! My daughter has been playing with her tiny little doll for months and months but it has been needing some cute clothes to wear. I finally made some little dress and headband sets and it was super easy! This post has a free baby doll dress pattern for these tiny dolls.
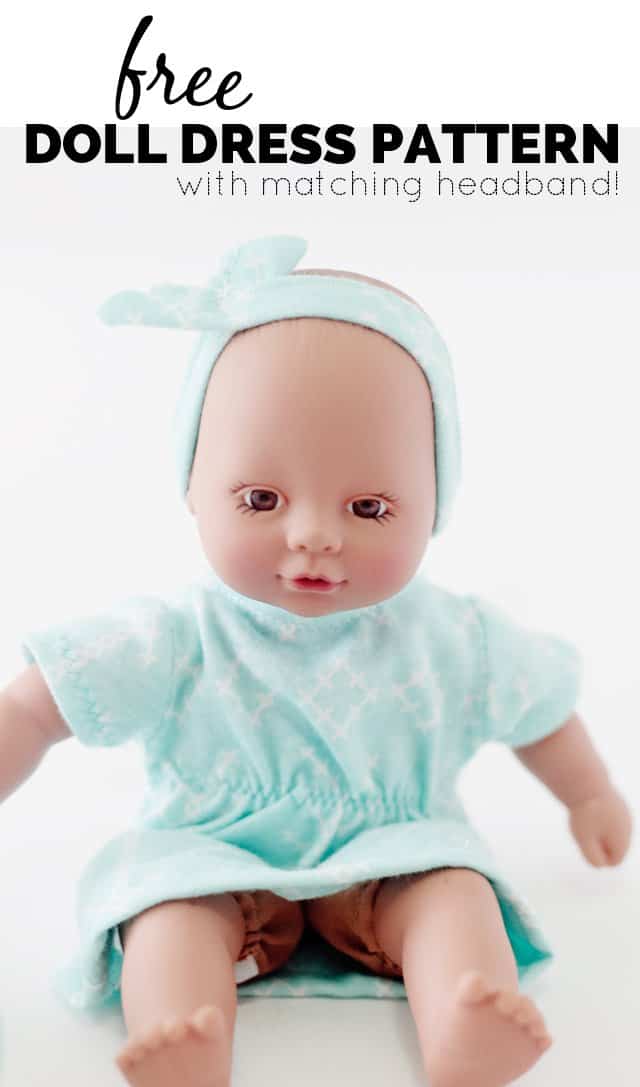
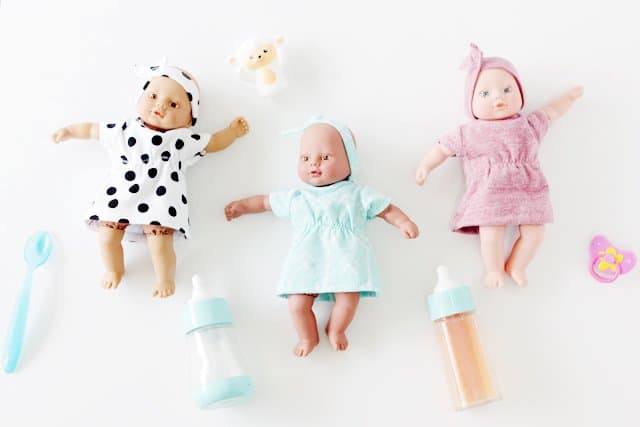
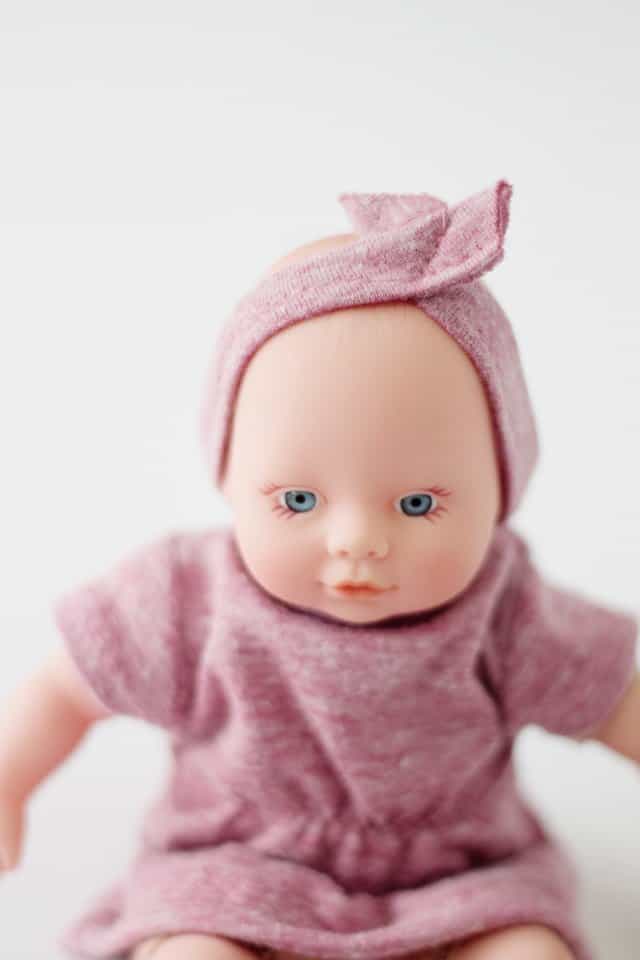
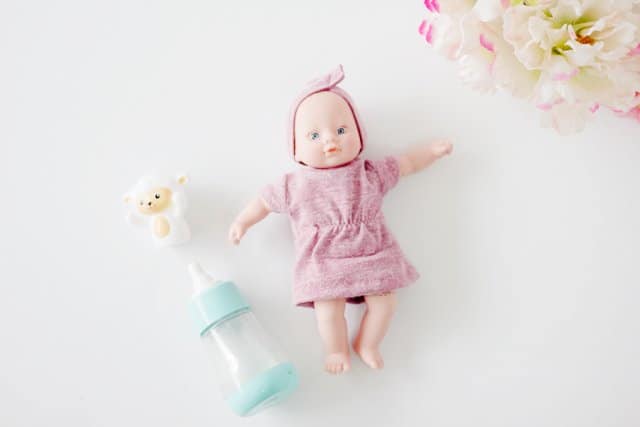
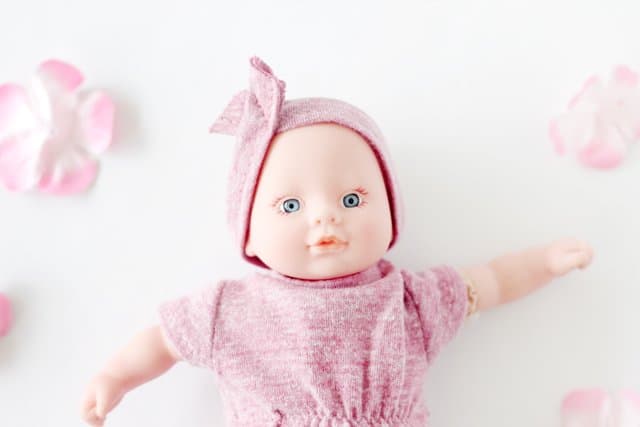
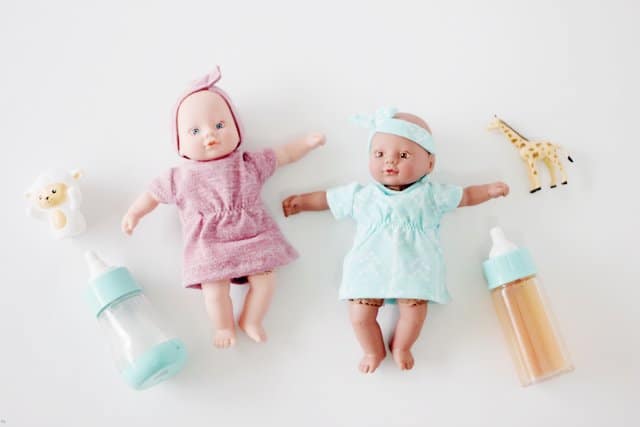
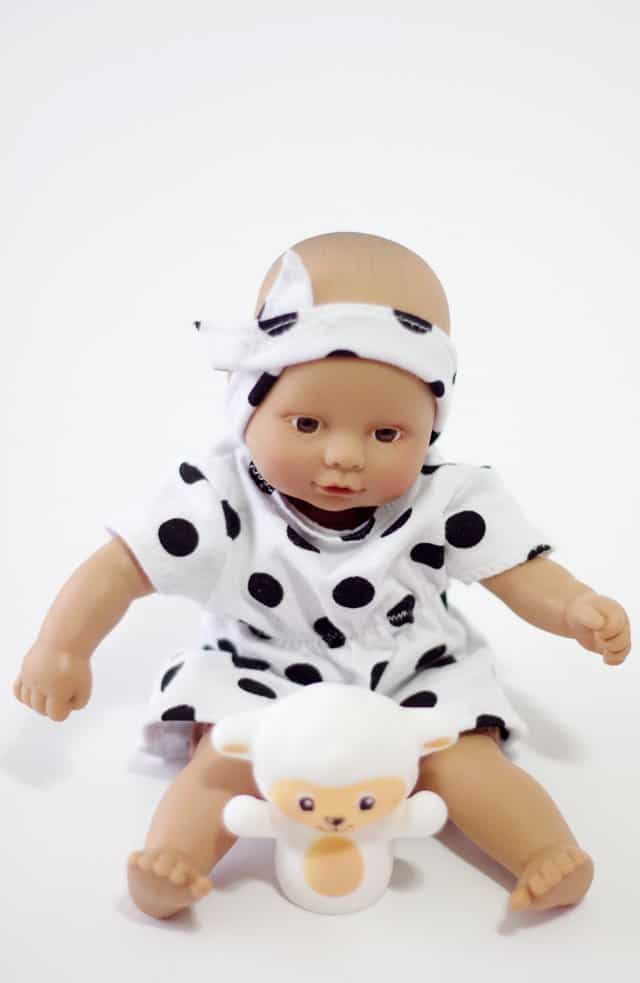
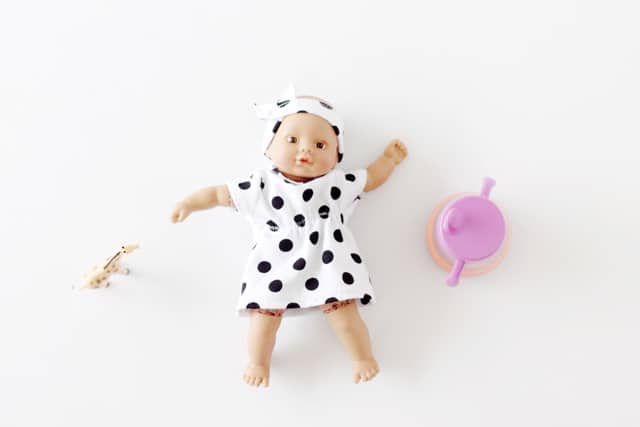
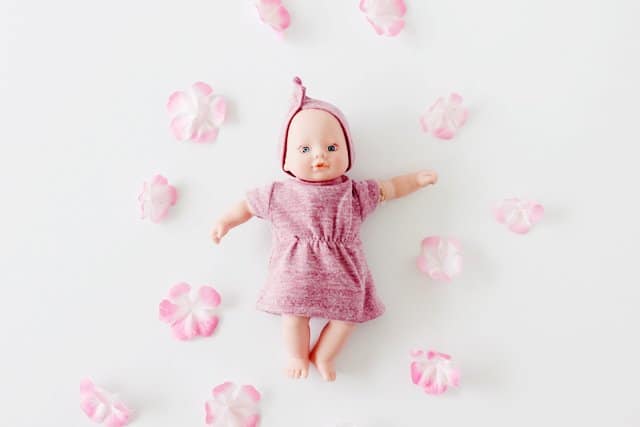
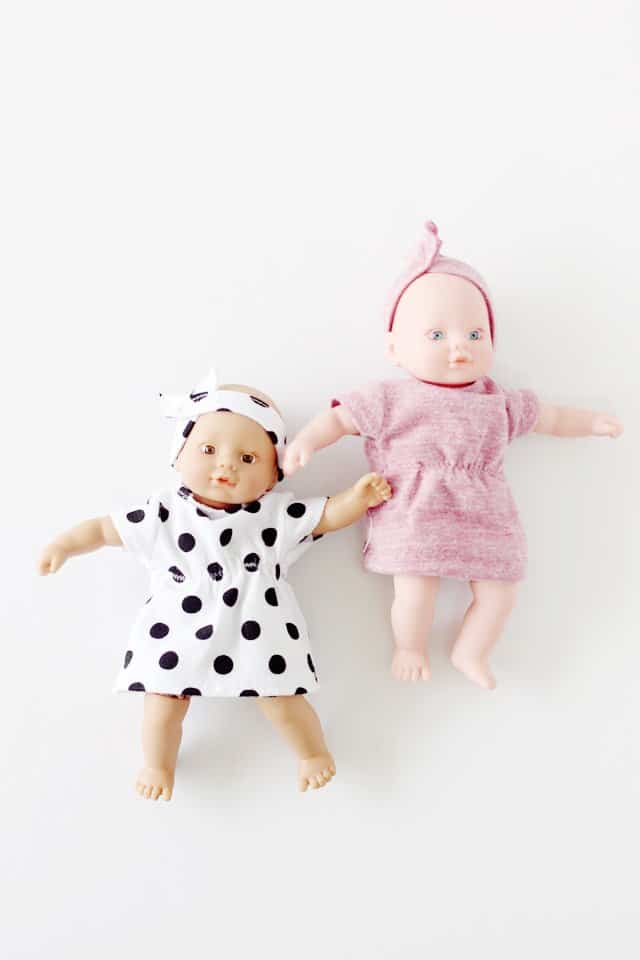
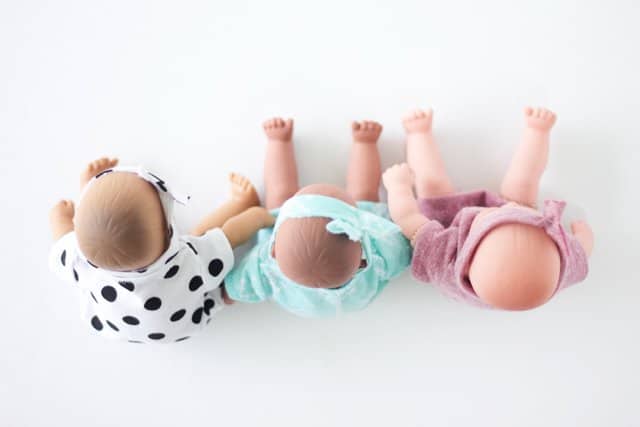
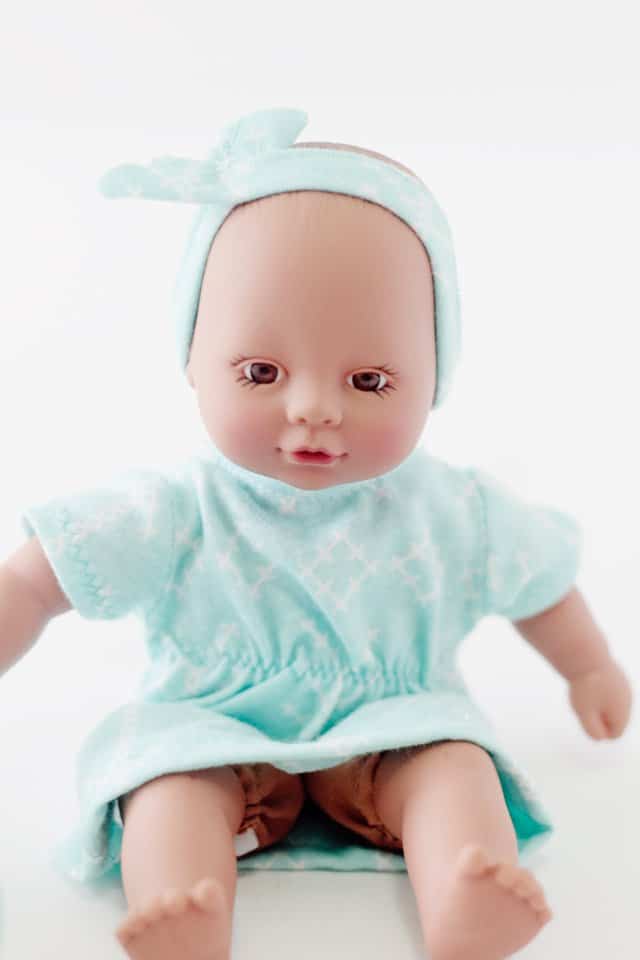
Small scale sewing does require a few adjustments, so this tutorial will walk you through how to make your own mini doll dress and then a simple matching headband! There is a free pattern included that will fit most mini dolls with small heads.
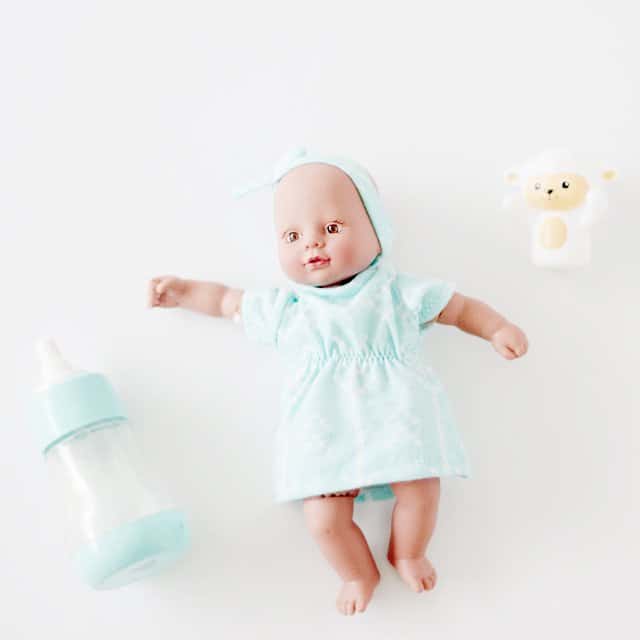
The best part about this is that you can use KNIT SCRAPS! I feel like there are less things you can make with knit scraps as opposed to woven scraps. So if you sew with knits, you probably have everything you need on hand already.
I used some pretty fabrics from Girl Charlee for this tutorial. The polka dot is a half yard cut, and the light blue arrows are from the new Modern Air collection. The others are scraps from other projects.
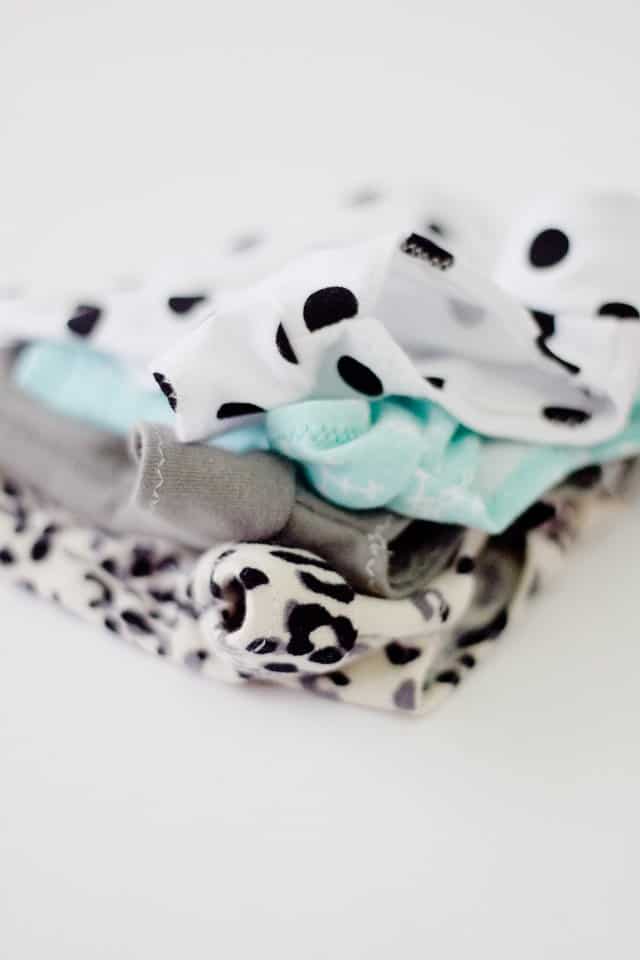
Materials for Baby Doll Dress
- 2 1/4″ of 1/4″ wide elastic
- Knit scraps
- Pattern, download below
FREE BABY DOLL DRESS PATTERN INSTRUCTIONS
Print out the free pattern and cut out the pattern pieces.
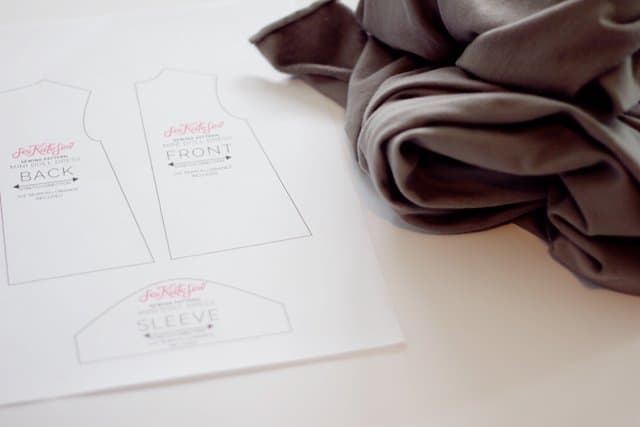
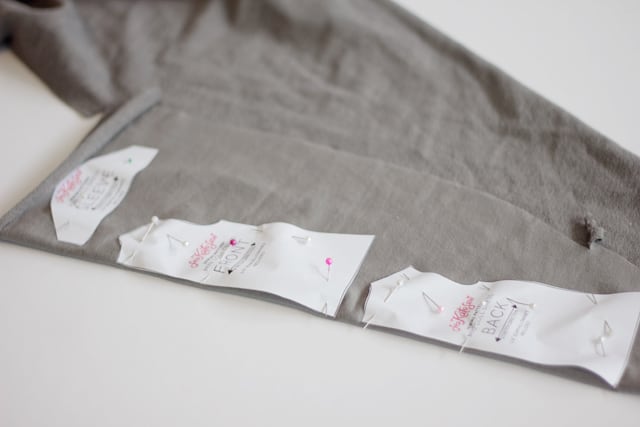
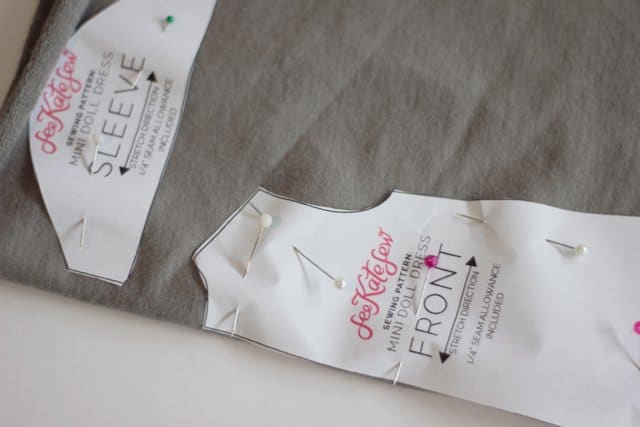
Cut out 1 front and 1 back ON THE FOLD of the fabric with the stretch running across the dress. Cut out 2 sleeves.
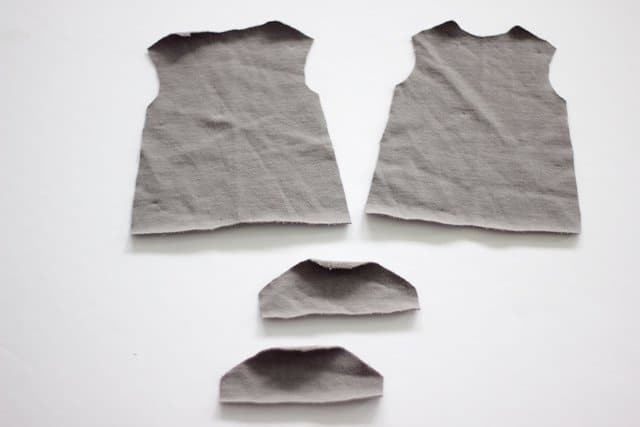
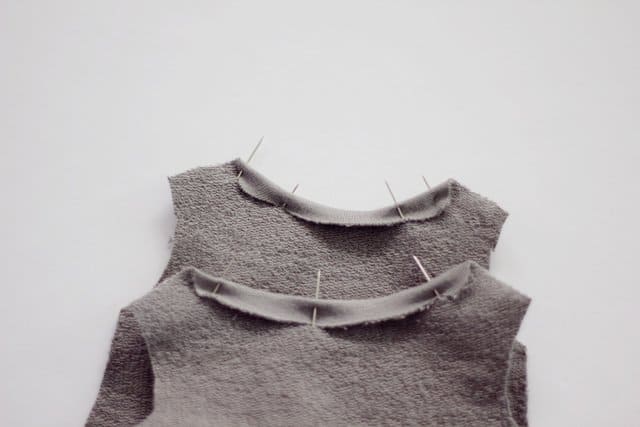
Normally I would finish the neckline of a garment last, but since the neckline is TINY, we have to finish it first. So fold under 1/4″ and press.
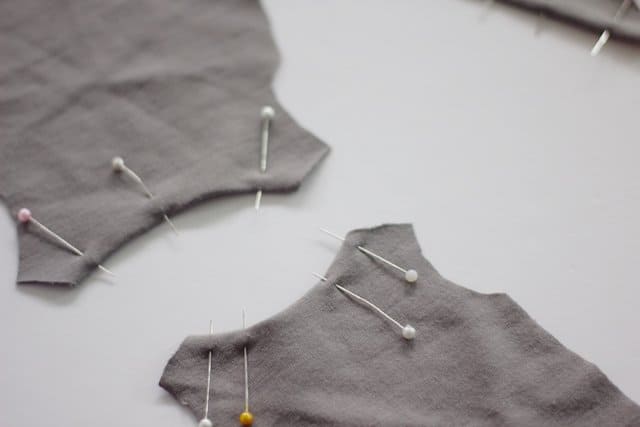
I like to hold it down with a few pins.
Do the same with the sleeve hems.
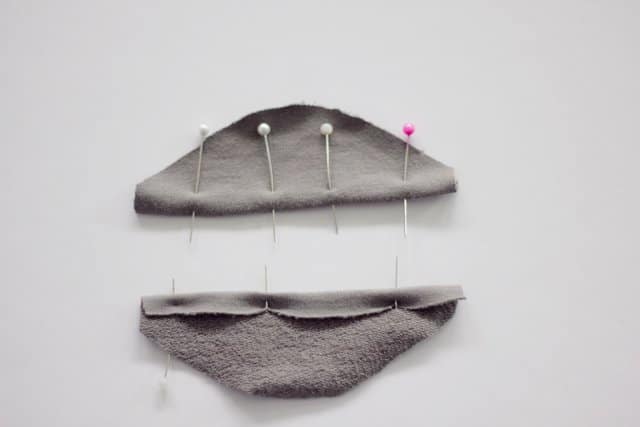
Use a tiny zig-zag stitch to finish the edges at about 1/8″ from the edge. Press flat.
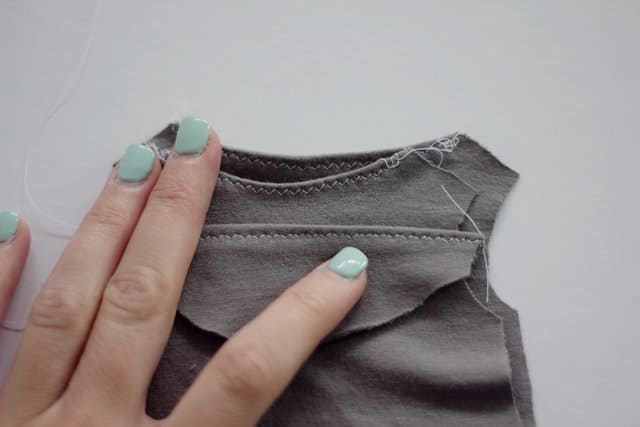
Sew shoulder seams of front and back together with right sides together.
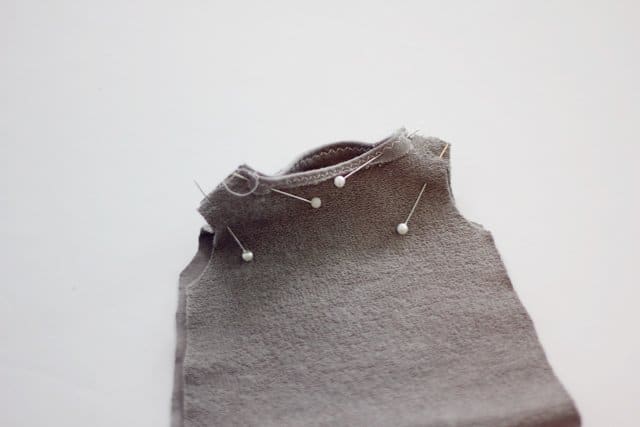
Open up dress and lay sleeve hole flat.
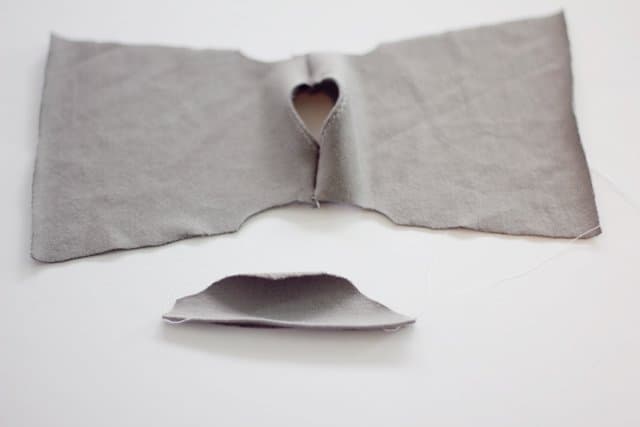
Now pin the sleeve into the arm hole, making sure to stretch it out evenly. Pin and sew.
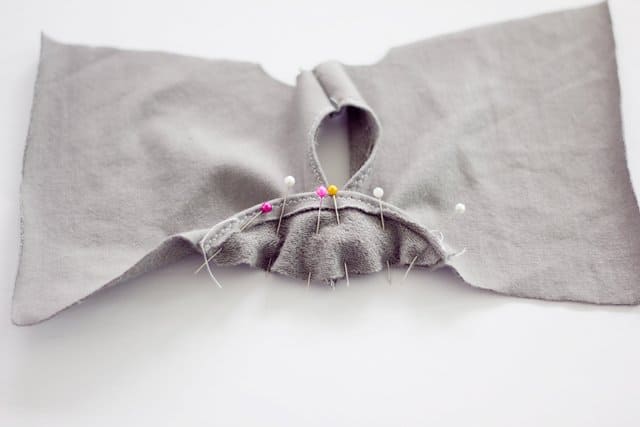
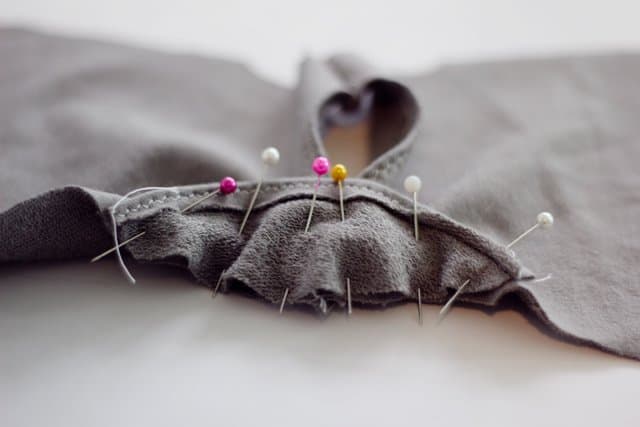
Repeat on other sleeve.
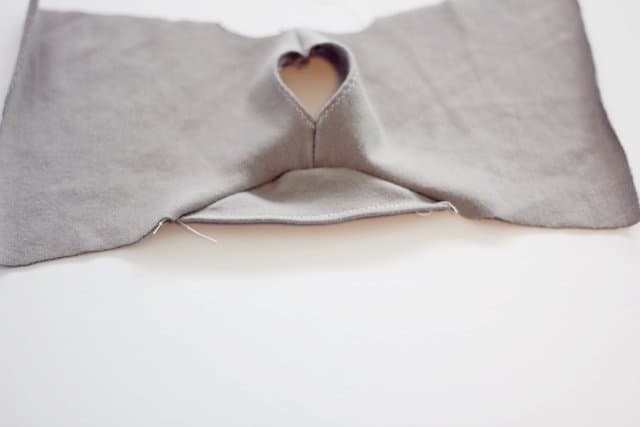
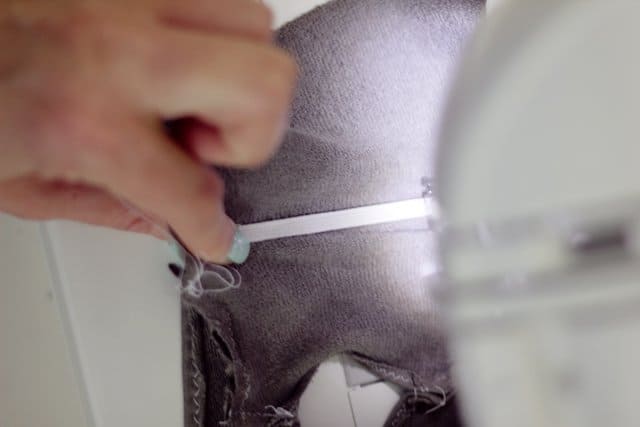
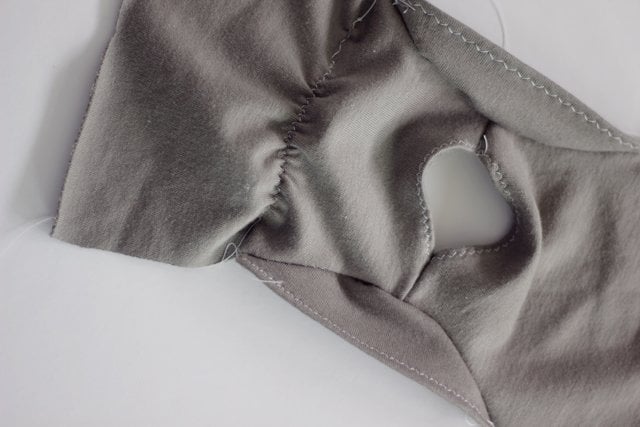
To ruche the front of the dress, pin your elastic piece across right under the arm hole. Pin both sides of the elastic about 1/4″ from the side seam.
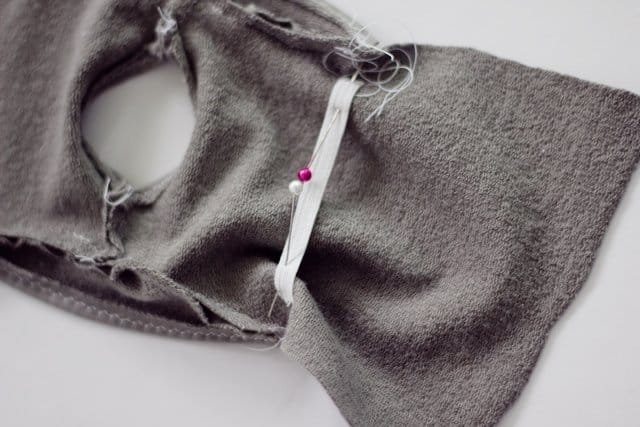
It will look like this:
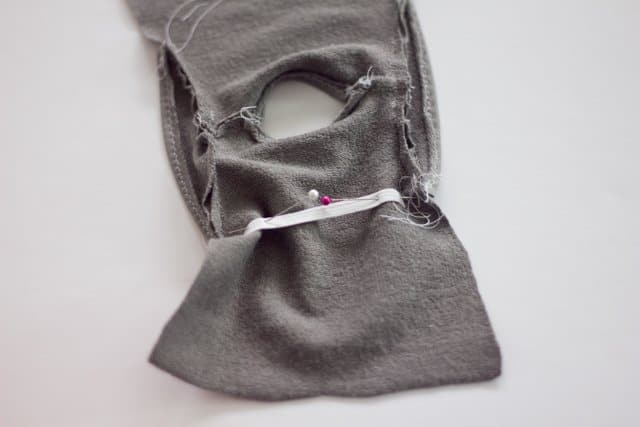
Now start sewing it on at one end and stretch the elastic to lay flat on the fabric as you go. Use the same little zig-zag stitch for this step.
You may want to do this on the back piece as well, depending on your fabric.
Now fold dress over and match up the side seams. Then sew the side seams and bottom of the sleeve at 1/4″.
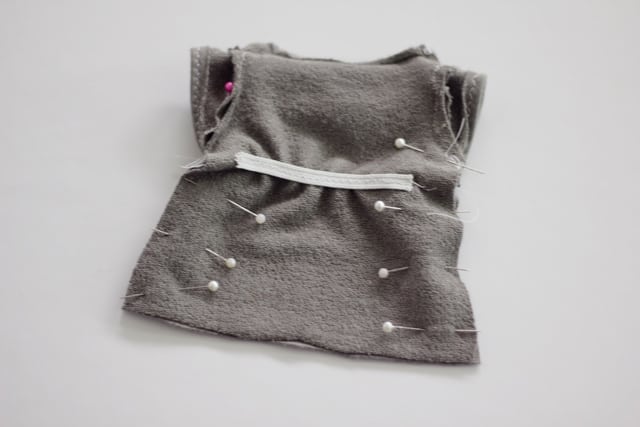
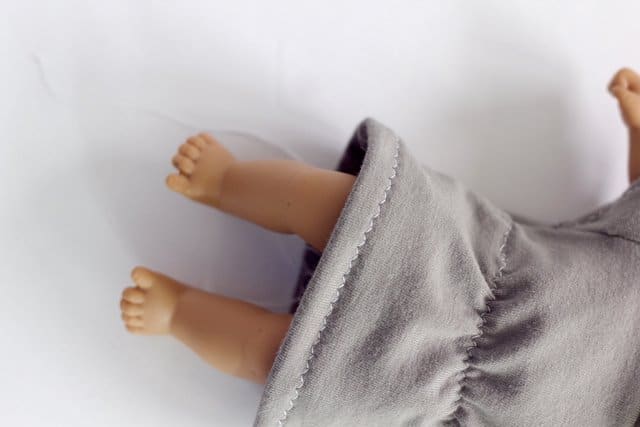
Fold under the hem 1/2″ – 3/4″ and sew.
And you’re done!
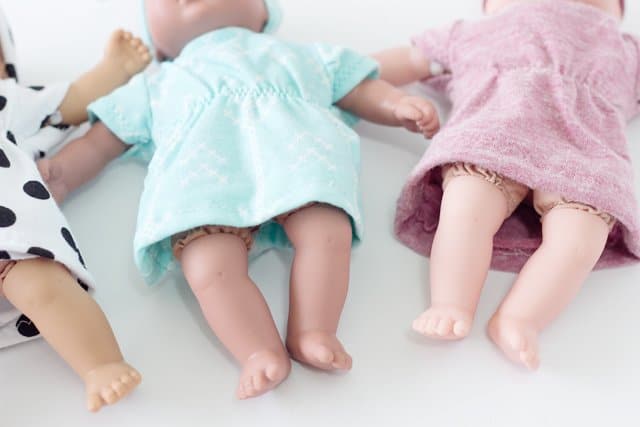
So make some more!
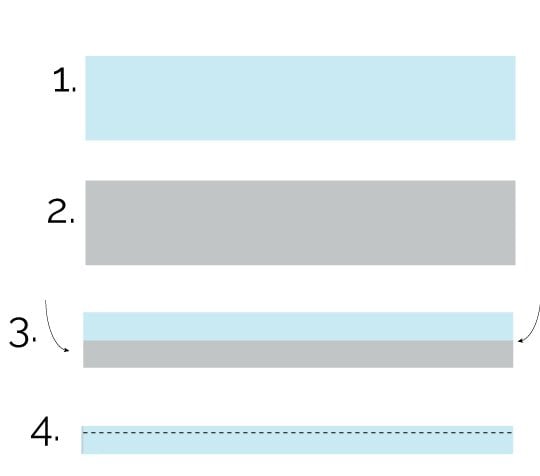
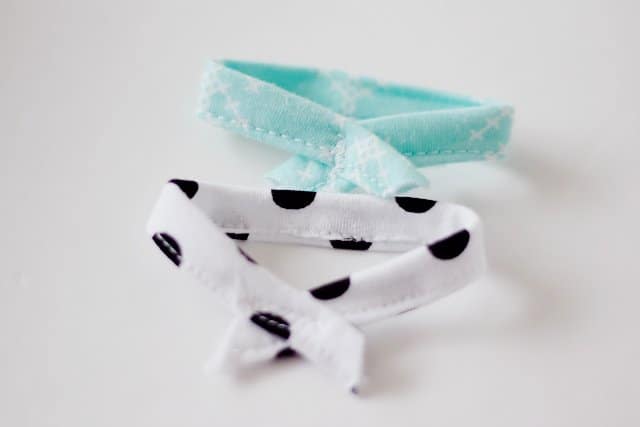
The headband is really simple. Cut a piece of fabric 1.5″ by 8.5″. (1) Turn over so the wrong side of the fabric is showing(2). Fold both edges in, so you have a strip about 1/2″ wide (3, 4). Press and stitch. Then fold headband over and stitch together. Angle the edges if you want!





Thank you! We have a mini American Girl doll in need of clothing too! I so appreciate all your patterns and tutorials!
These are too cute. I’ve got nakie babies hanging around the house that could use these :)
YES! We have a hand me down naked one and I was looking for clothes for it!
Oh Thank you very much! This is so cute!! My daughter will love it!!
Lovely pattern, what size dolls do these fit please?