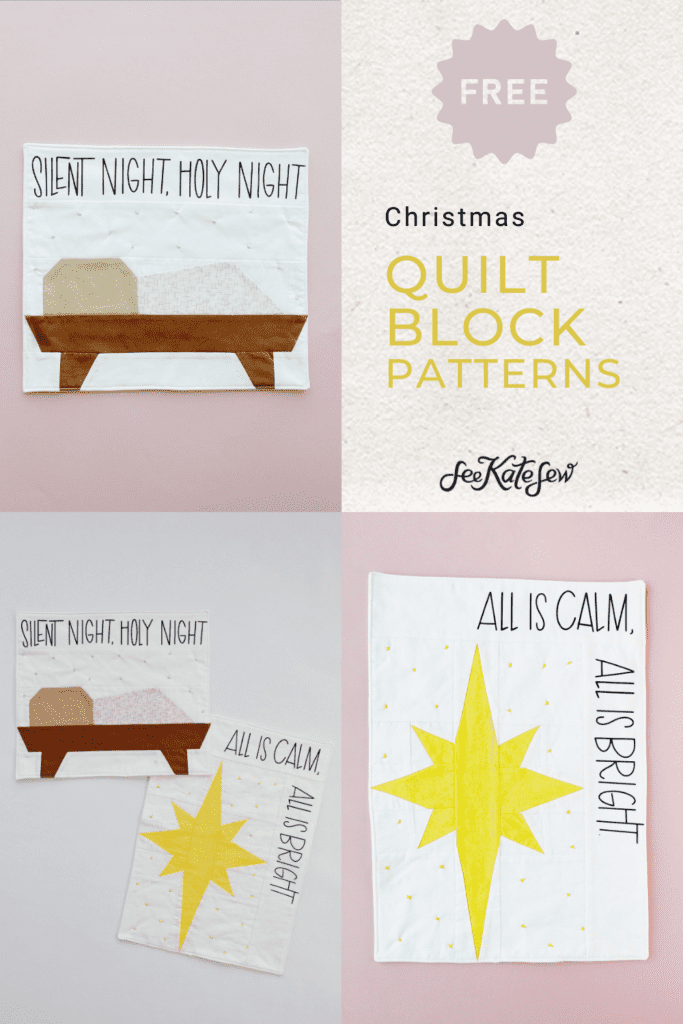
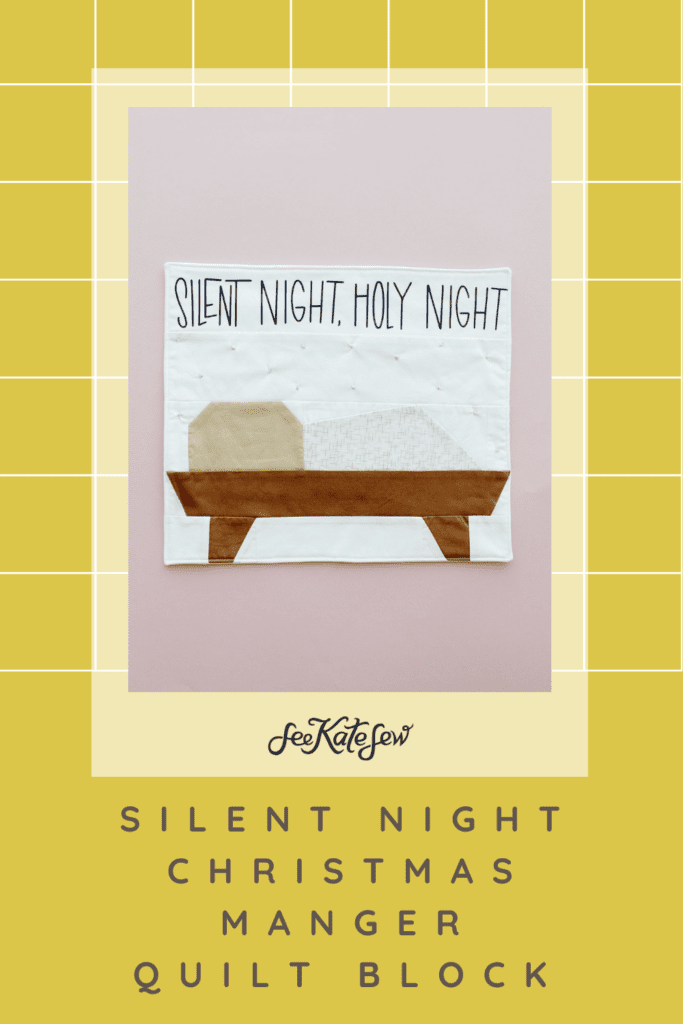
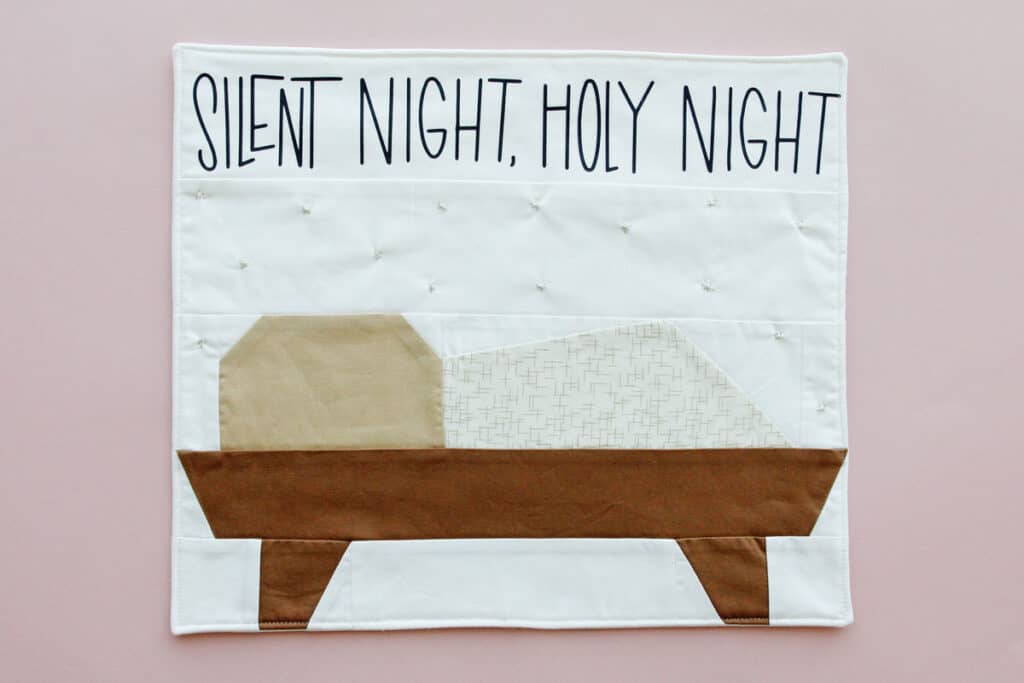
Here’s a fun little quilt project to get you into the Christmas spirit! This nativity wall hanging project features a baby in a manger quilt block. Sew it to create the cutest nativity wall hanging!
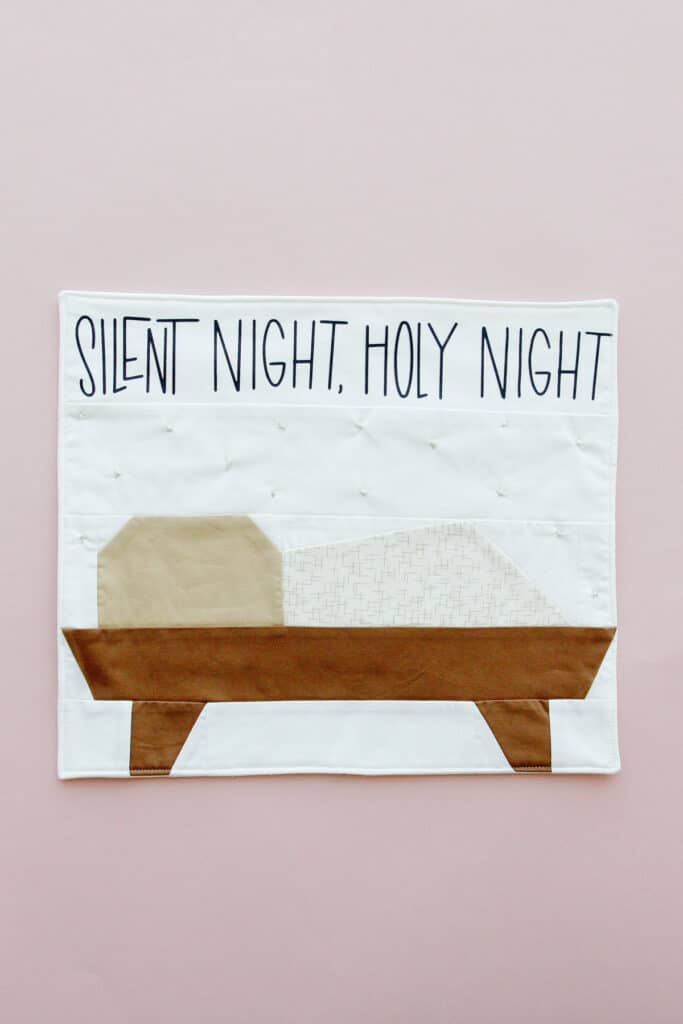
I love the hymn Silent Night and any Christmas decor that reminds me of it! So this sweet little hanging is a perfect nod to Silent Night and the nativity scene. Sew this on it’s own, or pair with the Christmas Star Block to create a double wall hanging. These can also be made into holiday throw pillows.
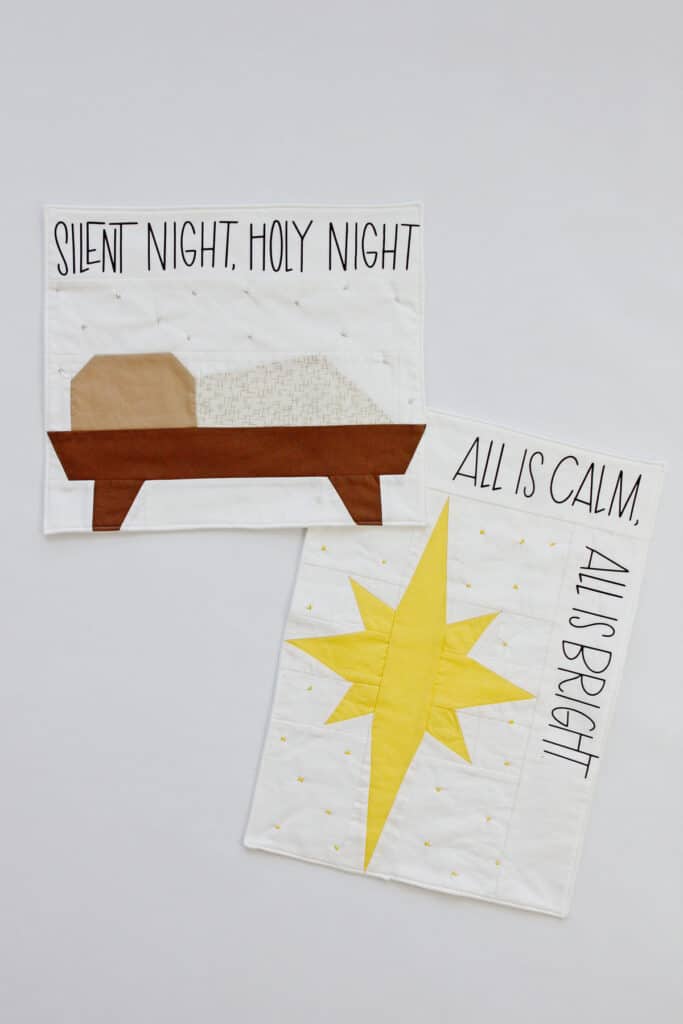
Add a little bit of iron-on vinyl to give the project a final touch! Choose from a few Christmas SVG files – including the one I used which is lyrics to the Christmas hymn Silent Night.
This sweet little baby block would also make a cute quilt for a NICU nurse or a new baby.
Required Materials for Nativity Quilt Block Wall Hanging
- 100% cotton fabric in 4 colors
- Use quilting cotton
- I’m using Riley Blake Solids in a few neutral colors
- The baby blanket piece is this linen texture print by Kimberbell which I think looks like straw
- Change the blanket to pink, blue another color for a fun baby nursery block!
- Card stock for templates
- Batting, backing fabric and spray baste
- Optional: Iron-on vinyl, embroidery thread and hand embroidery needle
- Optional: binding or bias tape
Baby Jesus Quilt Block Templates
Print off the quilt block templates at 100% or DO NOT SCALE. Tape pages together along the dotted lines. I recommend using a heavy card stock for the templates to make them sturdier.
Piece to Cut – Baby in a Manger Block
Cut out the following pieces:
Background Fabric
- 1 – A (Cut 2 if you are adding text at the top)
- 2 – B
- 2 – C (mirror image)
- 1 – E
- 1 – G
- 4 – H (mirror image)
- 2 – K
- 1 – M
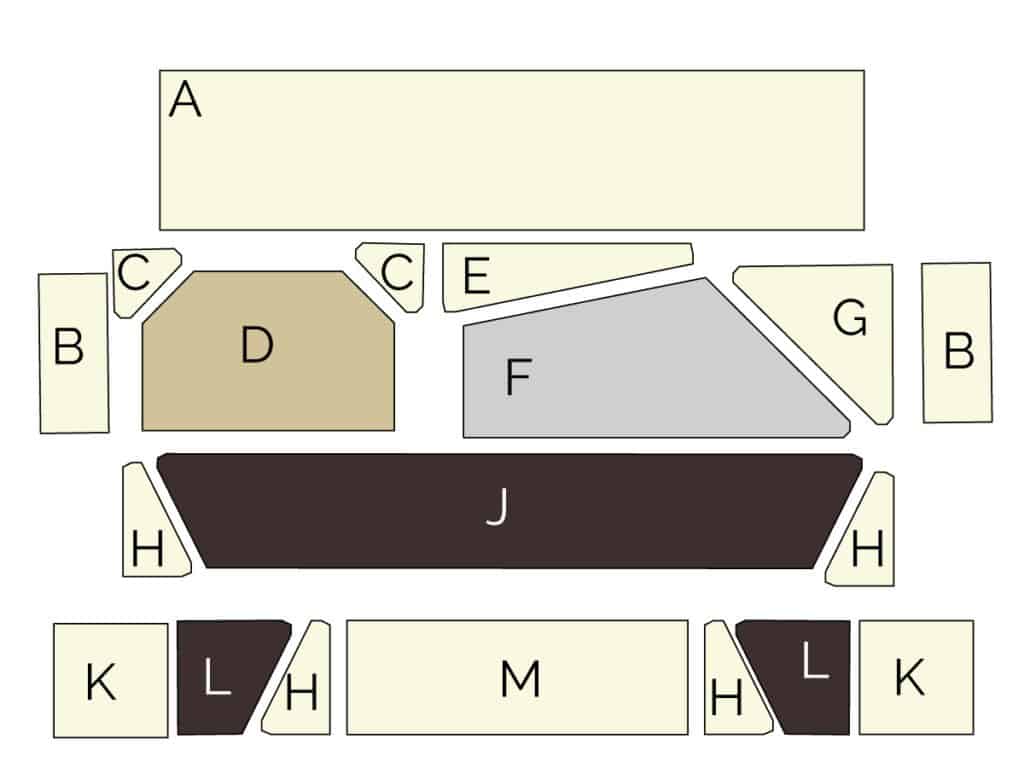
Wood Manger Fabric
- 1 – J
- 2 – L (mirror image)
Baby Fabric
- 1 – D
Blanket Fabric
- 1 – F
How to sew the manger block
Start by laying out all your pieces. I like to arrange them in the block pattern so I can make sure I have all the pieces I need and know where they go. Then sew the background triangles to the adjacent pieces so all your pieces become rectangles. See diagram below:
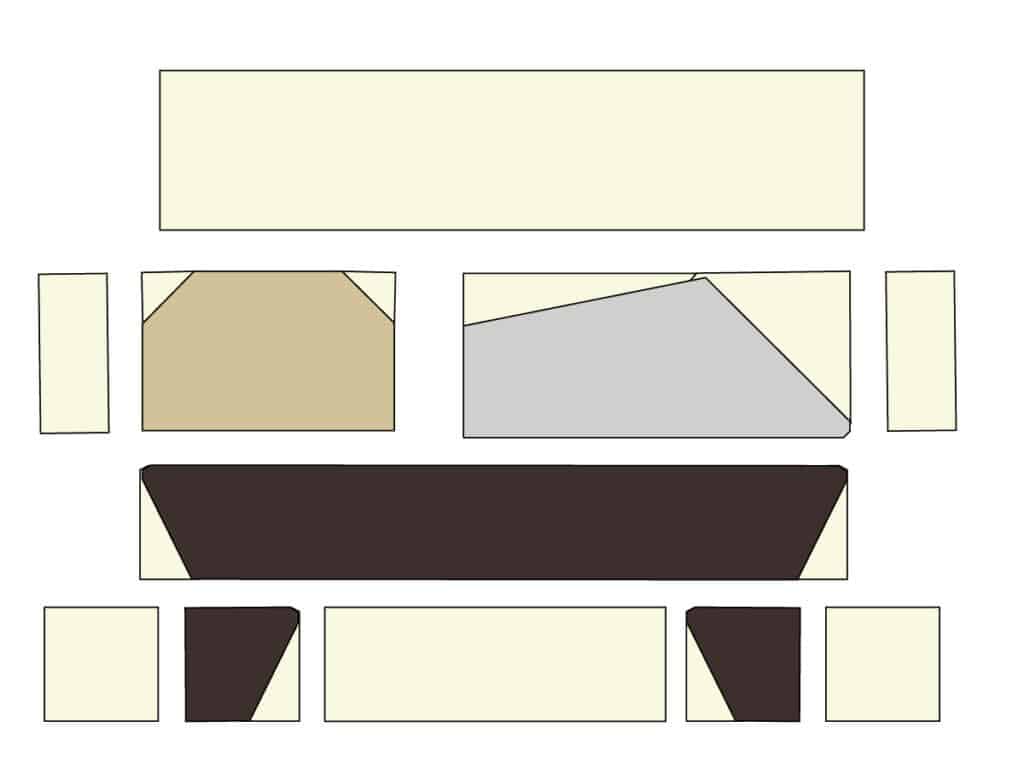
Press blocks well. Then sew the rectangles into rows as shown.
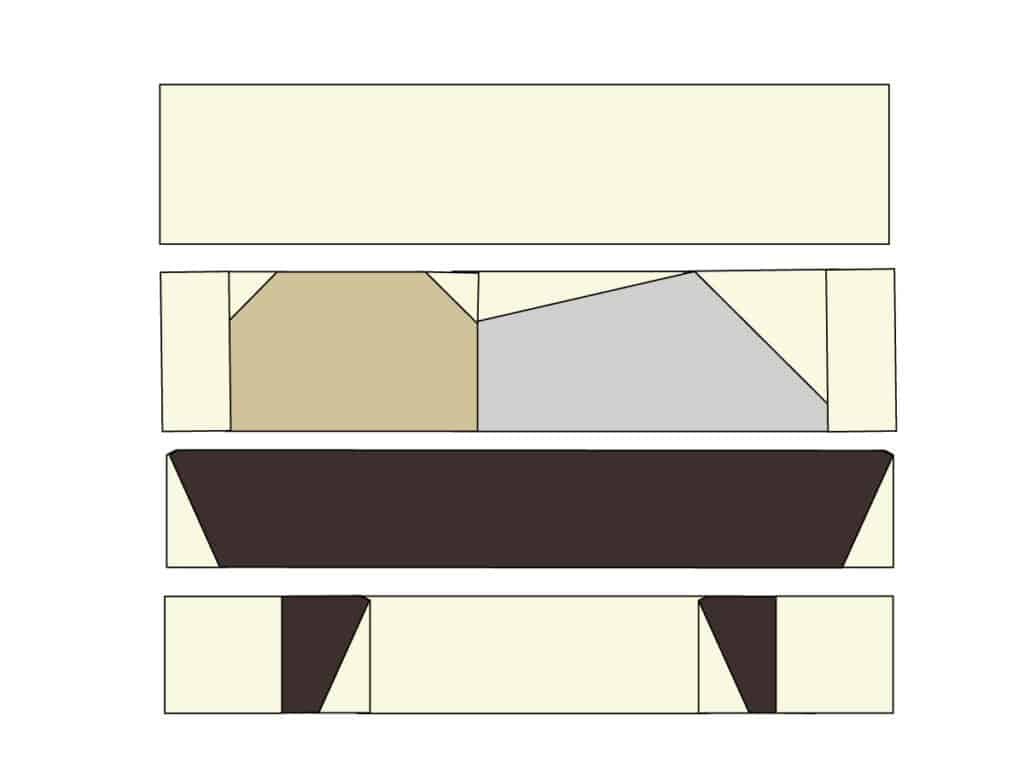
Press well and then sew the rows together to complete the block.
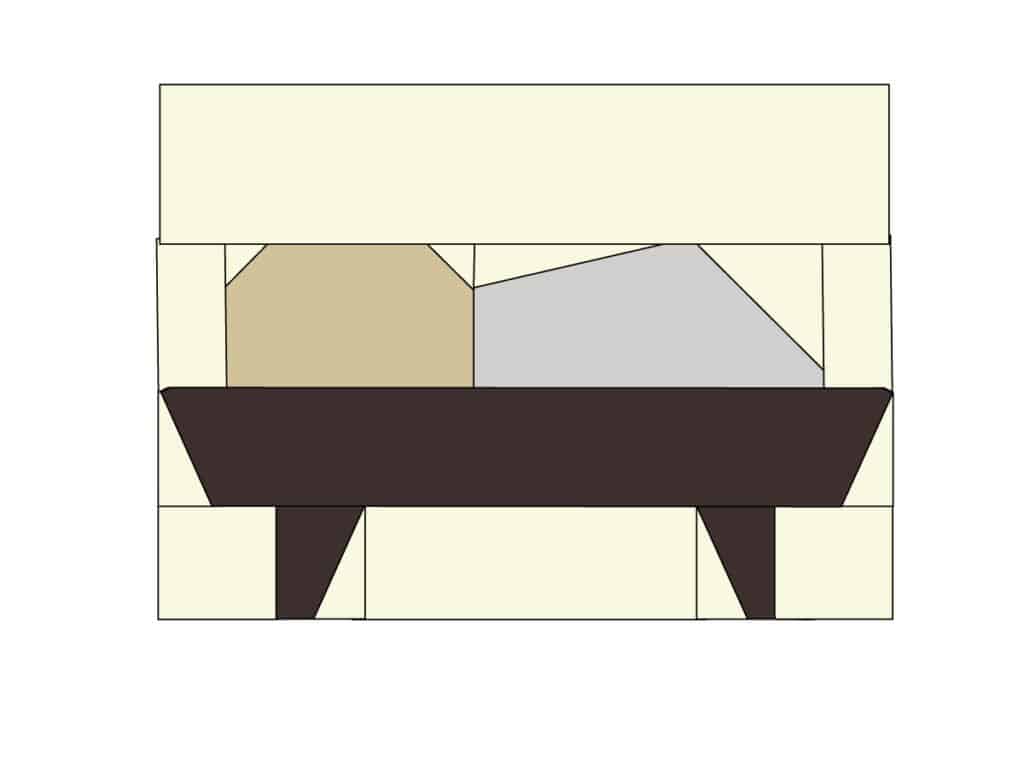
Silent Night SVG File
Add a little extra touch with vinyl lettering! This is such a fun way to use a cutting machine with sewing! I love my Cricut Maker, read more about it here. The EasyPress is a great addition if you are adding vinyl!
Click below to sign up for the newsletter – you’ll be taken to a download page to find the SVGs. There are 2 cute phrases to go with this block:
- Silent Night, Holy Night
- All is Calm, All is Bright
To add lettering, cut an additional A block (3.5″ by 15.25″).
Download the file you want and cut it out with your cutting machine – be sure that MIRROR is ON.
Center the design and fuse it to your fabric. I recommend doing this before sewing the additional section to the wall hanging. That way if you mess up, you can just redo it without unpicking the block.
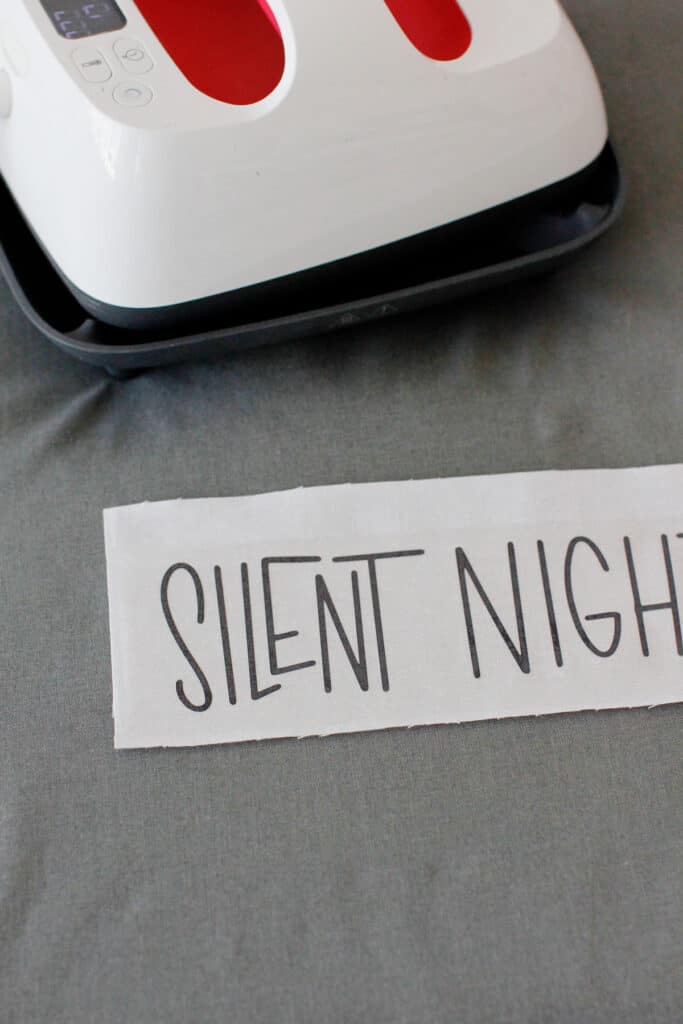
Sew the fabric with lettering to the top of the quilt block.
Finish the Nativity Wall Hanging Edges
For a crisper look, back the hanging with fusible interfacing. Then back it with a layer of batting the same size. Baste together using spray baste.
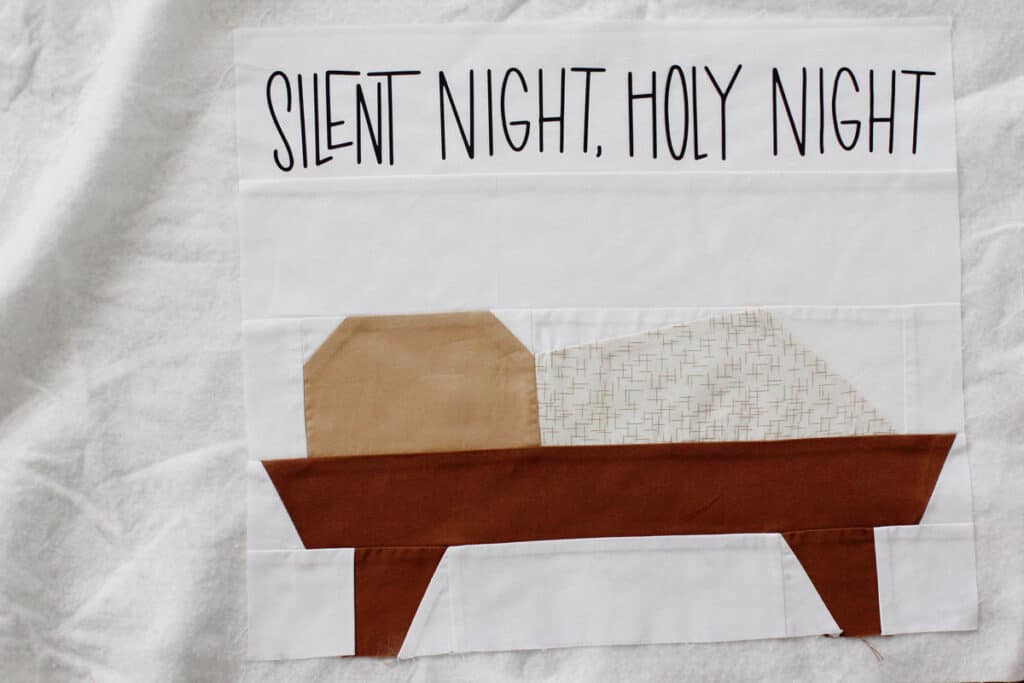
There are two ways to finish the edges.
- Baste a layer of backing fabric behind the batting and bind the block with bias tape or quilt binding. If you choose this method you may want to add a small side border so the manger doesn’t get cut off.
- The pillowcase method is what I used to finish this block as shown. Lay a backing fabric, cut to the same size as the block, face down on block and sew around the block 1/4″ from edges. Leave an opening on one side or the bottom, about 2-4″ for turning. Click corners and turn block right side out and press well. Fold the opening under and topstitch all the way around the block 1/8″ from the edge.
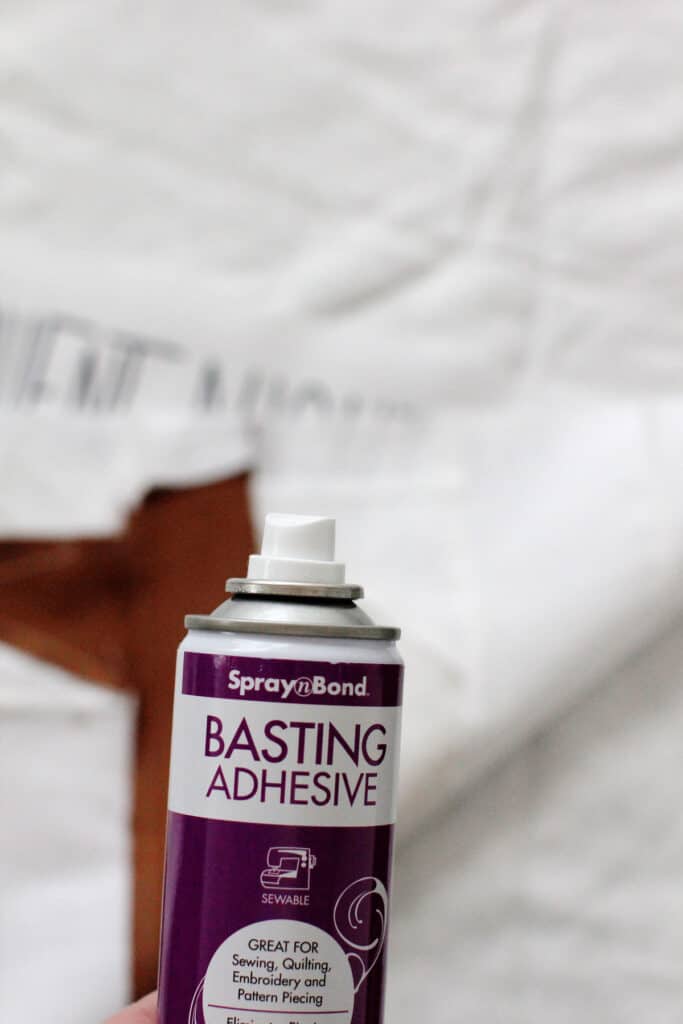
Note: If you want to sew in a piece of string for hanging, sew it between the layers. Or just finish the block as is and make a clip wall hanging to hang it up!
Machine quilt or embroidery finish
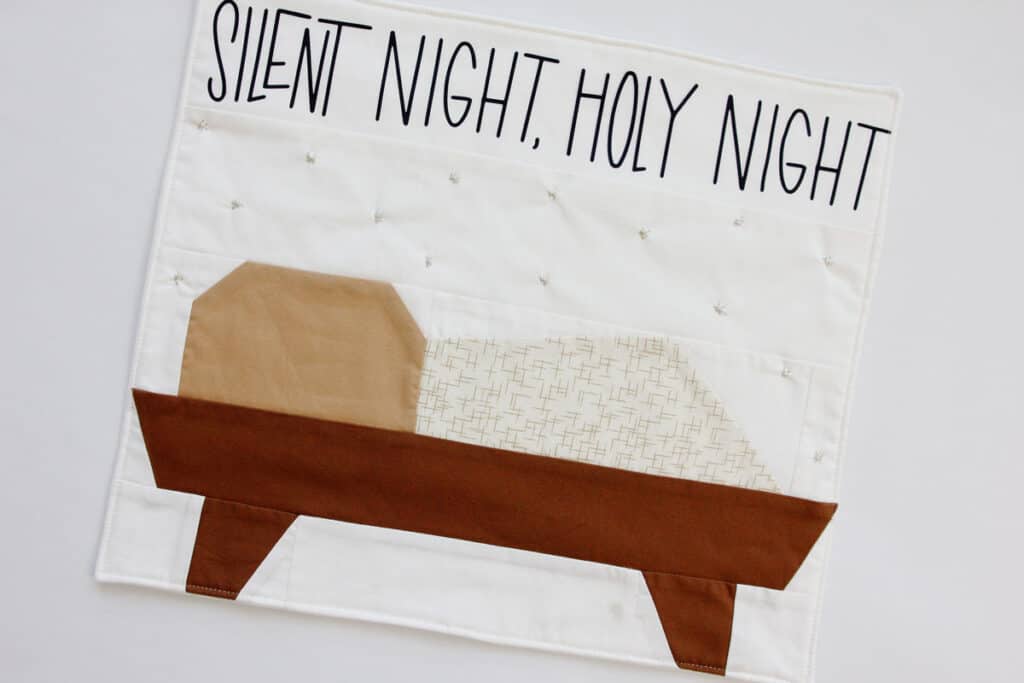
After your wall hanging is complete, you can leave it or give it a quilted effect. I used embroidery thread and a large embroidery needle to create tiny “stars” on the front of the block. I created an X pattern and then did another stitch across it to create a star shape. This keeps all the layers together and the stars remind me the Oh, Holy Night lyrics ‘The stars are brightly shining’. Use a metallic thread for more fun!
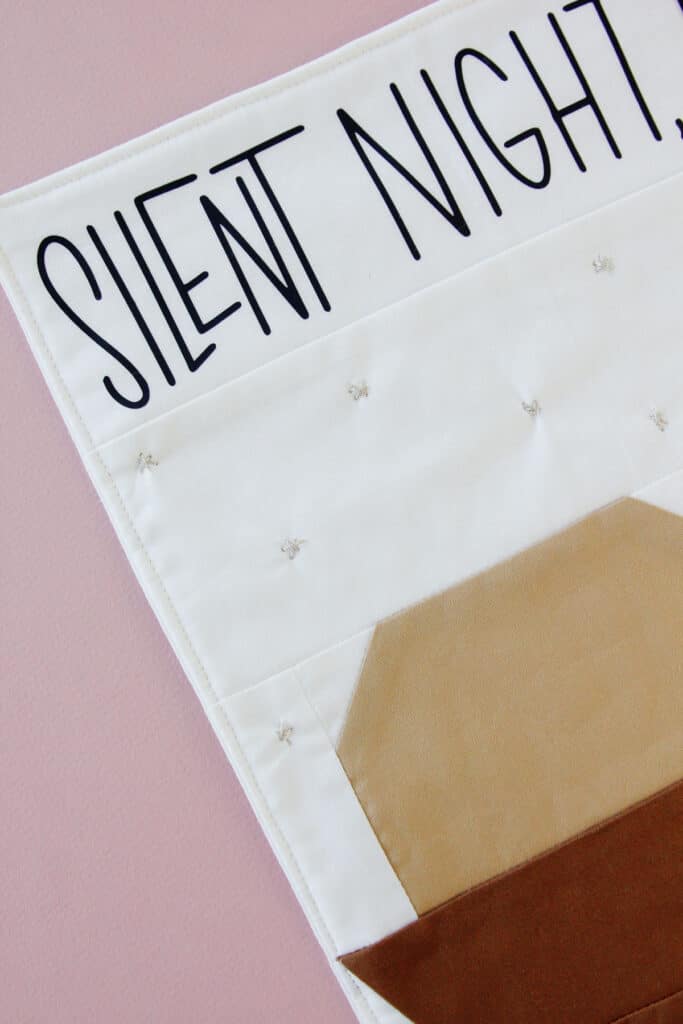
Another option is to use your sewing machine to create lines of stitching over the block or around the block design. Or finally, use a more permanent adhesive spray when combining the blocks. The block is small enough that you can probably get away without any of these options, but I love the extra texture the embroidery adds!
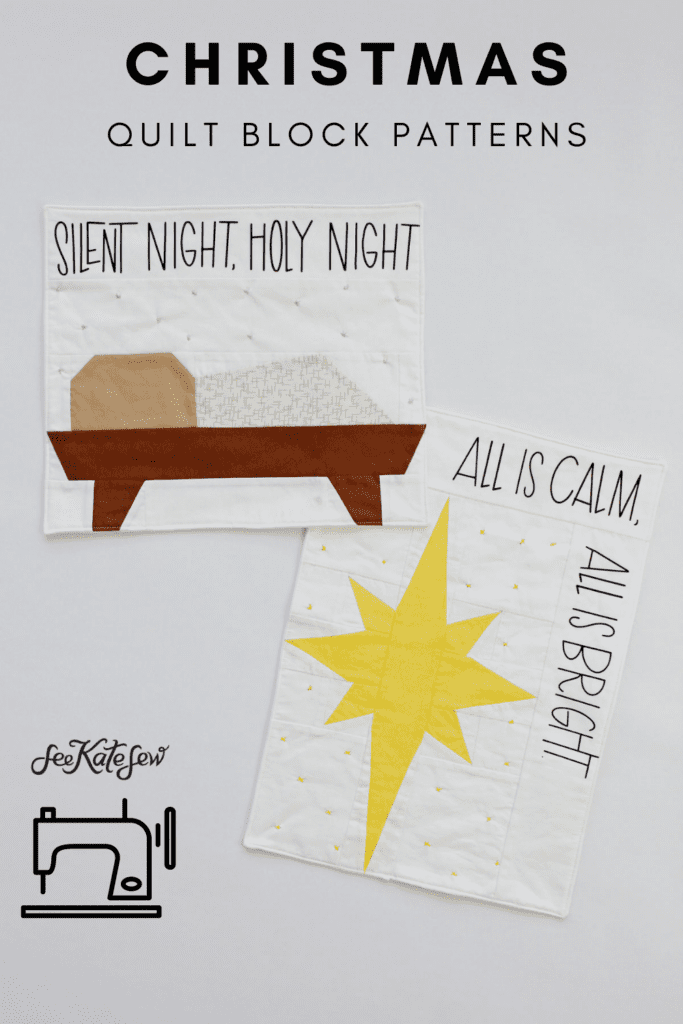
When you’re done, find a spot to hang it! See the Christmas Star Block to go along with it!
More Christmas Quilting Projects
- Plaid Tidings Christmas Stockings
- The Happy Patch Quilt Block
- Snowy Mountain Quilt Pattern
- Christmas Village Advent Calendar Quilt
- Pocket Advent Calendar
