I feel like such a rebel! Posting about pleats during Ruffle-mania…lol! But when Kate asks for pleats-you give her pleats. ;) I saw a similar dress once and I’ve always wanted to try big pleats, with 2 different fabrics-so this was a good project to knock a few things off my sewing to do list.
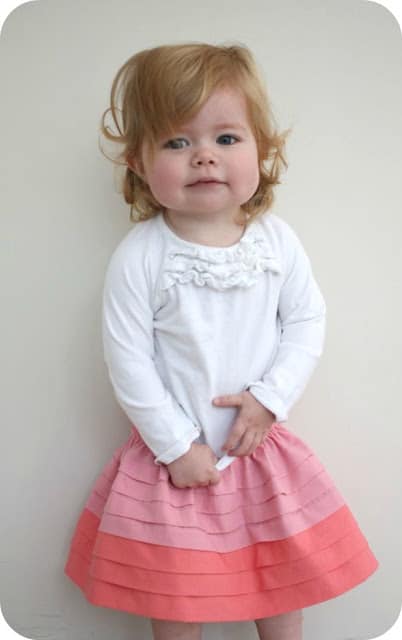
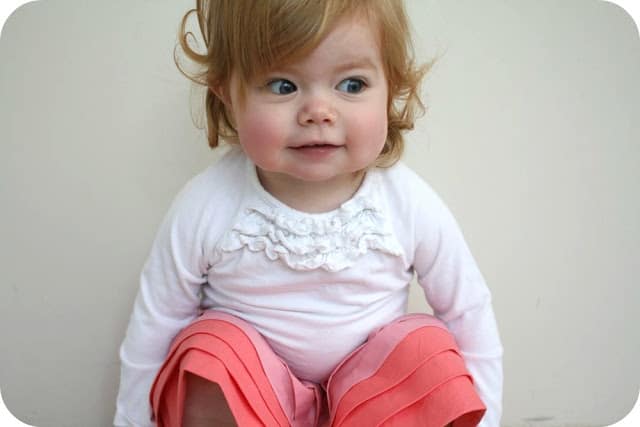
Ruffles are represented in her shirt, lol!
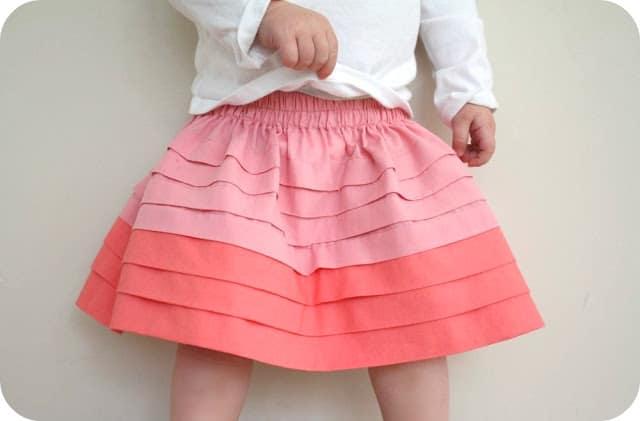
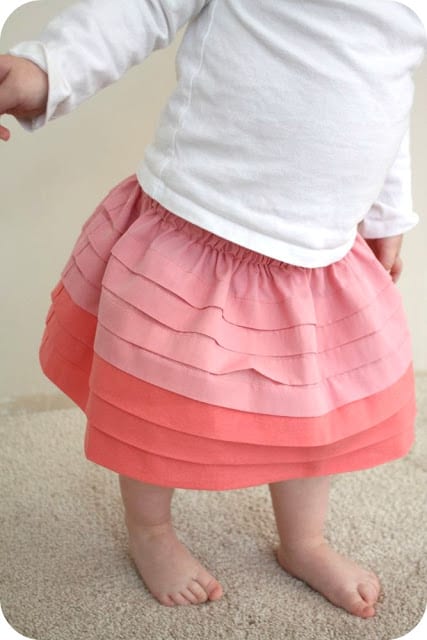
I used a shade of pink and a coral-and I think it would be gorgeous in different shades of mustard, and maybe navy and light blue. The sky’s the limit really! A rainbow would be gorgeous, albeit way ambitious!
My little Charlotte proclaimed it to be,”TUTE!” which means “Cute” in her language. That’s high praise coming from her, though she describes pretty much everything with that word. Eh.
So here’s how I made it.
You’ll need:
two fabric choices-I cut my pieces selvage to selvage, and you need quite a bit of length for the pleats, so at least 1/2-1 yard of the top fabric, and 1/2-3/4 of the bottom. I used half a yard of each for my 18-24 mo size skirt, if that helps you gauge what you may need.
matching thread
3/4″ elastic
iron
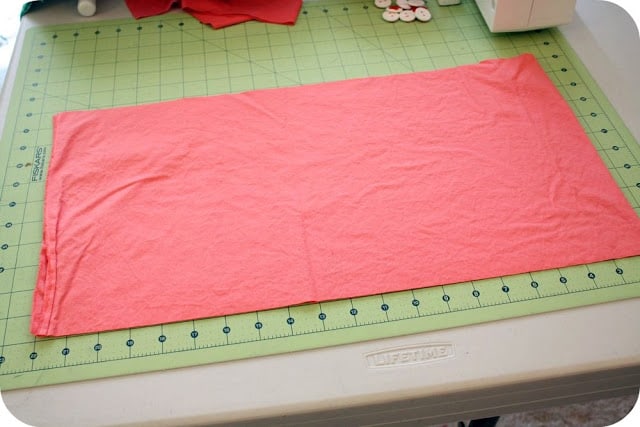
First I cut my top piece selvage to selvage, 14 inches wide. with folding the top over to make a casing, plus 4, 1″ pleats, that was just enough I think. I would suggest cutting your fabric a bit wider than you think. You can always trim some off the top-but you can’t easily add more back.
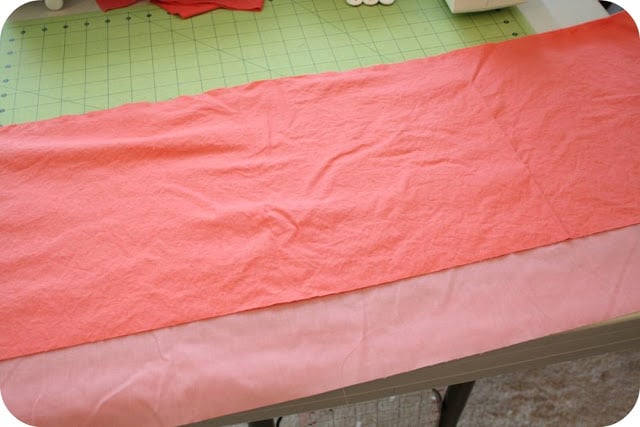
Then I cut the bottom piece, also selvage to selvage, this one I cut 11″ wide, since I was planning on less pleats for this color.
Next I sewed them together lengthwise, right sides together, then serged the edge. (you could use pinking shears or zig zag stitch also.)
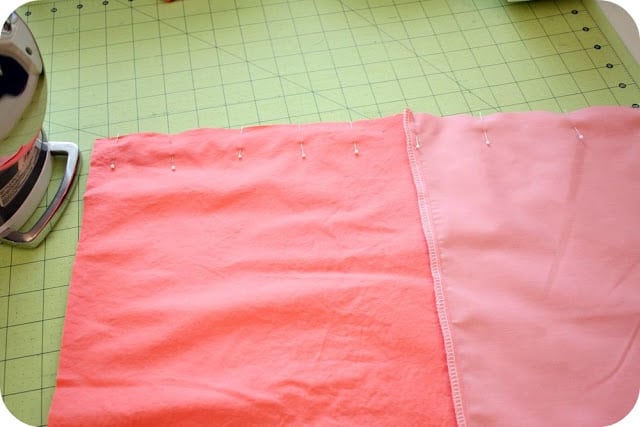
Then I pinned the short sides right sides together, matching the seam in the middle, and sewed that together, then finished the seam.
I left the edges raw for now since I didn’t know if I was going to cut any off or not. I ended up not.
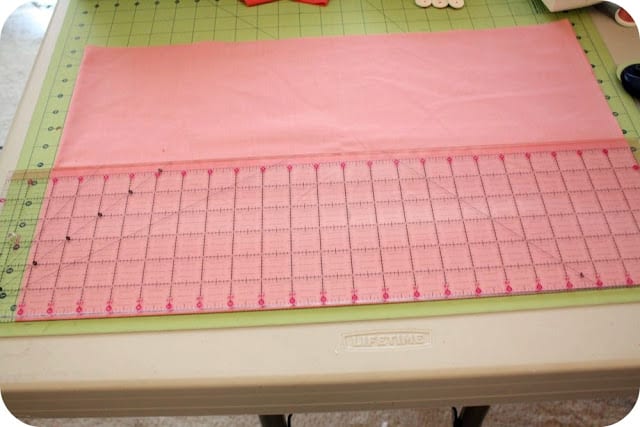
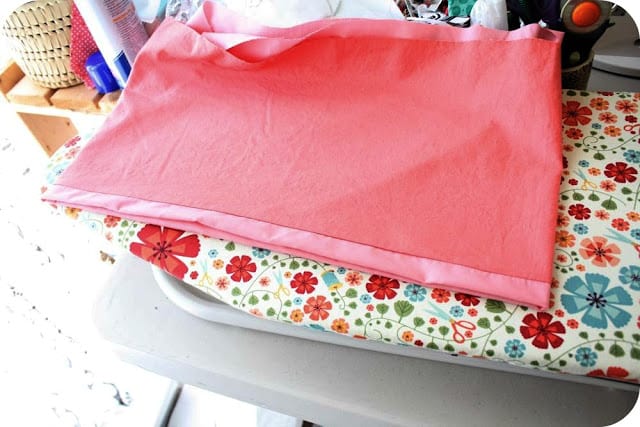
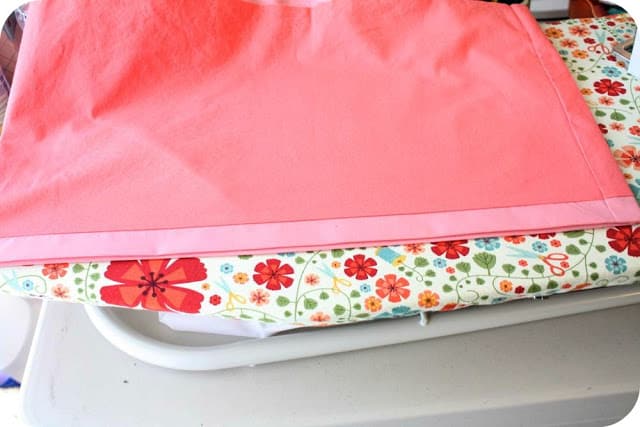
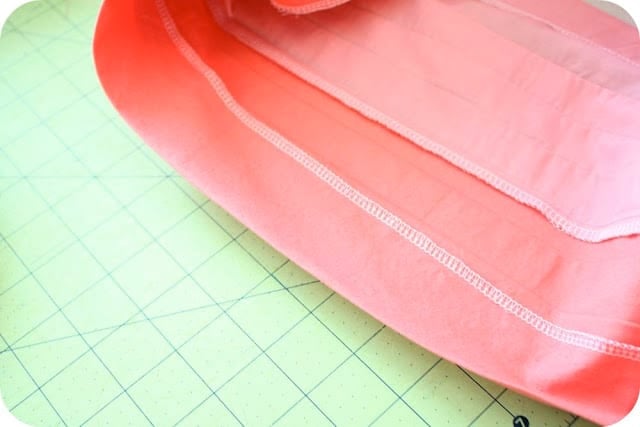
Then for the first pleat, I rolled my fabric so that the top fabric was hanging out below the bottom fabric. wow, confusing sentence much? Just follow what the picture shows!
I measured with a ruler all the way around to make sure the pleat would be the same size (about 1″), then pressed it with my iron.
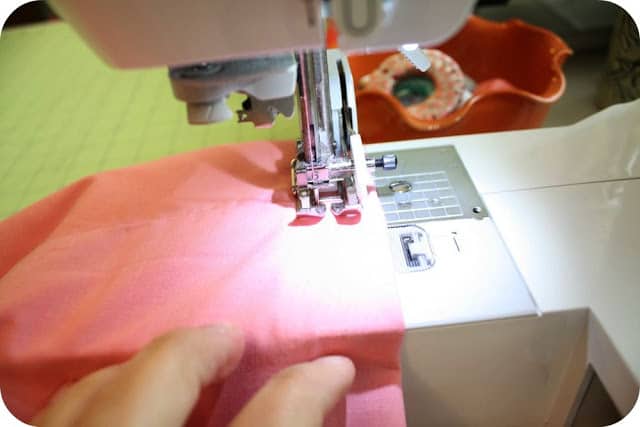
Then I flipped it around so that I was sewing on the right side of the dress, and sewed a pleat-just a normal straight seam, but make sure to line up the edge with one of the lines on that little metal plate so that they’re as even as possible. I always started and stopped my stitching at the side seam.
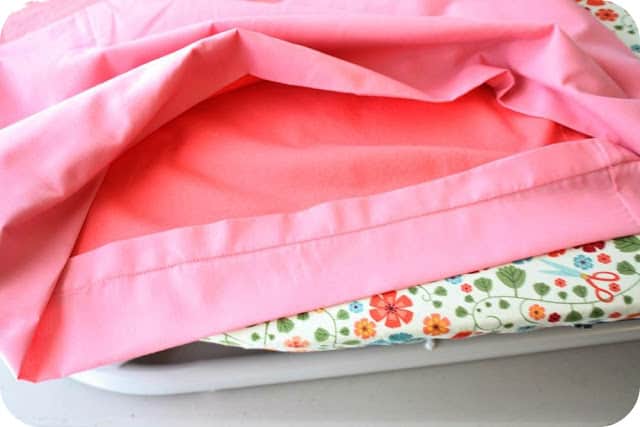
Then that pleat will fold down over the seam and hide it neatly. Press that pleat down. Press after every pleat, really.
Then I repeated the process 3 more times for the top portion. This is where eyeballing comes in. Make sure you fold over the top pleat before you sew it in and make sure it covers or almost covers-the previous stitches.
I didn’t have enough room for another pleat after I did four, so I left a bit of room, serged the top of the skirt, then folded it over and pressed with my iron, to form a casing. Sew around the bottom of where you folded it over, leaving a hole for the elastic. Don’t insert the elastic til you’re done sewing pleats though!
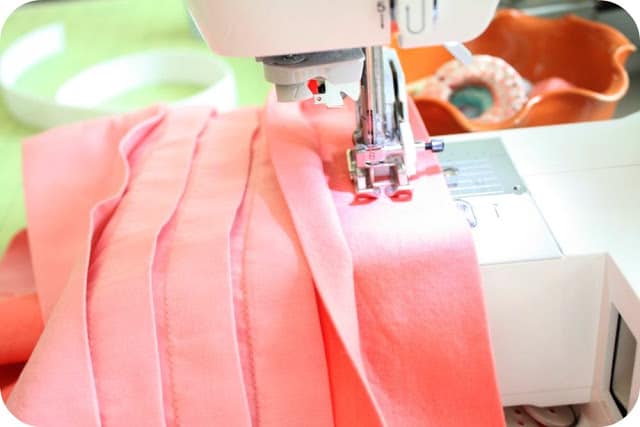
Then I moved to the lower fabric…folding and pressing and sewing. Make sure you pull back the pleat right above the one you just did so that you don’t accidentally sew it in!
Then when you get to the last portion, simply serge or fold over twice, and sew your last pleat as the hem.
Then insert your elastic through the casing, sew the ends together, then sew the casing shut. My elastic was sliding around a little bit, so I also sewed a stitch down the middle of the casing once it was complete, pulling the elastic as I went so it still stretched.
Tada! A gorgeous ombre skirt!
Thanks Jess!! I love it! Also check out Jess’ pleated neckline tutorial, the ice cream social dress and the bohemian peasant dress. You can also follow Craftiness is not Optional on facebook, and pinterest.






LOVE this! really want to try this for myself! :) thanks for posting the tutorial! :)
So cute, Jess!!!
Jess is right, it would look great in any color!
Alissa
ripleyadoption.blogspot.com
This really is gorgeous – both the skirt and the model! I’m glad the skirt met with the approval of the model!!
So cute! Love the texture. :)
That third picture is about the cutest thing ever!!!!
I had a hard time concentrating on the skirt…because those two model pics were so gosh darned adorable! What a little pinchy face!!
Wow what a sweet little skirt! I am going to make one for my granddaughter ASAP:)
Wow! What a sweet skirt. I am going to make one for my granddaughter ASAP!
Just what I was looking for, thank you…
This skirt is so cute, I think I will make one in my size! thanks for the tutorial
Oh my! I’ve never commented on bloggie babies before . . . but that little gal is seriously the cutest! Can she be betrothed to (either of) my darling sons? :) Just kidding. But, she is sooooo cute. Thanks for the smile! Oh . . . cute skirt, too!