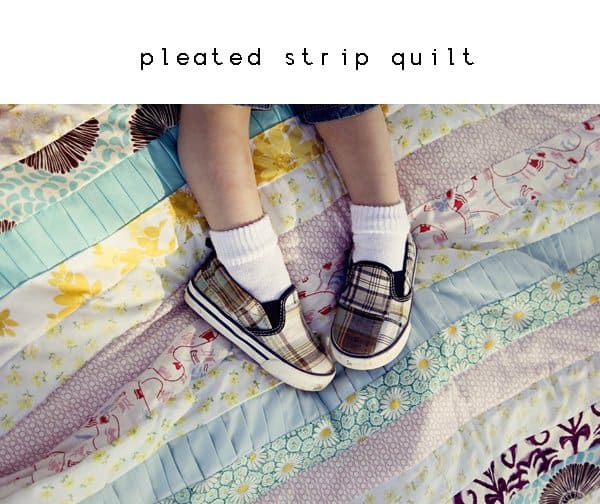
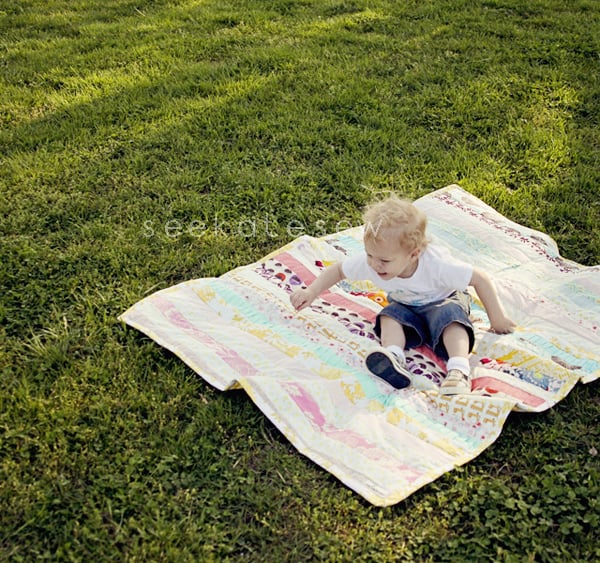
This is a great way to use up lots of scraps! And is also a perfect beginner sewing project. This might be the easiest quilt I’ve ever made. (I’ve made like 4 quilts…so take that for what it’s worth!)
You need:
You need:
Strips of fabric (27): 45″ by 2.5″
Pleated strips (4): 2.5″ by 135″ (or 3- 45″ strips sewn together)
Here’s the pattern I used. My finished quilt is 57″ by 44″.
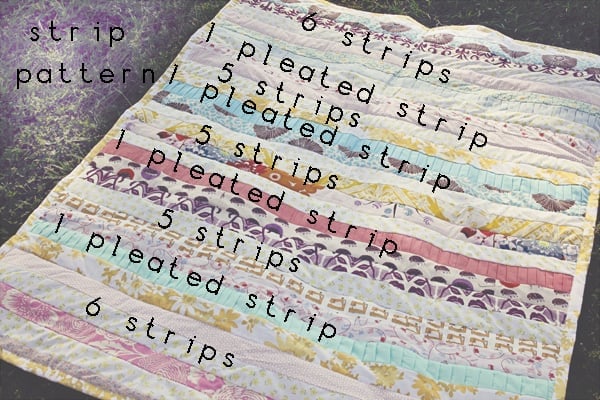
Start sewing your strips together. If your strip isn’t long enough, sew two together.
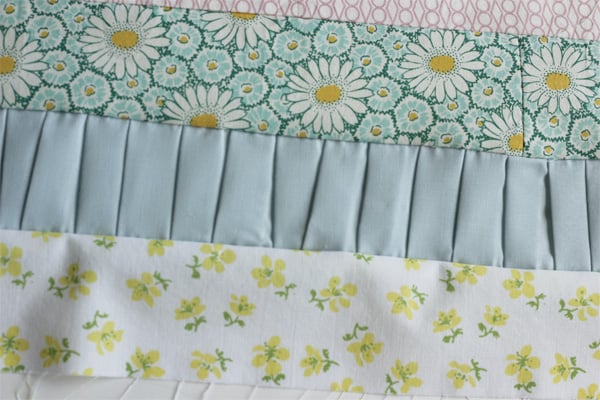
After every 5 strips, we’ll add a pleated one. To do this, use one of your really long strips and make 1/2″ pleats the whole way. I hand-pleated mine for that extra handcrafted feel. I’m not a perfectionist and I sorta like how some of the pleats aren’t exactly straight.
So pleat all the way down and then sew with 1/4″ seam allowance. Make sure you sew in the direction of the pleats so they don’t catch your presser foot. Then press the whole seam allowance away from the pleats. (For the regular strip pieces, press seam allowances open.)
Press the pleats flat.
Now layer another strip on top of the pleated strip with right sides together. Pin the pleats again to your new strip.
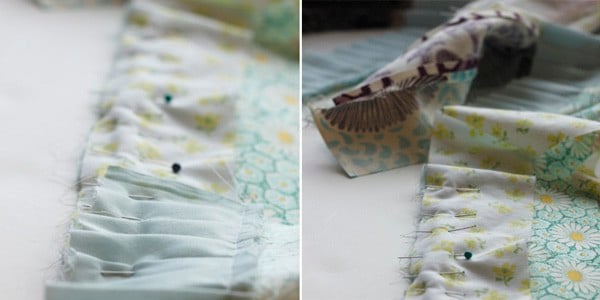
Sew it up and press flat.
There you have it! One pleated strip! Now continue this pattern until you’ve used up all of your strips.
I backed the quilt with another vintage sheet and bound it with handmade quilt binding.
To quilt this quilt, I stitched in the ditch down every couple of rows. Stitch in the ditch means sewing along the seams, so the thread is pretty much hidden on the front. It does make a line pattern on the back.

To make a binding, cut strips 2.5″ wide and press over 1/2″.

Pin the unfolded edge to the quilt.

Sew it on at 1/2″ then fold the folded edge around the quilt and to the top. Pin it on.


To quilt this quilt, I stitched in the ditch down every couple of rows. Stitch in the ditch means sewing along the seams, so the thread is pretty much hidden on the front. It does make a line pattern on the back.
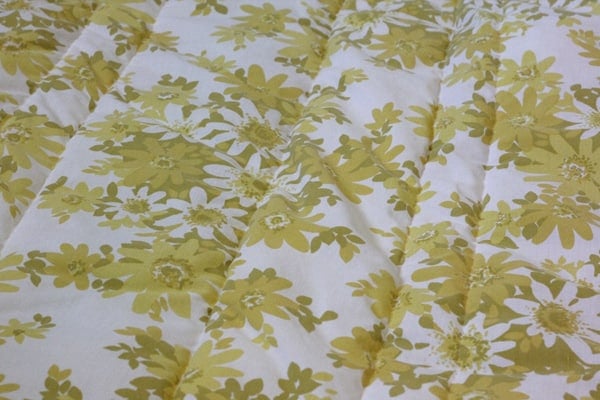
To make a binding, cut strips 2.5″ wide and press over 1/2″.
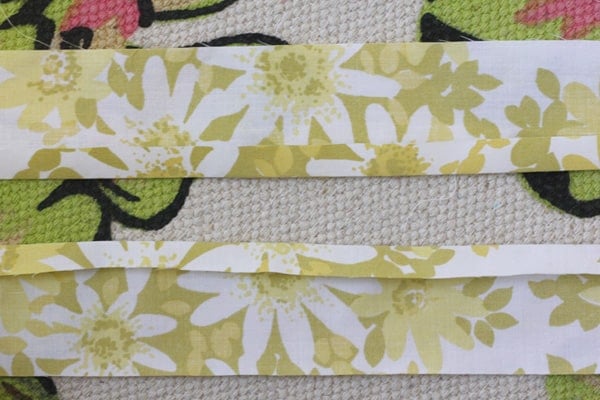
Pin the unfolded edge to the quilt.
Sew it on at 1/2″ then fold the folded edge around the quilt and to the top. Pin it on.
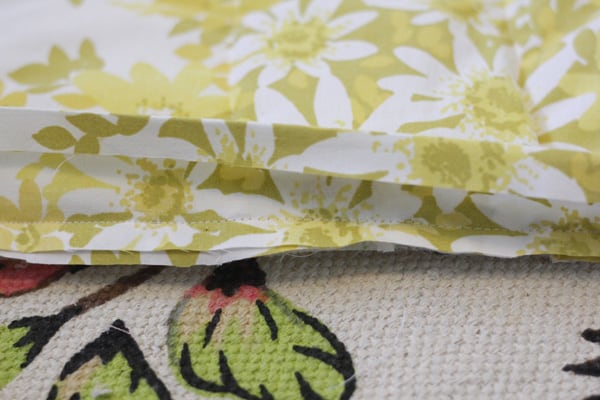
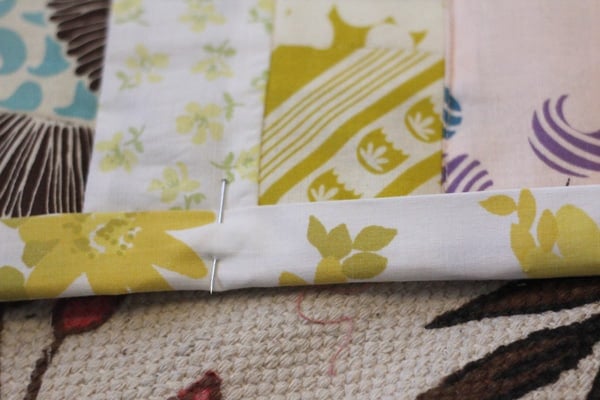
Stitch around at 1/8″ to keep the binding in place.

Done!
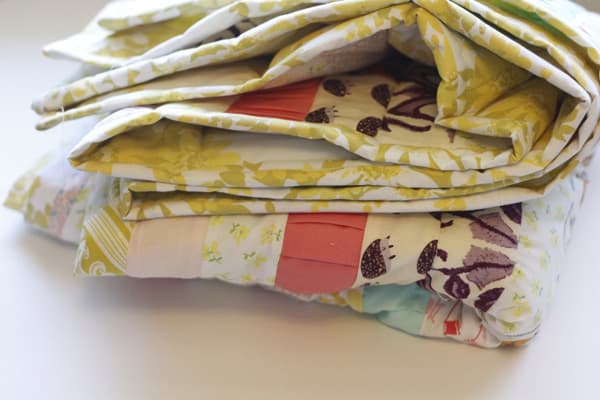
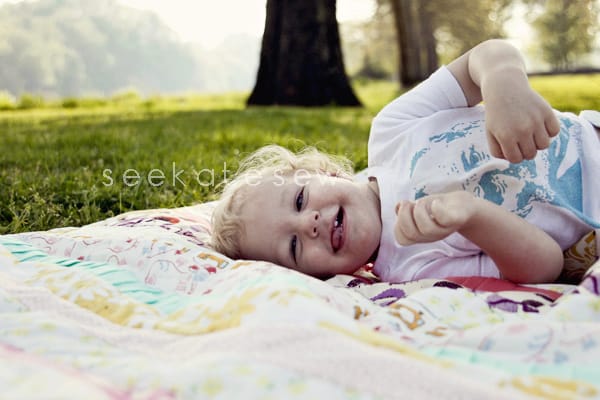
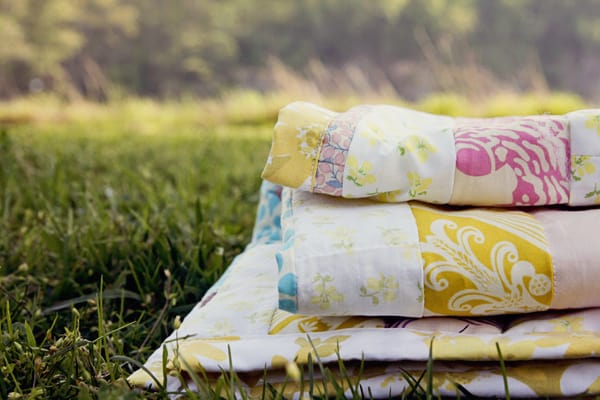
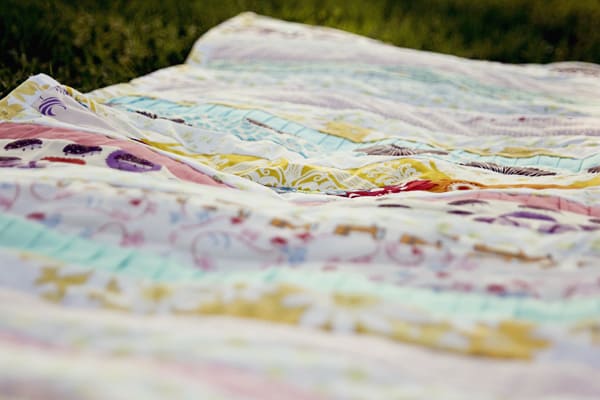
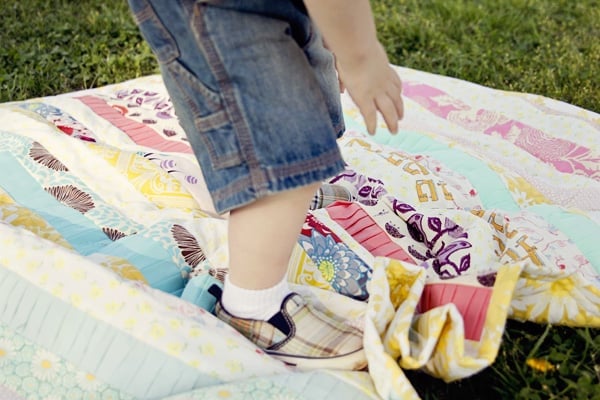
I haven’t made a quilt in years, so it was nice to delve into it again with a really simple strip piecing technique! And a few pleats, of course! My favorite part of this quilt was putting together all the pretty fabrics. I used a whole lot of my stash up!




I wish I had enough scraps to try this with!! :( X
Eeekk! This is gorgeous, I just love the ruffled rows, thanks for sharing how you did this, added to my to do list, may even nudge it past some other things!
This is an excellent tutorial, lovely quilt and really inspiring post! I love it because it’s something I could absolutely do myself and yet I wouldn’t have thought of it (strips + ruffles). Uh-oh… another thing to add to my to-do list! Oh yes, I also love the fact it uses up strips of fabric, it ticks all my boxes! Thank you so much for sharing.
Looks like too much fun. Quilting is something I want to pick up when my kids get too big for me to make clothing and bags for them.
I love the pleating in the quilt. It adds texture and eye appeal- so creative!
Darling. Strip quilts are about my quilting speed, and I love the addition of the pleat. How creative.
I really like this idea! I have a ton of scraps that I could use to do this. Pinning it!
Amazing! So super cute!
This is stunning! I love all the fabrics you used and of course the pleats. :) Great job!
justenoughstyle.blogspot.com
beautiful colors! and great idea i have not seen that on a quilt before
This is just gorgeous! Thanks for the tutorial!
this is so amazing.. BEAUTIFUL!!!!!;o
NICE colors,amazing quilt!!!!
Thank you for the tutorial!!!!
Hugs,
Martina.
I have JUST the vintage sheet at home to use for a back so I will be making one of these babies very, very soon. Thanks for the great idea!
I’m in love! I am supposed to be getting ready to make my kids quilts for their beds and I think my little Addi will need some pleats in her quilt! : )
I love this! Your fabric choices are so pretty.
Oh I love the pleats and your fabric choices. :) Pinning this so I can remember to make one. :)
What a great quilt. You didn’t mention any batting; did you use any?
This is wonderful! It sure doesn’t look like my grandmothers quilts. The pleated in the quilt just bring it to a wholes other level :)
Gorgeous! I love the soft spring colors – such a vintage feel.
I add pleats to skirts etc, but I have never thought of adding it to a blanket-I love it!
So pretty! I love the ruffles but your fabric choices really make it! :)
This is so pretty! I love the pleated stripe!
Gorgeous! Im new to sewing (..& blogging) and i just want to try everything!!! In time :D this is definately on my to do list :)
Great quilt… cute too! Might I mention a thought, when you making your binding, I’m finding that a lot more quilters are now just folding the binding in half… and then sewing the raw edges down and then sewing the finished edge down to finish it… this way, since the edges receive the most wear there is an extra layer there and it doesn’t wear out as quickly. Just thought I would share that with you. I will have to dig out some of my scraps and get busy! I’ve made a few that are Holiday specific too… great way to use up the Christmas themed scraps… I have one waiting to make out of Halloween pieces (I bought some 1/4 yard or less pieces just for this purpose!)
I enjoy visiting your blog!
Jean C.
Beautiful! I was so inspired I already started making one–thank you! I echo an earlier comment in my question…did you use any type of batting? If not was it just the top quit and the sheet for the bottom with nothing in between? Thanks for the tutorial! :)
This comment has been removed by the author.
This is so so creative! I never would have thought of this. I LOVE the fabrics you mixed together. Beautiful!
This is seriously cute. I love the extra texture element that the pleated strips add!
Beautiful quilt! Just came across your blog and I love your format. I do have one question about this quilt though. When you sew the binding to the back side of the quilt and then bring it around to the front to sew that 1/8′ seam, doesn’t it show stitching lines on the back in wonky places? I’ve tried to do that before in “theory”, but it didn’t look so great. I am now realizing that I sewed the binding to the front of the quilt to have wrapped around the the back….Maybe that’s the difference? Am I explaining myself adequately? I just worry that the stitching lines will show through on the other side in a way that doesn’t looked polished, especially if the binding and backing fabric are of contrasting colors. What’s your take on that? Would love to hear…thanks. :)
Beautiful quilt! Just came across your blog and I love your format. I do have one question about this quilt though. When you sew the binding to the back side of the quilt and then bring it around to the front to sew that 1/8′ seam, doesn’t it show stitching lines on the back in wonky places? I’ve tried to do that before in “theory”, but it didn’t look so great. I am now realizing that I sewed the binding to the front of the quilt to have wrapped around the the back….Maybe that’s the difference? Am I explaining myself adequately? I just worry that the stitching lines will show through on the other side in a way that doesn’t looked polished, especially if the binding and backing fabric are of contrasting colors. What’s your take on that? Would love to hear…thanks. :)
I love your blog, just stumbled across it…I do have a question about your binding technique. In the past I have doubled the binding by ironing it in half, sewing it to the front of the quilt, and then wrapping around to the back to hand-sew it on. Once in a pinch I tried to sew that binding on the back by machine instead of by hand…and it made all kinds of wonky looking, out of place stitch lines on the front of my quilt. TOTALLY unacceptable! With your suggestion of sewing it to the back first and then wrapping around to sew it down on the front with that narrow seam…does it leave any wonky looking stitches on the back? The front looks totally polished and beautiful, but how about the back…even if you use contrasting fabrics? If I never have to hand-sew a binding onto a baby quilt again I will jump for joy! Curious to hear your answer….thanks!
I love this project! I found you on Pinterest and have featured you on my Pinterest Picks. I hope you stop by to grab a feature button!
http://thecraftyblogstalker.blogspot.com/2012/04/pinterest-picks_22.html
I am new to quilting ,and my granddaughter 10yrs.wants to sew so we are learning together..I bought a jelly roll for her..we will try this project together..love your simple directions and layout of colors..thanks from a beginner ..