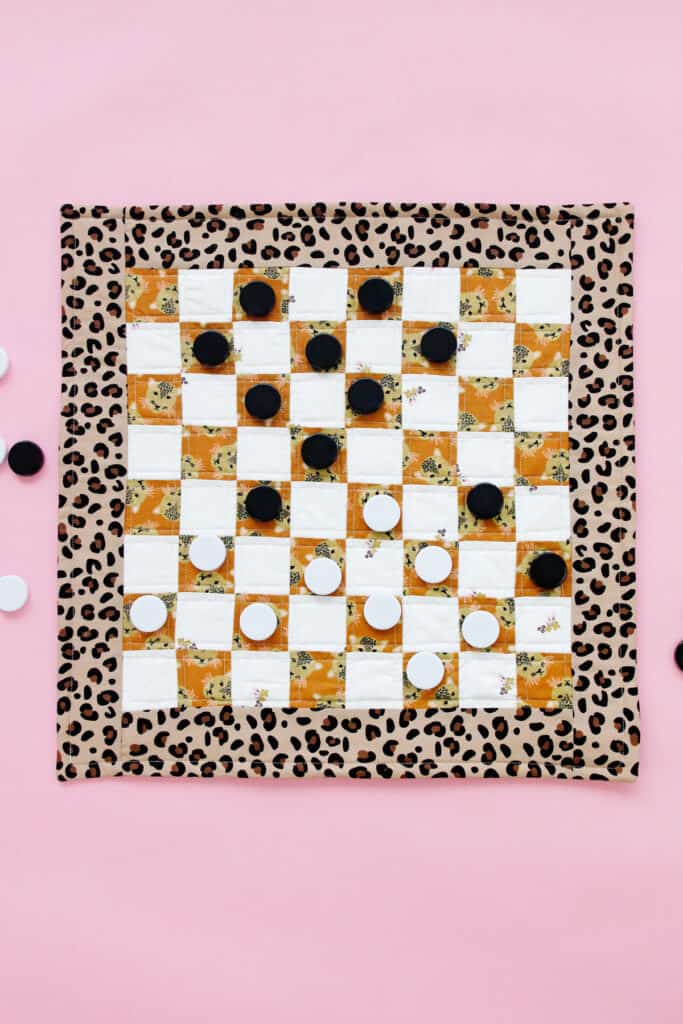
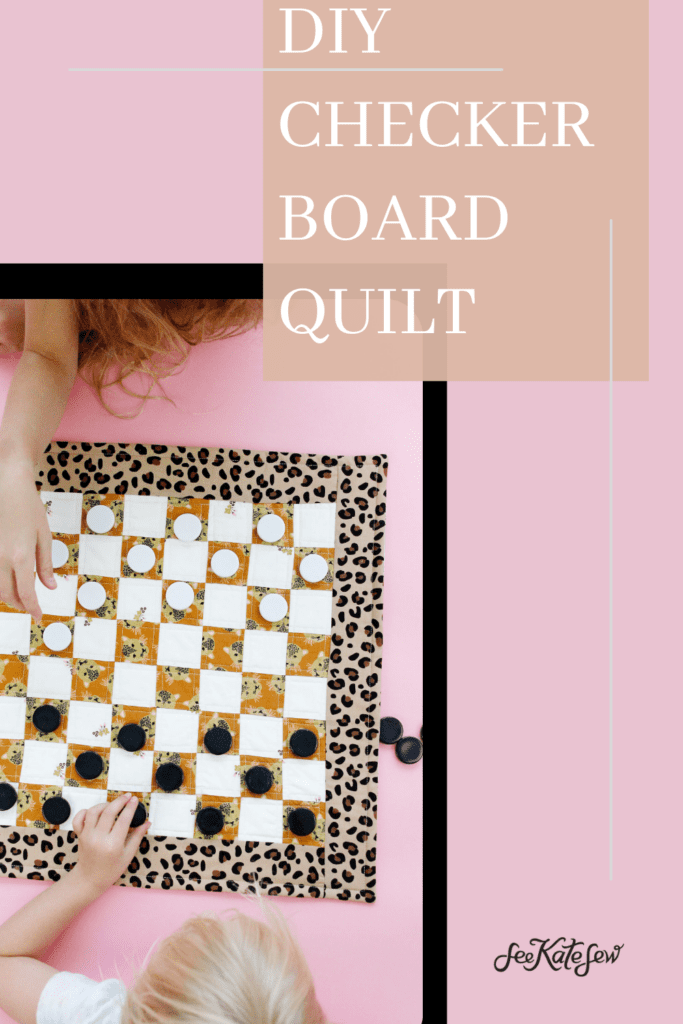
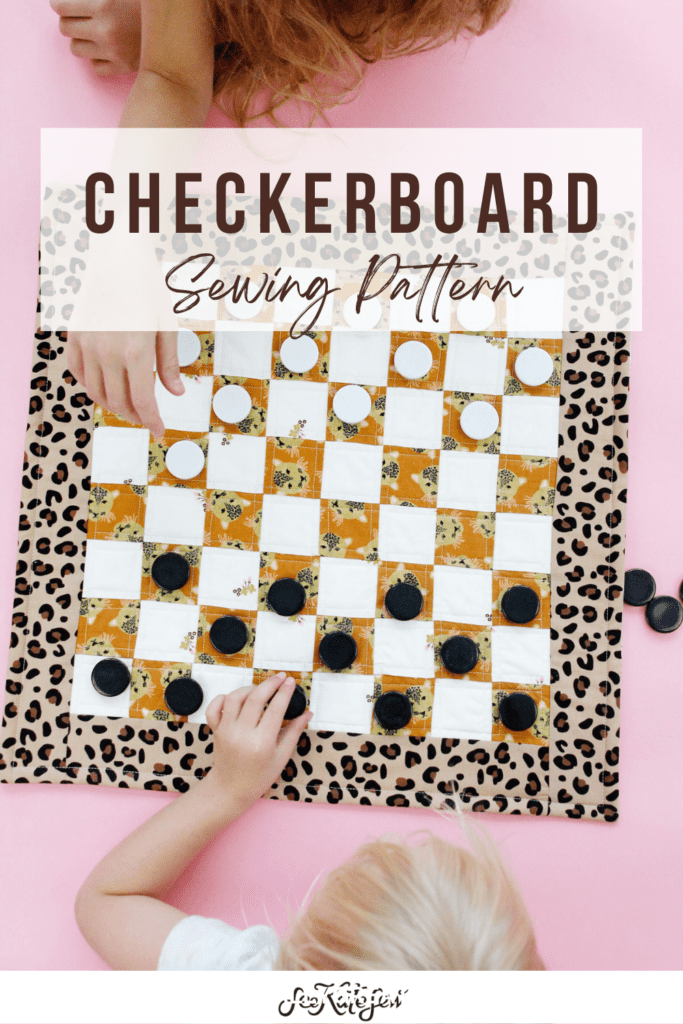
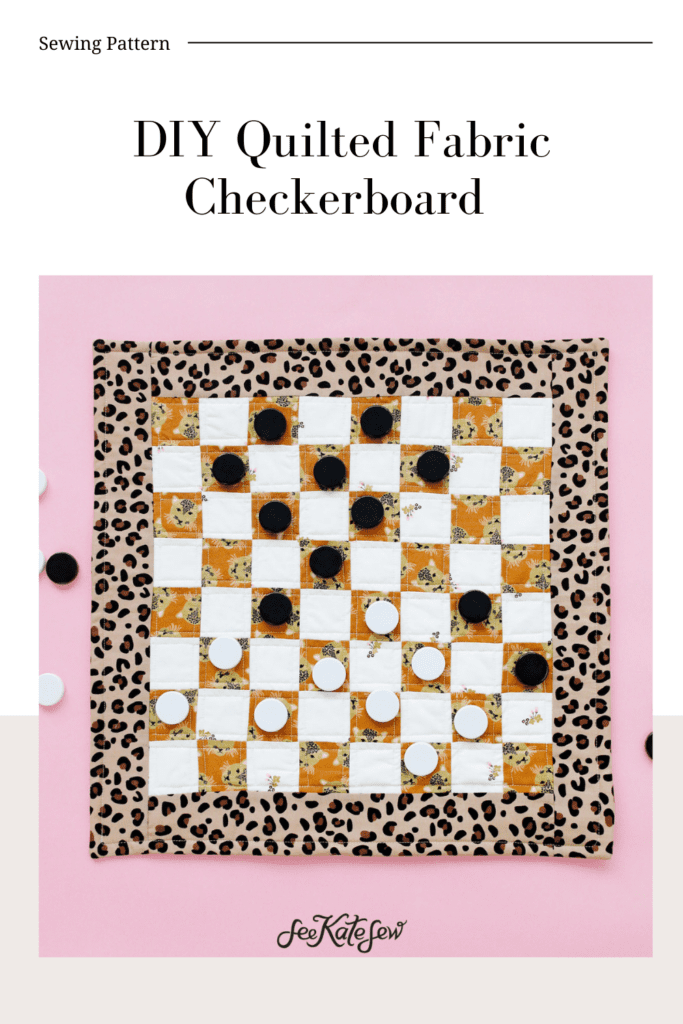
Make your own board game quilt with this quilted checkerboard game pattern! Sewing a fabric checkerboard game is so easy with this simple tutorial – it’s a great project for a beginner and fun for quilters.
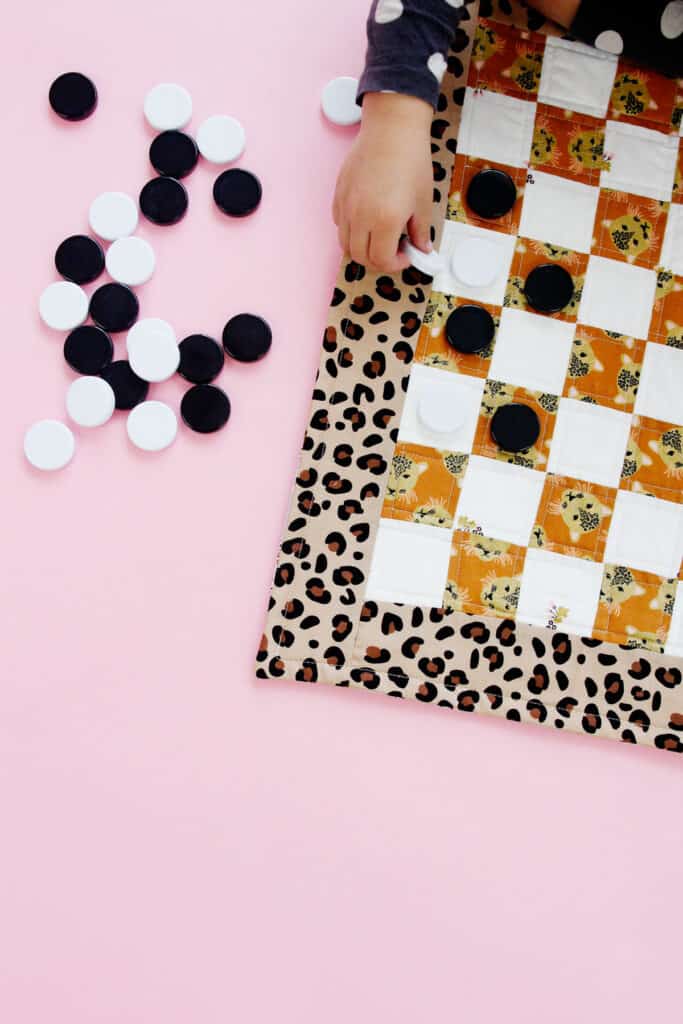
For the checker pieces, you can either sew your own rounds, purchased unfinished wooden pieces or find a set that coordinates (here is the glossy black and white set photographed – affiliate link). The back of the checkerboard has zipper storage for the pieces.
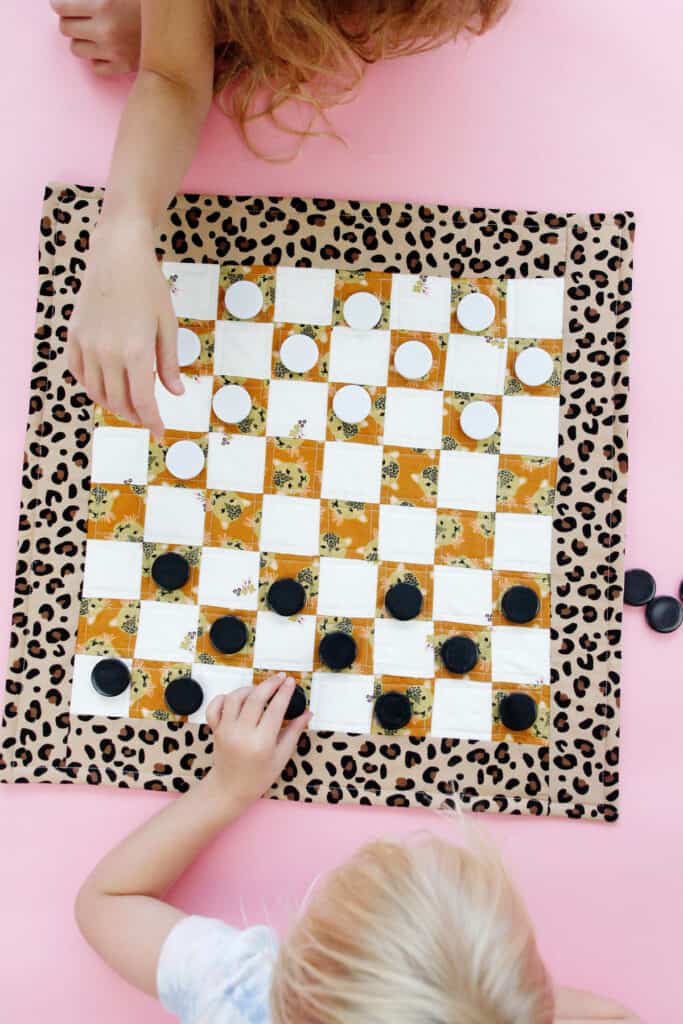
A DIY checkerboard is a great gift idea or use it as a replacement if your game board is broken.
Fabric Checkerboard Game Materials
- 1/4 yard or 1 fat quarter each of 2 colors for checkerboard spaces
- I’m using Spotted Leopard in Butterscotch(affiliate links) and Bouquet Gold Sparkle
- Be sure these two fabrics are high contrasting fabrics so you have a good idea of which spaces to play on!
- 1/4 yard fabric for border
- I’m using Spotted Leopard Spots
- 3/4 yard Backing fabric
- My backing is Spotted Butterflies in Grey
- Low loft quilt batting
- Acrylic ruler, cutting mat and rotary cutter
- Spray baste
- 20″ zipper
Fabric Checkerboard Game Pattern Pieces
Finished size: approximately 20″ by 20″
Cut the following pieces:
- Color 1
- (2) 2.5″ by 20″
- Color 2
- (2) 2.5″ by 20″
- (Lining) 19.5″ by 19.5″
- Color 3
- (2) 3″ by 16.5″
- (2) 3″ by 21″
- Color 4 (backing)
- (2) 2″ by 5″
- 3″ by 22″
- 36″ by 22″
Homemade Checkerboard Sewing Instructions
Use a 1/4″ seam allowance. Seam allowance is included in the pattern measurements.
Let’s make a checkerboard! This tutorial is super easy because it starts with strips! So even though a checkerboard has 64 squares, we will only have to cut 8 fabric pieces!
Cut 4 strips from each fabric measuring 2.5″ by 20″.
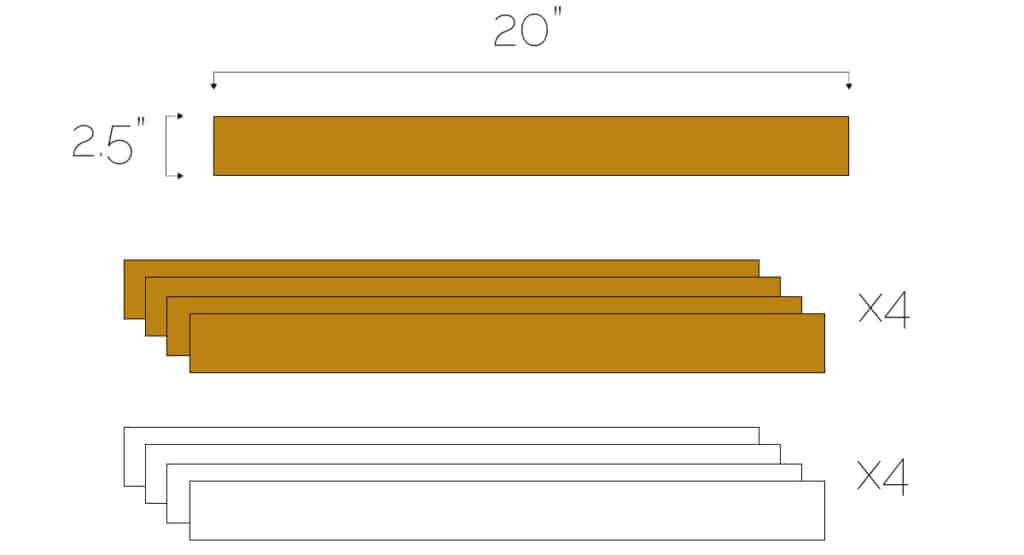
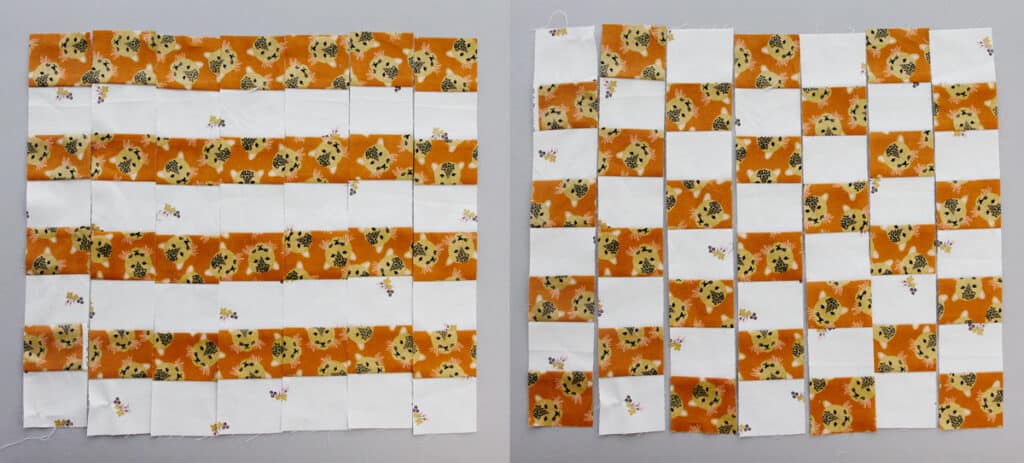
Sew strips together alternating fabrics.
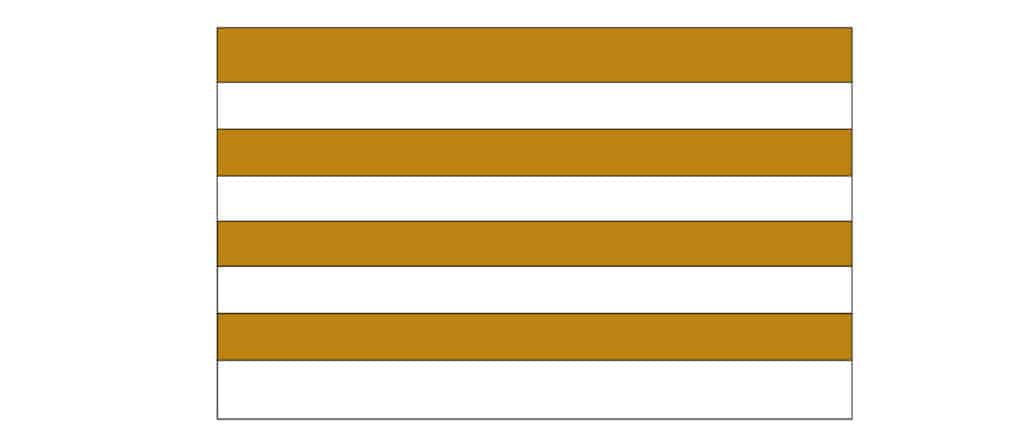
Press seam allowances towards the darker fabric. Then cut into 2.5″ strips, perpendicular to the seams.
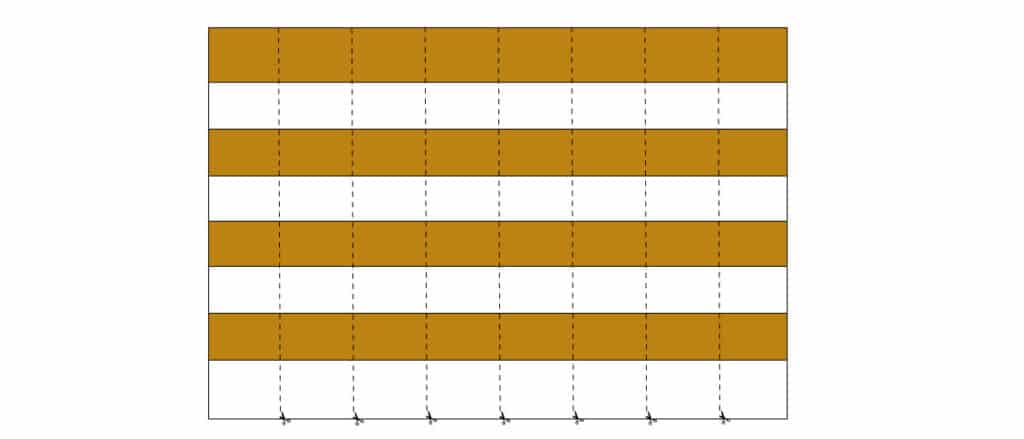
Lay out all the strips and flip every other strip so the pattern reverses. (You’ll have 8 strips, not 7 as shown below – one of mine got away!)
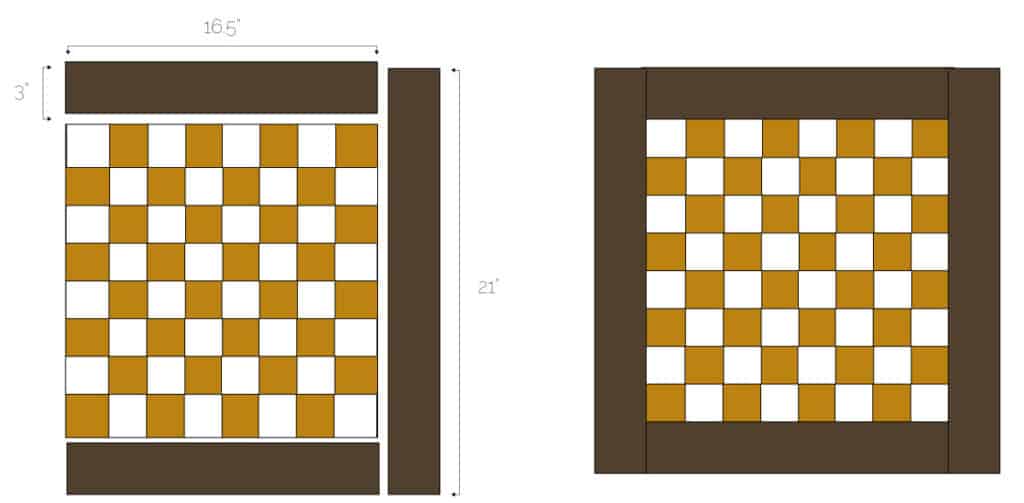
Cut border strips. Here are the measurements, I like to cut them a little bit longer than necessary and trim down as a I sew them together:
- 2 strips 3″ by 16.5″
- 2 stripes 3″ by 21″
Sew short border strips to the top and bottom of the board. Press well. Then sew side border strips. Trim if needed.
Lay the fabric checkerboard out on a piece of batting. Smooth it all out and make sure there aren’t any wrinkles underneath the board. Use spray baste to adhere the checkerboard to the batting.
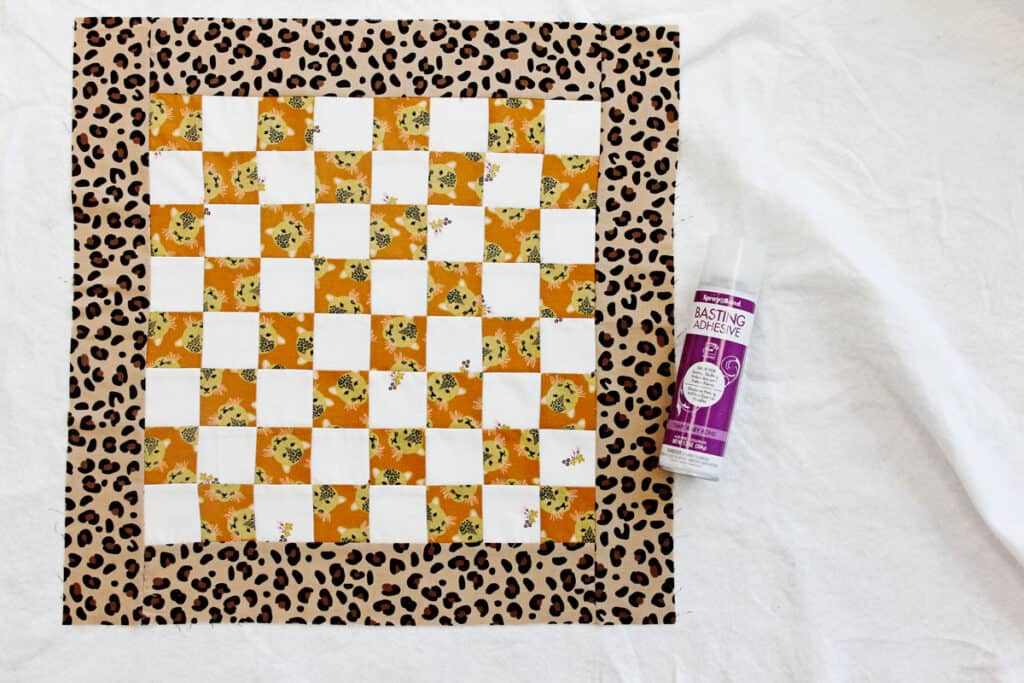
When using spray baste, I like to peel about half of the top fabric up, spray and then lay it down. Then lift up the other side and baste. Be sure your edges are stuck on the batting.
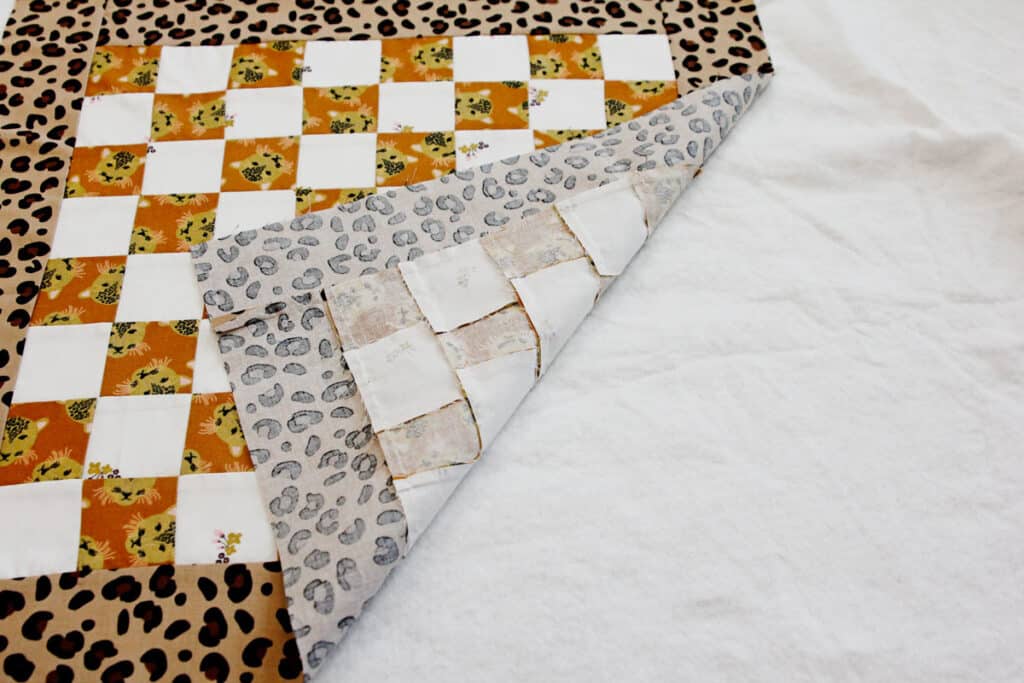
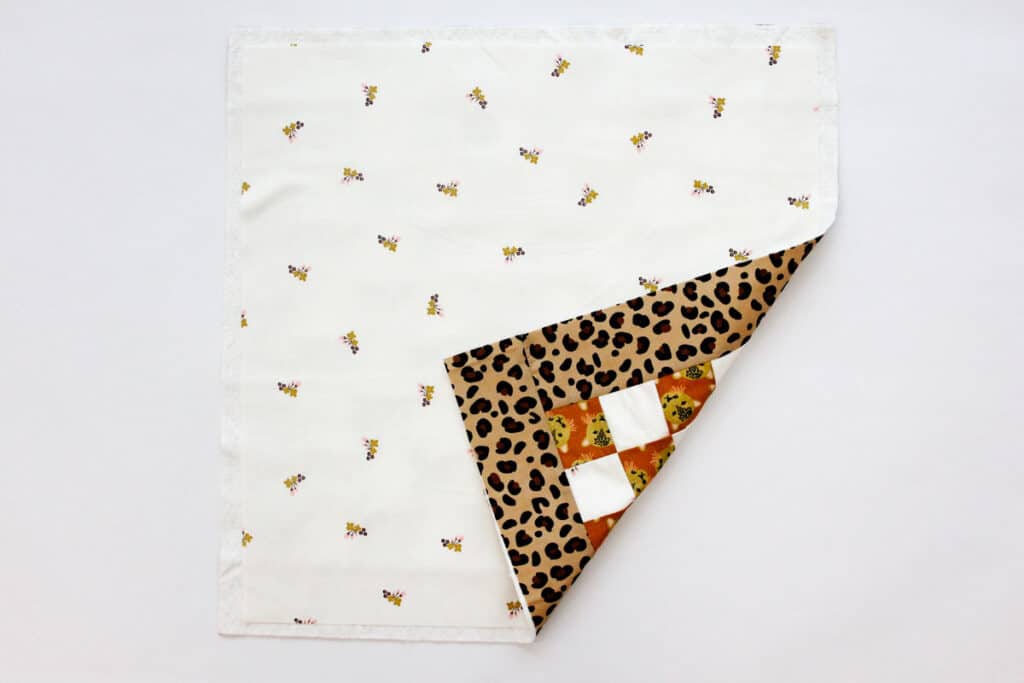
Cut a backing piece of fabric 19.5″ square and baste to the back of the board, leaving about 1/2″ of batting all around the raw edges. This will be a lining for the checker pieces pocket on the back.
Topstitch the checkerboard along the squares, about 1/4″ from all the edges.
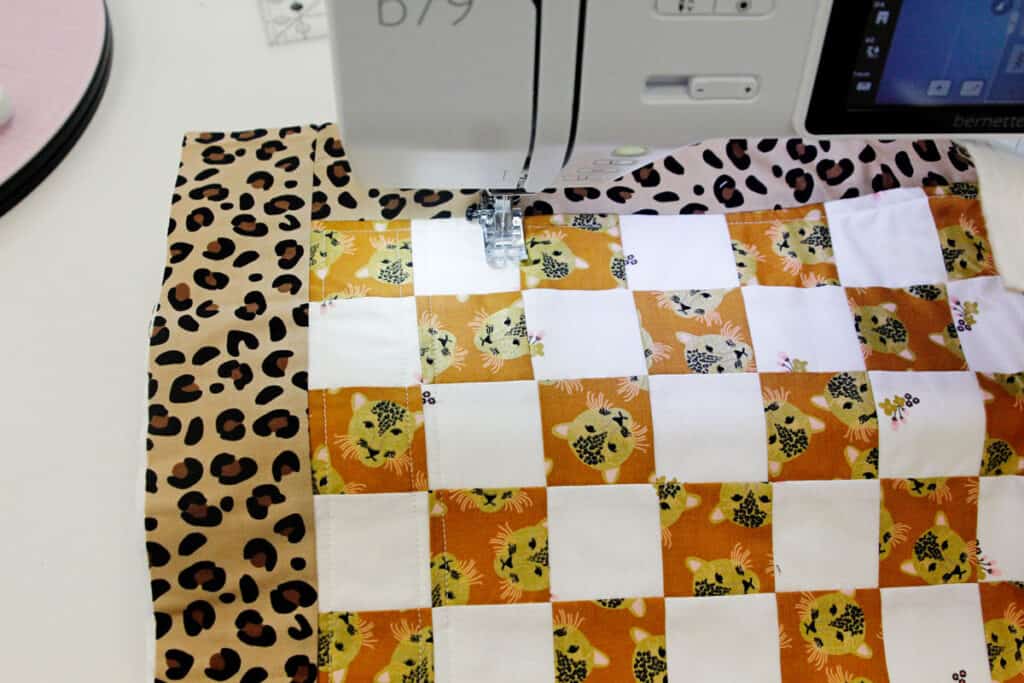
Be sure to backstitch at the ends of your stitching lines.
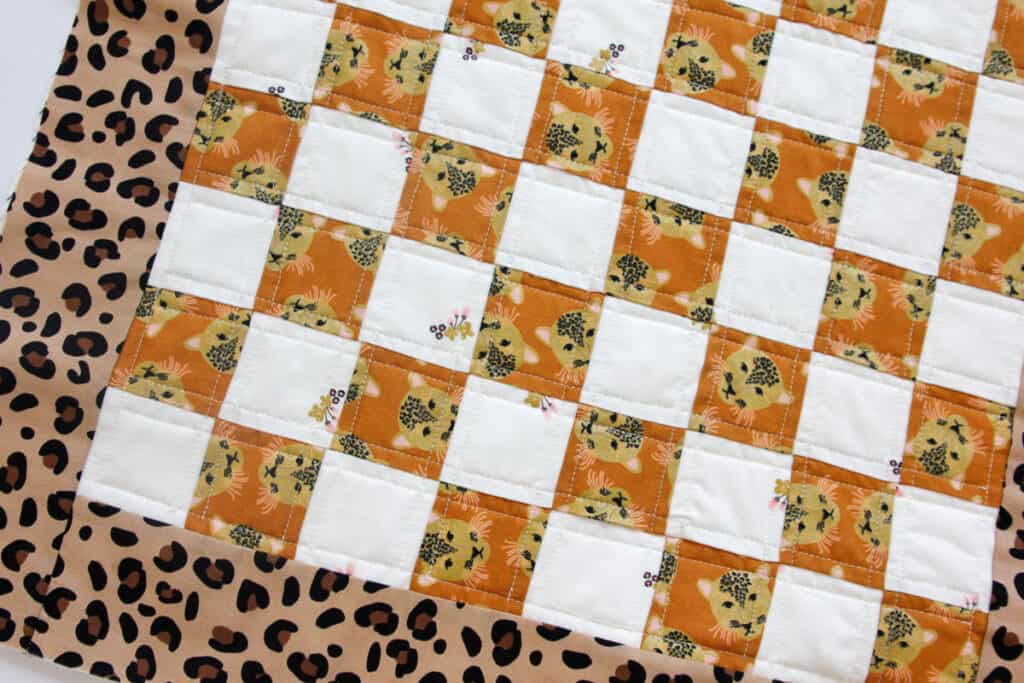
Sew the checkerboard backing
The checkerboard has a zipper on the back that opens up to a big pocket to stash your game pieces. There is enough space inside for chess pieces, too, and this also works as a chessboard.
Cut a rectangle measuring 2″ by 5″ for the zipper tab. Then cut another. Press under 1/4″ towards the wrong side of the fabric on the short edges, then press in half. Cut the metal or plastic zipper stop off of the end of the zipper.
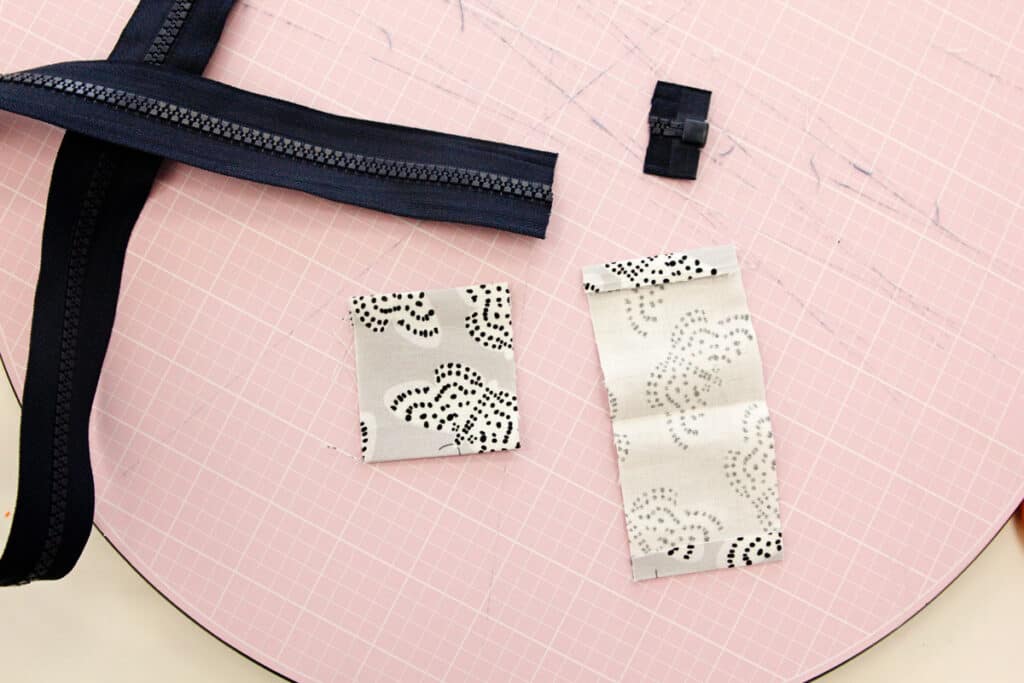
Open tab and sandwich zipper inside. The zipper shouldn’t extend all the way into the tab – we are reducing bulk for the side seams by using these zipper tabs, so leave at least 1″ from the zipper to the end of the tab.
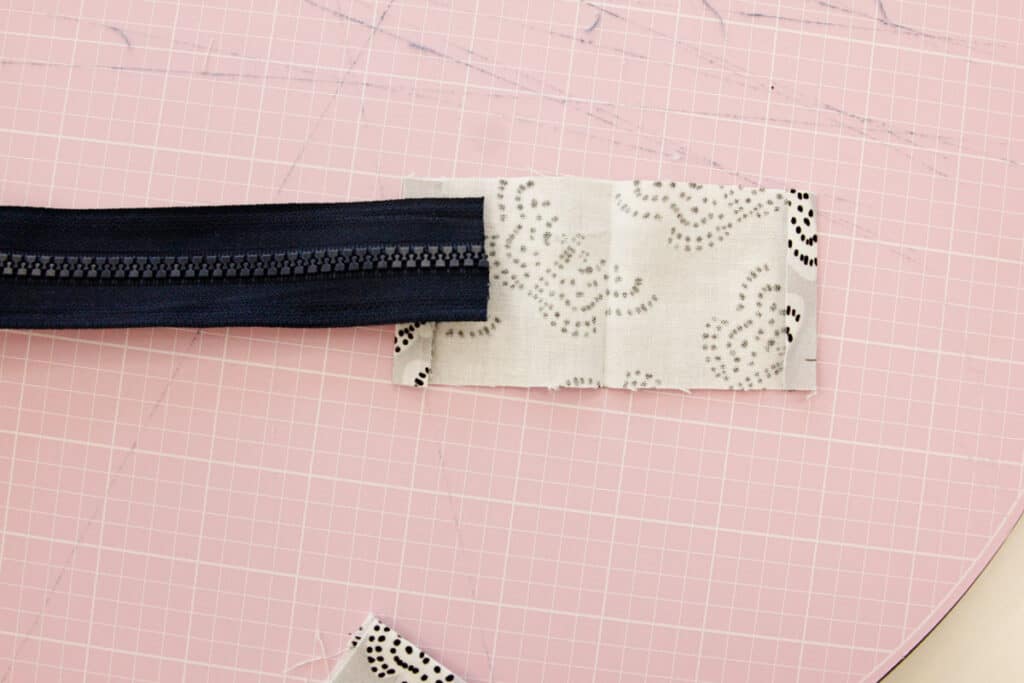
Pin and topstitch along the zipper tab.
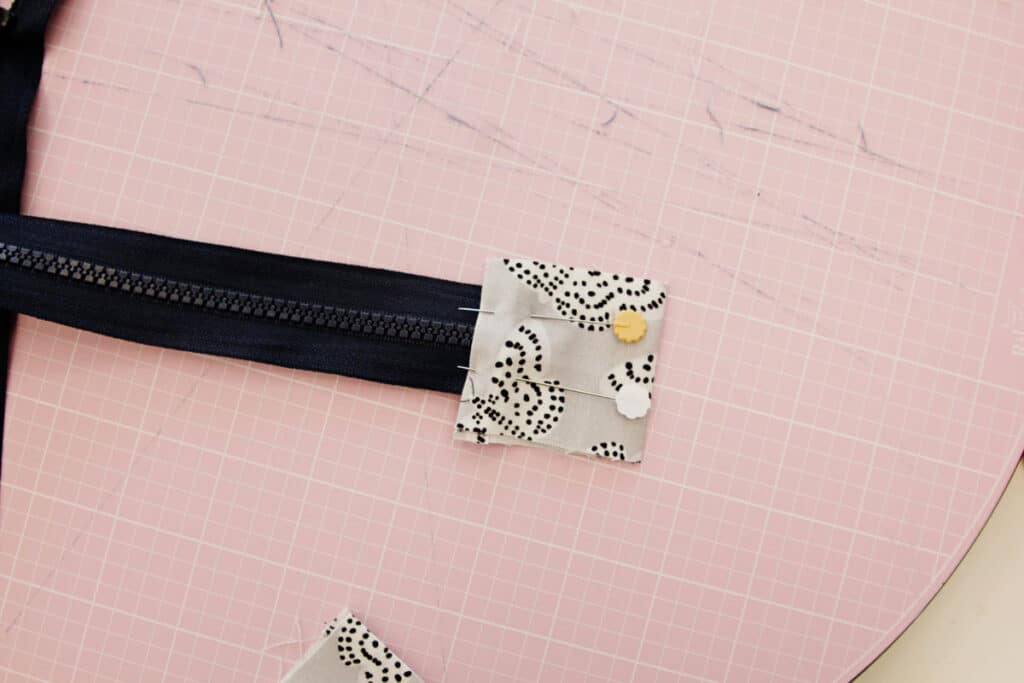
Repeat on the other side. Open the zipper and trim zipper so it is about 1 inch shorter than the game board.
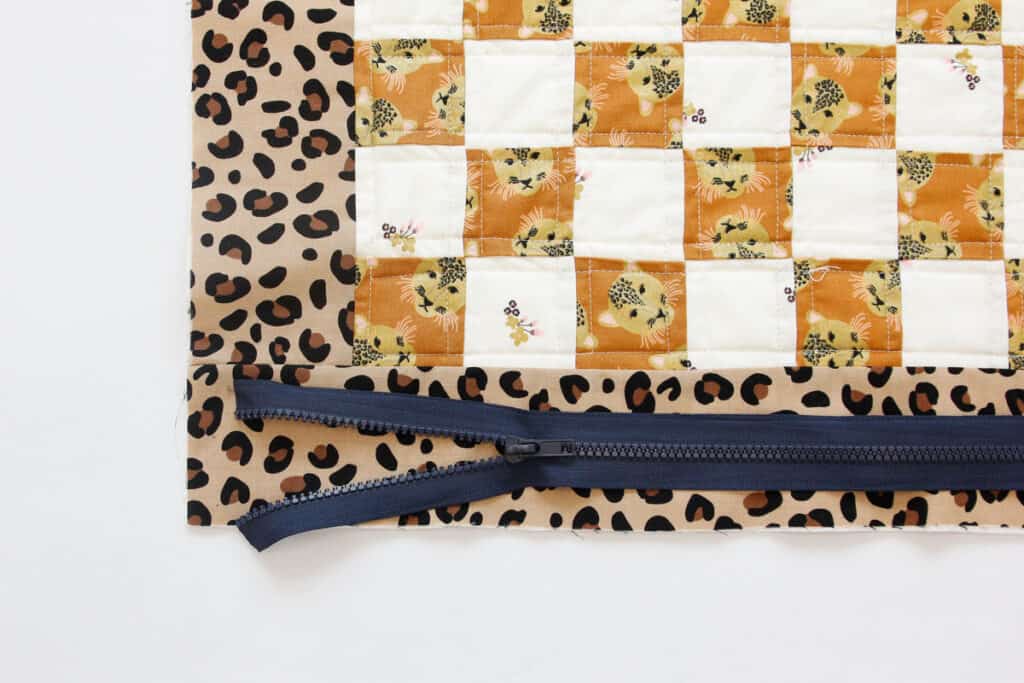
Sew the second zipper tab onto the ends of the zipper as shown. You’ll have to pinch in the sides of the zipper tape so they are aligned correctly.
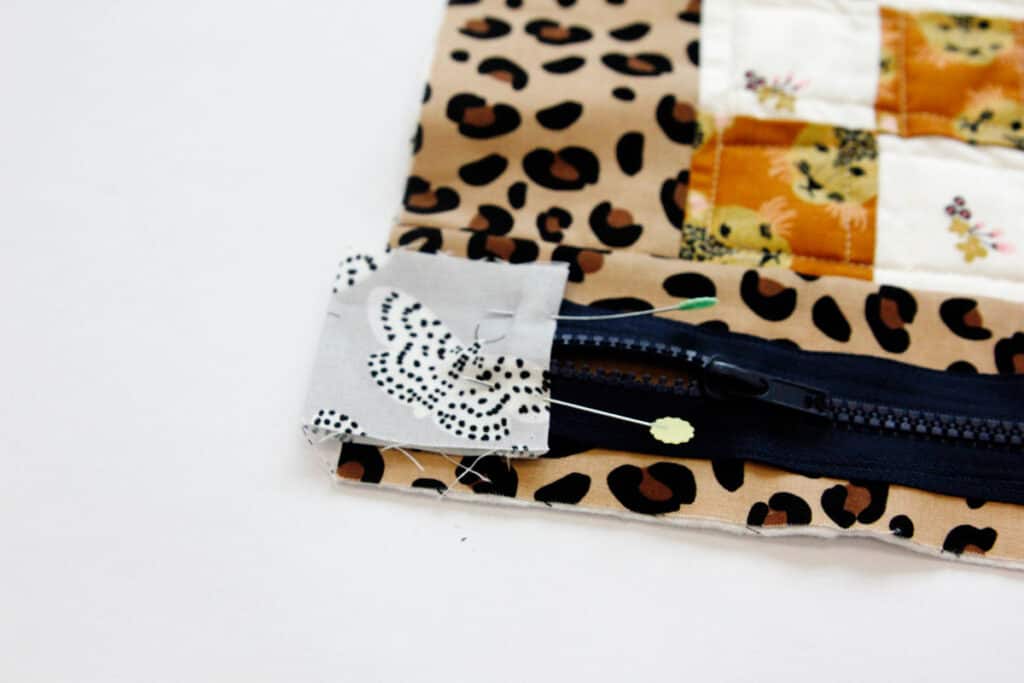
Cut a strip 3″ by 21-22″ for the backing. Fold in half and press well. Spray baste the back of this strip and align the fold about 1/4″ from the zipper teeth on the zipper tape. Press down. Then topstitch 1/8″ from fold.
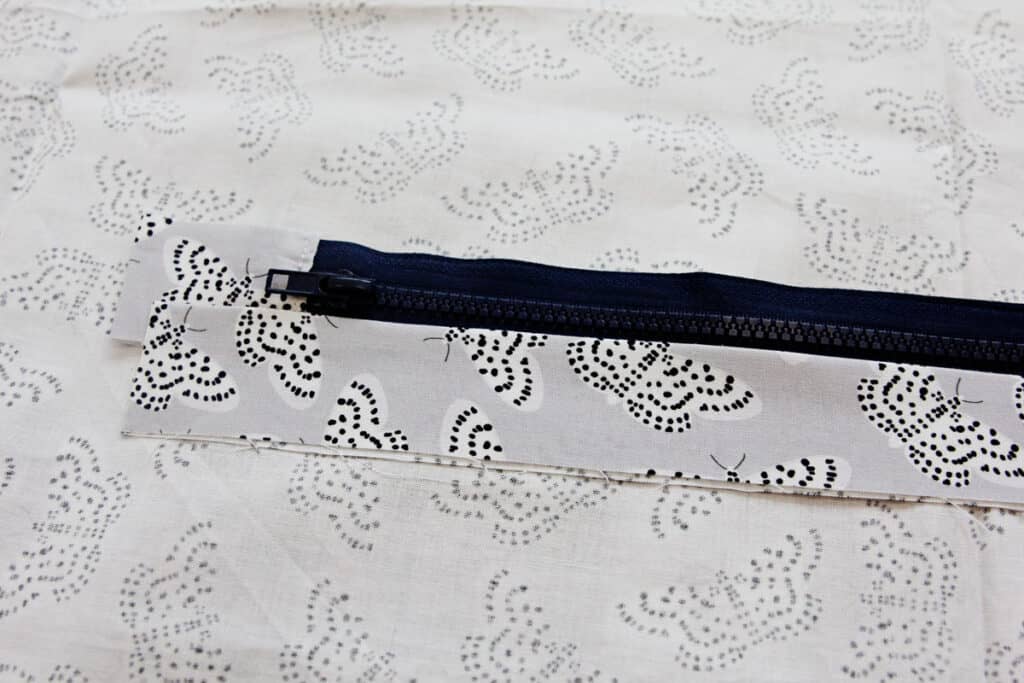
Cut the other backing piece 36″ by about 21-22″. I cut mine extra wide just in case. Repeat folding, pressing and basting the fabric to the other side of the zipper tape. Topstitch.
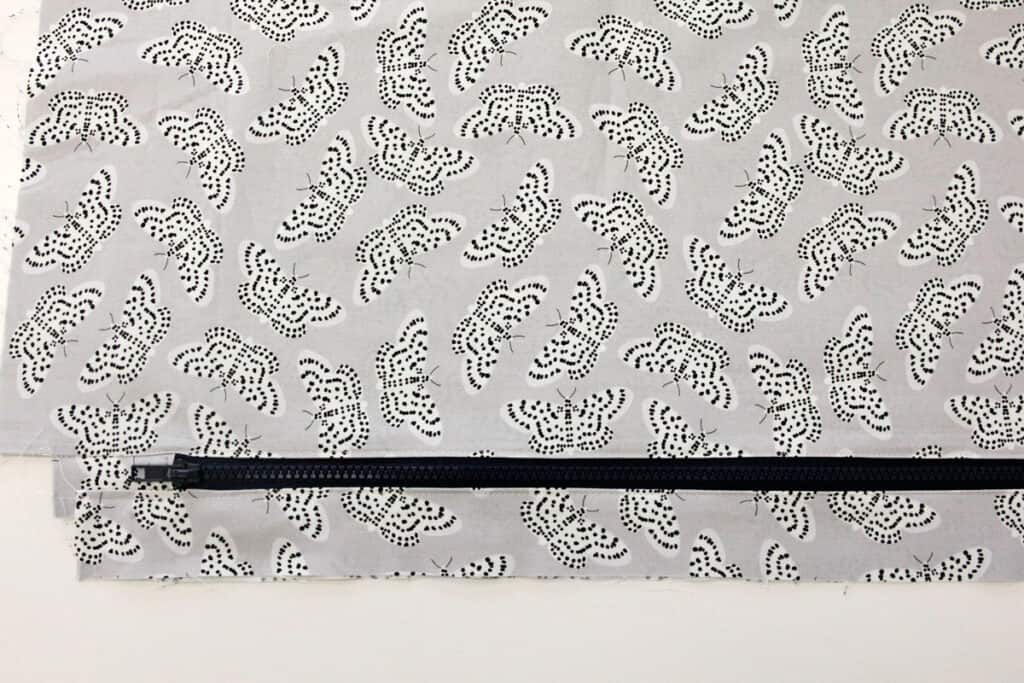
Checkerboard Game Pattern Finishing Instructions
Trim the backing to match the size of the checkerboard.
Open the zipper part way and pin back to the main checkerboard with right sides together. Sew all the way around the board 3/8″ from edges, pivoting at the corners.
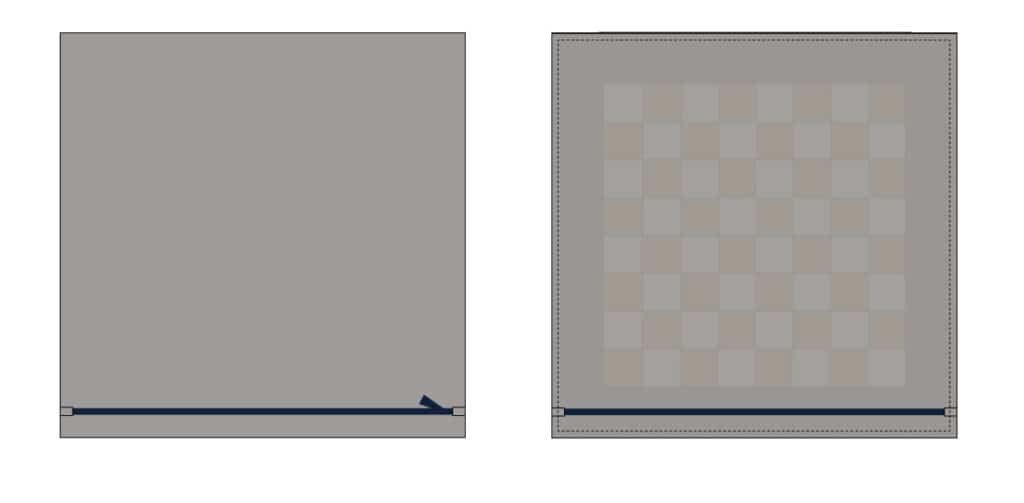
Clip corners and trim seam allowance. Then turn the board right side out through the zipper opening. Press well and topstitch around the outside of the checkerboard 1/2″ from edges.
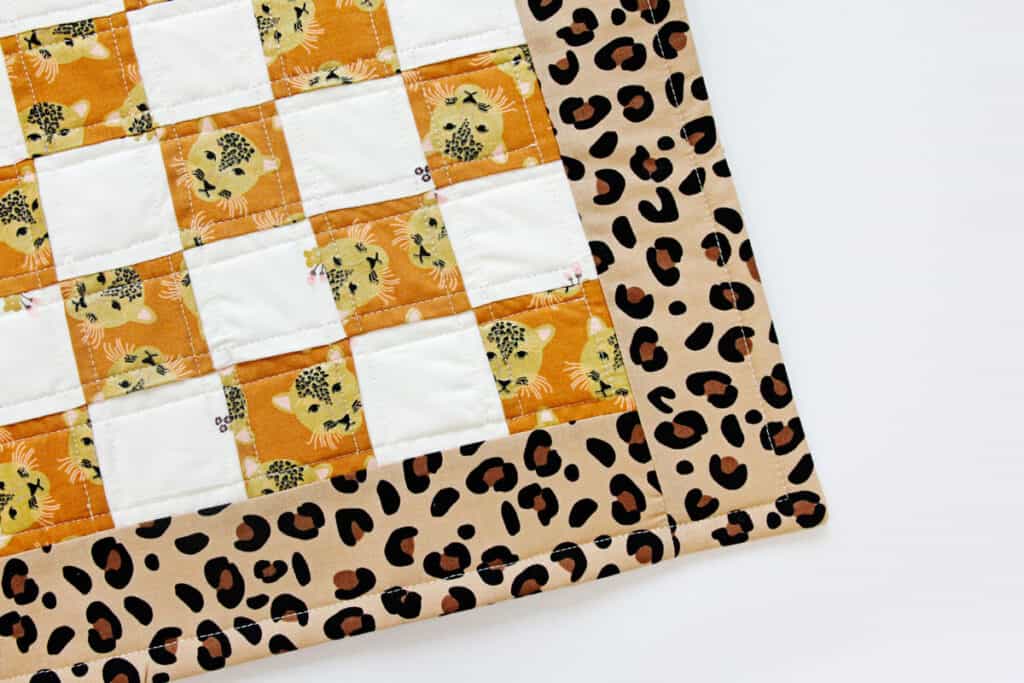
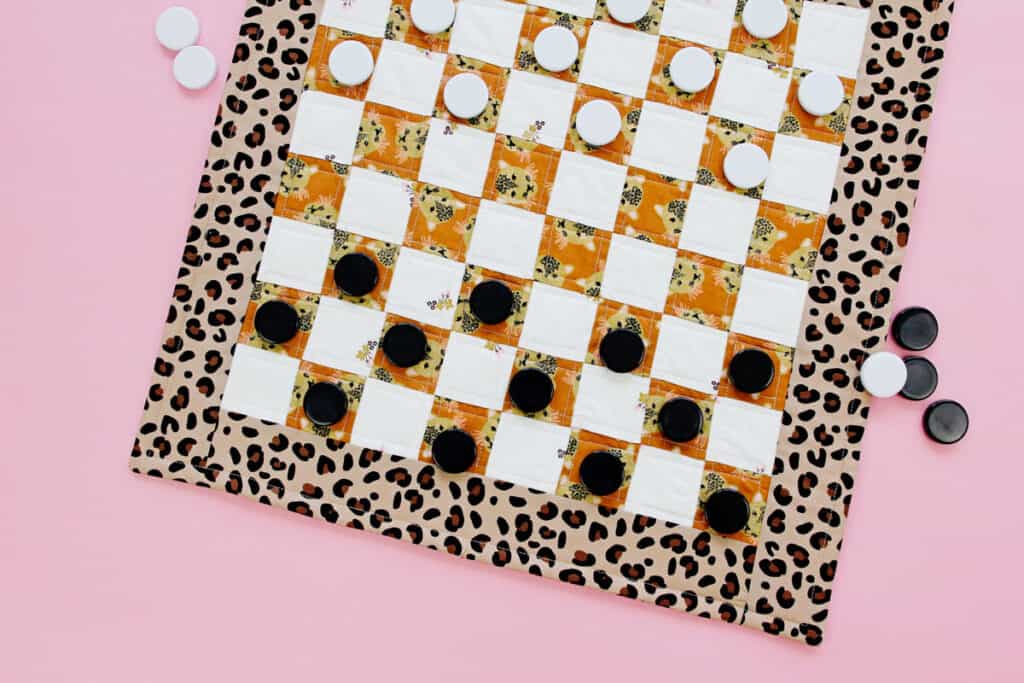
Now load up your checkerboard game with checkers and chess pieces and get ready to play! The whole family will have so much fun with this game board!
Join the See Kate Sew Facebook group to show off your project!
Similar Sewing Projects
If you like this quilted fabric checkerboard game pattern, try these fun sewing ideas!


