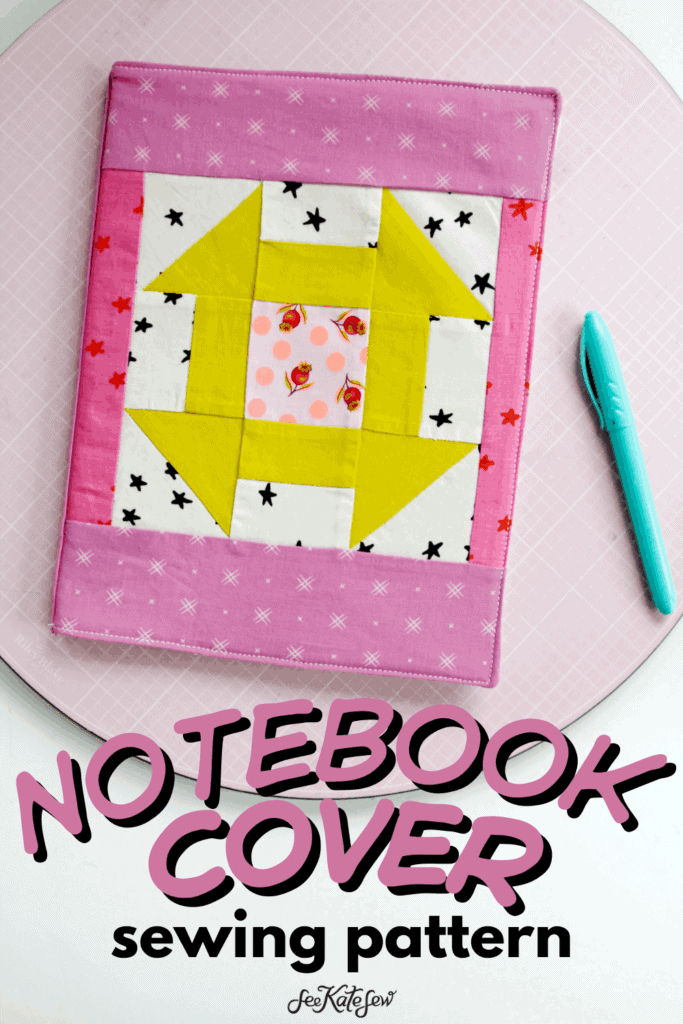
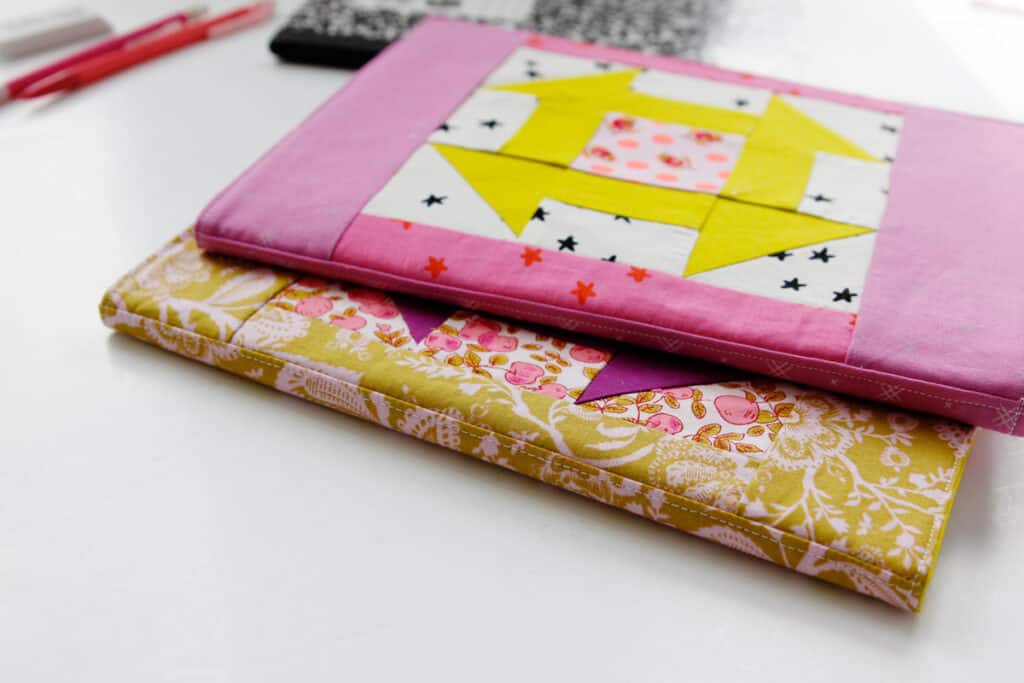
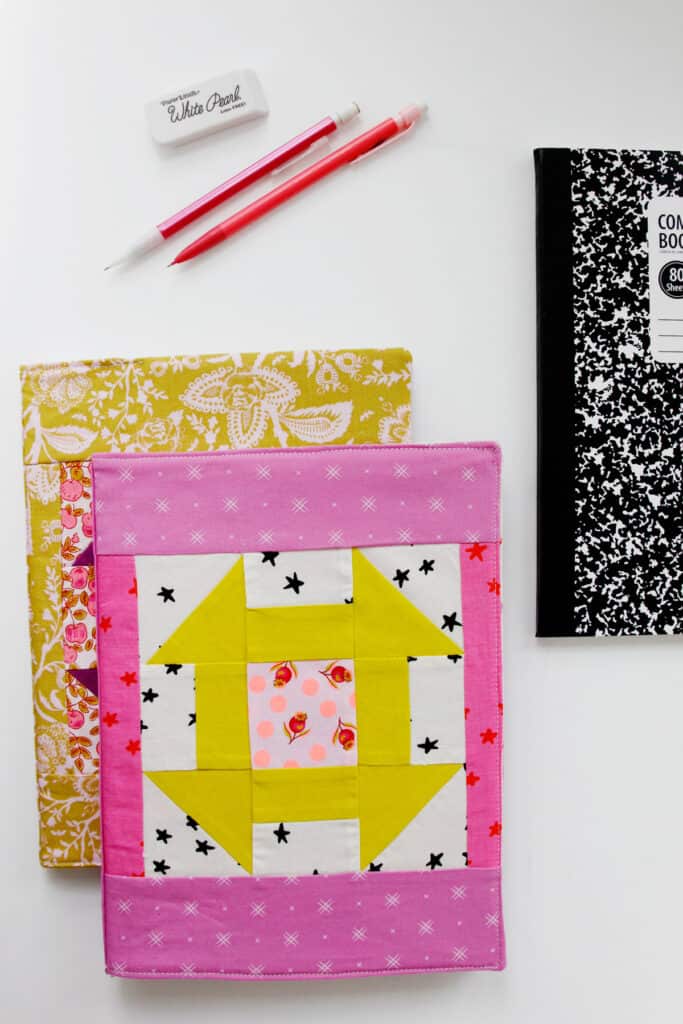
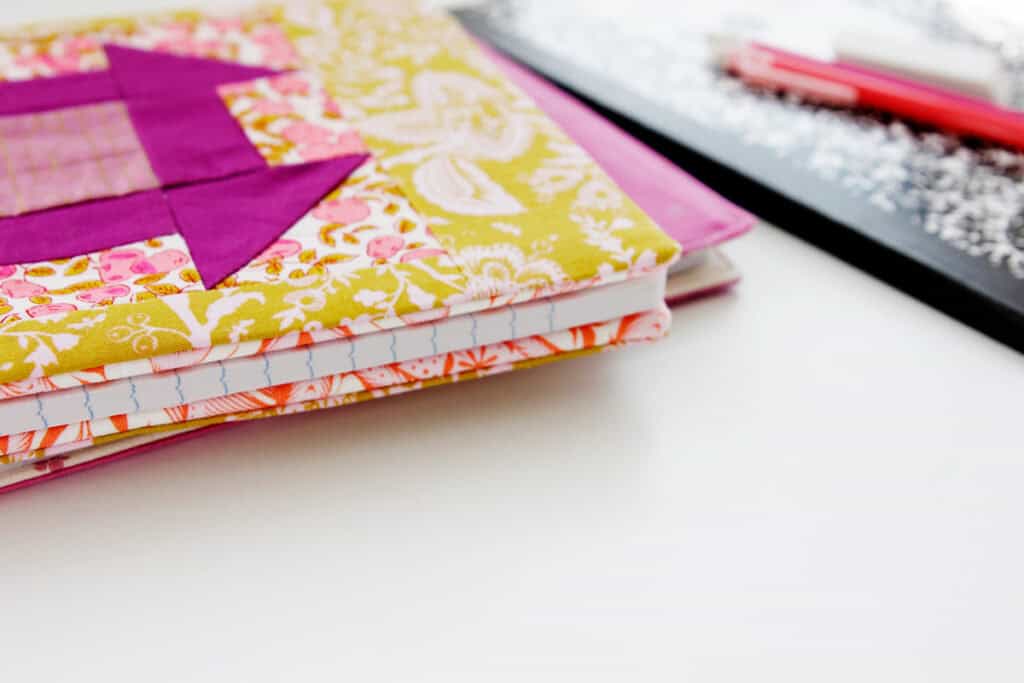
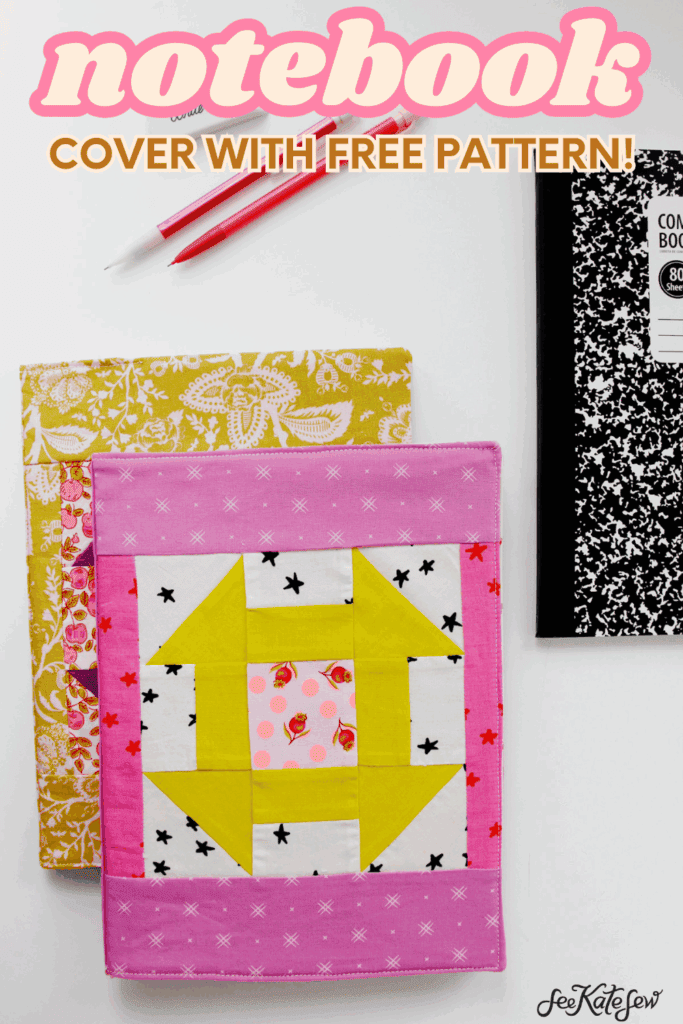
Let’s make a notebook cover to add some Quilty style to your school supplies! I love having a fresh notebook for ideas and it’s even cuter with a quilted composition notebook cover!
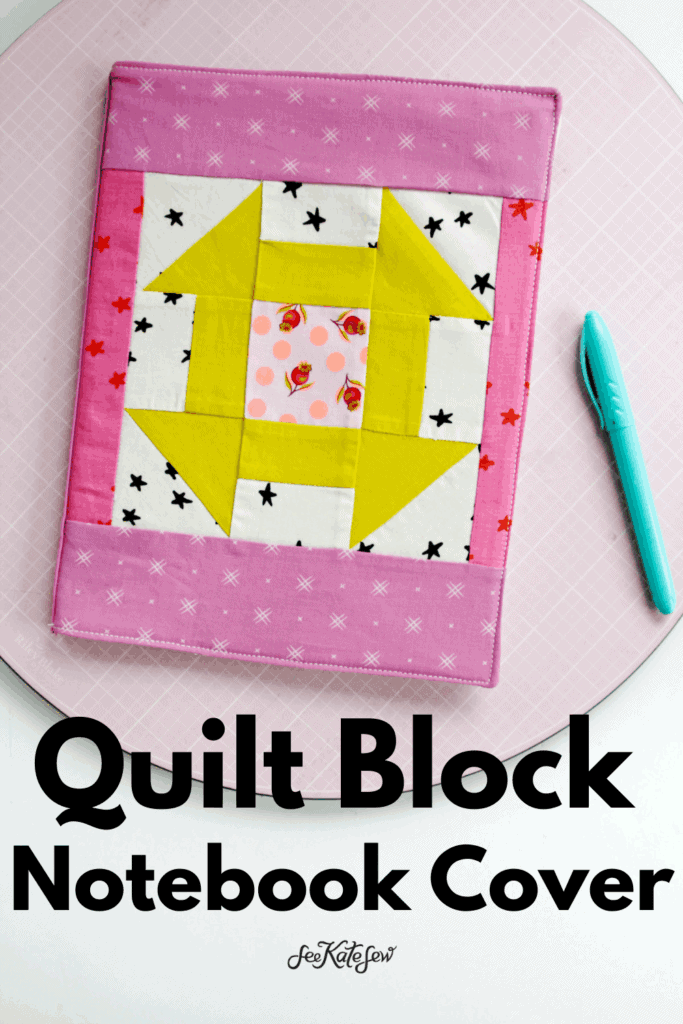
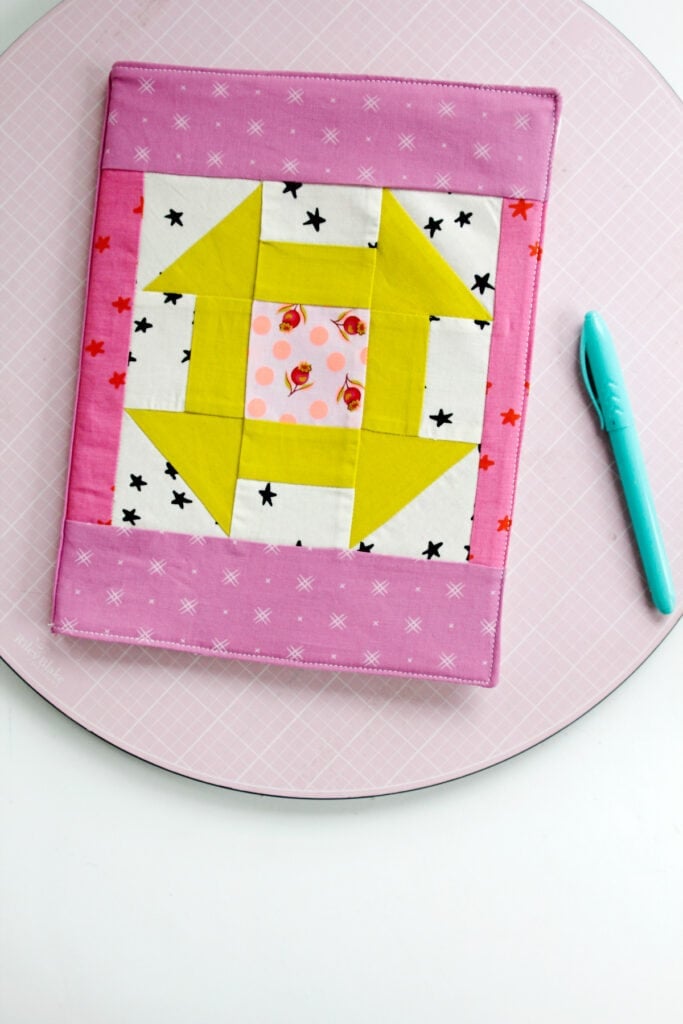
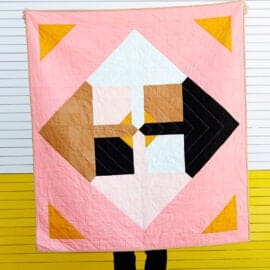
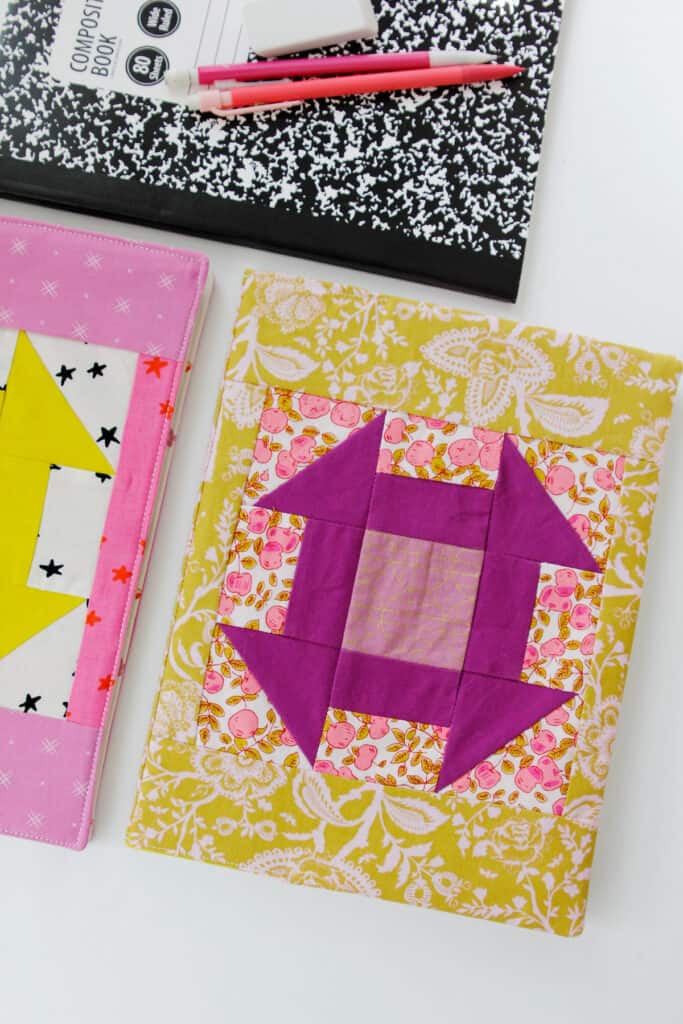
This notebook cover features the churn dash quilt block which is a classic block I love to make!
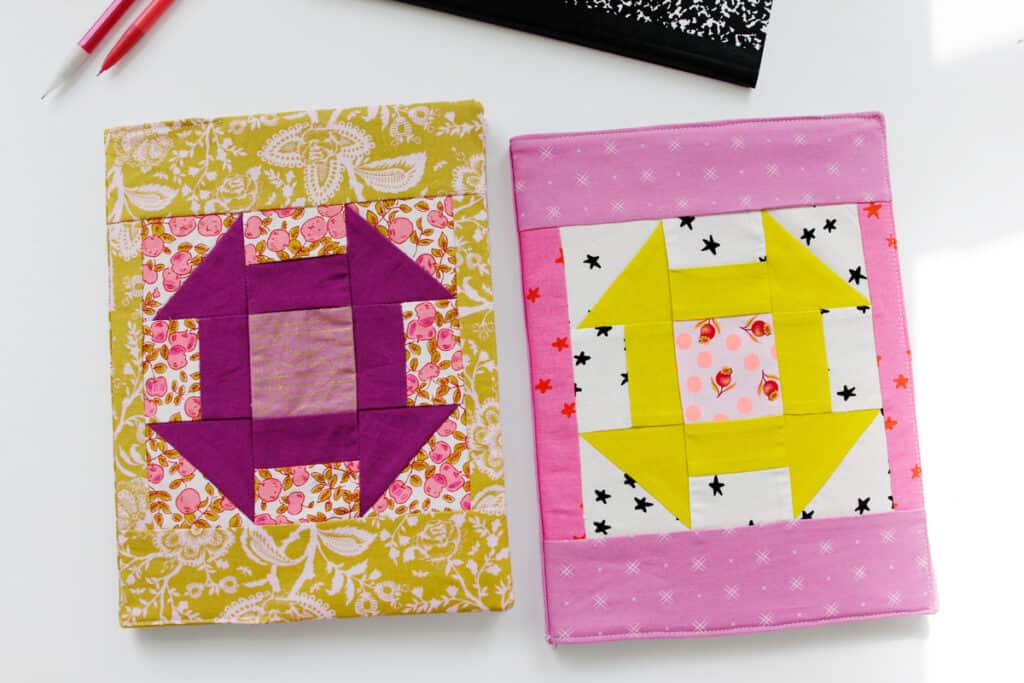
These look so good when you put them on your notebook and will make any schoolwork so much better!
There is a free pattern download available in this post – just print it out and get your fabrics ready!
Materials for sewing a quilted composition notebook cover
- Quilting cotton scrap fabric
- Fusible interfacing (affiliate)
- Churn dash block tutorial
The pattern is designed to fit a standard composition book. It will fit SNUGLY so be careful with seam allowances!
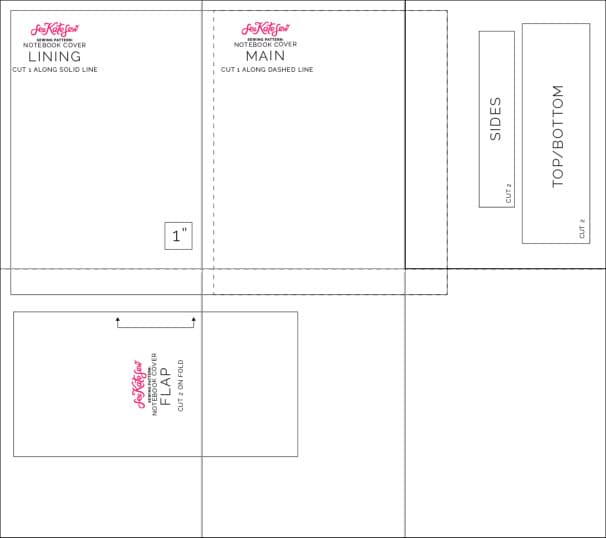
Free Composition Notebook Cover Pattern Download
Click on the pink button below to download the notebook cover pattern pieces. Print at 100% or DO NOT SCALE. If you prefer to print the Templates AND Instructions, you can get an Easy-to-Print Version of this pattern HERE.
Trim the edges of the pages and tape pattern pieces together as shown:
Comp Notebook Cover Tutorial
Use a 1/4″ seam allowance when piecing the front panel. Use a 3/8″ seam allowance for the notebook cover assembly.
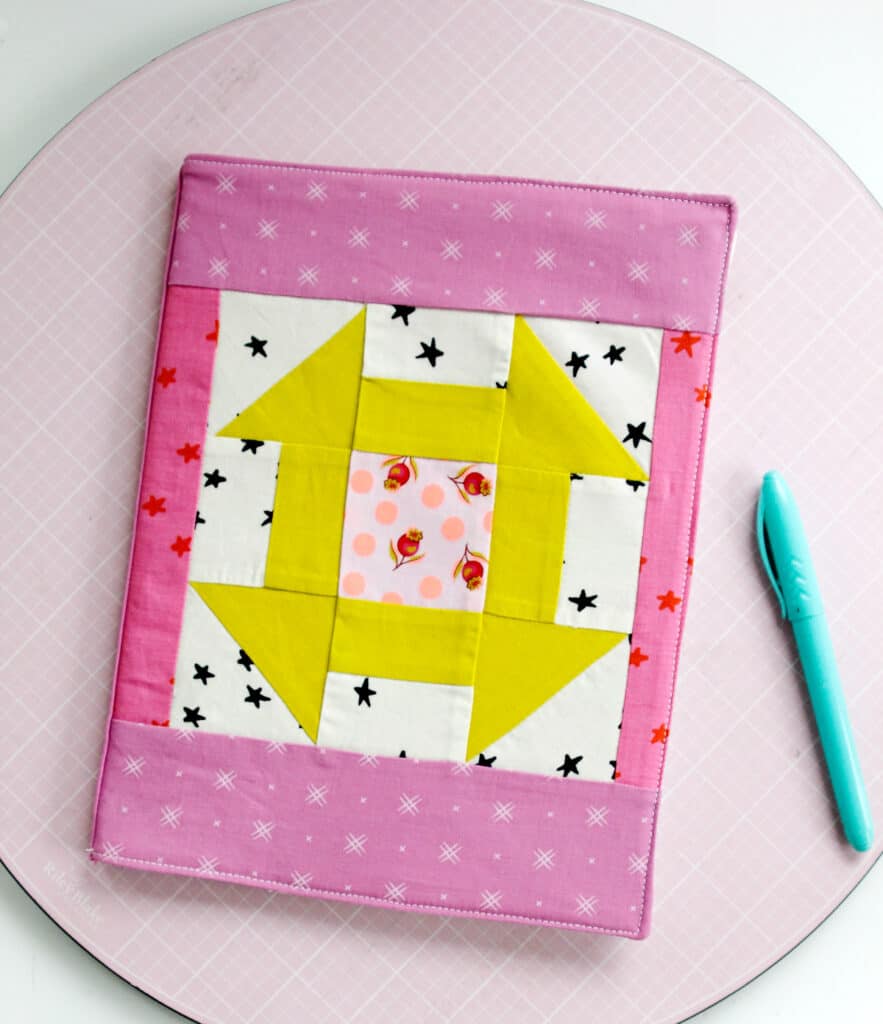
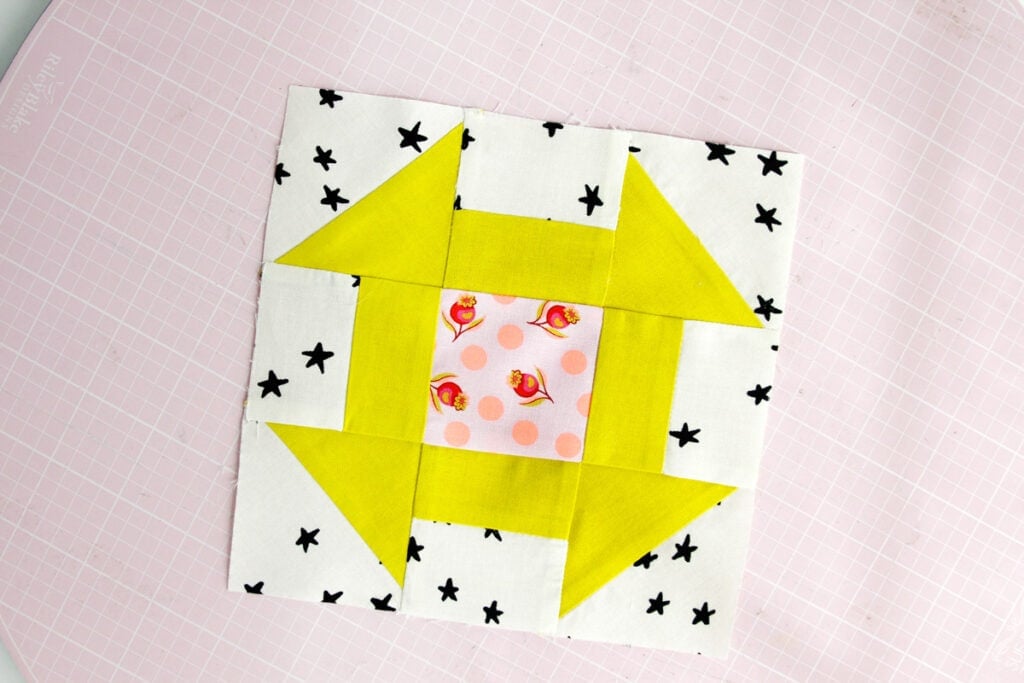
Start by sewing a 6″ churn dash block – see the full tutorial in this post and download the cheat sheet!
Now cut out all the pieces from your pattern. You will need:
- 1 Lining
- 1 Main
- 2 Flap Pieces
- 2 Side Pieces
- 2 Top/Bottom
Interface the following:
- 1 Main
- 2 Flap Pieces
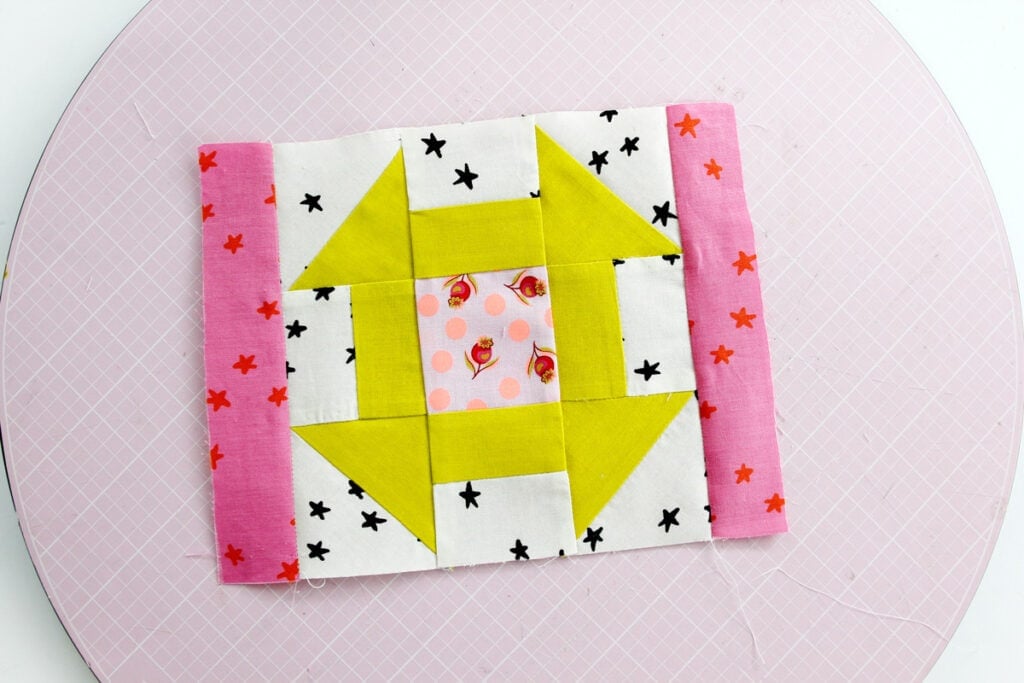
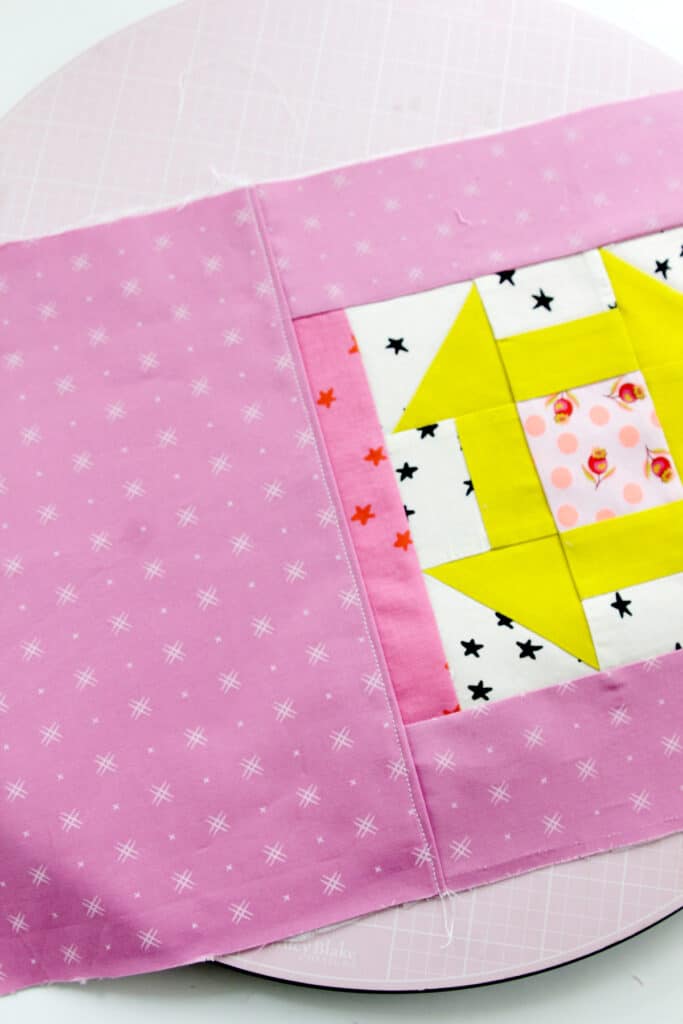
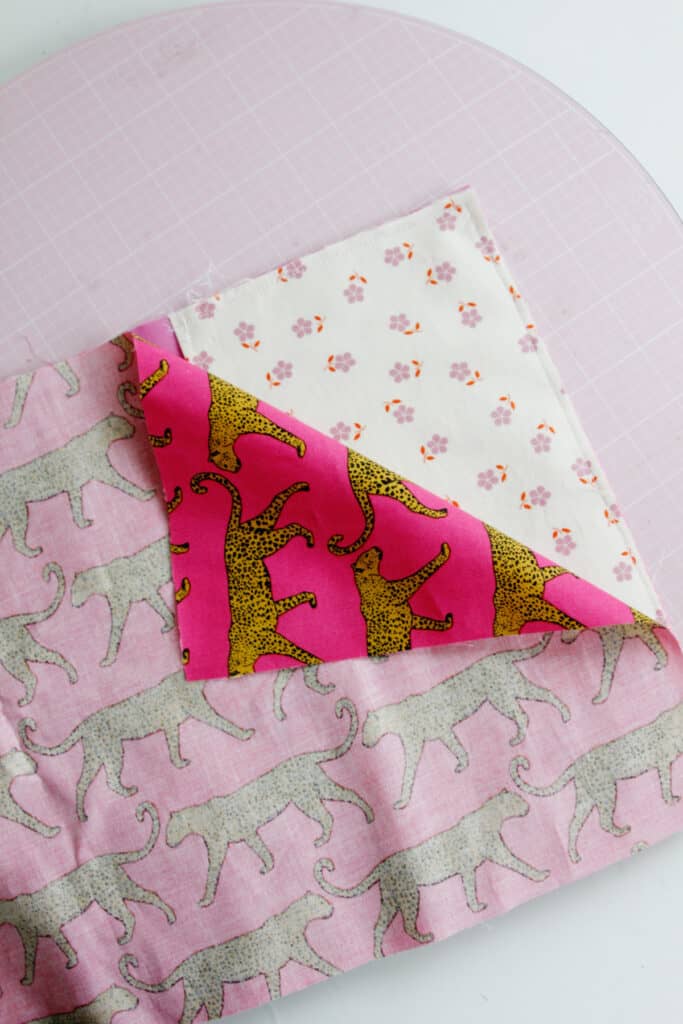
Next we’ll make the front panel. Press your quilt block well. Sew the side pieces to the block sides. Press the seam allowances out.
Then sew the top and bottom pieces. Press seams. Trim up panel if needed. When piecing, things aren’t always exact, so be sure to measure and square up when needed throughout the project.
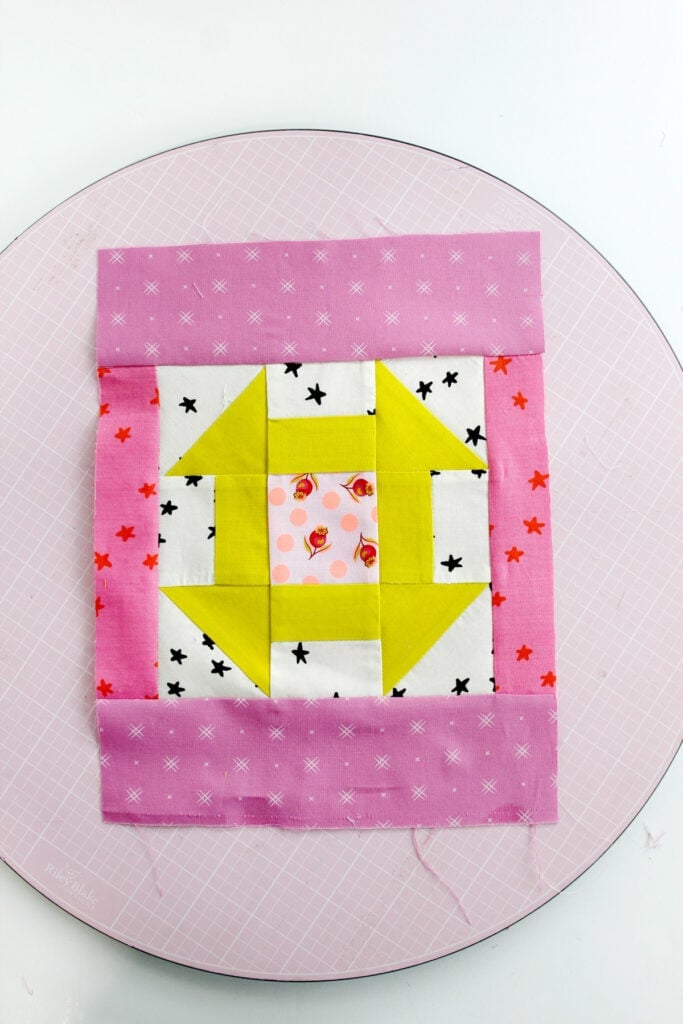
Press well and interface the whole panel.
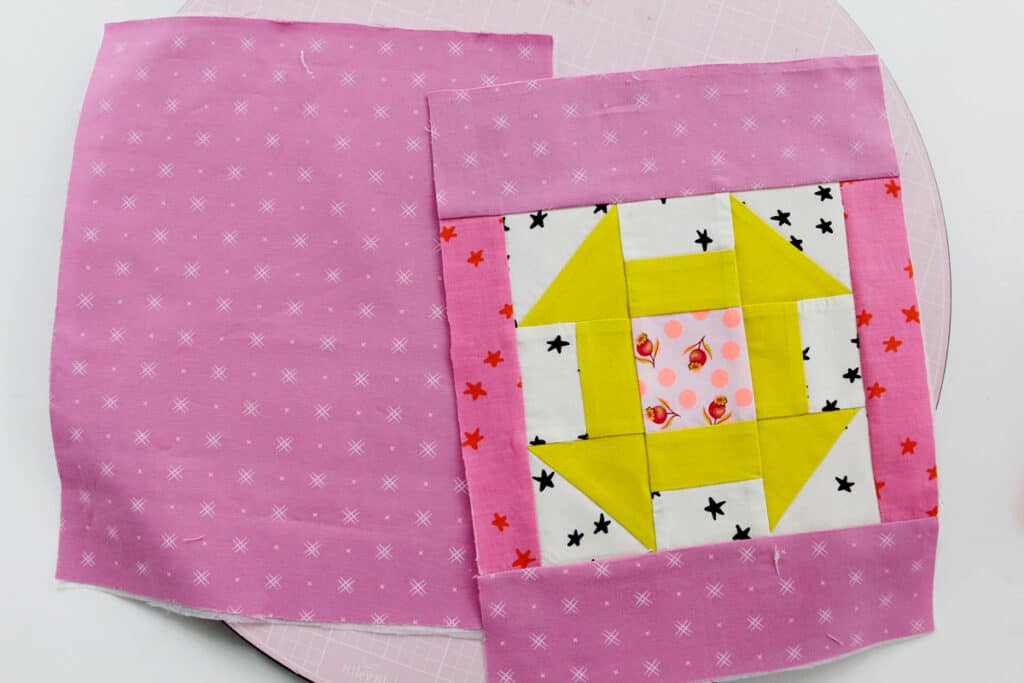
Sew the panel to the main piece with a 3/8″ seam allowance. Press seam allowance towards the back of the notebook cover and topstitch 1/8″ from the seam.
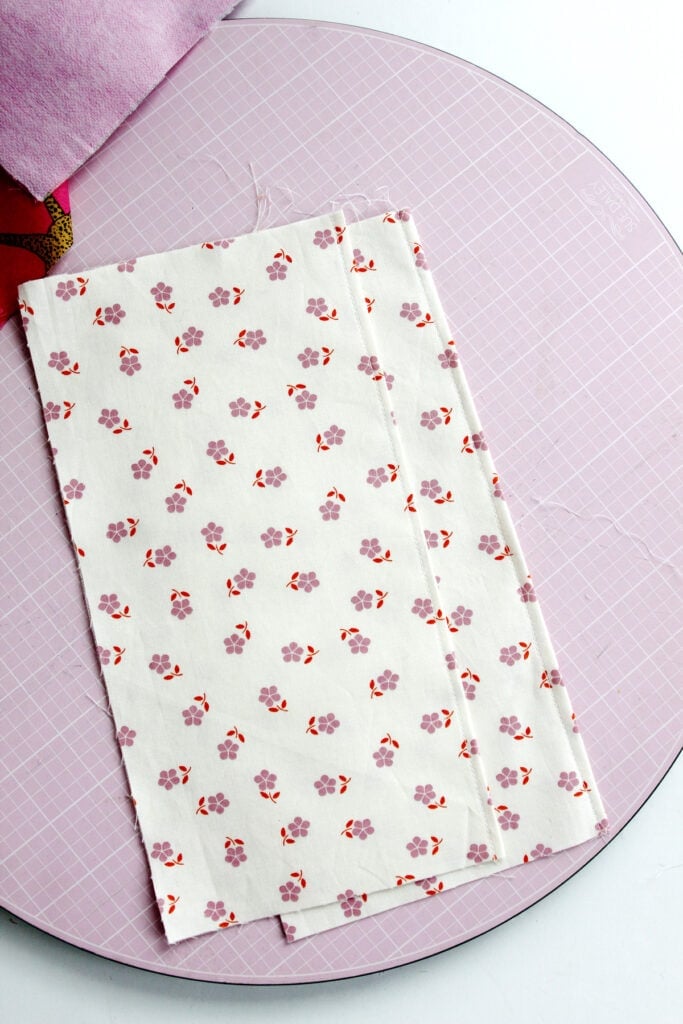
Fold the flaps in half and press. Then topstitch 1/8-1/4″ from the folded edges. Press well.
Assemble the Notebook Cover
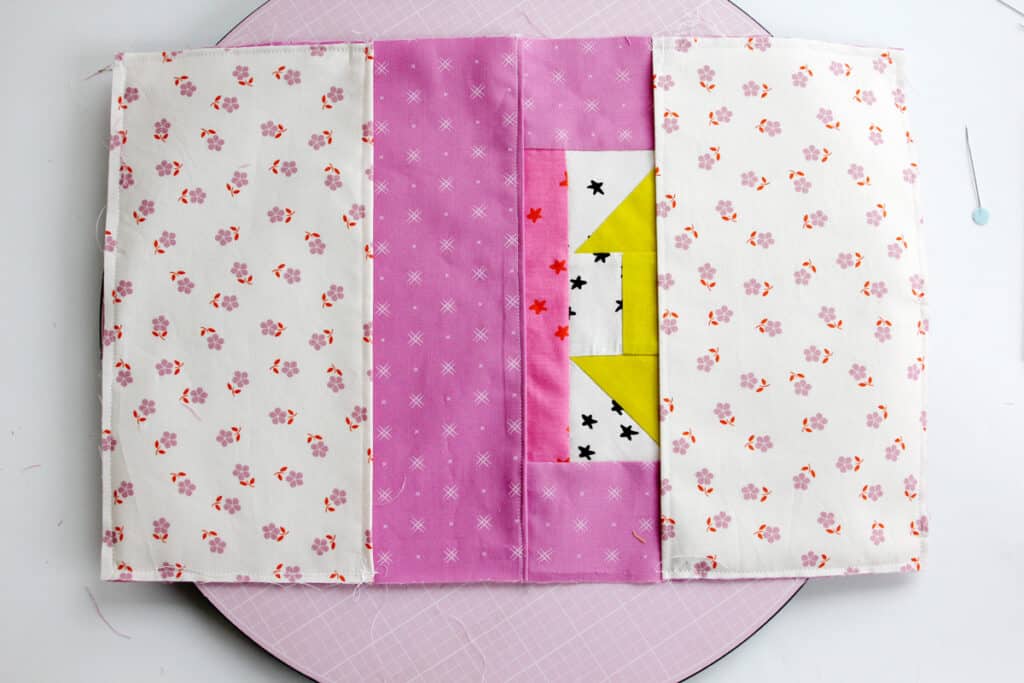
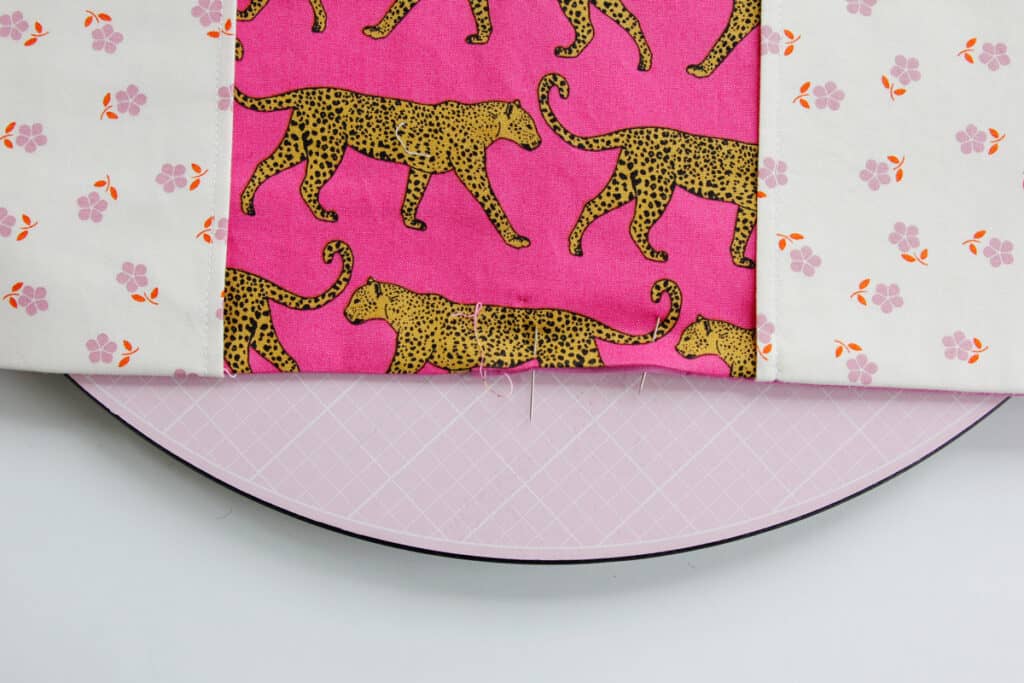
Now we’ll assemble the notebook cover! First place the main piece with the quilt block panel face up. Then place the flaps aligned with the edges.
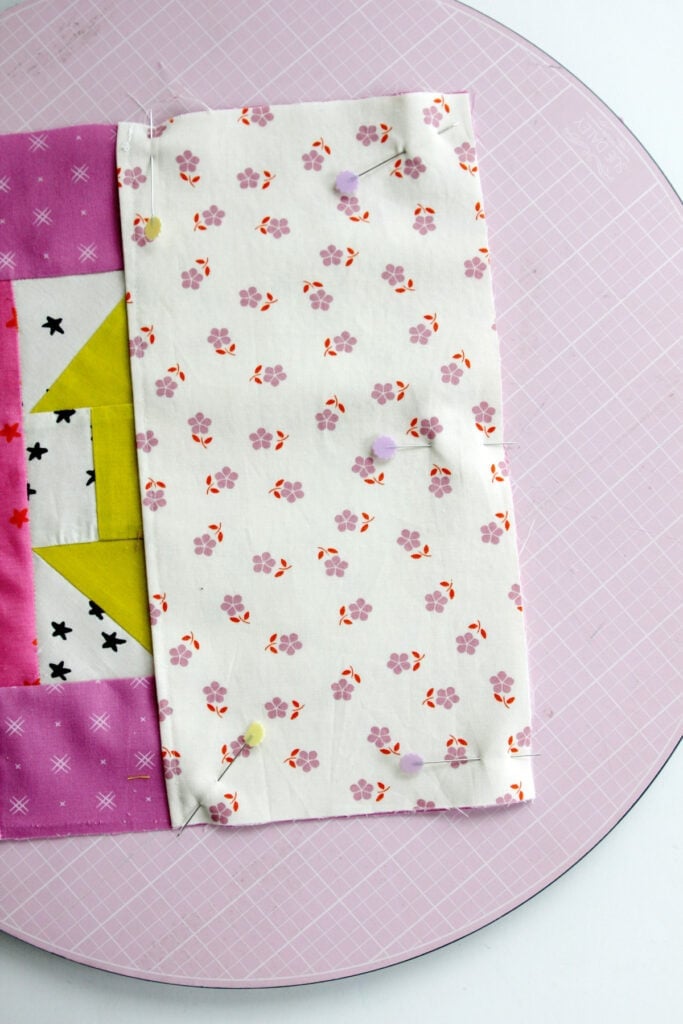
Baste the pocket pieces in place along the top, bottom and side edges, 1/4″ from the edges.
Now stack the lining piece face down on the stack. Pin and sew all layers together 3/8″ from the edges. Leave a 2-3″ opening at the bottom of the notebook cover.
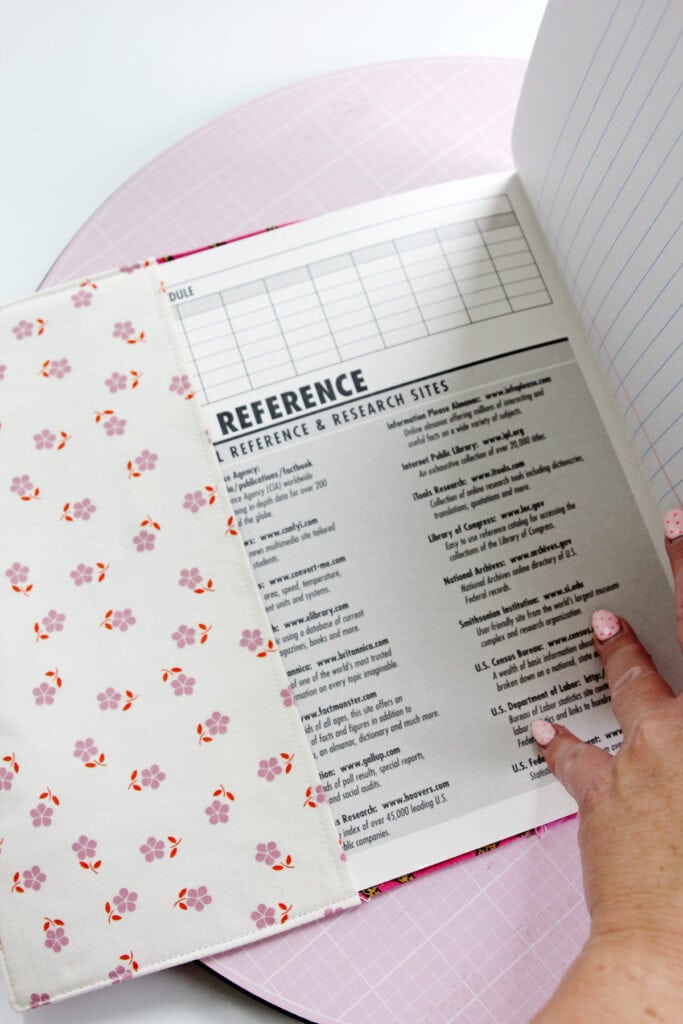
Clip the corners and turn right side out. Press well. Turn under the opening at the bottom and press. Topstitch around the entire notebook cover or just over the opening and along the top and bottom of the cover between the flaps. This is a snug fitting cover, so be sure not to topstitch past 1/8″ from the edges.
Now slip in your notebook and you’re ready to go!
Notebook covers are a great gift idea for the holidays or back-to-school!