This post, Rainbow Baby Quilt, is a sponsored conversation written by me on behalf of Cricut. The opinions and text are all mine.
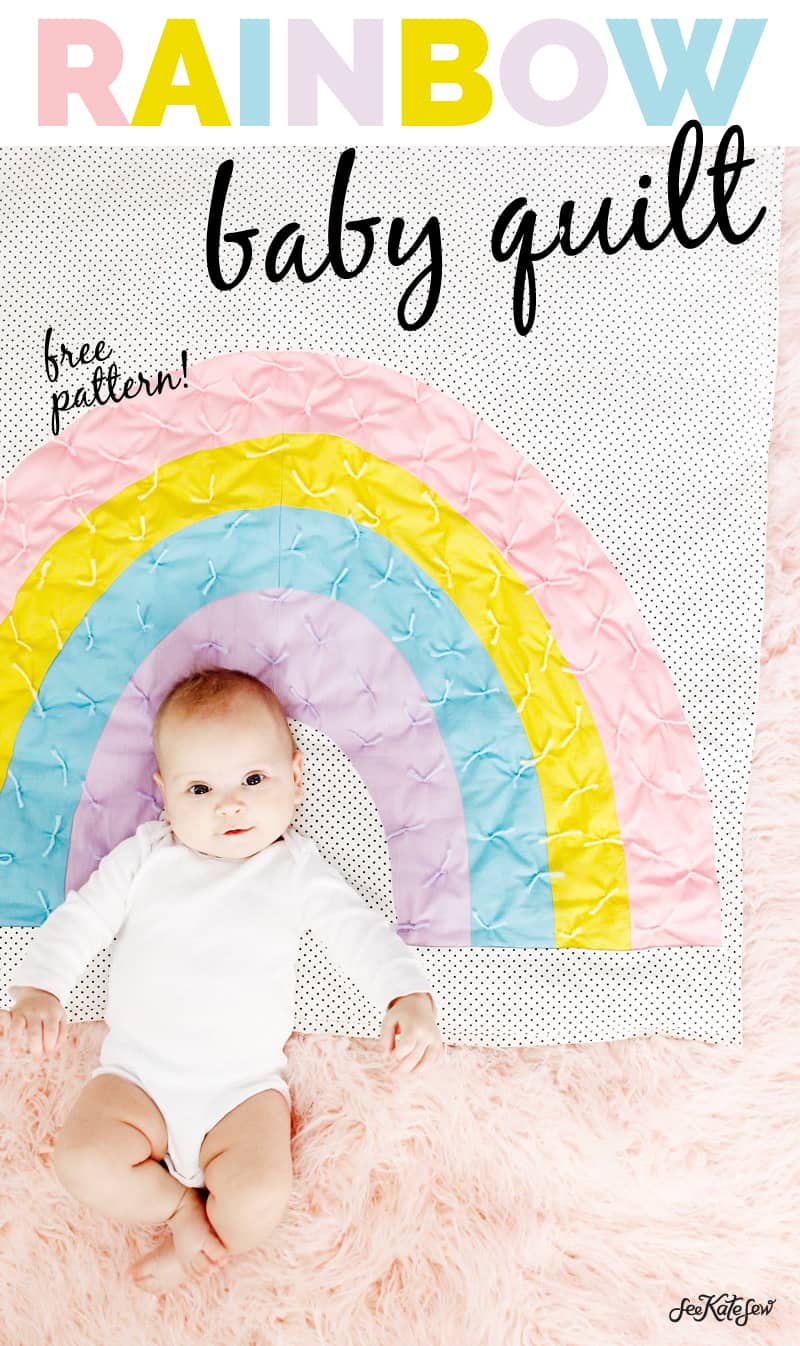

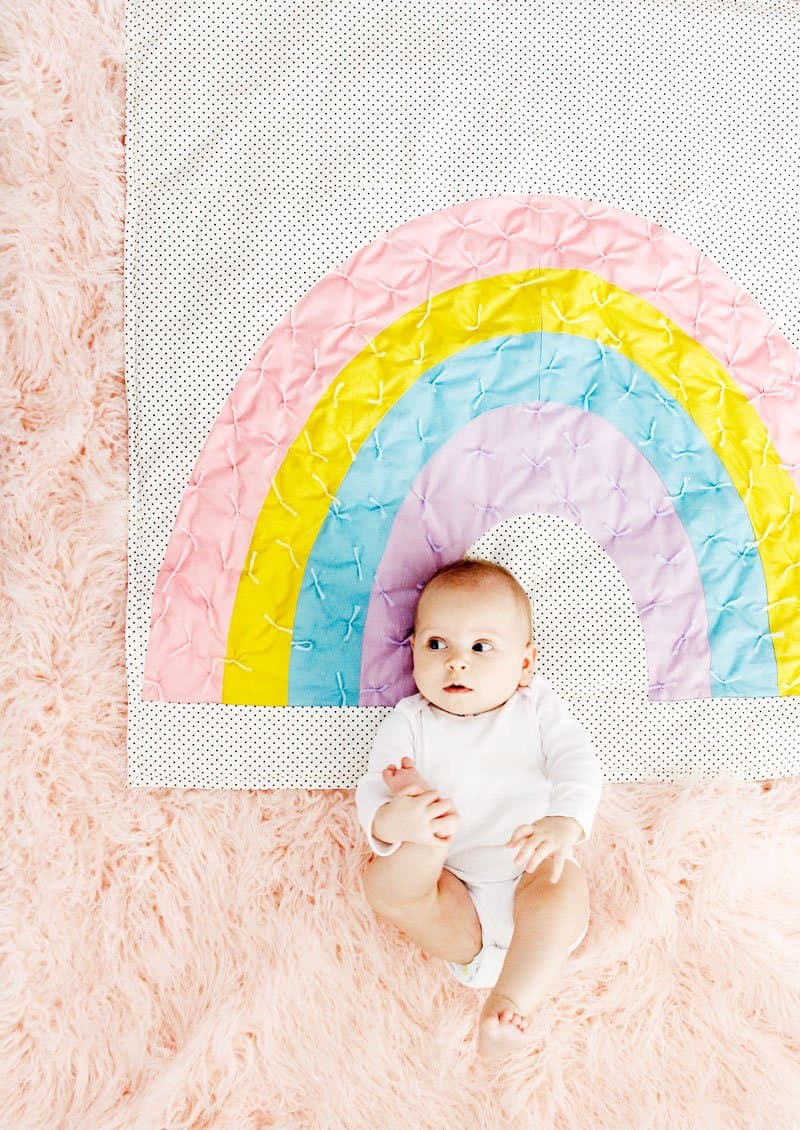
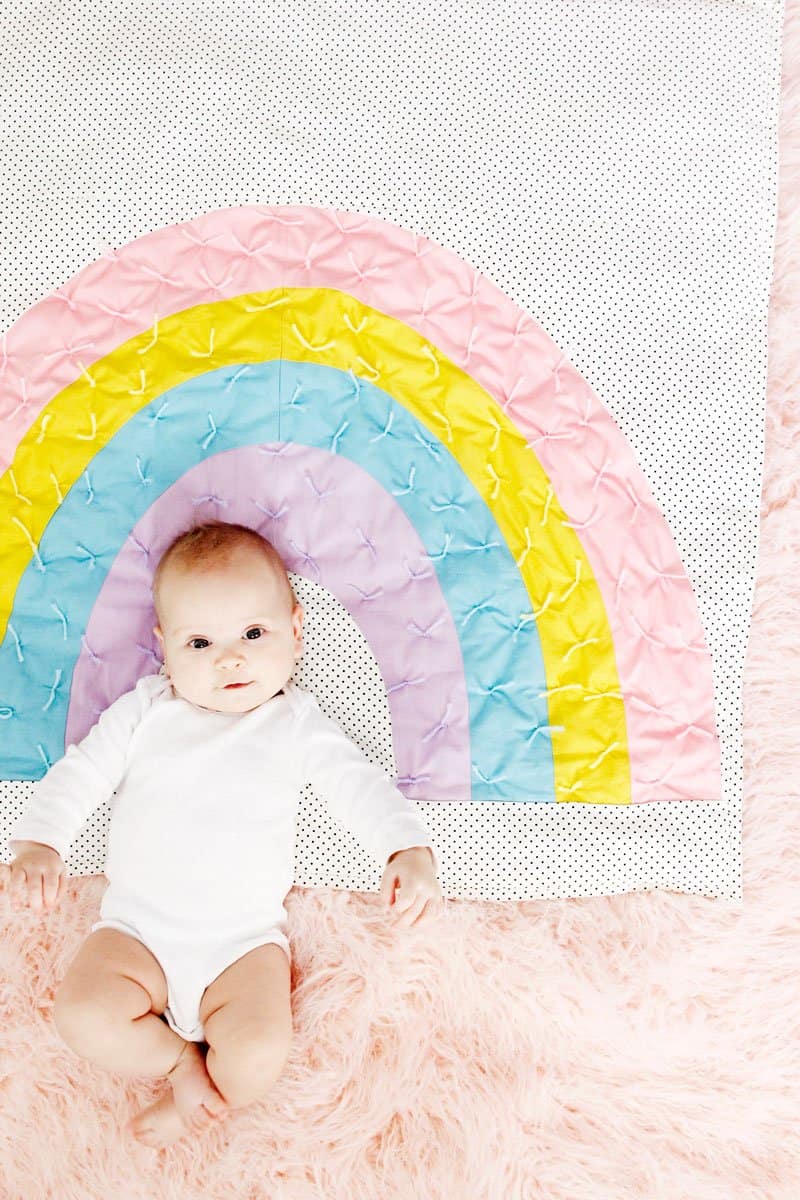
I had so much fun creating this rainbow baby quilt pattern and I think it’s the perfect gift for a rainbow baby! The rainbow baby quilt pattern is free to download and surprisingly fast to sew! The best part is choosing the fabric colors. The rainbow has 4 colors plus a background so you can get creative. Use standard ROYGBIV or go pastel or choose another color scheme! It’s all up to you! I used Cricut Hand Tools including the rotary blade, acrylic ruler and pretty lilac mat to sew this easily! The Cricut TrueControl knife and ruler also helped me prep the printable pattern. You can read more about these hand tools in this Favorite Supplies post!
Let’s get sewing!


Materials//
-1 yard polka dot fabric
-1/2 yard each of 3 colors
-3/4 yard of 1 additional color
–assorted yarn
–Cricut 60mm Rotary Cutter + Lilac Self-Healing Mat
–3″ by 18″ Acrylic Ruler
–TrueControl Knife + TrueControl Ruler
-Pattern Download, see below
INSTRUCTIONS//
Use 1/4″ seam allowances.
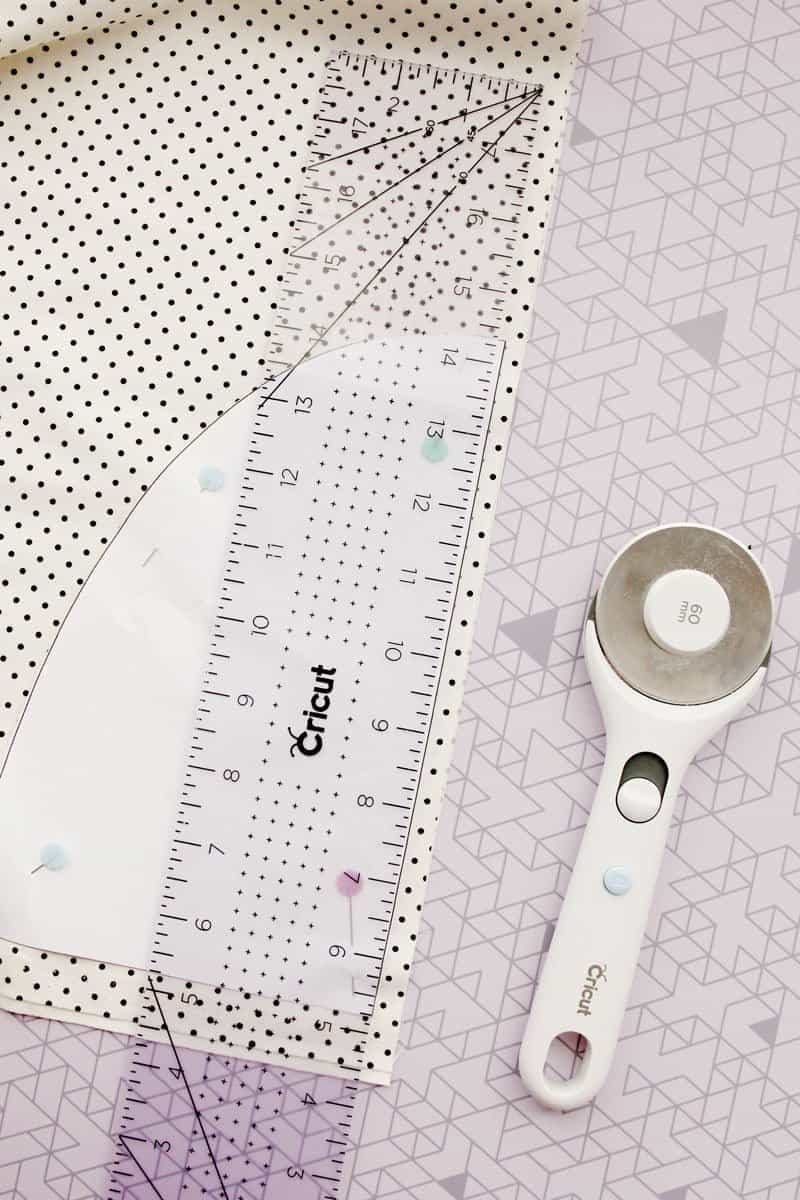
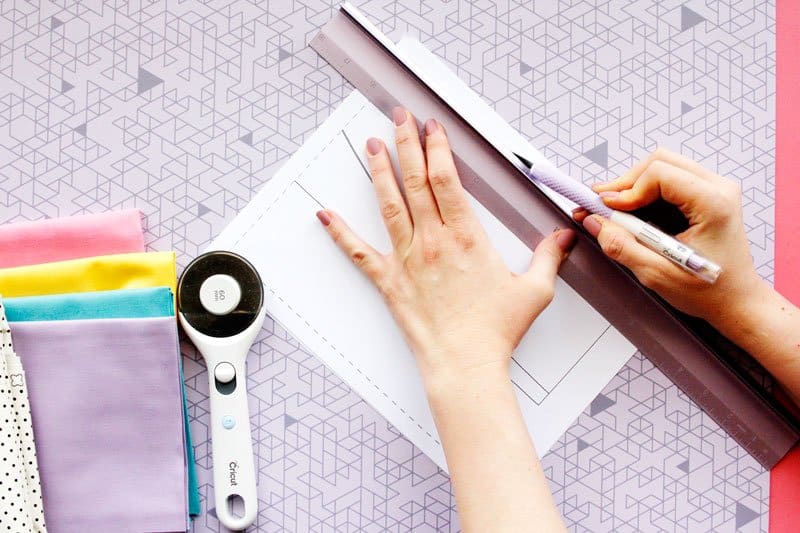
Print off the pattern and trim the pages to the dashed lines using the TrueControl Knife and TrueControl Ruler.
The TrueControl Ruler has a shield to protect your fingers and it doesn’t slip around! I also love the grip on the TrueControl Knife!
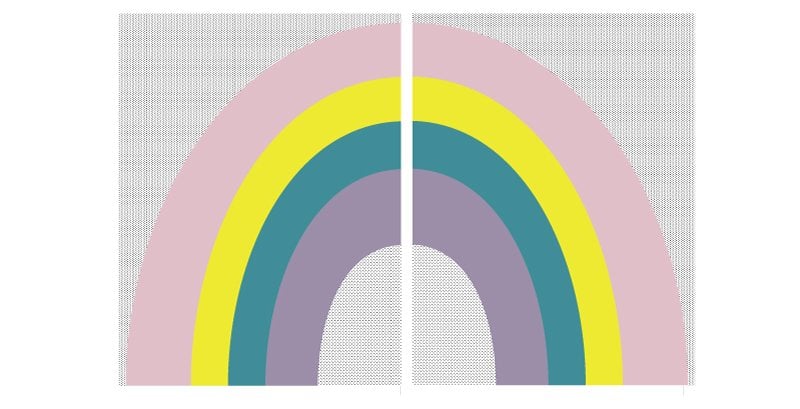
Tape the pattern together as shown:
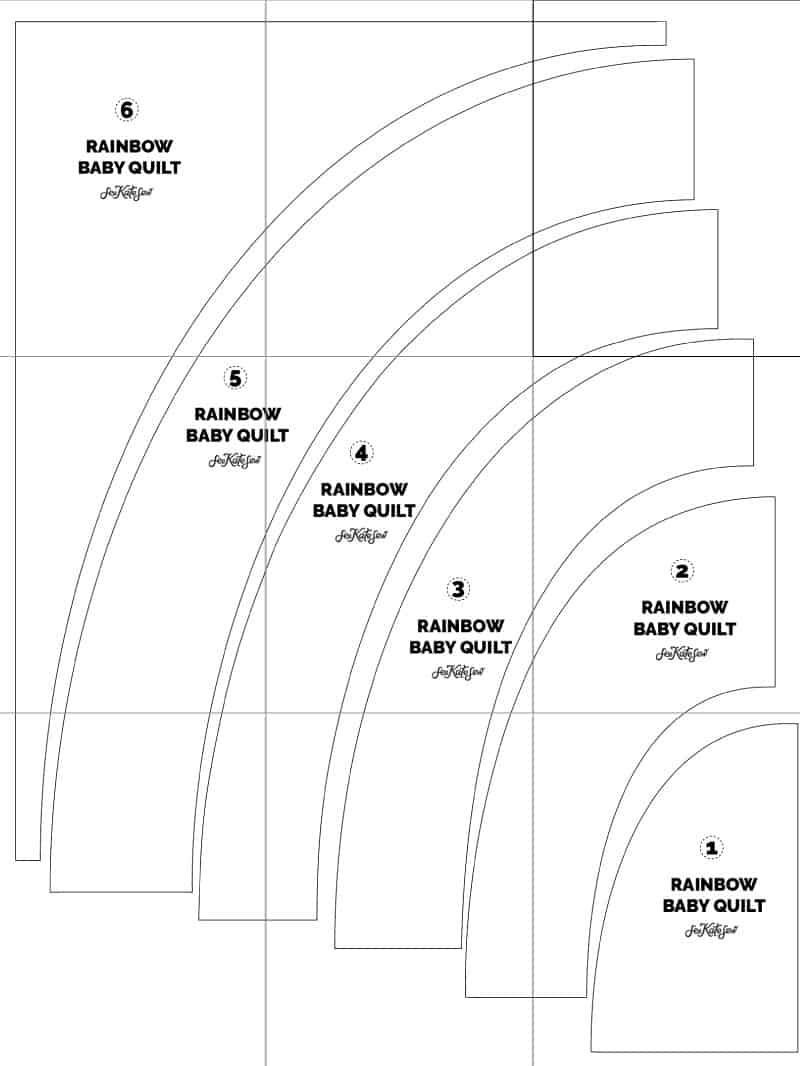
The top and bottom of the quilt are not included in the pattern pieces.
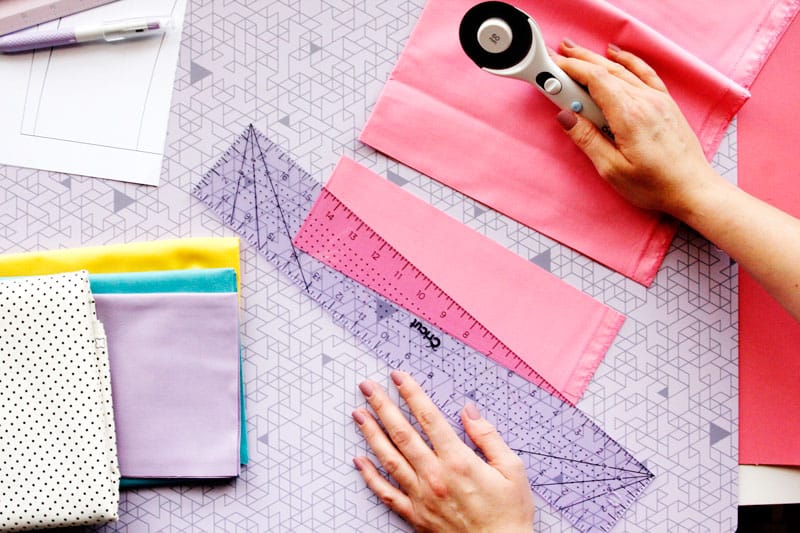
Cut two rectangles from background fabric (polka dot in this example) :
Top piece: 36″ by 10″
Bottom piece: 36″ by 4″
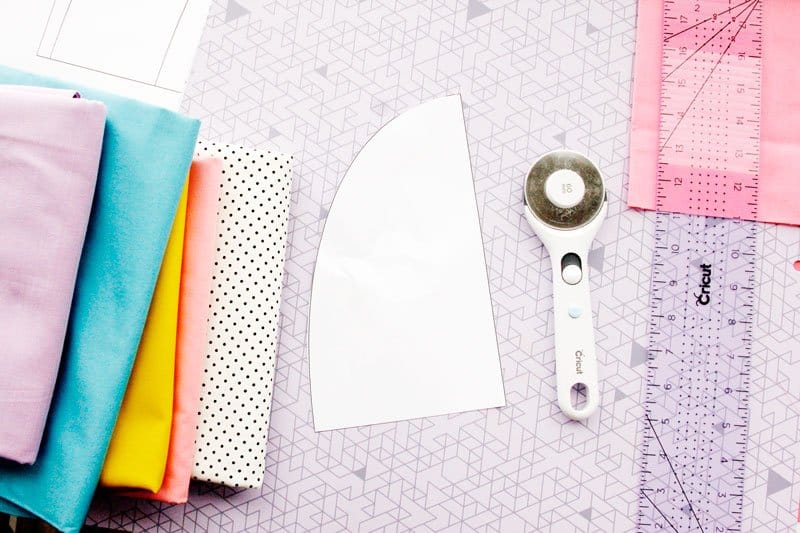
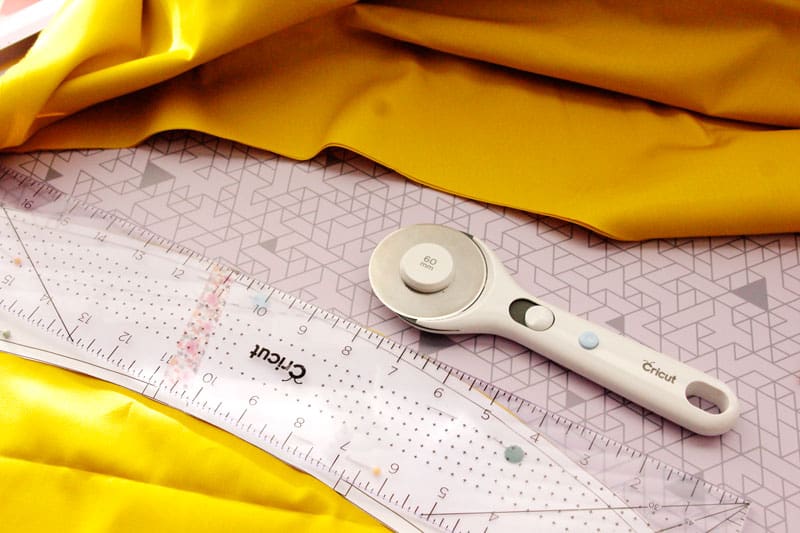
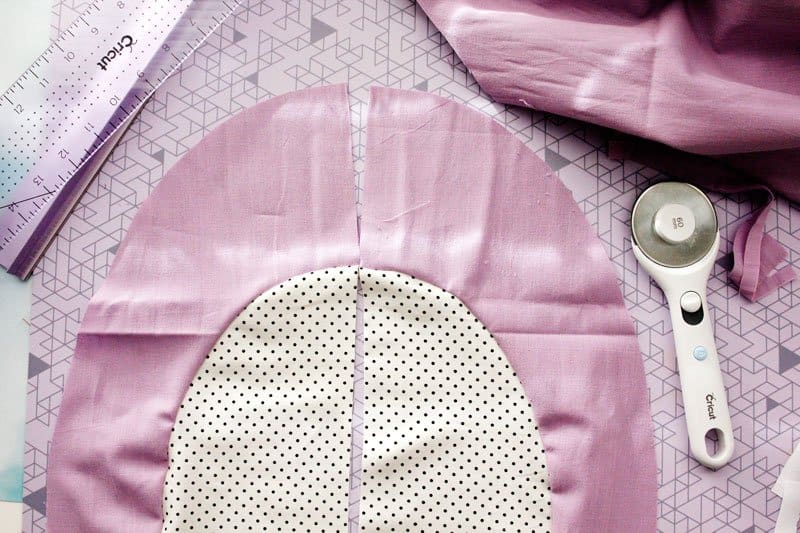
Pin pattern pieces to fabric and cut 2 EACH with the rotary cutter! If your fabric is one-sided, make sure you are cutting 2 opposite. Fold your fabric and cut two at a time. 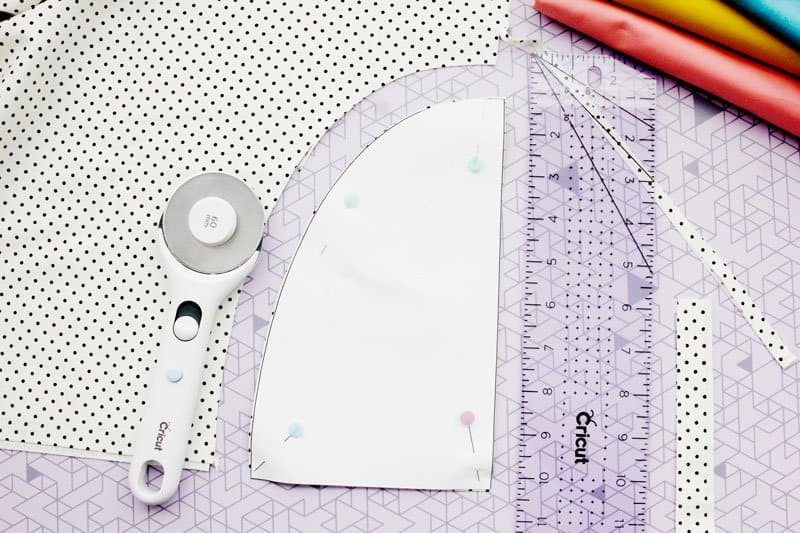
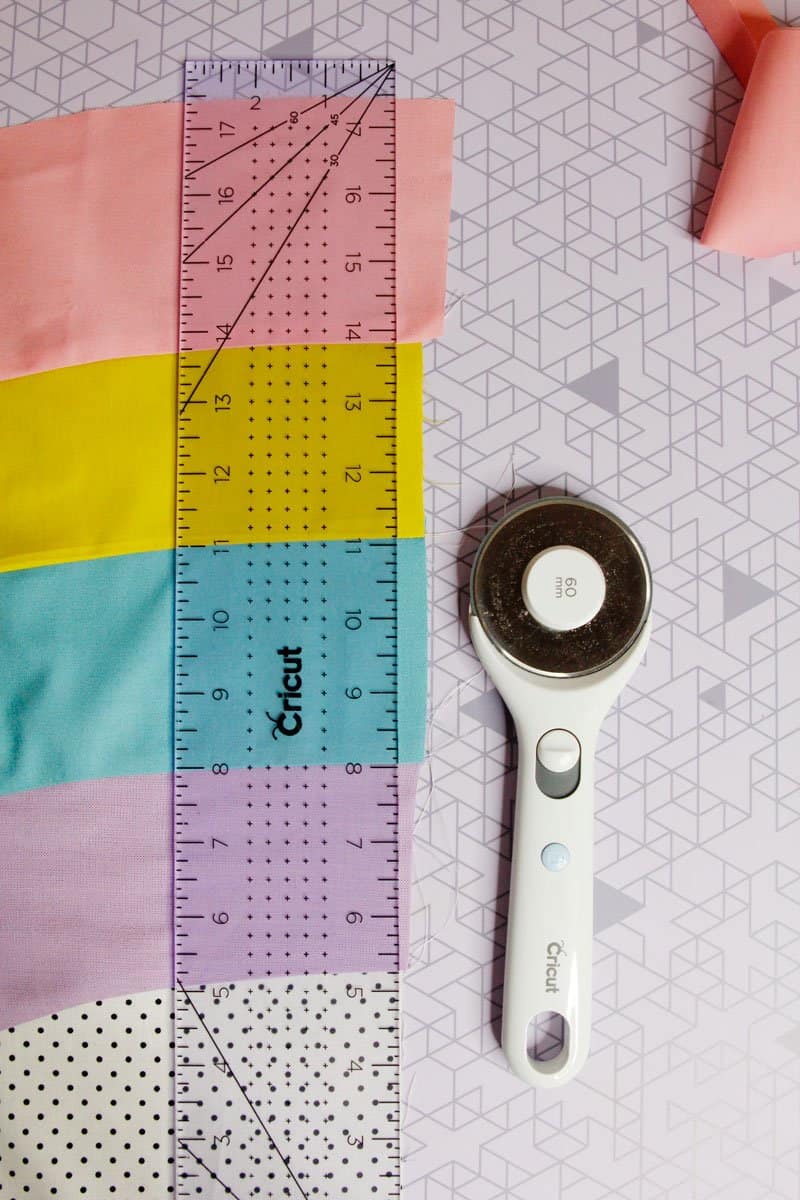
I love to use flat head pins for this so the acrylic ruler can lie flat on top of them. I love how this ruler is tinted purple! I love being inspired by color while I sew!
When cutting curves with a straight ruler, I hold it in my left hand and slowly turn the ruler along the edge of the pattern piece while I cut with the rotary cutter in my right hand. The Cricut Rotary Cutter is symmetrical, so it works for lefties, too!
Cut pieces 1 and 6 from your background fabric.
Cut pieces 2, 3, 4, and 5 from four different solid fabrics.

Sew piece 1 to 2. Then 2 to 3, etc.
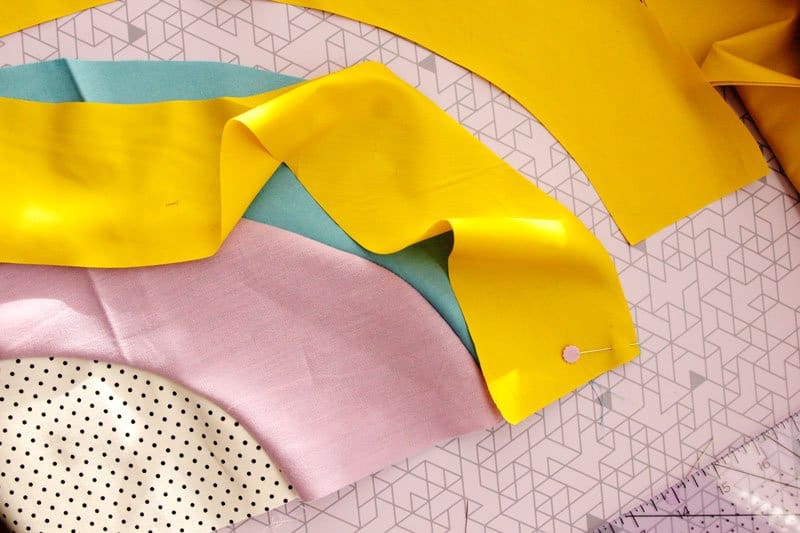
When you are finished, trim up the bottom and middle edges.
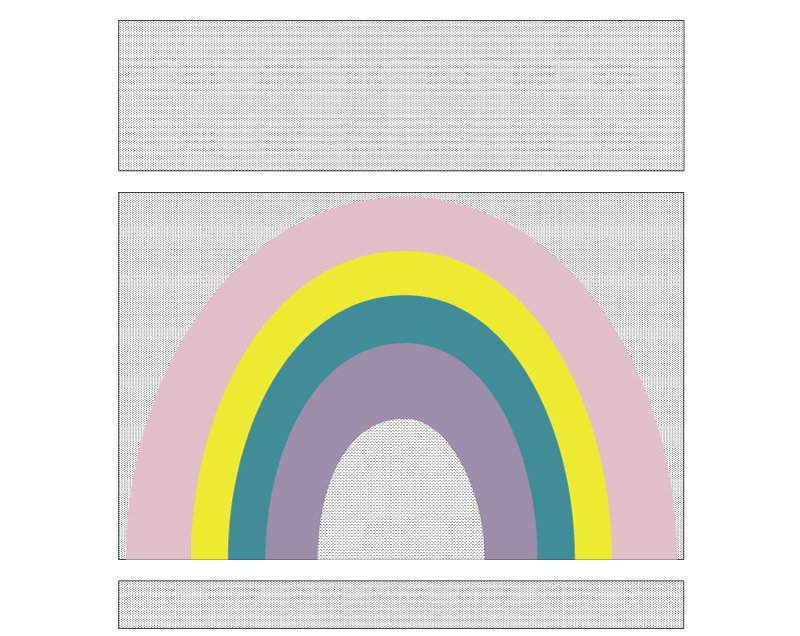
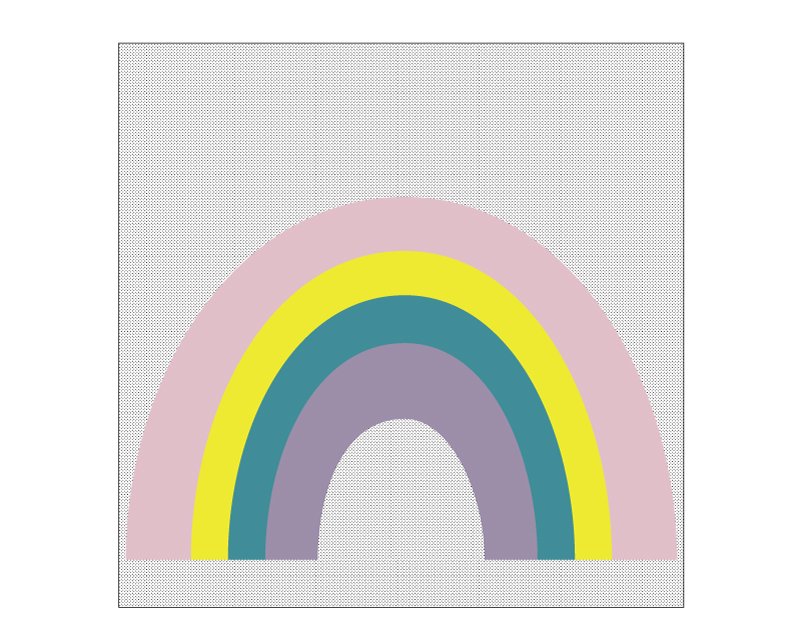
Attach the top and bottom.

Love quilting? Join Pattern of the Month and get a new modern quilt pattern emailed to you EVERY SINGLE MONTH!
