• Skip to main content
  • Skip to primary sidebar
  • Skip to footer
  • Blog
  • About
  • Contact
  • FAQ
  • Sponsor

see kate sew

sewing, crafts, tutorials, DIY

  • Patterns
    • Free Patterns
    • Pattern of the Month
  • Tutorials
    • Accessories
    • Bags and Pouches
    • Clothing
    • Costumes
    • Crafts
    • Cricut Projects
    • Holiday
    • Household
    • Kids
    • Maternity
    • Quilting
  • Topics
    • Baby
    • Boy
    • Christmas
    • dog
    • Dolls
    • Easter
    • Girl
    • Halloween
    • Lookbook
    • Party
    • pet
    • Printables
    • Training
    • women
  • No Sew
  • Sewing 101
  • Sew4Good
  • Pet
  • Sewing Room
    • DreamBox
  • Reviews
Home
  • Patterns
    • Free Patterns
    • Pattern of the Month
  • Tutorials
    • Accessories
    • Bags and Pouches
    • Clothing
    • Costumes
    • Crafts
    • Cricut Projects
    • Holiday
    • Household
    • Kids
    • Maternity
    • Quilting
  • Topics
    • Baby
    • Boy
    • Christmas
    • dog
    • Dolls
    • Easter
    • Girl
    • Halloween
    • Lookbook
    • Party
    • pet
    • Printables
    • Training
    • women
  • No Sew
  • Sewing 101
  • Sew4Good
  • Pet
  • Sewing Room
    • DreamBox
  • Reviews

11.27

ruffled nursing cover tutorial

Welcome to See Kate Sew! If you’re new here, sign up for my email newsletter for access to free patterns, tutorials and all the latest sewing news! Tour my sewing room HERE!

{1 yard} + {1 hour} =
{1 ruffled nursing cover}


Materials:
1 yard quilter’s cotton
2 d-rings
14″ boning


Cut fabric into these sizes:
Piece #1: 38″ by 28″
Piece #2: 38″ by 4″
Piece #3: 38″ by 4″
Piece #4: 24″ by 4″
Piece #5: 10″ by 4″


1. Ruffle
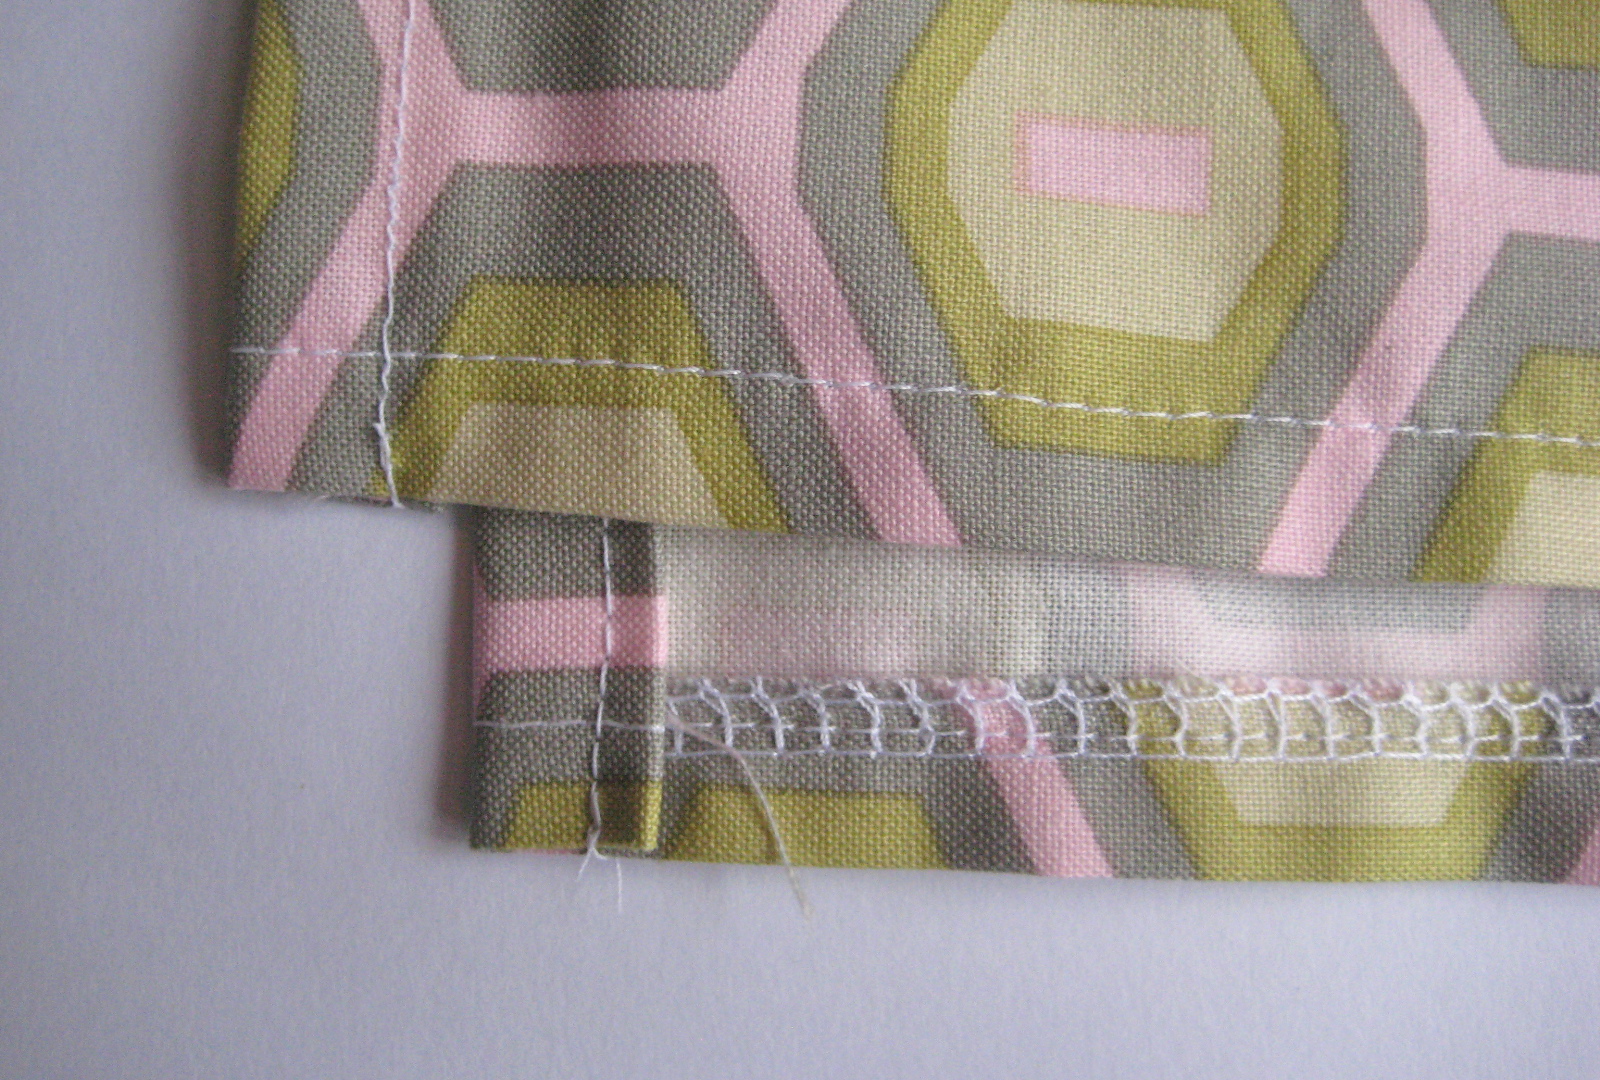
Sew pieces 2 and 3 together on the short edge, right sides together so you have a approximately strip 4″ by 72″. Press seam open. 


Serge one long edge then fold that edge under 1/2″ and press. Stitch in place. 


Fold under 1/2″ on short edge and press. Fold under again and stitch in place. Repeat for other edge.


Baste top edge of the ruffle and gather. The top of the ruffle should be 36″ but you can adjust it later, when you pin it to the cover.  Set the ruffle aside for now.


2. Straps
Pieces 4 and 5 will become the nursing cover’s straps.
Fold them along the long edge, right sides together and press.


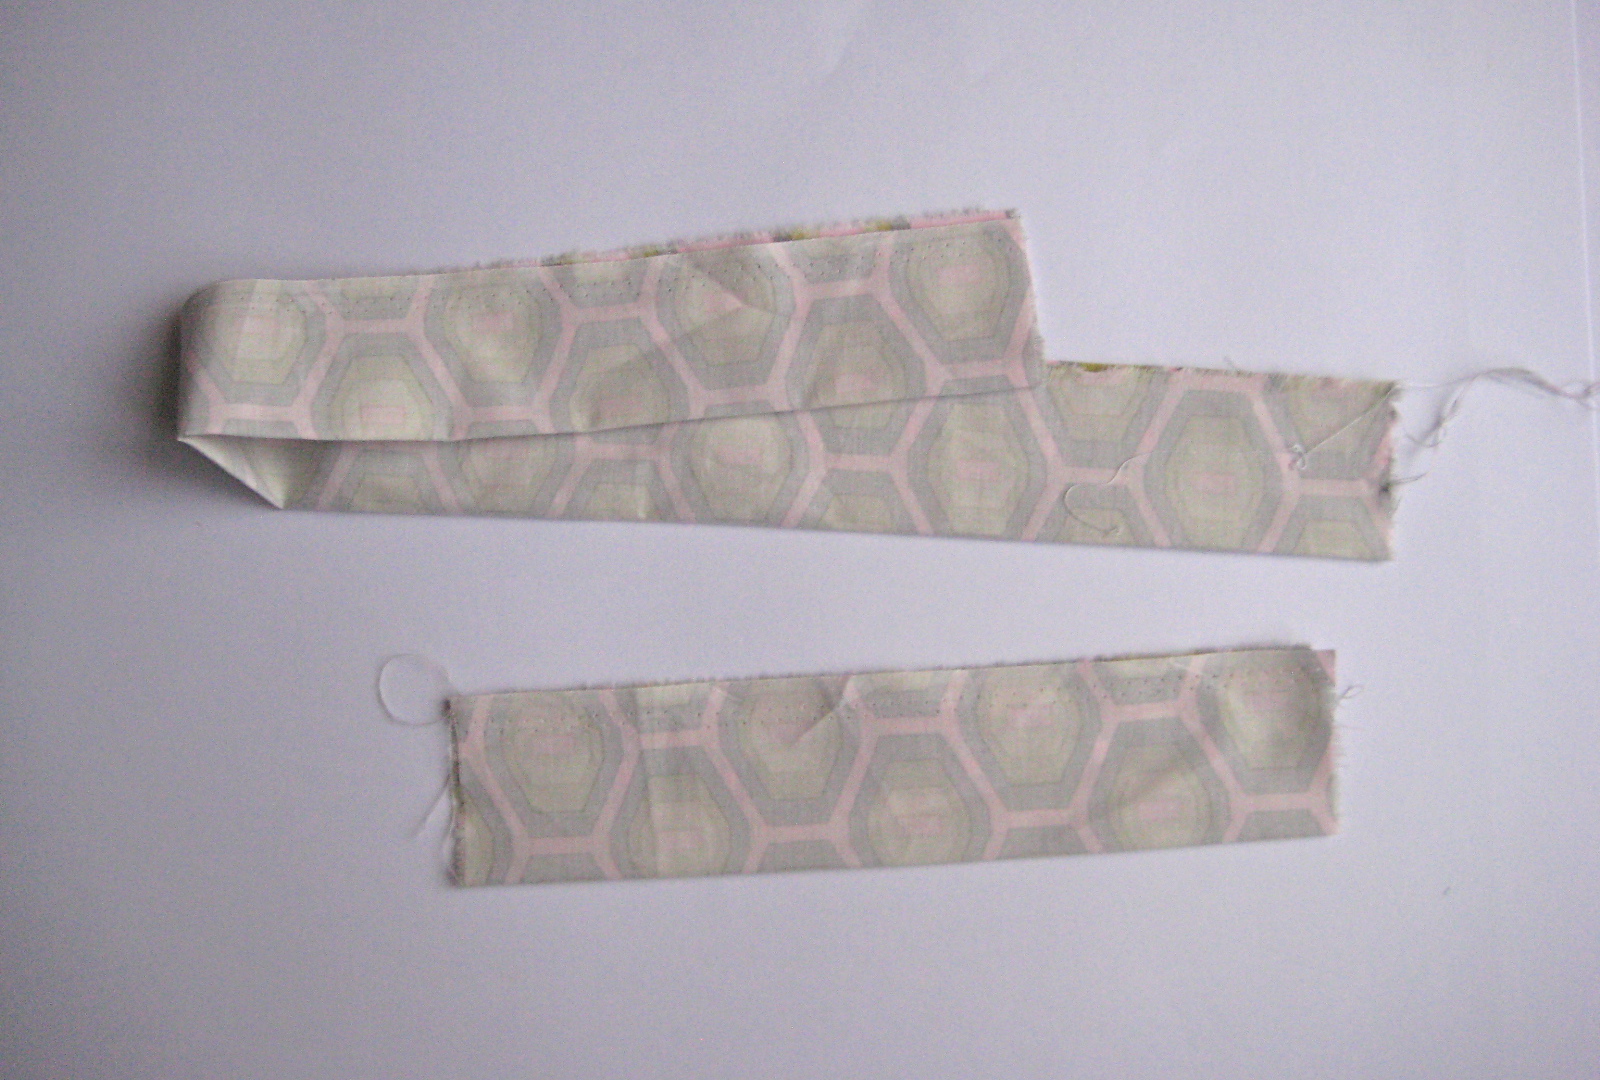
 Sew down the long edge, creating a tube. Turn inside out and press with the seam running down the middle.


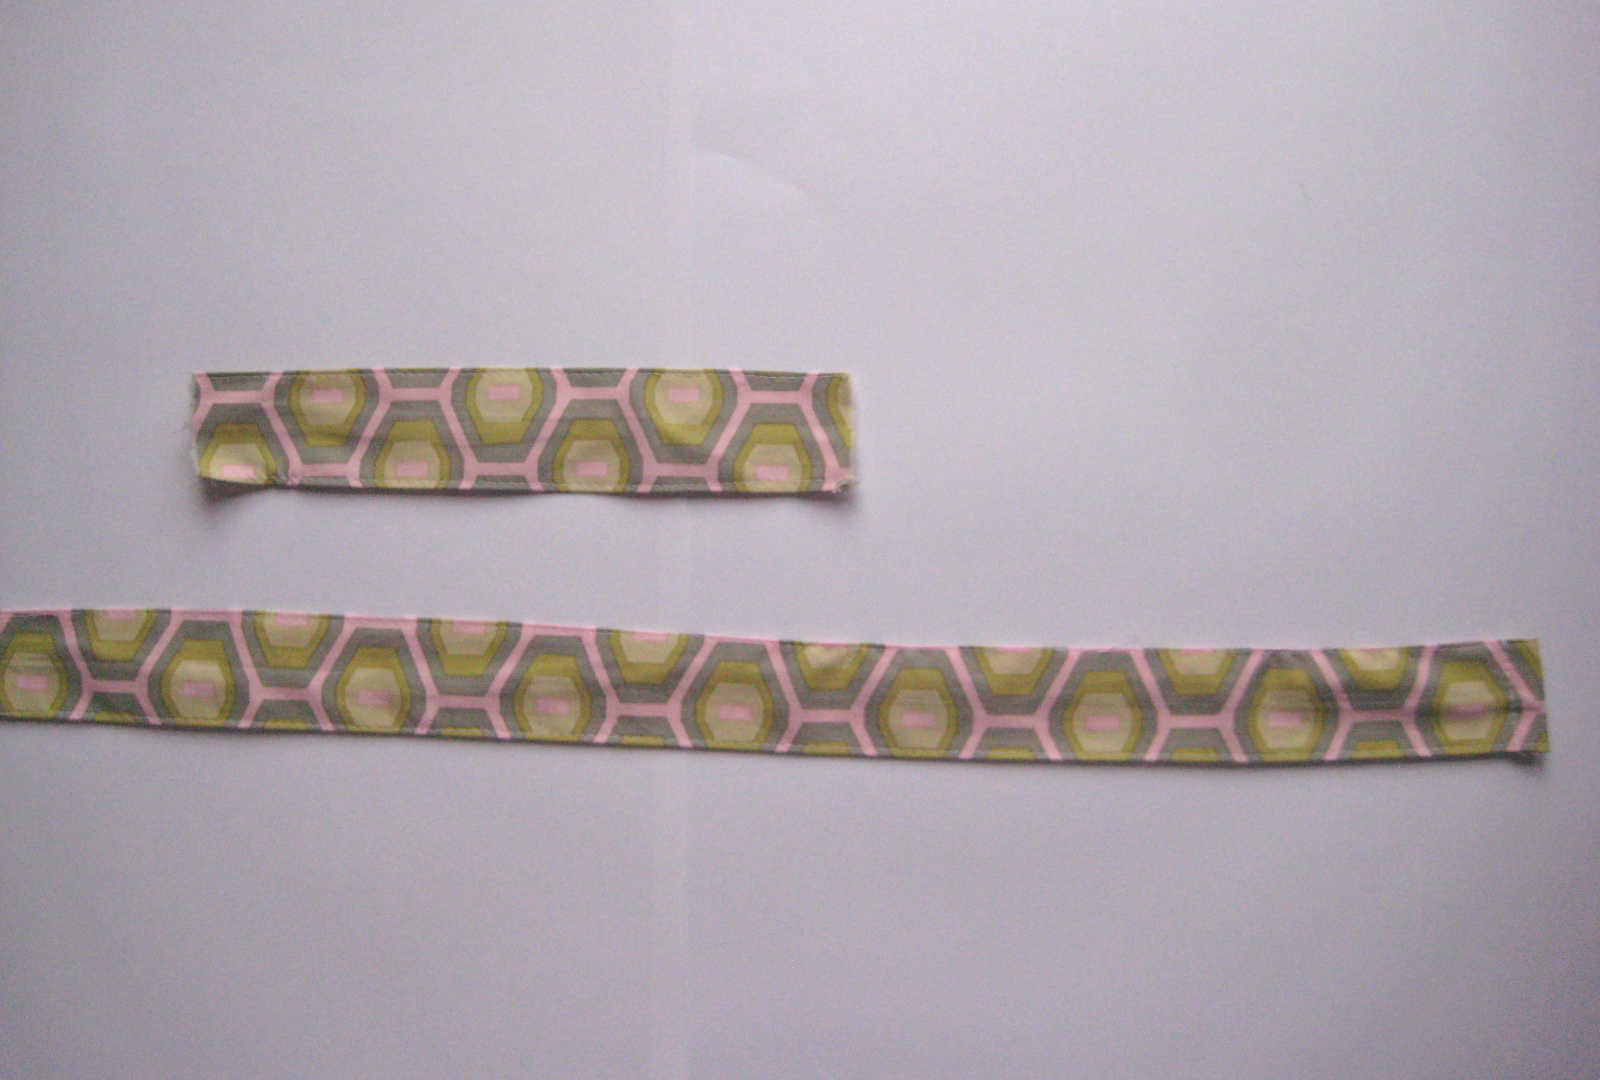
Edgestitch the long edges at 1/8″. On the longer strap, fold under one end 1/2″ and press. Fold under again and stitch in place.


Fold the small strap in half and insert D-rings as shown in the photo below. 

Stitch as close to the D-rings as possible.


Set straps aside for now.


3. Assemble nursing cover
The top edge is the tricky part. Fold under 1/2″ and press. Fold under again. Insert boning in the folds, centering it on the nursing cover. 

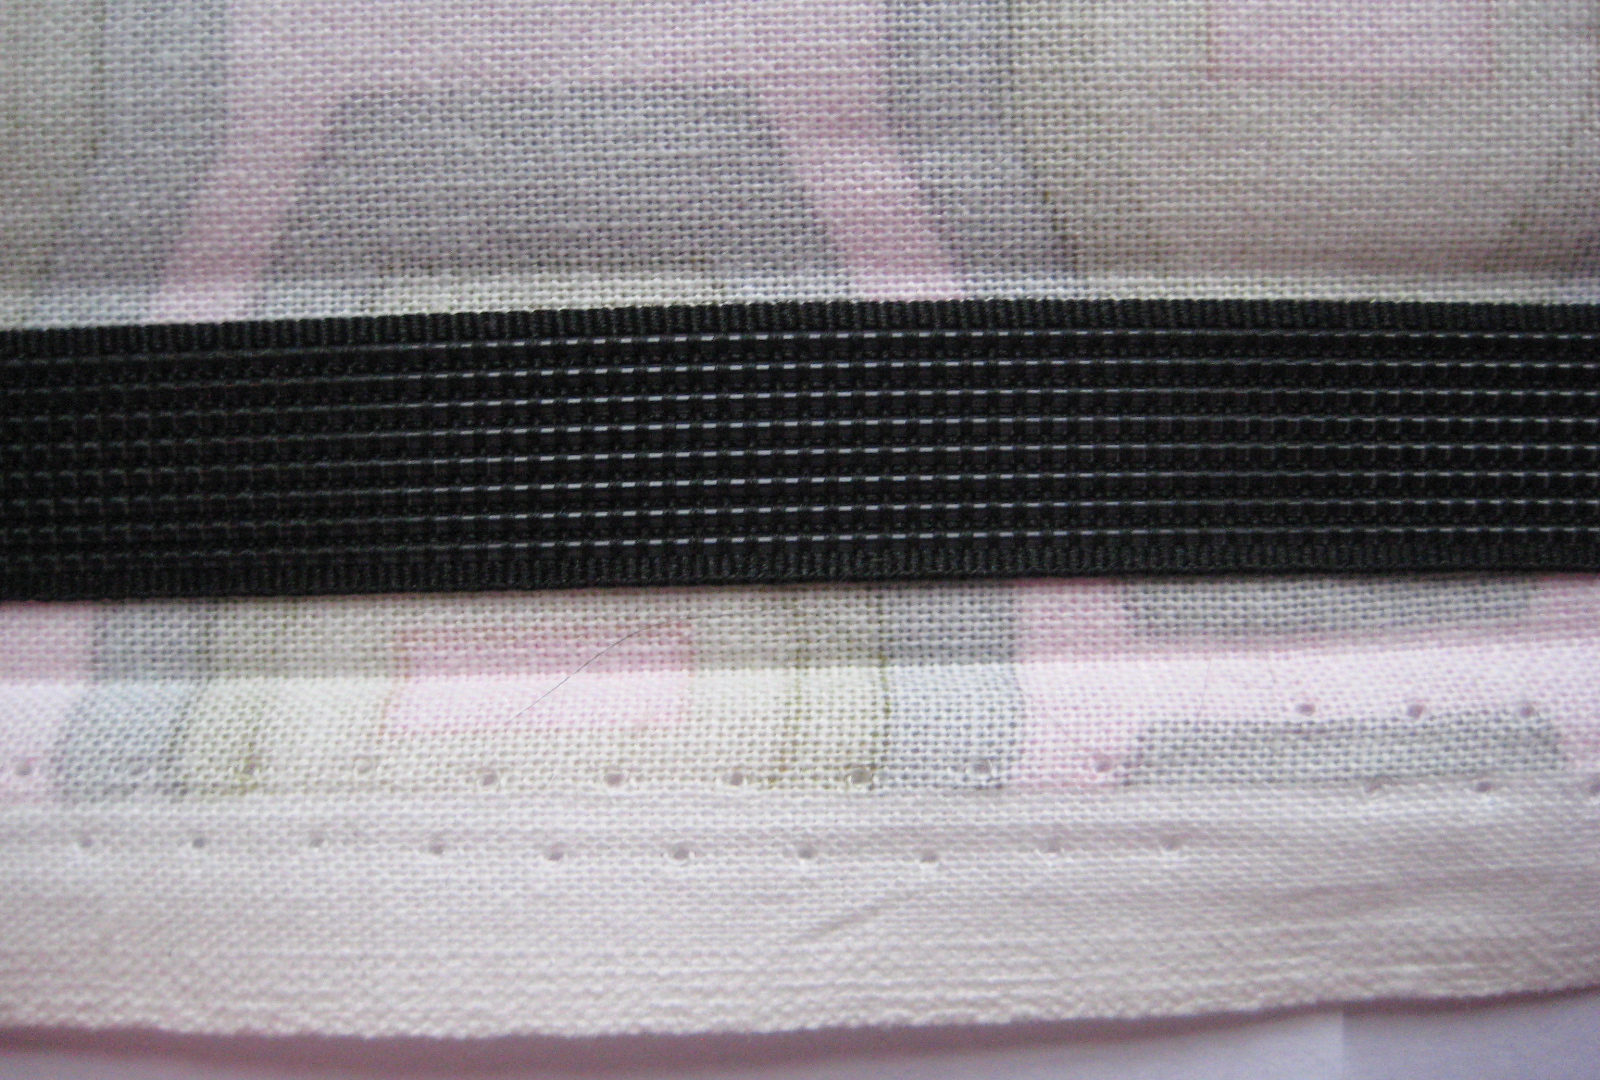
Pin in place (this is hard because you’ll be pinning through plastic, but doable!). The pin straps in place next to the boning. 

Fold the straps up as shown and pin in place.

Stitch the boning and straps in place by stitching along the top edge of the nursing cover at 1/8″ and 1/2″. You’ll have two lines of stitching. (Don’t worry the boning is allowed to go through the sewing machine, it won’t hurt it!) 


Next, finish the sides. Fold under 1/2″ and press. Repeat and stitch in place.


Finally, attach the ruffle. Pin the ruffle to the bottom of the nursing cover, right sides together. 


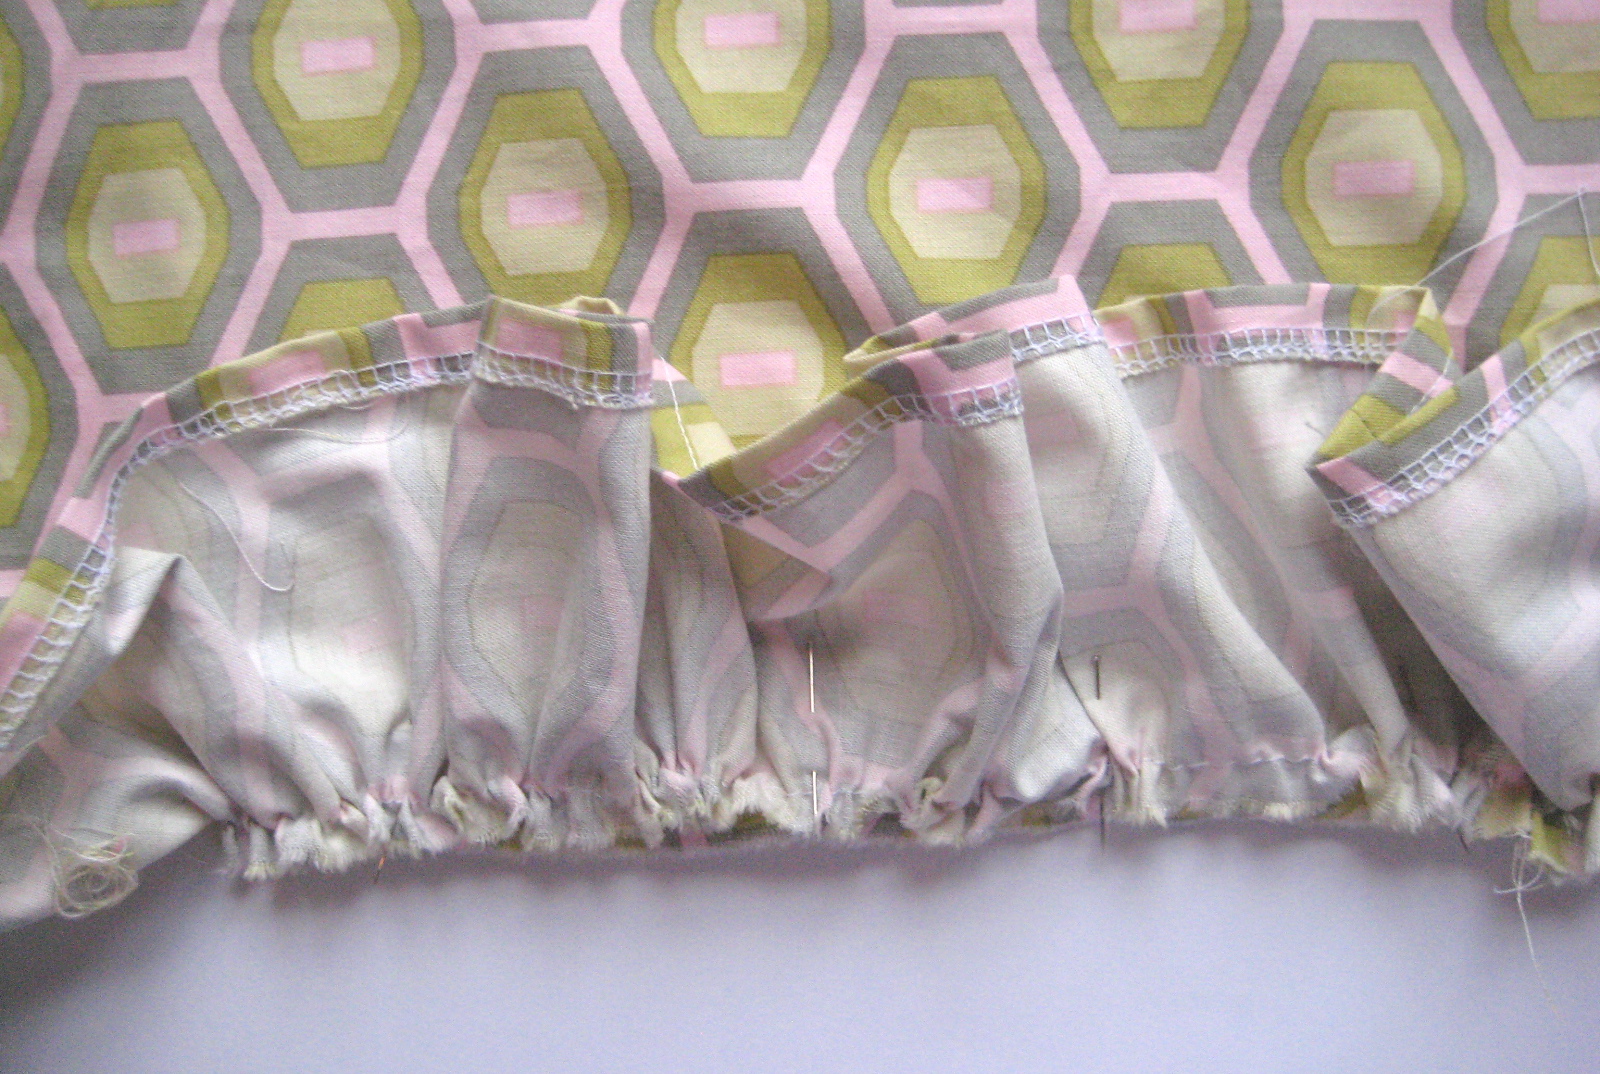
Start pinning on the edges and come into the middle, adjusting the gather as necessary. Sew in place and remove baste stitching. 
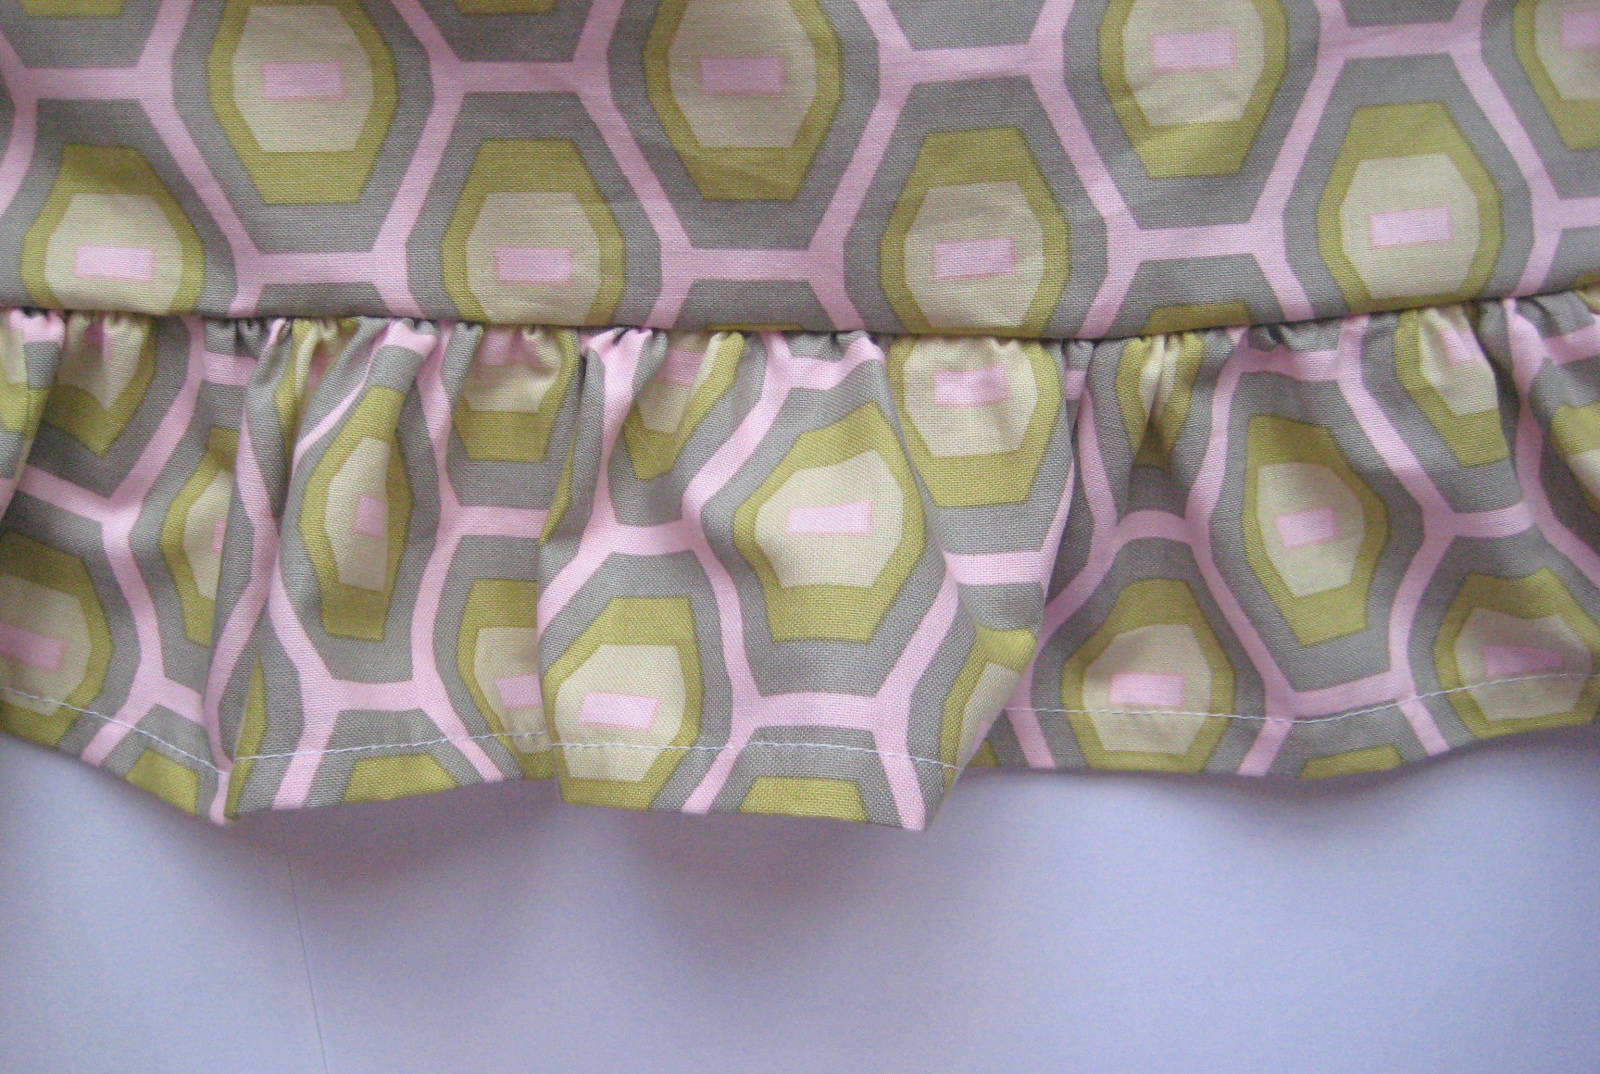


Serge seam.

This is my baby shower go-to gift. It’s so cute, especially if you pick a cute designer fabric. Plus, you can make it ruffley and girly even if the mama is having a boy.

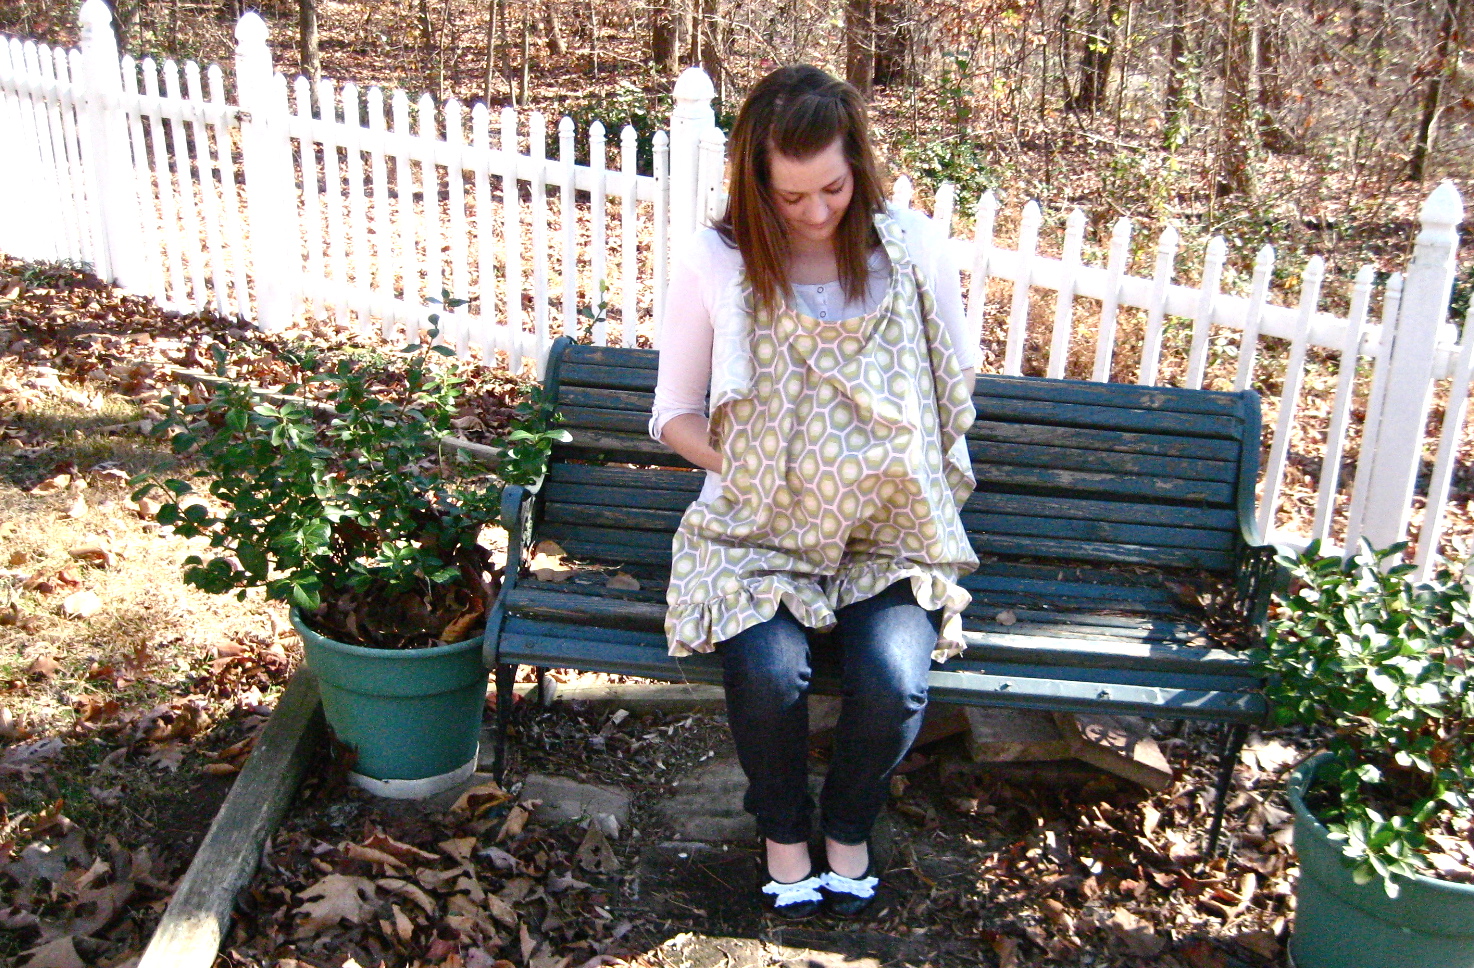
It kinda looks like an apron!


Thanks for reading!


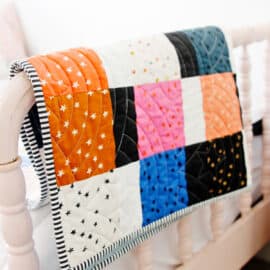
(fabric used: 1 yard Amy Butler Midwest Modern II Honeycomb Grey) 

18 Comments | Kids

Exclusive Free PatternRuffled Apron

Sign up for my email newsletter and receive my ruffled apron pattern totally FREE!

We take your privacy seriously. See our privacy policy here. Unsubscribe at any time.

You may also like these posts...

FREE baby bonnet brim patternburp cloth tutorialKnit Headbands for Baby + ToddlerDIY Halloween Costumes – 30 Easy Costume Tutorials!

Reader Interactions

18 Comments

  1. Sara

    11/28 at 9:50 PM

    Beautiful! I like that ruffle!

  2. Erica

    11/29 at 6:17 AM

    Your newest follower from MSM!! Great tute :)

  3. Elizabeth D.

    11/30 at 1:56 PM

    Love the ruffle, great idea! Happy Fabric Tuesday to you :)

  4. A Girl

    11/30 at 3:19 PM

    Love the ruffle! Definitely girly! Thanks for sharing.

  5. Megan/Lucia

    11/30 at 10:01 PM

    Love it!!! I just made a nursing cover, and now wish I had seen this earlier! Thanks for sharing. I just started a link party on Wednesdays and would love for you to share this!
    wakinglucia.blogspot.com
    Ciao,
    Lucia

  6. felicity

    12/01 at 7:23 AM

    Beautiful fabric and I love the ruffly touch.

  7. elise engh

    12/01 at 3:39 PM

    Super cute! I love that you added ruffles to it. I’m gonna have to start making these!

  8. Quiltstory

    12/02 at 3:49 PM

    Love it lots! Especially the ruffle! Thanks for linking up to Quiltstory!

  9. Amnah

    12/02 at 9:52 PM

    I love this. I make nursing covers all the time and I’ve been wanting to spruce them up a bit. Ruffles will be the perfect addition. Thanks for sharing!

  10. apumpkinandaprincess

    12/05 at 10:42 PM

    Thank you for sharing, I’ll definitely be making this! I’m your newest follower, stopping by from Tatertots & Jello!

  11. Ginger

    12/06 at 2:04 AM

    Very well done! Thanks for linking up to Mad Skills Monday!

  12. Ash

    12/06 at 7:55 PM

    Thanks for sharing! This is such a great project and I love the ruffle :)

  13. Meilee

    12/07 at 10:47 PM

    This comment has been removed by the author.

  14. YUMMama

    12/19 at 1:16 AM

    So glad I stumbled across this blog. I’ve been looking for some great projects to do on my sewing machine. Not to mention I have a huge duffel bag full of fab fabrics.

  15. Bethany

    01/14 at 4:06 PM

    Adorable! I love the ruffle … it gives the bottom some appeal, rather than just a flat fabric. Cute!

  16. Meilee

    02/21 at 4:00 AM

    I’ve made two of these now. Thanks for sharing!

  17. sstone

    09/13 at 12:07 AM

    I’ve kind of thought these would be easy to make, but it’s so nice to have instructions.:) I’m a new follower from Making Monday:)
    http://everydaygameplan.net

  18. Jo @ To a Pretty Life

    04/11 at 10:18 PM

    Thanks so much for this tutorial! I no longer have nursing kids, but I just had to make one anyway! I gave it to a friend, and she loves it, as did all the other moms in our tuesday morning group! I posted some pictures if you’re interested: http://toaprettylife.blogspot.ca/2012/04/polka-dot-nursing-cover.html

Primary Sidebar

  • Facebook
  • Twitter
  • Instagram
  • Pinterest
  • Email

Exclusive Free PatternRuffled Apron

Sign up for my email newsletter and receive my ruffled apron pattern totally FREE!

We take your privacy seriously. See our privacy policy here. You can unsubscribe at any time.

Don’t miss these popular posts!

easy baby dress pattern for the summertime

easy baby dress pattern for the summertime

modern ombre + b/w triangle quilt tutorial + pattern

modern ombre + b/w triangle quilt tutorial + pattern

Fabric

Quilted Cosmetic Case Kiss Me KateKiss Me, Kate FabricOne Hour Granny Square Quilt Tutorial | See Kate SewModern Granny Square Quilt Whole Cloth

Pattern Hacks

Easy Baby Summer Dressthe EMMA pattern | See Kate SewThe EMMA Dress

Footer

Hello friends!

My name is Kate, a twenty something fashion lover and mother of two. When I’m not chasing kids you can find me at my sewing table or daydreaming up new designs. You can read more about me here. Thank you for visiting!

8a918f8da8e0e69102dc0f33a718de85a99c31a57283e0e3e2

FOLLOW ME HERE

  • Facebook
  • Twitter
  • Instagram
  • Pinterest
  • Email
  • Blog
  • About
  • Contact
  • FAQ
  • Sponsor

Copyright © 2023 See Kate Sew  •  All Rights Reserved  •  Privacy Policy  •  Site Design by Emily White Designs